Individual Oreo Cheesecakes (No-Bake and Foolproof!)
Make this individual Oreo cheesecake recipe using basic ingredients from your pantry! Perfect for parties or any time you need a sweet no bake treat.
Ever been caught in a dessert dilemma, torn between the divine decadence of a cheesecake and the irresistible charm of an Oreo cookie?
I’m really happy to share some good news – you don’t have to make the choice anymore. I’m sharing a culinary concoction that’s about to revolutionize your dessert game: the no-bake individual Oreo cheesecake.
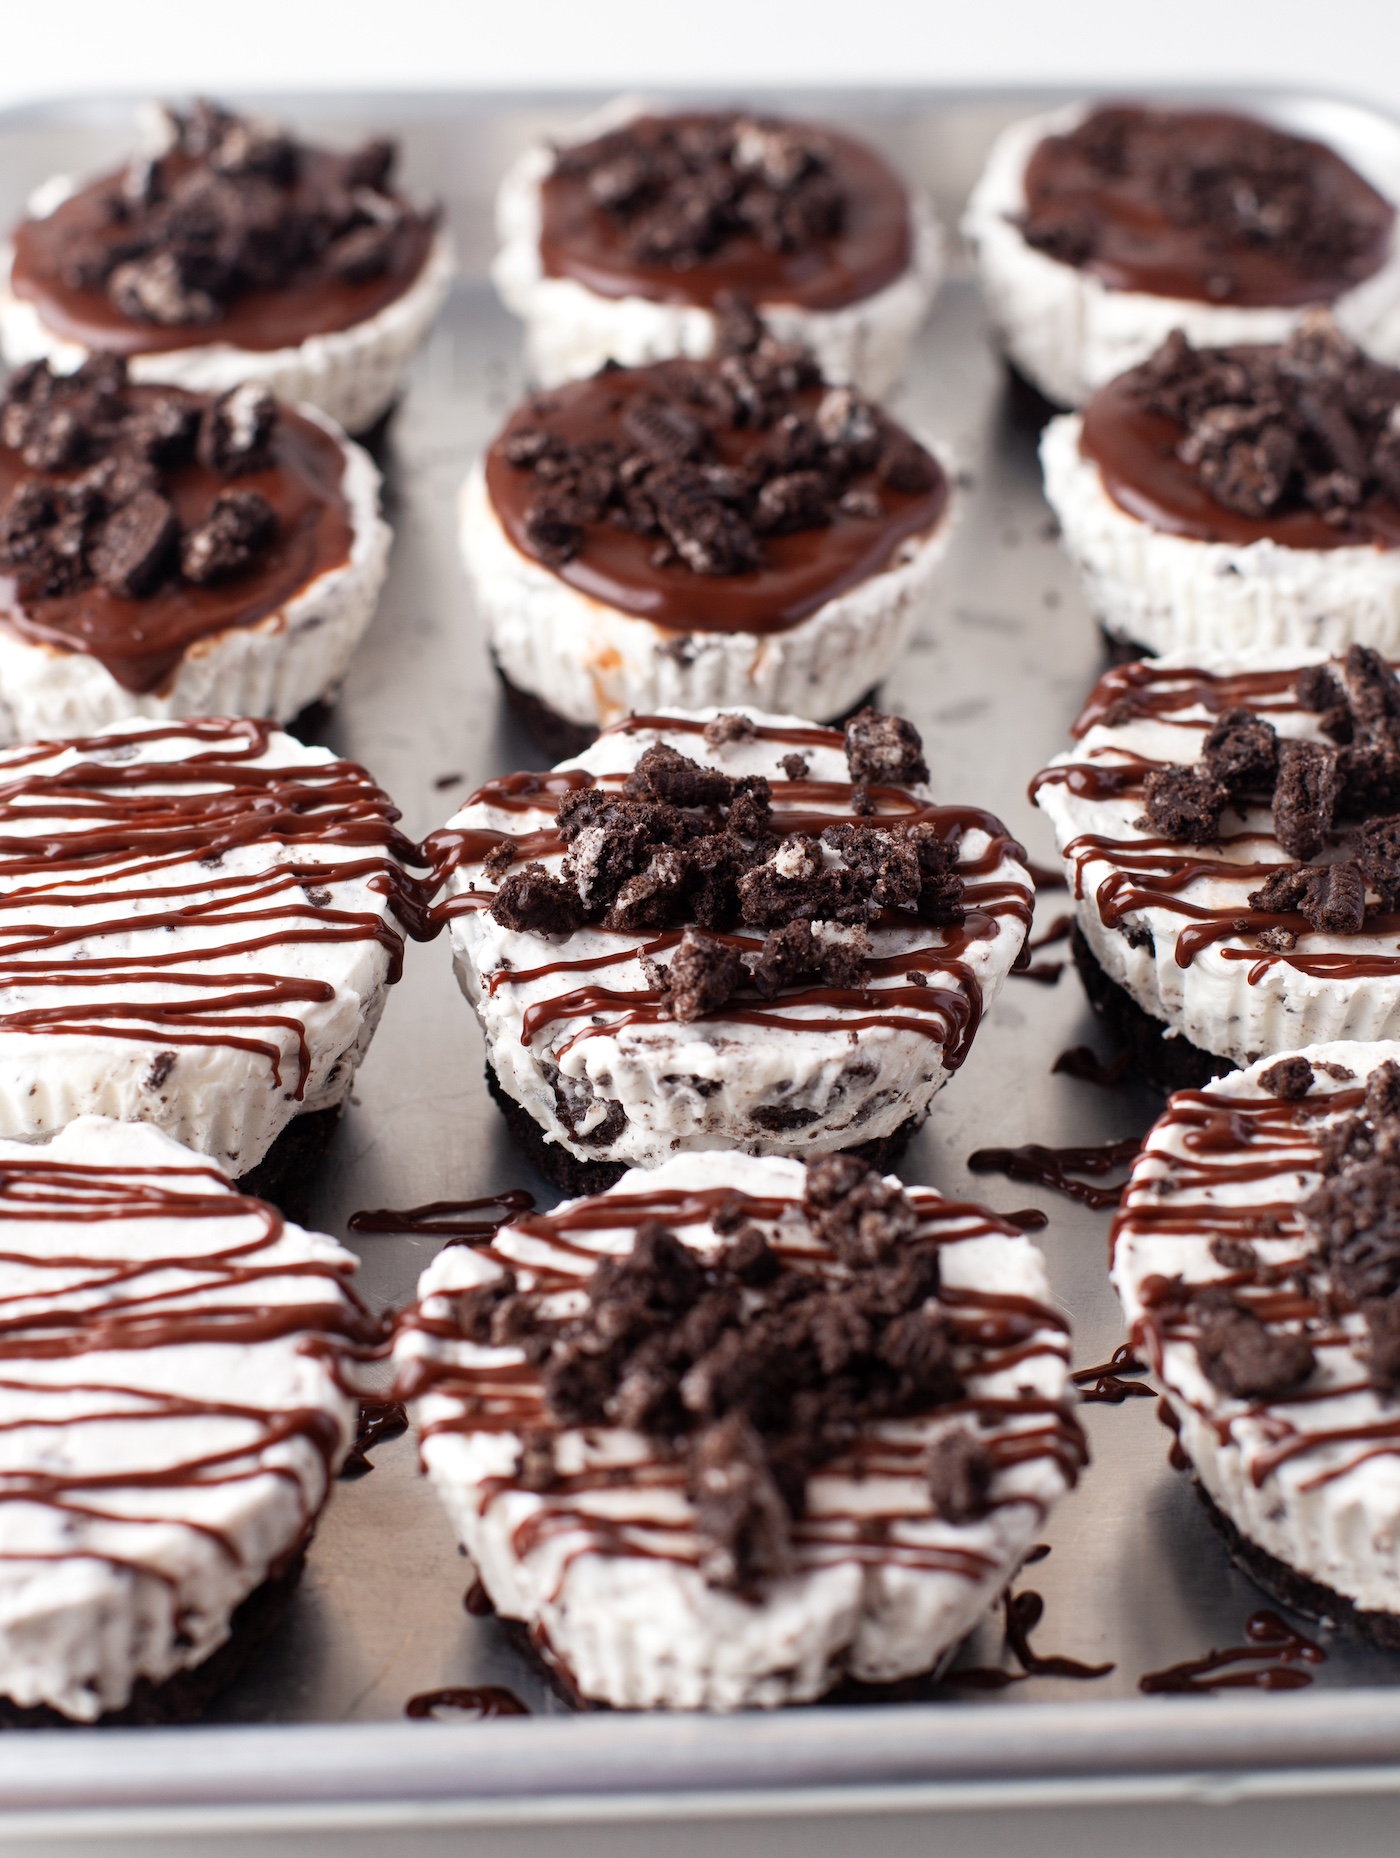
It starts with a crust that is all about Oreos. Then there’s a filling that’s the stuff of cream cheese dreams, peppered with chunky Oreo bits, each spoonful a cosmic balance of creamy and crunchy.
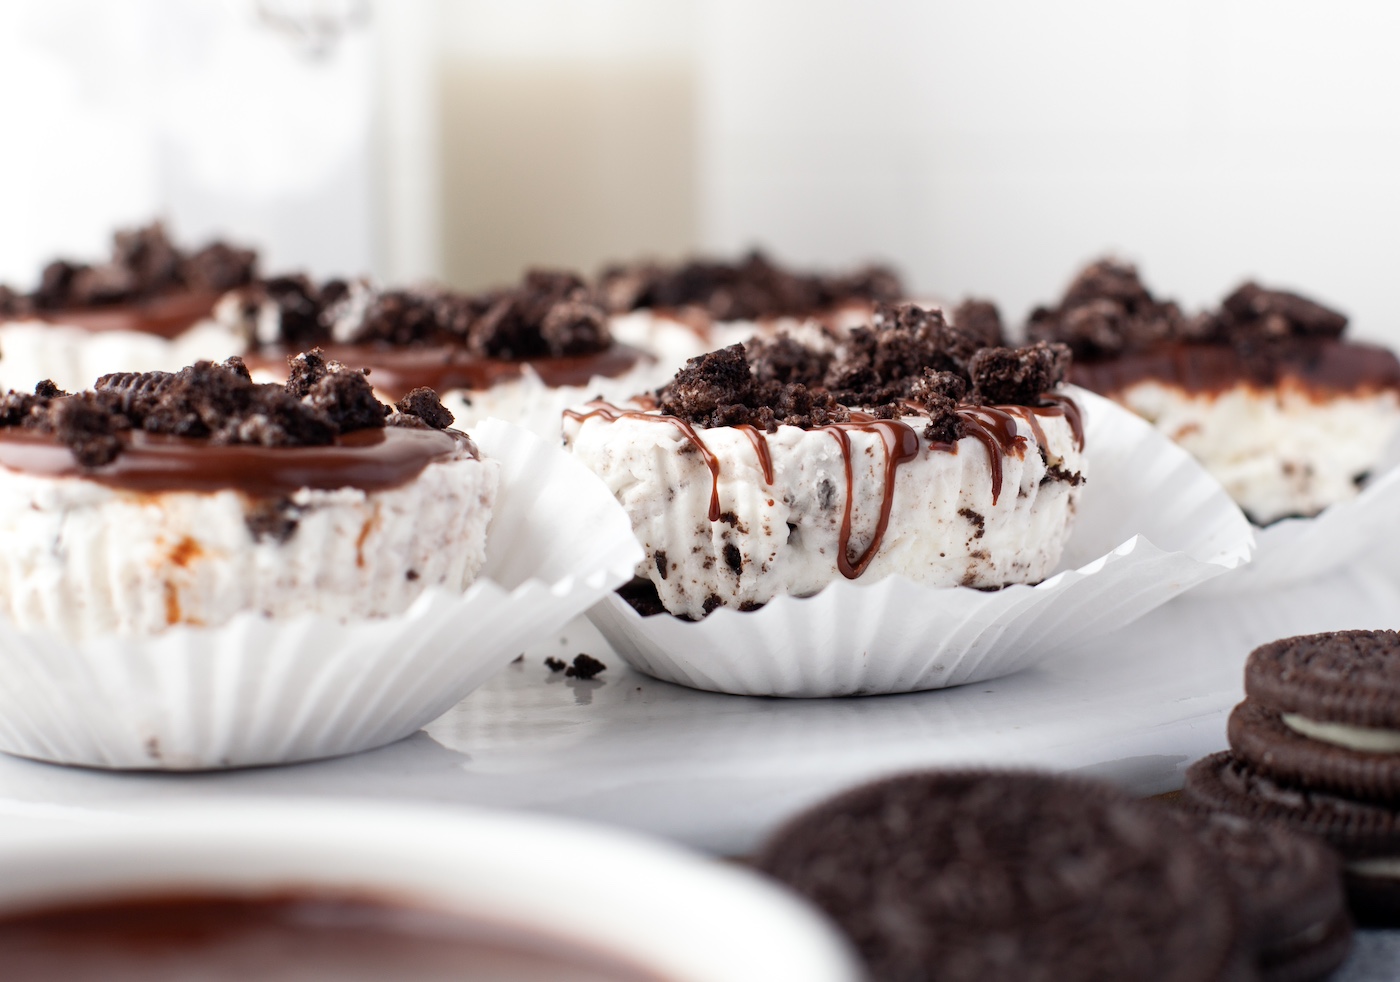
And just when you think it can’t get any better, we slather on a layer of chocolate ganache. Oh, chocolate ganache, you luscious, velvety, chocolatey blanket of happiness.
You don’t even need an oven. There’s chill time for these, but the active time to make this recipe is under thirty minutes.
So, tie on your apron, summon your inner dessert wizard, and let’s embark on this scrumptious saga of creating mini Oreo cheesecakes.
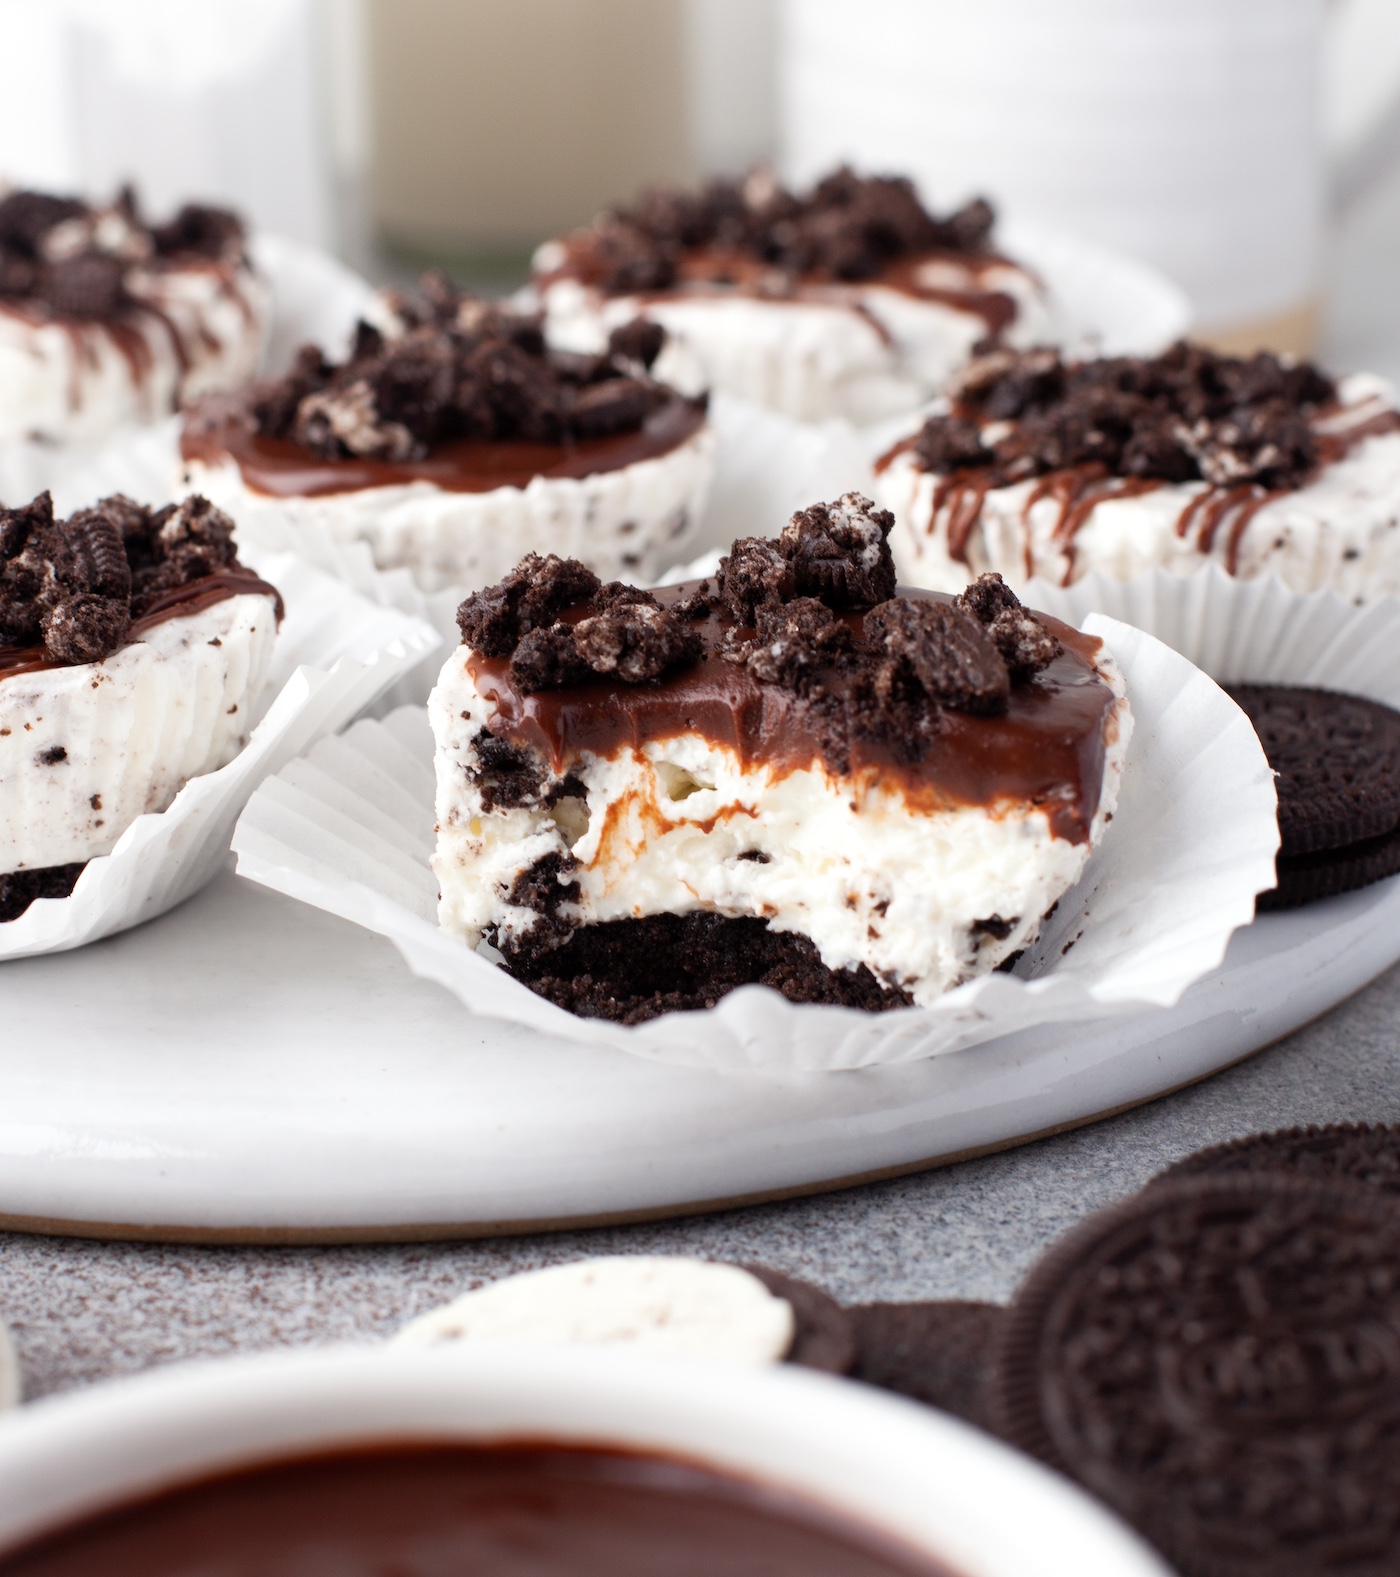
Let’s make dessert history, one Oreo cheesecake at a time! Here’s what you’re going to need.
Ingredients
- 21 Oreos processed into crumbs
- 2 Tablespoons butter
Cheesecake Filling
- 2 8 oz packages cream cheese
- 1/2 cup powdered sugar
- 2 Tablespoons Greek yogurt
- 8 chopped Oreos
Chocolate Ganache
- 1/2 cup heavy cream
- 1/2 cup semi-sweet chocolate chips
The easiest way to cut up Oreos if you don’t have a food processor is to put them in a plastic bag and roll with a rolling pin or crush gently with a glass (be careful!).
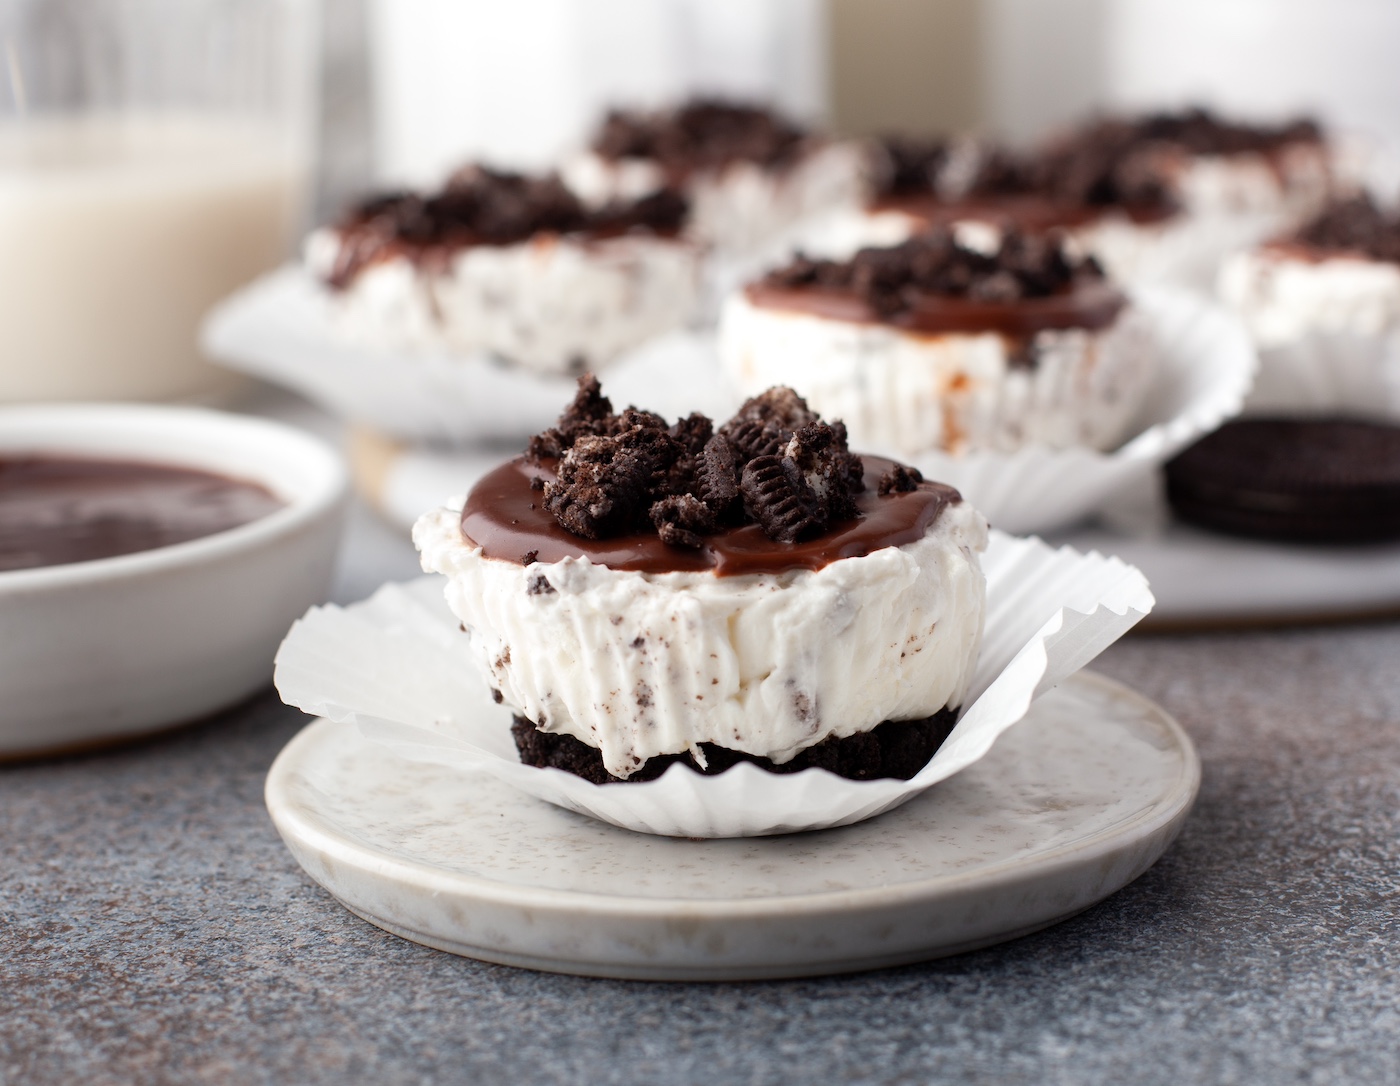
You can keep them in the fridge for up to five days. You’ll want to store in an airtight container with a cover so that they stay fresh.
Note that you can also do the same and store in the freezer for up to a month. Get the printable recipe below:
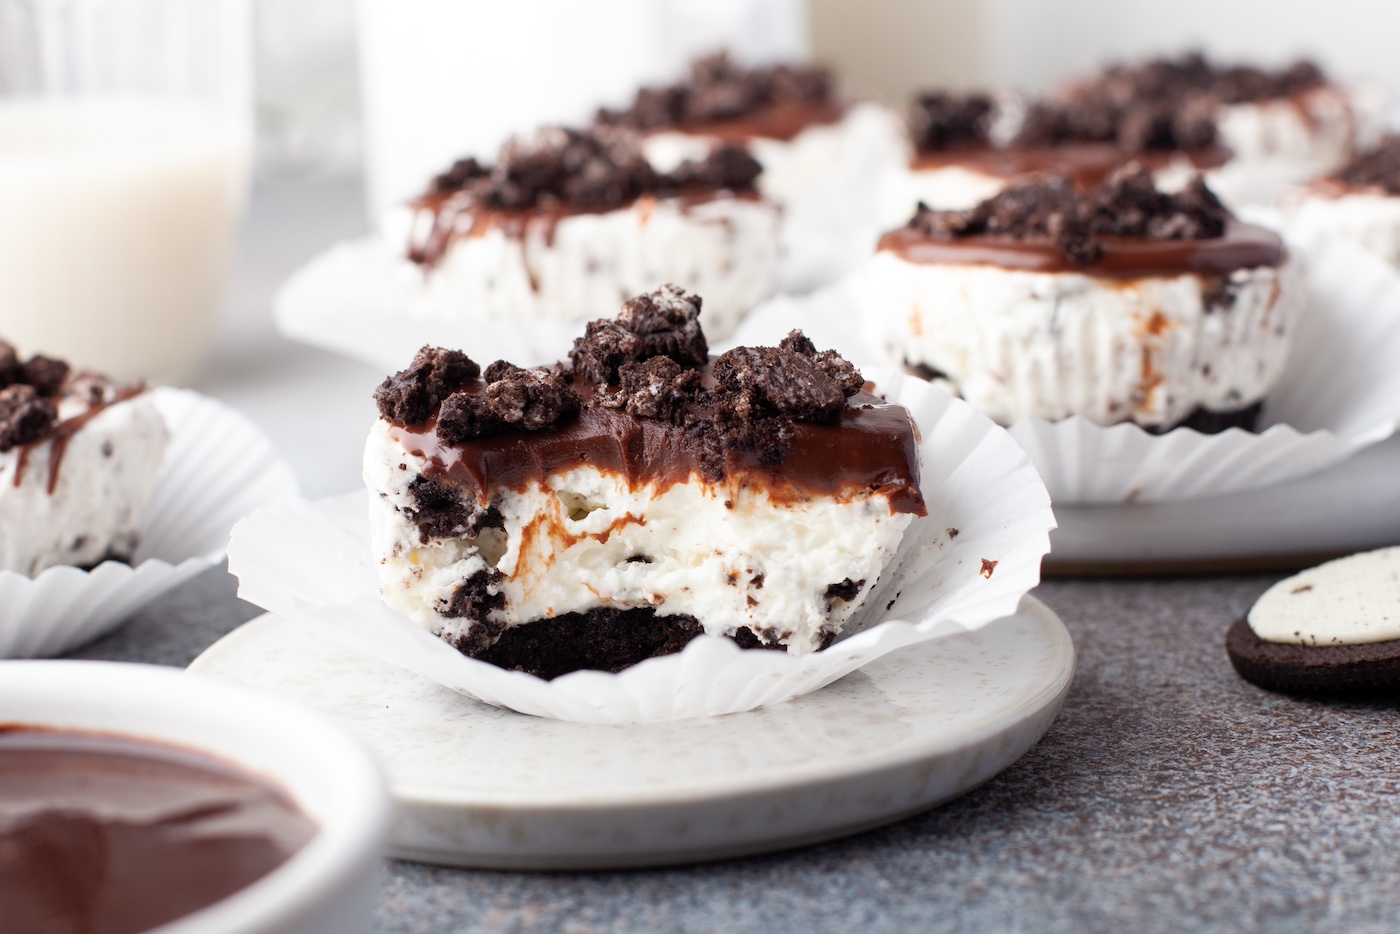
Individual Oreo Cheesecake
Equipment
- 1 Mini cupcake pan
- 14 Mini cupcake liners
- 1 Mixer
- 1 Ice cream scoop or spoon
Ingredients
Crust
- 21 Oreos
- 2 Tablespoons butter
Filling
- 16 ounces cream cheese 2 packages
- 1/2 cup powdered sugar
- 2 Tablespoons Greek yogurt
- 8 Oreos chopped
Chocolate Ganache
- 1/2 cup heavy cream
- 1/2 cup semi-sweet chocolate chips
Instructions
Oreo Crust
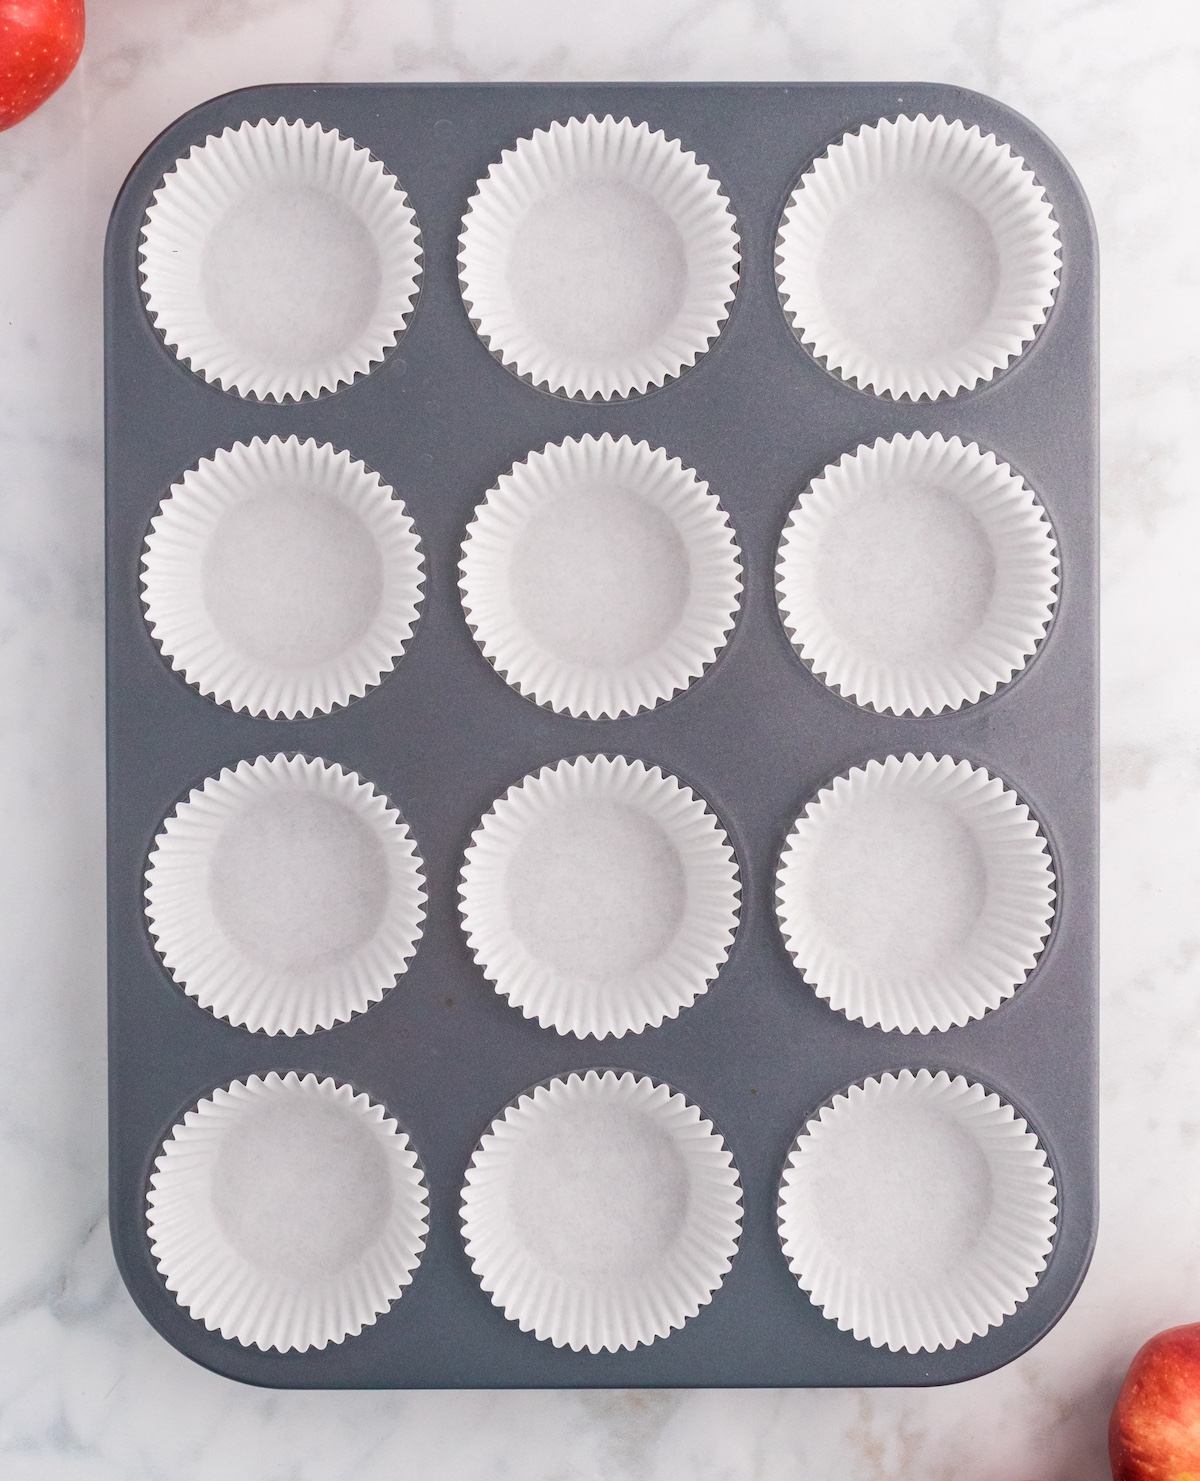
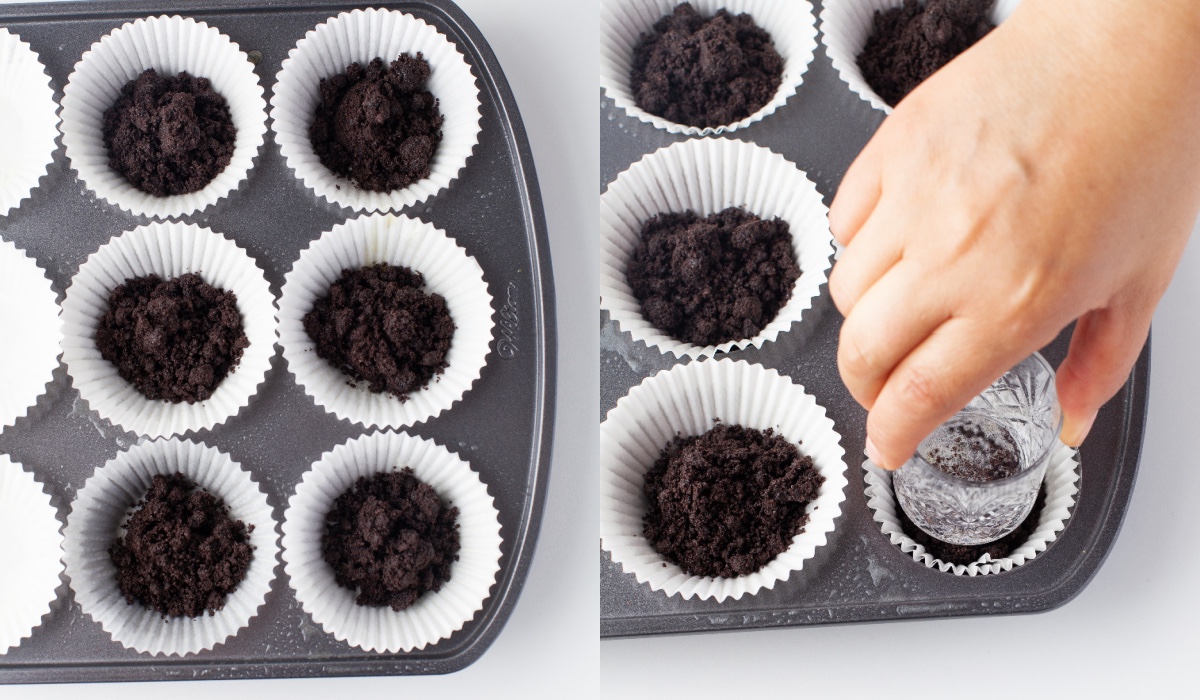
- Prepare a mini cheesecake pan by adding cupcake liners into each well.
- In a food processor, crush the Oreo cookies until fine and in a small bowl mix with the melted butter until they are all evenly coated.
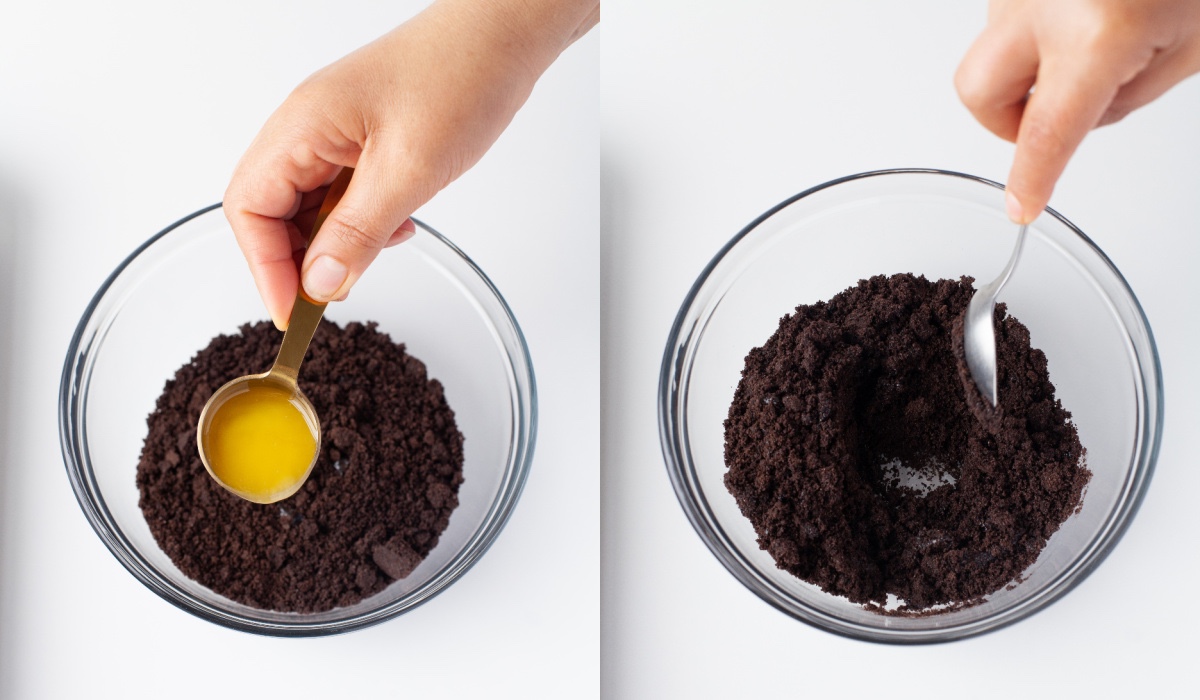
- Spoon into the prepared pan, adding about 2 Tablespoons into each well of the tin. Press the crust down with a shot glass or your fingers and freeze for at least 25 minutes.
Filling
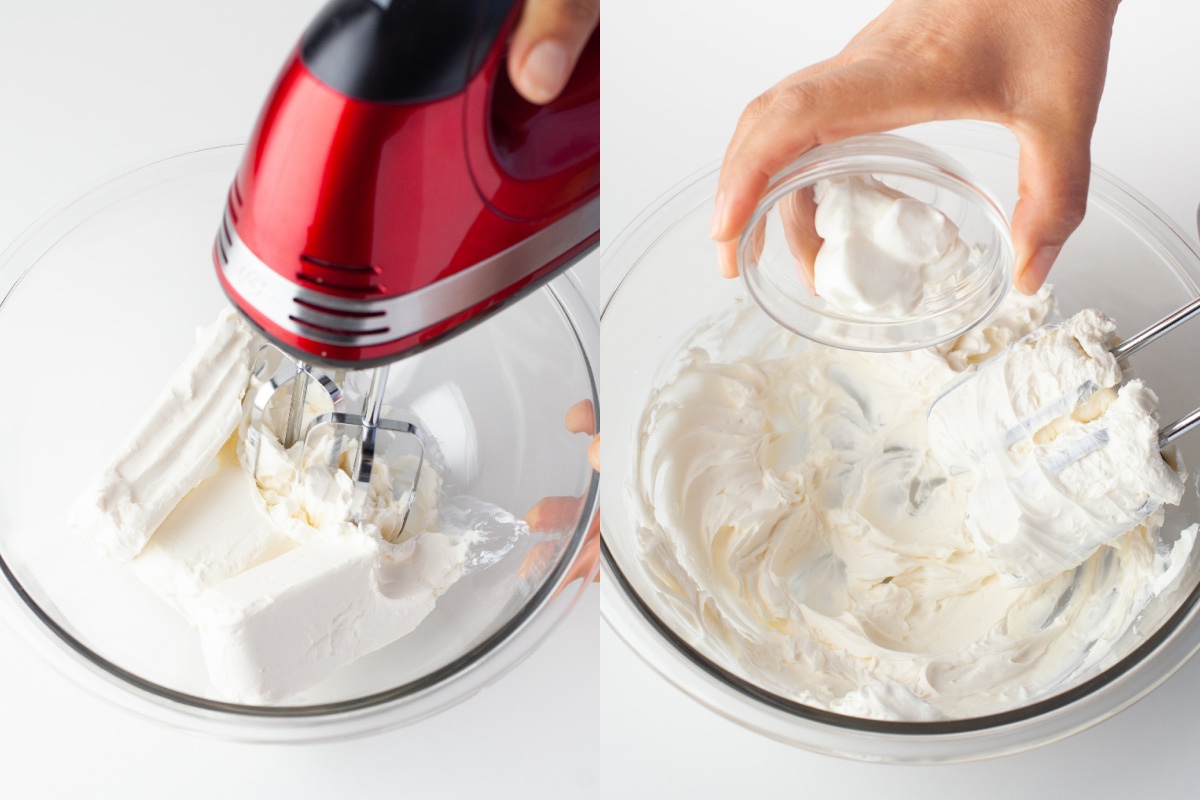
- With a hand mixer, beat the cream cheese in a medium-large bowl until it's smooth, and then add in the yogurt. Set aside.
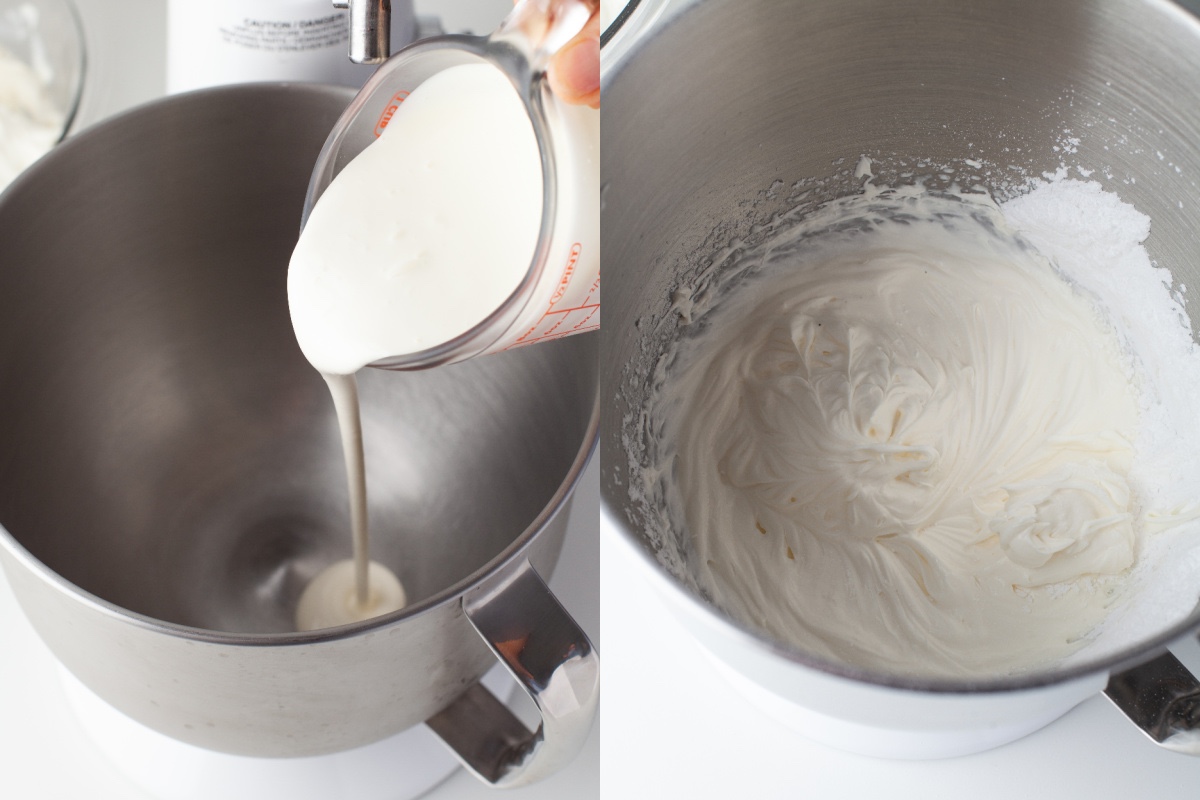
- In a standing mixer pour the heavy cream and whisk vigorously until it has thickened with stiff peaks this will take about 5 minutes. When you start noticing the peaks, slowly add in the powdered sugar, and mix only until combined. Be careful to not over mix your cream.
- Add the whipped cream into the cream cheese mixture and gently fold in to combine. Try not to over mix.
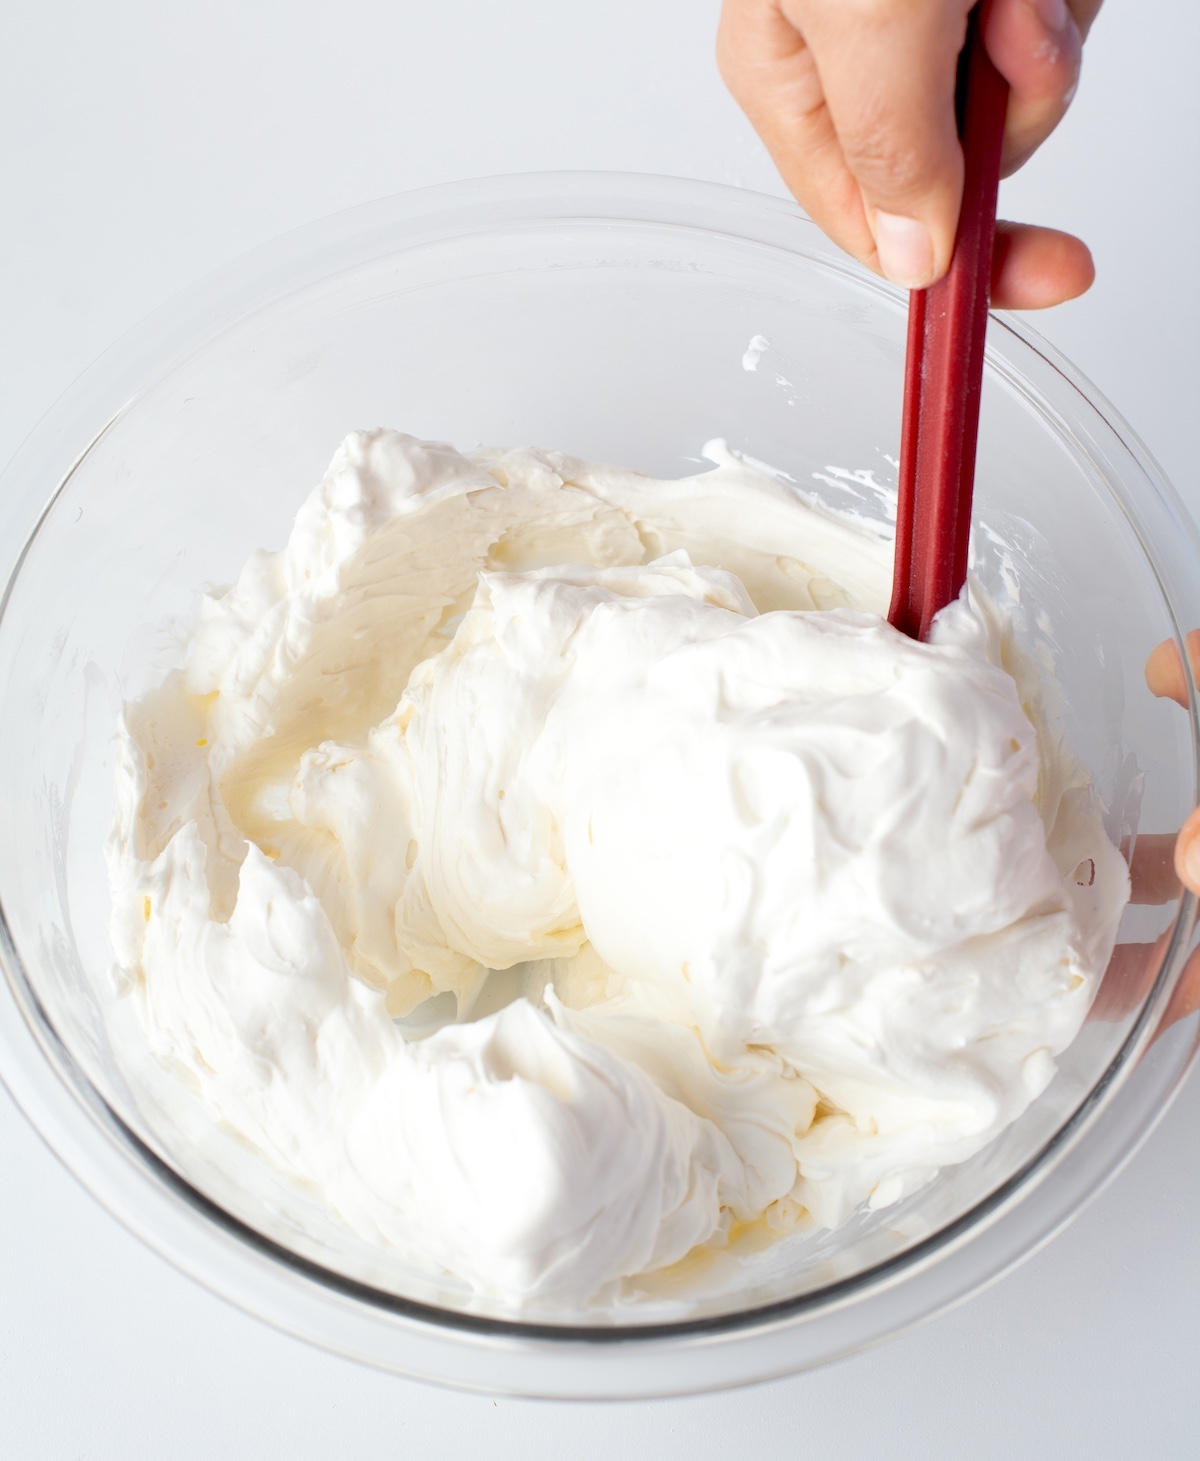
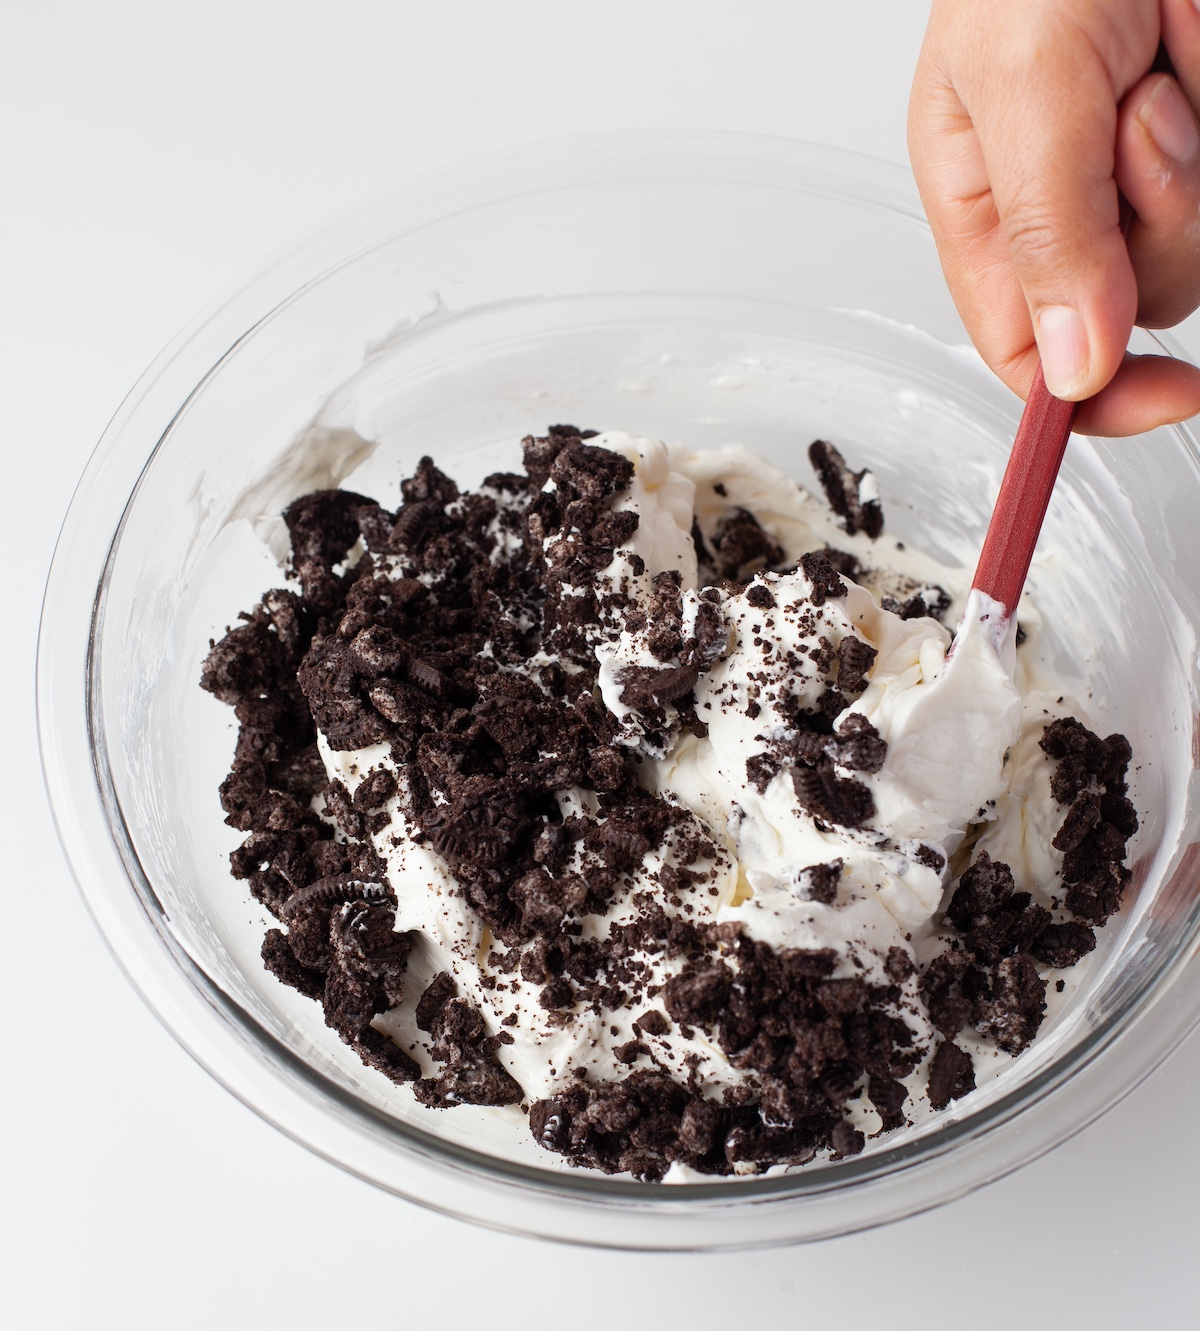
- Add in the chopped Oreos and gently fold them in as well.
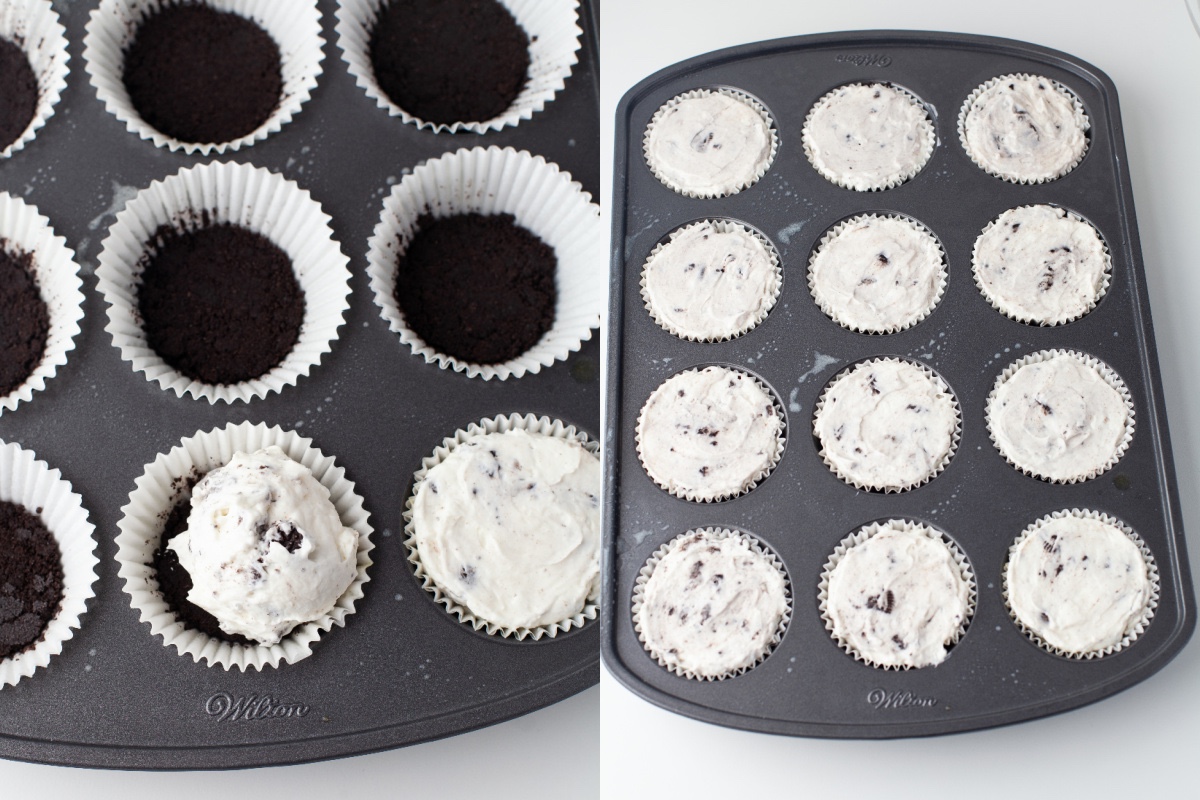
- Evenly distribute the cheesecake filling into the Oreo crusts until the liners are full using an ice cream scoop or spoon. Then, chill in the freezer for at least 2 hours.
Chocolate Ganache
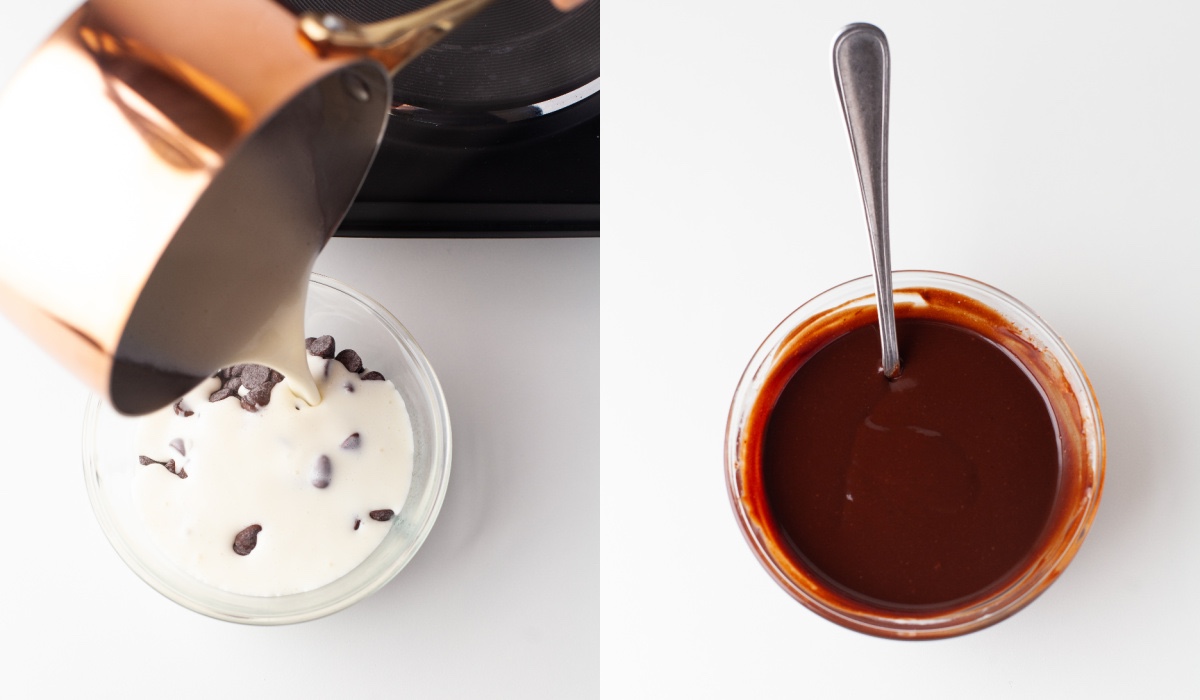
- In a small saucepan, heat the heavy cream until it is very hot, but don't let it boil.
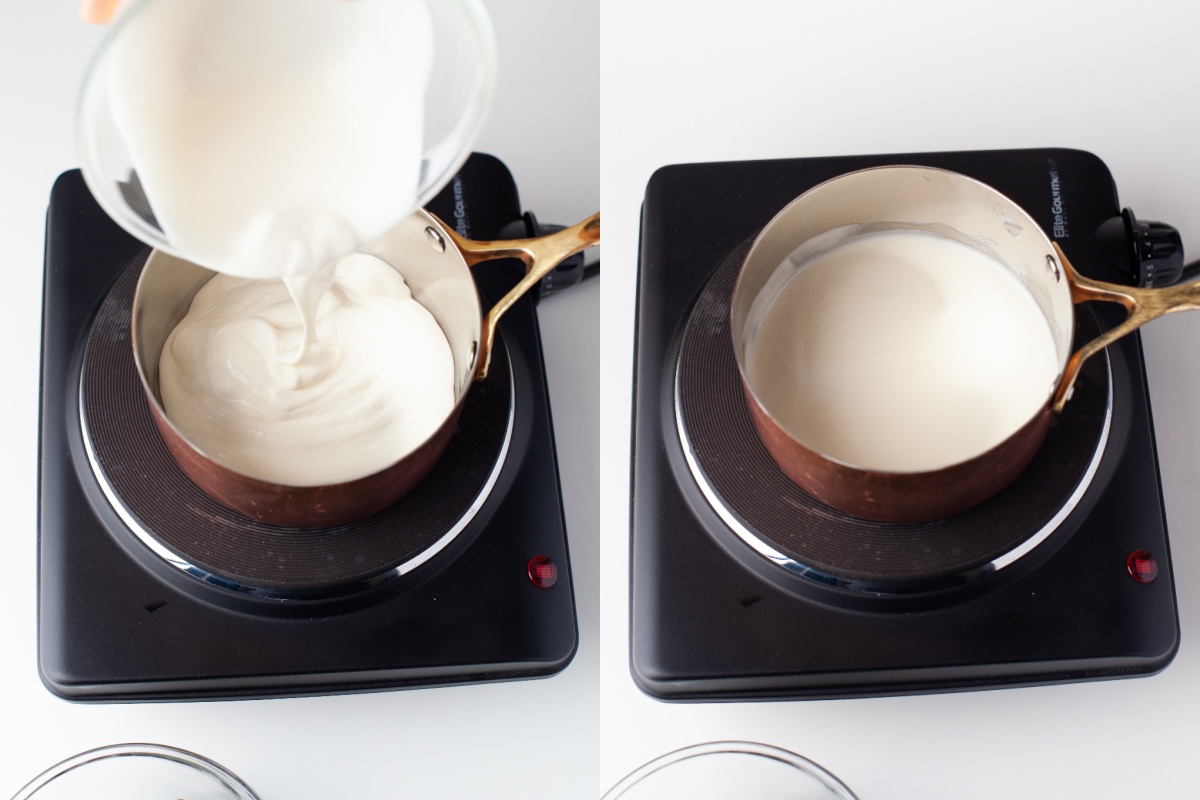
- Once it is hot, pour the cream over the chocolate chips and let sit for 3 minutes. Then immediately mix until evenly combined to make the ganache.
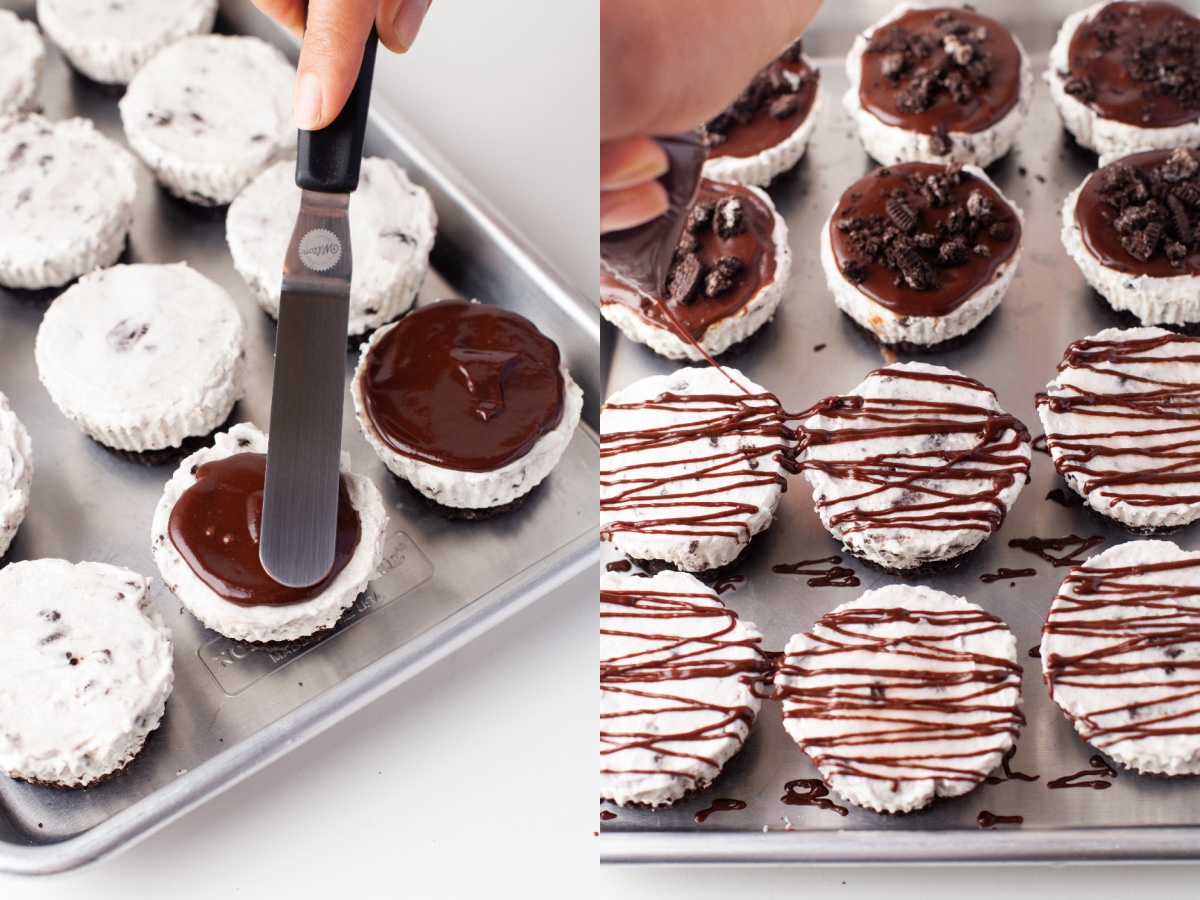
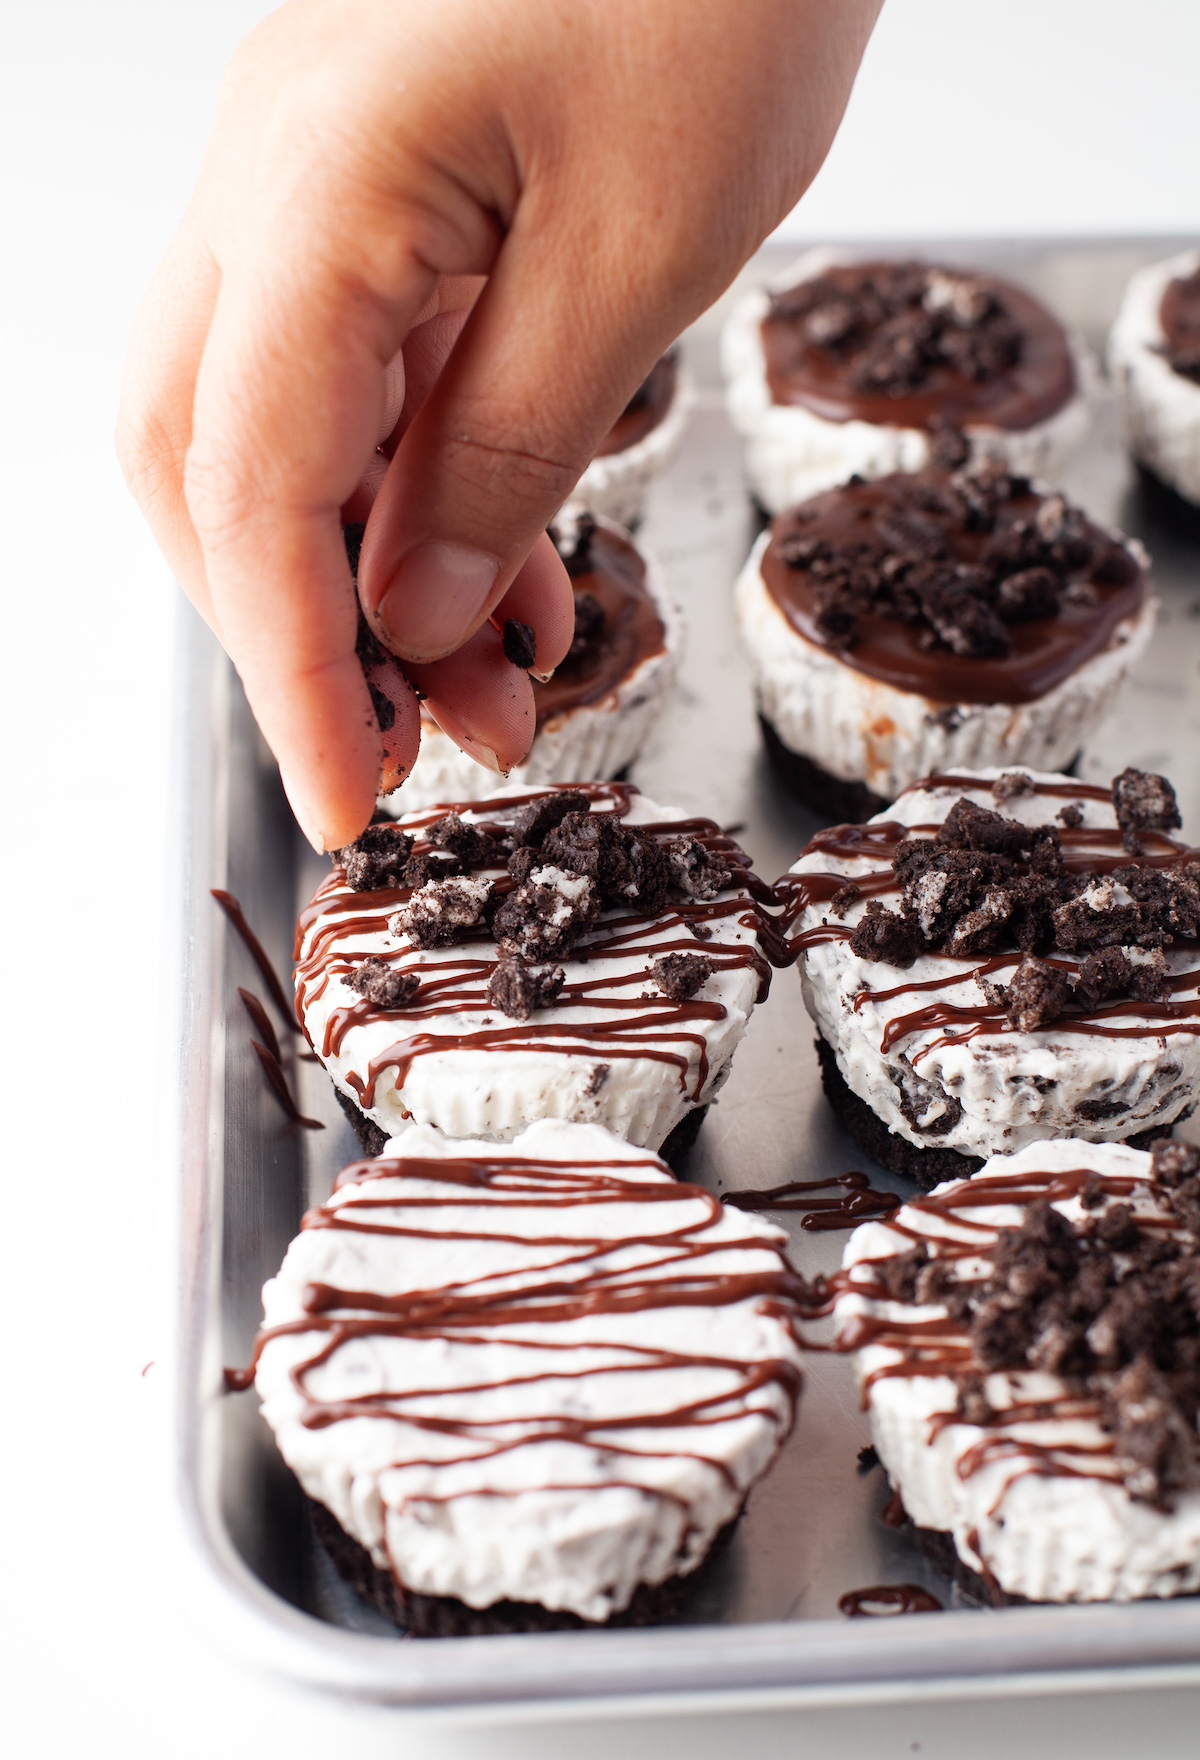
- You can take a teaspoon of ganache and pour over the top of one of your cheesecakes and spread evenly or you can add some of the ganache into a Ziploc bag, cut the edge, just a very small piece and drizzle on top of your cheesecake. You can make a combination of both to get a mixed look.
- Let them sit for about 20 – 30 minutes in your refrigerator before serving so the cheesecake can chill after you add the ganache.
Nutrition
Did you enjoy this dessert? Let me know in the comments! I’d also love for you to check out these other delicious recipes:

