Kitchen Myths: 16 Cooking Rules Your Mom Swore By That Food Scientists Say Are Wrong
Kitchen myths get passed down like family recipes. A lot of what we do at the stove, we do because Mom did it, and her mom did it before her. Some of those rules are gold. Others have been tested by food scientists, test kitchens and the USDA, and they simply do not hold up. Posts that ask whether a kitchen habit is right or wrong pull hundreds of comments on MSN, because everyone has an opinion. Below you will find the most common cooking myths, what really happens, and the easy fix for each one. Ready to find out which ones you still believe..
“Oil in the Pasta Water Keeps It From Sticking”
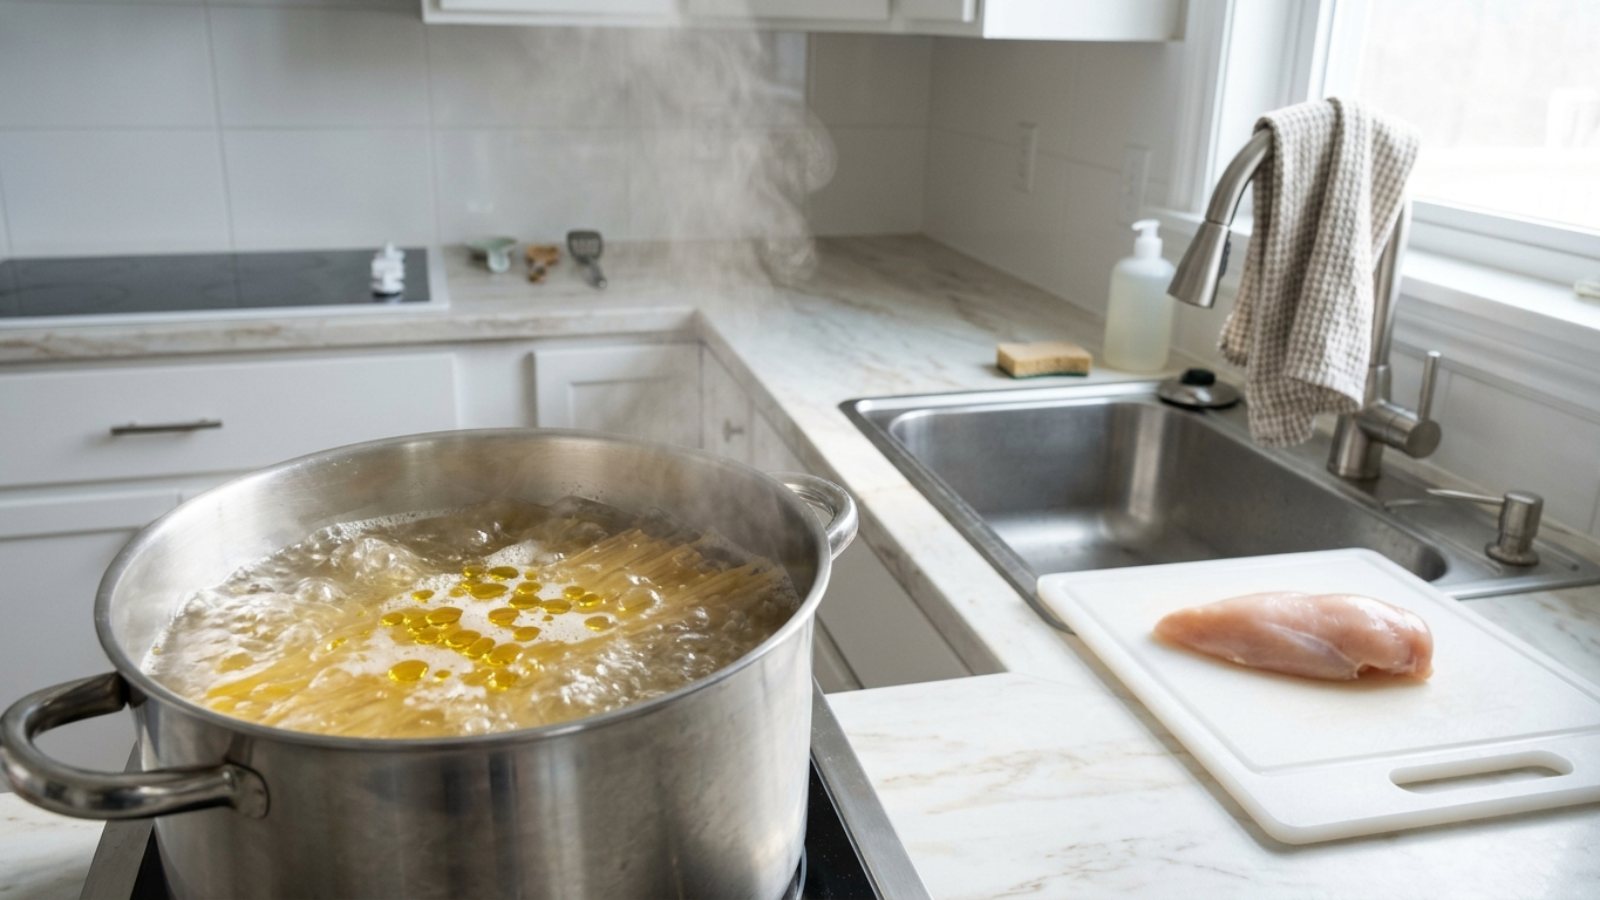
Start with the most famous of all kitchen myths. A glug of olive oil in the pot will not stop pasta from sticking, because oil floats on top of the water while the pasta cooks below it. It can even coat the drained noodles so your sauce slides right off. What really prevents sticking is plenty of stirring in the first two minutes, when the starch on the surface is sticky. Did your family add oil to the pot..
You will need: 1 lb spaghetti, 4 quarts water, 1 1/2 tbsp kosher salt, a large pot, tongs or a pasta fork, no oil needed.
How to make it: 1. Bring the water to a rolling boil. 2. Add the salt. 3. Add the pasta and stir right away. 4. Keep stirring for the first 2 minutes, separating any strands that cling. 5. Stir every couple of minutes after that until al dente. 6. Save some pasta water, drain and sauce right away.
Kitchen Myths: “Salt Makes the Water Boil Faster”
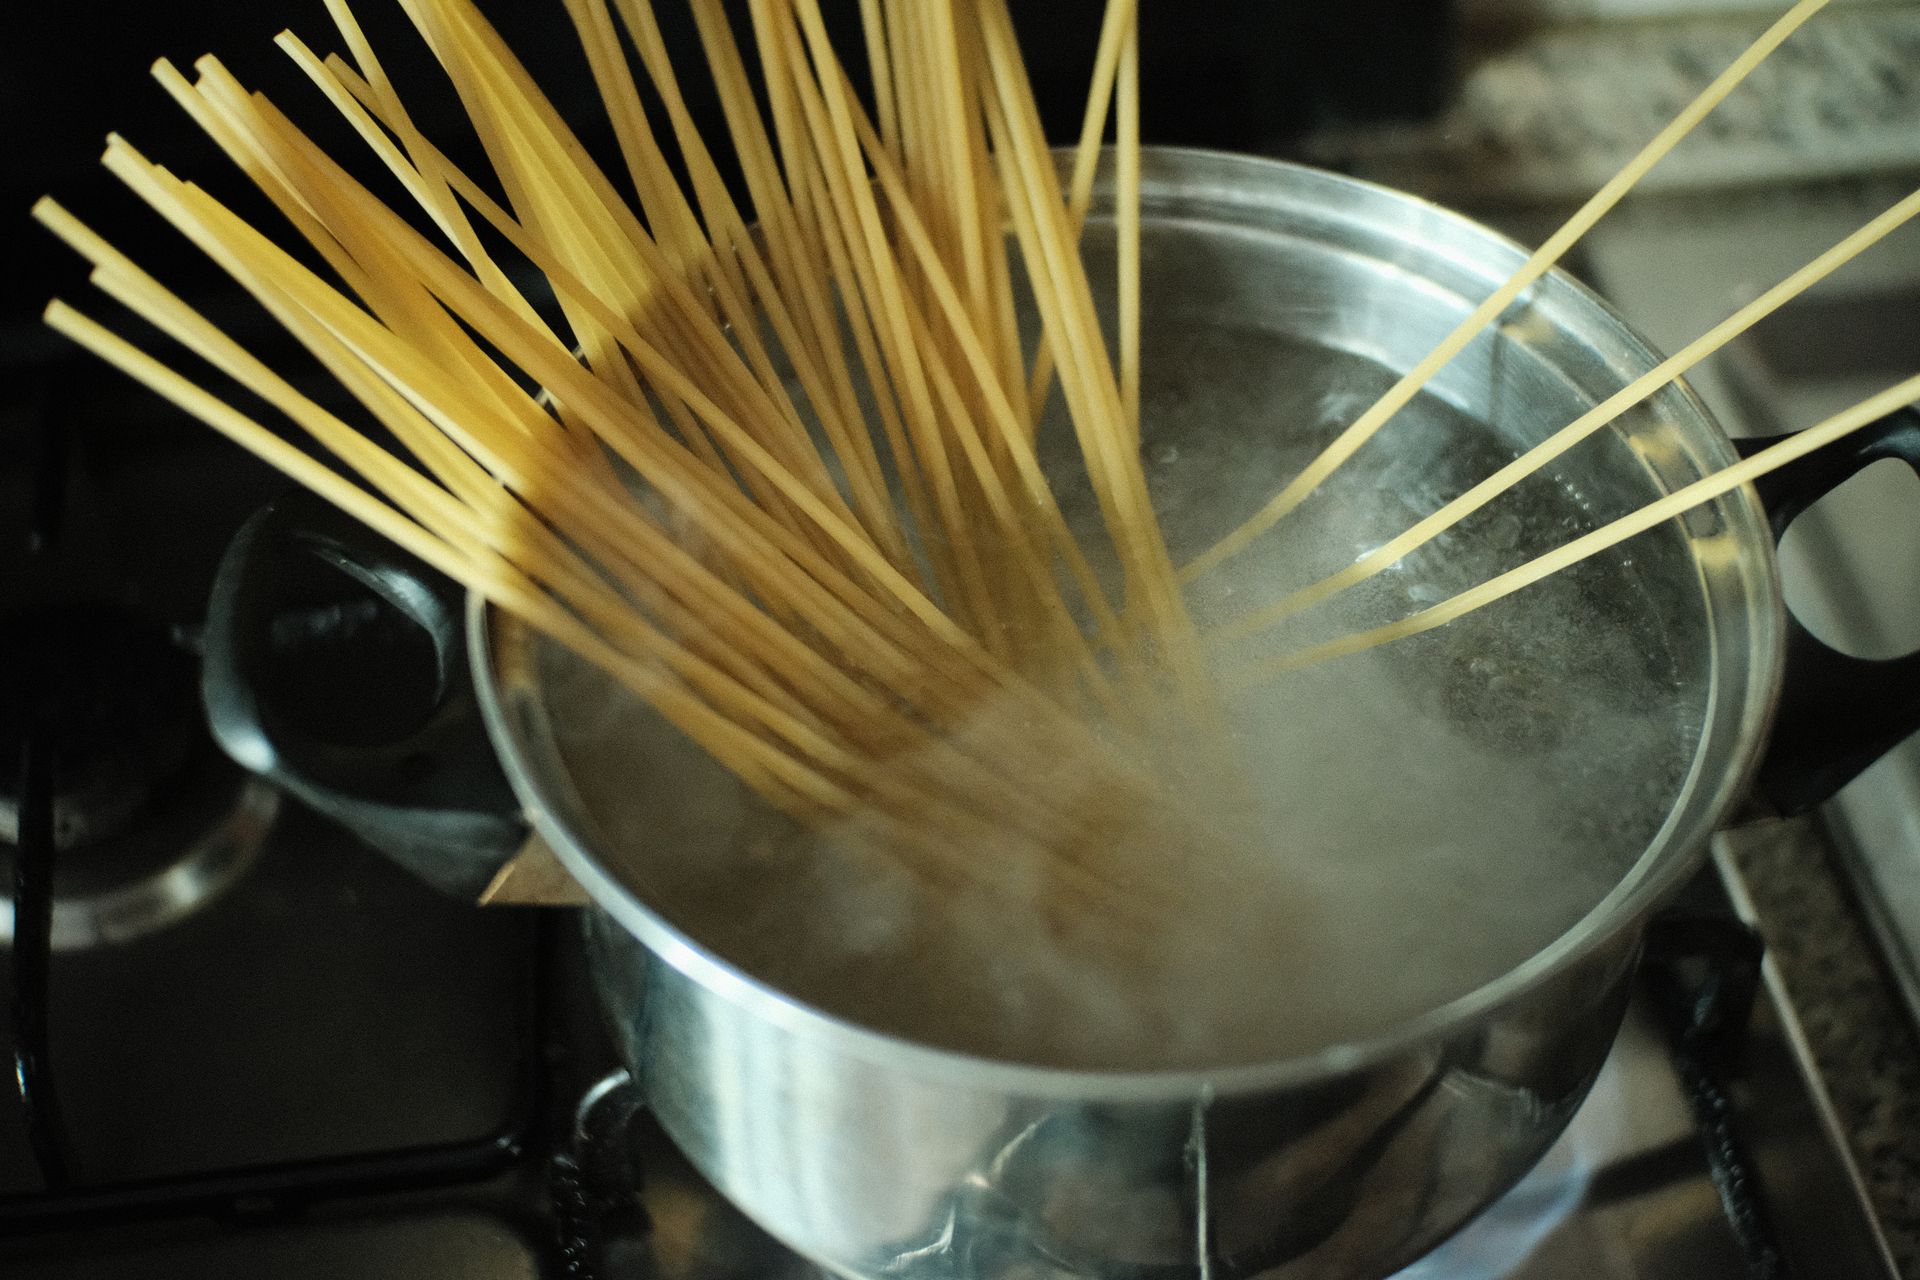
Many of us were taught to salt the pot so it boils sooner, one of the oldest kitchen myths around. Science says the opposite: salt raises the boiling point of water, but the amount we use for pasta changes it by only a tiny fraction of a degree, so you will never notice. What salt really does is season the pasta from the inside, which no sauce can fix later. So keep salting, just for the right reason. Did you think salt made it boil faster?
You will need: 4 quarts water, 1 1/2 tbsp kosher salt (or 1 tbsp table salt), 1 lb pasta, a big spoon, a lid.
How to make it: 1. Fill the pot and cover it with a lid, which really does help it boil faster. 2. Bring to a full rolling boil. 3. Add the salt once the water boils so it dissolves fast. 4. Taste the water: it should taste lightly salty. 5. Add the pasta and stir. 6. Cook to the package time minus 1 minute and taste.
“You Need a Giant Pot of Water for Pasta”
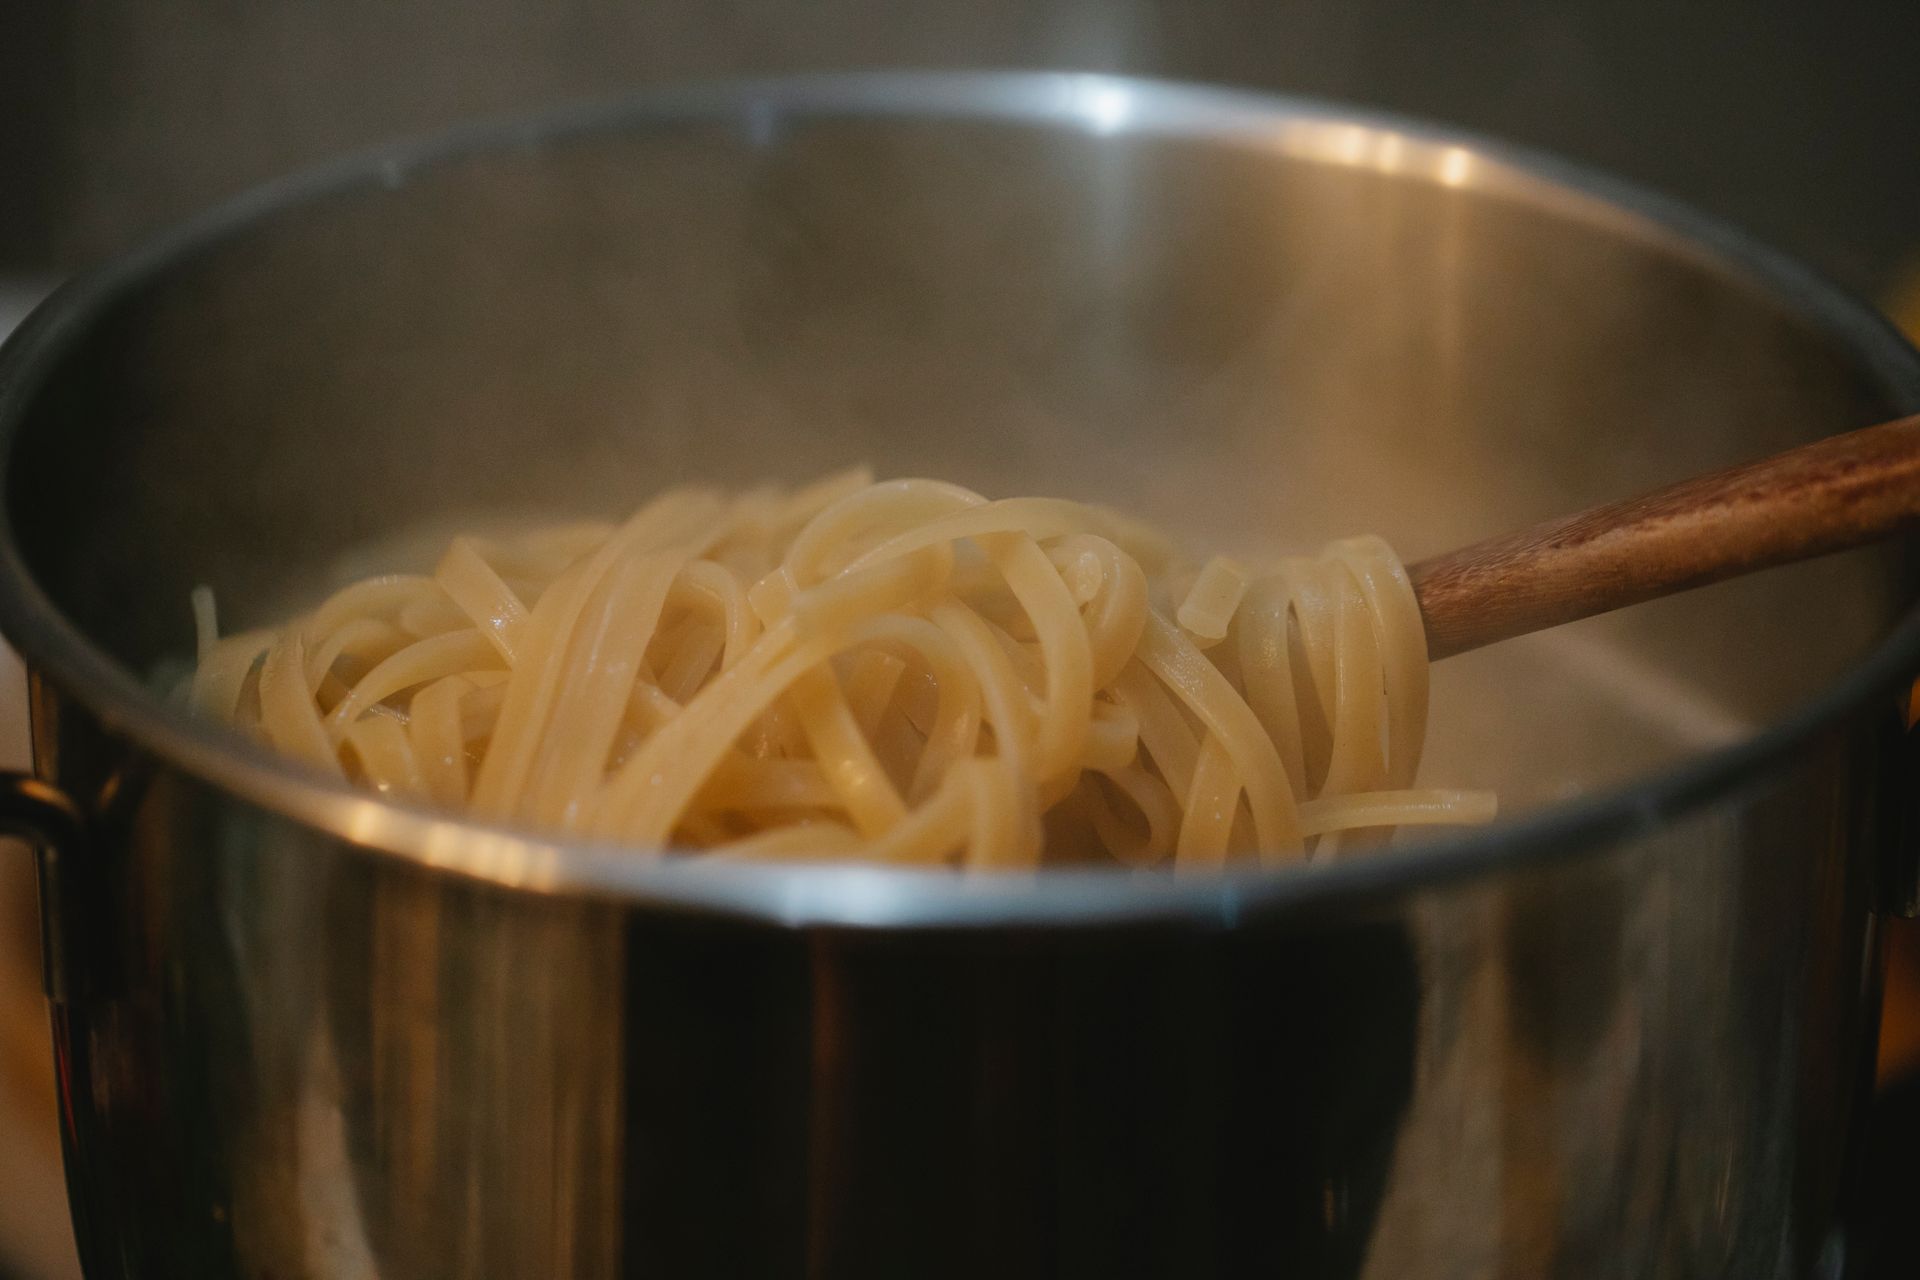
Grandma filled the biggest pot in the house for one box of spaghetti. Food writer Harold McGee tested cooking pasta in much less water and found it cooks just fine, as long as you stir often in the first few minutes. Less water boils faster, saves energy and leaves you with starchier pasta water, which is liquid gold for silky sauces. Do you still use the biggest pot you own?
You will need: 1 lb pasta, 2 quarts water, 1 tbsp kosher salt, a wide pot or deep skillet, tongs.
How to make it: 1. Bring the water and salt to a boil in a wide pot. 2. Add the pasta, breaking long noodles if needed so they lie flat. 3. Stir well for the first 2 minutes so nothing sticks. 4. Keep stirring every minute or two. 5. Cook to al dente. 6. Save a cup of the starchy water before draining to finish your sauce.
Kitchen Myths: “Always Rinse Raw Chicken Before Cooking”
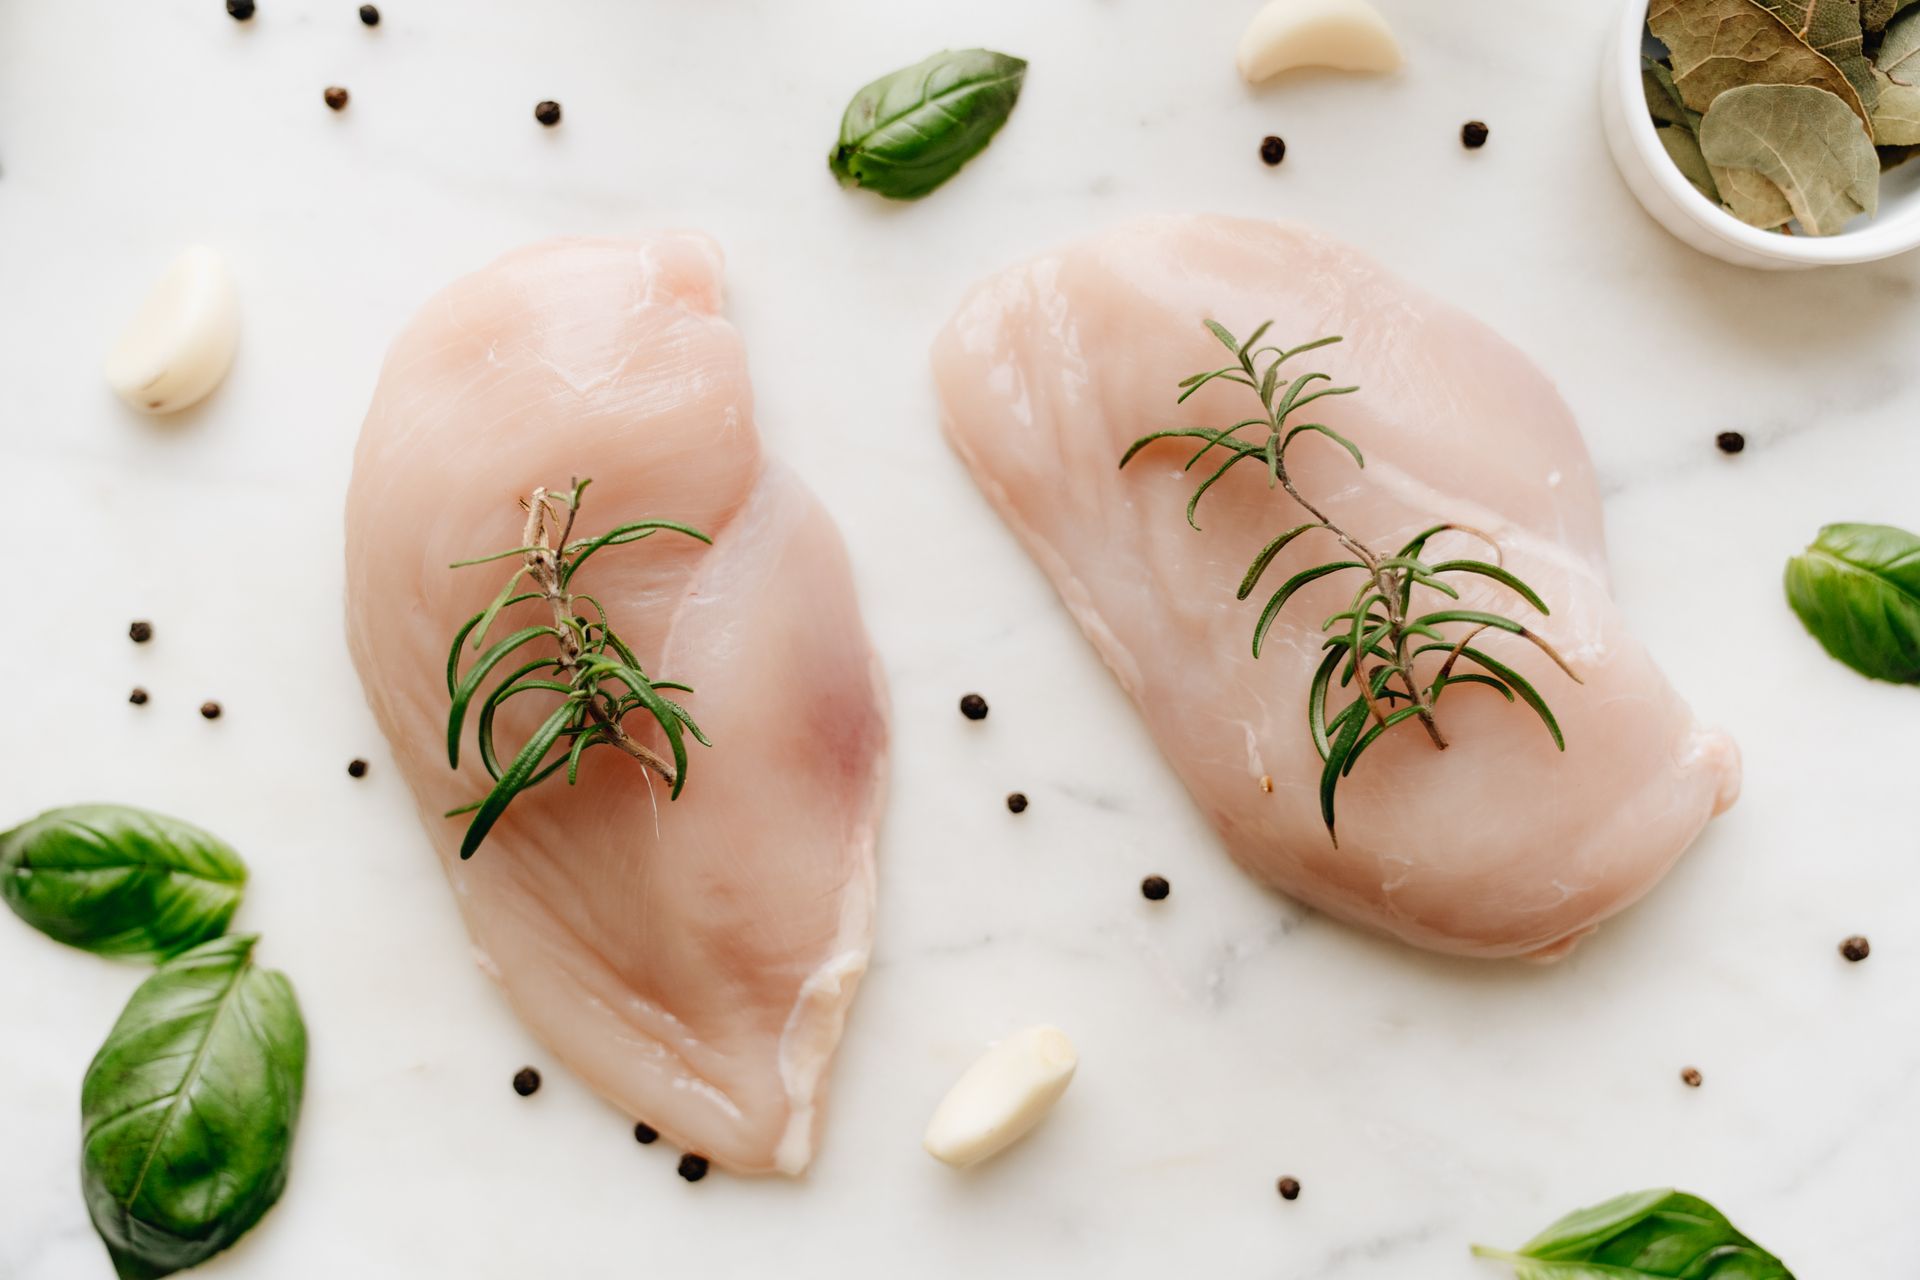
This is the big one among kitchen myths, and many of us learned it from our moms. The USDA says do not wash raw chicken. Rinsing does not remove bacteria that cooking will kill anyway, and the splashing can spread germs around your sink and counters. USDA research has found that washing or rinsing poultry raises the risk of cross-contamination in the kitchen. Cook it to 165 F instead. Do you still rinse your chicken?
You will need: Raw chicken, paper towels, a separate cutting board for raw meat, hot soapy water, an instant read thermometer.
How to make it: 1. Take the chicken straight from the package to the pan or baking dish. 2. If it is wet, pat it dry with paper towels and throw them away. 3. Use a separate cutting board for raw meat. 4. Wash your hands and the board with hot soapy water right after. 5. Cook until the thickest part reads 165 F. 6. Clean the sink and counters if raw juices touched them.
“Never Wash Mushrooms, They Soak Up Water”
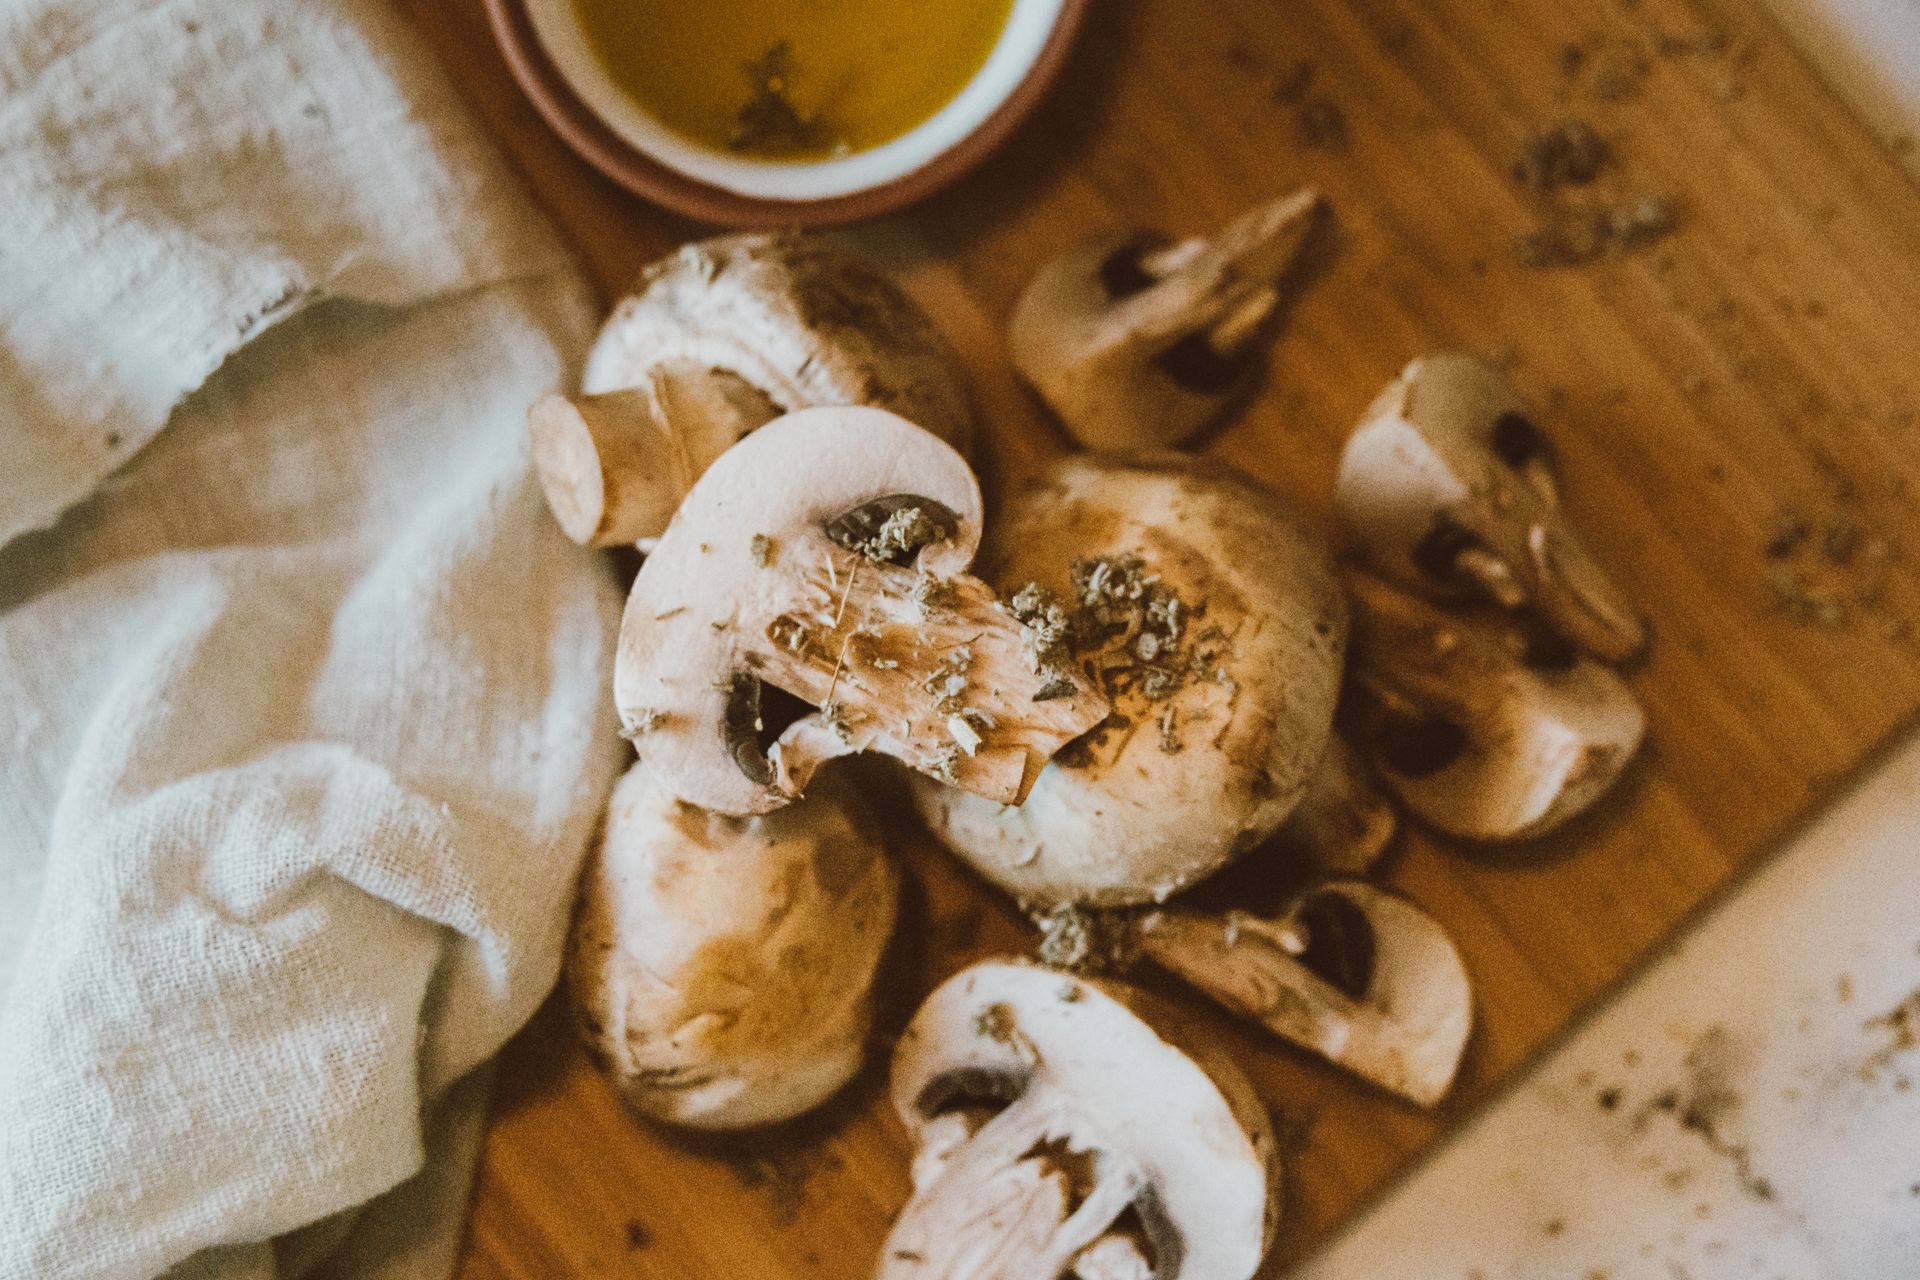
Old cookbooks, full of kitchen myths, told us to wipe each mushroom with a damp cloth because they would get soggy. Kitchen tests have shown that mushrooms absorb only a tiny bit of water during a quick rinse. The real secret is timing: rinse them right before cooking, dry them well, and cook them in a hot pan so any surface water steams off fast. That saves a lot of time over wiping each one. Rinse or wipe at your house?
You will need: 1 lb cremini or white mushrooms, a colander, a clean kitchen towel, 2 tbsp butter or oil, salt, fresh thyme.
How to make it: 1. Put the mushrooms in a colander right before cooking. 2. Rinse quickly under cool water, tossing with your hands. 3. Spread on a towel and pat dry. 4. Slice and cook in a hot pan with butter or oil, without crowding. 5. Wait to salt until they brown. 6. Finish with thyme.
Kitchen Myths: “Pork Has to Be Cooked Until It Is Gray”
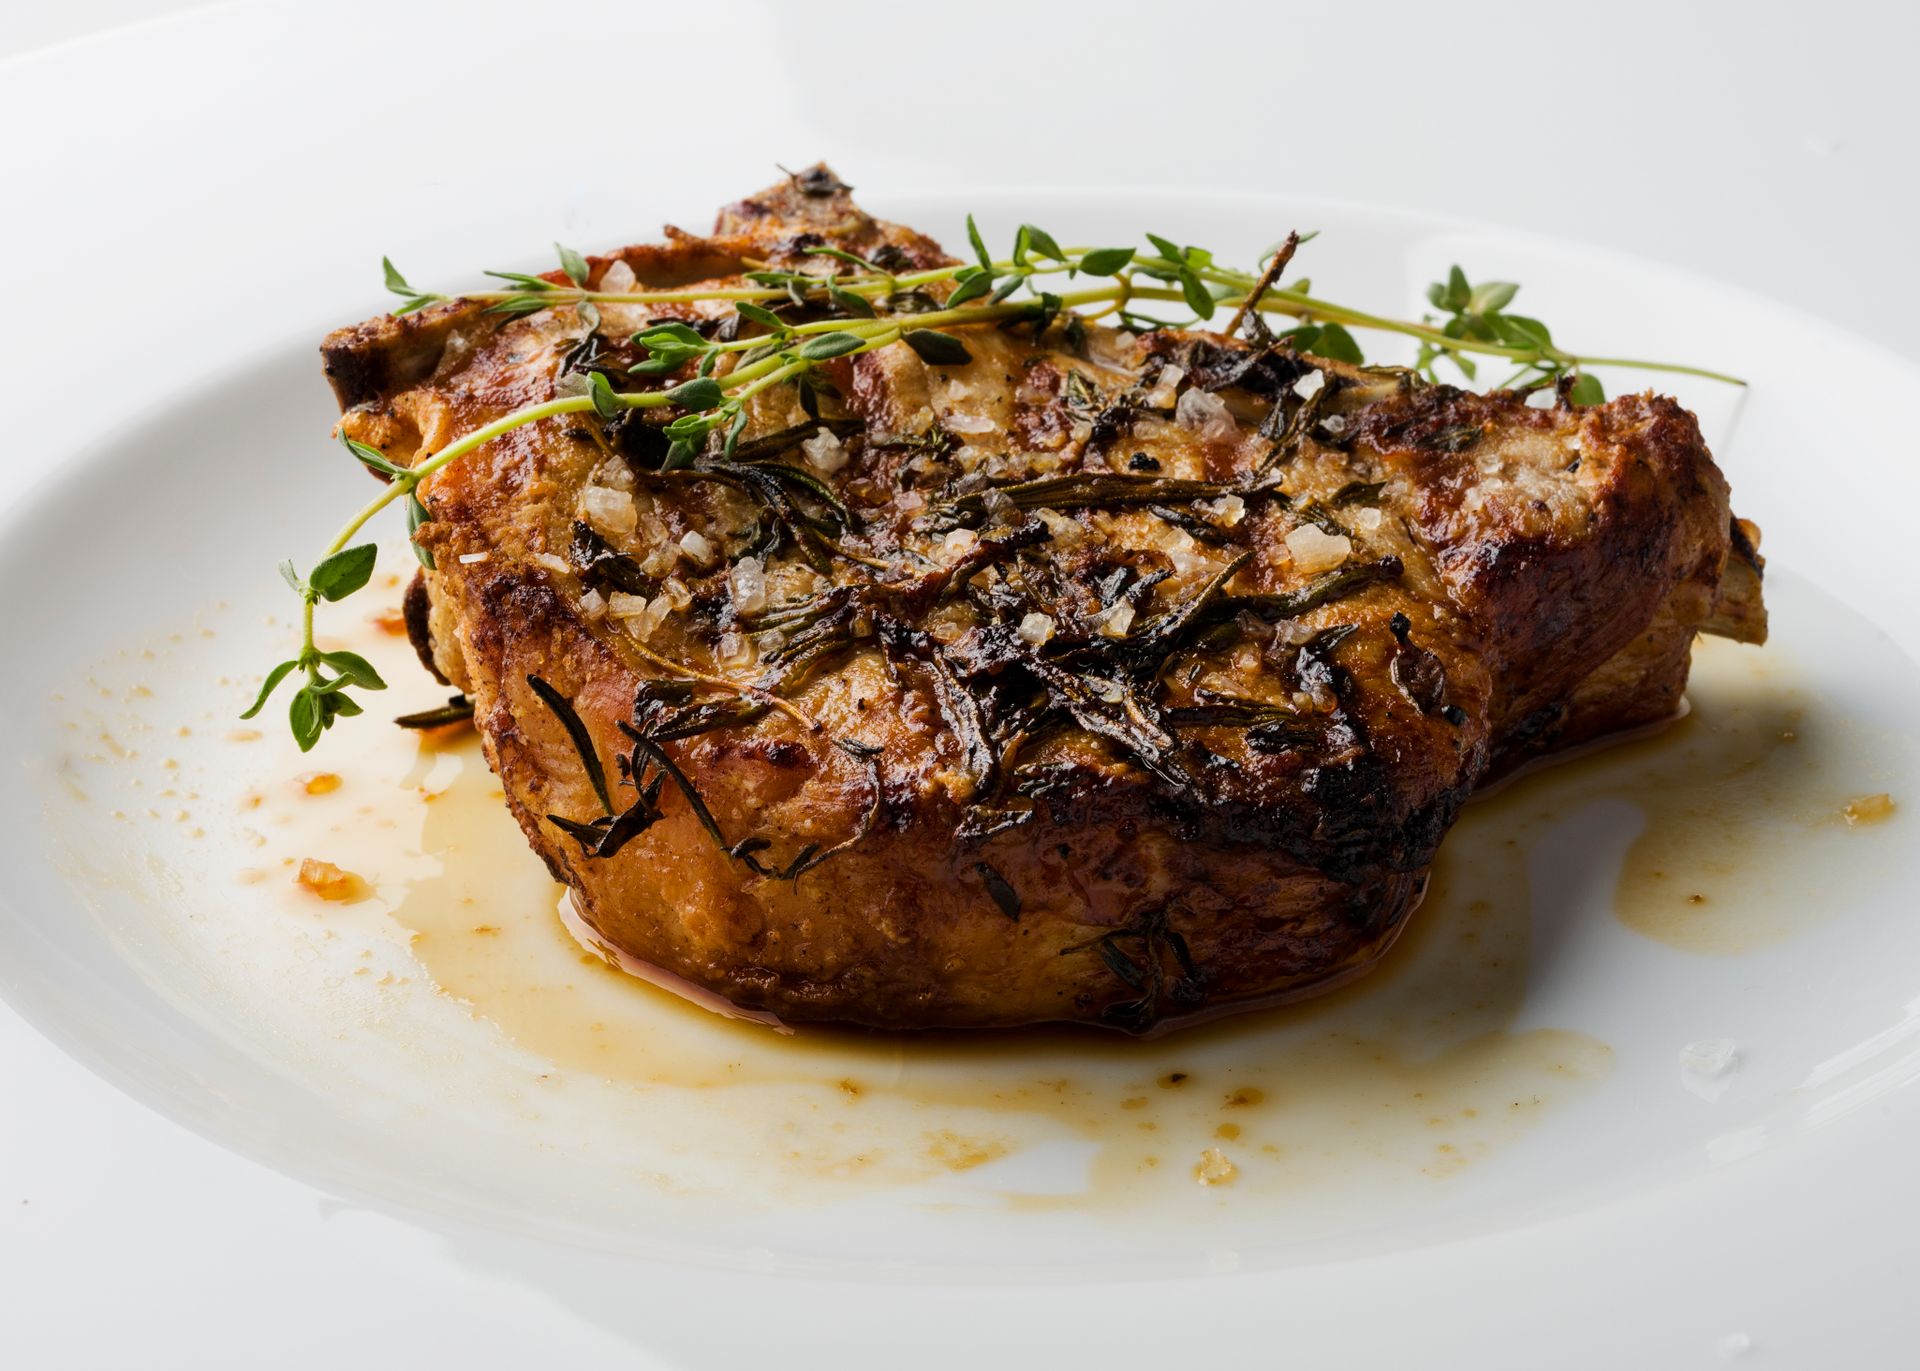
If you grew up on dry pork chops, blame one of the most stubborn kitchen myths. For decades the advice was to cook pork well done. In 2011 the USDA lowered its recommendation for whole cuts of pork to 145 F followed by a 3 minute rest, which leaves the center juicy and a little rosy. Ground pork still needs 160 F. A thermometer is the only way to know. Are you ready to try a pink-ish pork chop?
You will need: 4 bone-in pork chops (1 inch thick), 1 tsp salt, 1/2 tsp pepper, 1 tsp garlic powder, 1 tbsp oil, 2 tbsp butter, an instant read thermometer.
How to make it: 1. Pat the chops dry and season both sides. 2. Heat the oil in a skillet over medium high heat. 3. Sear 4 to 5 minutes until browned, then flip. 4. Add the butter and spoon it over the chops. 5. Pull them off at 145 F in the thickest part. 6. Rest 3 minutes before cutting.
“Plastic Cutting Boards Are Cleaner Than Wood”
Plastic looks cleaner, so many families switched in the 1980s and 90s, and a new kitchen myth was born. Research from the University of California, Davis found that well cared for wooden boards were no worse than plastic, and old plastic boards full of knife grooves can be harder to clean. The real rule is care, not material: wash with hot soapy water and replace any board with deep cuts. Team wood or team plastic?
You will need: A wooden cutting board, hot water, dish soap, a scrub brush, white vinegar, food safe mineral oil, a separate board for raw meat if you like.
How to make it: 1. Scrub the board with hot soapy water right after use. 2. Rinse and stand it on its edge to dry. 3. Never soak wood or put it in the dishwasher. 4. Wipe with white vinegar now and then. 5. Rub with mineral oil once a month. 6. Replace any board with deep grooves.
“You Can Tell When a Steak Is Done by Poking It”
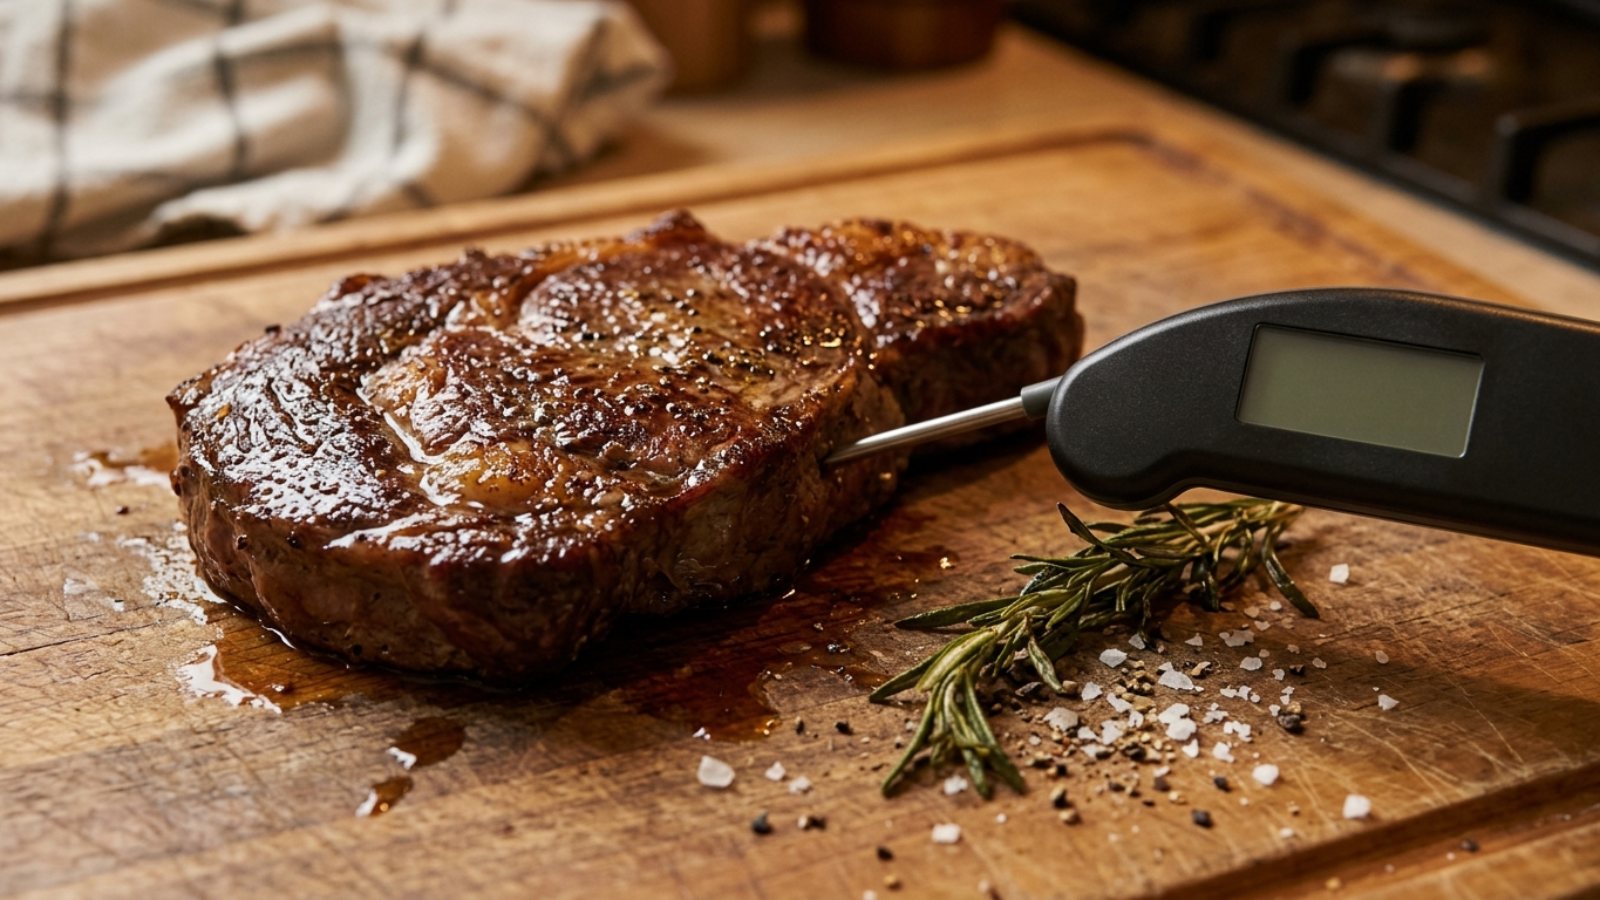
Plenty of dads swear by the poke test, one of the classic kitchen myths, comparing the steak to the soft part of your hand. It is fun, but it is not reliable, because every cut, thickness and hand is different. A cheap instant read thermometer takes the guessing out. The USDA’s safe minimum for steaks is 145 F with a 3 minute rest, while many cooks pull a medium rare steak a little earlier to their taste. Are you a poker or a thermometer person?
You will need: 2 ribeye or strip steaks (1 inch thick), 1 tsp salt, 1/2 tsp pepper, 1 tbsp oil, 1 tbsp butter, an instant read thermometer.
How to make it: 1. Season the steaks well. 2. Heat the oil in a heavy skillet until it shimmers. 3. Sear 3 to 4 minutes per side. 4. Slide the thermometer into the side of the steak to the center. 5. Pull it off at 145 F for the USDA safe minimum. 6. Rest 3 to 5 minutes, then slice.
Kitchen Myths: “Searing Meat Seals In the Juices”
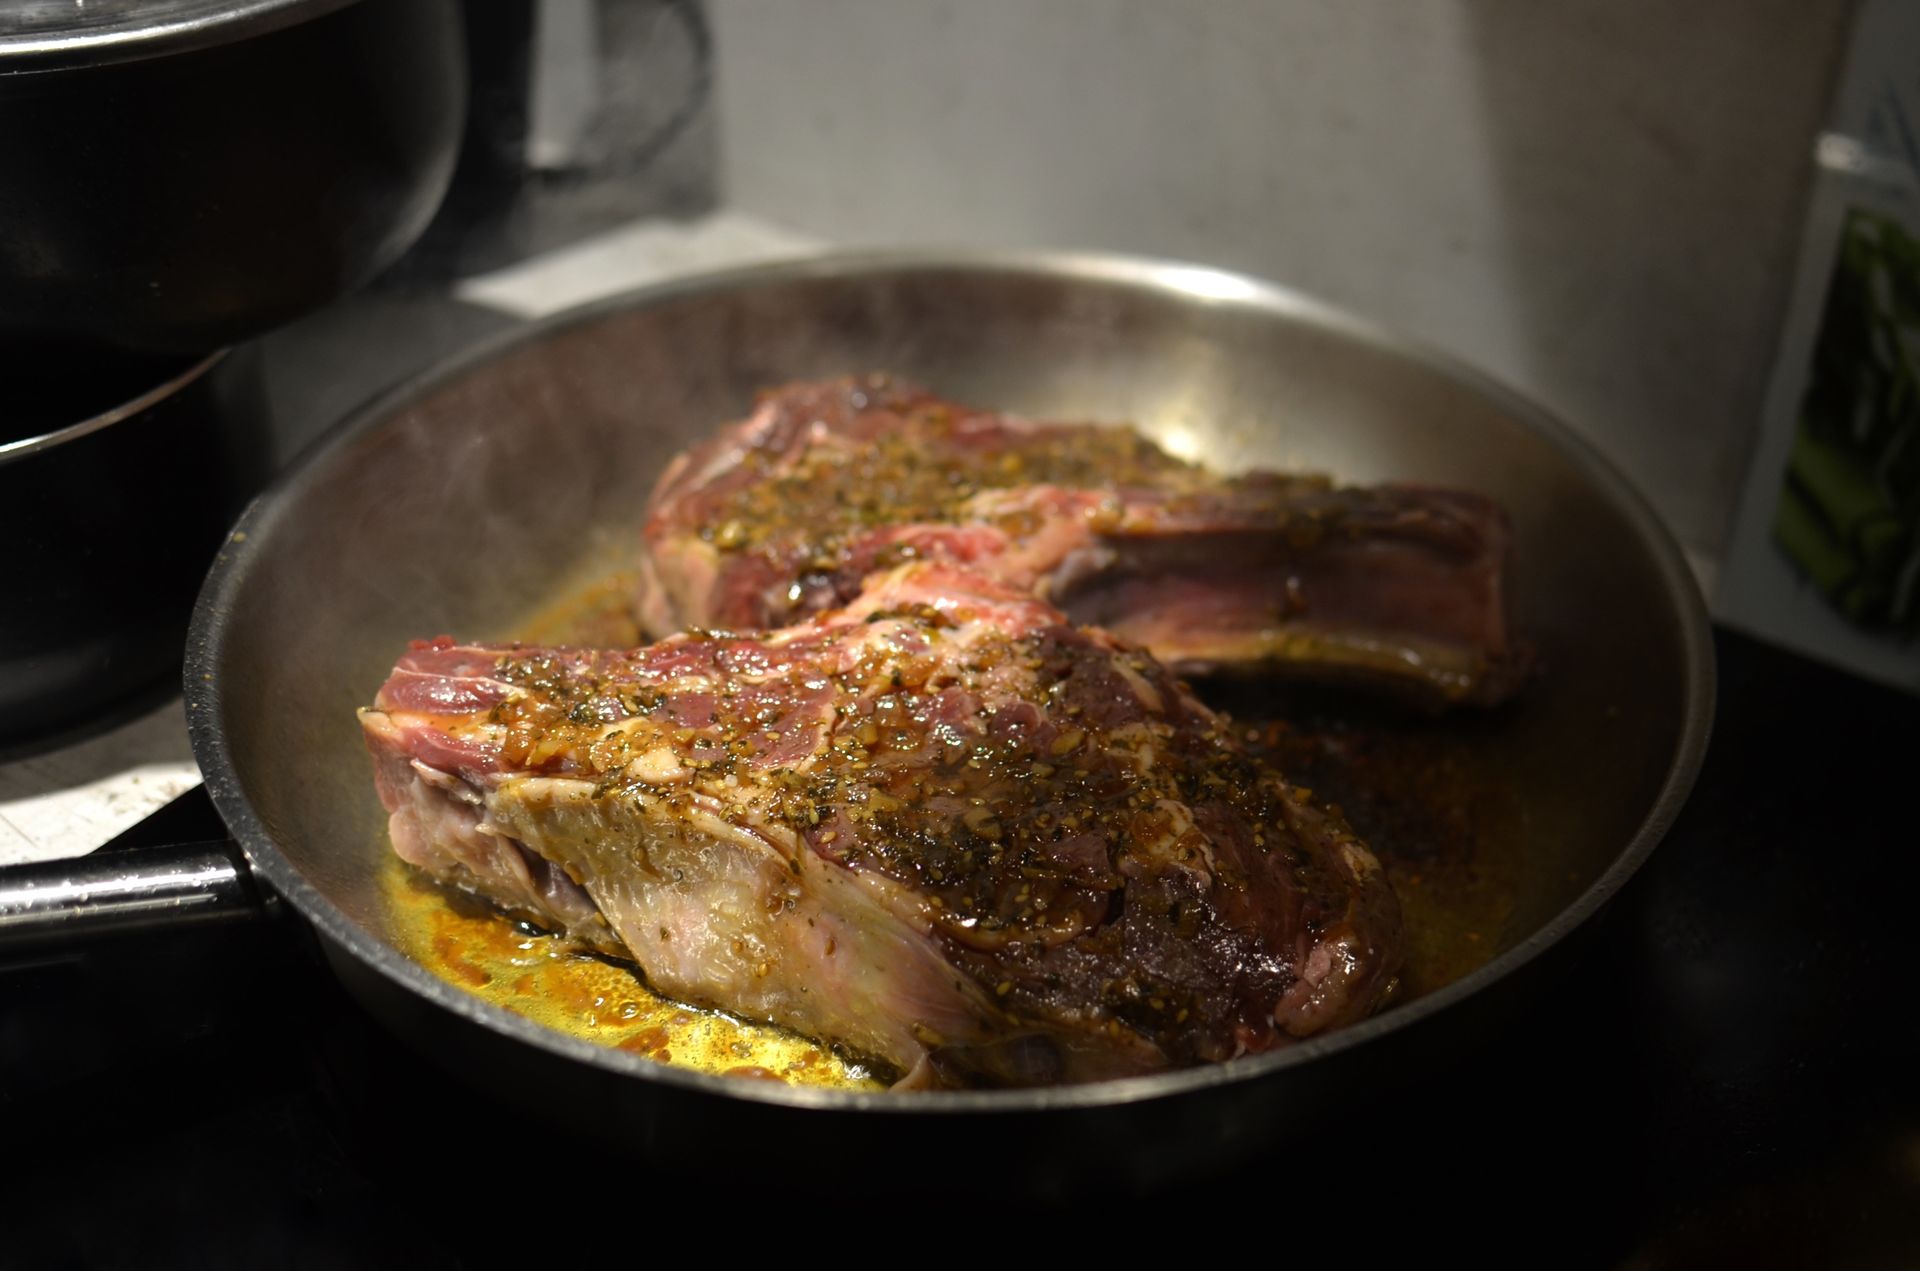
This one has been repeated for over a century, but tests by food scientists show seared meat does not hold in juices at all. It often loses just as much moisture as unseared meat. So why sear? Flavor. That deep brown crust comes from browning reactions that create hundreds of tasty compounds. Sear for taste, and protect juiciness by not overcooking and by resting the meat. Did you learn the juice rule growing up?
You will need: 1 1/2 lb beef roast or thick steak, 1 tsp salt, 1/2 tsp pepper, 1 tbsp oil, a heavy skillet, an instant read thermometer.
How to make it: 1. Pat the meat very dry with paper towels. 2. Season with salt and pepper. 3. Heat the oil in a heavy skillet until it shimmers. 4. Sear without moving it until a deep brown crust forms, 3 to 4 minutes per side. 5. Finish cooking to your target temperature. 6. Rest 5 to 10 minutes before slicing.
“Salting Dried Beans Makes Them Tough”
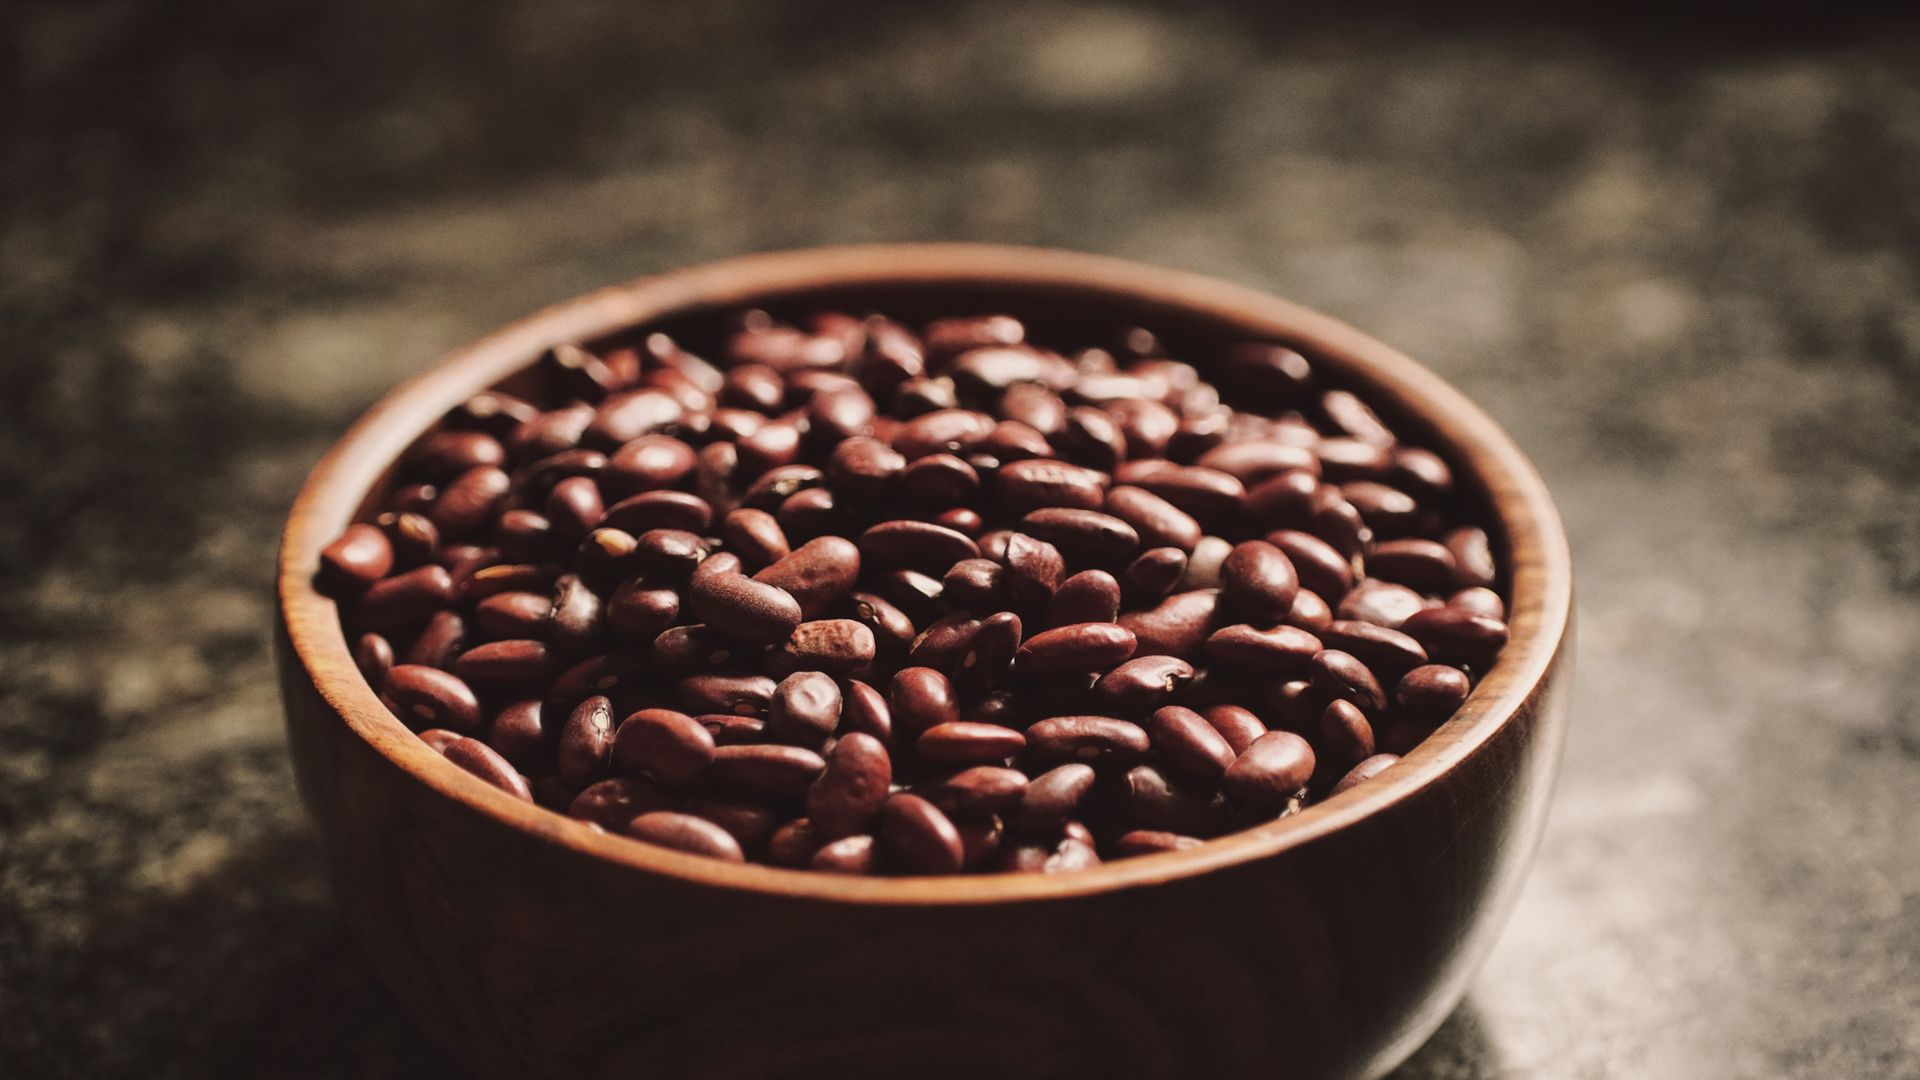
Many grandmothers warned never to salt the bean pot until the end, and it is one of the kitchen myths test kitchens love to bust. They have found the opposite: soaking dried beans in salted water makes their skins softer and the beans creamier, with fewer split ones. What can keep beans firm is acid, like tomatoes or vinegar, added too early. So salt early and add the tomatoes late. Will you salt your next pot of beans?
You will need: 1 lb dried beans, 3 tbsp kosher salt for soaking, 4 quarts water, 1 onion, 2 cloves garlic, 1 bay leaf, 1 tsp salt for cooking.
How to make it: 1. Dissolve the 3 tbsp salt in 4 quarts water. 2. Soak the beans 8 to 12 hours. 3. Drain and rinse. 4. Cover with fresh water and add the onion, garlic and bay leaf. 5. Add 1 tsp salt and simmer gently until creamy, 1 to 2 hours. 6. Add any tomatoes or vinegar only near the end.
“The Microwave Kills the Nutrients in Food”
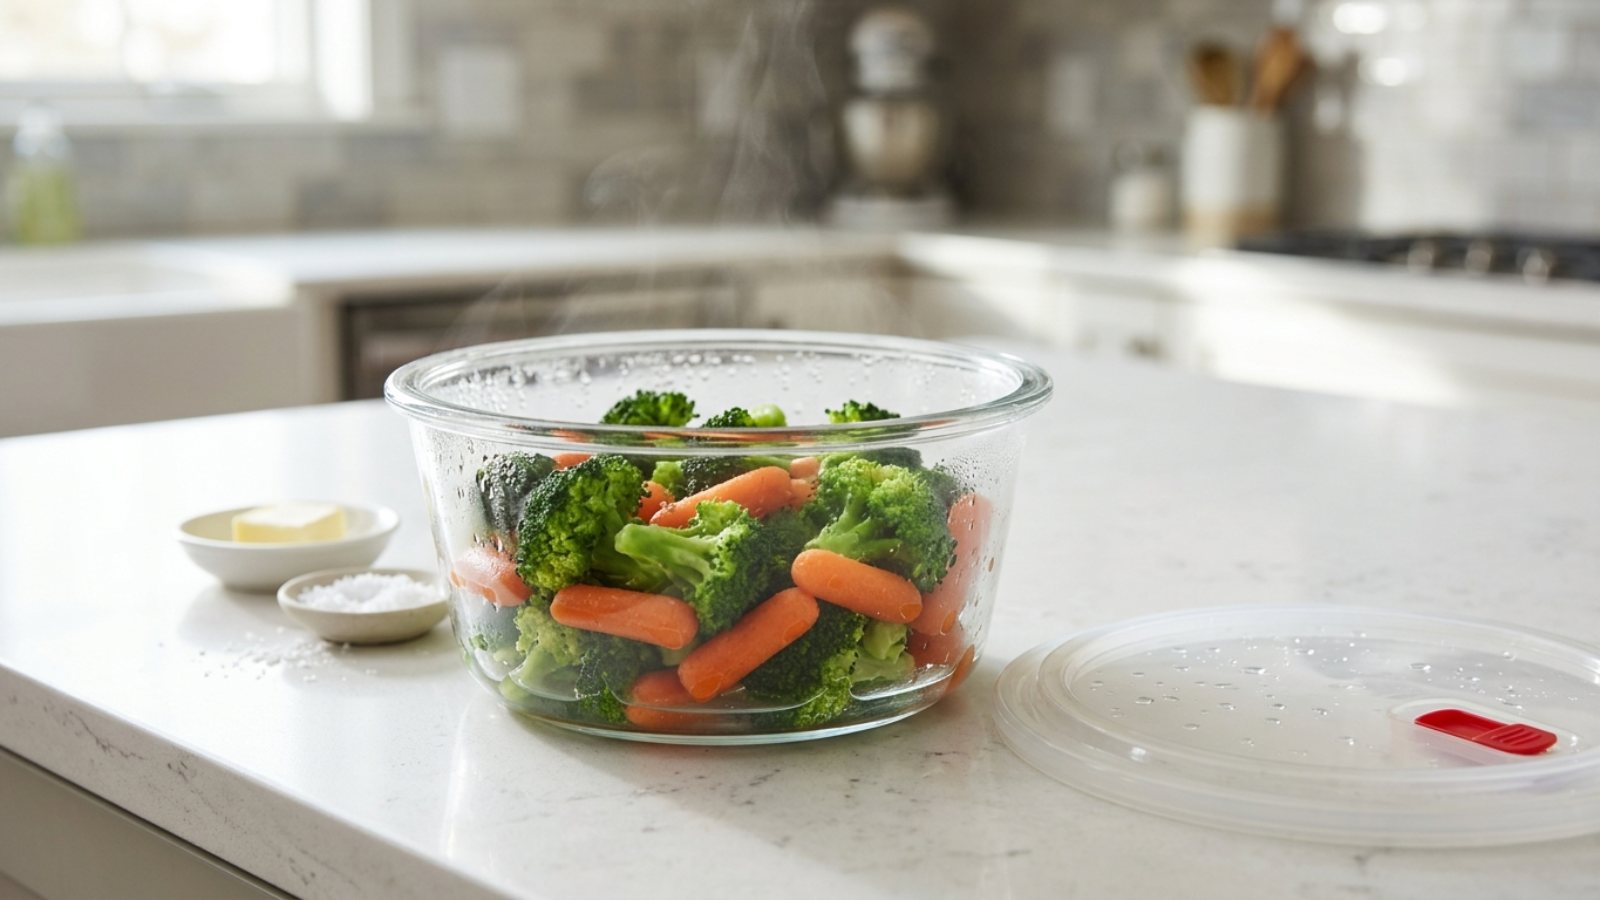
The microwave got a bad reputation in the 1970s, and the kitchen myths stuck. Harvard Health has explained that microwaving can actually hold on to some nutrients better than boiling, because it uses less water and a shorter cooking time. Vitamins like C leak out into boiling water. Steaming vegetables in the microwave with a splash of water is quick and keeps them bright. Do you trust the microwave for vegetables?
You will need: 4 cups broccoli florets or green beans, 2 tbsp water, a microwave safe glass bowl, a vented lid or microwave safe plate, butter and salt to serve.
How to make it: 1. Put the vegetables in the bowl. 2. Add the water. 3. Cover with a vented lid or a plate, leaving a small gap. 4. Microwave on high 3 to 4 minutes. 5. Let stand 1 minute, then carefully remove the lid away from your face. 6. Season with butter and salt.
Kitchen Myths: “An Avocado Pit Keeps Guacamole Green”
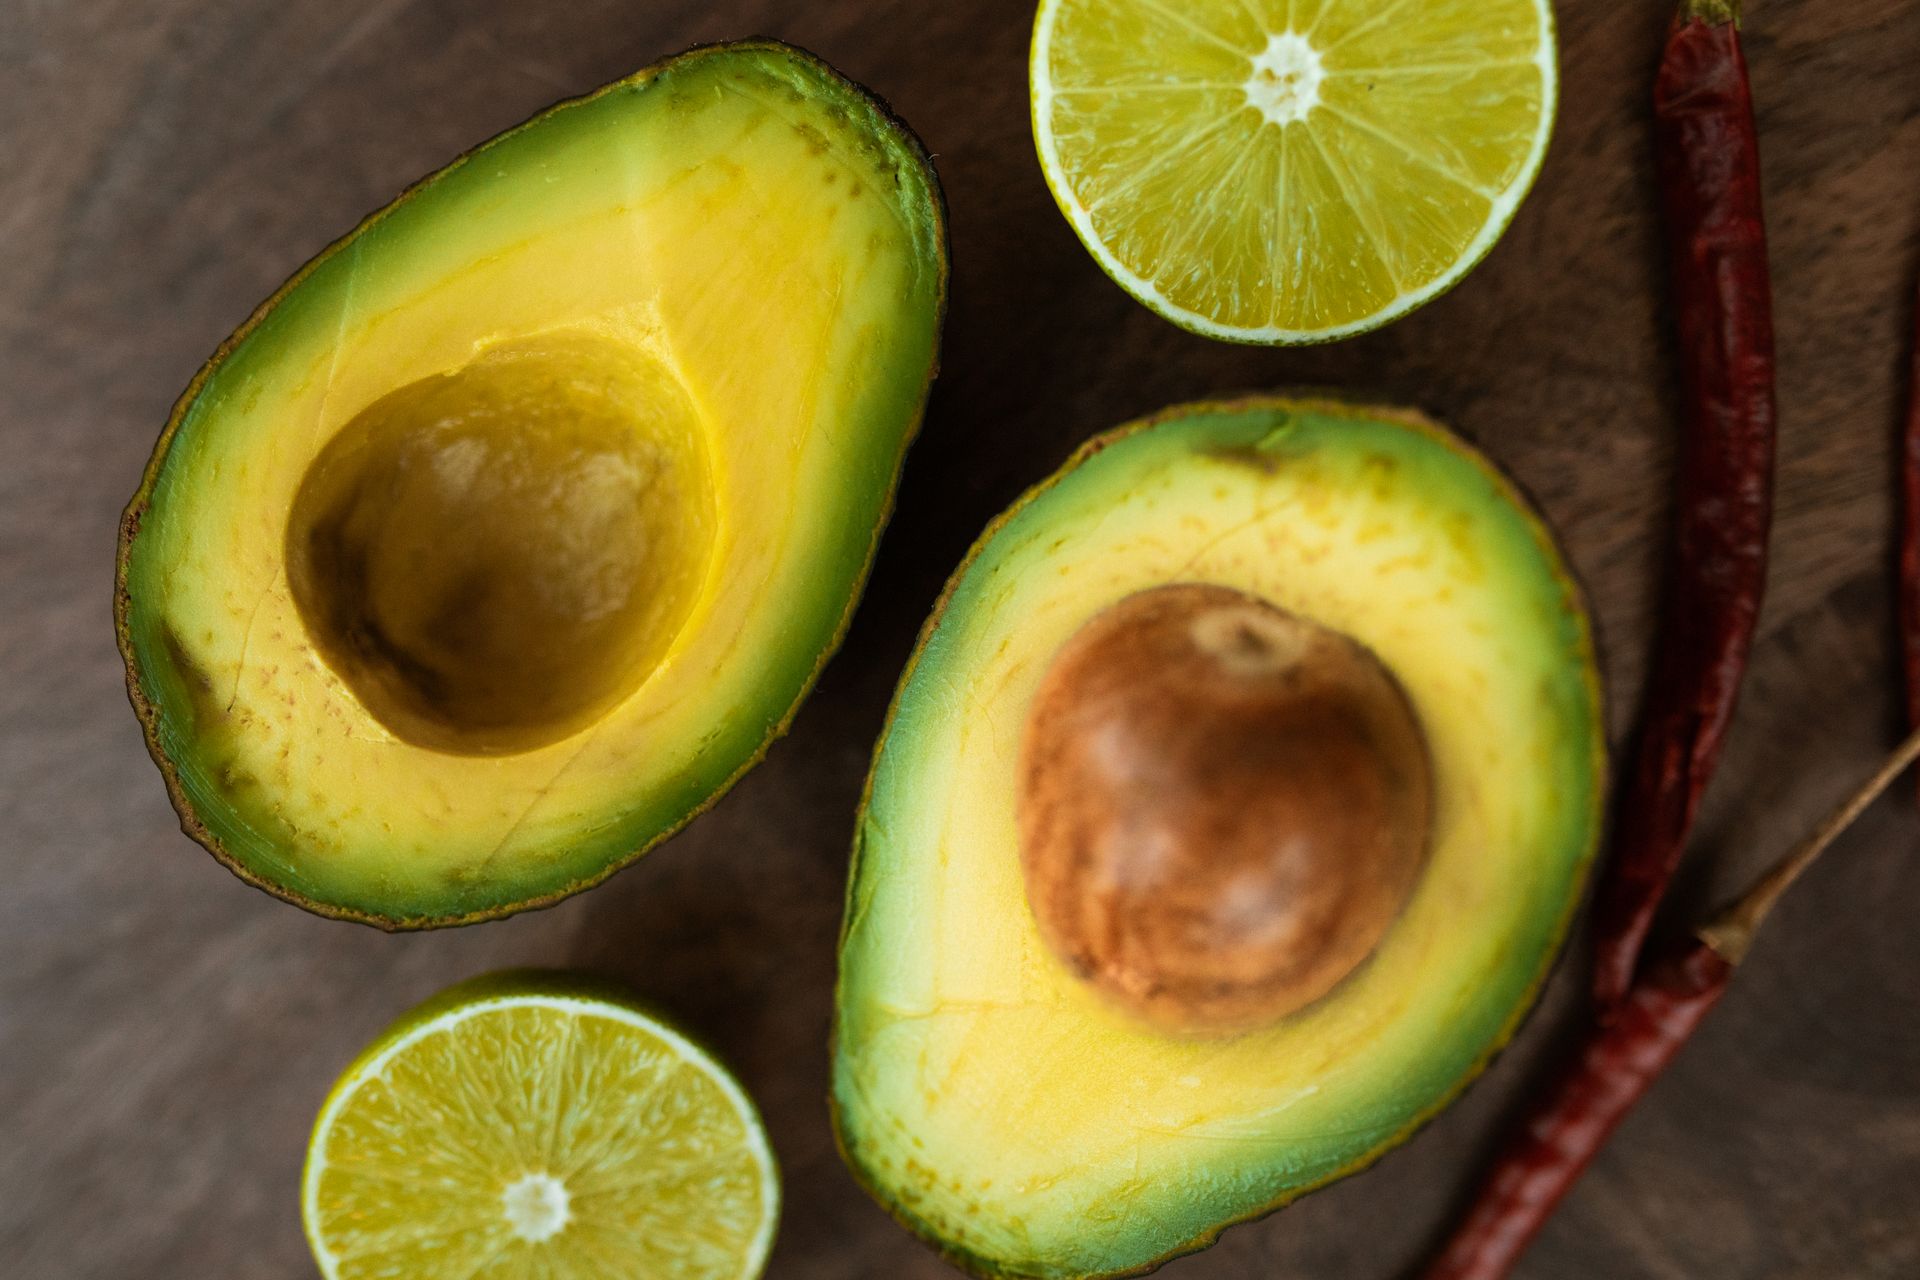
Leaving the pit in the bowl is a party tradition, but it only protects the little bit of guacamole it actually touches. Browning happens when air hits the cut avocado. What works is cutting off the air: press plastic wrap right onto the surface, or smooth the top and add a thin layer of water or lime juice, then pour it off before serving. What is your guacamole trick?
You will need: 3 ripe avocados, juice of 1 lime, 1/2 tsp salt, 1/4 cup diced onion, 1 small tomato (diced), 2 tbsp cilantro, plastic wrap.
How to make it: 1. Mash the avocados with the lime juice and salt. 2. Stir in the onion, tomato and cilantro. 3. Pack it into a container and smooth the top. 4. Press plastic wrap directly onto the surface so no air touches it. 5. Refrigerate up to 1 day. 6. Scrape off any thin brown layer and stir before serving.
“Let Steak Sit Out for an Hour Before Cooking”
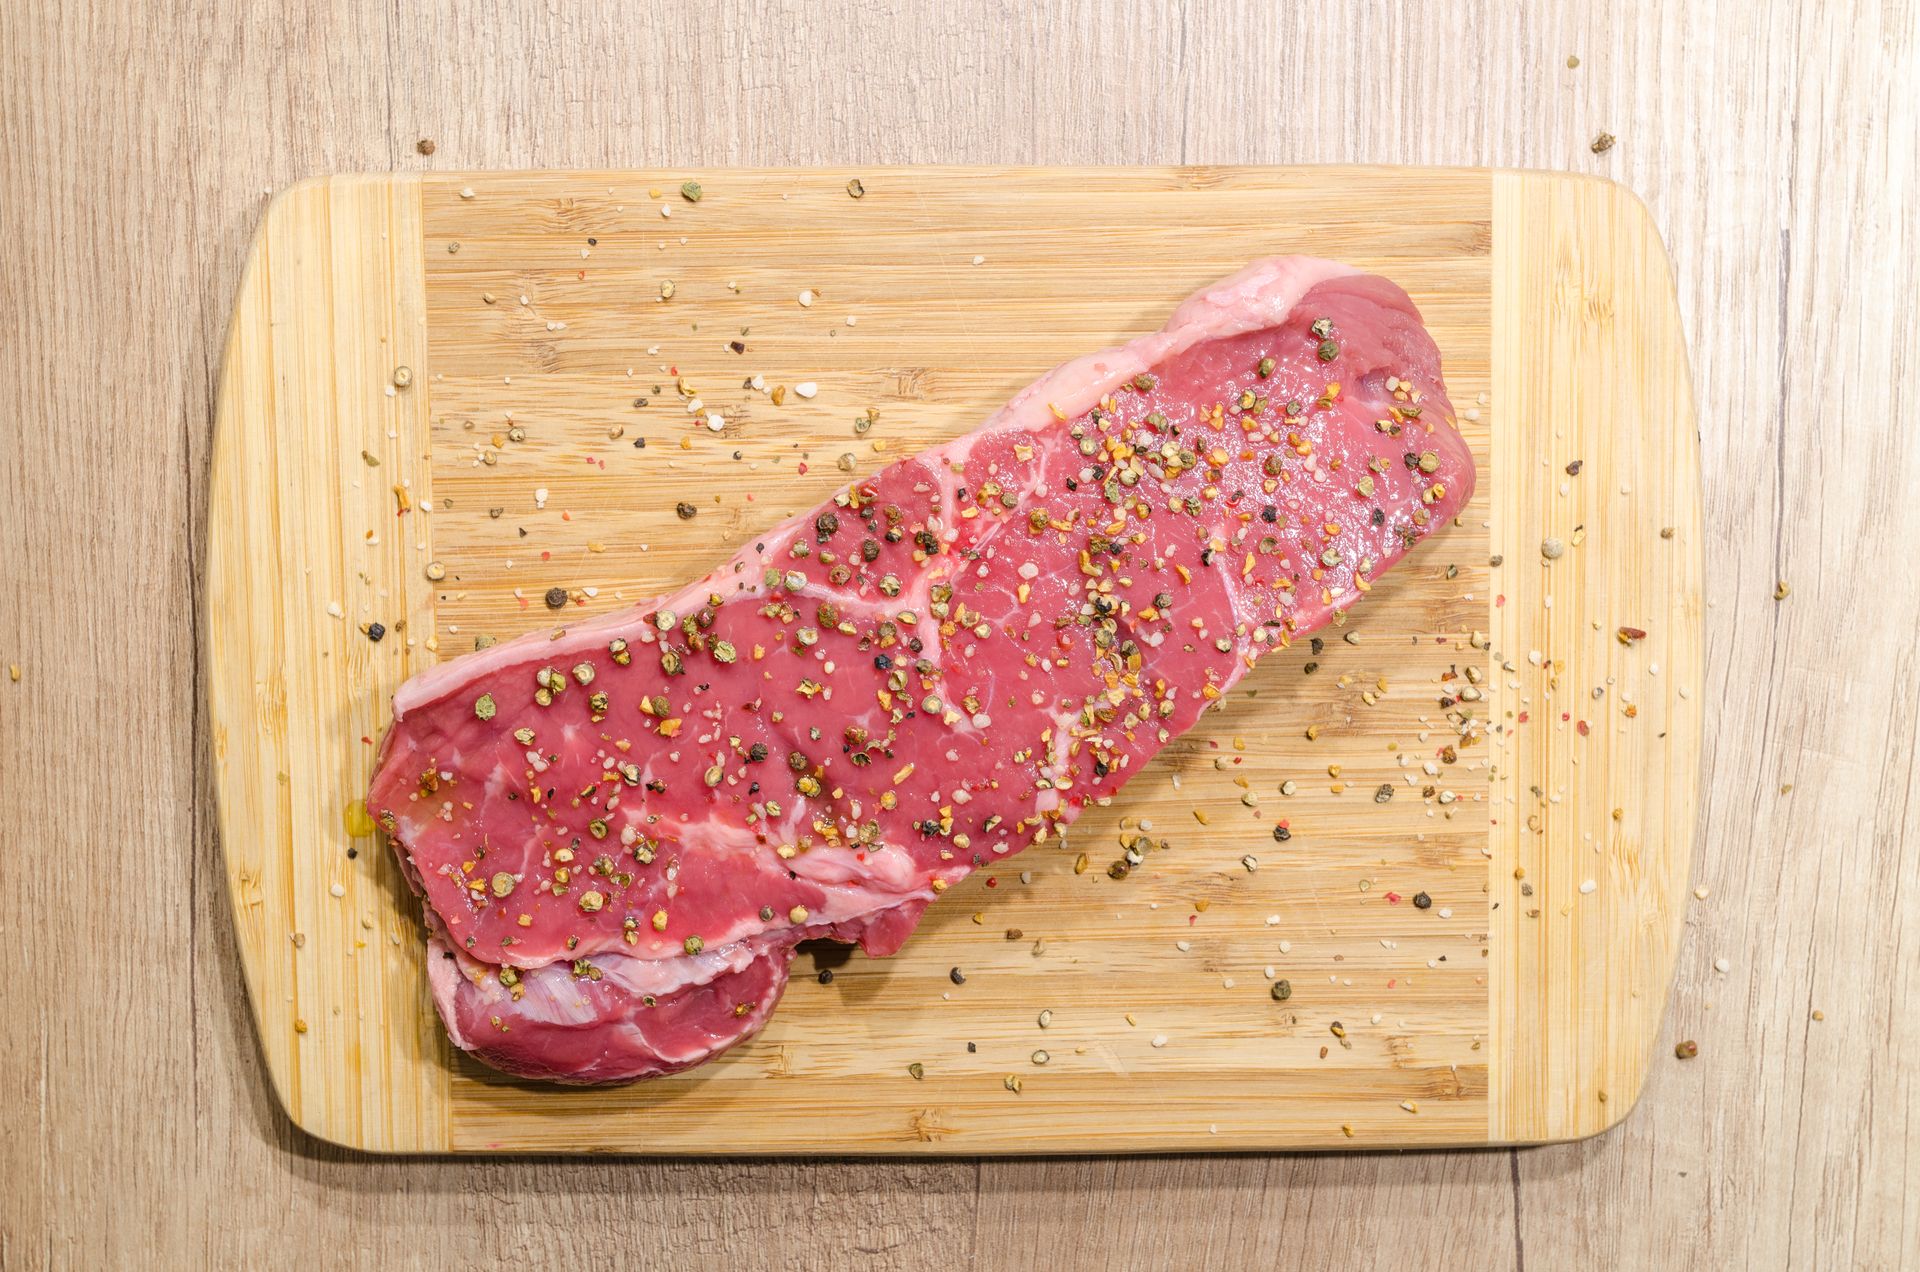
Many recipes still repeat one of the most common kitchen myths: leave meat on the counter so it cooks more evenly. Kitchen tests have found an hour barely changes the temperature in the center of a thick steak, while the USDA says perishable food should not sit out more than 2 hours. A better move is to pat the meat very dry and salt it ahead in the fridge. Have you been waiting an hour for nothing?
You will need: 2 strip steaks, 1 1/2 tsp kosher salt, 1/2 tsp pepper, a wire rack and sheet pan, paper towels.
How to make it: 1. Pat the steaks dry. 2. Salt them on all sides. 3. Set on a rack over a sheet pan. 4. Refrigerate uncovered for 1 hour or up to overnight. 5. Cook straight from the fridge, patting dry again first. 6. Use a thermometer and rest the steaks before slicing.
“Never Use Metal Utensils or Soap on Cast Iron”

Cast iron has more rules than any other pan, and most are kitchen myths. The seasoning is oil that has baked into a hard, plastic-like layer, so a metal spatula will not ruin a well seasoned pan. Modern dish soap is fine too; it was old lye soaps that stripped seasoning. What really hurts cast iron is soaking and leaving it wet. How old is your favorite skillet?
You will need: A cast iron skillet, a metal spatula, mild dish soap, a scrub brush, a towel, 1 tsp vegetable oil.
How to make it: 1. Cook as usual, metal spatula and all. 2. Wash with a little soap and hot water while the pan is still warm. 3. Scrub stuck bits with a brush or coarse salt. 4. Dry right away with a towel. 5. Set it on a burner for a minute to dry completely. 6. Rub in a thin layer of oil and let it cool.
Kitchen Myths: “Only Flip a Burger Once”
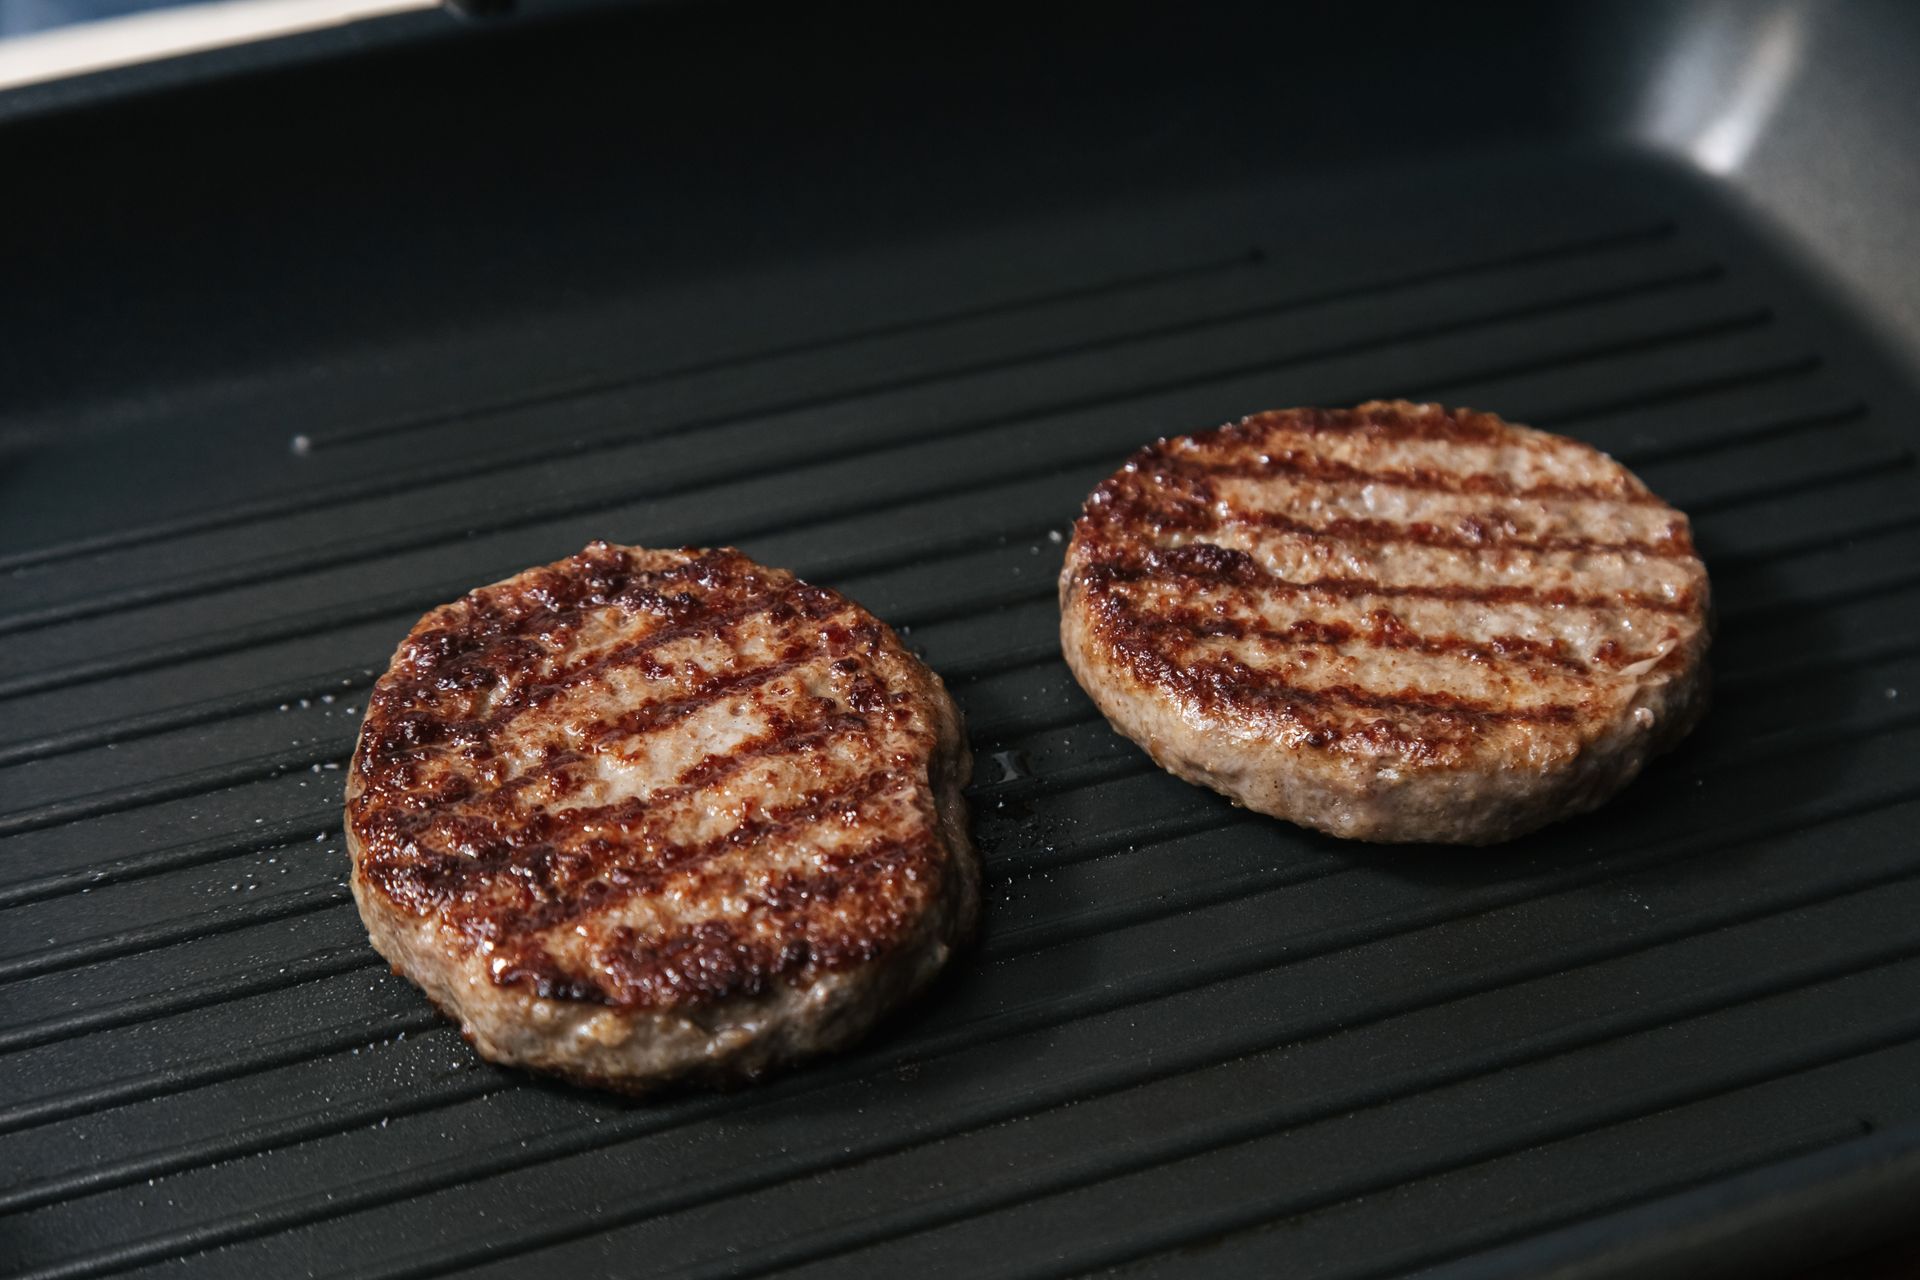
Backyard grill masters guard this rule like a family secret, but tests show flipping a burger more often actually helps it cook more evenly and a little faster, because each side gets a short break from the heat. What really ruins a burger is pressing it down with the spatula, which squeezes out the juice. Flip as much as you like, but never smash a thick patty on the grill. How many flips does your burger get?
You will need: 1 1/2 lb ground beef (80/20), 1 tsp salt, 1/2 tsp pepper, 4 slices cheese, 4 buns, an instant read thermometer.
How to make it: 1. Shape 4 patties a little wider than the buns and press a dimple in the center. 2. Season just before cooking. 3. Cook on a hot grill or skillet. 4. Flip every 30 to 60 seconds without pressing down. 5. Cook to 160 F, the USDA safe temperature for ground beef. 6. Add cheese for the last minute.
“Rinse Cooked Pasta So It Does Not Stick”
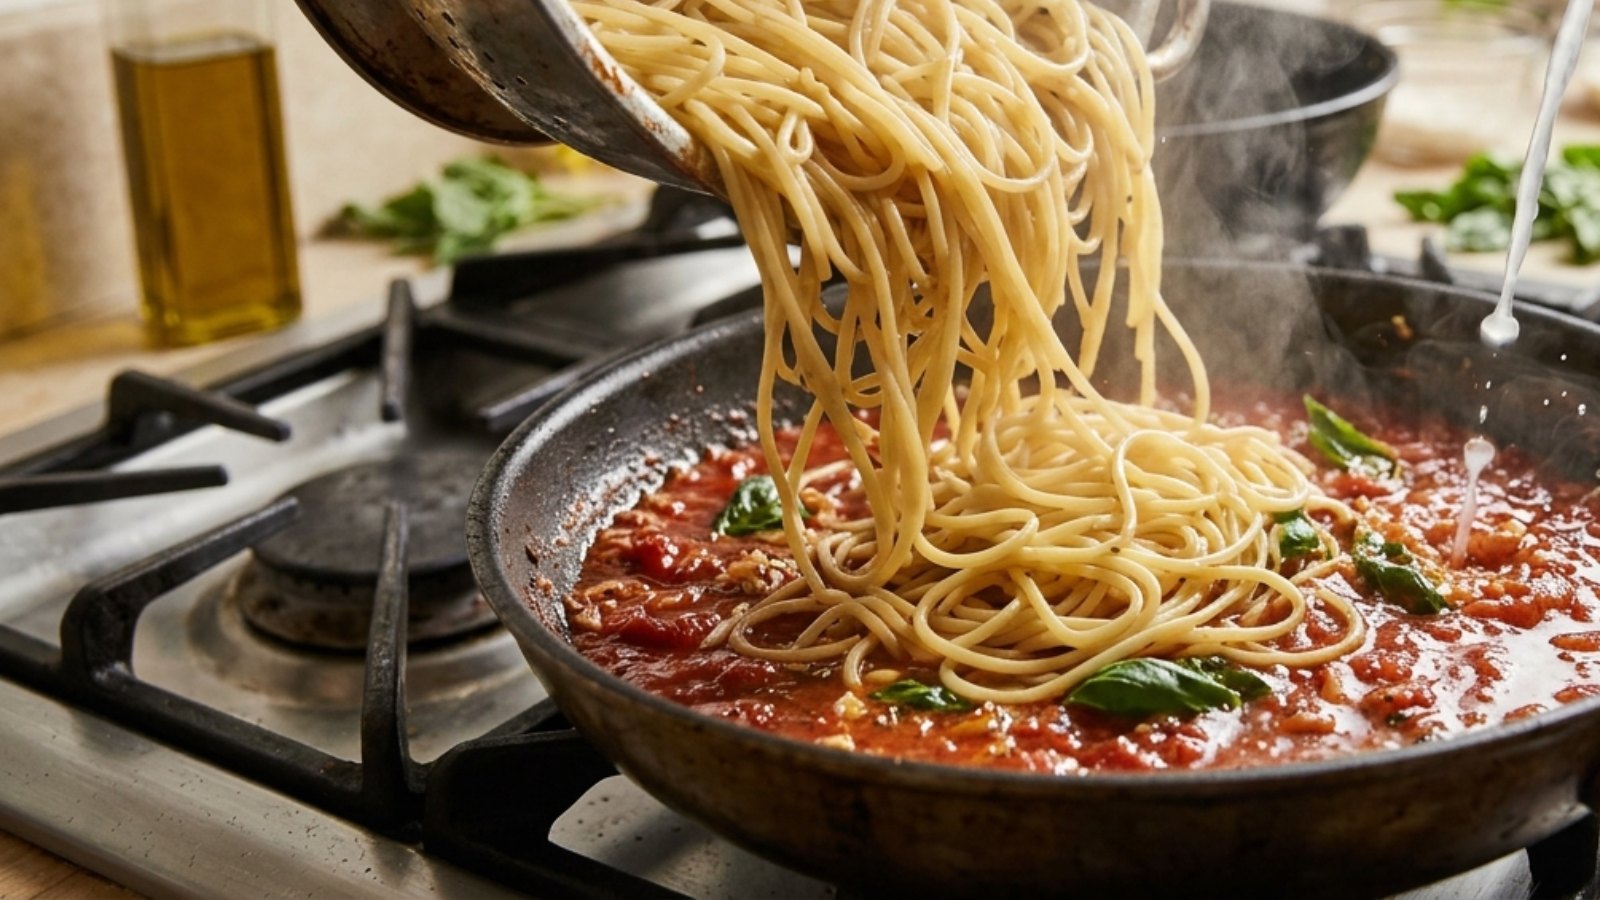
Rinsing hot pasta under the tap washes away the starch that helps sauce cling to every bite. Instead, drain it, save a cup of the cooking water, and toss the pasta right into the sauce with a splash of that water. Only rinse pasta for cold pasta salads. Hosting soon? Read our Thanksgiving kitchen hacks that save the turkey, and the USDA page on washing food. Which of these kitchen myths surprised you most?
You will need: 1 lb spaghetti, 4 quarts salted water, 2 cups tomato sauce, 1 cup reserved pasta water, 2 tbsp butter, Parmesan, fresh basil.
How to make it: 1. Cook the pasta 1 minute short of al dente. 2. Scoop out 1 cup of the cooking water. 3. Drain the pasta, but do not rinse it. 4. Add it straight to the warm sauce in a skillet. 5. Toss over medium heat with a splash of pasta water until glossy. 6. Stir in the butter and top with Parmesan and basil.