Rocky Road Candy: 14 No-Bake Christmas Squares and Texas Millionaires Grandma Packed in Tins
Rocky road candy is the no-bake Christmas treat that fills more holiday tins than almost anything else, and this year it is everywhere again. Easy rocky road videos are pulling tens of thousands of views in a matter of days, and an old-fashioned pecan candy called Texas millionaires has started a friendly debate in the comments about whose grandma made it best. The good news is that most of these sweets need no oven and no candy thermometer. You melt chocolate, stir in marshmallows, nuts and a few fun extras, press it into a pan and let the fridge do the rest. Below are 14 takes on rocky road candy, from classic and white Christmas to peppermint, peanut butter and a pretty wreath, plus tips for cutting neat squares and packing a tin that travels well..
Classic Rocky Road Candy With Cherries and Walnuts
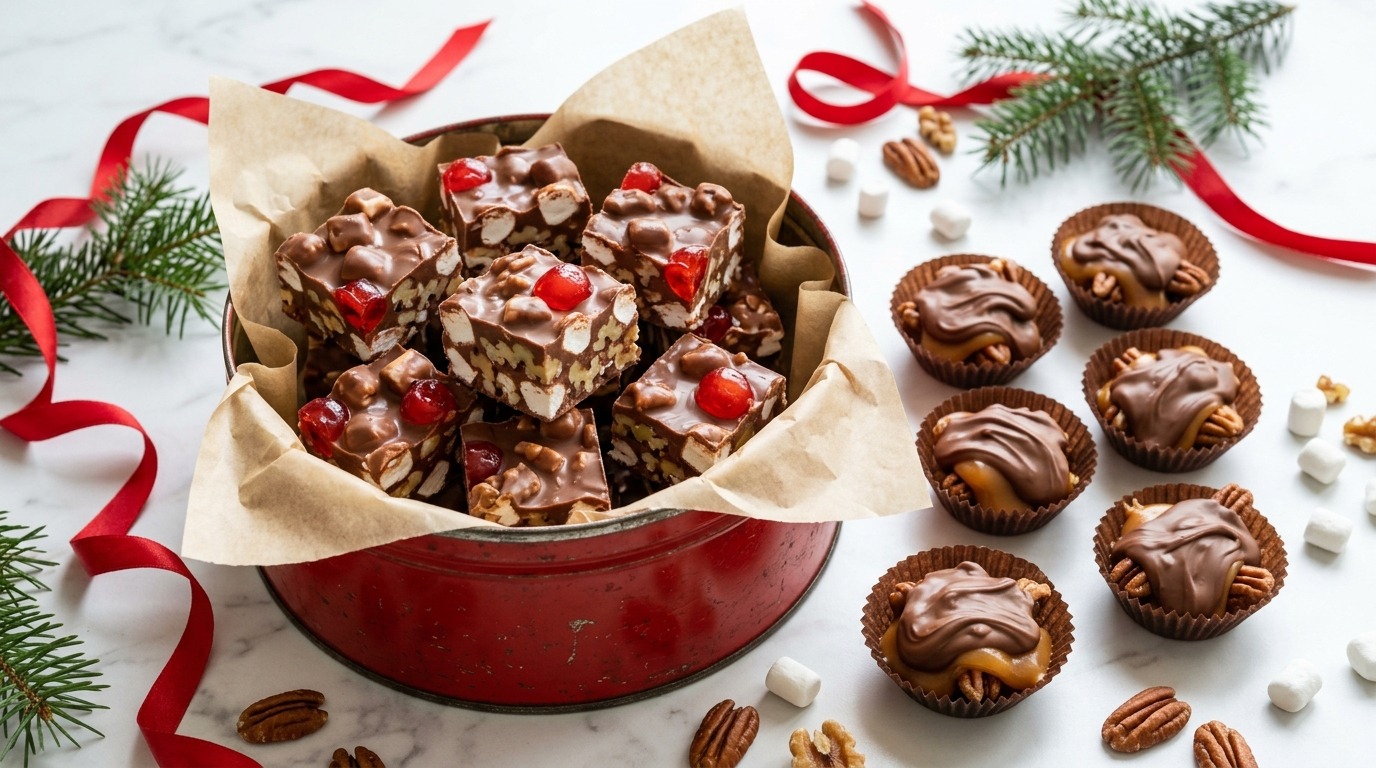
This is the tray grandma cut into squares every December. Milk chocolate holds together soft mini marshmallows, toasted walnuts and a handful of red glace cherries that look like little ornaments when you slice through. The name is said to come from rocky road ice cream, a flavor first sold in California around 1929, and the bumpy texture still fits it perfectly. As the history of rocky road shows, Australians and Brits later turned it into a sliceable candy. Pack it next to pecan clusters and you have a gift tin people remember..
You will need: 12 oz milk chocolate, 2 tablespoons butter, 2 cups mini marshmallows, 1 cup toasted walnuts, 1/2 cup red glace cherries, halved.
How to make it: 1. Line an 8 inch square pan with parchment. 2. Melt the chocolate and butter together in short bursts in the microwave, stirring well. 3. Cool for 5 minutes so the marshmallows do not melt. 4. Fold in the marshmallows, walnuts and cherries. 5. Press into the pan, chill for 2 hours and cut into 16 squares.
White Christmas Slab With Pistachios and Raspberries
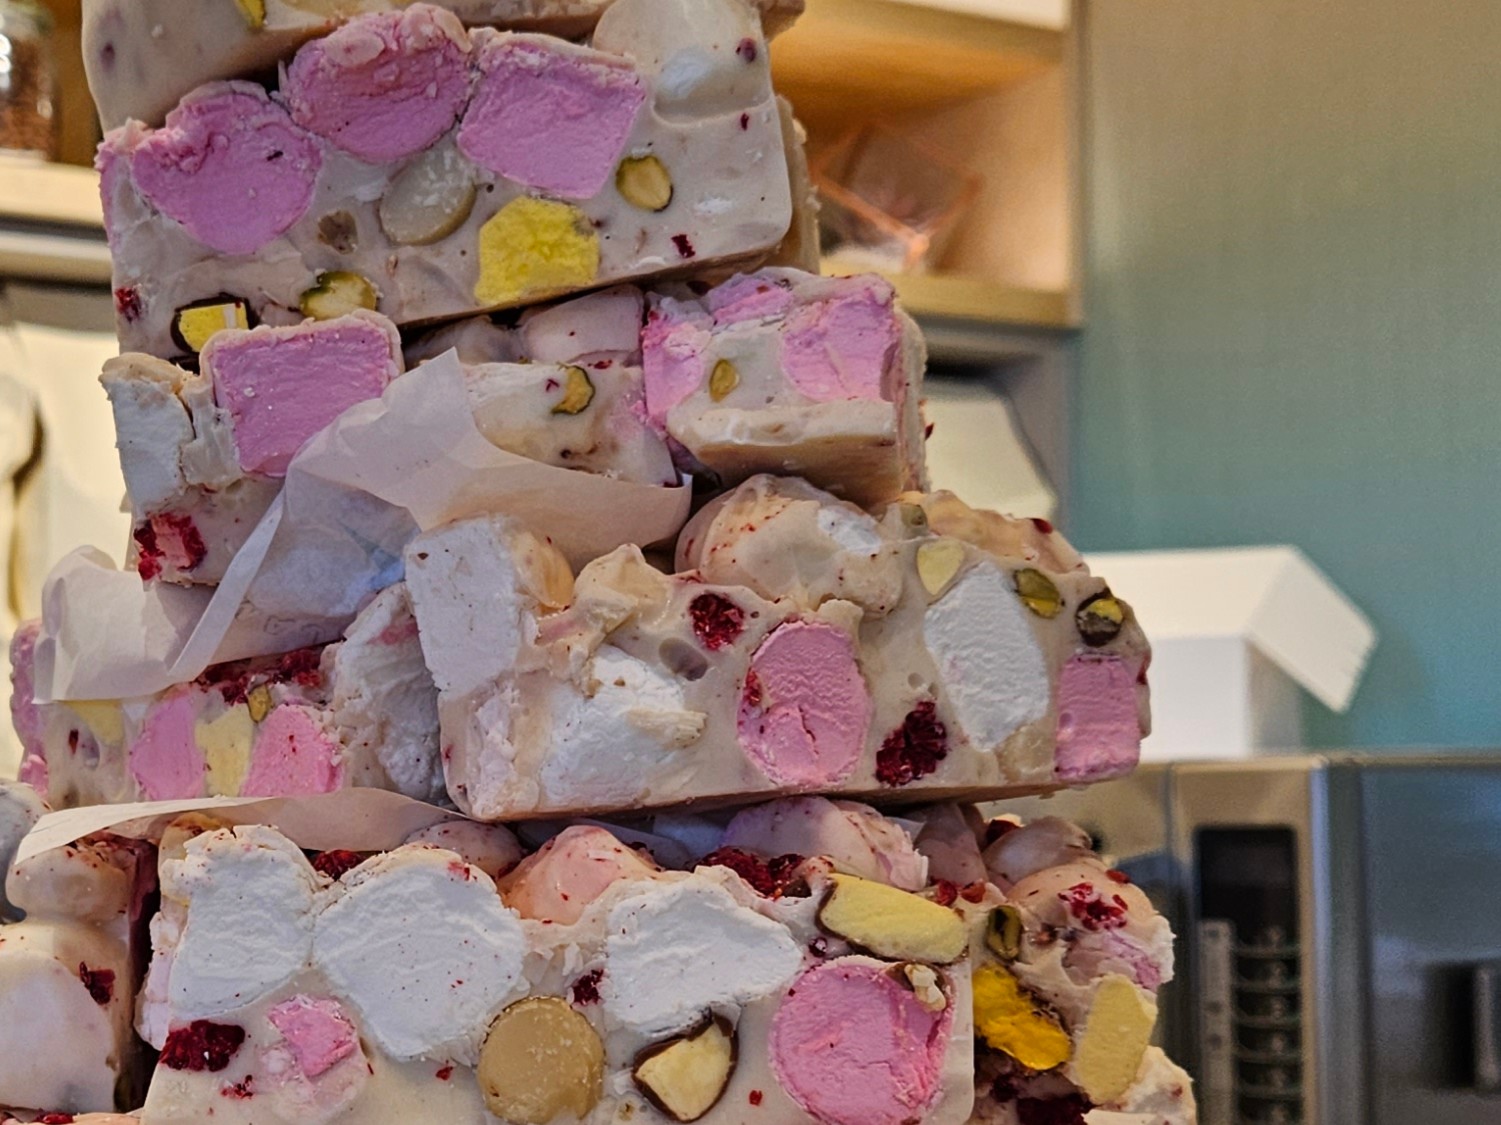
White chocolate turns classic rocky road candy into something that looks like a snowy hillside. Pink and white marshmallows, bright green pistachios and freeze-dried raspberries peek out of every cut edge, which is why bakeries stack it high on cake stands in December. It is sweeter than the dark version, so a pinch of salt and the tart berries keep it balanced. Use good quality white chocolate with cocoa butter, and melt it gently, because it seizes faster than milk or dark chocolate. This one disappears first from any cookie swap table.
You will need: 14 oz white chocolate, 2 cups pink and white mini marshmallows, 3/4 cup shelled pistachios, 1/3 cup freeze-dried raspberries, a pinch of salt.
How to make it: 1. Line a loaf pan or 8 inch pan with parchment. 2. Melt the white chocolate over a pan of barely simmering water, stirring often. 3. Stir in the salt and let it cool slightly. 4. Fold in marshmallows, pistachios and most of the raspberries. 5. Press into the pan, scatter the rest of the berries on top and chill until firm.
Honeycomb and Caramel Gold Squares
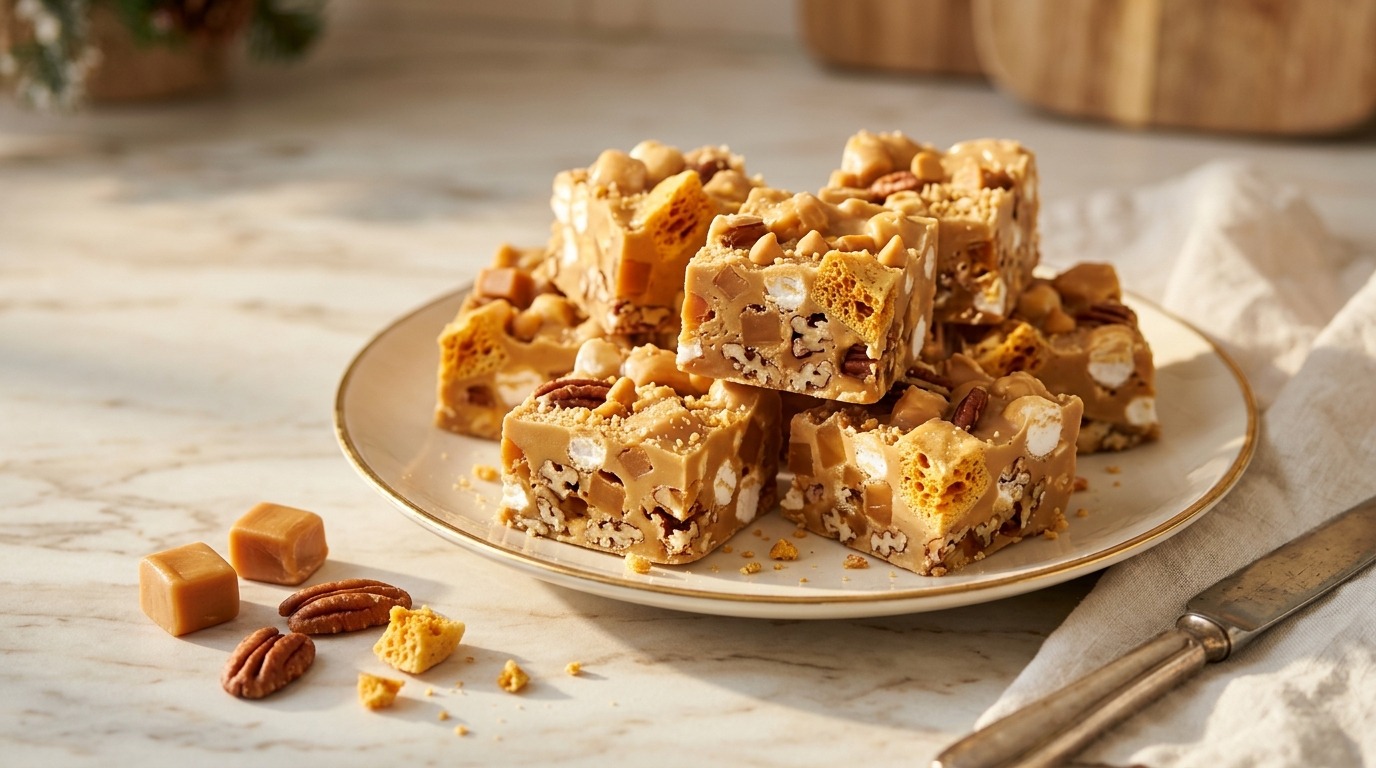
This golden rocky road candy uses caramelized white chocolate as its base, so the whole slab tastes like toffee. Chewy caramel cubes, crunchy honeycomb shards, butterscotch chips and toasted pecans make every bite a little different. Honeycomb is easy to make at home with sugar, syrup and baking soda, but a store-bought bag works fine too. Add it last and keep the slab in an airtight tin, because honeycomb softens in humid air. This is the version that makes people ask for the recipe, and it looks beautiful wrapped in clear bags with gold ribbon.
You will need: 12 oz white chocolate, 1 cup soft caramel cubes, 1 cup broken honeycomb, 1/2 cup butterscotch chips, 1 cup mini marshmallows, 3/4 cup toasted pecans.
How to make it: 1. Spread the white chocolate pieces on a dry baking sheet and bake at 250F, stirring every 10 minutes, until golden, about 40 minutes. 2. Stir until smooth and cool for 5 minutes. 3. Fold in caramels, pecans, marshmallows and butterscotch chips. 4. Press into a lined pan and press the honeycomb on top. 5. Chill and cut into squares.
Peppermint Rocky Road Candy for Candy Cane Lovers
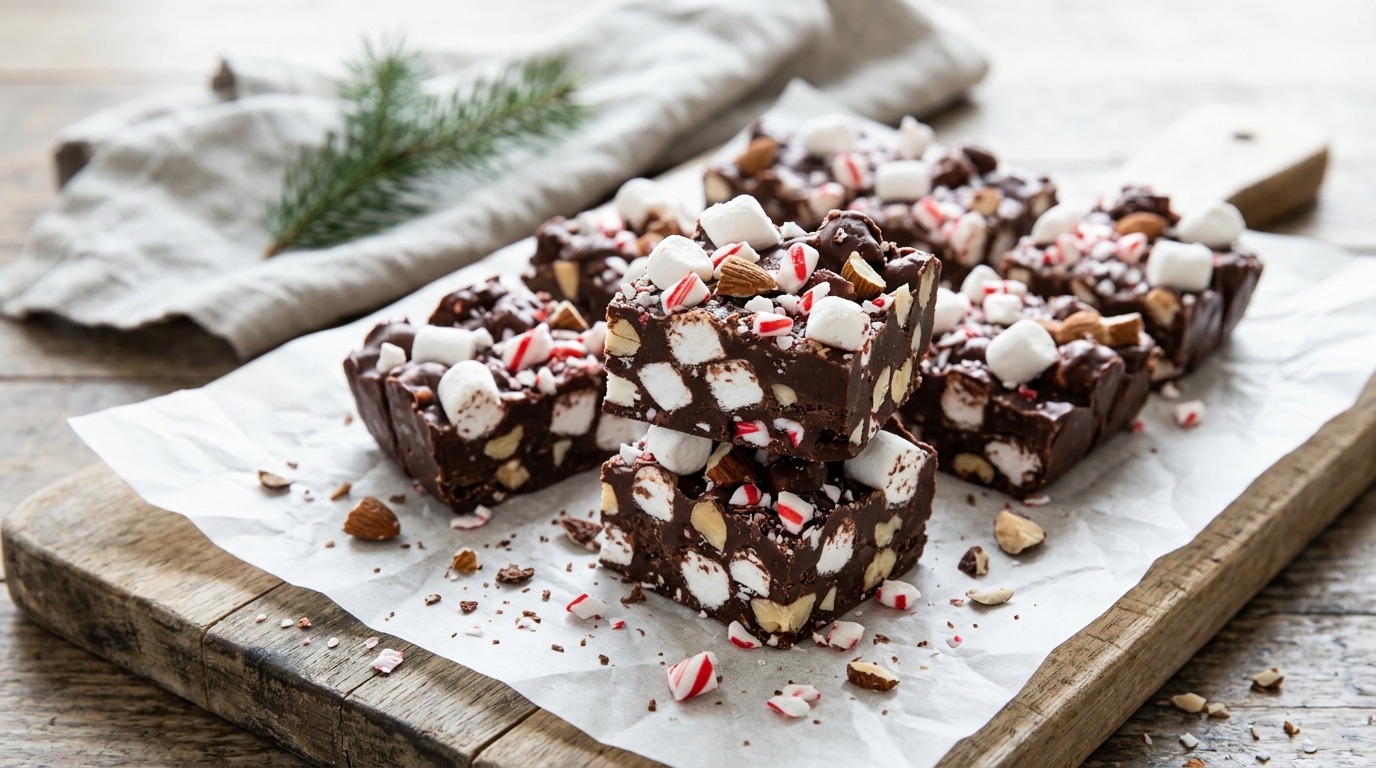
Crushed peppermint candies turn dark chocolate rocky road into the most festive square in the tin. The red and white pieces sparkle on top, and a drop of peppermint extract in the chocolate makes the whole thing taste like a cup of minty cocoa. Chopped almonds add crunch without fighting the mint. Crush the candy in a zip bag with a rolling pin rather than a blender, so you get chunky pieces and less dust. Store this rocky road candy away from the fridge door, since peppermint pieces can get sticky with moisture.
You will need: 12 oz dark chocolate, 1 tablespoon coconut oil, 1/4 teaspoon peppermint extract, 2 cups mini marshmallows, 3/4 cup chopped almonds, 1/2 cup crushed peppermint candies.
How to make it: 1. Line an 8 inch pan with parchment. 2. Melt chocolate and coconut oil, then stir in the peppermint extract. 3. Cool for 5 minutes and fold in marshmallows, almonds and half the peppermint. 4. Press into the pan and scatter the rest of the peppermint on top. 5. Chill for 2 hours, then cut with a hot knife.
Salty Peanut Butter Pretzel Squares
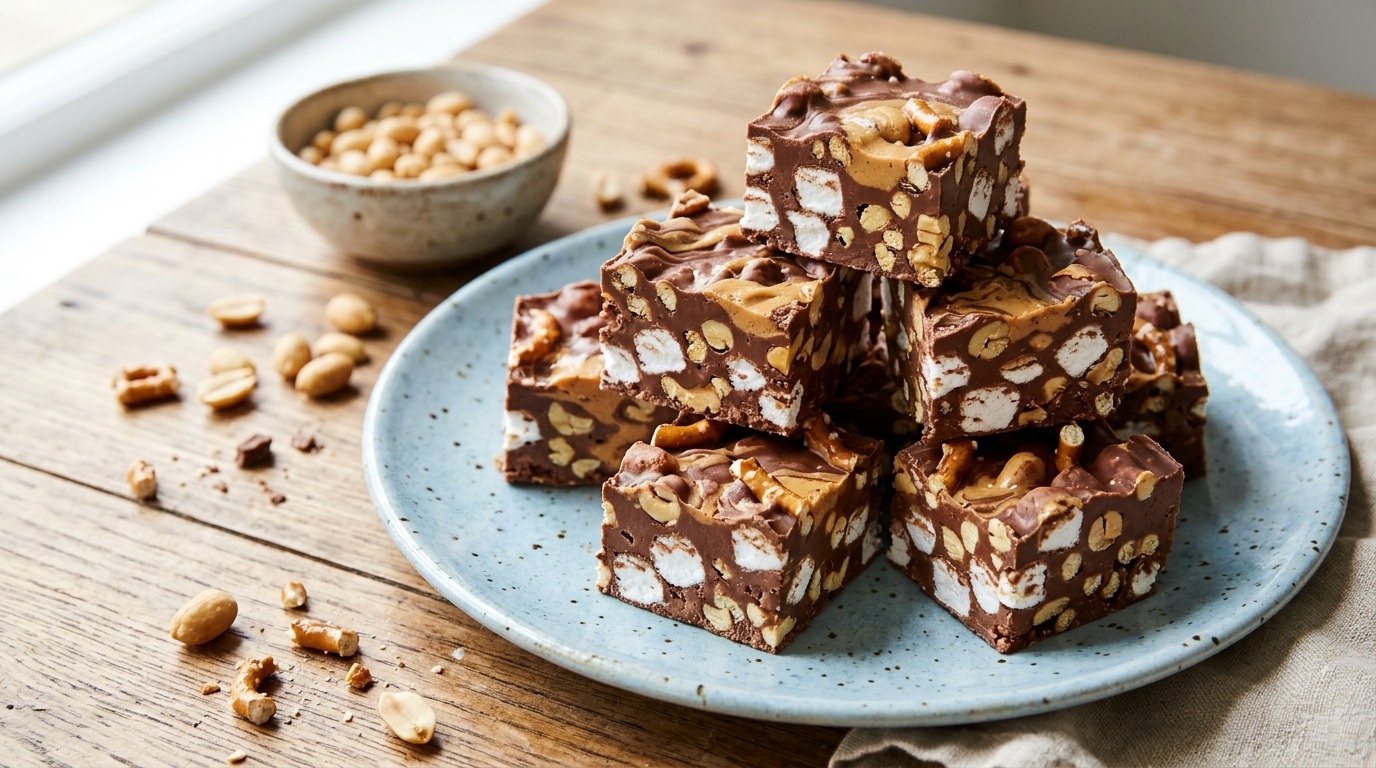
If your family argues over sweet versus salty, this rocky road candy settles it. Creamy peanut butter melts right into the milk chocolate, so the base is soft, rich and a little fudgy. Salted peanuts and broken pretzel twists bring the crunch, and the marshmallows keep it light. It is the kind of treat kids help make, because there is nothing hot to handle except a bowl from the microwave. Cut it into small pieces, since it is rich, and keep a few in the freezer for a quick snack straight from the cold.
You will need: 10 oz milk chocolate, 1/2 cup creamy peanut butter, 2 cups mini marshmallows, 1 cup salted roasted peanuts, 1 cup pretzel twists, broken.
How to make it: 1. Line an 8 inch square pan. 2. Melt the chocolate and peanut butter together until glossy. 3. Let it cool for 5 minutes. 4. Fold in marshmallows, peanuts and pretzels. 5. Press into the pan, chill for 2 hours and cut into bite-size squares.
Old-Fashioned Texas Millionaires With Pecans and Caramel
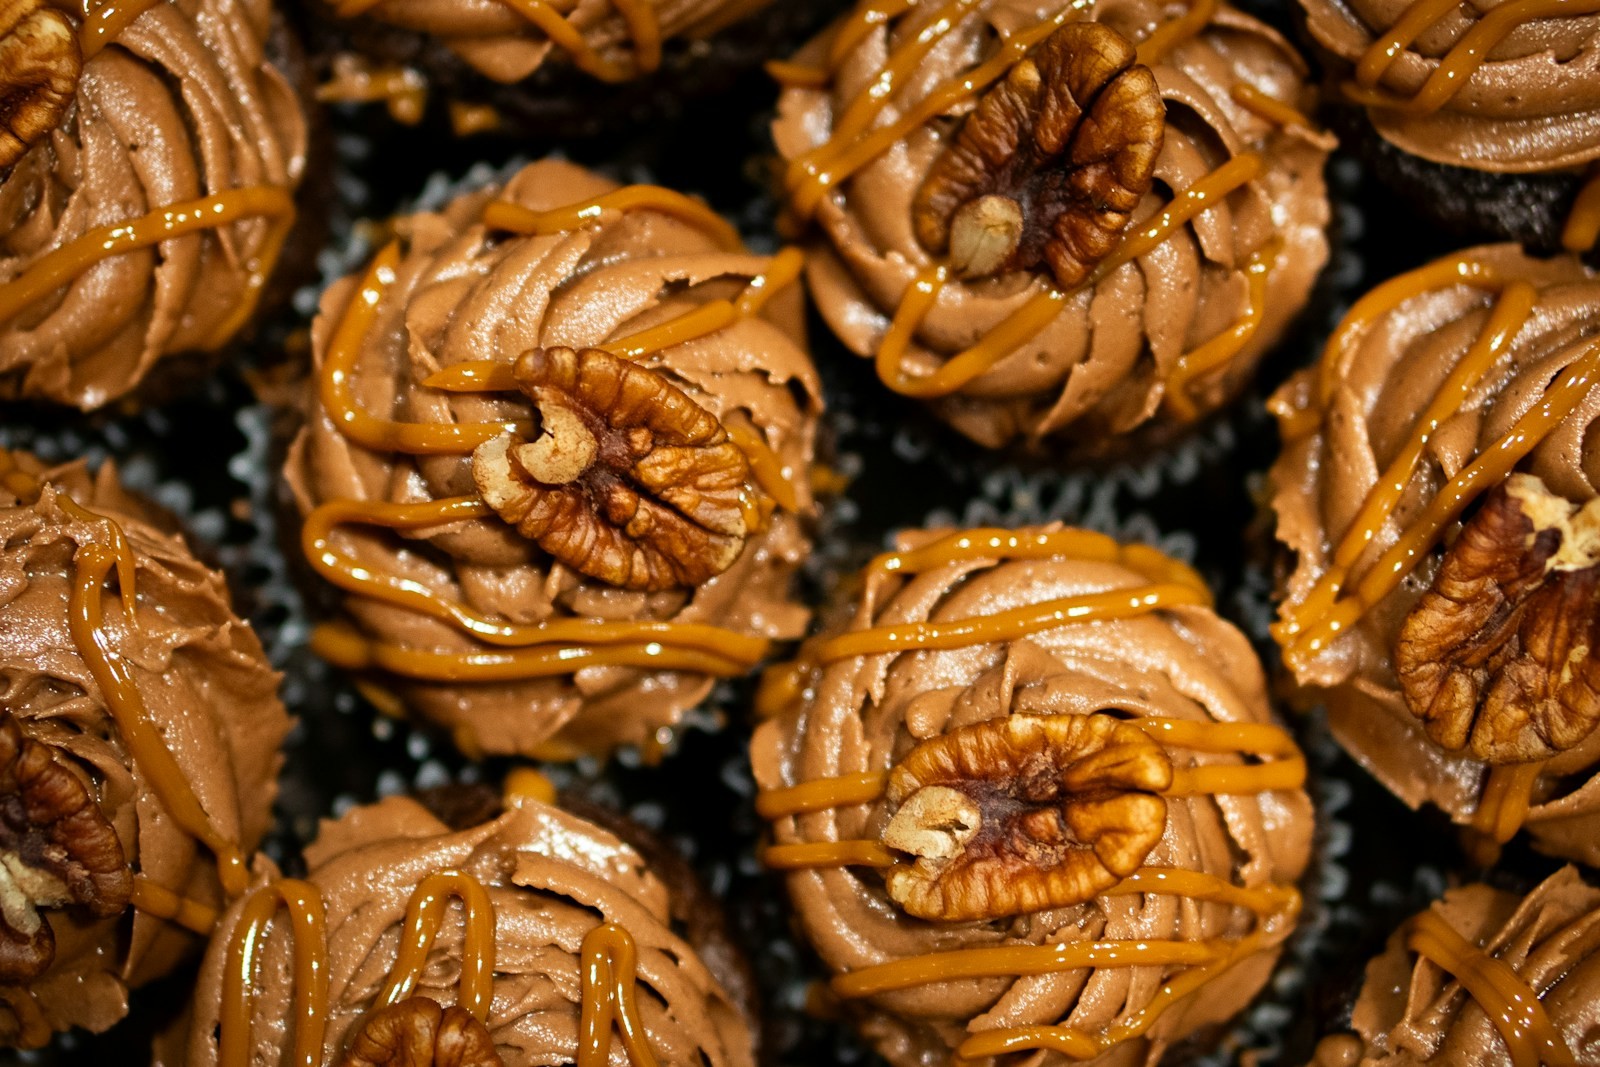
Texas millionaires are the candy that started this year’s comment debate. Grandmas across the South made them every Christmas: whole pecans bound with soft homemade caramel, then dipped or drizzled with chocolate. Some families call them pecan clusters, others swear by the old name, and everyone agrees they disappear fast. The so-called poor man’s version saves time by melting soft store-bought caramels with a splash of milk, so you skip the thermometer. Toast the pecans first; it makes a huge difference in flavor.
You will need: 2 cups pecan halves, 11 oz soft caramels (unwrapped), 2 tablespoons milk, 1 tablespoon butter, 8 oz milk or semisweet chocolate, mini paper candy cups.
How to make it: 1. Toast the pecans at 350F for 8 minutes and cool. 2. Melt the caramels with milk and butter over low heat until smooth. 3. Stir in the pecans and drop spoonfuls into paper cups or onto parchment. 4. Chill for 15 minutes until set. 5. Spoon melted chocolate over each cluster and let it set before packing.
Rocky Road Candy Clusters Dropped by the Spoonful
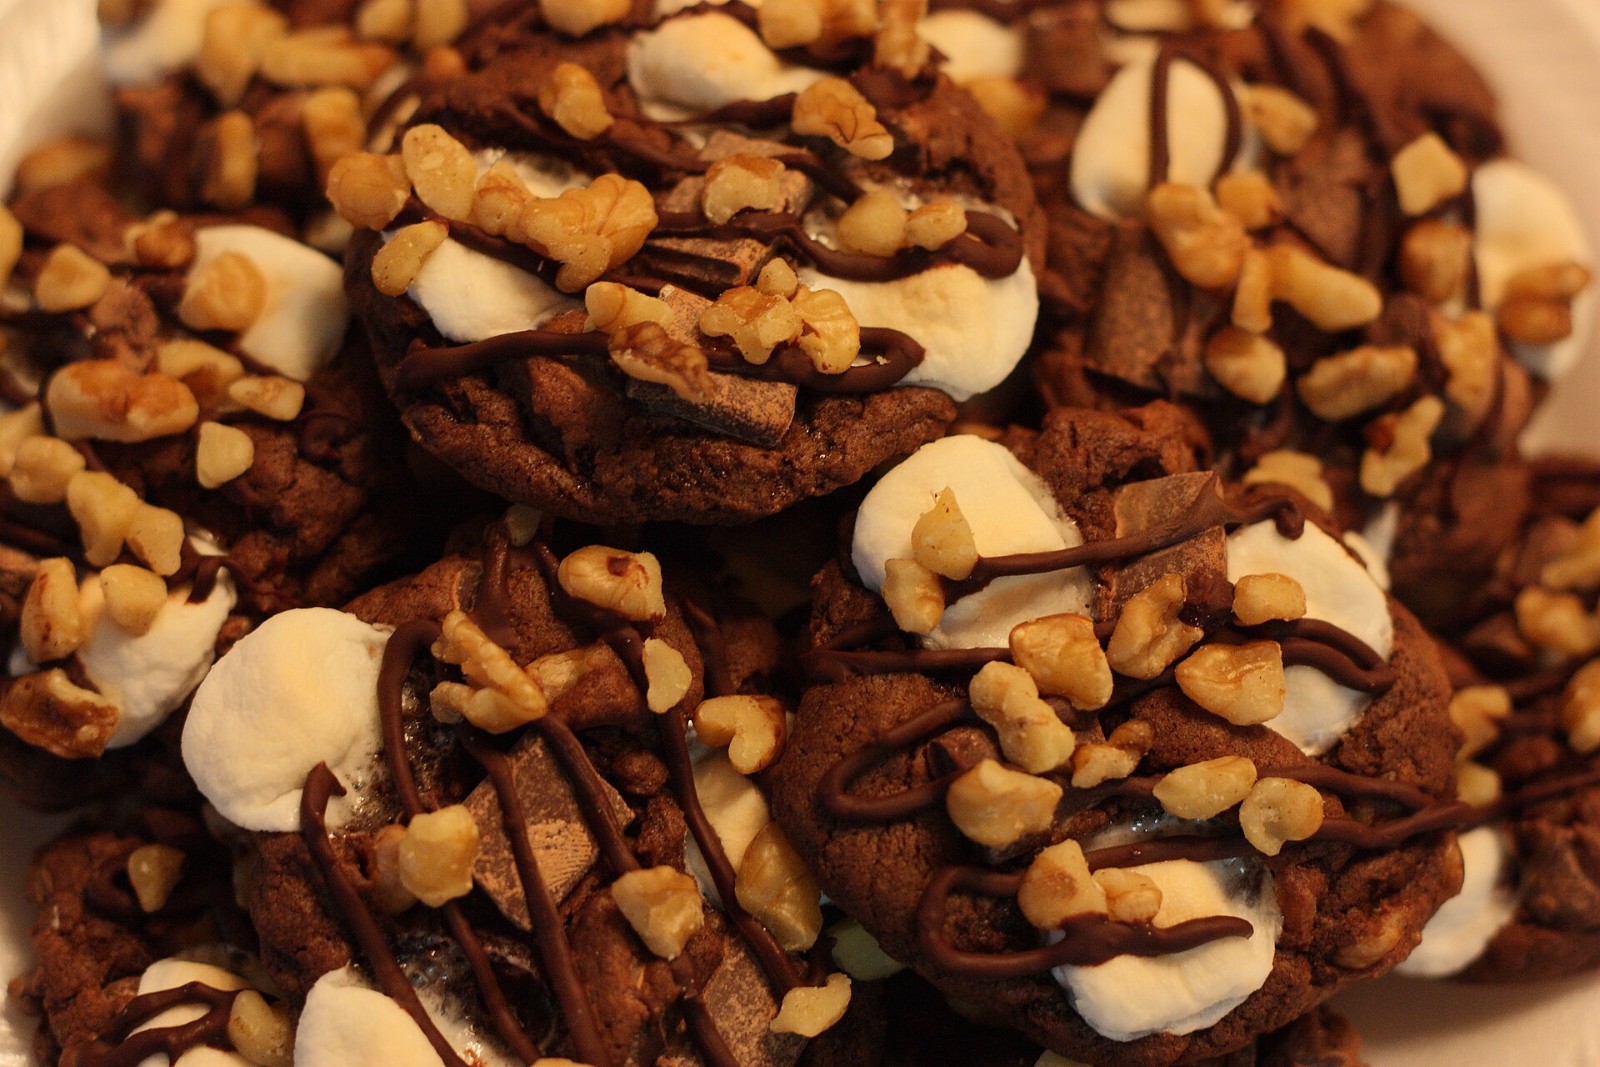
Not everyone wants to cut a slab, and that is where clusters come in. You stir the same rocky road candy mix together, then drop rough mounds onto parchment and drizzle extra chocolate over the top. They set faster than a tray and look charming in mini paper liners, almost like the pecan clusters in the slide before. Chopped walnuts give that classic bumpy look. This is also the best way to use up odds and ends: half a bag of marshmallows, a few broken cookies or the last handful of nuts in the pantry.
You will need: 10 oz semisweet chocolate, 1 1/2 cups mini marshmallows, 1 cup chopped walnuts, 2 oz white or dark chocolate for drizzling.
How to make it: 1. Line two baking sheets with parchment. 2. Melt the semisweet chocolate and cool for 5 minutes. 3. Stir in marshmallows and walnuts. 4. Drop heaped tablespoons onto the sheets. 5. Drizzle with the extra melted chocolate and chill for 30 minutes.
Creamy Rocky Road Fudge Squares
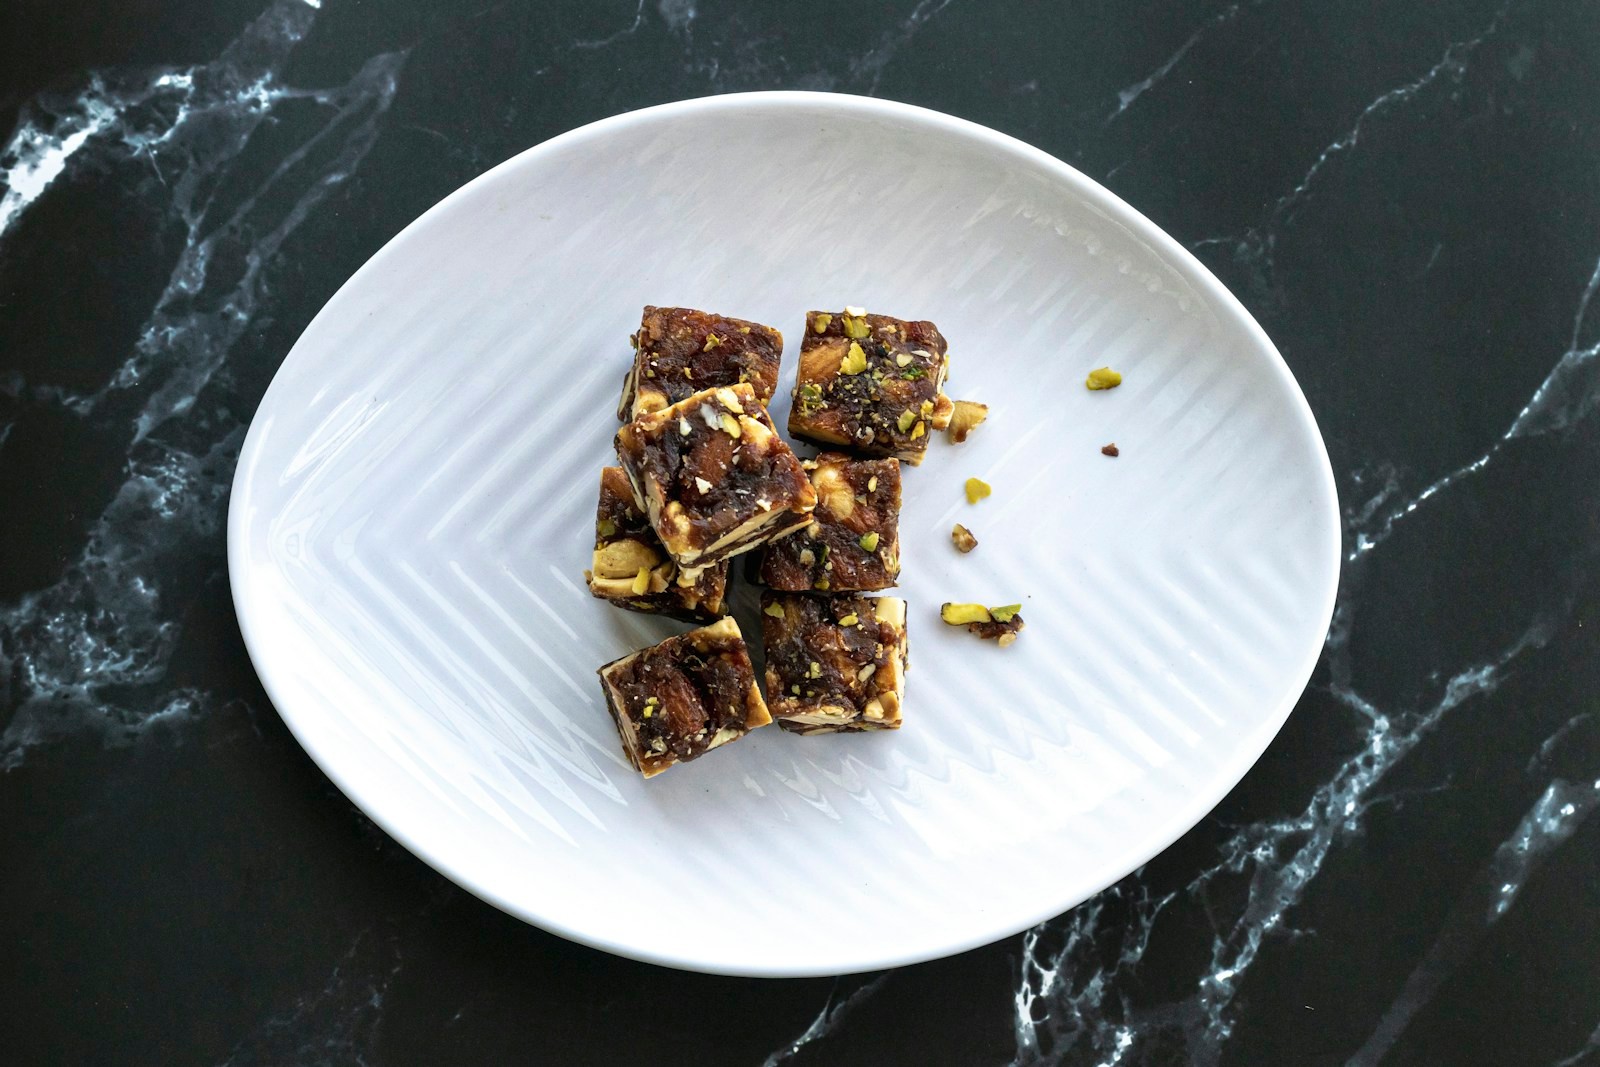
This is rocky road candy with a fudge base instead of plain chocolate, so the squares are soft enough to bite cleanly. Sweetened condensed milk does the magic, turning melted chocolate into a smooth fudge in about five minutes on the stove. Pistachios and toasted nuts add color, and the marshmallows stay pillowy because they go in after the pan cools. For more no-bake gift ideas, look at these homemade fudge and Christmas candy recipes that grandma kept in her tin. Cut small; it is rich.
You will need: 2 cups semisweet chocolate chips, 1 can (14 oz) sweetened condensed milk, 2 tablespoons butter, 1 teaspoon vanilla, 1 1/2 cups mini marshmallows, 1/2 cup pistachios, 1/2 cup toasted walnuts.
How to make it: 1. Line an 8 inch square pan. 2. Melt chips, condensed milk and butter over low heat, stirring until smooth. 3. Stir in the vanilla and let it cool for 10 minutes. 4. Fold in marshmallows and nuts. 5. Spread in the pan, chill for 3 hours and cut into 1 inch squares.
When Fudgy Brownies Meet Marshmallows and Nuts
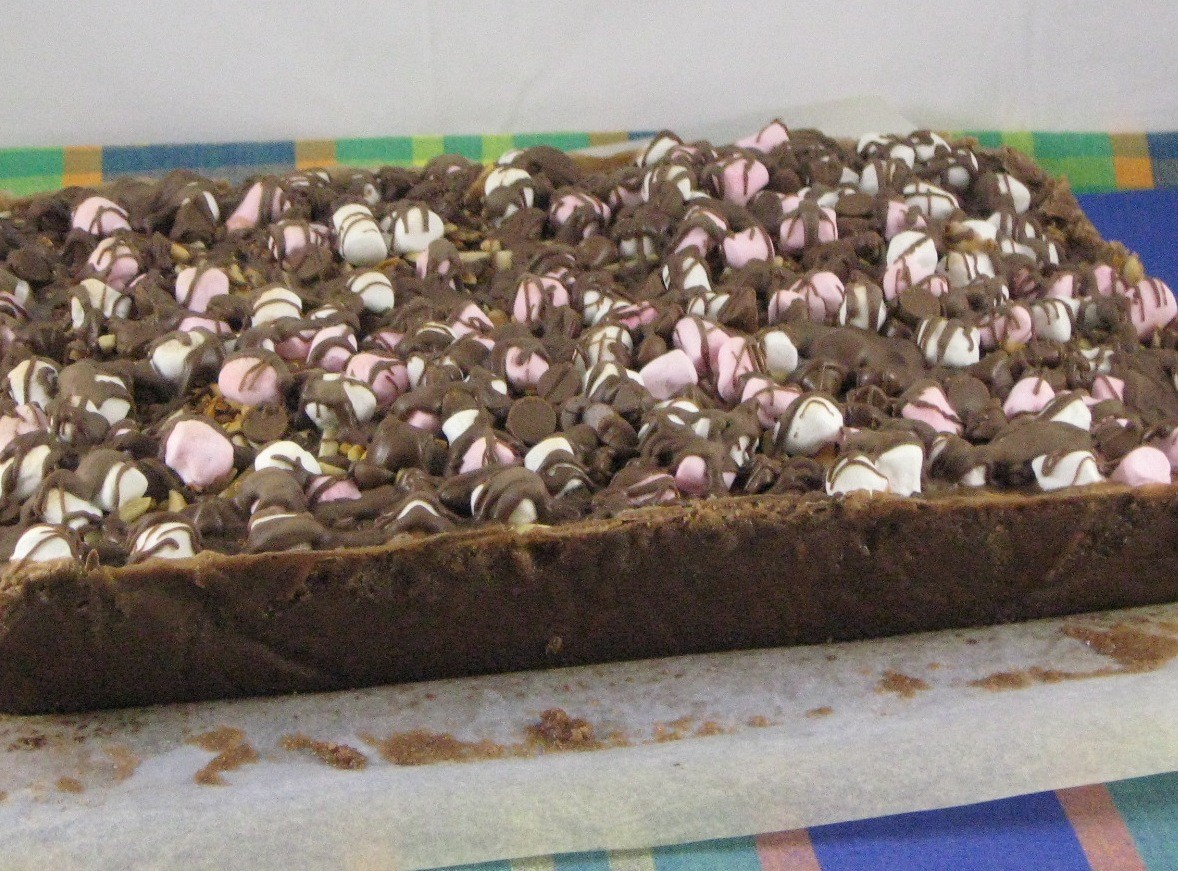
Here the rocky road candy sits on top of a fudgy brownie, so you get two desserts in one square. Bake your favorite brownie batter, and the moment it comes out of the oven, scatter marshmallows over the hot surface so they soften and stick. Pour a thin chocolate layer over the top and let it settle into the gaps. It is the one bake in this list that needs an oven, but it travels well and stays moist for days. Wipe the knife between every cut for those picture-perfect layers.
You will need: 1 batch brownie batter for a 9×13 pan, 3 cups mini marshmallows, 1 cup chopped peanuts or walnuts, 6 oz milk chocolate, 2 tablespoons butter.
How to make it: 1. Bake the brownies as directed. 2. Scatter the marshmallows over the hot brownies and return to the oven for 2 minutes. 3. Melt chocolate and butter and stir in the nuts. 4. Spread the chocolate over the marshmallows. 5. Cool completely, then chill for 1 hour before slicing.
Thin Rocky Road Candy Bark for Gift Bags
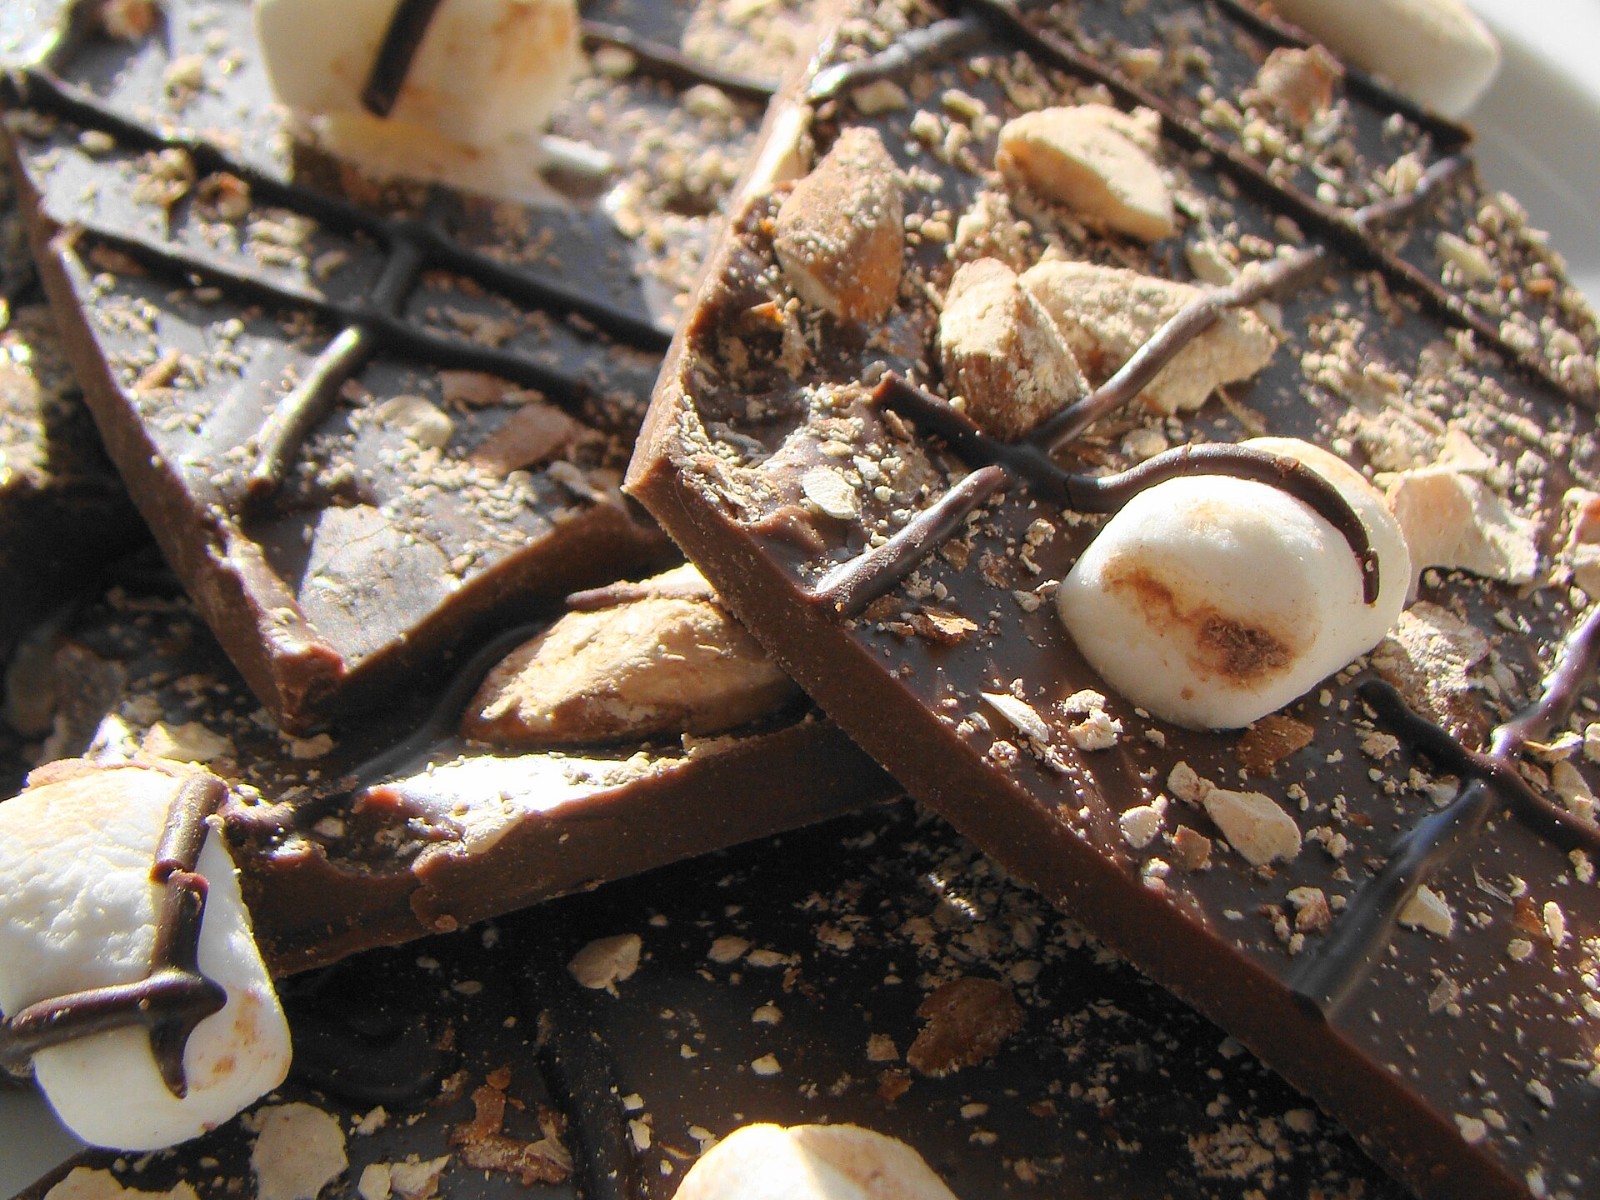
Bark is the speediest version of all. Instead of a deep pan, you spread the chocolate thin on a sheet tray, press marshmallows and nuts on top, then drizzle a second chocolate across in stripes. Once it sets, you snap it into rough shards that slip easily into cellophane bags for teachers, neighbors and the mail carrier. Because it is thin, it sets in under an hour. Use two contrasting chocolates for the prettiest look and press the toppings in firmly so they do not fall off.
You will need: 12 oz dark chocolate, 2 oz white chocolate, 1 1/2 cups mini marshmallows, 1/2 cup chopped toasted almonds.
How to make it: 1. Line a sheet tray with parchment. 2. Melt the dark chocolate and spread it about 1/4 inch thick. 3. Press marshmallows and almonds into the surface. 4. Melt the white chocolate and drizzle it across in thin lines. 5. Chill until firm and break into shards.
Mini Chocolate Marshmallow Cups in Paper Liners

Mini cups are perfect for parties because nobody needs a knife. Spoon the rocky road candy mix into foil or paper candy liners, top each one with a single marshmallow or a nut, and chill. They look like little chocolates from a fancy shop, and you can make three or four flavors from one batch by changing the toppings. Kids love pressing the toppings in. Set them in a mini muffin pan while they chill so they keep a neat round shape, then arrange them in a box with tissue paper.
You will need: 10 oz milk or dark chocolate, 1 cup mini marshmallows, 1/2 cup chopped nuts, 24 mini paper or foil candy cups, extra marshmallows or nuts for topping.
How to make it: 1. Set the candy cups in a mini muffin pan. 2. Melt the chocolate and cool for 5 minutes. 3. Stir in marshmallows and nuts. 4. Spoon into the cups and press a topping on each. 5. Chill for 30 minutes until firm.
Show-Stopping Rocky Road Candy Wreath
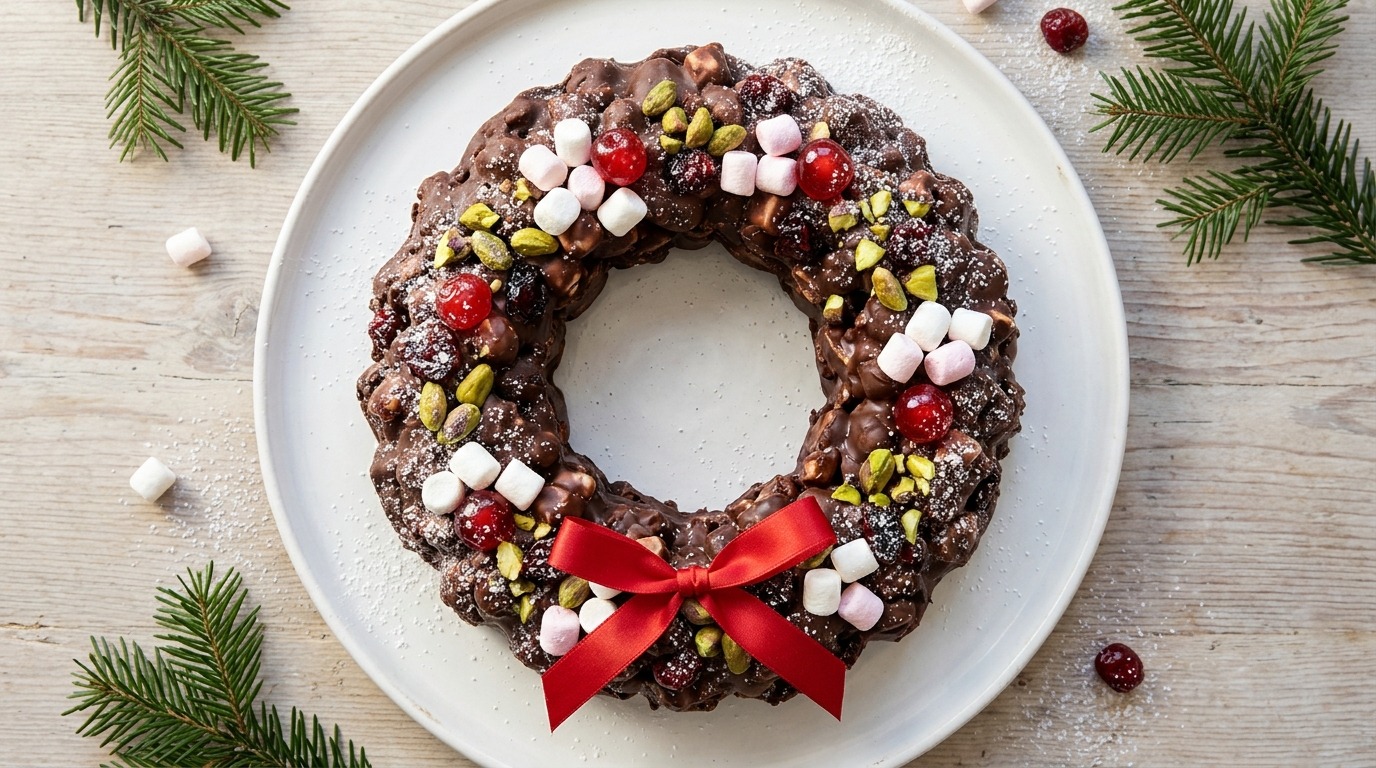
For a centerpiece, shape your rocky road candy into a wreath. Press the mix into a ring cake pan lined with plastic wrap, or around a small glass set in the middle of a round pan. Once set, lift it out, dust it with powdered sugar like fresh snow and tie on a plain red bow. Pistachios, cranberries and cherries give it the green and red holiday look. Guests can break off a piece as they pass, and the slow-set method in the fridge overnight keeps it firm enough to slice cleanly.
You will need: 16 oz dark chocolate, 3 tablespoons butter, 3 cups mini marshmallows, 3/4 cup pistachios, 1/2 cup dried cranberries, 1/2 cup red glace cherries, powdered sugar for dusting.
How to make it: 1. Line a ring pan with plastic wrap. 2. Melt chocolate and butter, then cool for 5 minutes. 3. Fold in the marshmallows, pistachios, cranberries and cherries. 4. Press firmly into the ring and chill overnight. 5. Turn out onto a platter, dust with sugar and add a ribbon.
Australian-Style Biscuit Slice With a Buttery Crunch
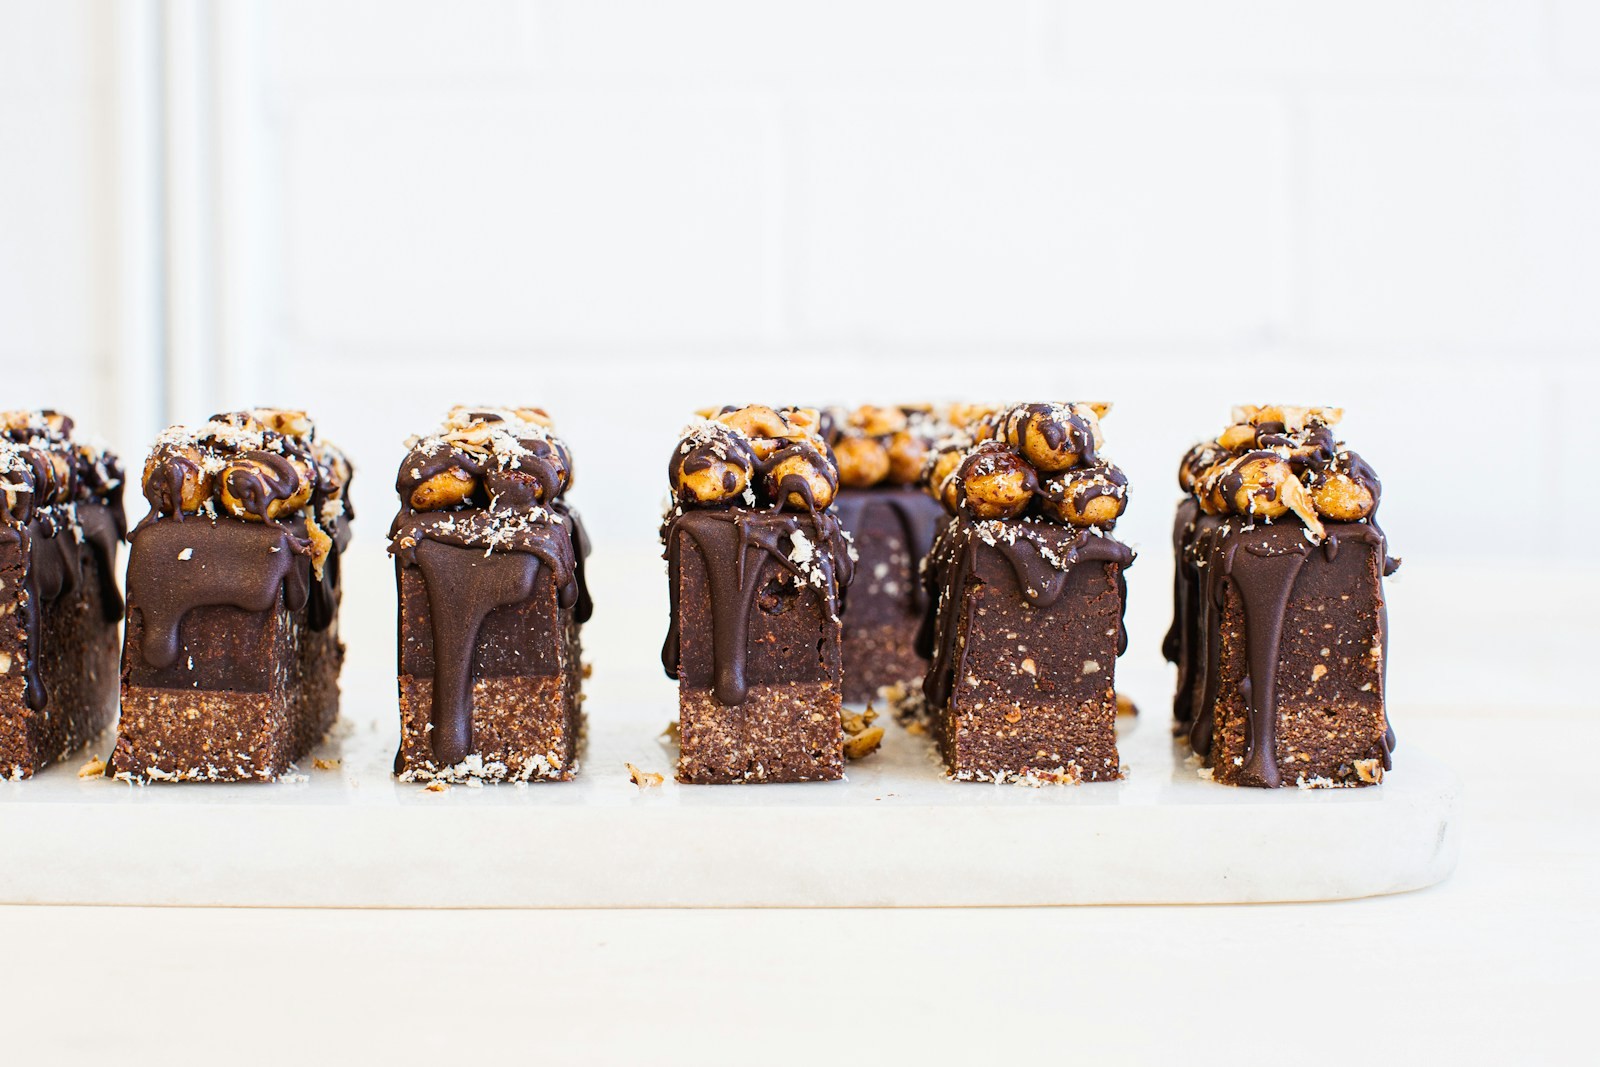
In Australia and the UK, rocky road candy almost always has broken biscuits inside, and many bakers press it over a crumb base too. The cookies add a buttery crunch and stretch the chocolate further, which made it a budget favorite for school fairs. Plain tea biscuits or graham crackers both work. Some families add shredded coconut or chewy jelly candies for color. Chill it fully before cutting into neat bars, and keep the pieces small, because this one is surprisingly filling.
You will need: 12 oz milk chocolate, 3 tablespoons butter, 2 tablespoons golden or corn syrup, 2 cups broken plain biscuits, 2 cups mini marshmallows, 1/2 cup roasted hazelnuts.
How to make it: 1. Line an 8 inch pan with parchment. 2. Melt chocolate, butter and syrup together gently. 3. Cool for 5 minutes, then fold in biscuits, marshmallows and hazelnuts. 4. Press firmly into the pan and smooth the top. 5. Chill for 3 hours and cut into bars.
How to Cut Clean Squares and Pack a Holiday Tin
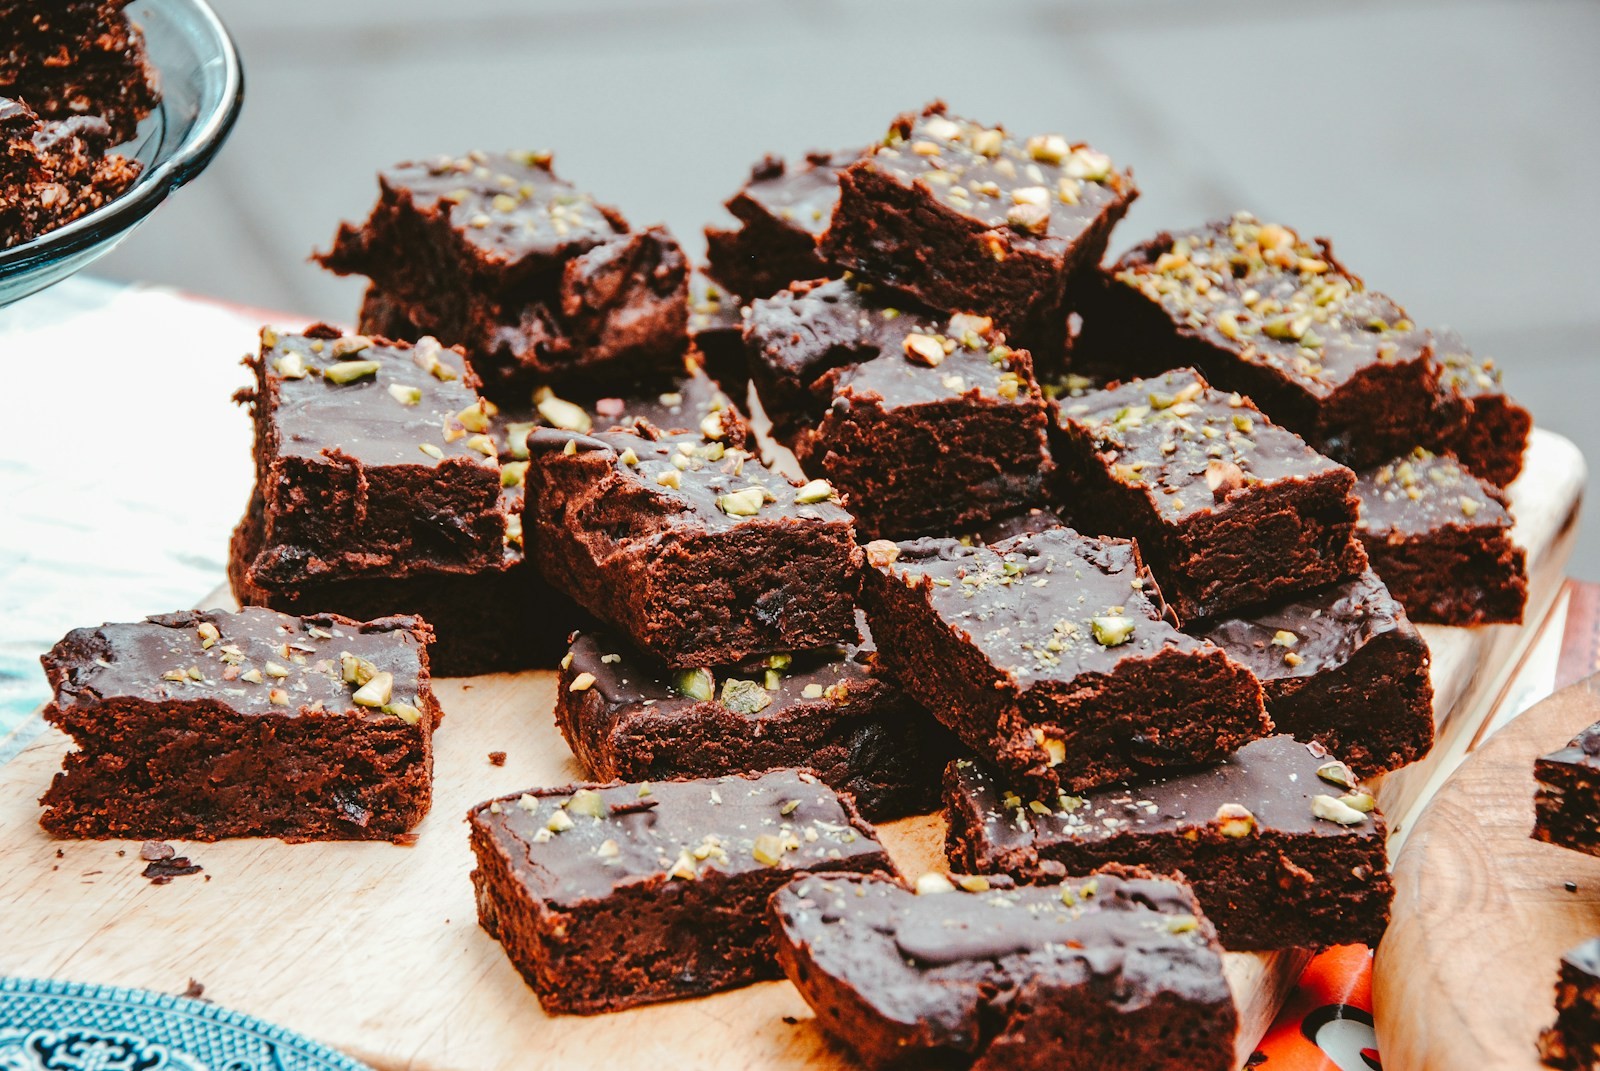
Neat squares make homemade candy look professional. Chill the slab fully, then let it sit at room temperature for 10 minutes so the chocolate does not crack. Use a long sharp knife dipped in hot water and wiped dry before every cut, pressing straight down rather than sawing. To pack a tin, line it with parchment, put sturdier squares at the bottom and clusters on top, and separate layers with wax paper. Most rocky road candy keeps for two weeks in a cool spot, which is perfect for holiday gifting.
You will need: A long sharp knife, a jug of hot water, a clean towel, a ruler, parchment and wax paper, a cookie tin.
How to make it: 1. Chill the slab for at least 2 hours, then rest it for 10 minutes. 2. Lift it out of the pan with the parchment. 3. Mark even lines with a ruler. 4. Cut straight down with a hot, dry knife, wiping between cuts. 5. Layer the squares in a lined tin with wax paper between layers.