Vintage Kitchen Gadgets: 16 Tools Grandma Used and the Holiday Recipes She Made With Them
Vintage kitchen gadgets filled grandma’s drawers long before anyone owned an air fryer, and many of them still make the best holiday recipes. The hand-crank egg beater, the flour sifter, the cookie press and the gelatin ring mold all had one special dish they were famous for. Videos about old kitchen tools are a hit online, with several passing a million views on YouTube, like this look at old fashioned kitchen gadgets, and people still argue about whether they work better than modern tools. Each slide below pairs one old tool with the classic recipe it made, with a short shopping list and simple steps. Count how many you remember, and check the back of your own drawer..
Vintage Kitchen Gadgets Start in Grandma’s Drawer
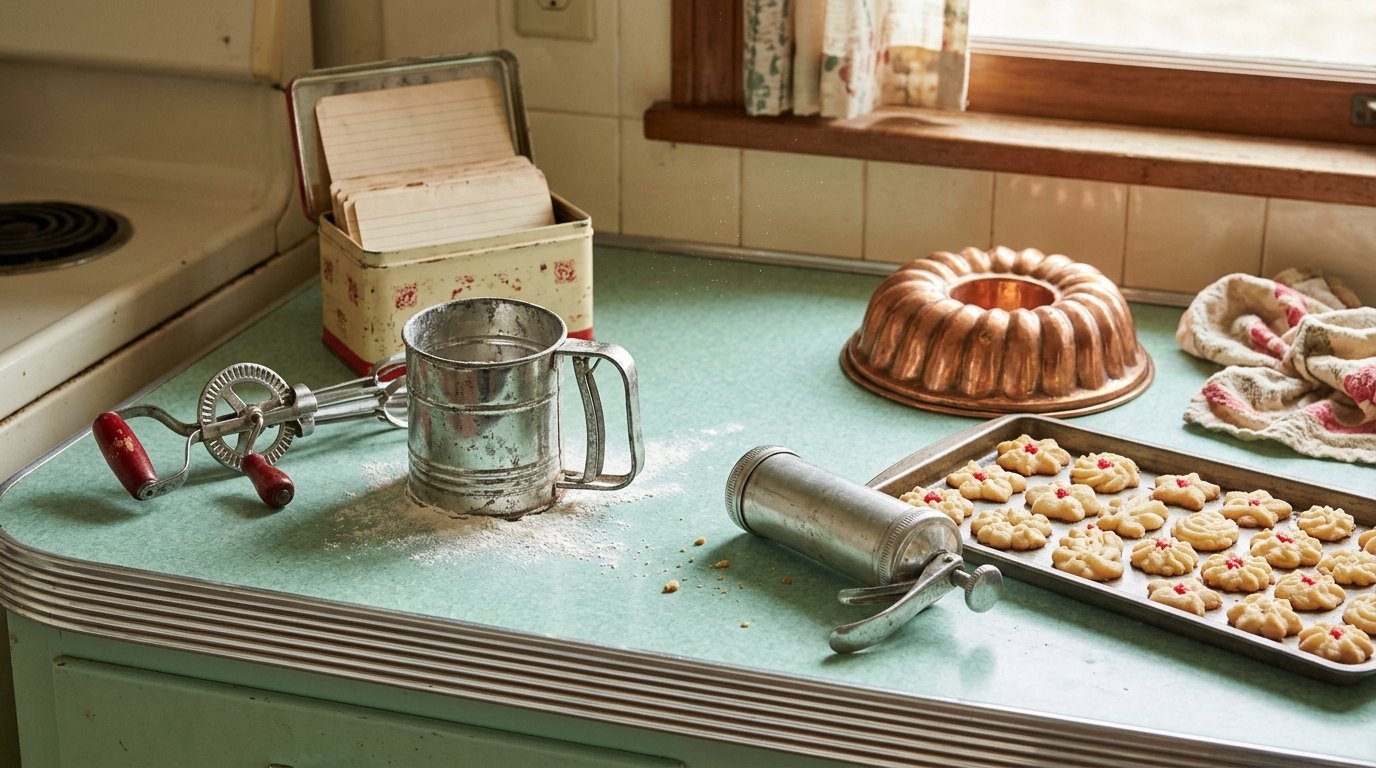
Open grandma’s kitchen drawer and you would find a whole history of American baking: an egg beater with a crank, a sifter with a squeaky handle, a cookie press with a stack of shaped discs and a tin full of handwritten cards. These tools were built to last for decades, and many families still use them every December. How many of these do you still have: A: none, B: a few or C: the whole drawer?..
You will need: A drawer of old tools, a free afternoon and a favorite family recipe card. For grandma’s vanilla glaze for any cake: 1 cup powdered sugar, 2 tablespoons milk, 1/2 teaspoon vanilla.
How to make it: 1. Pick one old tool you have, or borrow one from a relative. 2. Wash it well in warm soapy water. 3. Dry metal tools right away so they do not rust. 4. Find the recipe that goes with it on the slides below. 5. For the glaze, whisk the sugar, milk and vanilla until smooth. 6. Drizzle over a warm cake and share the story behind the tool.
Vintage Kitchen Gadgets for Baking: The Flour Sifter and Angel Food Cake
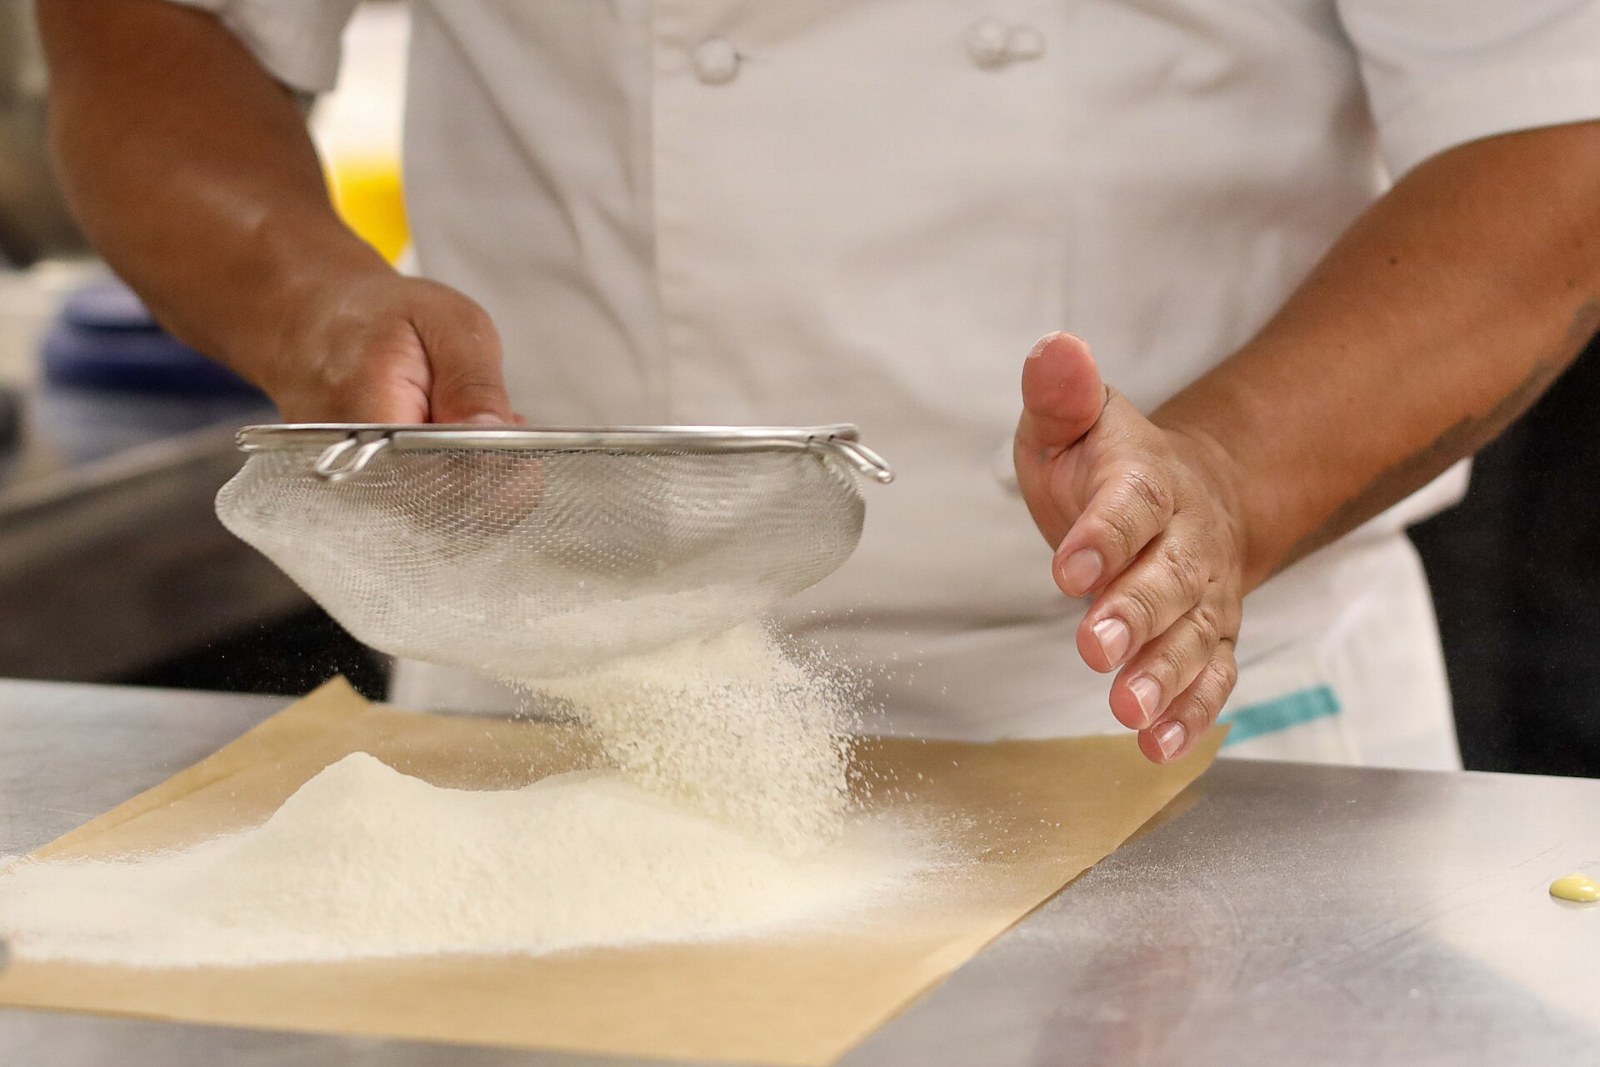
Before bags of flour were pre-sifted, every serious baker cranked a metal sifter. For angel food cake it still matters, because sifting the flour and sugar several times makes the cake light as a cloud. Grandma sifted three or four times, and you can taste the difference. Do you own a sifter, or do you use a whisk?
You will need: 1 cup cake flour, 1 1/2 cups sugar divided, 12 egg whites at room temperature, 1 1/2 teaspoons cream of tartar, 1/4 teaspoon salt, 1 1/2 teaspoons vanilla.
How to make it: 1. Heat the oven to 350 F. 2. Sift the flour with 3/4 cup sugar three times. 3. Beat the egg whites, cream of tartar and salt to soft peaks. 4. Beat in the rest of the sugar until glossy, then add vanilla. 5. Sift the flour mix over the whites in 4 parts and fold gently. 6. Bake in an ungreased tube pan 35 to 40 minutes, then cool upside down.
The Hand-Crank Egg Beater and Meringue
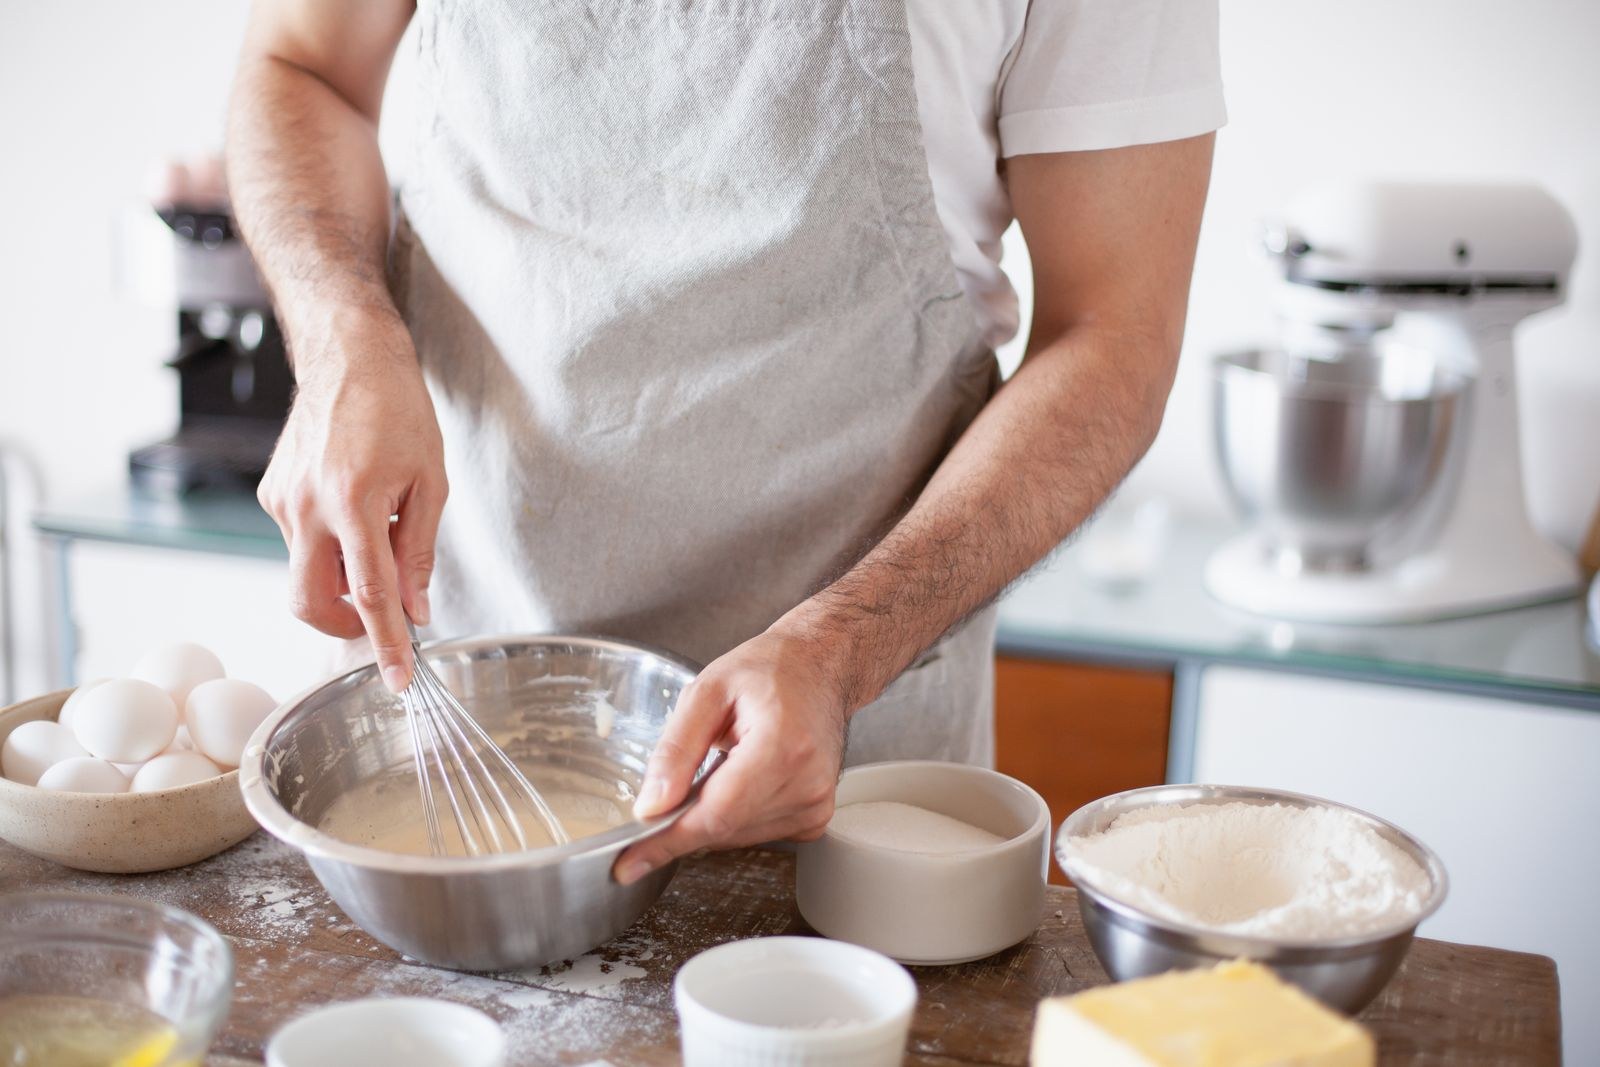
The rotary egg beater with its little crank handle was the stand mixer of its day. It whips egg whites into glossy meringue with nothing but elbow grease, and many cooks say it gives better control than an electric mixer. It is one of the vintage kitchen gadgets kids loved to take turns cranking. Did you ever get to help?
You will need: 4 egg whites at room temperature, 1/4 teaspoon cream of tartar, 1 cup sugar, 1 teaspoon vanilla, pinch of salt.
How to make it: 1. Heat the oven to 225 F and line a baking sheet. 2. Crank the egg whites and cream of tartar until foamy. 3. Add the sugar a spoonful at a time while beating. 4. Keep cranking until stiff, glossy peaks form. 5. Beat in the vanilla and salt. 6. Spoon small mounds onto the sheet and bake 1 1/2 hours, then leave in the oven to cool.
The Pastry Blender and Flaky Biscuits
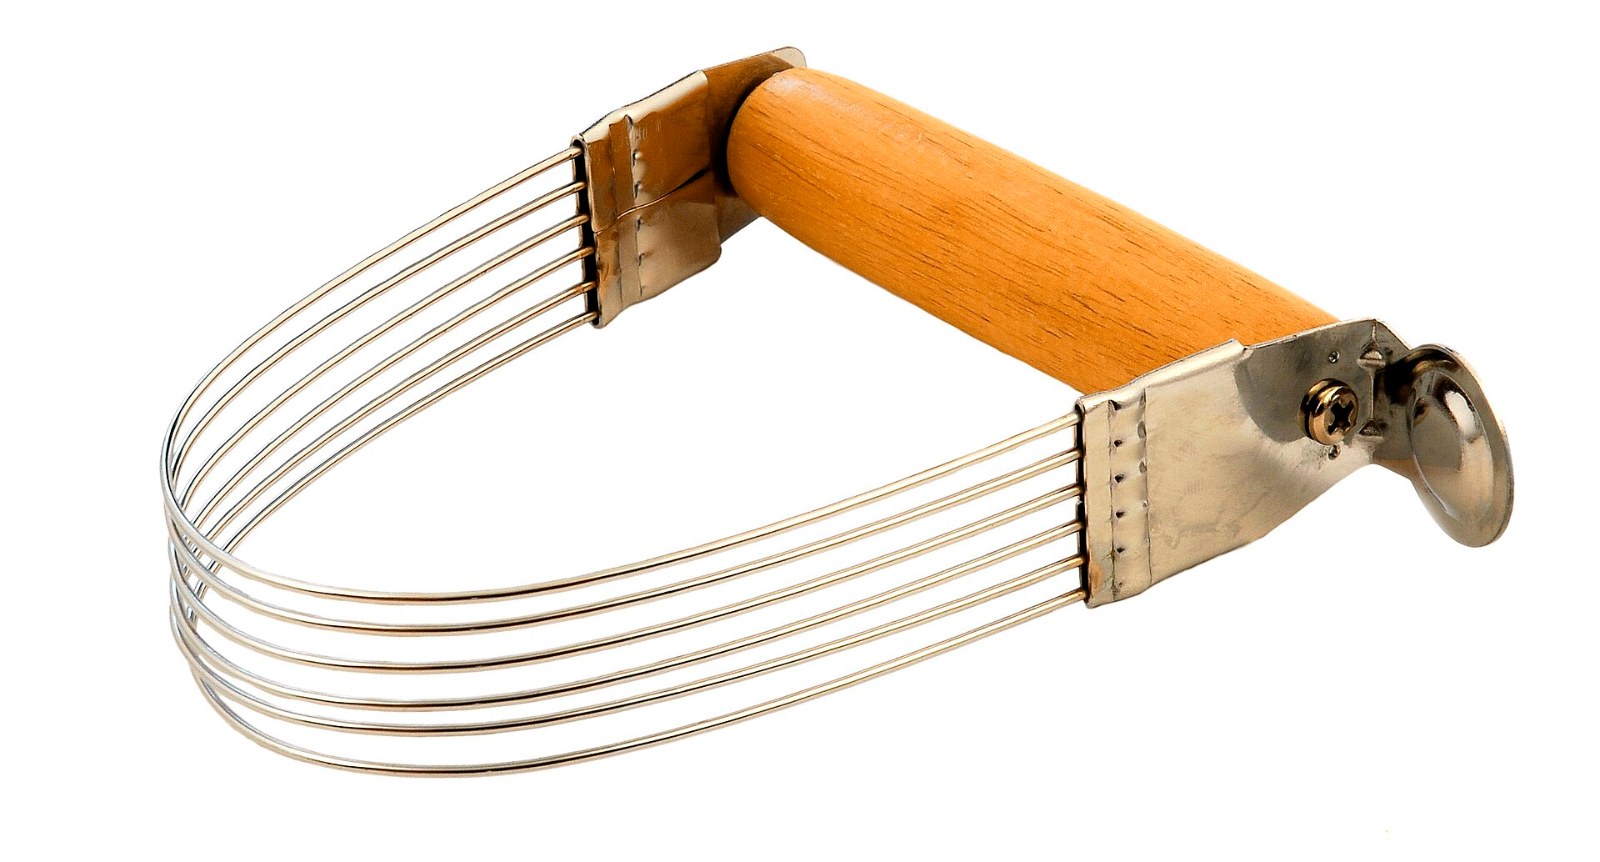
That curved row of wires on a handle is a pastry blender, and it was grandma’s secret to flaky biscuits. It cuts cold butter into flour without warming it up the way fingers do. The little pea-size bits of butter make steam in the oven and create tall, flaky layers. It is one of the vintage kitchen gadgets bakers still swear by. Are you team A: biscuits with butter or B: biscuits with gravy?
You will need: 2 cups flour, 1 tablespoon baking powder, 1 teaspoon sugar, 1 teaspoon salt, 6 tablespoons cold butter in cubes, 3/4 cup cold buttermilk.
How to make it: 1. Heat the oven to 450 F. 2. Mix the flour, baking powder, sugar and salt. 3. Cut in the butter with the pastry blender until it looks like coarse crumbs. 4. Stir in the buttermilk just until combined. 5. Pat out 1 inch thick, fold twice and cut biscuits. 6. Bake 12 to 14 minutes until golden.
The Pie Bird and Double-Crust Apple Pie
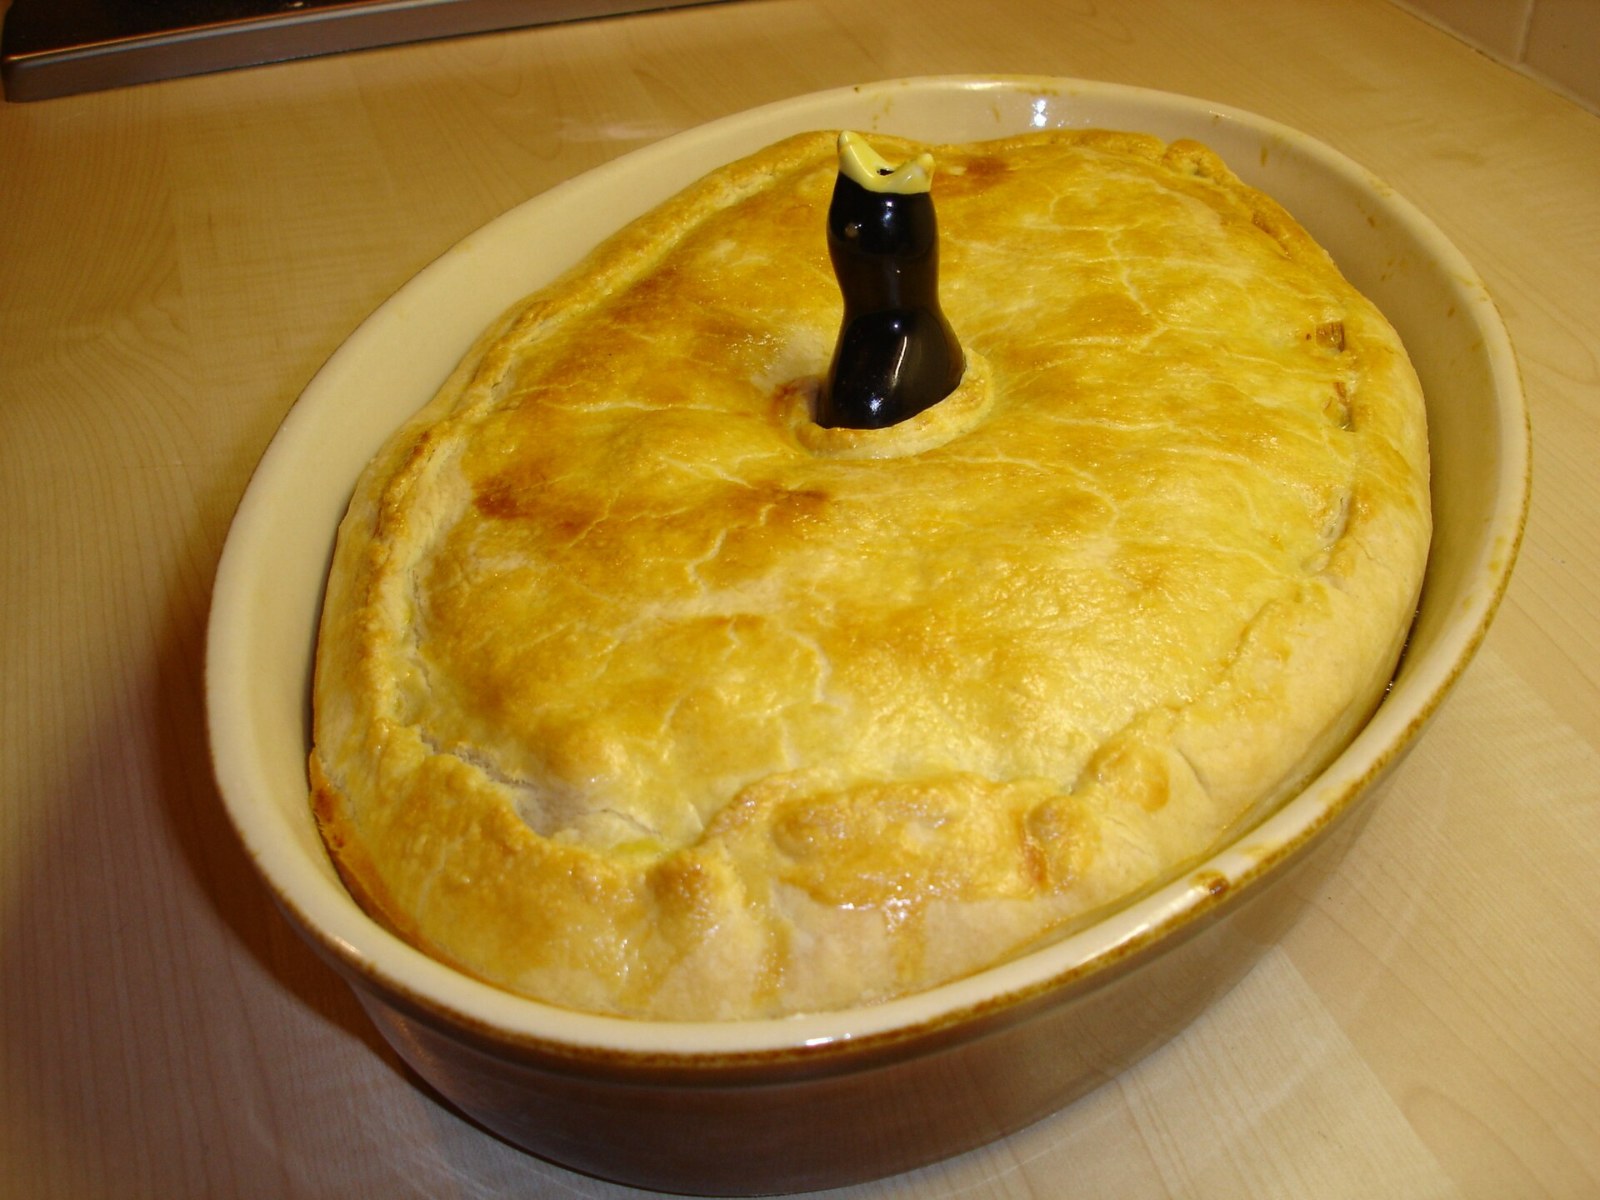
A pie bird is a little ceramic bird that sits in the middle of a pie with its beak poking through the top crust. It lets steam escape so the filling does not bubble over, and it is one of the most charming vintage kitchen gadgets ever made. Many families still set one in the center of the Thanksgiving apple pie. Have you ever seen one in action?
You will need: Pastry for a 9 inch double crust pie, 6 to 7 apples peeled and sliced, 3/4 cup sugar, 2 tablespoons flour, 1 teaspoon cinnamon, 1/4 teaspoon nutmeg, 1 tablespoon lemon juice, 2 tablespoons butter, 1 egg for brushing, a ceramic pie bird.
How to make it: 1. Heat the oven to 425 F. 2. Line the pie plate with the bottom crust and stand the pie bird in the center. 3. Toss the apples with sugar, flour, spices and lemon and pile them around the bird. 4. Dot with butter. 5. Cut a small hole in the top crust, lay it over so the beak pokes through, seal and brush with egg. 6. Bake 45 to 50 minutes until golden and bubbling.
Vintage Kitchen Gadgets for Christmas: The Cookie Press
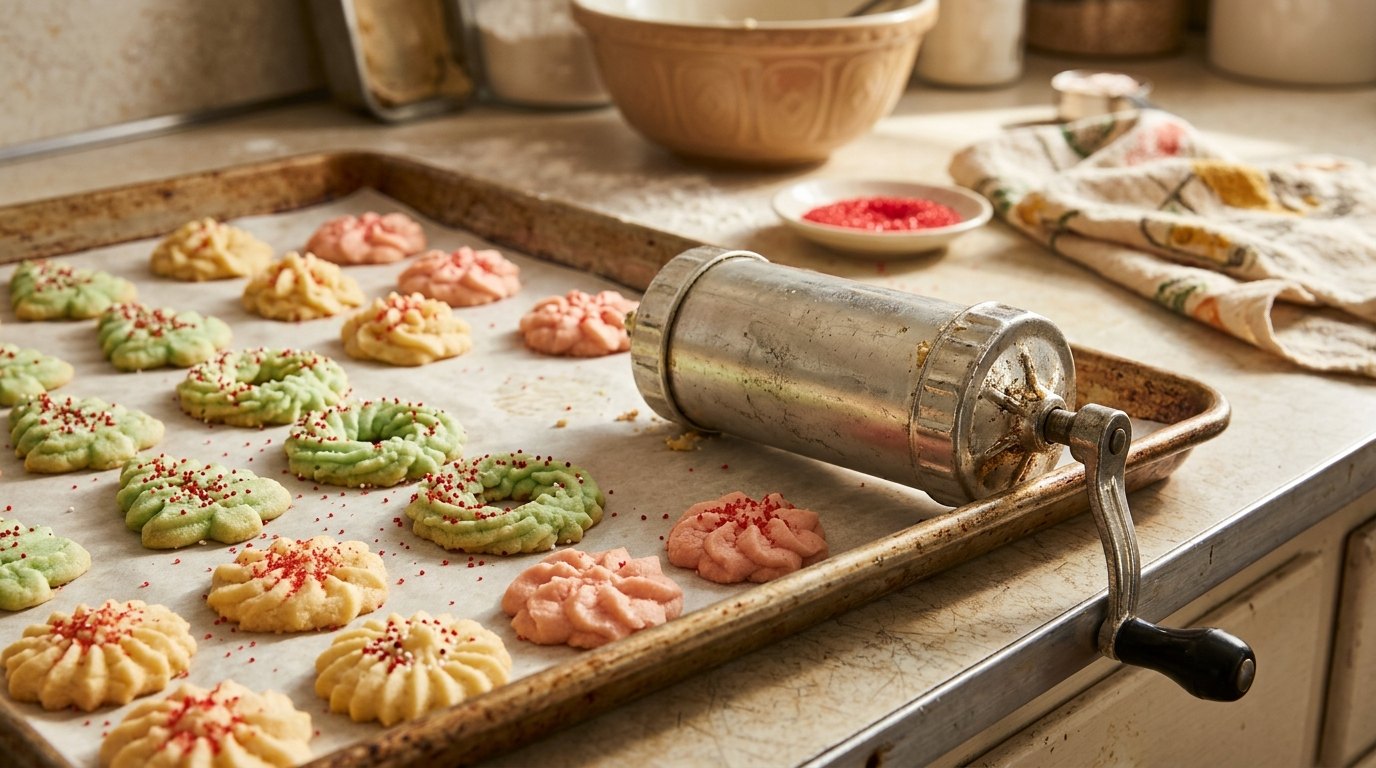
The cookie press came out every December in homes across America. Fill the metal tube with buttery dough, choose a disc and crank out trees, wreaths and flowers in seconds. Spritz cookies are tender, rich and pretty enough for any cookie tray. Tip: do not chill the dough, or it will not press. Which shape was your favorite: A: tree, B: wreath or C: flower?
You will need: 1 cup soft butter, 2/3 cup sugar, 1 egg, 1 teaspoon vanilla, 1/2 teaspoon almond extract, 2 1/4 cups flour, 1/2 teaspoon salt, food coloring, colored sugar and sprinkles.
How to make it: 1. Heat the oven to 375 F. 2. Beat the butter and sugar until fluffy, then add egg and extracts. 3. Mix in the flour and salt and tint with food coloring if you like. 4. Fill the press and choose a disc. 5. Press cookies onto an ungreased cool baking sheet and add sprinkles. 6. Bake 7 to 9 minutes until set but not brown.
The Gelatin Ring Mold and Cranberry Ring Salad
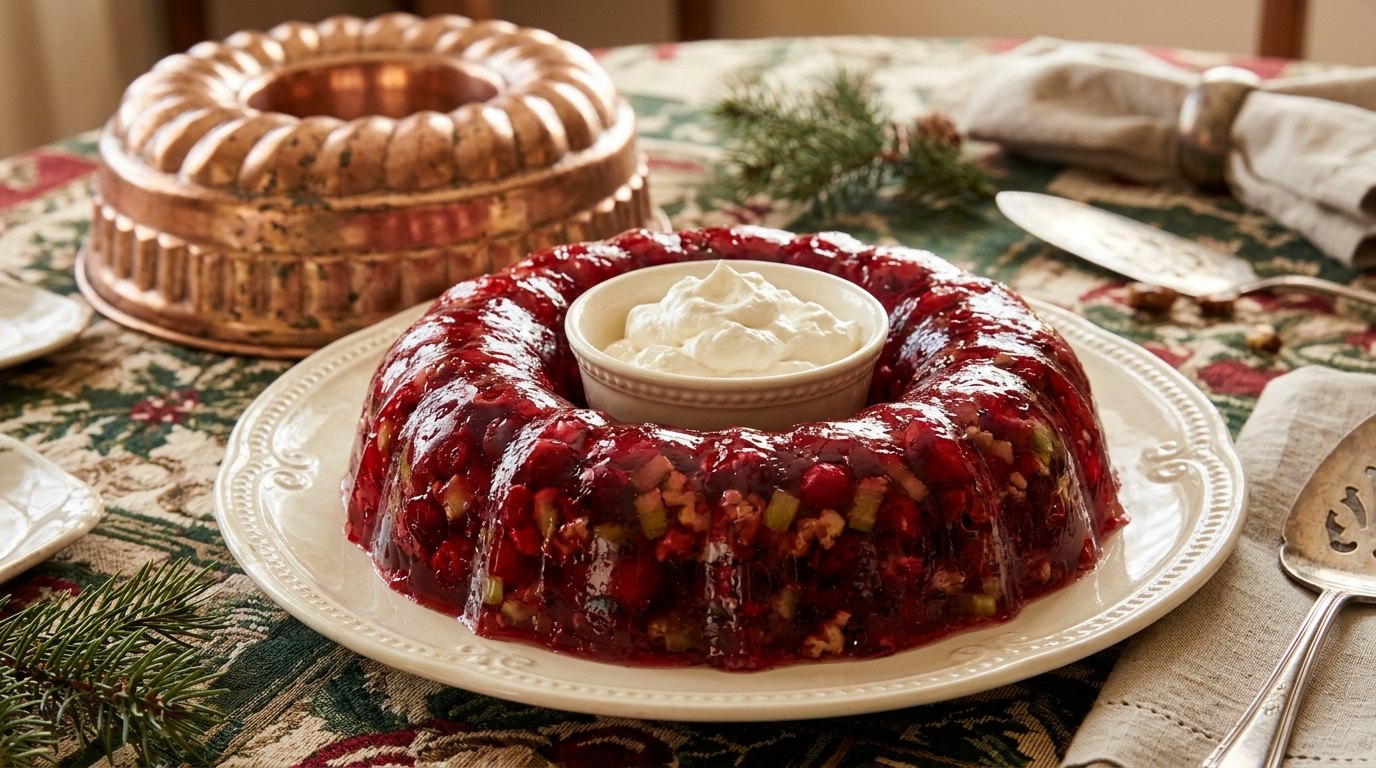
Every 1950s holiday table had a shimmering gelatin ring, and the copper or aluminum mold often hung on the kitchen wall the rest of the year. A cranberry ring salad with celery and nuts is tangy, crunchy and a beautiful ruby red. Tip: dip the mold in warm water for 10 seconds and it slides right out. Would you put it on your table today?
You will need: 2 boxes (3 oz each) raspberry or cherry gelatin, 2 cups boiling water, 1 can (14 oz) whole berry cranberry sauce, 1 can (8 oz) crushed pineapple with juice, 1 cup chopped celery, 1/2 cup chopped walnuts, cooking spray.
How to make it: 1. Spray a 6 cup ring mold lightly. 2. Dissolve the gelatin in the boiling water. 3. Stir in the cranberry sauce and pineapple. 4. Chill until slightly thick, about 1 hour. 5. Fold in the celery and nuts and pour into the mold. 6. Chill 4 hours until firm, then dip in warm water and unmold.
The Stovetop Percolator and Sour Cream Coffee Cake
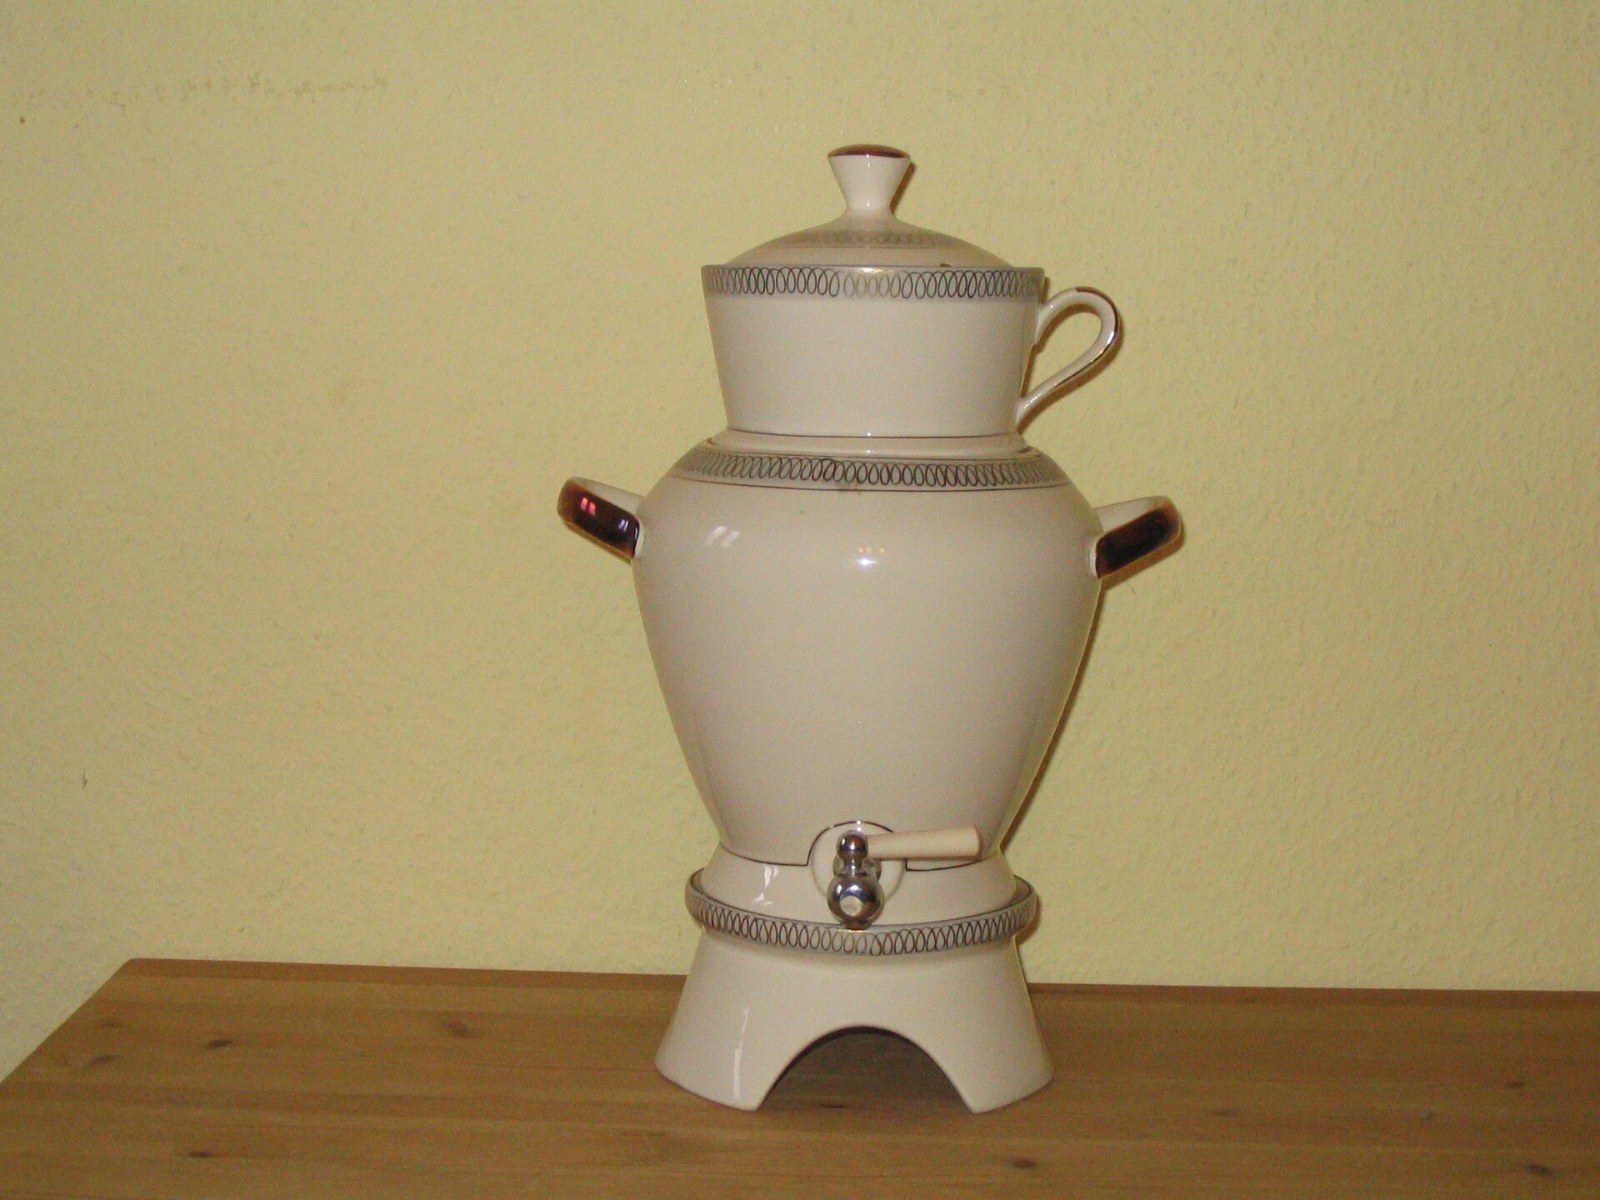
The gurgle of a stovetop percolator was the morning alarm in many homes. Coffee bubbled up through the little glass knob on top, and the smell filled the whole house. Grandma served it with a slice of sour cream coffee cake, rich and tender with a cinnamon streak in the middle. It is one of the vintage kitchen gadgets that brings back the strongest memories. Do you remember that sound?
You will need: Cake: 1/2 cup soft butter, 1 cup sugar, 2 eggs, 1 cup sour cream, 1 teaspoon vanilla, 2 cups flour, 1 teaspoon baking powder, 1 teaspoon baking soda, 1/4 teaspoon salt. Streusel: 1/2 cup brown sugar, 1/2 cup chopped pecans, 2 teaspoons cinnamon, 2 tablespoons flour, 2 tablespoons butter.
How to make it: 1. Heat the oven to 350 F and grease a 9×13 pan. 2. Mix the streusel ingredients into crumbs. 3. Beat the butter and sugar, then add the eggs, sour cream and vanilla. 4. Stir in the dry ingredients. 5. Spread half the batter, add half the streusel, then the rest of the batter and streusel. 6. Bake 35 to 40 minutes.
Vintage Kitchen Gadgets for Dinner: The Meat Grinder and Meatloaf
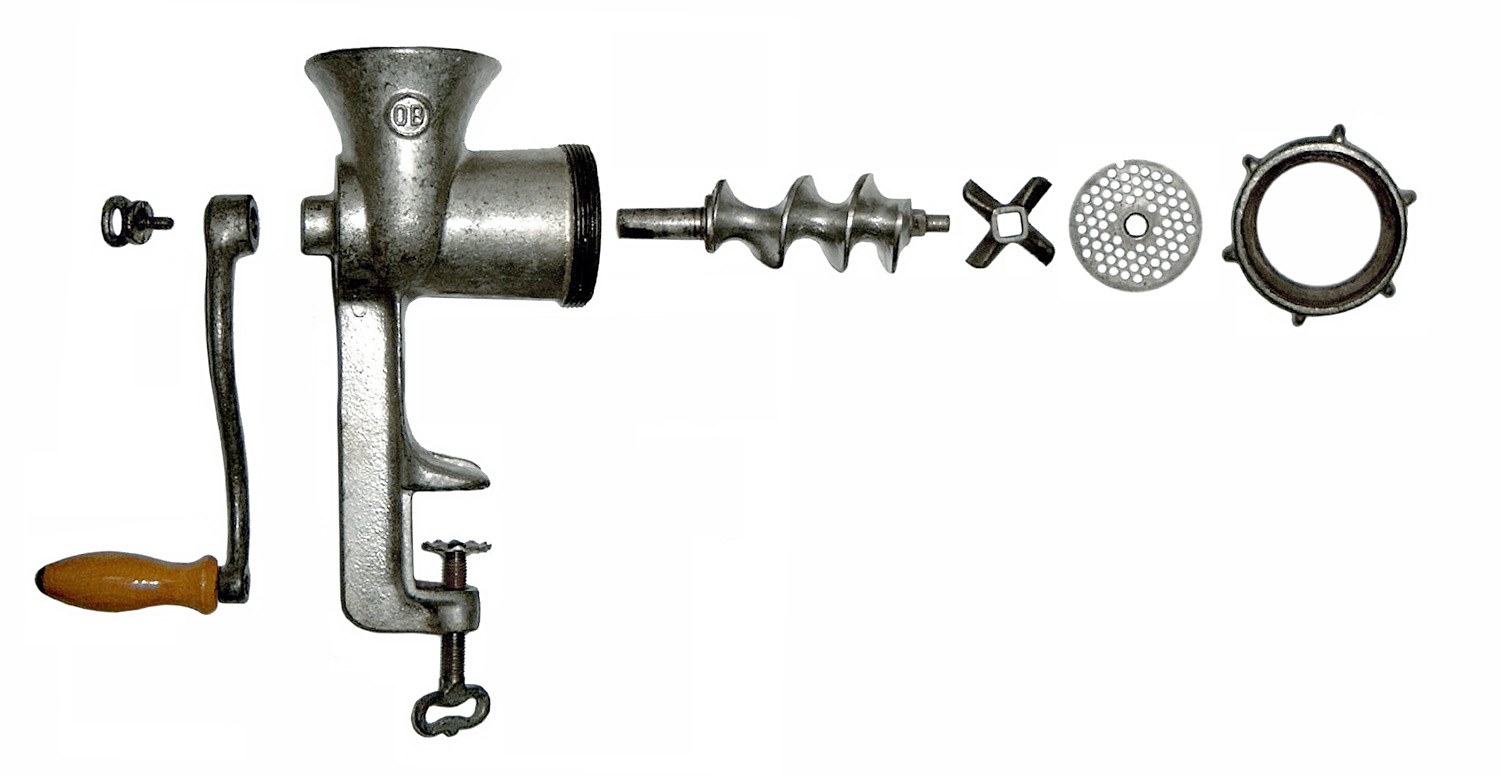
The cast iron meat grinder clamped to the edge of the kitchen table was serious business, and one of the heaviest vintage kitchen gadgets grandma owned. Grandma ground her own chuck for meatloaf, and the coarse texture made it juicy and tender. Today you can use ground beef from the store, but the classic recipe with a sweet ketchup glaze has not changed. Is meatloaf night A: a favorite or B: a hard pass at your house?
You will need: 2 pounds ground chuck, 1 cup fresh breadcrumbs, 1/2 cup milk, 2 eggs, 1 small onion grated, 2 cloves garlic, 1 tablespoon Worcestershire sauce, 1 teaspoon salt, 1/2 teaspoon pepper. Glaze: 1/2 cup ketchup, 2 tablespoons brown sugar, 1 tablespoon vinegar.
How to make it: 1. Heat the oven to 350 F. 2. Soak the breadcrumbs in the milk for 5 minutes. 3. Mix in the beef, eggs, onion, garlic, Worcestershire, salt and pepper gently. 4. Shape into a loaf in a baking dish. 5. Stir the glaze together and spread half on top. 6. Bake 1 hour, add the rest of the glaze and bake 10 minutes more.
The Apple Peeler-Corer and Slow Cooker Apple Butter
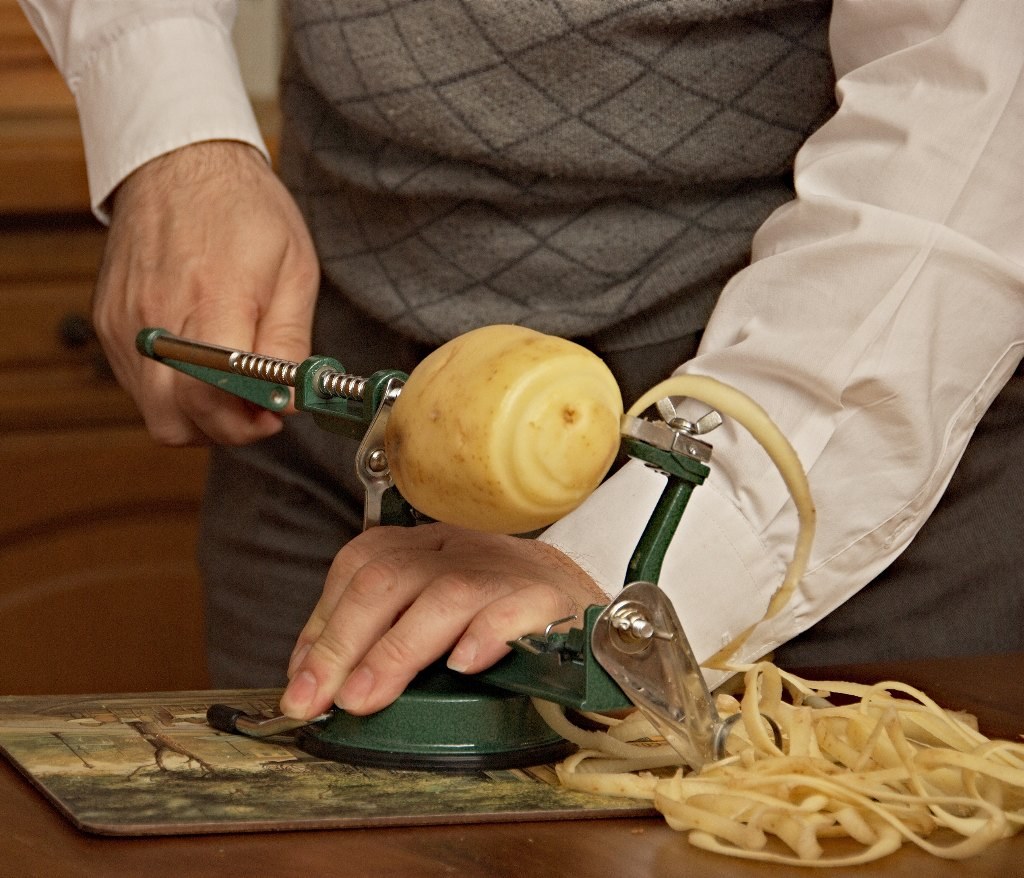
Clamp it to the counter, push an apple onto the prongs and turn the crank. The peeler-corer peels, cores and slices in one long spiral, and kids line up to take a turn. Of all the vintage kitchen gadgets, kids love this one most. In apple season it made quick work of a whole bushel for apple butter. Tip: save the long peel spirals for kids to snack on. Have you ever used one?
You will need: 6 pounds apples peeled, cored and sliced, 1 cup brown sugar, 1/2 cup sugar, 1 tablespoon cinnamon, 1/4 teaspoon cloves, 1/4 teaspoon nutmeg, 1/4 teaspoon salt, 1 tablespoon vanilla.
How to make it: 1. Peel, core and slice the apples with the peeler-corer. 2. Put them in a slow cooker with the sugars, spices and salt. 3. Cover and cook on low 10 hours, stirring once or twice. 4. Stir in the vanilla. 5. Blend until smooth and cook uncovered 1 to 2 hours more until thick. 6. Cool and store in jars in the fridge.
The Butter Churn and Homemade Butter
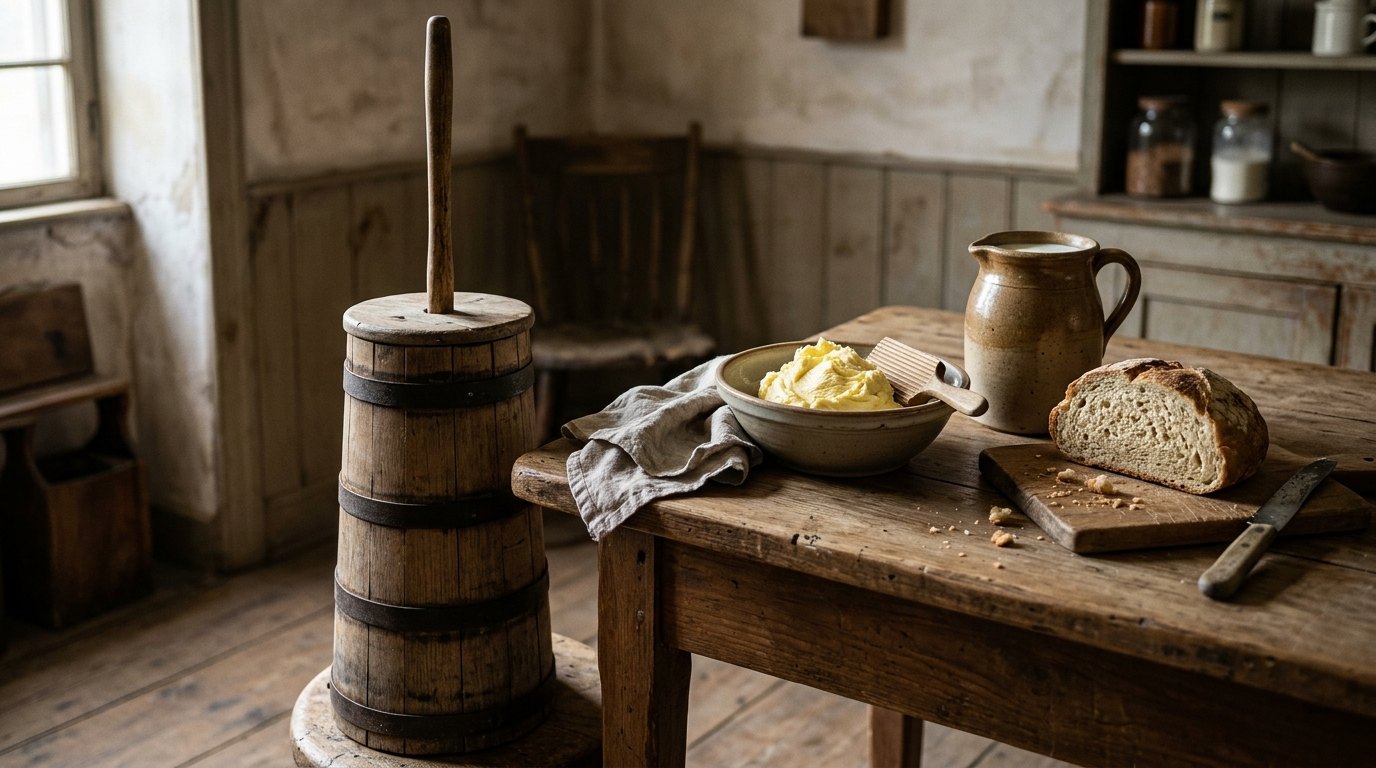
Long before grocery store butter, families churned their own from cream. Most kids today have never seen a real churn, but you can get the same result in a jar. Shake heavy cream until it turns to whipped cream, then suddenly splits into butter and buttermilk. It is the best science lesson in the kitchen, and a fun way to copy one of the oldest vintage kitchen gadgets with a simple jar. Will you try it with your kids?
You will need: 2 cups cold heavy cream, a large jar with a tight lid, ice water, 1/4 teaspoon salt, warm bread for serving.
How to make it: 1. Pour the cream into the jar and close it tight. 2. Shake hard for 10 to 15 minutes, taking turns. 3. Keep going past whipped cream until a lump of butter separates. 4. Pour off the buttermilk and save it for baking. 5. Rinse the butter in ice water, pressing out the liquid. 6. Mix in the salt and spread on warm bread.
Vintage Kitchen Gadgets on the Stove: The Waffle Iron
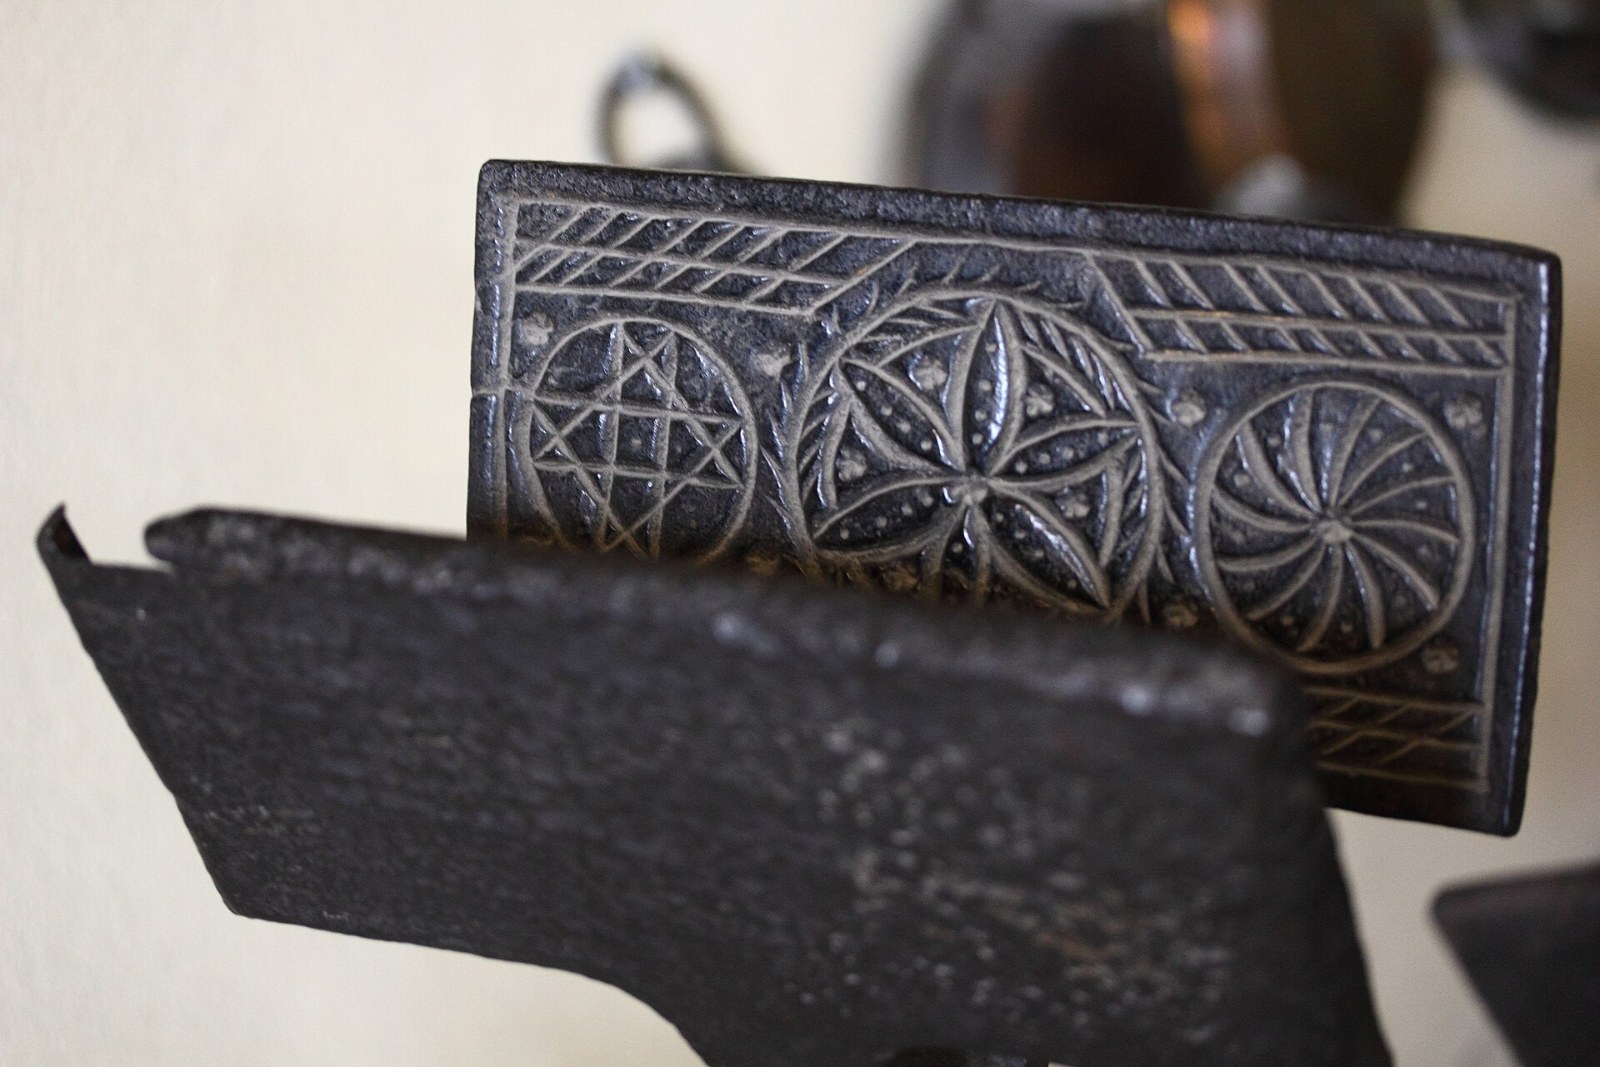
Before electric waffle makers, there were cast iron waffle irons that sat right on the stove burner and flipped on a hinge. They make crisp, deep-pocketed waffles, and collectors still hunt for them at flea markets. Buttermilk waffles are the classic recipe that came with them. Do you top yours with A: butter and syrup or B: fruit and cream?
You will need: 2 cups flour, 2 tablespoons sugar, 2 teaspoons baking powder, 1 teaspoon baking soda, 1/2 teaspoon salt, 2 cups buttermilk, 2 eggs, 1/3 cup melted butter, butter and maple syrup.
How to make it: 1. Heat the waffle iron on the stove over medium, flipping to heat both sides. 2. Whisk the dry ingredients. 3. Whisk the buttermilk, eggs and butter and stir into the dry mix. 4. Brush the iron with butter. 5. Pour in batter, close and cook 2 to 3 minutes per side. 6. Serve hot with butter and syrup.
The Wooden Rolling Pin and Christmas Sugar Cookies
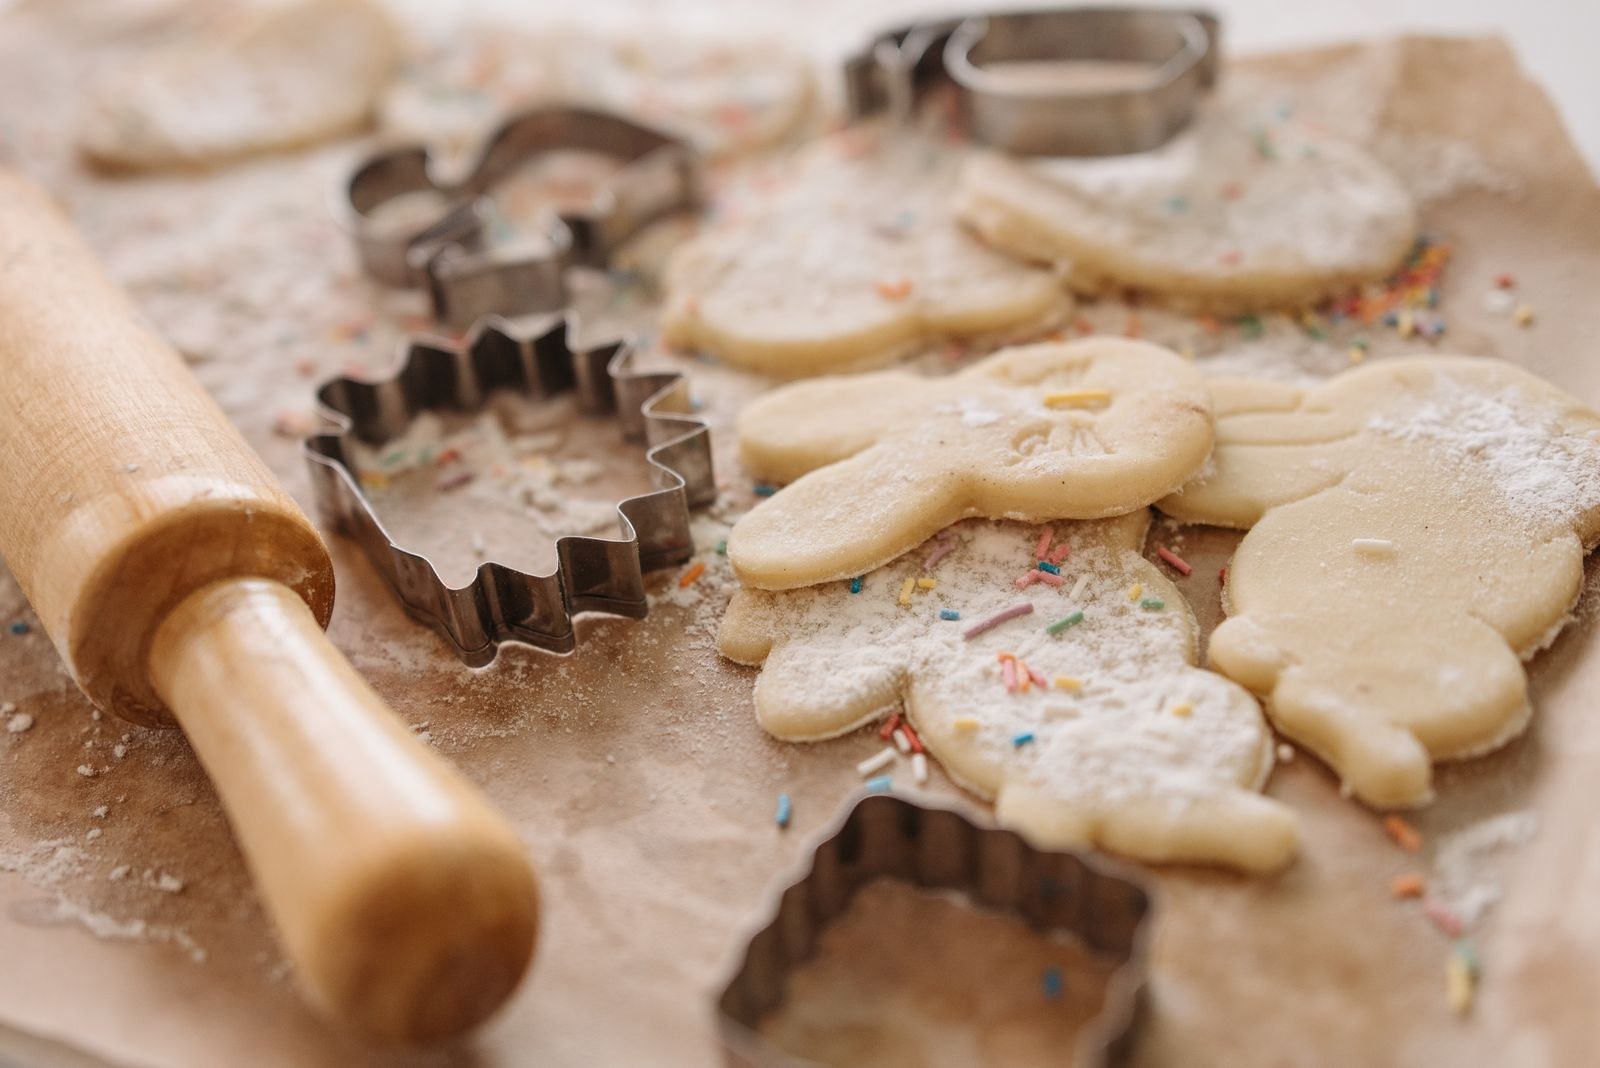
Grandma’s wooden rolling pin and her old tin cookie cutters came out every December. The rolling pin was smooth from years of use, and the cutters were bent into stars, bells and angels. These vintage kitchen gadgets were often passed down to the next generation. A simple sugar cookie dough that holds its shape is all you need. Tip: roll the dough between two sheets of parchment so it never sticks. Which cutter was your favorite?
You will need: 1 cup soft butter, 1 cup sugar, 1 egg, 1 teaspoon vanilla, 1/2 teaspoon almond extract, 2 3/4 cups flour, 1 teaspoon baking powder, 1/2 teaspoon salt, icing and sprinkles.
How to make it: 1. Beat the butter and sugar, then add the egg and extracts. 2. Mix in the flour, baking powder and salt. 3. Roll the dough 1/4 inch thick between parchment sheets and chill 30 minutes. 4. Heat the oven to 350 F. 5. Cut shapes and bake 8 to 10 minutes. 6. Cool and decorate with icing and sprinkles.
The Hand-Crank Ice Cream Freezer and Vanilla Custard
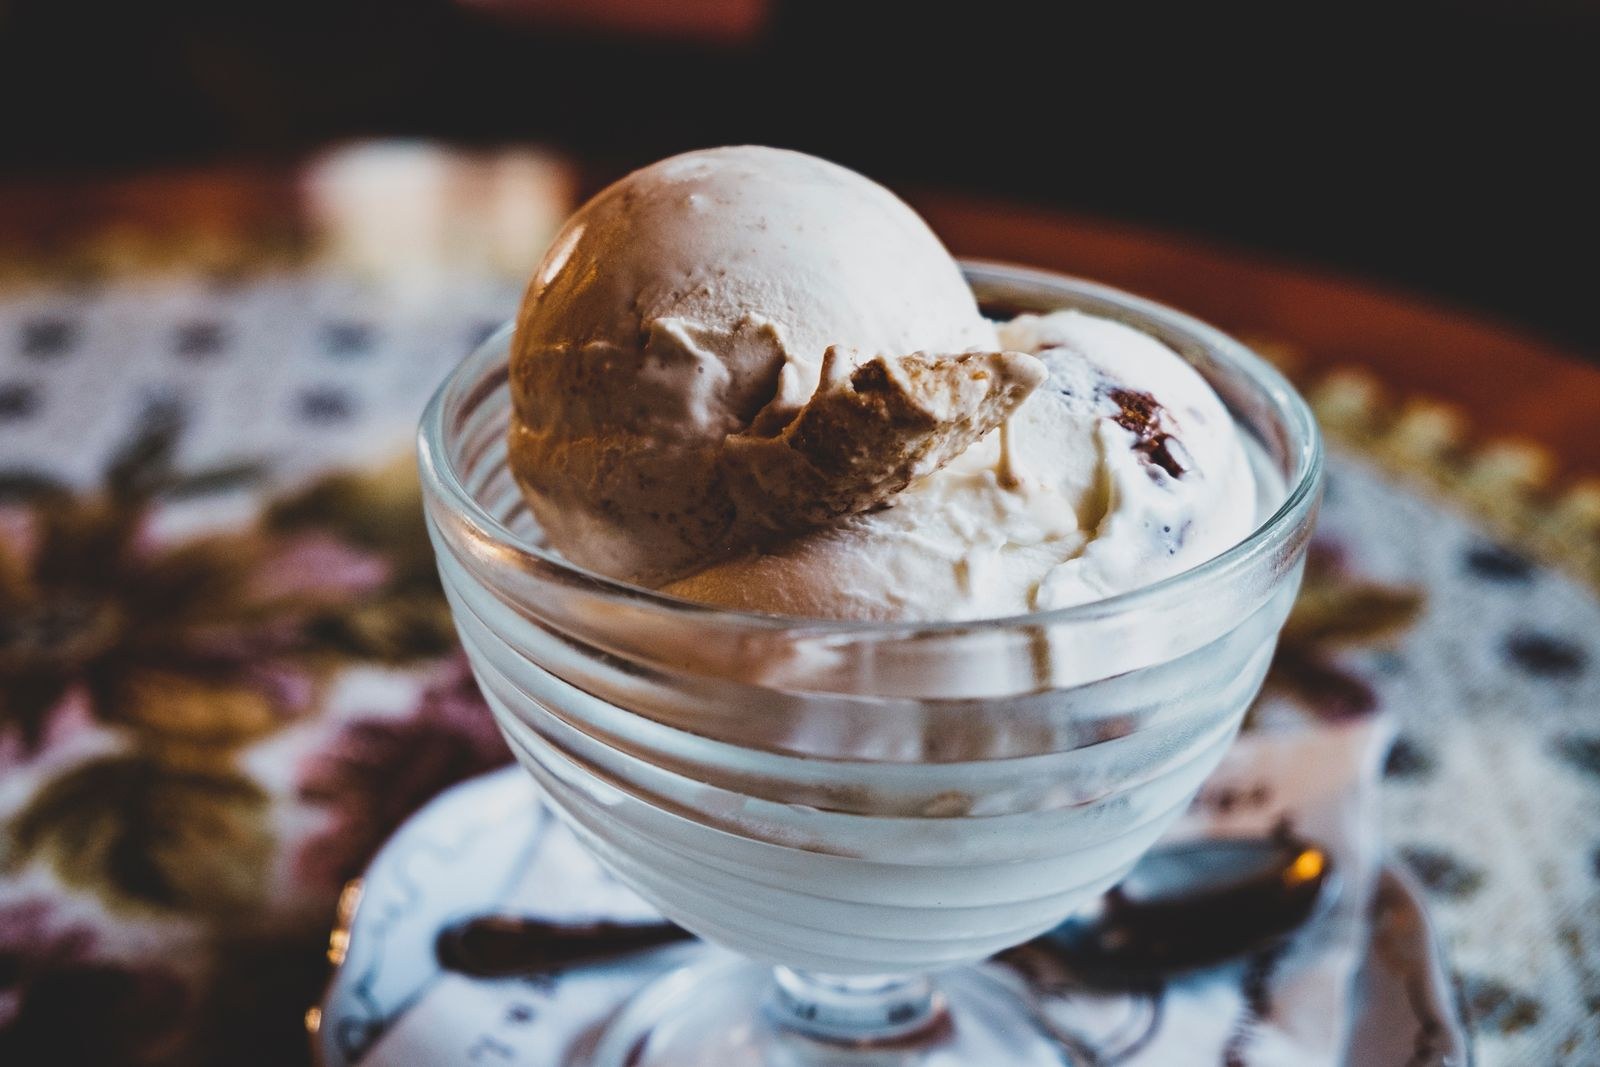
A wooden bucket, a metal canister, ice, rock salt and a crank. Summer birthdays and Fourth of July picnics meant everybody took a turn cranking until it got too hard to turn. Homemade vanilla custard ice cream is the reward, and it tastes better than anything from the store. It is one of the vintage kitchen gadgets families still haul out for summer parties. Did your family make it? Want more nostalgic treats? See our desperation pies grandma made from almost nothing.
You will need: 2 cups heavy cream, 2 cups whole milk, 3/4 cup sugar, 6 egg yolks, 2 teaspoons vanilla, pinch of salt, ice, rock salt.
How to make it: 1. Heat the milk, cream and half the sugar until steaming. 2. Whisk the yolks with the rest of the sugar. 3. Slowly whisk in some hot milk, then pour it all back in the pot. 4. Stir over low heat until it coats a spoon, then add vanilla and salt and chill overnight. 5. Pour into the canister and layer ice and rock salt in the bucket. 6. Crank 20 to 30 minutes until thick.
Vintage Kitchen Gadgets for Treats: The Popcorn Popper and Popcorn Balls

The stovetop popper with a crank in the lid kept the kernels moving so none of them burned. Grandma turned the fresh popcorn into sticky, sweet popcorn balls for Halloween and Christmas, wrapped in wax paper and tied with ribbon. They are cheap, fun to make with kids and perfect for gifts. Do you remember getting one as a treat?
You will need: 1/2 cup popcorn kernels, 2 tablespoons oil, 1 cup sugar, 1/3 cup light corn syrup, 1/3 cup water, 1/4 cup butter, 1 teaspoon vanilla, 1/2 teaspoon salt, butter for your hands.
How to make it: 1. Pop the kernels in oil in the stovetop popper, cranking the whole time, and put the popcorn in a big bowl. 2. Boil the sugar, corn syrup and water to 250 F on a candy thermometer. 3. Stir in the butter, vanilla and salt. 4. Pour over the popcorn and stir to coat. 5. Let it cool until you can touch it. 6. Butter your hands and press into balls.
The Recipe Tin and the Handwritten Family Card
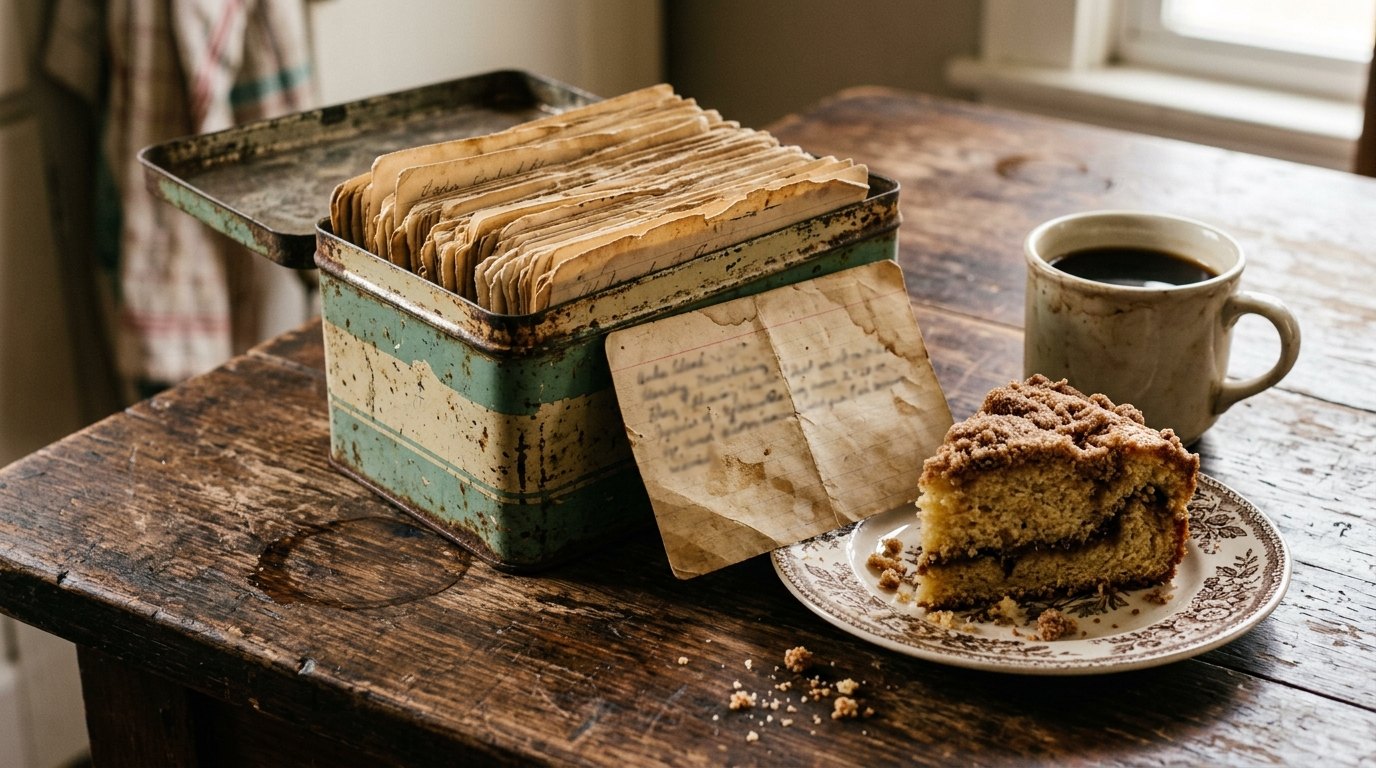
The most precious of all vintage kitchen gadgets is not a gadget at all. It is the little tin box full of handwritten, butter-stained recipe cards. Those cards hold the cakes, casseroles and cookies that made every holiday feel like home. This season, pull one out and bake it, or copy it for someone you love. What recipe would you save first?
You will need: Your family recipe box, blank index cards, a pen. For grandma’s 1-2-3-4 cake: 1 cup butter, 2 cups sugar, 3 cups flour, 4 eggs, 1 tablespoon baking powder, 1 cup milk, 1 teaspoon vanilla.
How to make it: 1. Heat the oven to 350 F and grease two 9 inch pans. 2. Cream the butter and sugar. 3. Beat in the eggs one at a time. 4. Mix the flour and baking powder and add with the milk. 5. Stir in the vanilla and bake 30 to 35 minutes. 6. Copy the recipe onto a new card for someone in your family.