Faux Pumpkin Makeovers: 13 Thanksgiving Ideas That Look Like Pricey Decor
Faux pumpkin makeovers are the easiest way to get that high end Thanksgiving look without paying boutique prices. Most of us already have a pile of cheap craft store pumpkins in the garage, a little faded and a lot too orange. With a bit of paint, fabric or rope, they can look like the pricey decor you see in home magazines. The best part is that faux pumpkins never rot, so your work lasts for years. You still have a few weeks before Thanksgiving guests arrive, which is plenty of time for a weekend project or two. Below are 13 simple ideas, from velvet wraps to gold leaf stems to a glowing LED lantern. Which one will you try first..
Faux Pumpkin Makeovers With Velvet Wraps
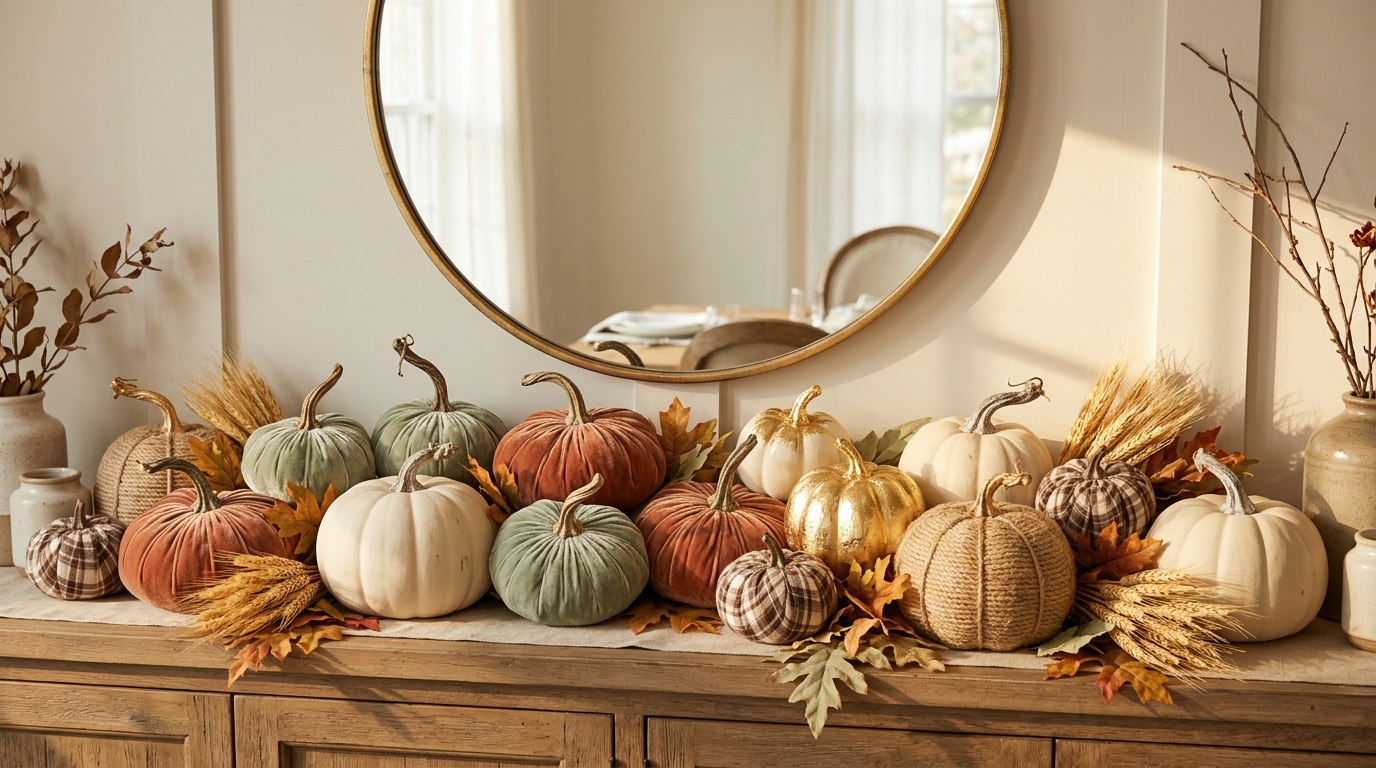
Velvet is the fastest way to make a cheap pumpkin look expensive. Cut a circle of velvet about twice as wide as your pumpkin, set the pumpkin in the middle, and gather the fabric up to the stem. Secure it with a rubber band, then tuck the edges in and tie on a twig or a cinnamon stick for a stem. Soft rust, sage and cream look elegant together. Mix them with chalk painted and plaid pumpkins on a sideboard, and your guests will think you shopped at a fancy home store. Which color velvet would you choose..
You will need: Small faux pumpkins, velvet fabric, rubber bands, twigs or cinnamon sticks, craft glue.
How to make it: 1. Cut a velvet circle twice the width of the pumpkin. 2. Gather the fabric up around the pumpkin and secure with a rubber band. 3. Glue a twig stem into the center.
Chalk Paint Neutral Pumpkins
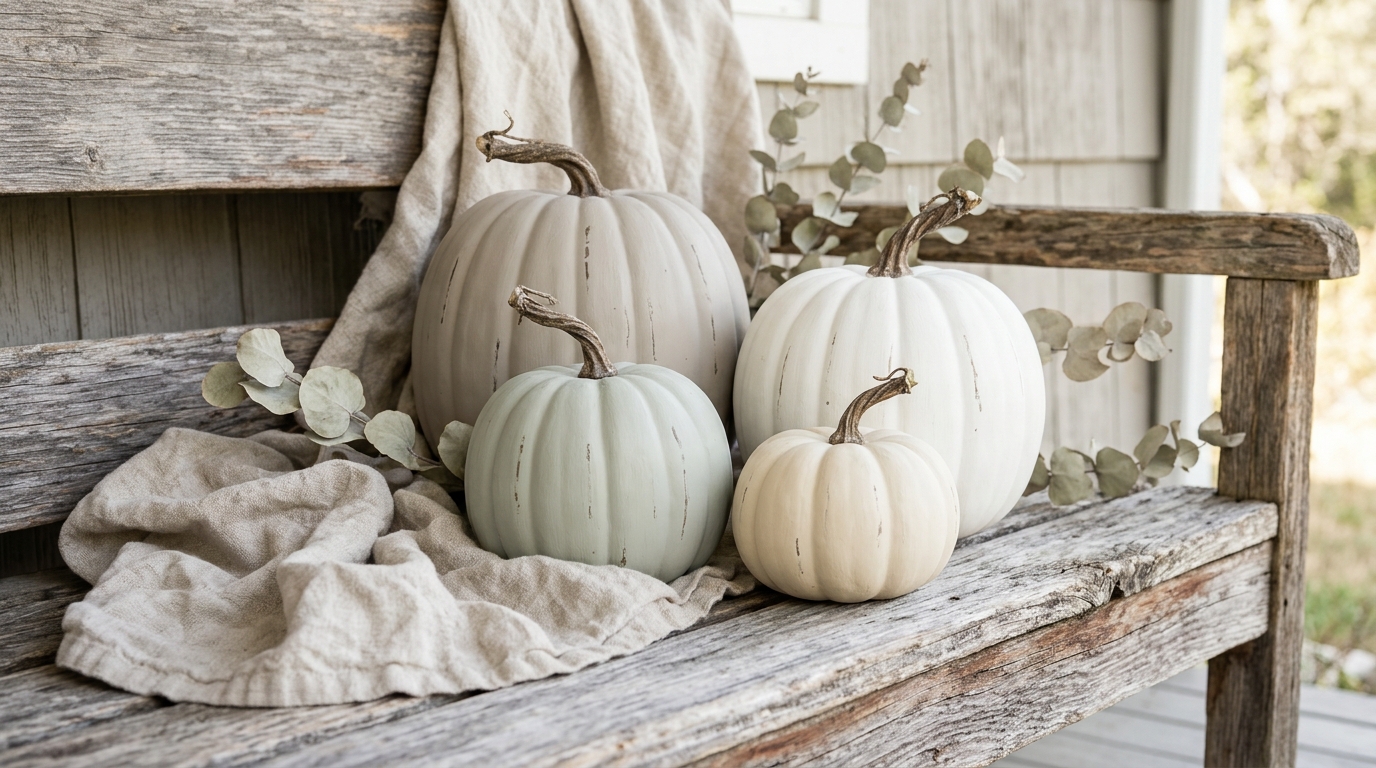
Bright orange plastic pumpkins can look a little cheap, but chalk paint changes everything, and it is one of the simplest faux pumpkin makeovers. Choose soft shades like cream, warm white, greige and pale sage. Two thin coats cover nicely, and the matte finish looks like real heirloom squash. Lightly sand the ribs once the paint is dry for a gently worn look. Swap any plastic stem for a real twig. Group four or five sizes on a bench, a mantel or the porch steps. A small sample jar of paint is enough for several pumpkins. Which neutral shade fits your home best?
You will need: Faux pumpkins, chalk paint in neutral colors, a foam brush, fine sandpaper, twigs, craft glue.
How to make it: 1. Wipe the pumpkins clean and paint two thin coats. 2. Let dry and lightly sand the high points. 3. Pull off the plastic stems and glue in twigs.
Faux Pumpkin Makeovers With a Gold Leaf Stem
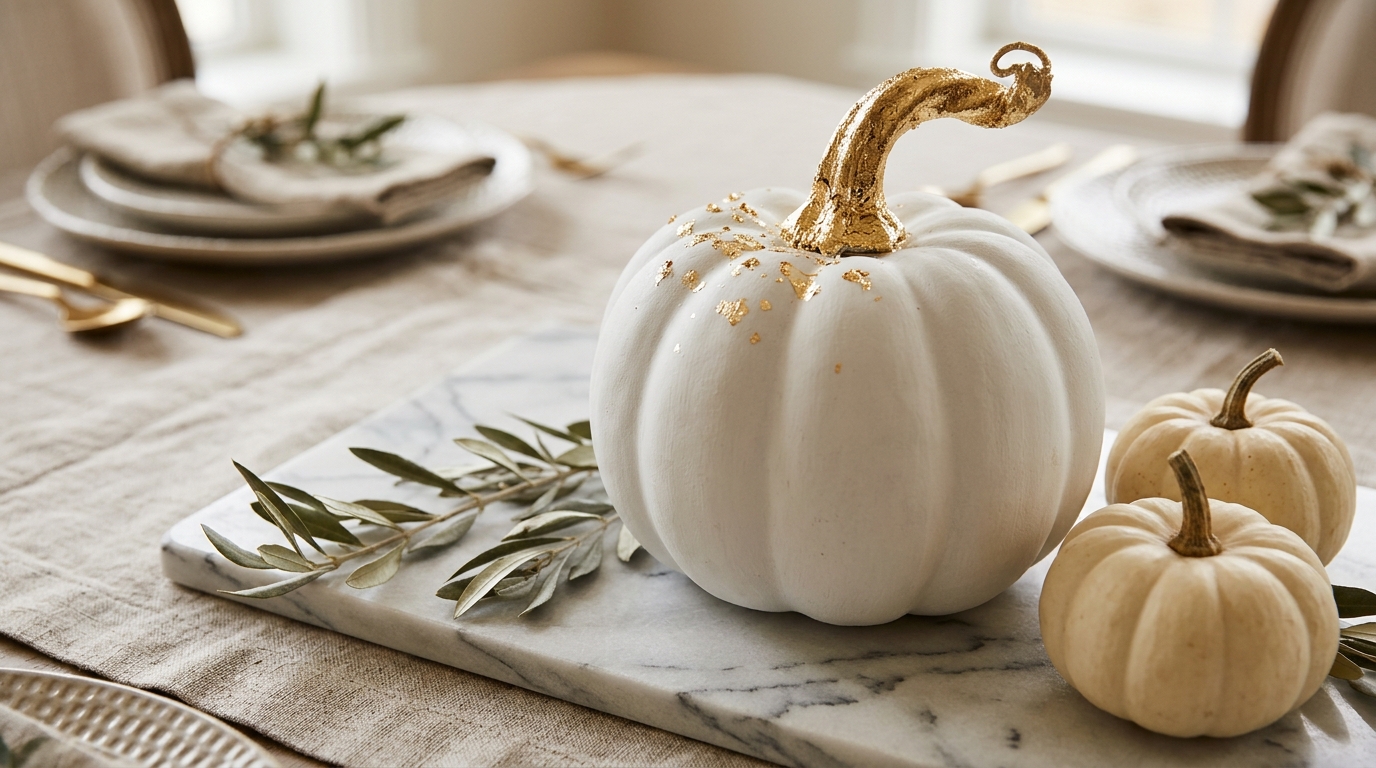
One small touch of gold can make a plain white pumpkin look like it came from a luxury shop. Paint the pumpkin matte white, then brush gold leaf adhesive onto the stem and a few spots on the top ribs. Once it turns tacky, press on sheets of gold leaf and rub away the extra with a soft brush. The shine catches the light beautifully on a dining table or a marble tray. Gold leaf kits are inexpensive and go a long way. Would you gild just the stem or add a little sparkle on top too?
You will need: A faux pumpkin, white paint, gold leaf sheets, gold leaf adhesive, a soft dry brush.
How to make it: 1. Paint the pumpkin white and let it dry. 2. Brush adhesive on the stem and wait until it is tacky. 3. Press on gold leaf and brush away the loose flakes.
Plaid Flannel Pumpkins
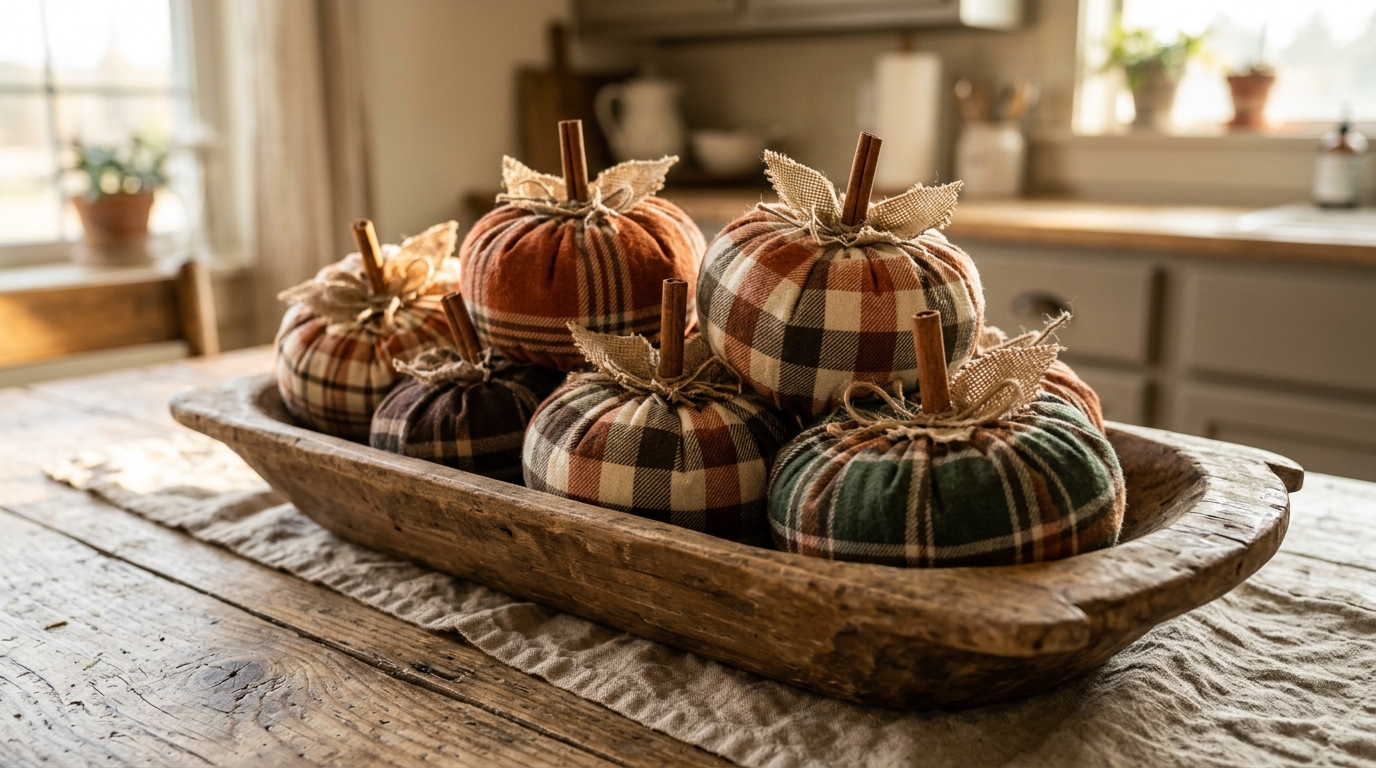
Old flannel shirts and leftover fabric make the coziest pumpkins. It is one of the warmest faux pumpkin makeovers for a farmhouse table. Wrap a foam or plastic pumpkin with plaid flannel, gather the fabric at the top and secure it, then add a cinnamon stick stem and a little burlap leaf. Rust, cream, brown and forest green plaids look perfect for Thanksgiving. Pile a few in a wooden dough bowl on the kitchen table for a warm farmhouse centerpiece. This is a great way to use thrift store shirts too. Do you have an old flannel shirt you could use?
You will need: Small faux or foam pumpkins, plaid flannel fabric, rubber bands, cinnamon sticks, burlap scraps, craft glue.
How to make it: 1. Cut a fabric circle and wrap it up around the pumpkin. 2. Secure the top with a rubber band and tuck in the edges. 3. Glue in a cinnamon stick and a burlap leaf.
Jute Rope Wrapped Pumpkins
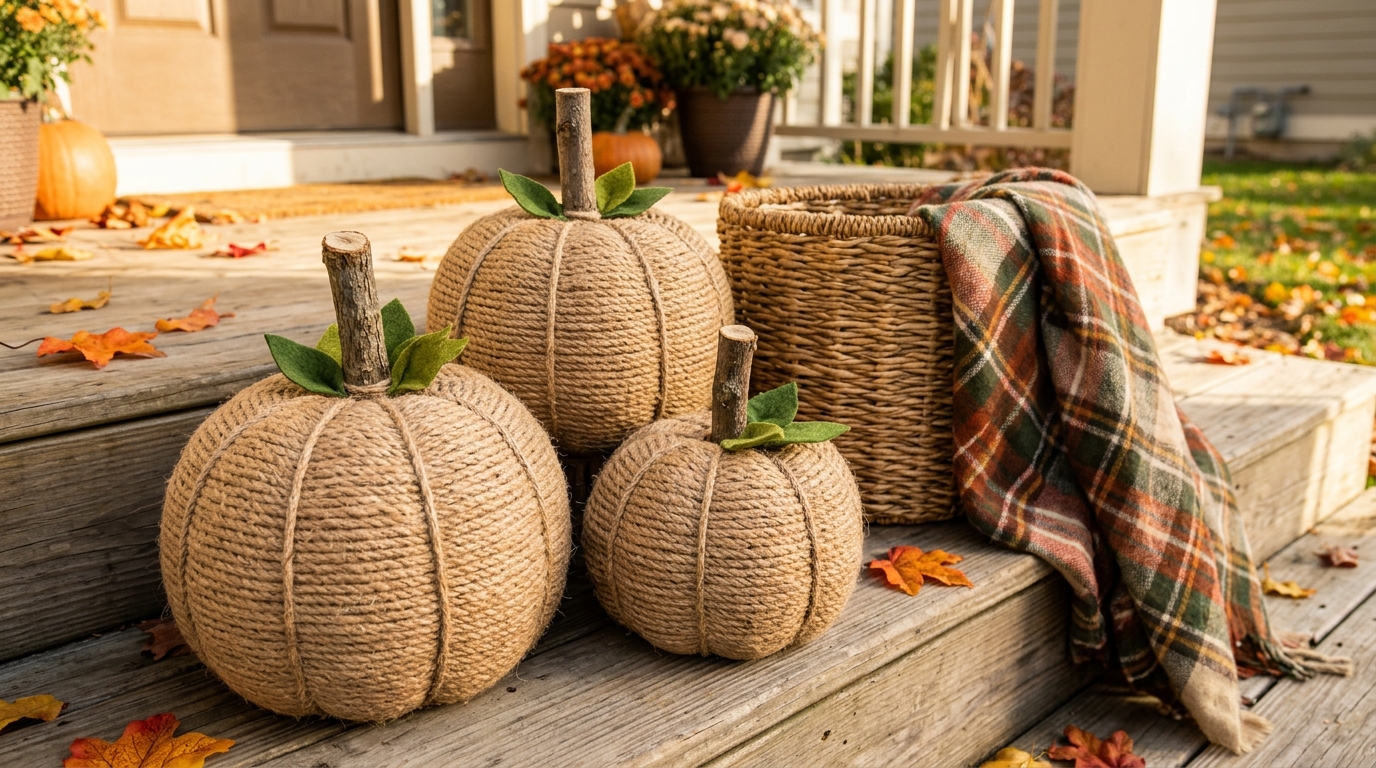
Jute rope gives cheap pumpkins a natural, high end texture. Of all the faux pumpkin makeovers here, this one feels the most rustic. Starting at the bottom, glue the rope in a tight coil and work your way up to the stem. Take your time so there are no gaps. Use a real branch piece for the stem and add a couple of felt leaves. They look great on porch steps next to a basket and a plaid blanket, and they hold up nicely outdoors under a covered porch. Hot glue works fastest here, so ask an adult to help with the glue gun. How many would you stack on your steps?
You will need: Faux pumpkins, natural jute rope, a hot glue gun (adult help), short branch pieces, green felt.
How to make it: 1. Glue the rope end to the bottom center and coil upward, gluing as you go. 2. Cut the rope at the stem and tuck the end under. 3. Glue in a branch stem and felt leaves.
Pumpkin Place Card Holders
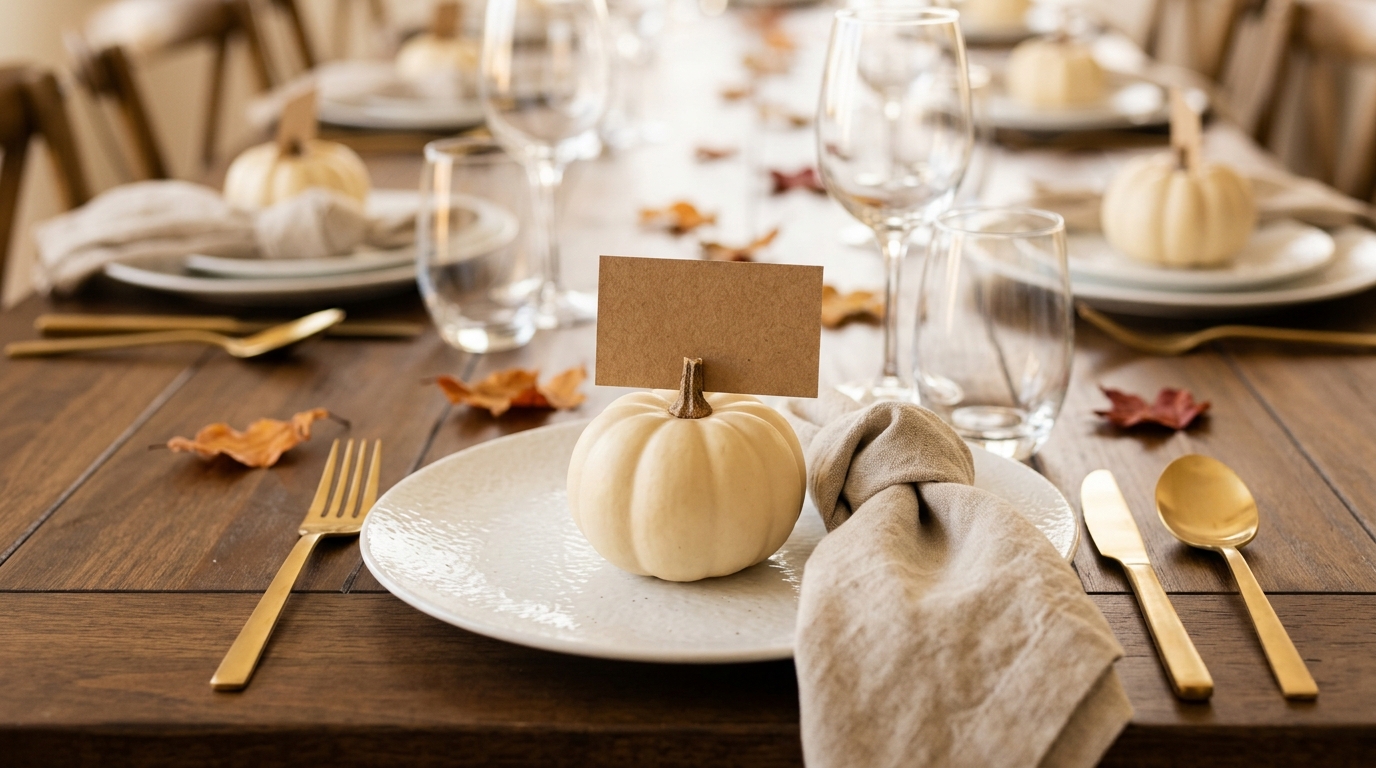
Mini faux pumpkins make charming place card holders for the Thanksgiving table. They are tiny faux pumpkin makeovers with a big job. Paint them cream or leave them natural, then have an adult cut a small slit in the top of each stem with a craft knife. Slide in a little kraft paper card with each guest’s name. Set one on every plate with a linen napkin and a few small leaves. Guests can take them home as a little keepsake. You can find bags of mini pumpkins for just a few dollars. Who sits at the head of your table?
You will need: Mini faux pumpkins, cream paint, a craft knife (adult only), kraft paper cards, a pen.
How to make it: 1. Paint the pumpkins and let them dry. 2. Have an adult cut a slit in each stem. 3. Write names on the cards and slide them in.
Drilled Pumpkin LED Lantern
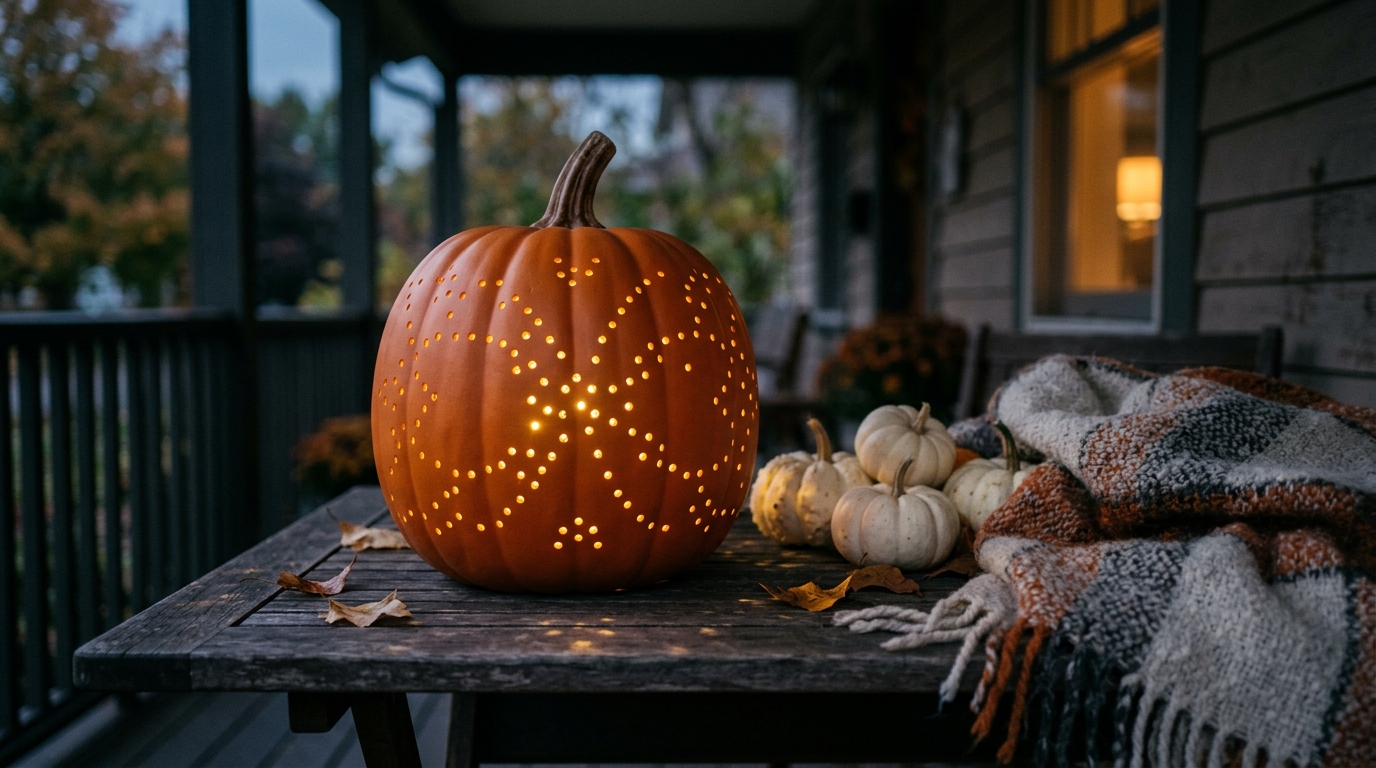
A craft pumpkin can glow just like a carved one, with no mess and no open flame. Have an adult drill small holes all over the pumpkin in a pattern, like stars, dots or swirls, using a few different bit sizes. Cut a small opening in the bottom and slide in a strand of battery LED fairy lights. At night, the light shines through every little hole. It looks so pretty on a porch table with a cozy throw. Like all faux pumpkin makeovers, it can come out again every fall. What pattern would you drill?
You will need: A large faux craft pumpkin, a drill with small bits (adult only), battery LED fairy lights, a craft knife.
How to make it: 1. Draw a dot pattern on the pumpkin with a pencil. 2. Have an adult drill the holes and cut an opening in the bottom. 3. Slide in the battery lights and turn them on.
Pressed Leaf Decoupage Pumpkins
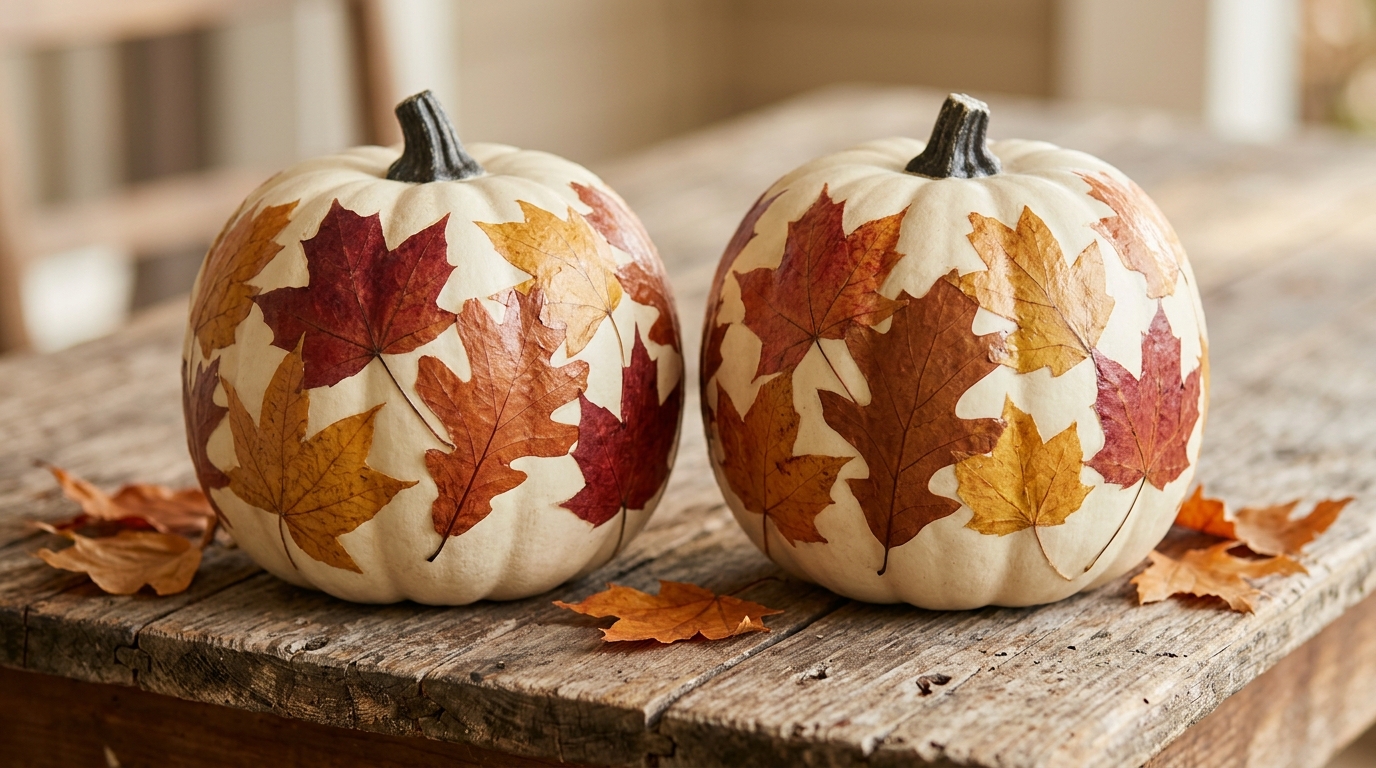
Real autumn leaves turn a plain cream pumpkin into a little piece of art. Press colorful leaves in a heavy book for a few days, then brush decoupage glue on the pumpkin, lay the leaves on, and brush another coat over the top. Smooth out wrinkles with your fingers as you go. A final satin coat makes them look painted on. They look beautiful on a rustic table, and every pumpkin is one of a kind. It is one of the most fun faux pumpkin makeovers for a fall afternoon. Which leaves are turning color in your yard right now?
You will need: Cream faux pumpkins, pressed autumn leaves, decoupage glue, a foam brush, satin sealer.
How to make it: 1. Press the leaves in a heavy book for three days. 2. Brush glue on the pumpkin, add leaves and brush glue on top. 3. Let dry and add a satin sealer coat.
Faux Pumpkin Makeovers That Look Like Heirlooms
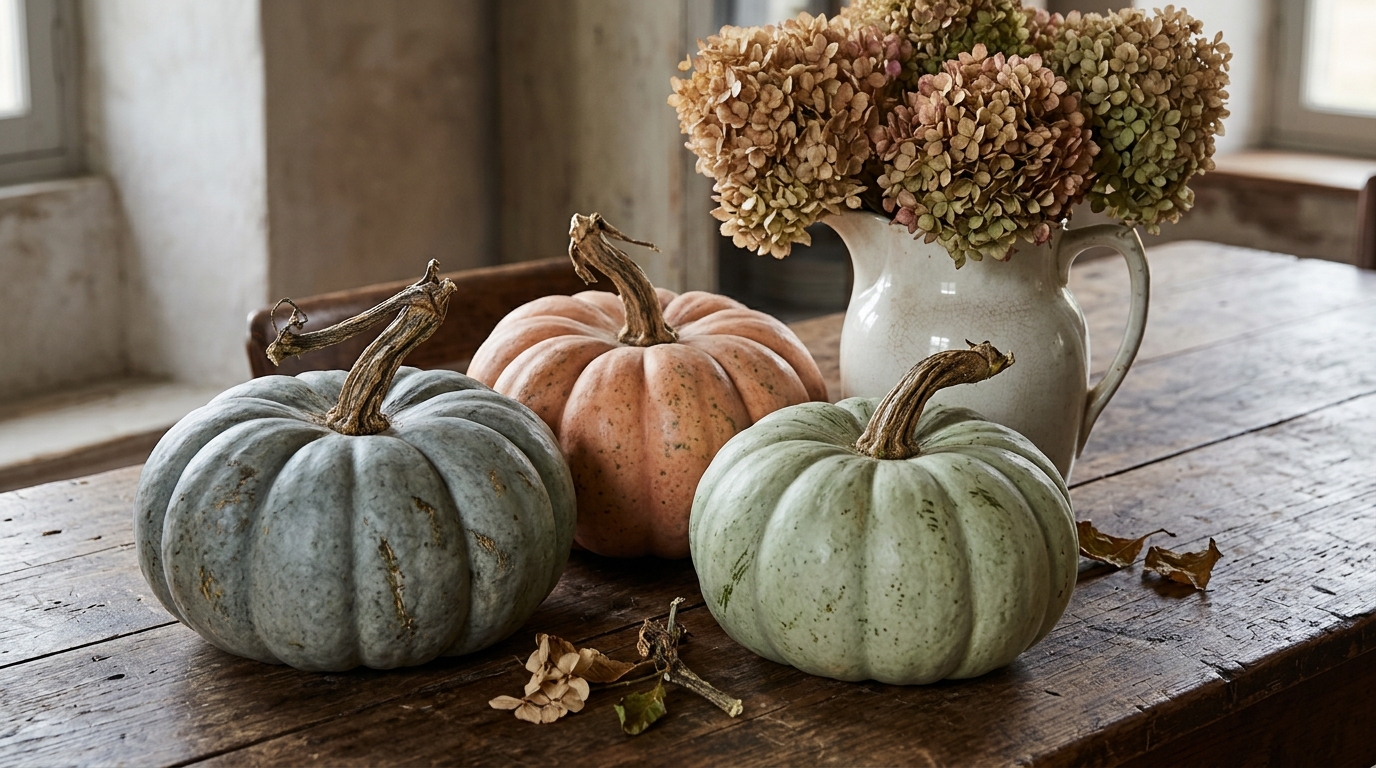
Heirloom pumpkins in dusty blue, peach and pale green are gorgeous but pricey at the farm stand. You can fake the look with paint. Mix small amounts of gray, blue, peach and green into white paint for soft, muted colors. Paint each pumpkin, then drag a dry brush with a slightly darker shade down the ribs for natural streaks. Top them with real dried pumpkin stems saved from last year. Set them beside a pitcher of dried hydrangeas for a French country feel. Which heirloom color is your favorite?
You will need: Faux pumpkins, white, gray, blue, peach and green acrylic paint, a dry brush, real dried stems, glue.
How to make it: 1. Mix soft muted colors and paint each pumpkin. 2. Dry brush darker streaks down the ribs. 3. Glue on real dried stems.
Speckled Stoneware Look
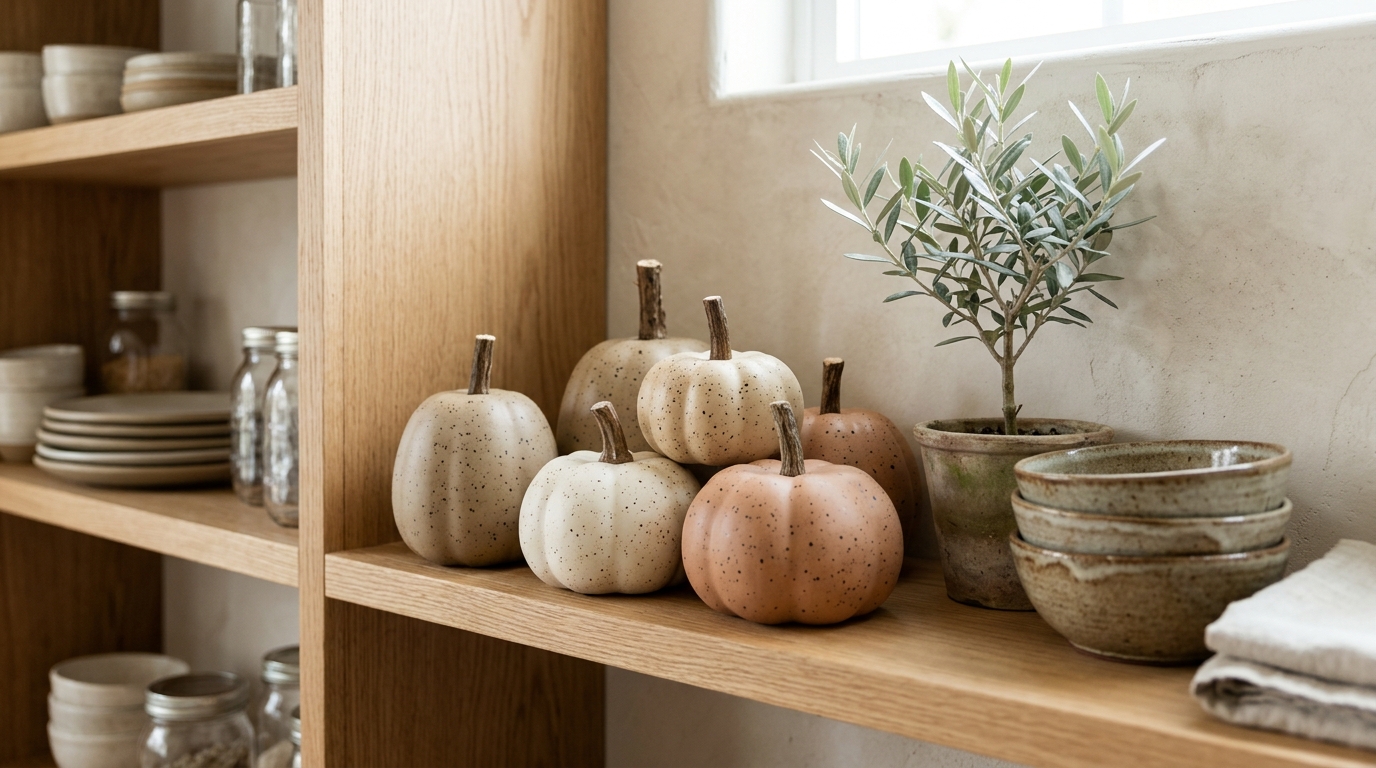
If you love the look of handmade pottery, this one is for you. Paint pumpkins in matte oatmeal, warm white or soft clay colors. Then dip an old toothbrush in brown or black paint and flick tiny speckles over the surface. Faux pumpkin makeovers like this one fool almost everyone. Practice on paper first so the speckles stay small. The result looks just like the expensive stoneware pumpkins sold in home stores. Style them on open shelves next to real bowls and a small plant. They are modern, calm and easy to leave out all fall. Would these fit your kitchen?
You will need: Faux pumpkins, matte paint in oatmeal or clay colors, brown and black paint, an old toothbrush, wood stems.
How to make it: 1. Paint the pumpkins in two thin coats. 2. Flick tiny speckles with the toothbrush. 3. Let dry and glue on natural wood stems.
Terracotta and Slate Painted Pumpkins
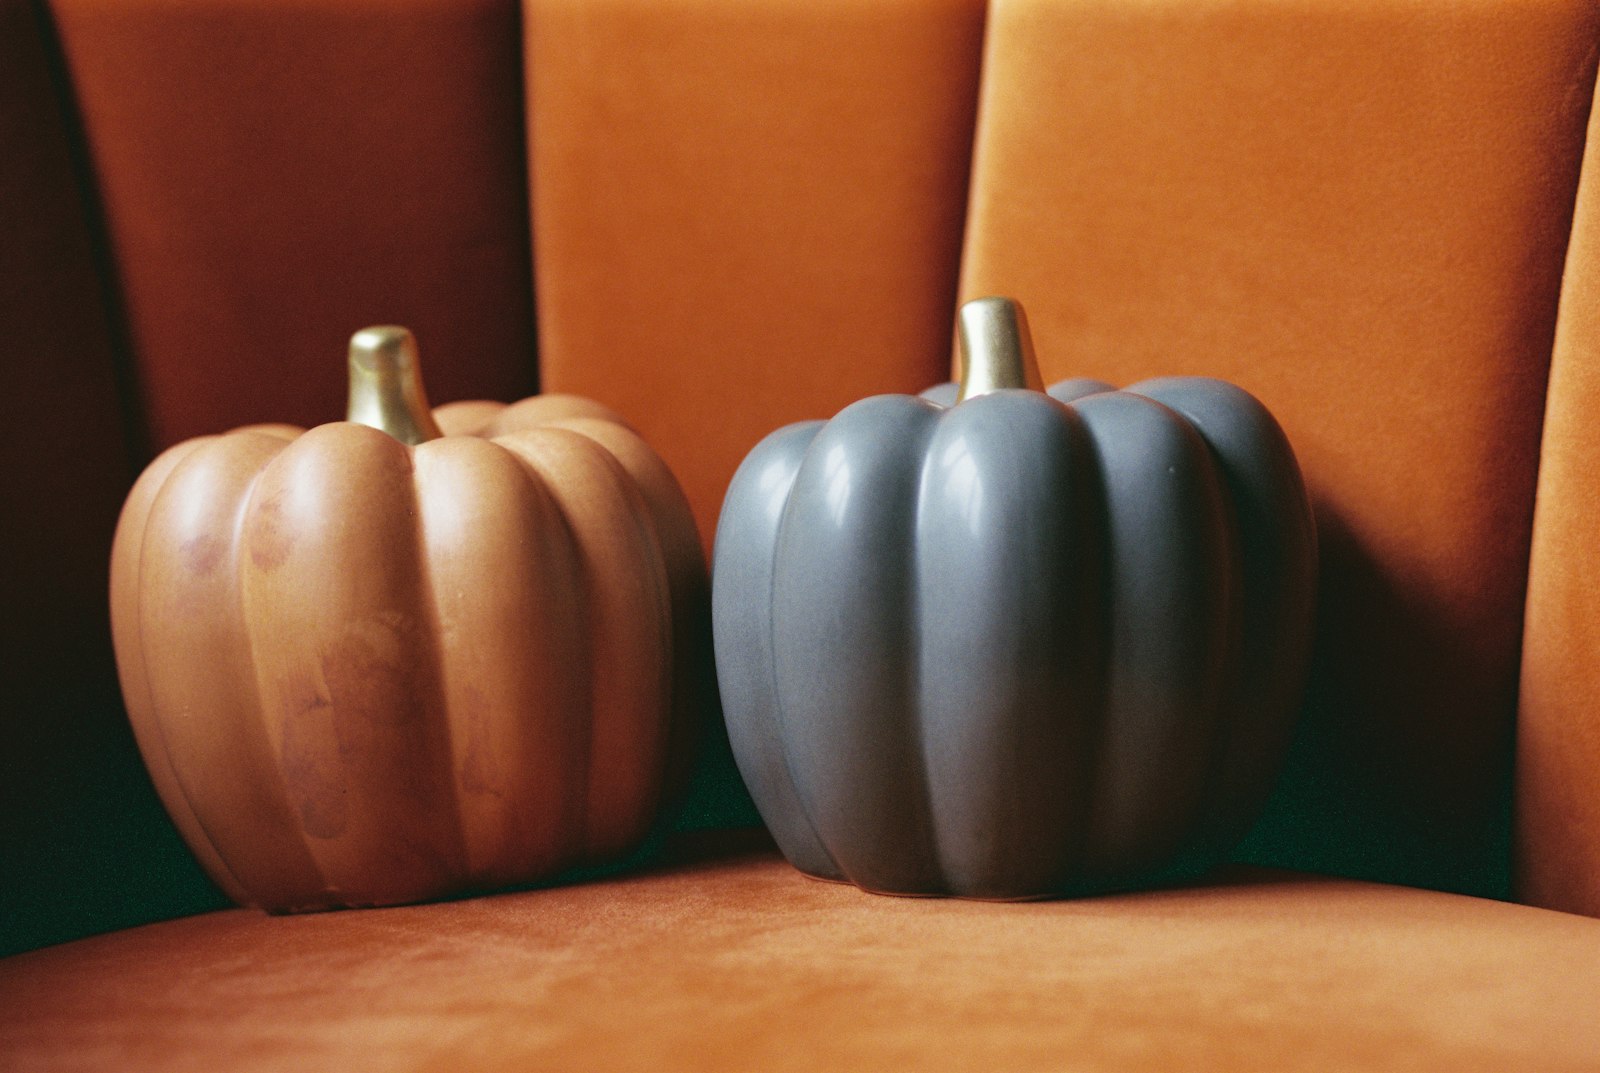
Two rich colors can make a pair of plain pumpkins look like designer pottery. Paint one in a warm terracotta and the other in a deep slate gray. Add a little baking soda to the paint for a textured, earthy finish that feels like clay. Leave the stems natural or brush them with a touch of gold. These two look great on a velvet chair, a console or a side table. They work for fall and still look good when you start adding winter decor. Which color would you paint first?
You will need: Two faux pumpkins, terracotta and slate gray paint, baking soda, a brush.
How to make it: 1. Stir a spoonful of baking soda into each paint color. 2. Paint the pumpkins with two coats. 3. Let dry and style them together.
A Dough Bowl Vignette for Your Faux Pumpkin Makeovers
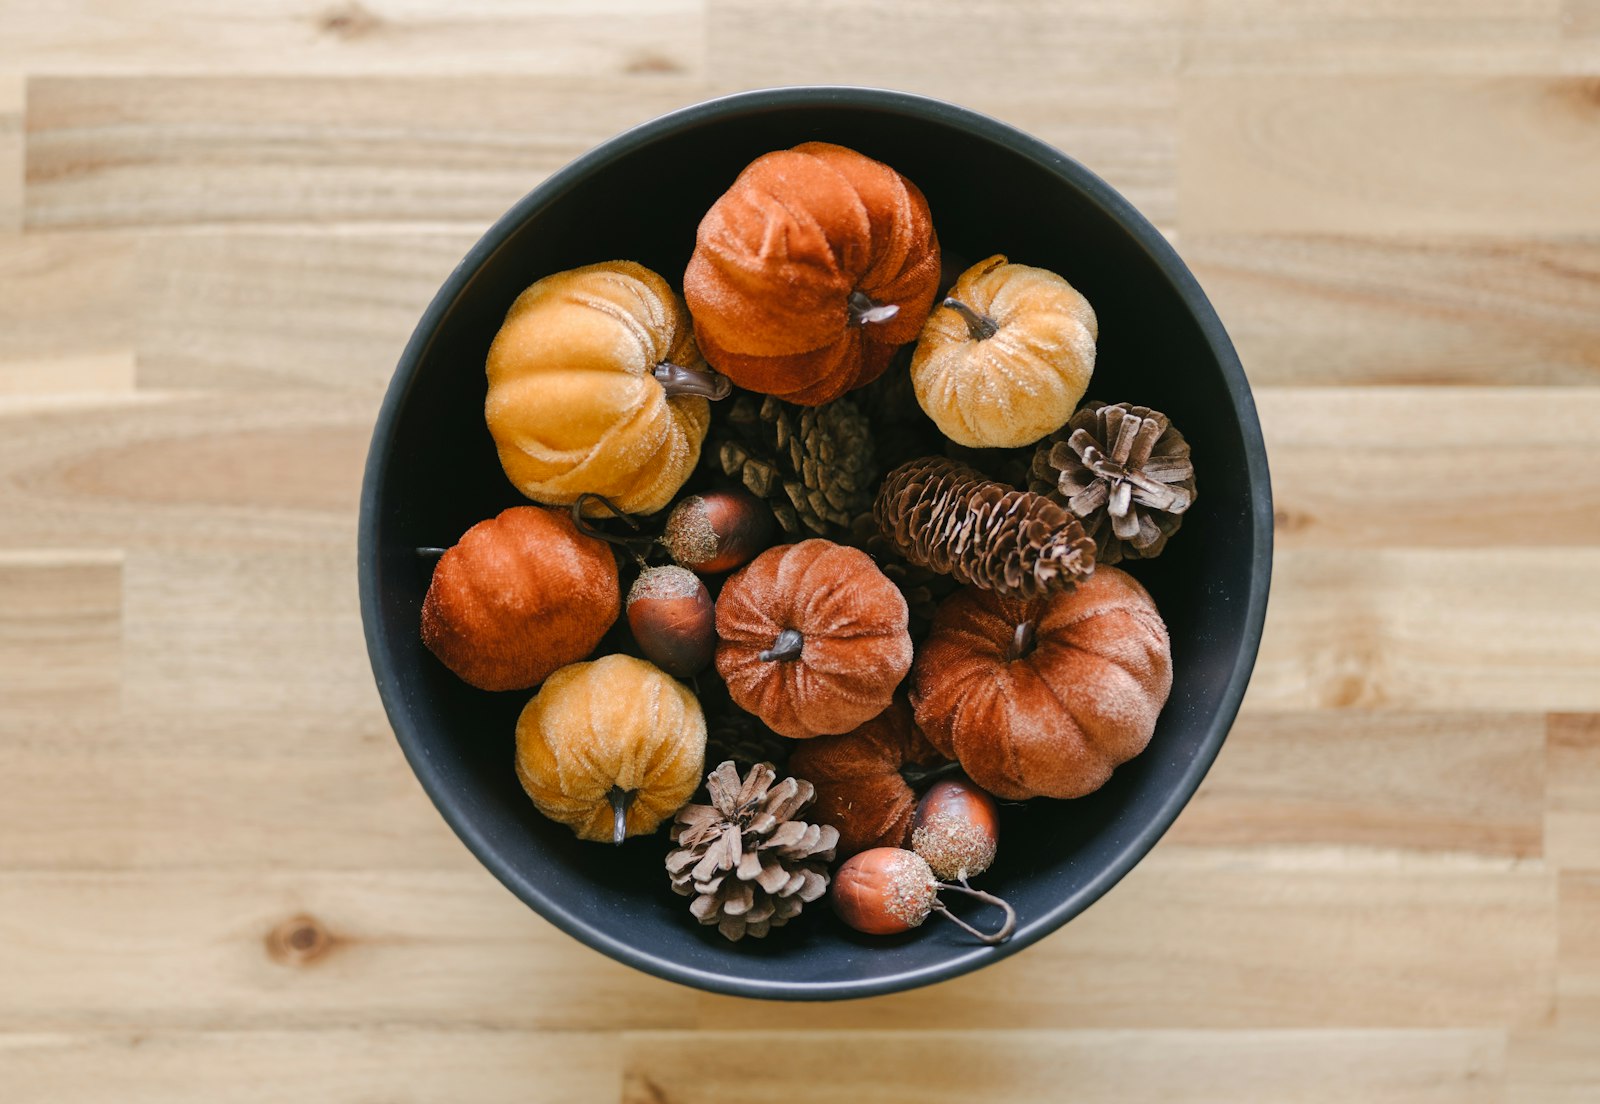
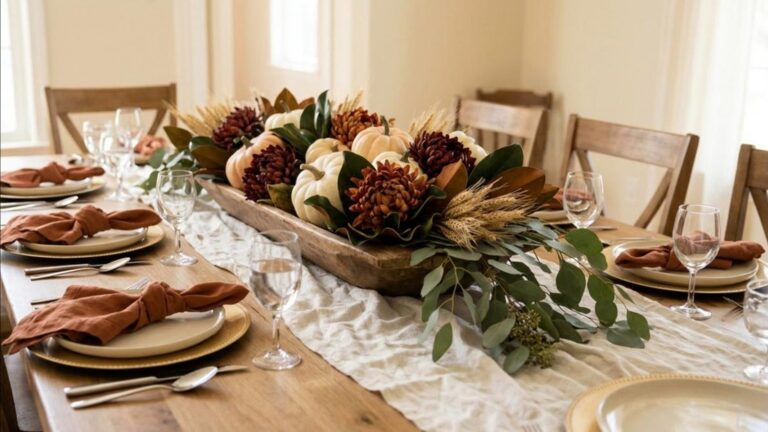
Once you have a few finished pumpkins, show them off together. A wooden dough bowl or a dark round tray makes a perfect home for mini pumpkins, gourds and pinecones. Mix sizes and finishes so the bowl feels full and layered. Tuck in a few dried leaves or a sprig of eucalyptus. It works on a coffee table, kitchen island or dining table. For more table ideas, see our Thanksgiving centerpieces post. What would you put in your bowl?
You will need: A wooden dough bowl or dark tray, mini faux pumpkins, small gourds, pinecones, dried leaves.
How to make it: 1. Place the largest pumpkins first. 2. Fill in with smaller pumpkins, gourds and pinecones. 3. Tuck in leaves or greenery to finish.
Finish Your Faux Pumpkin Makeovers With Wheat
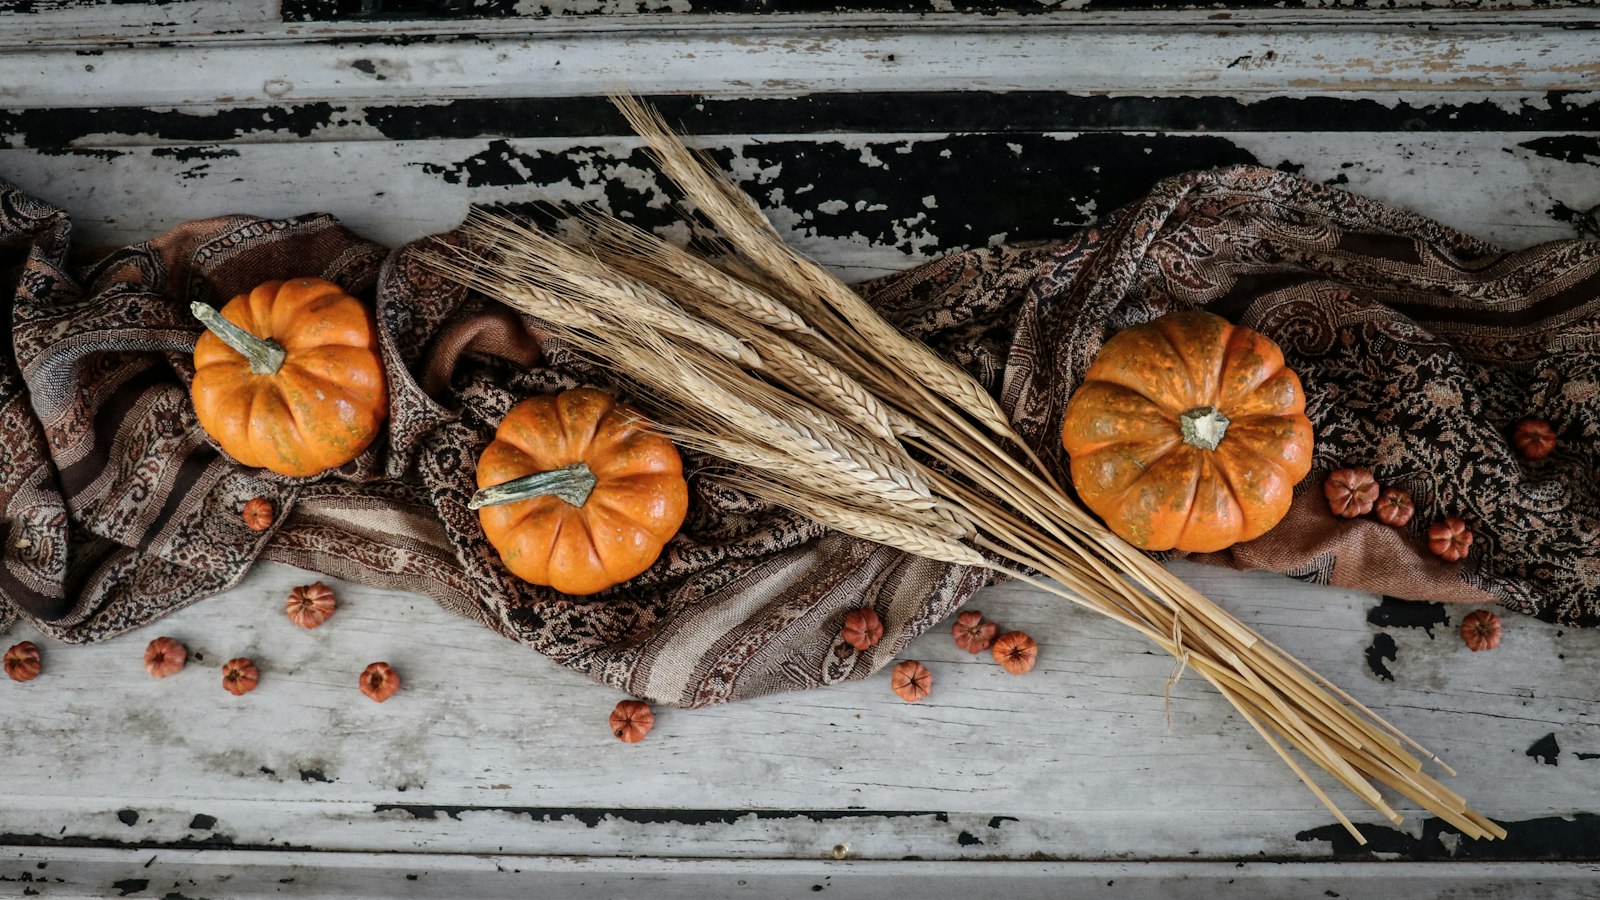
Dried wheat is the classic harvest touch that pulls a pumpkin display together. Tie a small bundle of wheat with twine and lay it across a group of pumpkins on a board or tray. The golden stalks look lovely against orange, cream and green pumpkins alike. You can also tuck a few stems behind a pumpkin on the mantel. Craft stores sell wheat bundles, and they last for years if you store them carefully. Designers at places like Better Homes and Gardens love this simple harvest look too. Would you add wheat to your display?
You will need: Dried wheat stems, natural twine, a wooden board or tray, your finished pumpkins.
How to make it: 1. Gather 15 to 20 wheat stems and trim the ends even. 2. Tie the bundle in the middle with twine. 3. Lay it across or behind your pumpkins.