Designer Kitchen Looks: 14 Cheap Tricks That Make Your Kitchen Look Expensive
Designer kitchen looks are not really about expensive cabinets or marble from Italy. Most of the magic comes from small styling choices that interior designers make again and again, and almost all of them are cheap. A basket on the counter, a few leaning cutting boards, warm lighting and a bit of brass can make a plain rental kitchen feel like a magazine spread. We gathered the easiest tricks that make the biggest difference, from a weekend paint job to five minute swaps you can do tonight. None of them need a contractor, and most cost less than a takeout dinner. Pick two or three to start, stand back and enjoy the glow up. You will be surprised how fancy your kitchen can feel..
The Basket Vignette Behind So Many Designer Kitchen Looks
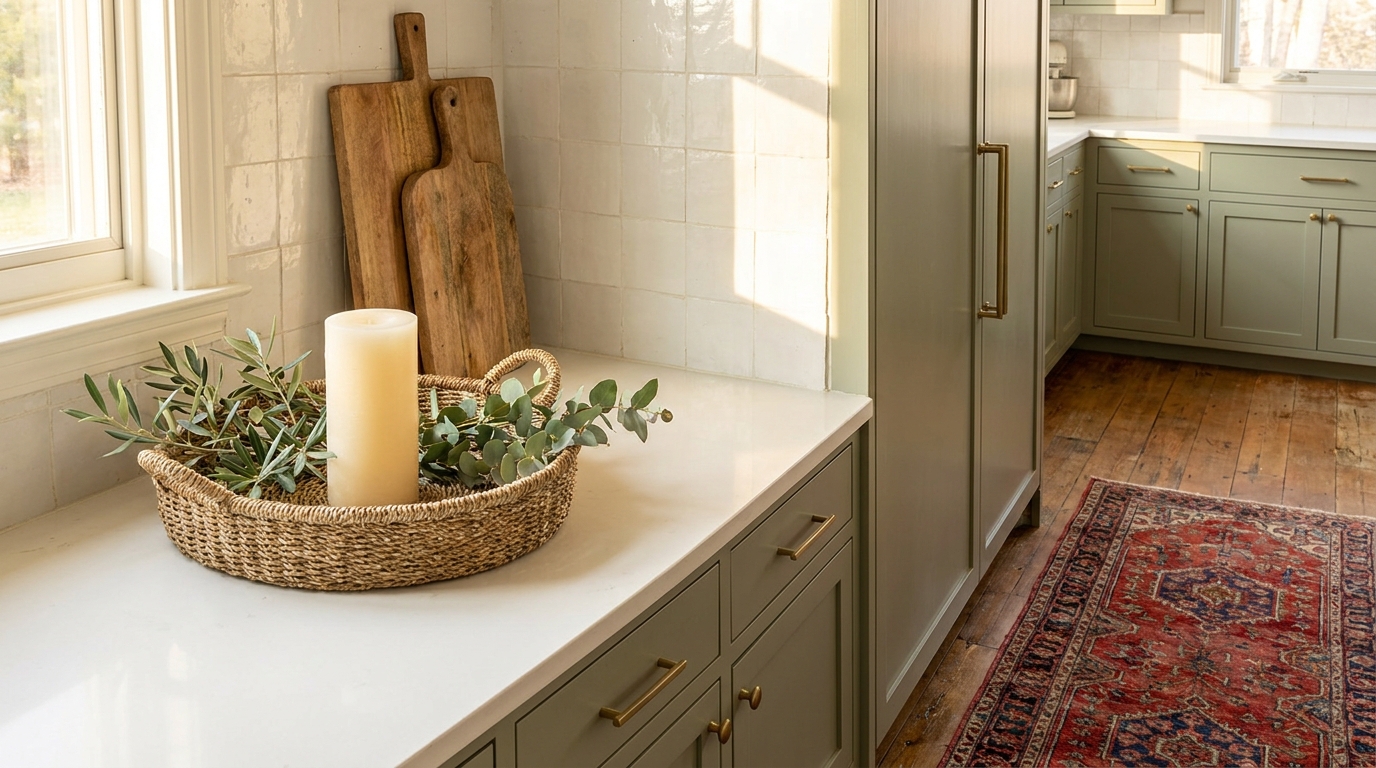
This simple trick has been shared on MSN as a brilliant designer kitchen idea, and it really works. Set a shallow woven basket on the counter, add a chunky pillar candle and tuck a few olive or eucalyptus branches around it. The mix of texture, green and cream instantly softens a hard counter. For safety near cabinets, keep the candle unlit as decor or use a flameless LED pillar. It takes five minutes and costs very little. Which corner of your counter feels empty right now..
You will need: A shallow woven basket, a cream pillar candle or flameless LED pillar, olive or eucalyptus stems.
How to make it: 1. Place the basket at the back corner of the counter. 2. Set the pillar slightly off center inside. 3. Tuck greenery around it so it spills over the edges.
Lean Wooden Cutting Boards Against the Backsplash
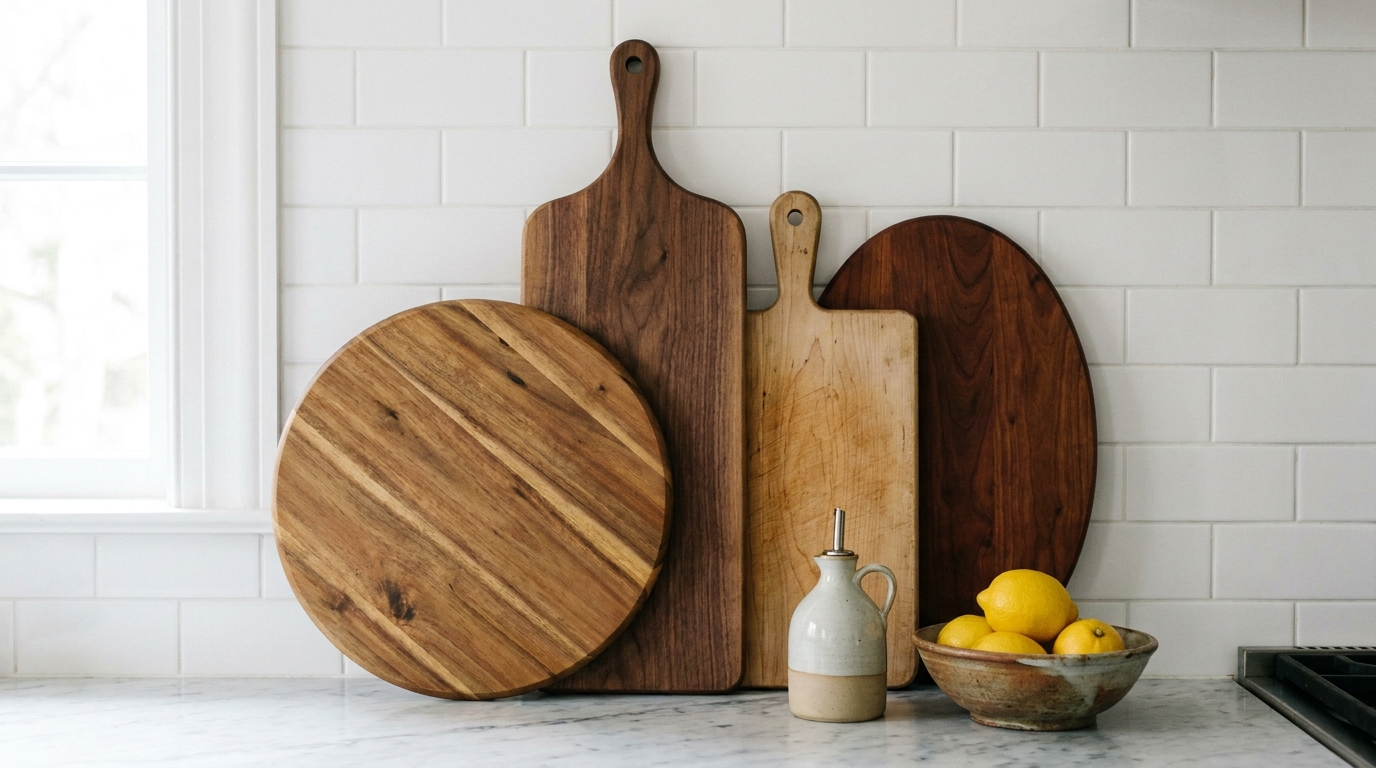
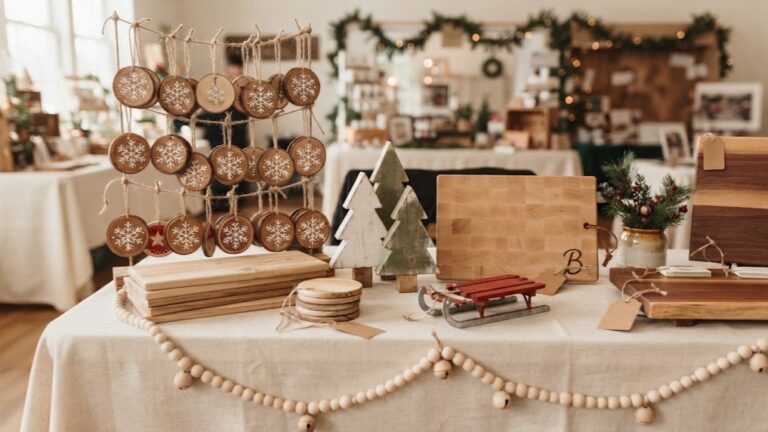
Designers love a stack of wooden boards leaning against the wall, because it adds warmth and looks collected over time. Mix shapes and wood tones, like one round board, one long paddle and one rectangle. Layer the tallest at the back and the smallest in front. Add a small bottle of oil and a bowl of lemons and it suddenly feels like a styled photo shoot. You probably already own a few boards, so this costs nothing. How many boards are hiding in your cabinets?
You will need: Three or four wooden cutting boards in different shapes, a small bowl of fruit, an oil cruet.
How to make it: 1. Pick boards in a mix of sizes and wood colors. 2. Lean the tallest against the backsplash and layer smaller ones in front. 3. Add one small object in front to finish the look.
Designer Kitchen Looks Start With Brushed Brass Pulls
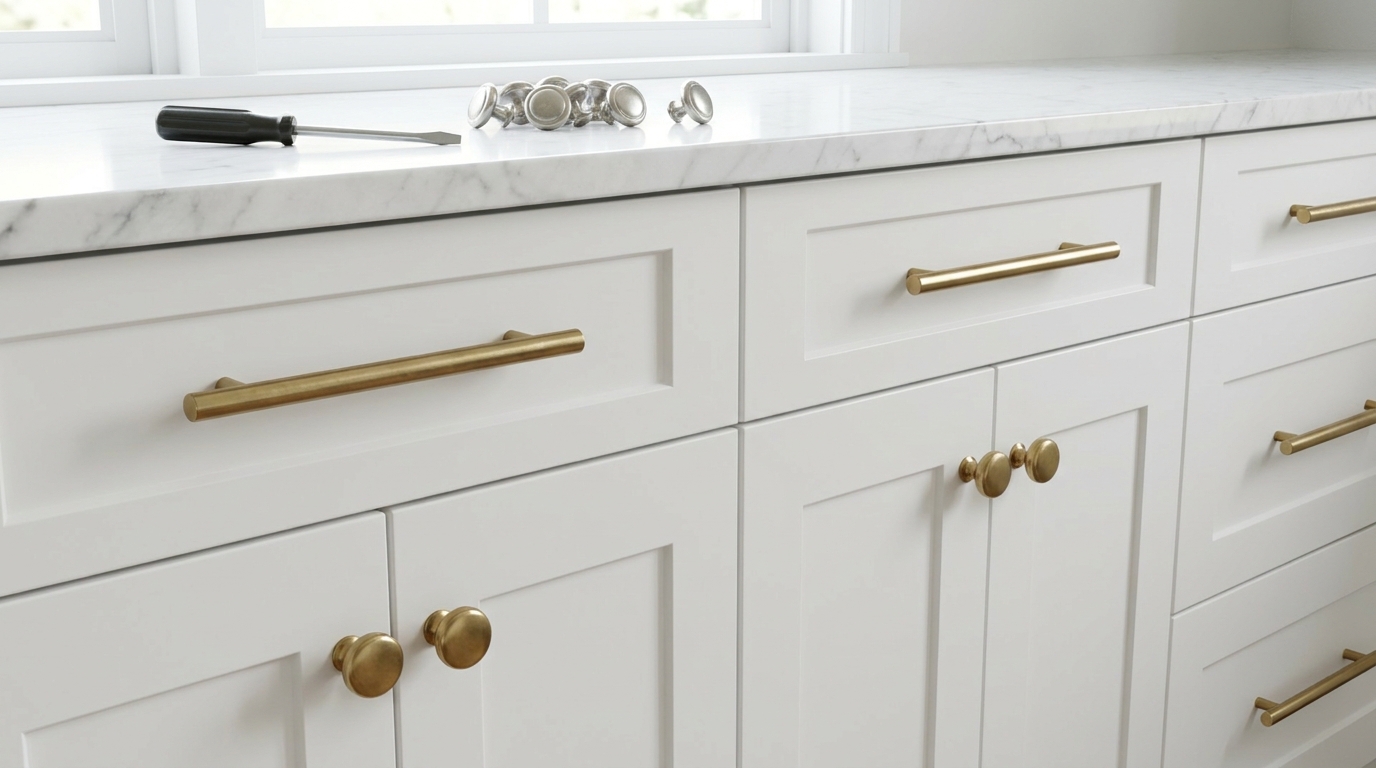
Hardware is the jewelry of the kitchen. Swapping plain silver knobs for brushed brass pulls is one of the fastest ways to get designer kitchen looks, and it only needs a screwdriver. Measure the distance between the screw holes first so the new pulls fit without drilling. Long bar pulls on drawers and round knobs on doors is a classic combination. Many sets cost only a few dollars each. Would you go brass, matte black or warm bronze?
You will need: New cabinet pulls and knobs, a screwdriver, a tape measure.
How to make it: 1. Measure the center to center distance of your old pulls. 2. Unscrew the old hardware. 3. Screw on the new pulls and knobs and check they are level.
Peel and Stick Backsplash for Designer Kitchen Looks
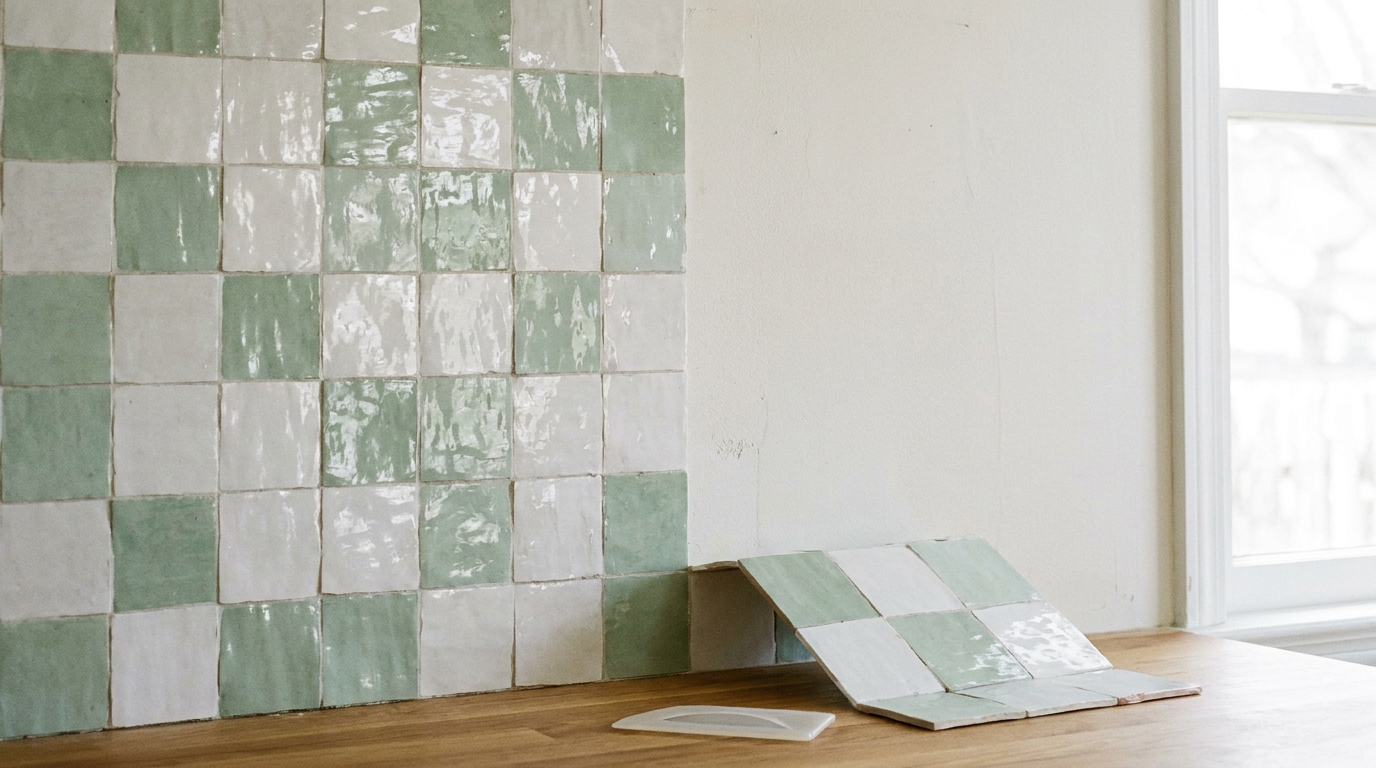
A tiled backsplash makes a kitchen look finished, but real tile is messy and pricey. Peel and stick tiles in a zellige or subway style go up in an afternoon and look surprisingly real. They are also renter friendly, since most come off without damaging the wall. Start in a corner, keep the rows level and smooth each sheet firmly. Soft green and white looks fresh and very current. Which tile color would you choose?
You will need: Peel and stick backsplash tiles, a level, a utility knife (adult only), a smoothing tool, a cloth.
How to make it: 1. Clean and dry the wall completely. 2. Start at the bottom corner and press each sheet on, lining up the edges. 3. Trim around outlets with the knife and smooth every tile firmly.
Paint the Island a Bold Color for Designer Kitchen Looks
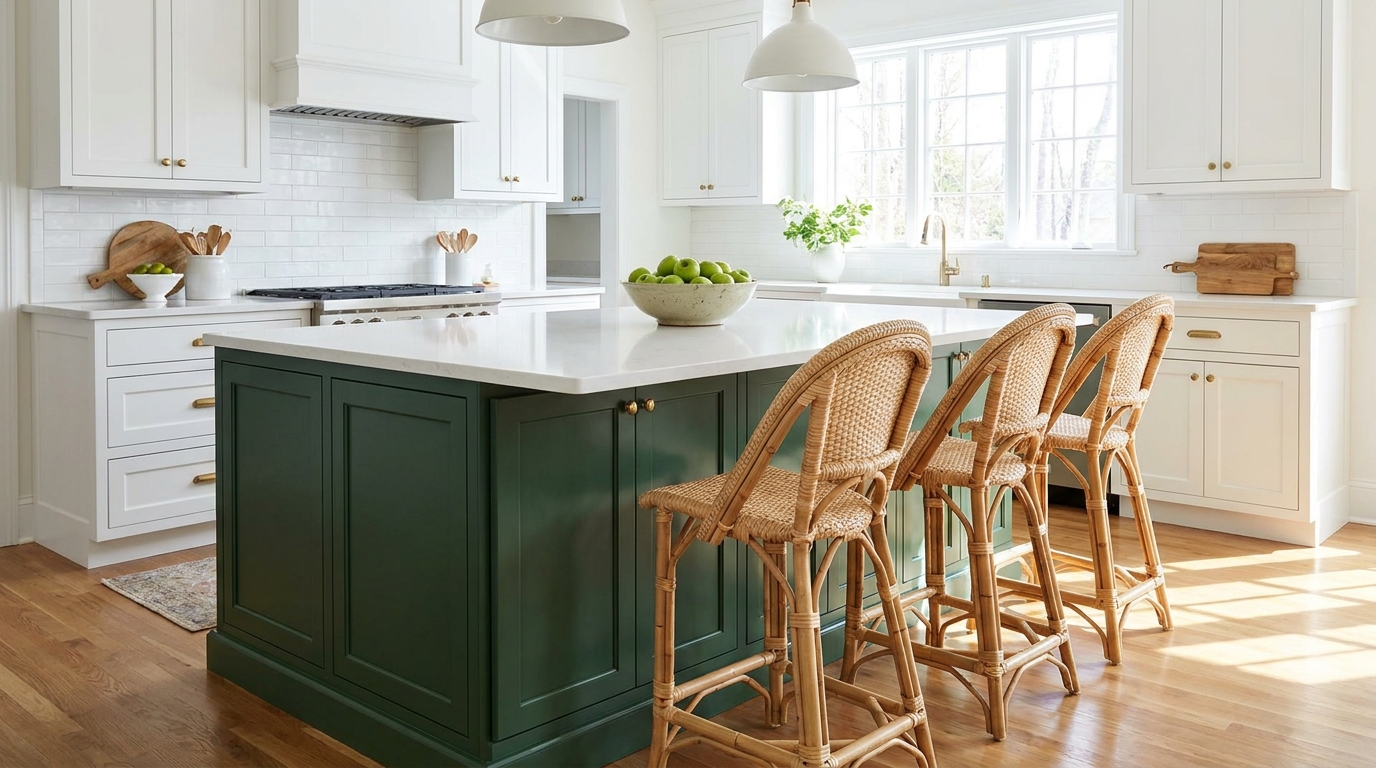
If your kitchen is all white, painting just the island in a deep color creates an instant focal point. Forest green, navy and warm black are designer favorites. It is a weekend project that costs one can of cabinet paint and some patience. Clean and lightly sand first, then use a good primer so the color lasts. Add brass knobs and a bowl of green apples and you will feel like you moved house. Which bold color would you try?
You will need: Degreaser, fine sandpaper, painter’s tape, bonding primer, cabinet paint, a small roller and brush.
How to make it: 1. Clean, sand lightly and tape off the floor and counter. 2. Prime and let it dry. 3. Roll on two thin coats of paint and let it cure before heavy use.
Style Open Shelves With Stacked Bowls
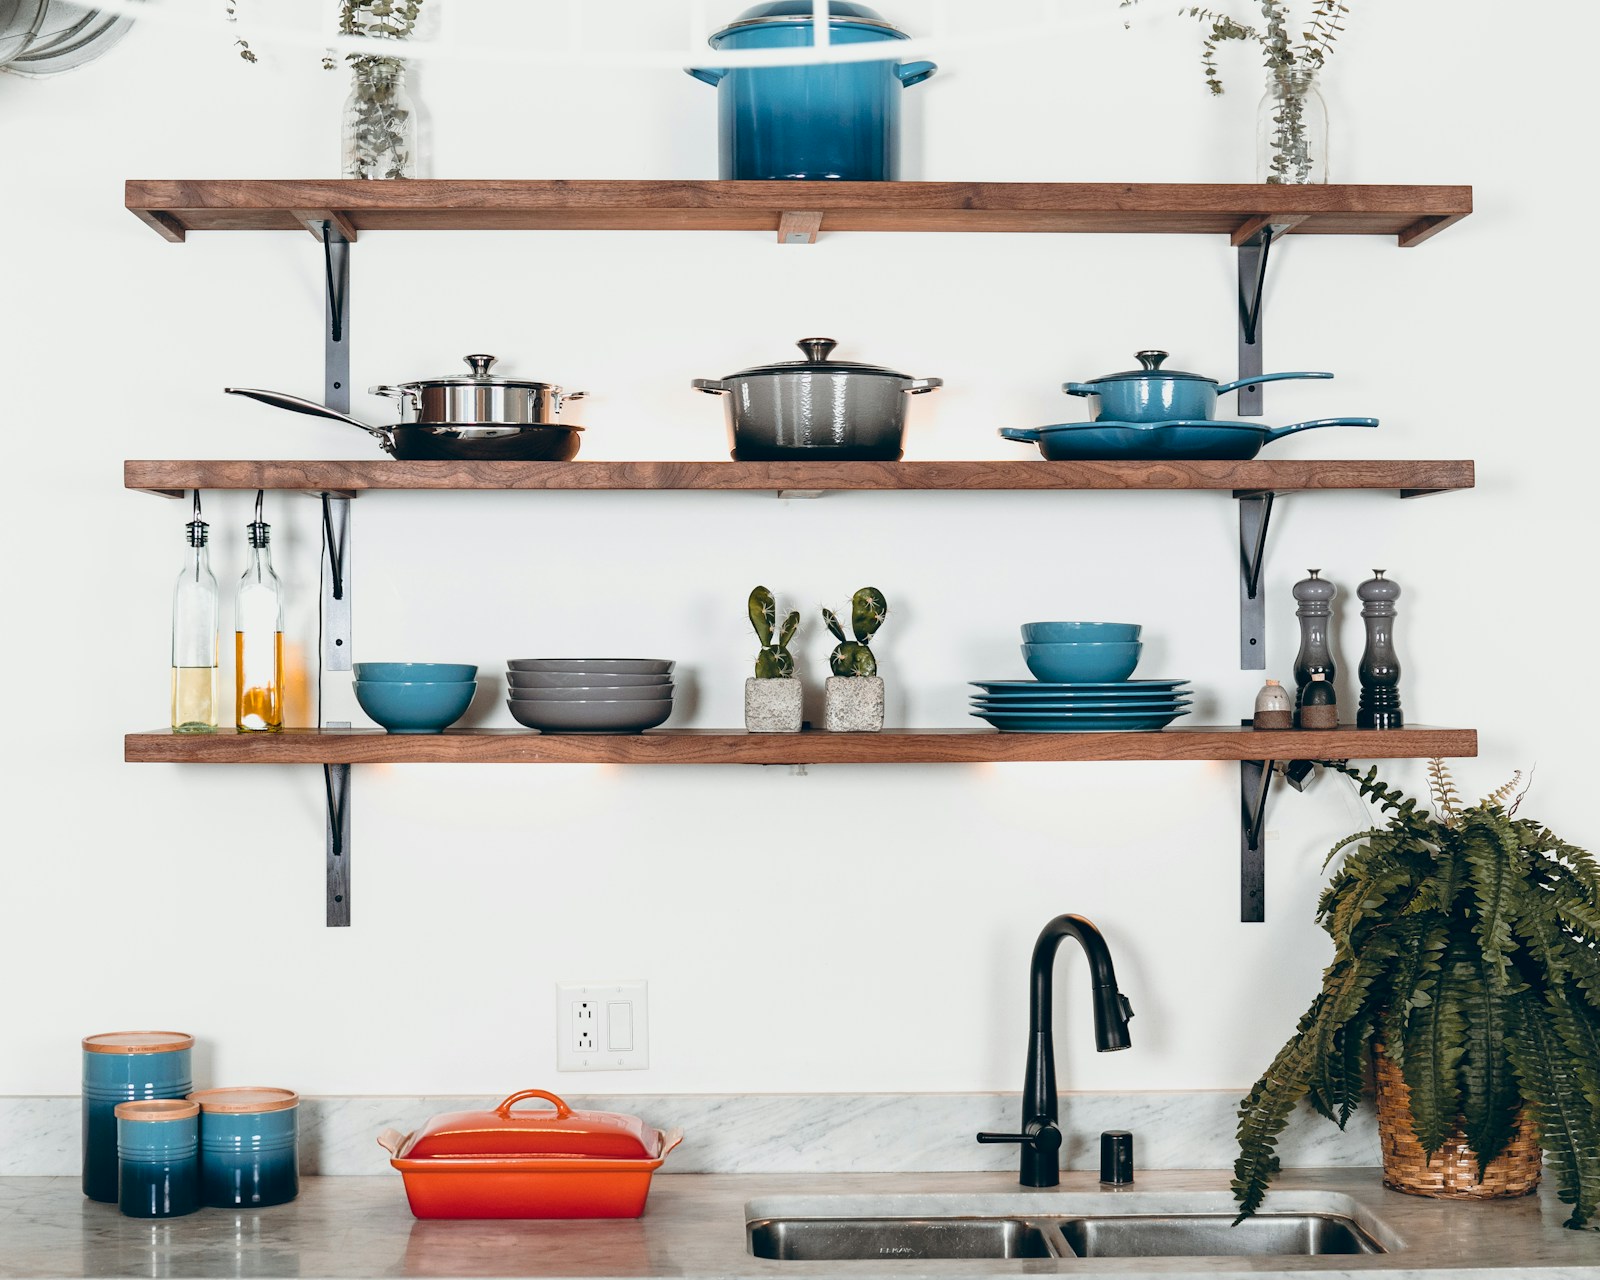
Open shelves look best when they feel calm, not crowded. Stack bowls and plates in matching colors, add one or two pots you actually use, and leave a little empty space on each shelf. A small plant and a tall bottle add height. The trick is to repeat colors from shelf to shelf so the eye moves smoothly. Designer kitchen looks often come down to editing, so take things away until it feels right. What would you put on your top shelf?
You will need: Matching bowls and plates, one or two attractive pots, a small plant, a tall bottle or crock.
How to make it: 1. Clear the shelves completely. 2. Add stacks of dishes first, then larger items. 3. Finish with one plant and leave some empty space.
Under Cabinet Light Strips
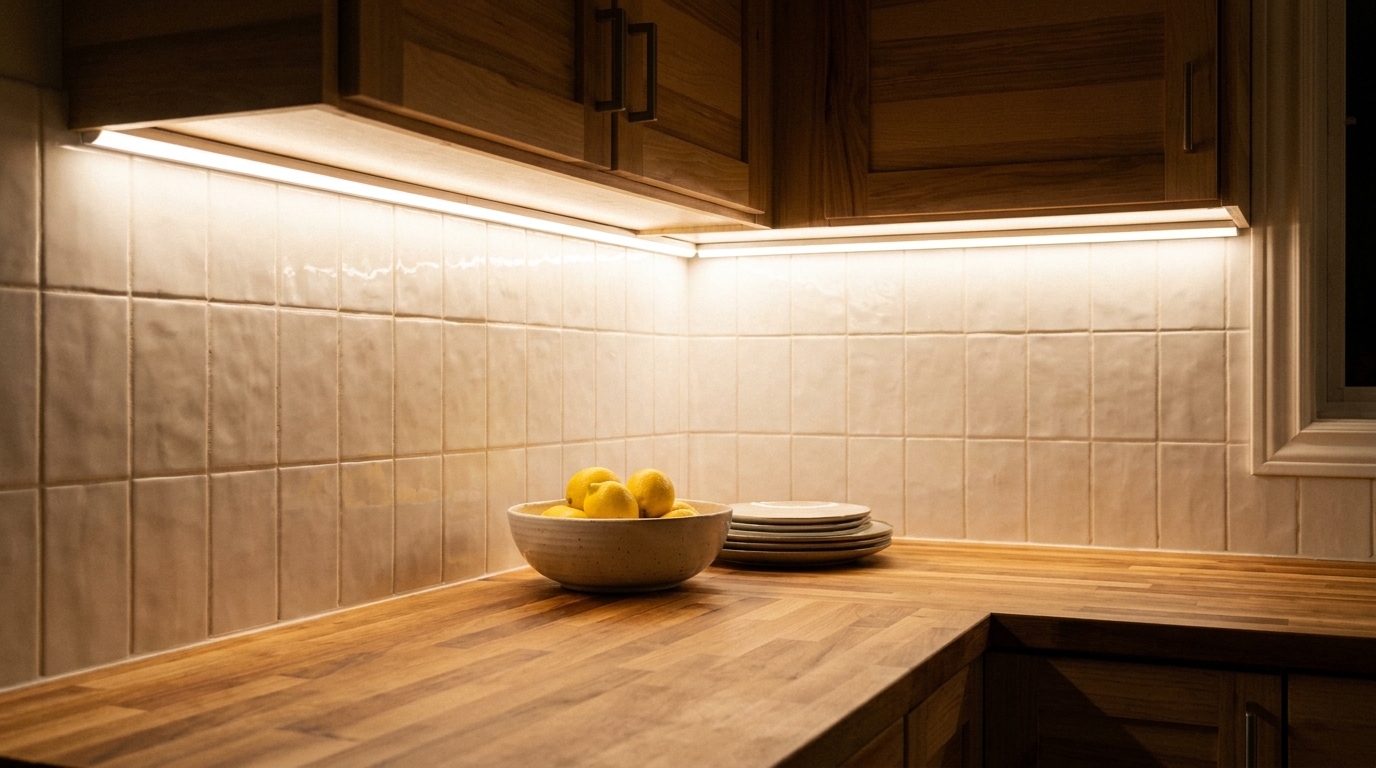
Warm light under the cabinets is one of the biggest upgrades you can make, and plug in or battery LED strips make it easy. The glow washes down the backsplash and makes the whole kitchen feel cozy in the evening. Choose a warm white color so it does not look like an office. Most strips stick on with tape and connect with a simple plug or USB battery pack. It is the kind of change guests notice right away, and it is behind many designer kitchen looks. Have you tried kitchen lighting tricks before?
You will need: Warm white LED strip lights or puck lights, a measuring tape, alcohol wipes, a plug or battery pack.
How to make it: 1. Measure under each cabinet and clean the surface. 2. Peel and stick the LED strips near the front edge. 3. Plug in or connect the battery pack and tuck the wires out of sight.
Decant Pantry Staples Into Glass Jars
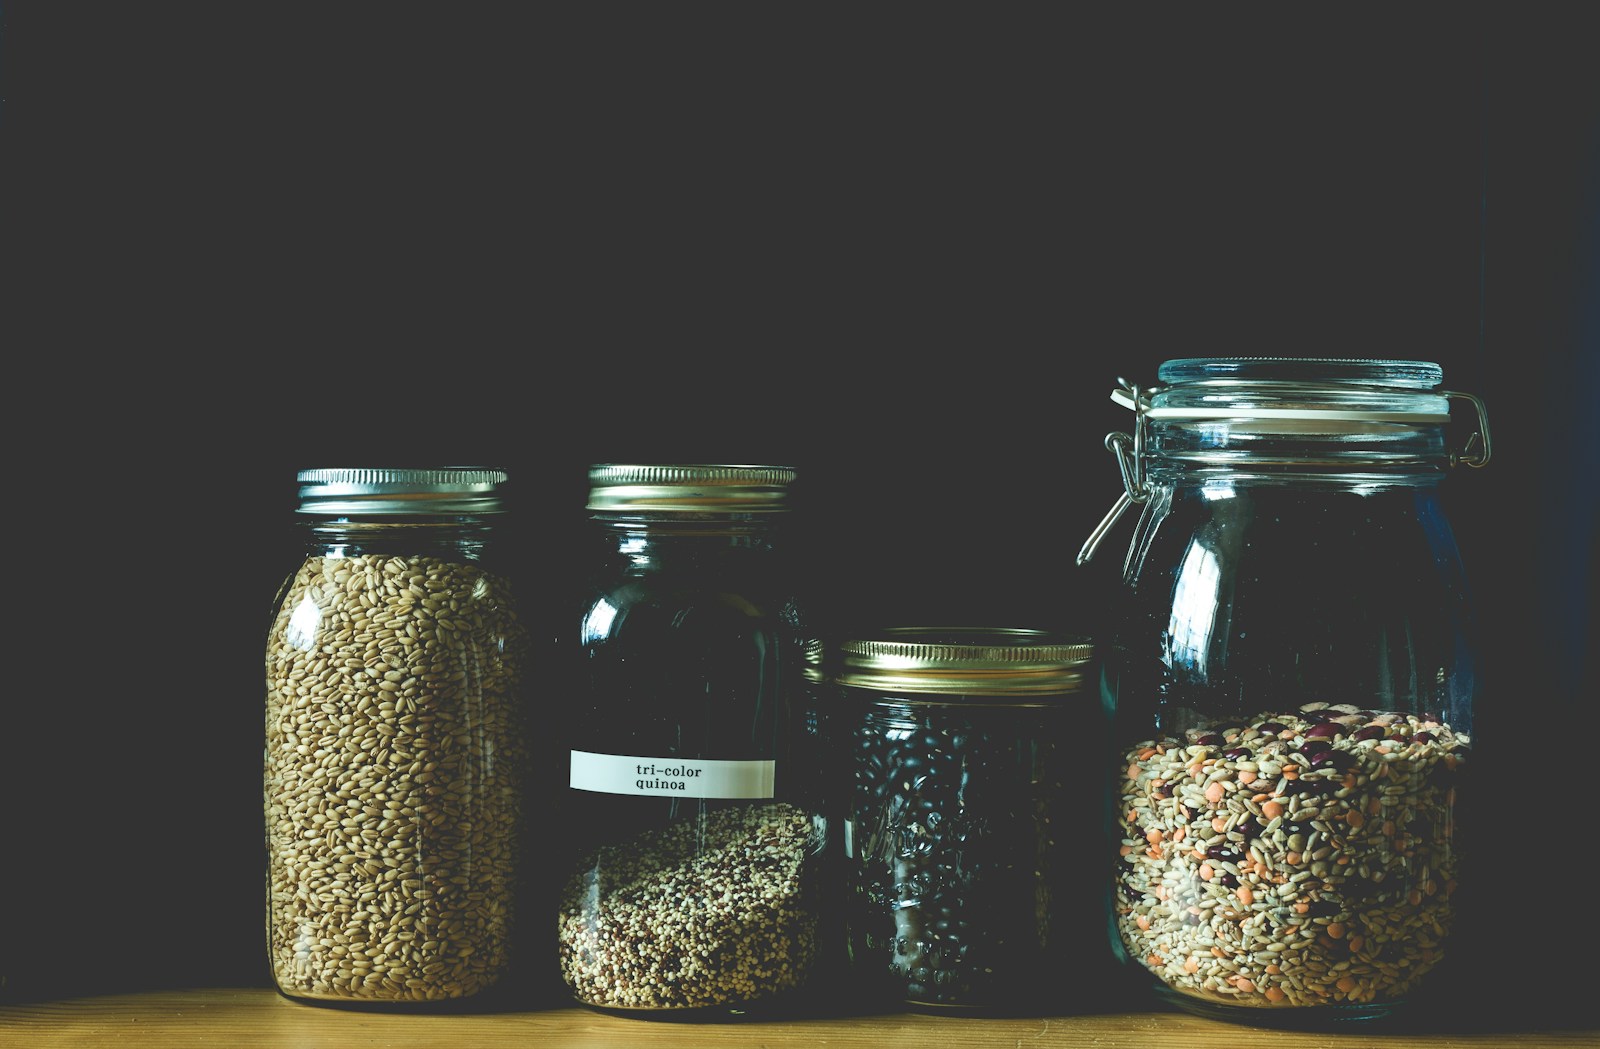
Rows of matching glass jars full of oats, rice and beans look calm and expensive, even inside a small cupboard. Decanting also helps you see what you have so you do not buy doubles. Pick jars in two or three sizes and add simple handwritten or printed labels. Group them on an open shelf or a lazy Susan for a pantry that feels like a little shop. Designer kitchen looks often start with organization, and this is the easiest place to begin. Which staple would go in your first jar?
You will need: Glass jars with lids, a funnel, labels or a label maker, a marker.
How to make it: 1. Wash and dry the jars completely. 2. Pour in your staples with a funnel. 3. Label each jar and line them up by size.
A Fruit Bowl Centerpiece, the Easiest of Designer Kitchen Looks
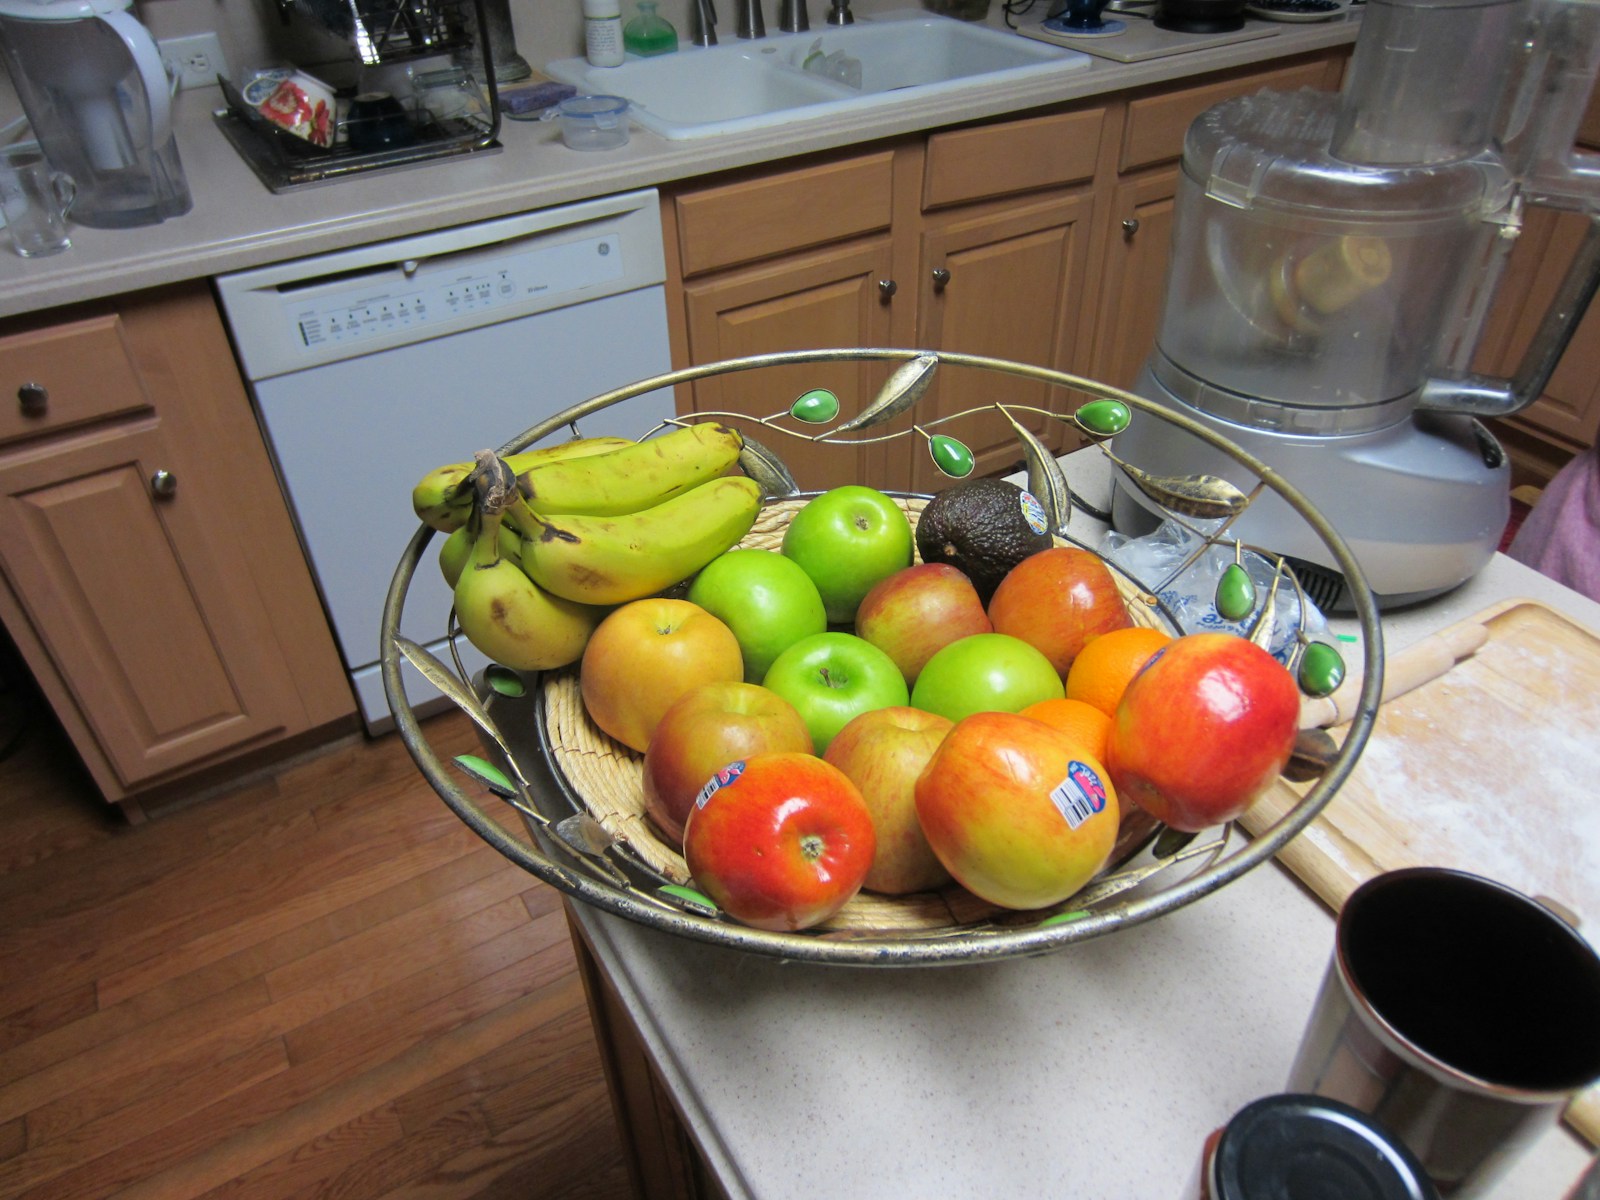
A big bowl of fresh fruit is the cheapest decor in the house, and you get to eat it. A footed bowl or a wide glass bowl on the island instantly makes the space feel lived in and colorful. Stick to two or three fruits in similar colors for a calm look, or go bright with mixed apples and citrus. Refill it every week and it never looks the same twice. It also reminds everyone to grab a healthy snack. What fruit is always in your kitchen?
You will need: A large footed or glass bowl, fresh fruit such as apples, lemons, oranges and bananas.
How to make it: 1. Place the bowl in the center of the island or table. 2. Add the largest fruit first, then fill gaps. 3. Swap and refresh the fruit each week.
Hang or Lean Framed Art in the Kitchen
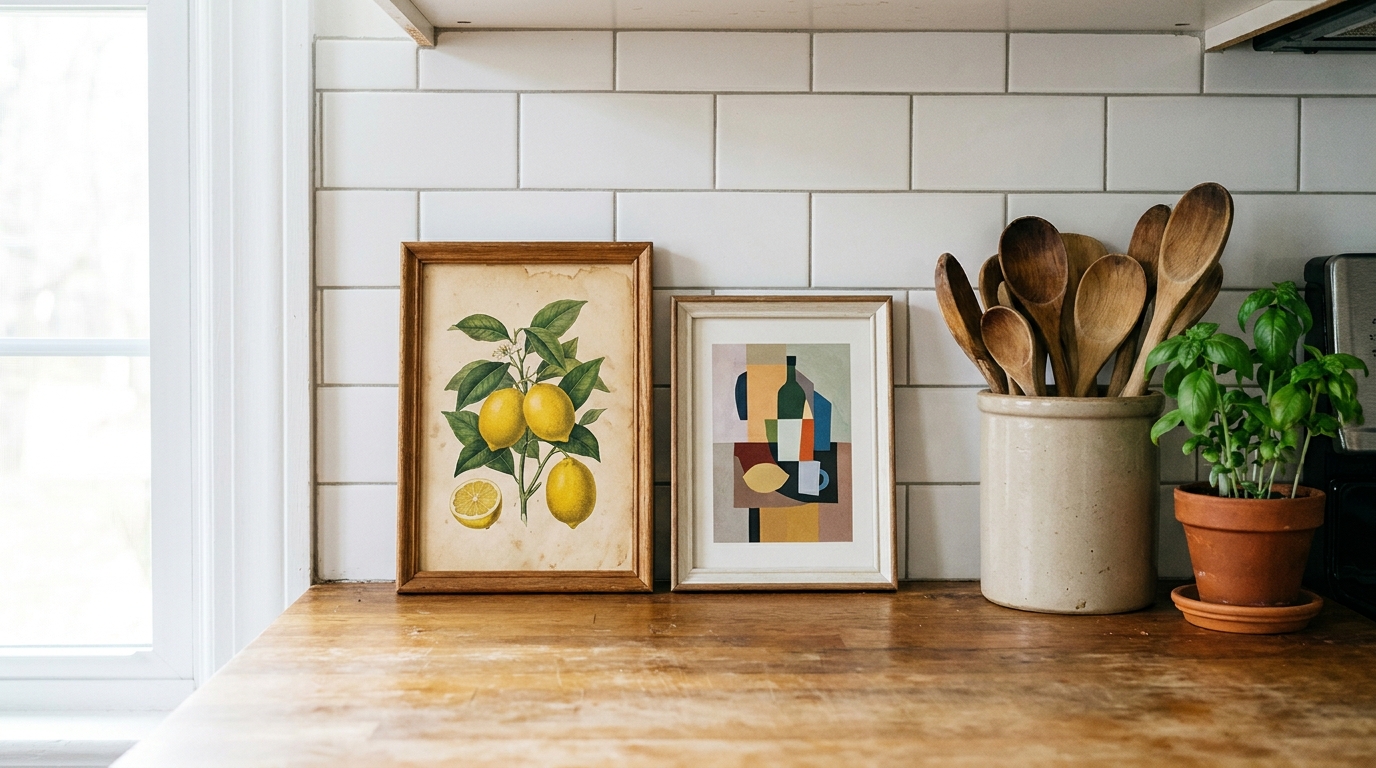
Art is not just for the living room. A couple of small framed prints leaning on the counter or hanging by the window make a kitchen feel personal and designed. Botanical prints, vintage food posters or a child’s painting in a nice frame all work. Leaning frames means no nails, which is perfect for renters. Keep them away from the stove so they stay clean. This is one of those designer kitchen looks that costs almost nothing. What art would you put in your kitchen?
You will need: Two small frames, prints or your own art, a picture hook (optional).
How to make it: 1. Choose prints that repeat a color from your kitchen. 2. Frame them in matching frames. 3. Lean them against the backsplash or hang one beside a window.
Use a Glass Cake Stand for Soap and Sponge
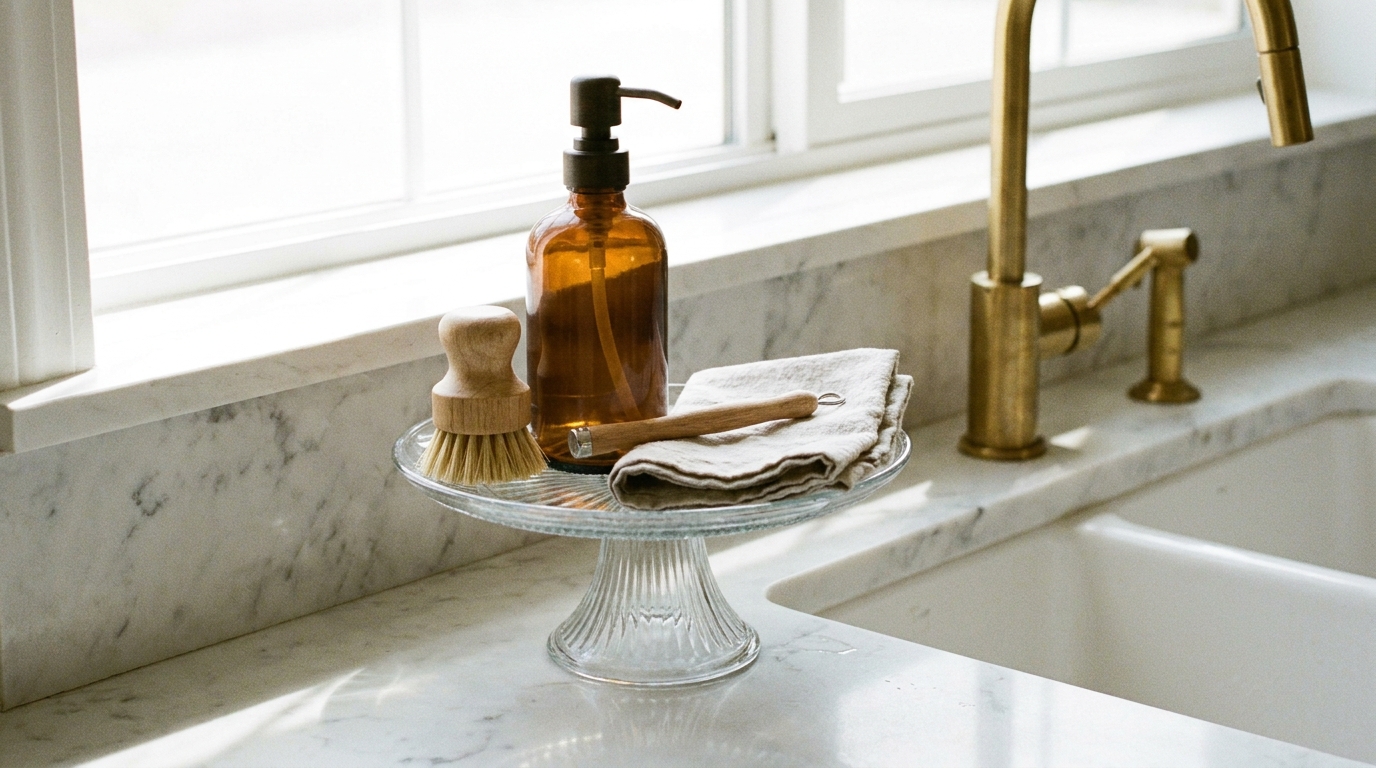
The sink is usually the messiest spot in the kitchen. Putting your soap, brush and dish cloth on a small glass cake stand lifts them off the wet counter and makes them look intentional. Pour dish soap into a refillable amber glass bottle so you never see bright plastic labels. It is a tiny change that makes the whole sink area look styled. For more budget ideas, see our dollar store decor DIYs. Do you have a cake stand you rarely use?
You will need: A small glass cake stand, a refillable glass soap pump, a wooden dish brush, a linen dish cloth.
How to make it: 1. Refill your dish soap into the glass pump. 2. Place the cake stand beside the sink. 3. Arrange the soap, brush and folded cloth on top.
Plants in Mismatched Pots on the Sill
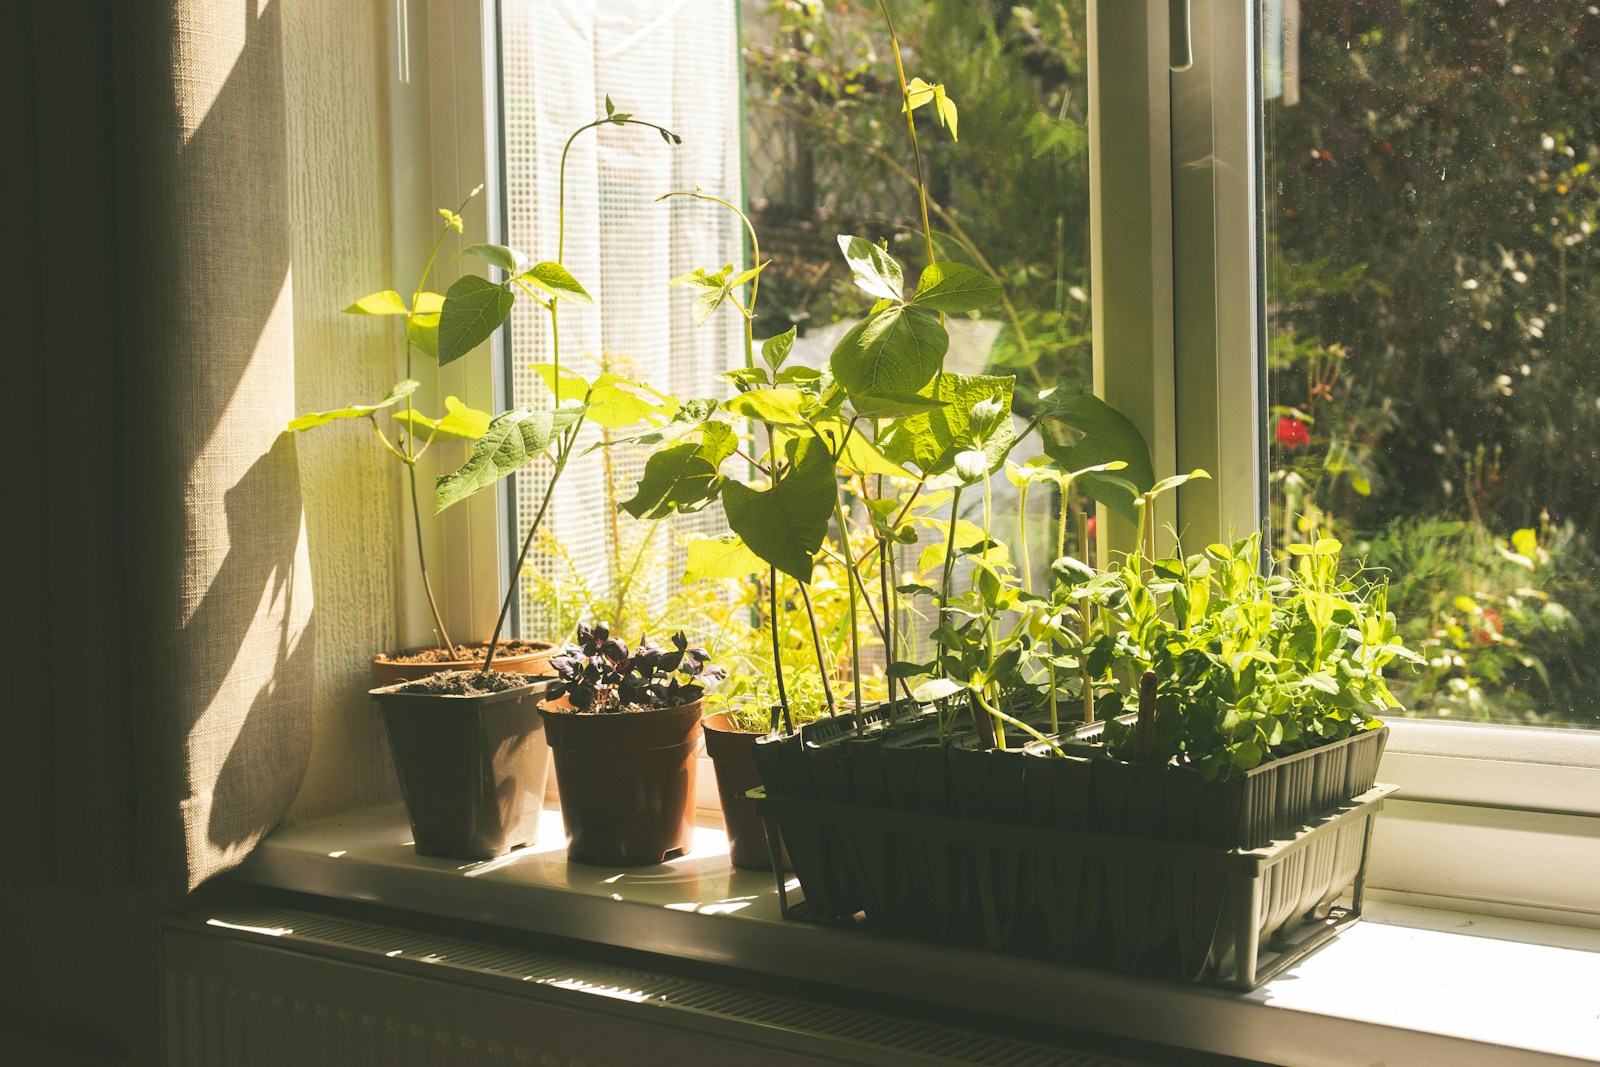
A row of plants on the kitchen windowsill makes the room feel fresh and alive. Mix pot sizes and finishes, like terracotta, ceramic and an old mug, for a collected look. Herbs are perfect because you can snip them while cooking, but pothos and small succulents are easy too. Turn the pots every week so the plants grow evenly toward the light. It is one of the most cheerful designer kitchen looks you can create in an afternoon. Which herb would you grow first?
You will need: Small plants or herb seedlings, a mix of pots with drainage, potting mix, saucers.
How to make it: 1. Pot each plant in fresh soil and water well. 2. Set them on saucers along the sill. 3. Arrange tall plants at the ends and small ones in the middle.
Hang a Cafe Curtain on a Tension Rod
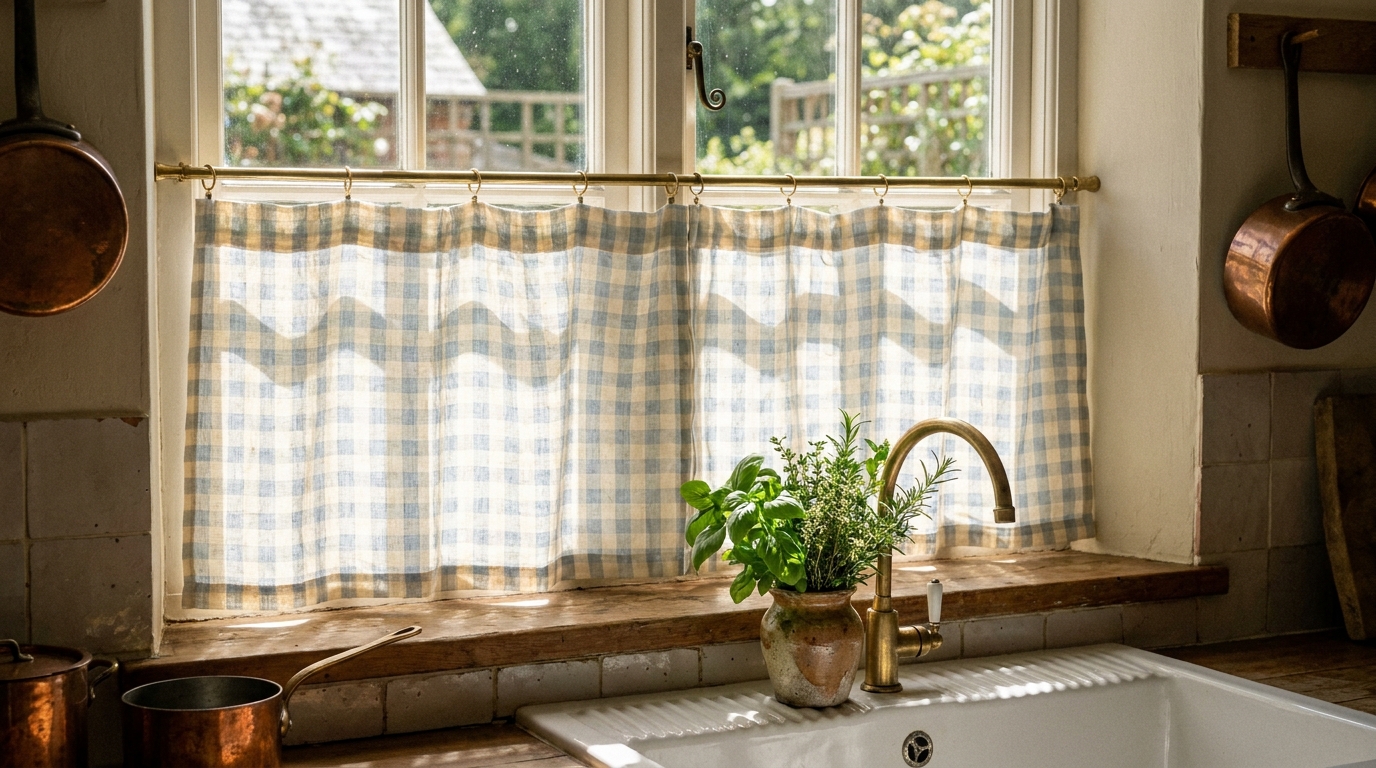
Designer kitchen looks often borrow from old European cottages. A short cafe curtain across the lower half of a window adds privacy and charm while still letting light in. Hang it on a thin brass tension rod and you do not need to drill a single hole. Linen and soft gingham look especially fresh in a kitchen. You can even sew a simple one from a pillowcase or tea towel. It gives the whole room a European cottage feel that people love. Would you choose plain linen or a sweet check?
You will need: A tension rod, a short curtain or tea towel, clip rings (optional), a tape measure.
How to make it: 1. Measure the inside width of the window. 2. Thread the curtain onto the tension rod or clip it on with rings. 3. Twist the rod into place halfway down the window.
Corral Oils by the Stove on a Pretty Tray
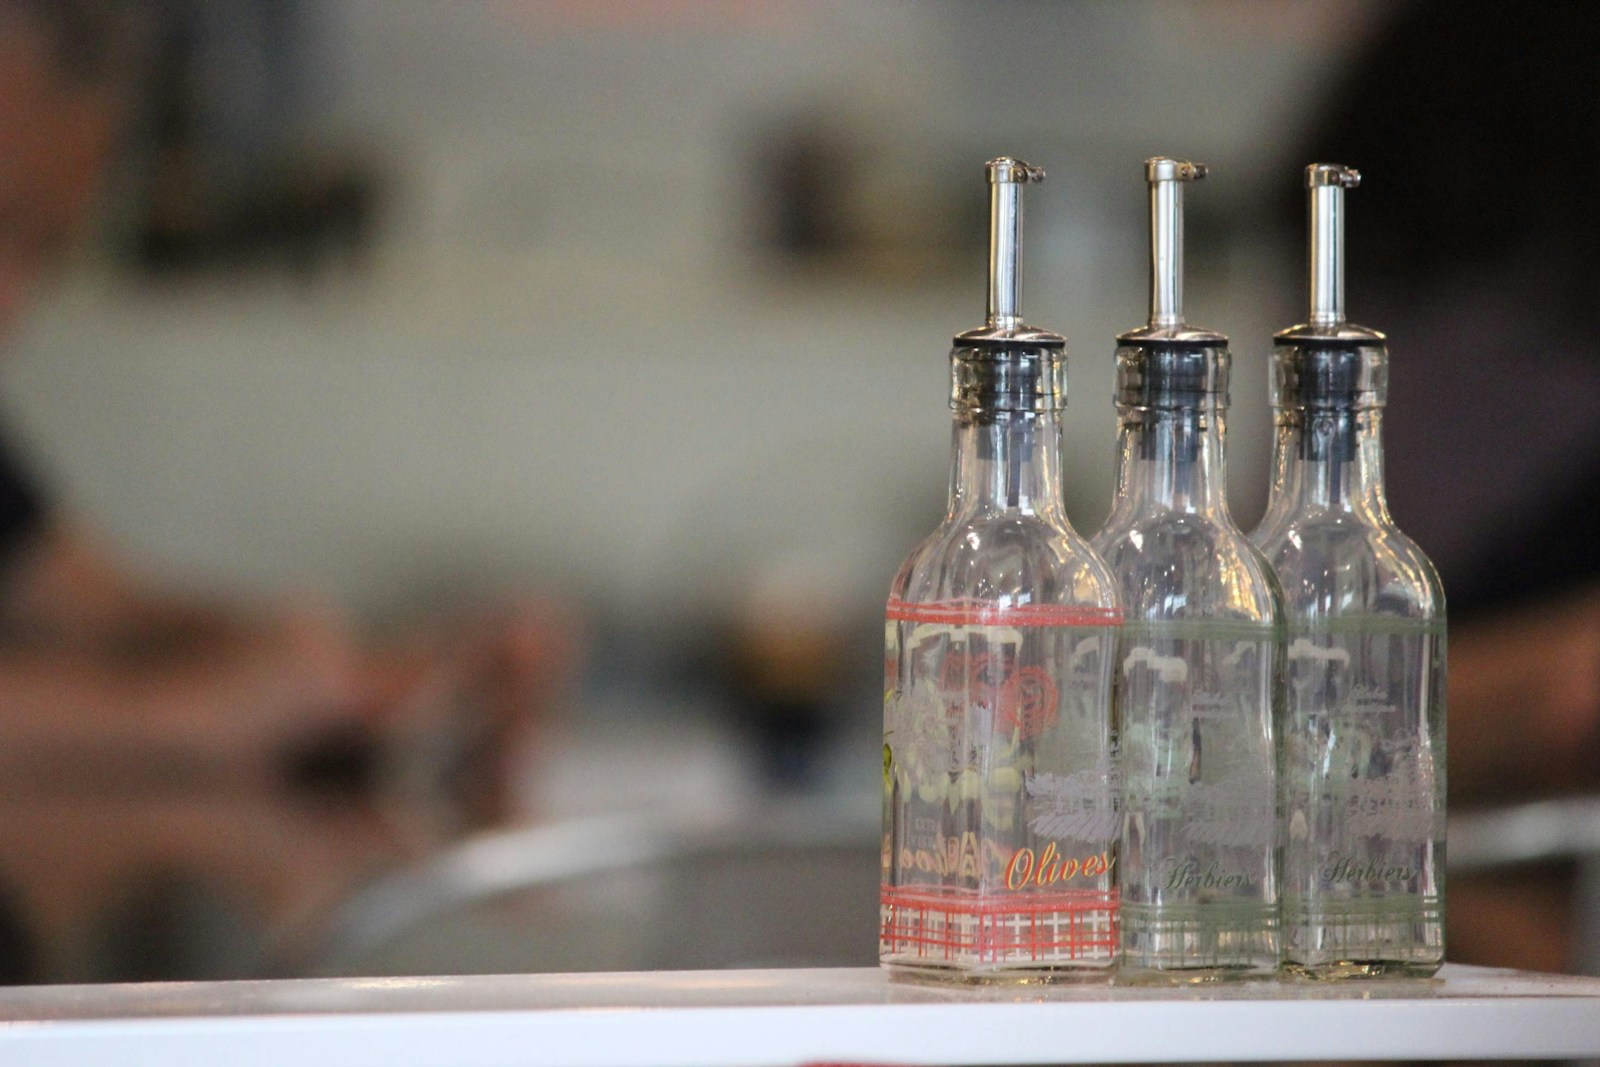
Bottles of oil and vinegar scattered by the stove look messy fast. Pour them into matching glass bottles with pour spouts and group them on a small tray or marble board. It looks tidy, keeps drips off the counter and makes cooking easier. Add salt in a little bowl and a pepper grinder to finish the station. It is the final small touch that makes designer kitchen looks feel complete. What would you keep on your stove side tray?
You will need: Matching glass bottles with pour spouts, a small tray or marble board, a funnel, a salt dish.
How to make it: 1. Fill the bottles with oil and vinegar using a funnel. 2. Set them on the tray with a salt dish and pepper grinder. 3. Place the tray near, but not right next to, the stove.