DIY Christmas Stockings: 16 Cozy Handmade Ideas Straight Out of The Night Before Christmas
DIY Christmas stockings have a funny way of becoming the most loved decoration in the house. Store bought ones get tossed after a few years, but the stocking someone stitched from an old sweater or a scrap of plaid gets pulled out of the box every December like an old friend. We have a famous poem to thank for the whole tradition. In 1823 a newspaper in Troy, New York printed A Visit from St. Nicholas, the verse most of us know as The Night Before Christmas, and its line about stockings hung by the chimney with care helped turn a simple sock into the star of the mantel. Below are sixteen cozy ideas, from no-sew felt to velvet with a name tag, that you can make on a quiet evening with a cup of cocoa..
A Mantel of DIY Christmas Stockings Hung by the Chimney With Care

Picture the scene the poem made famous: a row of plump stockings waiting on the mantel, each one a little different. That mix is the secret to a mantel that looks collected instead of bought. Clement Clarke Moore, the scholar long credited with the poem, never described what the stockings looked like, so you get to decide. Some historians credit the verse to Henry Livingston Jr. instead, but either way the picture stuck. Start with one stocking per person in fabrics that feel like your home, then hang them at the same height. Which fabric would you pick for yours..
You will need: Five fabrics you love (knit, flannel, velvet, faux fur, linen), a paper stocking pattern, fabric scissors, pins, thread or fabric glue, ribbon loops, a garland.
How to make it: 1. Trace one paper pattern about 18 inches tall so every stocking matches in size. 2. Cut two pieces per stocking, right sides together, and sew or glue around the edge. 3. Turn right side out, add a cuff and a ribbon loop, and hang them evenly along a garland.
Old Sweater Stocking With a Cable Knit Cuff
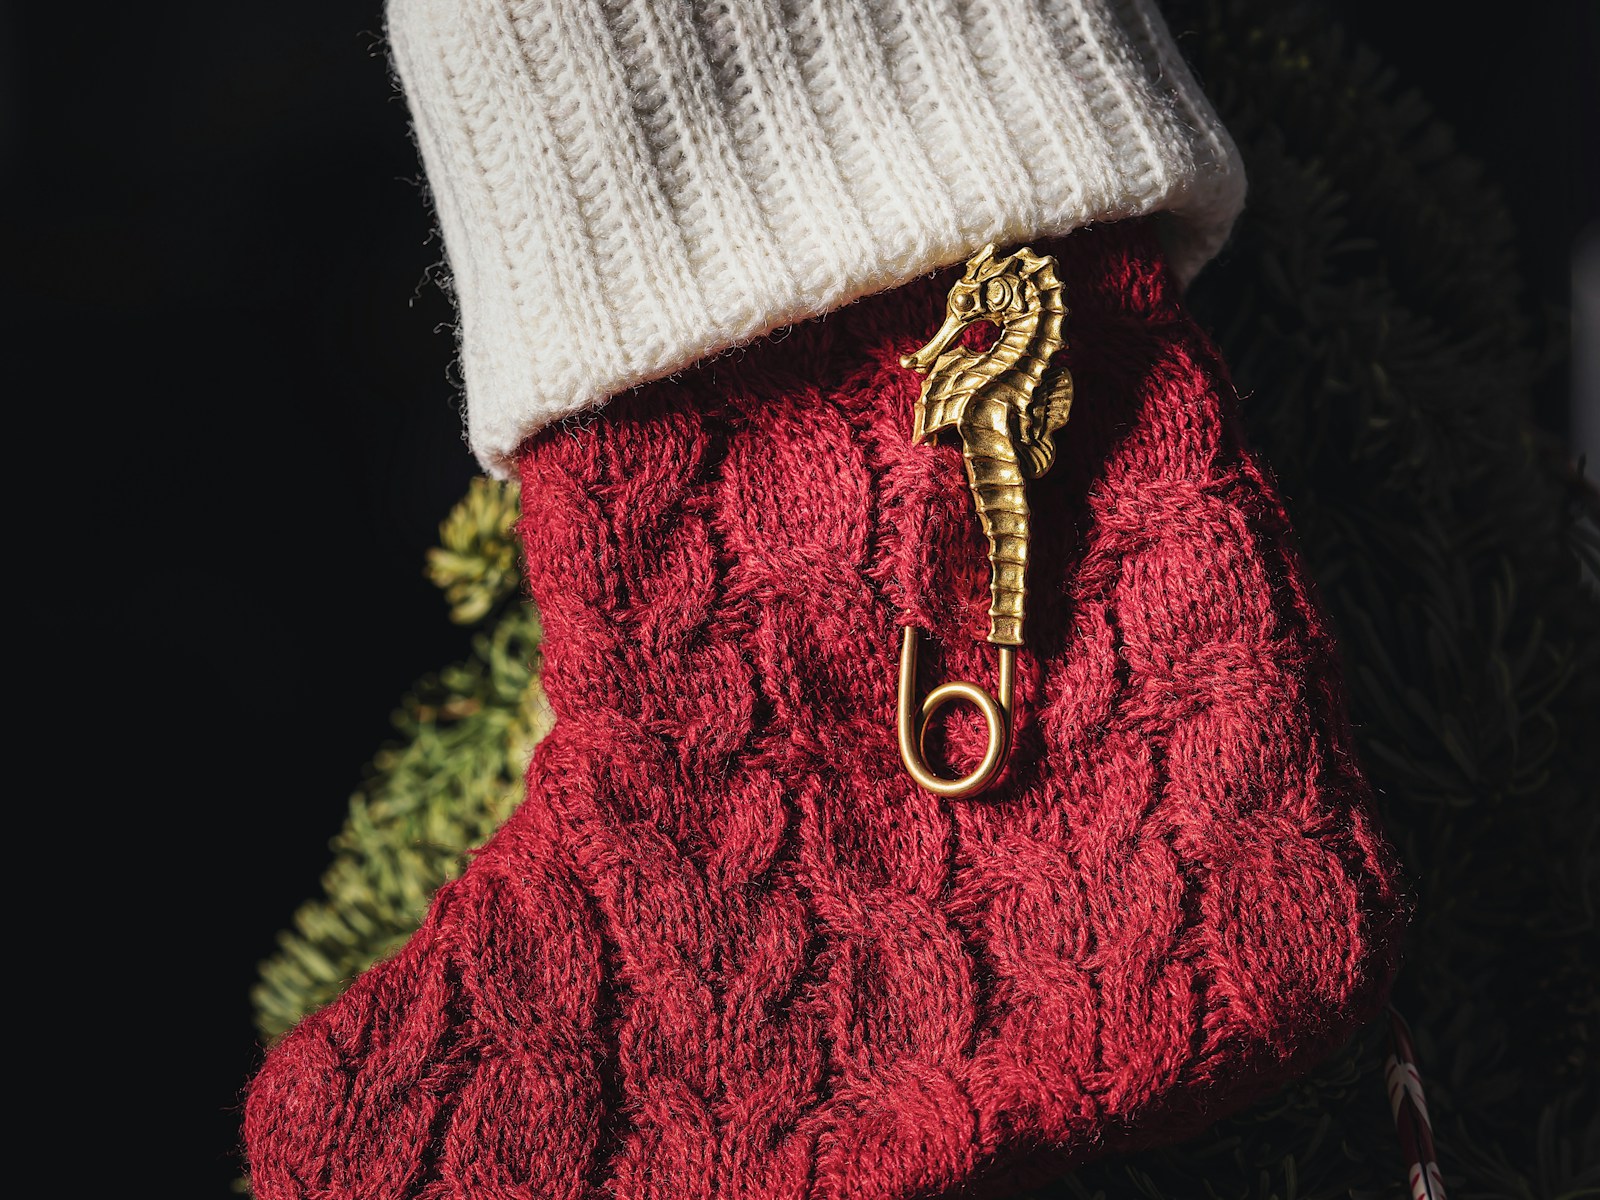
That chunky sweater with a hole in the elbow is about to have the best second life. Cable knit already looks expensive, so DIY Christmas stockings cut from it feel like something from a boutique catalog. Use the body of the sweater for the foot and turn the ribbed waistband into a ready made cuff that never frays. If you have more sweaters waiting in the closet, our old sweater upcycles have plenty more ideas. Do you have a sweater that is too loved to throw out?
You will need: An old wool or acrylic sweater, a stocking pattern, sharp fabric scissors, a sewing machine or needle and yarn, a cream sweater cuff or waistband.
How to make it: 1. Lay the pattern so the cables run straight down and cut two pieces. 2. Zigzag stitch the cut edges first so the knit does not unravel. 3. Sew the pieces together, then stitch the ribbed waistband on top as the cuff.
No-Sew Felt DIY Christmas Stockings
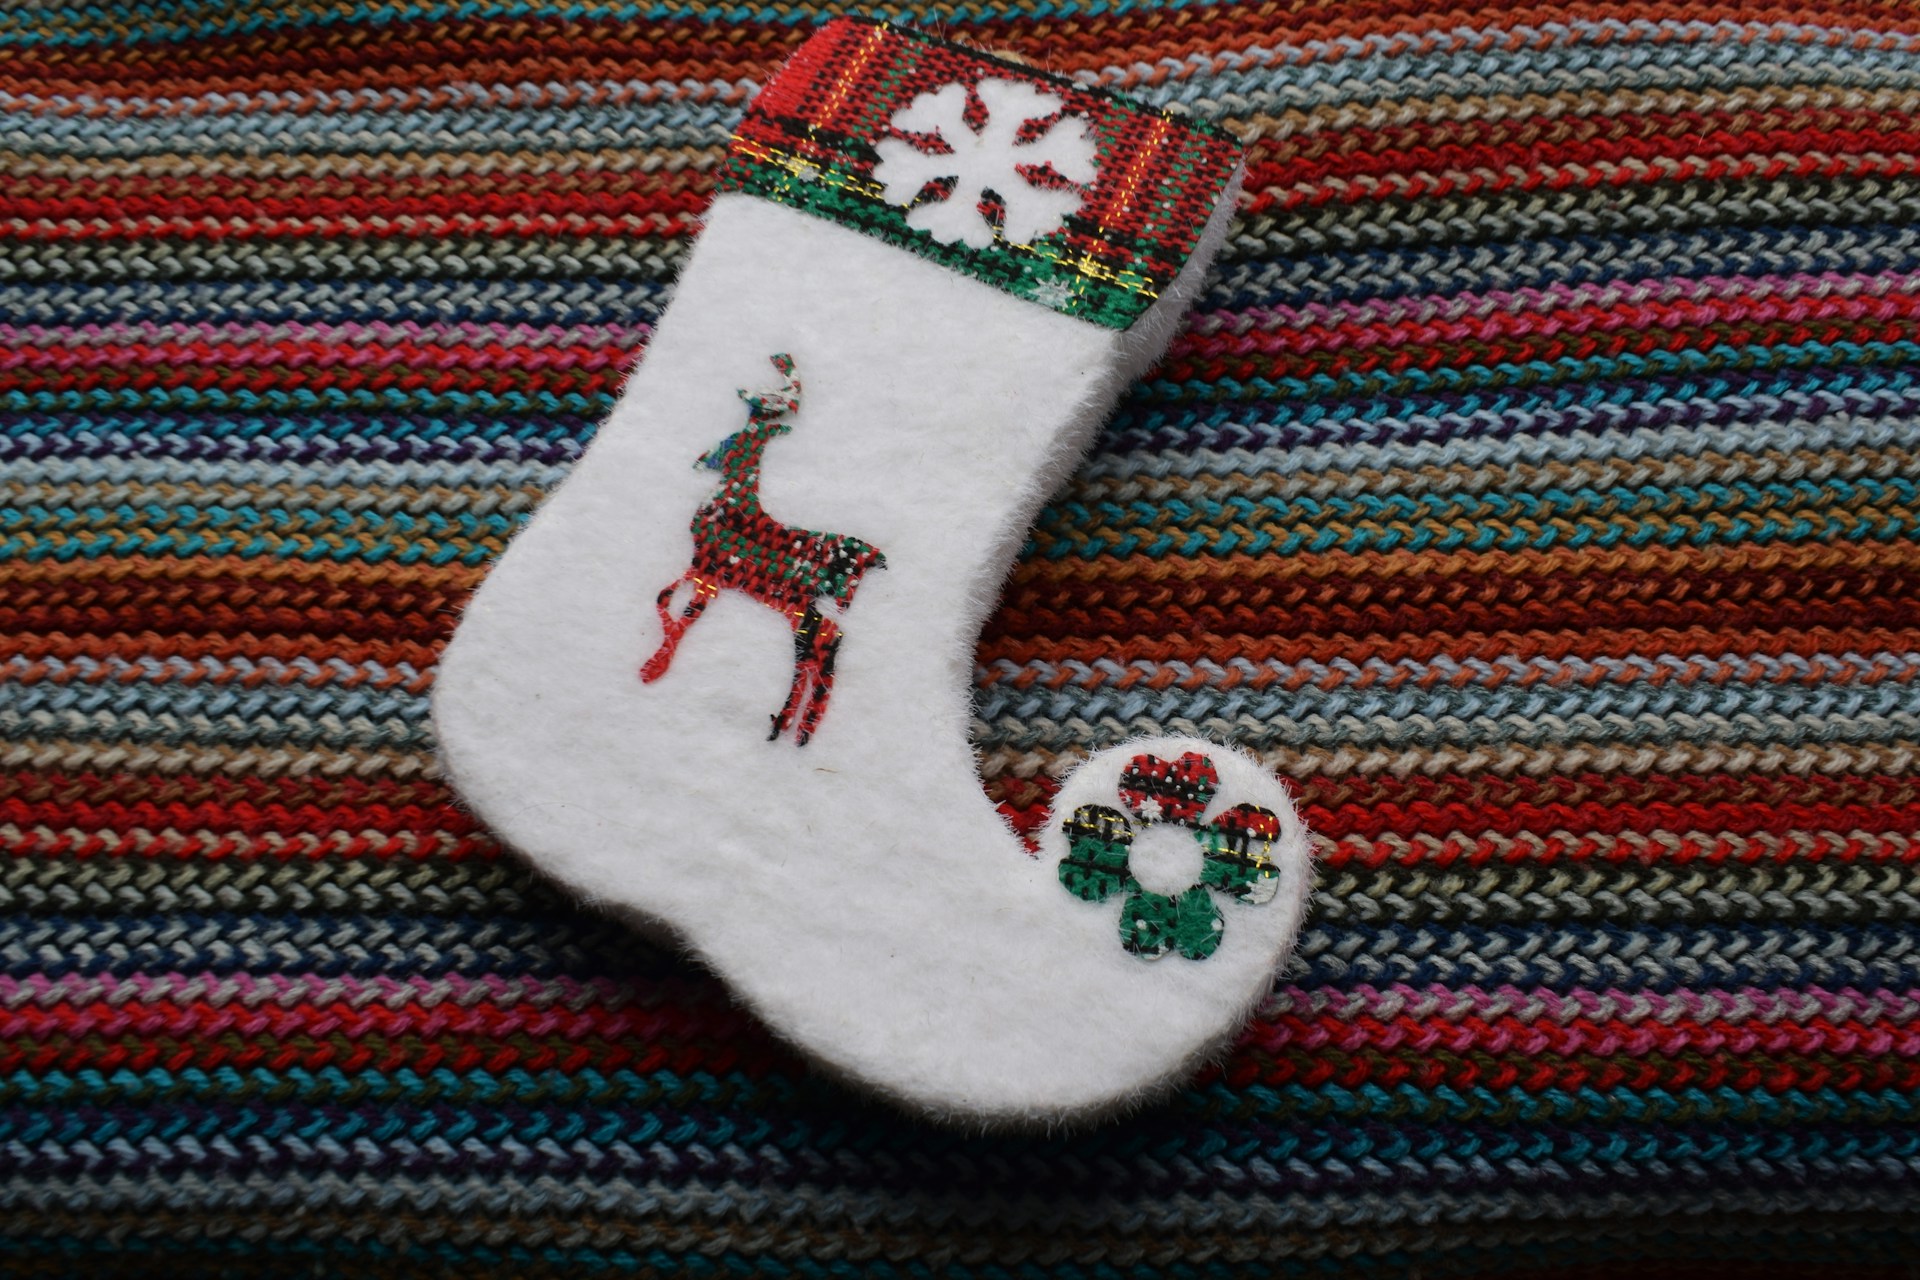
Not a sewer? Felt is your best friend. It does not fray, it comes in every holiday color, and fabric glue holds it tight enough for a stocking full of chocolate oranges. These are perfect for a craft night with friends because everyone can cut out their own reindeer, tree or snowflake and press it on. White felt with a red or green appliqué looks crisp and Scandinavian, while red felt with a white cuff feels classic. Who in your house would love designing their own?
You will need: Stiff craft felt in white, red and green, fabric glue, a stocking template, sharp scissors, embroidery floss for optional stitches, a ribbon hanger.
How to make it: 1. Cut two stocking shapes and run a thin line of fabric glue around the edge, leaving the top open. 2. Press and let it dry flat under a heavy book. 3. Glue on felt shapes and a cuff, and add a few big running stitches if you like the handmade look.
Buffalo Plaid Flannel Stocking
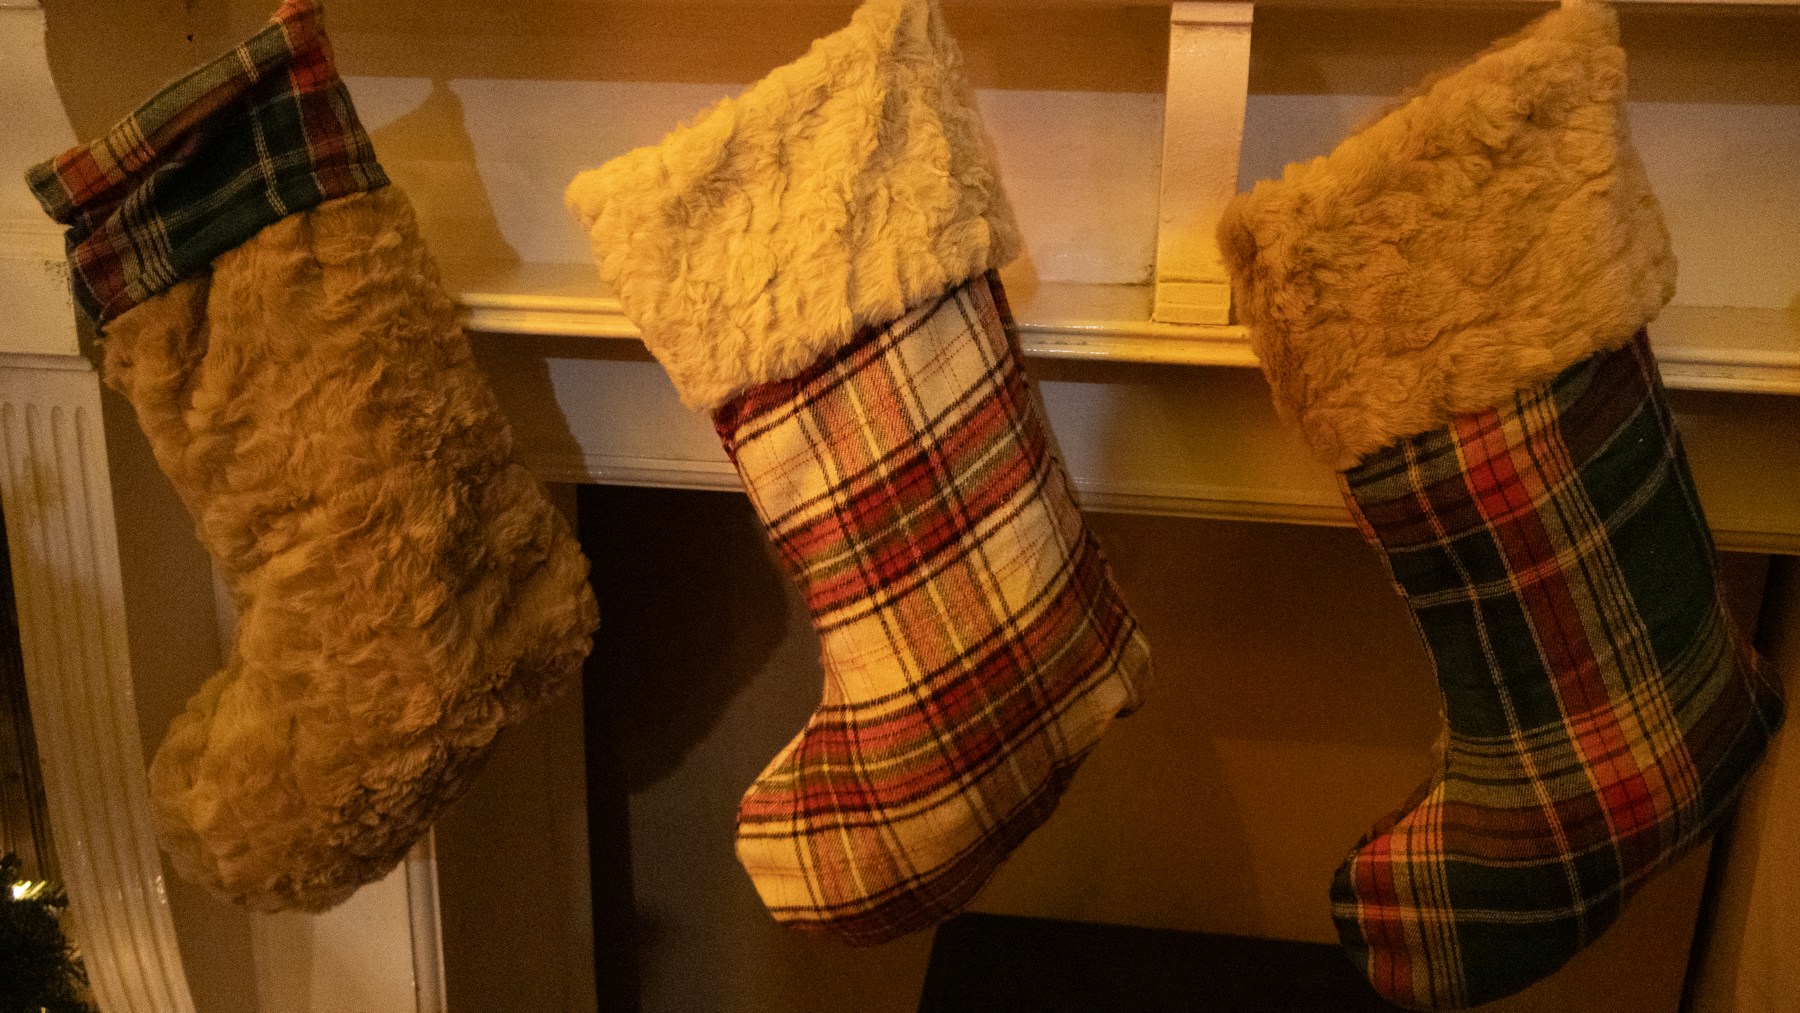
Red and black buffalo plaid is the flannel shirt of Christmas decor: cozy, a little rustic and impossible not to like. An old flannel shirt from the thrift store gives you enough fabric for one stocking, and the button placket can even become a fun detail down the front. Of all the DIY Christmas stockings here, this one says cabin weekend the loudest. Pair it with a soft cream or faux fur cuff and it suddenly looks like a cabin catalog piece. Mixed with tan and green plaids on the same mantel, it reads warm and layered. Is there a flannel shirt hiding in your closet right now?
You will need: A flannel shirt or half a yard of plaid flannel, cotton lining fabric, a cream or faux fur strip for the cuff, thread, pins, a sewing machine.
How to make it: 1. Cut two outer pieces and two lining pieces from your pattern, lining up the plaid so the lines match at the seams. 2. Sew outer and lining separately, then slip the lining inside. 3. Fold the cuff over the top edge and stitch through all layers.
Faux Fur Cuff DIY Christmas Stockings

A thick white cuff turns a plain red stocking into the one everyone remembers. Faux fur looks like snow and makes any stocking feel plush and generous, even if the rest is simple cotton. The trick is to cut faux fur from the back with a craft knife, never with scissors, so you only slice the backing and keep the long fibers intact. Ask an adult to handle the blade if kids are helping. Brush the seam afterward and the joint disappears. Would you go classic red or try deep green?
You will need: A finished plain stocking, a 6 inch strip of white faux fur, a craft knife and cutting mat (adult use), fabric glue or needle and thread, a pet brush.
How to make it: 1. Measure around the top of the stocking and add half an inch. 2. Flip the fur over and slice the backing with the knife along a ruler. 3. Wrap it around the top, glue or whipstitch the seam, then brush the fibers over the stitches.
Burlap and Lace Farmhouse Stocking
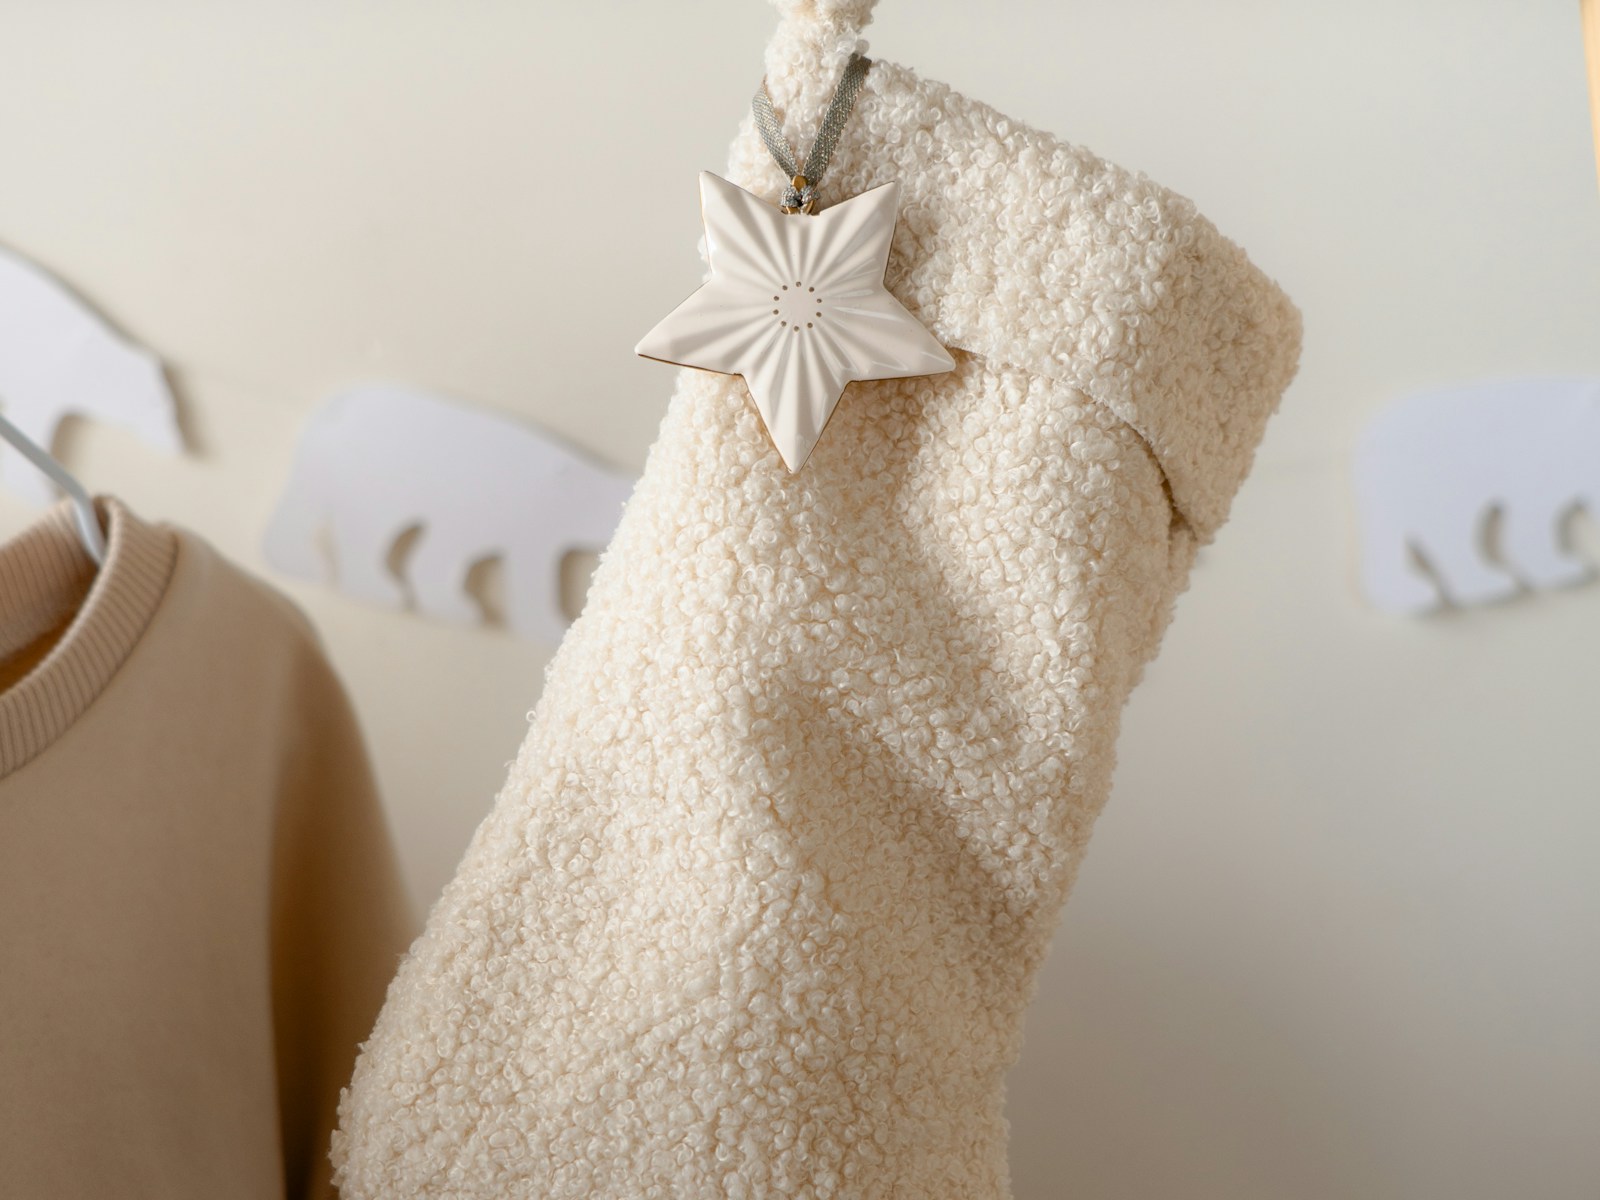
If your home leans farmhouse, these are the DIY Christmas stockings for you. Natural burlap or rough linen gives a soft, earthy look, and a band of cream lace across the cuff adds just enough sweetness. Line the inside with plain cotton so the burlap does not shed on the gifts. These look lovely hung from a simple wooden rod or a row of hooks, and they work with white, sage or wood toned rooms. Hang a little sprig of dried eucalyptus from each loop for scent. Which room would they suit best in your home?
You will need: Burlap or heavy linen, cotton lining, a strip of cream lace, jute twine for the hanger, hot glue gun (adult help) or sewing machine, dried eucalyptus.
How to make it: 1. Cut outer and lining pieces and sew each pair together. 2. Slide the lining inside and fold the top edge in. 3. Glue or stitch the lace band around the top and tie a jute loop for hanging.
Velvet Stocking With a Gold Name Tag
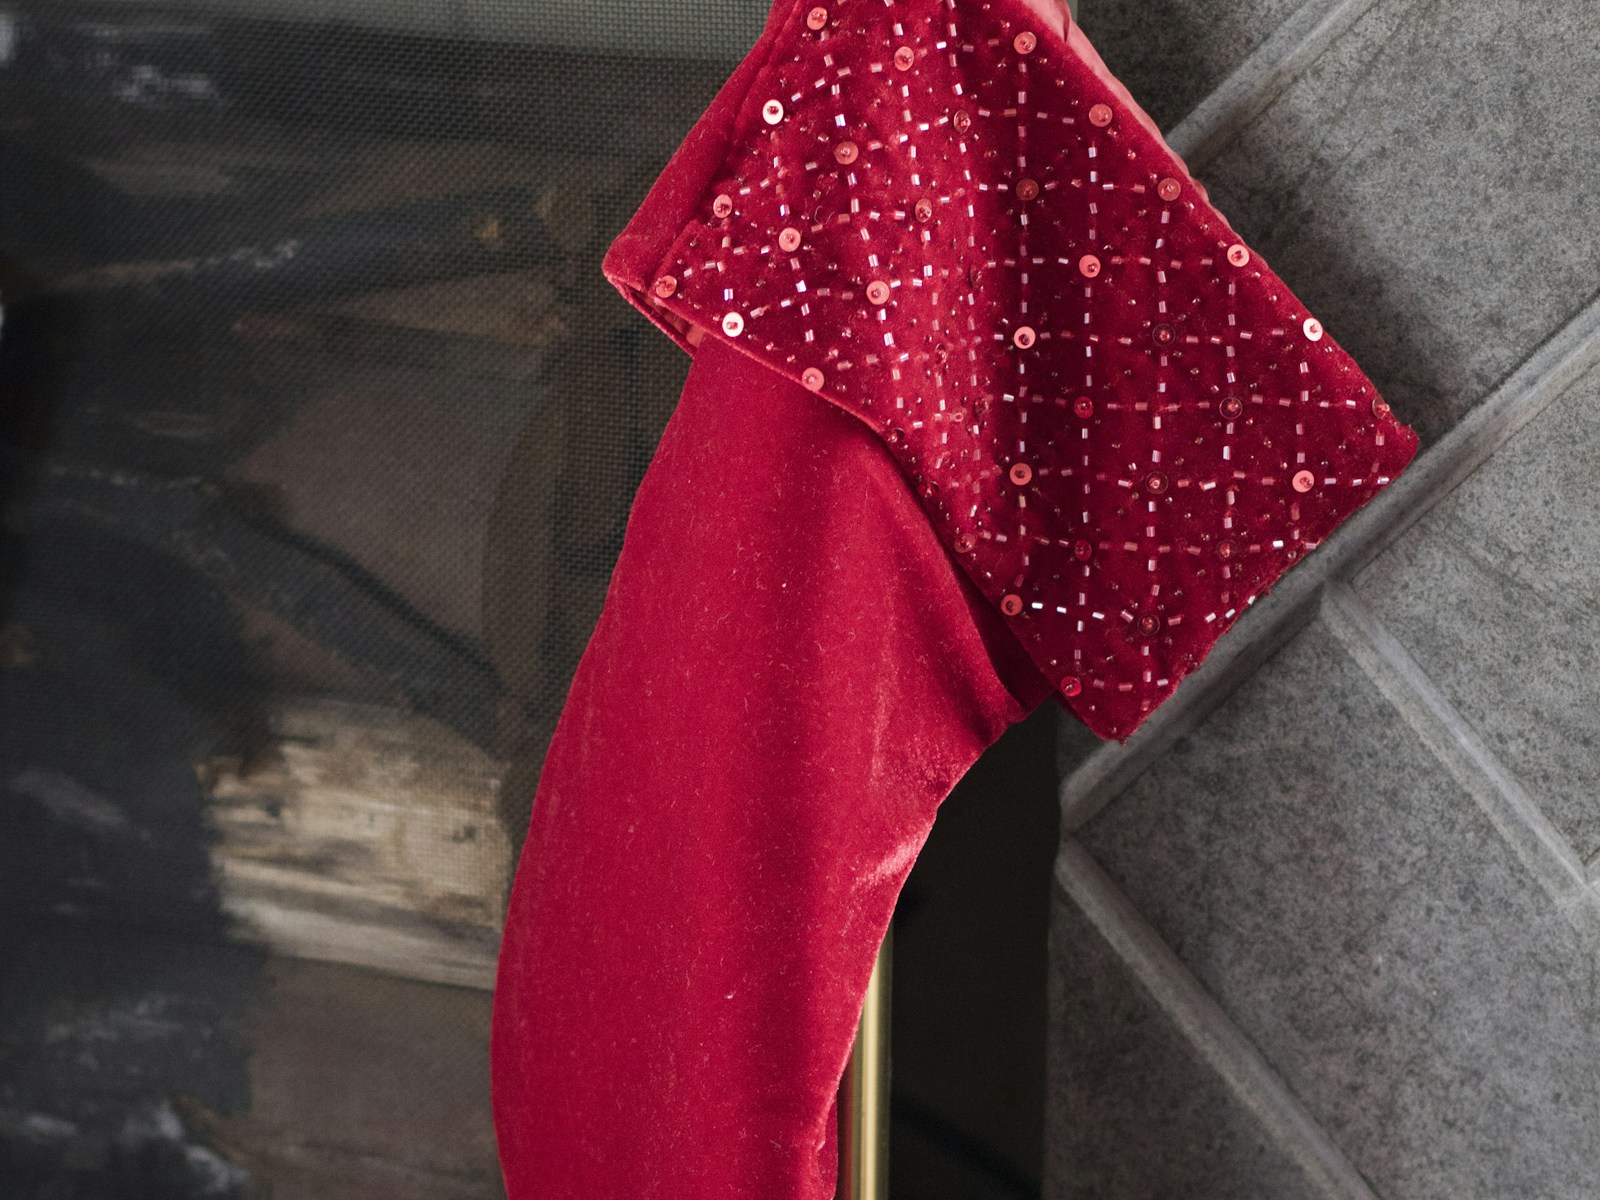
Velvet is the easiest way to make DIY Christmas stockings look expensive. It catches the light, it feels rich, and a deep red or emerald green looks like something from a fancy department store window. Add a small brass or gold luggage style tag with each name written in paint pen and you have a stocking that looks custom made. A sparkly sequin or metallic cuff takes it even further. Buy velvet remnants on sale and you can make a whole family set for less than one boutique stocking. Which color would you choose?
You will need: Velvet remnant, satin or cotton lining, metallic trim or sequin ribbon, a small gold tag, a gold paint pen, thread and pins.
How to make it: 1. Cut pieces with the velvet nap running down so the color looks even. 2. Sew slowly with plenty of pins because velvet slips. 3. Add the metallic cuff, then tie the name tag to the hanging loop with thin ribbon.
Grain Sack Stripe DIY Christmas Stockings

Vintage grain sacks with their simple red or blue stripes have a charming, old farmhouse feel, and you can copy the look with plain cotton and fabric paint. Mask off two or three stripes with painter’s tape, dab on the paint and peel the tape while it is still wet for crisp lines. The result looks like a treasure from a French flea market. Hung near a fresh pine tree, these feel calm and timeless. Would you paint red stripes or soft blue?
You will need: Heavy cream cotton or drop cloth canvas, painter’s tape, red fabric paint, a foam brush, a stocking pattern, thread or fabric glue.
How to make it: 1. Cut the stocking pieces first and lay them flat. 2. Tape off stripes across the cuff area and dab paint between the tape. 3. Peel the tape, let it dry, heat set with an iron as the paint label says, then sew together.
Patchwork Stocking From Fabric Scraps
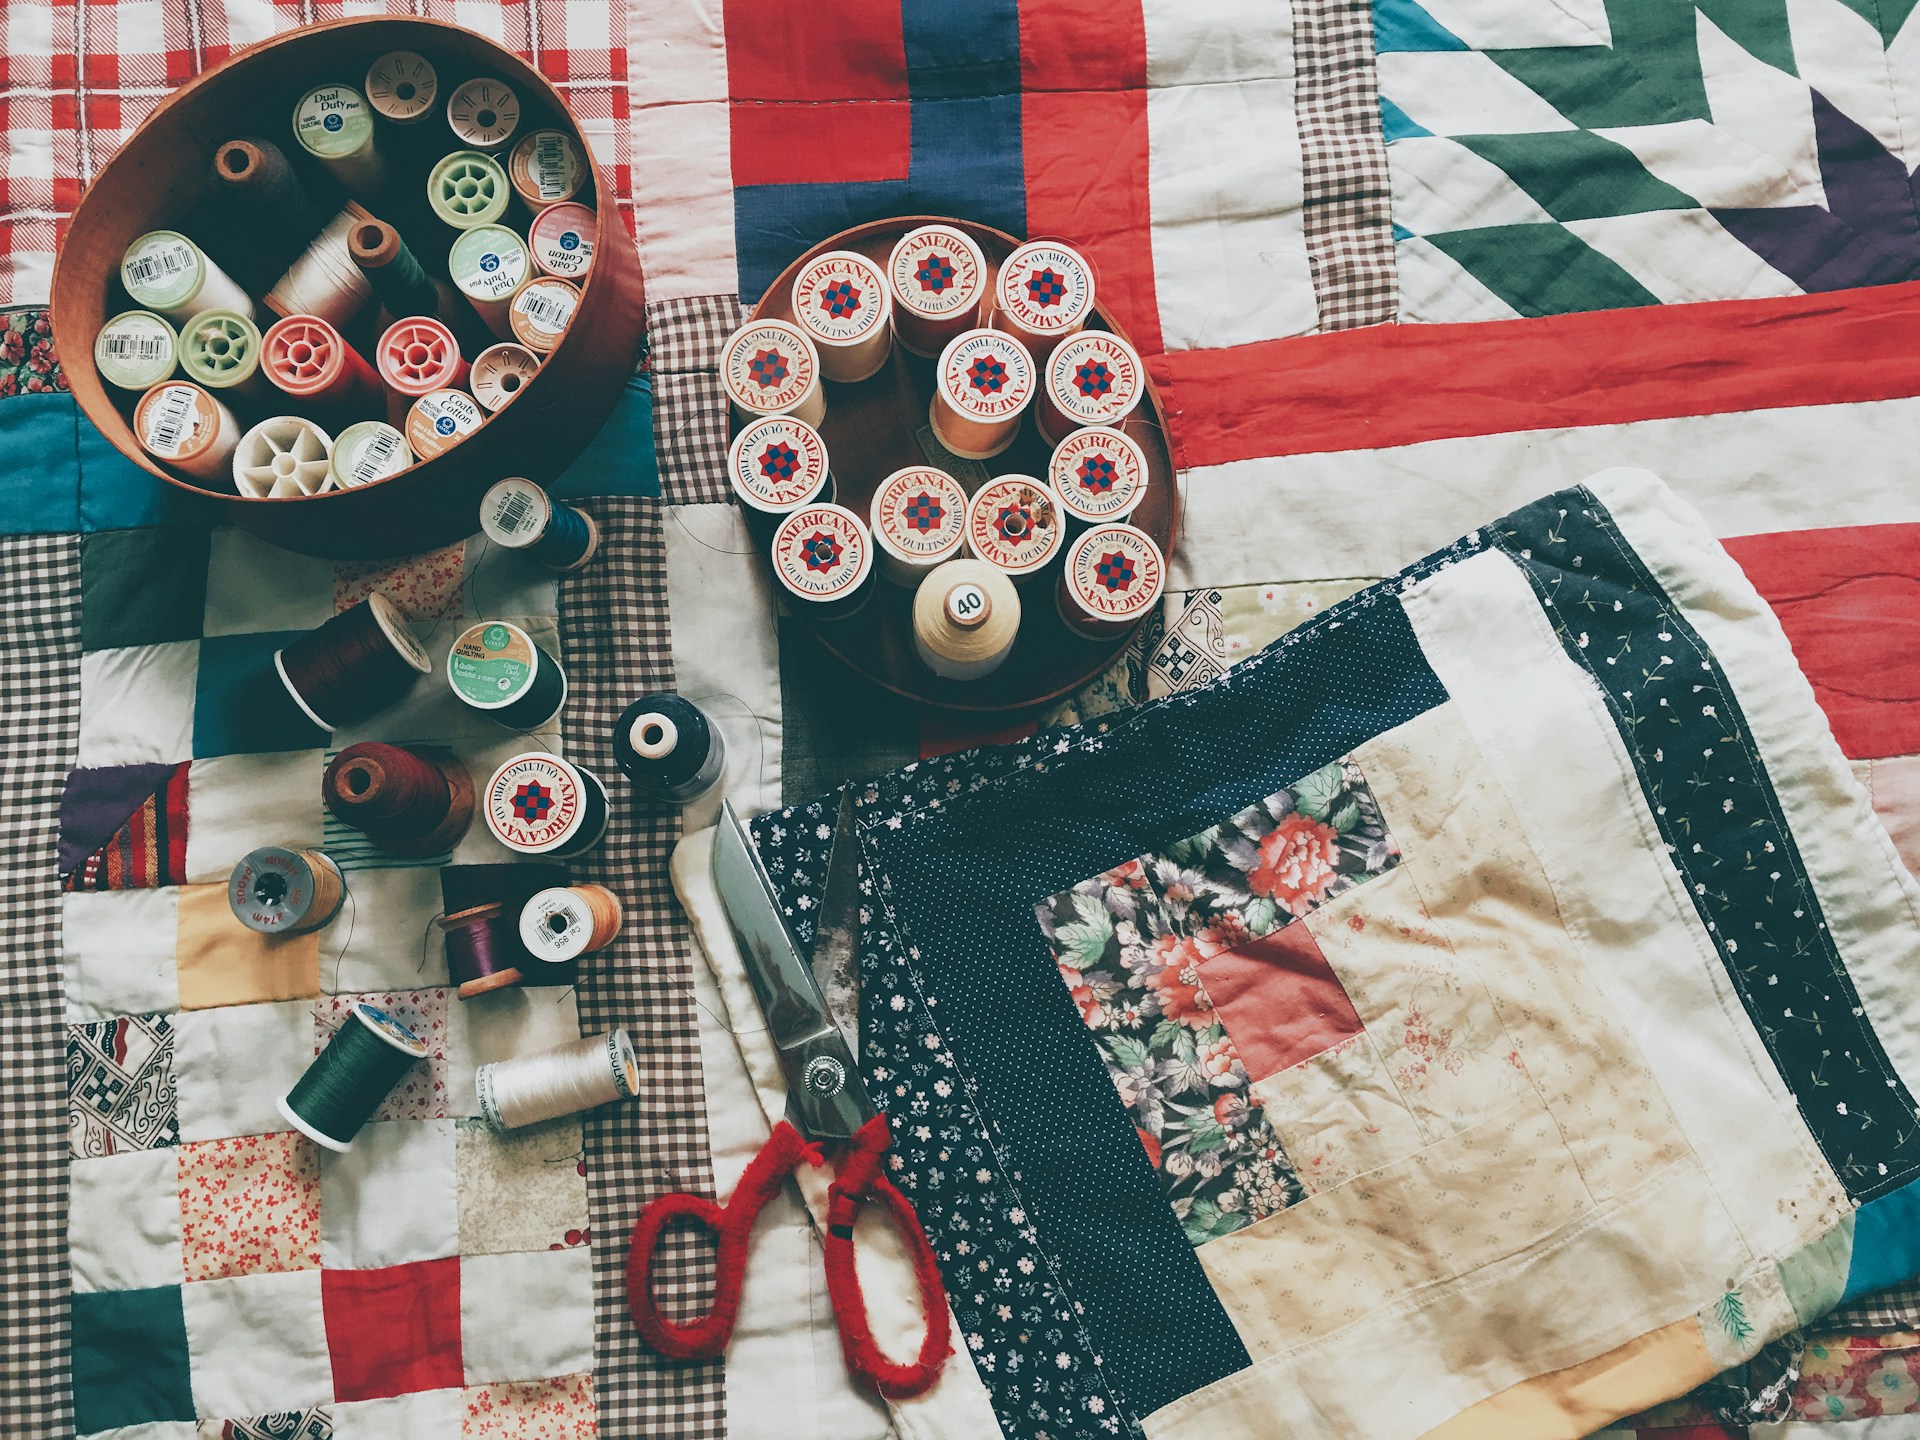
Every sewer has a bag of scraps too pretty to toss. A patchwork stocking puts them all to work, and it ends up full of little memories: the dress fabric, the kitchen curtain, the quilt that never got finished. Sew small squares into a panel first, then cut your stocking shape from it as if it were one fabric. Mixing red, green and cream prints keeps it festive, while a solid cuff calms everything down. Grandma would be proud. Which scraps are waiting in your sewing basket?
You will need: Fabric scraps cut into 3 inch squares, a rotary cutter and mat, a sewing machine, lining fabric, a solid cuff fabric, an iron.
How to make it: 1. Sew squares into rows, then join the rows into a panel bigger than your pattern. 2. Press the seams flat and cut the stocking front and back. 3. Add lining and a solid cuff, then sew a loop at the heel side.
Cream Cable Knit and Check Stockings
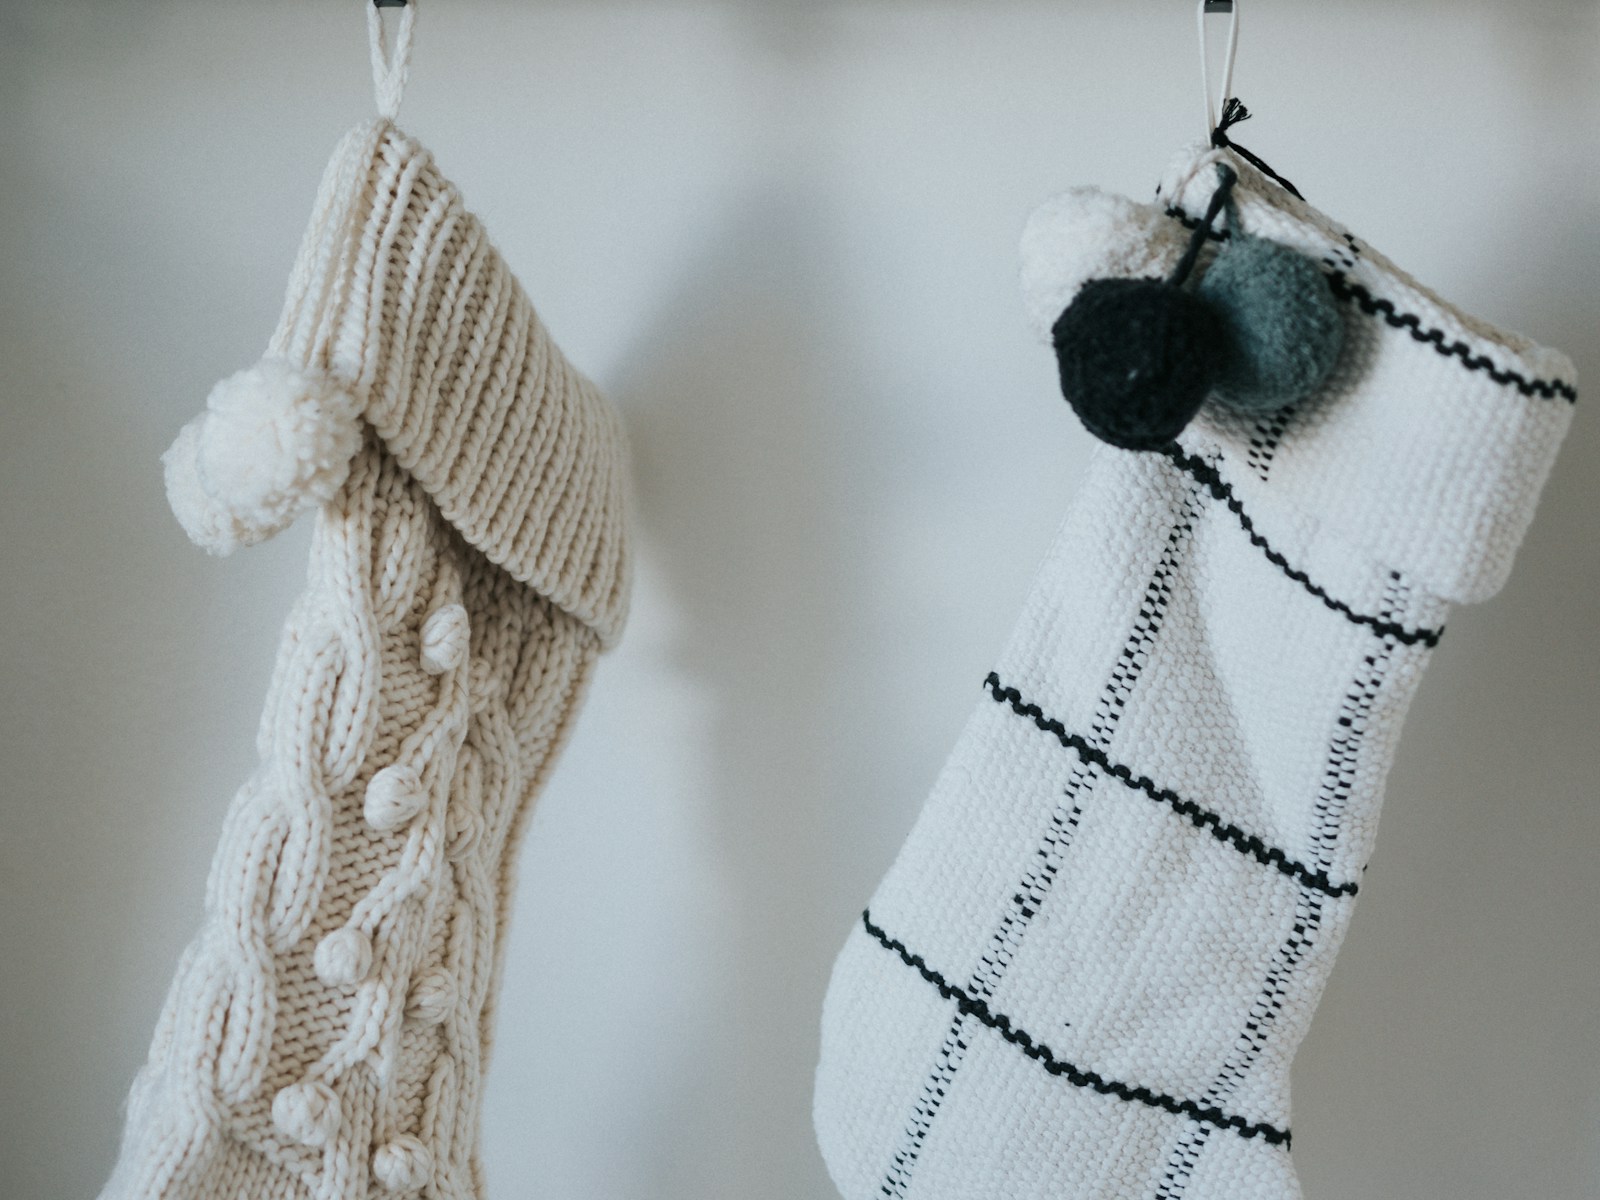
Not all DIY Christmas stockings have to be red and green. A pair of stockings in cream cable knit and a simple black and white check feels calm, modern and very cozy, especially in a white or Scandinavian style home. Knitters can work a basic tube with a heel, and non knitters can cut a cream throw blanket from the thrift store. Hang them from plain black wall hooks for a clean look that suits a small apartment with no mantel at all. Would you go neutral this year?
You will need: A cream knit throw or yarn and needles, black and white check flannel, lining fabric, thread, two simple wall hooks.
How to make it: 1. Cut one stocking from the knit and one from the check fabric, adding lining to the knit so it holds its shape. 2. Sew each one and add a folded cuff. 3. Hang them side by side from matching hooks at the same height.
Embroidered Monogram DIY Christmas Stockings
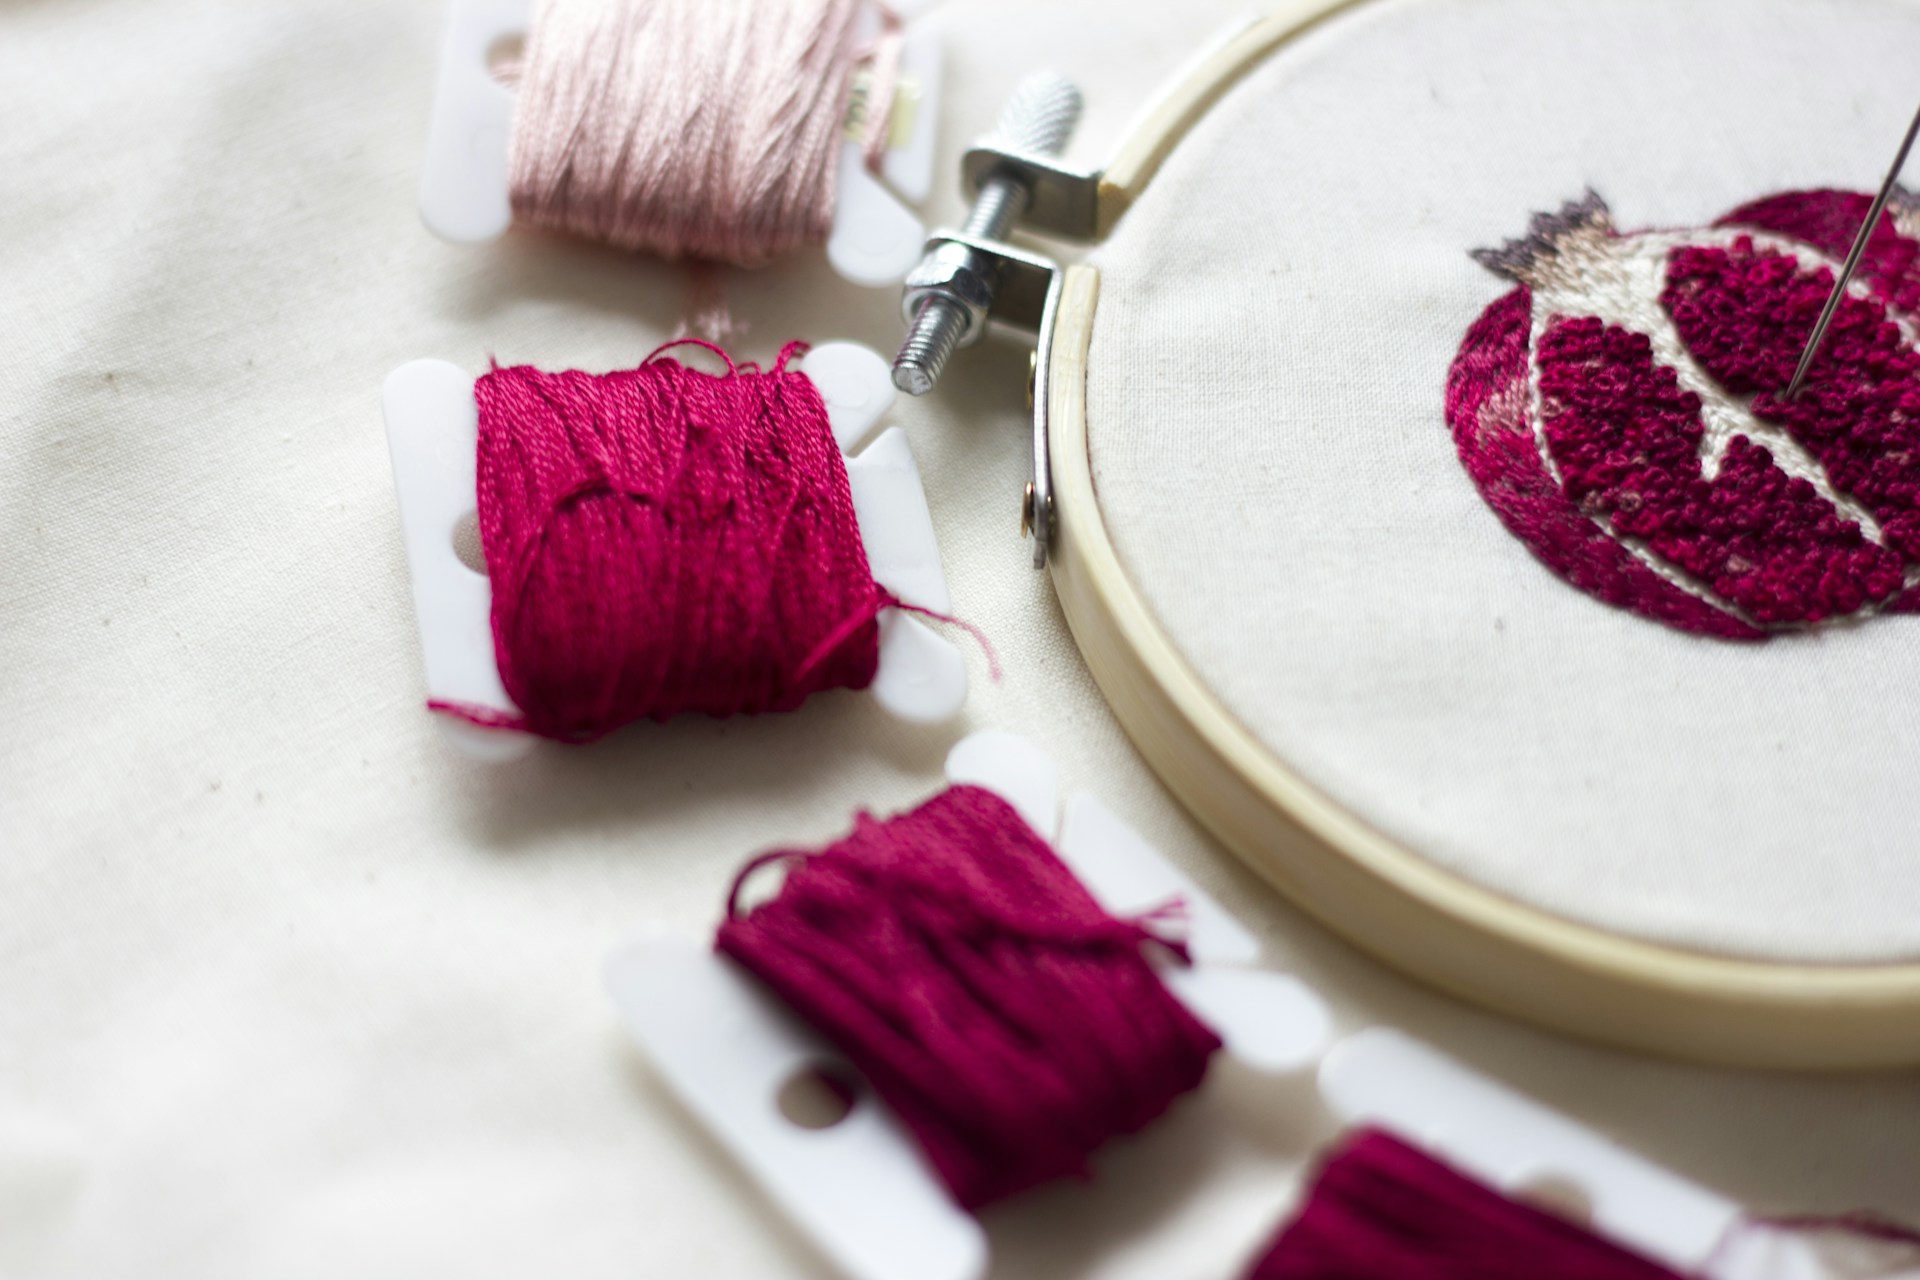
A single big letter is all it takes to make a stocking feel personal. Trace an initial from a printed font onto felt or right onto the cuff, then fill it with a chunky satin stitch in white yarn or embroidery floss. It looks just like the monogram stockings sold in catalogs for big prices. If stitching feels slow, cut the letter from white felt and glue it on. Kids love finding their own initial on Christmas morning. Whose name goes on the first one?
You will need: A plain red knit or felt stocking, white embroidery floss or thin yarn, a large needle, a printed letter, a water soluble fabric marker, an embroidery hoop.
How to make it: 1. Print a bold letter about 4 inches tall and trace it onto the cuff with the marker. 2. Fill the letter with close satin stitches. 3. Spritz away the marker lines and let the stocking dry flat.
Mini DIY Christmas Stockings as Gift Card Holders

Gift cards are practical, but they can feel a little plain. Tuck one into a tiny knit stocking and suddenly it is a real present. Mini stockings about five inches tall are quick to make from felt or cut down sweater sleeves, and you can make a dozen in an evening. Hang them on the tree, tie them to a wrapped gift or line them up for coworkers and teachers. They also make sweet ornaments once the card is spent. Who on your list would love one?
You will need: Felt or old sweater sleeves, a 5 inch mini stocking template, fabric glue or needle and thread, thin ribbon, small bells or buttons.
How to make it: 1. Cut two small stocking shapes for each mini. 2. Glue or stitch around the edge, leaving the top open. 3. Add a ribbon loop and a bell, then slide the gift card inside.
Pet Stocking With a Paw Print

The dog and the cat are part of the family, so of course they need their own spot among the DIY Christmas stockings. Use felt or flannel in a color that matches the rest of the mantel, then add a paw print cut from felt or stamped with fabric paint. Write the pet’s name across the cuff and fill it with safe chews or a new toy. Hang it low enough that a curious pup can admire it but not quite reach it. Will your pet be the first to find theirs on Christmas morning?
You will need: Red or green felt, white felt for the paw print, a paw print template, fabric glue, a fabric paint pen for the name, a ribbon hanger.
How to make it: 1. Cut the stocking and glue the edges, leaving the top open. 2. Cut one large pad and four small toe shapes from white felt and glue them on. 3. Write the pet’s name on the cuff with the paint pen and let it dry.
Denim Stocking From Old Jeans

Old jeans are one of the sturdiest fabrics in the house, and DIY Christmas stockings made from denim will last for decades. Keep a back pocket on the front for a candy cane or a handwritten note, and use the hem as a ready made top edge. Pair it with a red bandana print cuff for a country look or a cream knit cuff for something softer. It is a fun project for teens who want a stocking that feels like their own style. Do you have a pair of jeans that no longer fits?
You will need: One pair of old jeans, a stocking pattern, a heavy denim needle for your sewing machine, a contrast cuff fabric, thread.
How to make it: 1. Cut the leg open and lay the pattern so a back pocket sits on the front. 2. Sew with a denim needle and a longer stitch length. 3. Turn right side out, add the cuff and sew a loop from a belt loop.
Stocking Holders That Need No Nails in the Mantel
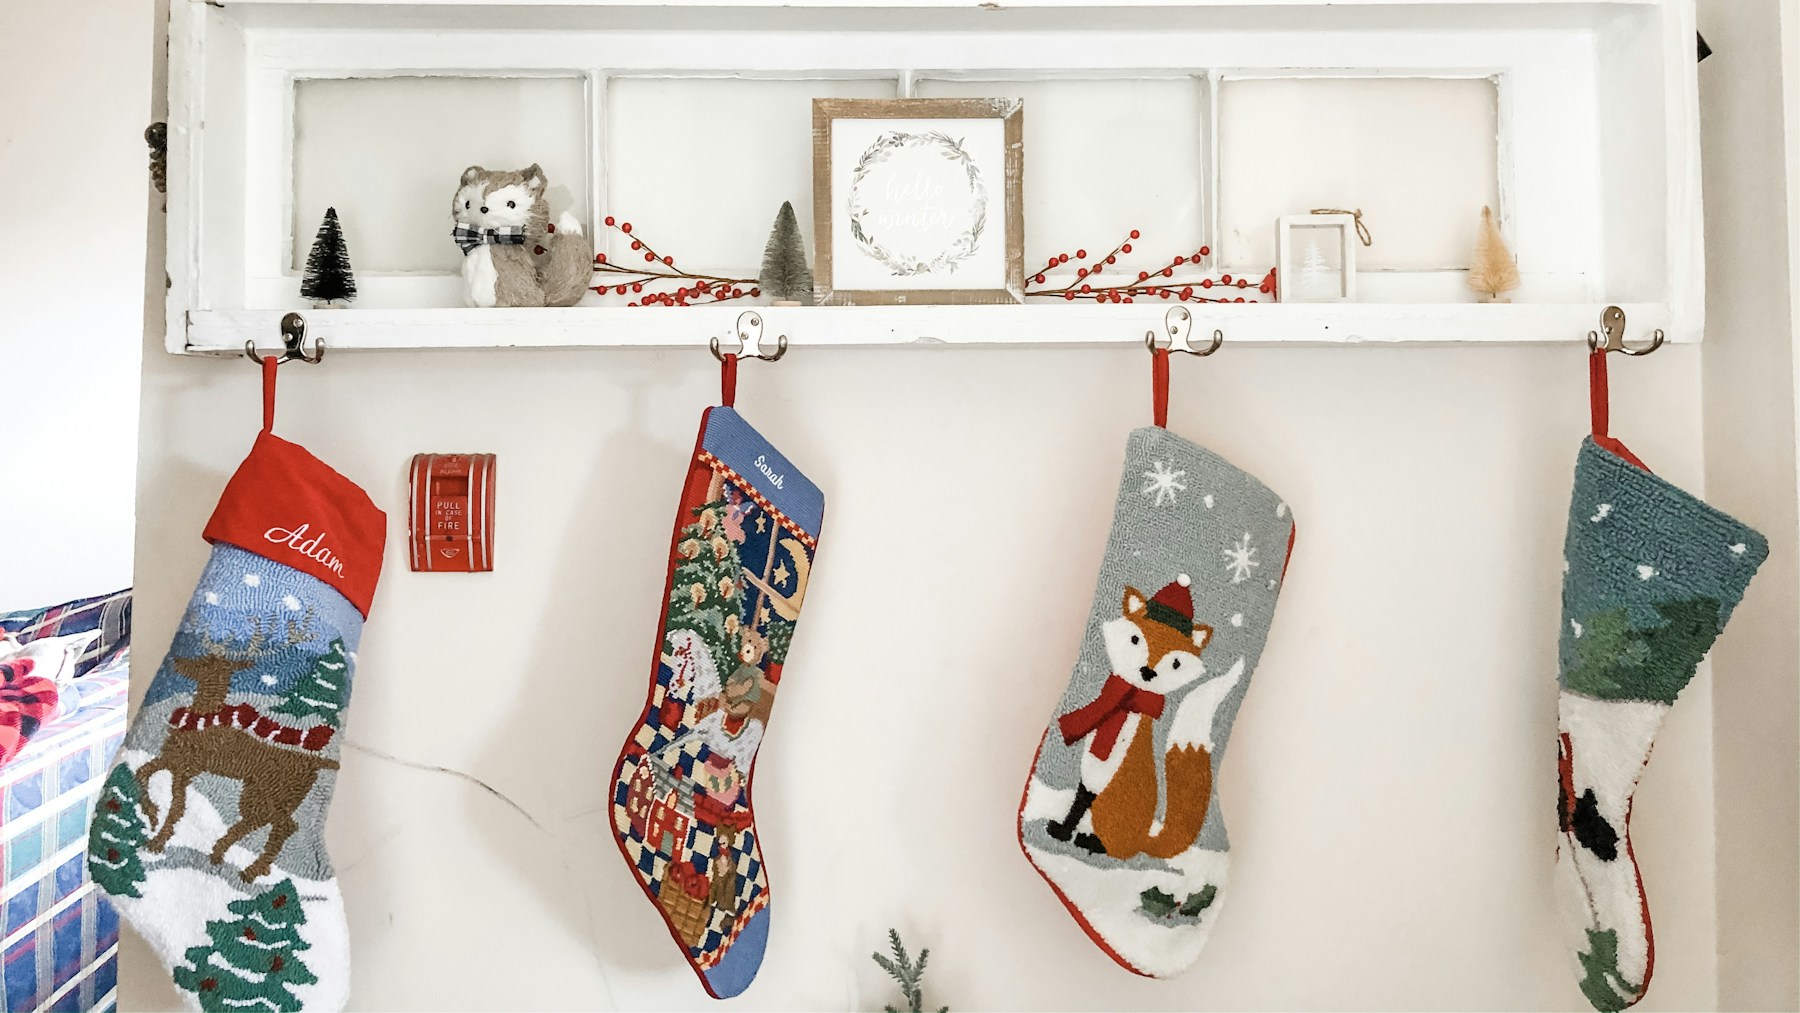
Renting, or just do not want holes in a pretty mantel? A painted wooden shelf or a board with small hooks underneath solves it beautifully. Mount the board on the wall above a console, or lay a heavy piece of wood across the mantel top and screw hooks into its underside. Painted wooden blocks with a hook screwed into the bottom also sit on the mantel and hold a stocking in place. An adult should handle the drill. How many stockings does your family need to hang?
You will need: A pine board or small wall shelf, cup hooks, white or wood toned paint, a drill (adult use), sandpaper, wall anchors if mounting.
How to make it: 1. Sand and paint the board or blocks and let them dry. 2. Mark evenly spaced spots and screw in cup hooks underneath. 3. Mount the shelf on the wall or set the weighted board on the mantel, then hang the stockings.
Cozy Mantel Styling With Greenery and Lights

Once your DIY Christmas stockings are made, the mantel deserves a little styling. A thick pine garland, warm fairy lights on a battery pack and a few pine cones turn it into the coziest spot in the house. Let the garland drape a little past the edges, and tuck small ornaments into it in one or two colors. Keep the fireplace itself clear and never hang stockings over a lit fire. Battery lights give you all the glow with none of the worry. Ready to hang yours with care?
You will need: A faux or fresh pine garland, battery fairy lights, command hooks or mantel clamps, pine cones, a handful of ornaments, ribbon.
How to make it: 1. Secure the garland with clamps or hooks, letting the ends drape down. 2. Weave the battery lights through and hide the pack behind a pine cone. 3. Add ornaments, then hang the stockings evenly below.