DIY Christmas Garland: 13 Ideas That Look Way More Expensive Than They Are
A DIY Christmas garland is the fastest way to make a whole room look decorated, and it is also where store prices get silly. A long, full mantel swag in a home decor shop can cost more than a nice dinner out. The good news is that most of the gorgeous strands you see in magazines are made from simple things: pine branches, wooden beads, felt balls, cinnamon sticks, ribbon and a lot of patience with a needle and string. Make one on a quiet evening with a movie on, and you will look at your mantel, staircase or doorway every day of December and smile. Below are thirteen ideas, from a lush velvet and eucalyptus swag to a cozy mitten clothesline, and each one looks far more expensive than it is..
Velvet and Eucalyptus DIY Christmas Garland for the Mantel

Start with the showstopper. Buy a plain faux pine garland, then make it look custom by layering in stems of faux silver dollar eucalyptus, a long strand of natural wood beads and wide red velvet ribbon woven in loose waves. Finish both ends with big velvet bows that hang down the sides of the mantel. The layers are what make it look like a designer piece. Keep the firebox closed and empty while it is up, and use only battery lights near fabric. It takes about an hour and costs a fraction of a ready made swag..
You will need: A 6 foot faux pine garland, faux eucalyptus stems, a wood bead strand, wide velvet ribbon, floral wire, wire cutters, 3M style hooks for the mantel.
How to make it: 1. Lay the garland flat and wire in eucalyptus stems every 8 inches. 2. Drape the bead strand in loose swoops and wire it in place. 3. Weave the ribbon through, hang the garland on hooks and tie big bows at each end.
Wood Bead and Tassel Garland
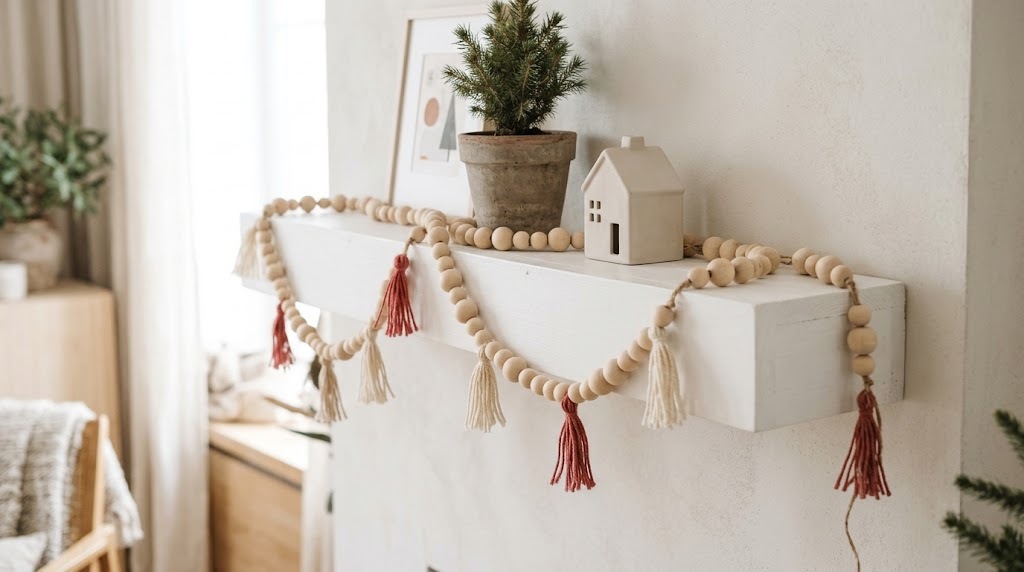
Wood bead garlands are everywhere in farmhouse shops for twenty or thirty dollars, and you can make this DIY Christmas garland for about five. String unfinished wooden beads in mixed sizes onto jute twine, adding a small tassel made from yarn or embroidery floss every foot or so. Leave the beads natural, or dip a few in white or red paint for a Scandinavian look. Drape it across a shelf, wrap it around a small tree or loop it over a tray on the coffee table. Which colors would you choose for your tassels?
You will need: Unfinished wood beads in two or three sizes, jute twine, yarn or embroidery floss, scissors, a piece of cardboard for the tassels, optional craft paint.
How to make it: 1. Wrap yarn 20 times around a 3 inch piece of cardboard, tie the top, cut the bottom and wrap the neck to make a tassel. 2. String beads onto the twine in a repeating pattern. 3. Tie on a tassel every 12 inches and knot both ends.
Felt Ball DIY Christmas Garland
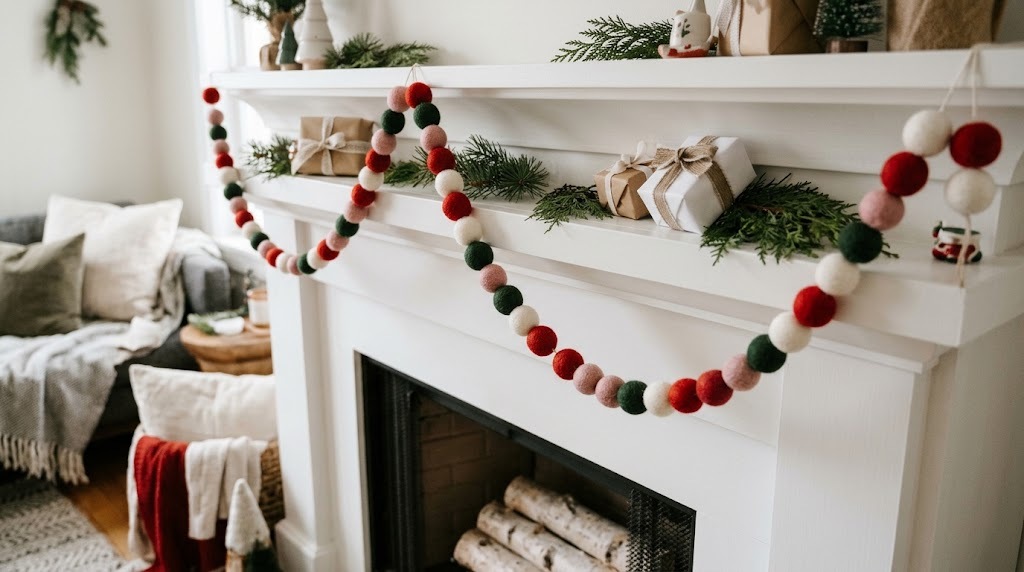
Felt ball garlands look sweet and modern, and they are one of the easiest projects for a cozy craft night. Buy a bag of wool felt balls in red, white, green and soft pink, then thread them onto strong embroidery floss with a long needle. Space them close together for a full rope look or add a wooden bead between each one. The soft texture looks lovely on a white mantel or wrapped around a mirror. Kids can choose the color pattern while an adult handles the needle. What color mix fits your home best?
You will need: Wool felt balls about 2 cm wide, a long darning needle, strong embroidery floss, a thimble, optional wood beads.
How to make it: 1. Cut floss about a foot longer than you want the garland and knot one end. 2. Push the needle straight through the center of each ball (use a thimble). 3. Slide the balls along the floss in your pattern and tie loops at both ends.
Cinnamon Stick and Star Anise Garland
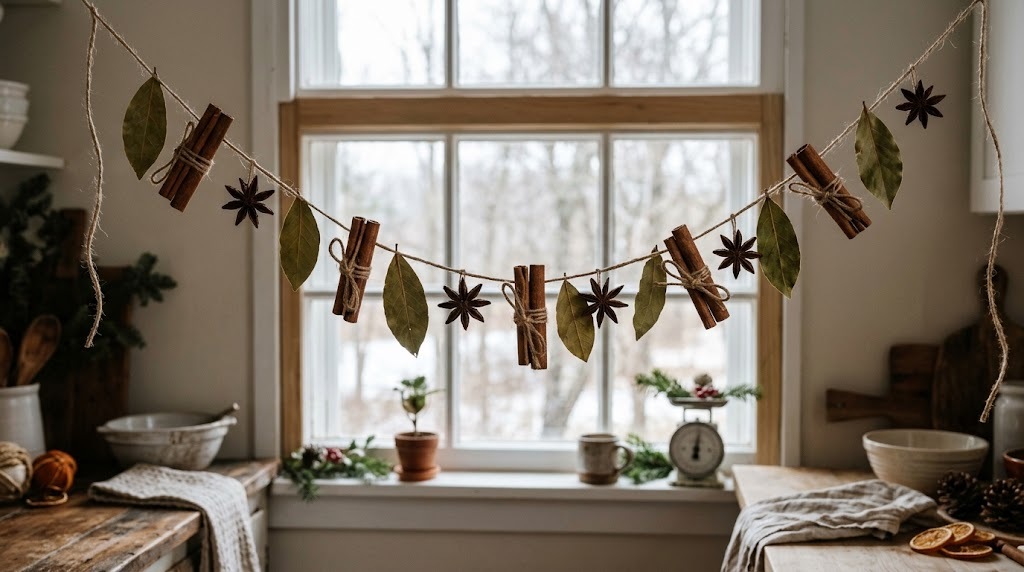
This DIY Christmas garland is as pretty as it smells. Tie cinnamon sticks to a length of jute twine with small knots, and glue a star anise pod between each one. Add a few dried bay leaves or tiny pine cones for green and brown contrast. Hang it in the kitchen window or along a hutch, and every time the heat turns on, the room smells like Christmas baking. It is natural, cheap and looks like something from a European market stall. Would you hang it in your kitchen or your entryway?
You will need: Cinnamon sticks, star anise pods, jute twine, a glue gun, optional bay leaves and mini pine cones.
How to make it: 1. Tie each cinnamon stick to the twine with a double knot, spacing them 4 inches apart. 2. Glue a star anise pod between the sticks (adult help with hot glue). 3. Add bay leaves or cones, then hang with small nails or hooks.
Wood Heart and Star Garland

Little white wooden hearts, stars and trees strung on red twine look like a Nordic Christmas market find, and they cost a few dollars at the craft store. Paint unfinished wood cutouts with two coats of white chalk paint, drill or poke a tiny hole if they do not have one, then string them on red baker’s twine with small red wooden beads between each shape. Hang it across a red wall, a window or the front of a hutch. It is a light, unbreakable DIY Christmas garland that is lovely with kids around. Which shapes would you choose for your strand?
You will need: Unfinished wood hearts, stars and tree cutouts, white chalk paint, a small brush, red baker’s twine, small red wood beads, a large needle.
How to make it: 1. Paint the cutouts white on both sides and let them dry. 2. Thread the twine through each shape, adding three beads between them. 3. Tie loops at both ends and hang with small hooks.
Wool Pom Pom DIY Christmas Garland
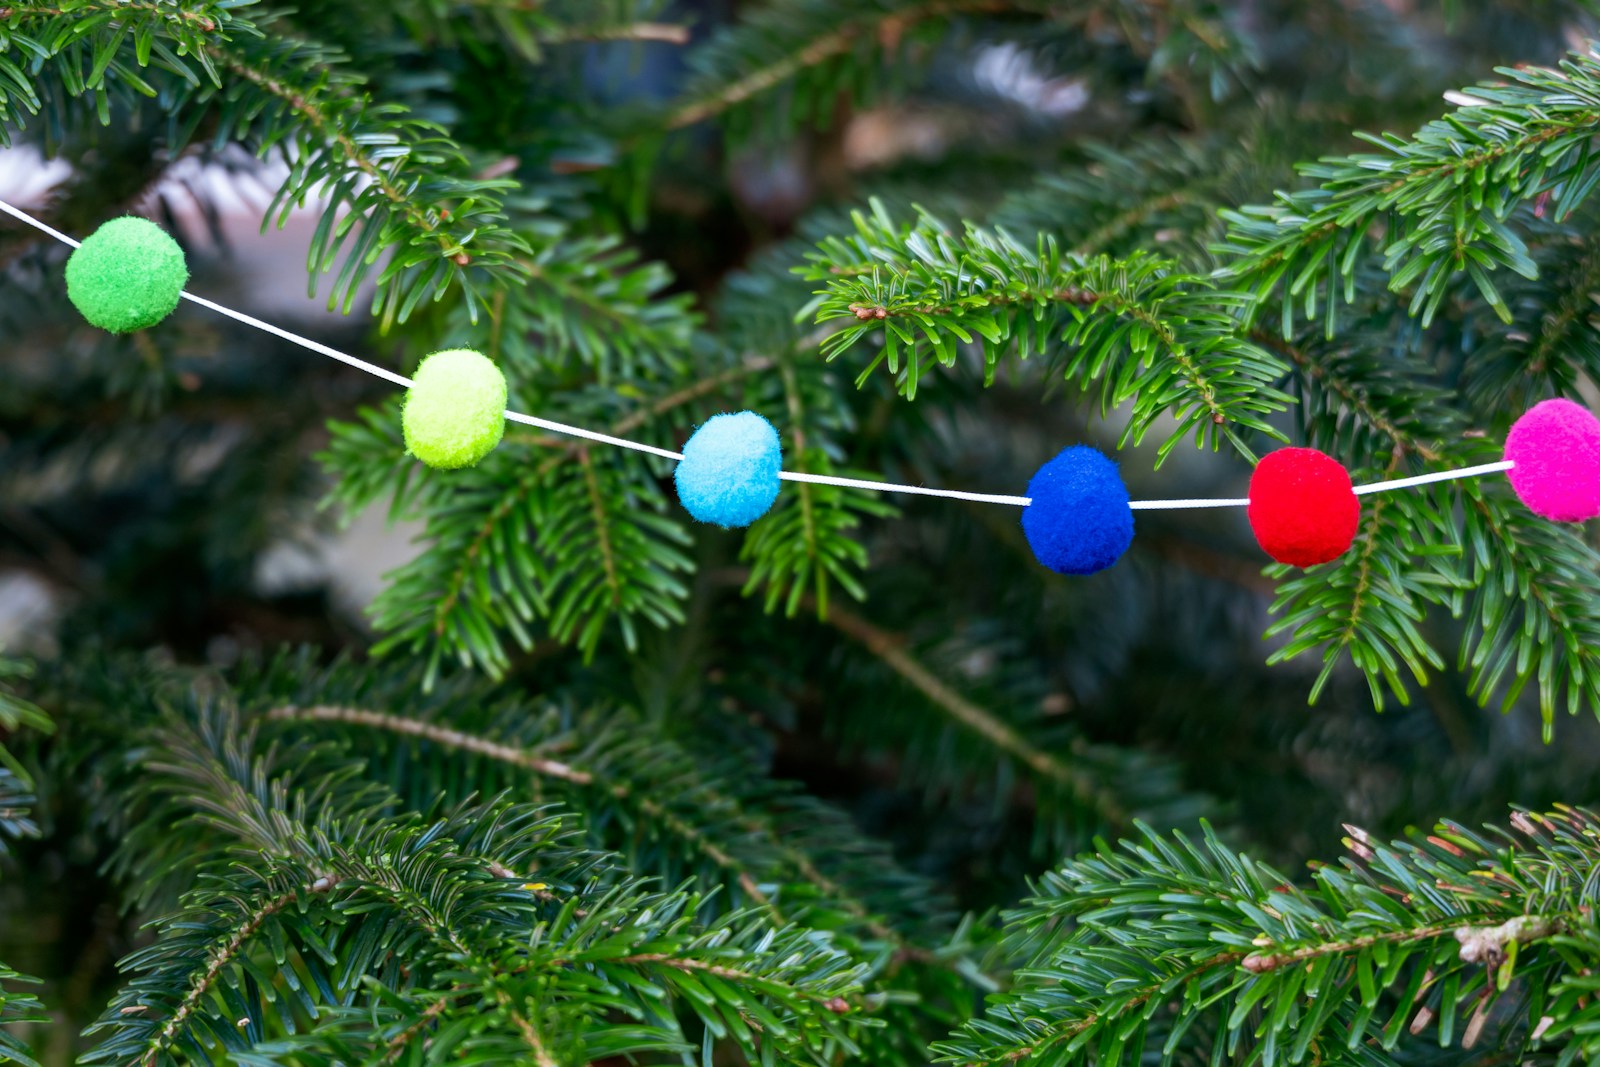
Pom pom garlands are pure cozy, and they use up leftover yarn. Wrap yarn around a fork for tiny poms or around your fingers for bigger ones, tie the middle tightly, then snip the loops and trim them round. Make a pile in red, cream and green, then tie them onto a length of yarn or thread them on with a needle. They look adorable on bookshelves, kitchen cabinets and kids’ rooms, and they never break. This is the perfect DIY Christmas garland to make while chatting with friends. How many poms can you make in one movie?
You will need: Yarn in three colors, a fork or pom pom maker, sharp scissors, a long needle, extra yarn for the string.
How to make it: 1. Wrap yarn 60 to 80 times around a fork, tie it tightly through the middle and slide it off. 2. Cut the loops and trim the pom pom into a ball. 3. Thread the pom poms onto a long piece of yarn, spacing them evenly.
Fabric Scrap Rag Garland
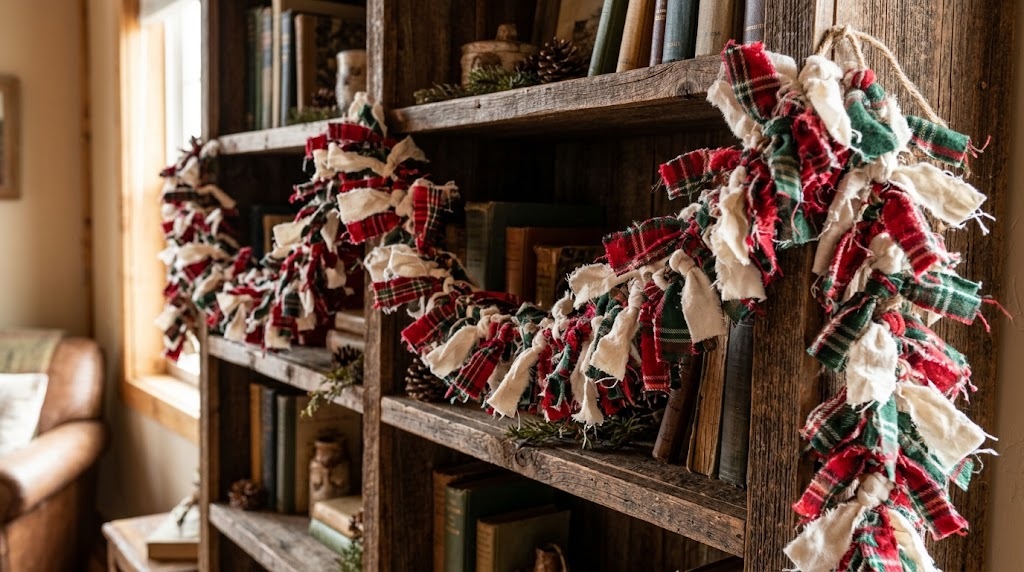
If you sew or keep old shirts, you already have the supplies for a rag garland. Tear flannel, cotton and plaid scraps into strips about one inch wide and eight inches long. Tie each strip around a length of jute with a simple knot, pushing them close together until the garland is thick and fluffy. Red and green plaid looks country Christmas, while cream and gray look Scandinavian. This DIY Christmas garland costs nothing and gives old fabric a happy second life. What old fabric is hiding in your closet right now?
You will need: Fabric scraps or old flannel shirts, scissors, jute twine or cotton rope, a ruler.
How to make it: 1. Snip a small cut at the fabric edge and tear strips about 1 by 8 inches. 2. Tie each strip around the twine with a single knot. 3. Push the knots tightly together and fluff the ends.
Jingle Bell and Twine DIY Christmas Garland
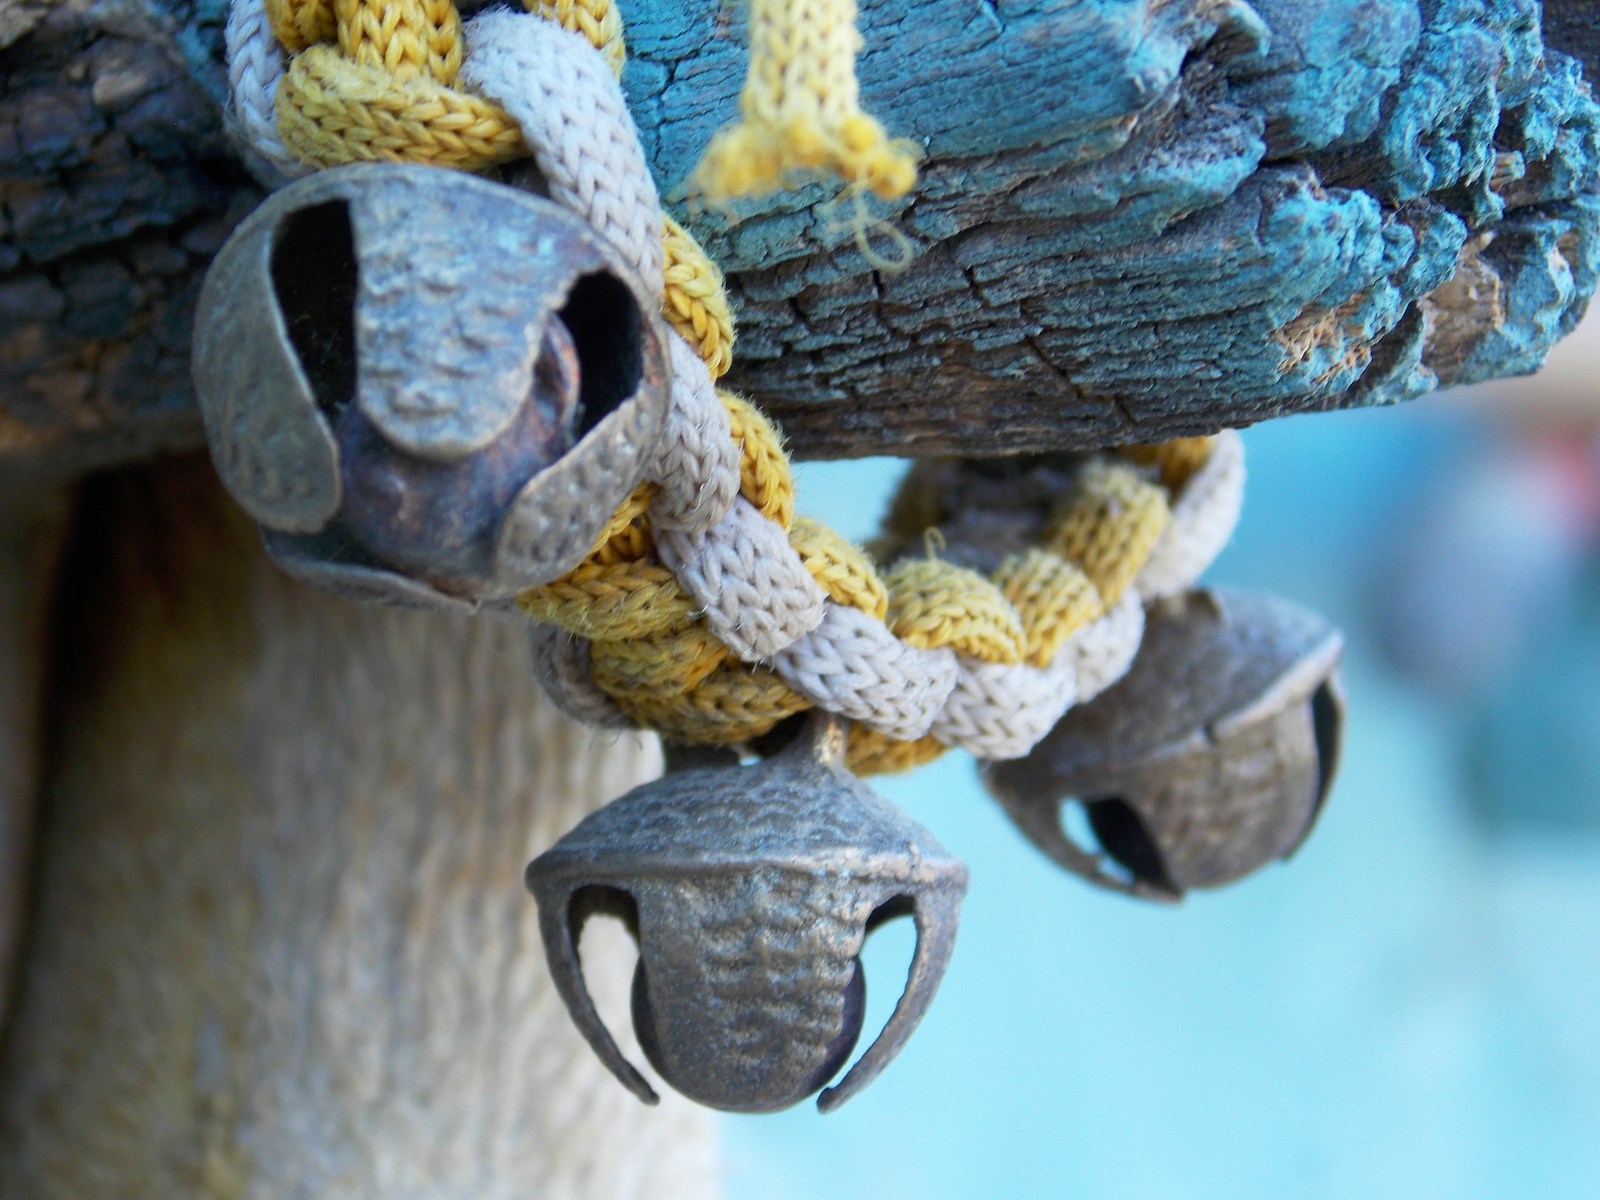
A jingle bell garland adds sparkle and sound every time the door opens. String gold and silver jingle bells onto jute twine, tying a small knot on each side of every bell so they stay spaced out. Mix sizes for interest, and add a sprig of faux pine every few bells. Hang it on a door handle, across a window or along a staircase rail. Rusty bells give a farmhouse look; shiny ones feel more glam. It is one of the cheapest ways to make your home feel festive. Which room needs a little jingle?
You will need: Jingle bells in mixed sizes, jute twine, scissors, optional faux pine picks and floral wire.
How to make it: 1. Cut twine to length and tie a loop at one end. 2. Thread a bell, knot the twine on both sides to hold it, and repeat every 4 inches. 3. Wire in pine picks between some bells and tie a loop at the other end.
Mini Mitten Clothespin Garland
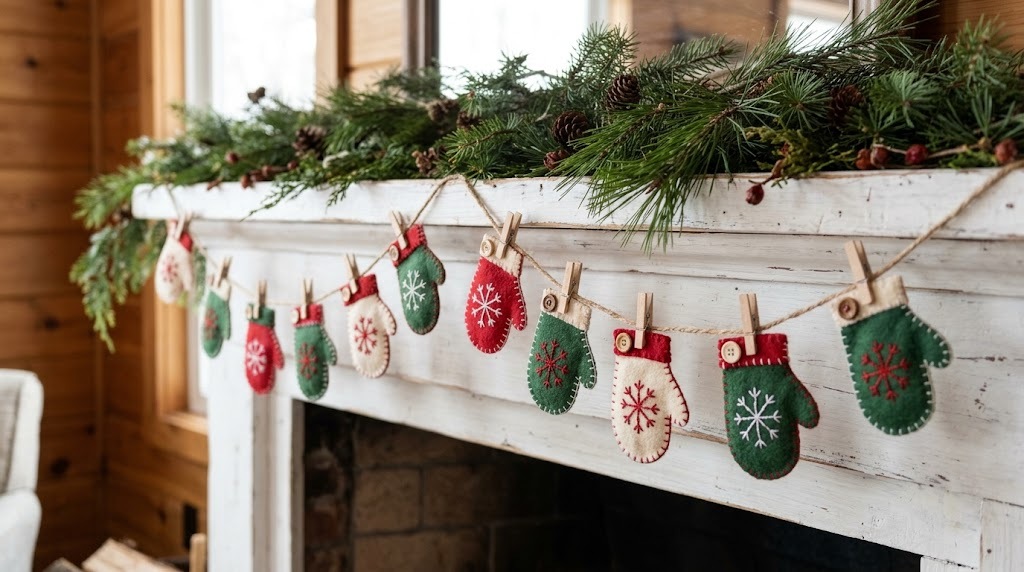
This sweet garland looks like a little laundry line for elves. Cut small mitten shapes from felt or old wool sweaters, stitch on a tiny cuff or snowflake, and clip them to jute twine with mini clothespins. Add tiny buttons, pom poms or hand drawn patterns for variety. It is lovely on a mantel, along a window or above a child’s bed. You can also clip holiday cards or little notes beside the mittens. It is easy enough for a craft night with friends and looks straight out of a cozy cabin catalog. Which colors will you cut first?
You will need: Felt or an old wool sweater, a paper mitten template, scissors, embroidery floss, a needle, mini clothespins, jute twine, tiny buttons.
How to make it: 1. Trace and cut two mitten shapes for each mitten and stitch them together around the edge. 2. Add a contrasting cuff and a button or snowflake stitch. 3. Clip the mittens to the twine with mini clothespins.
Pine Cone and Burlap Garland
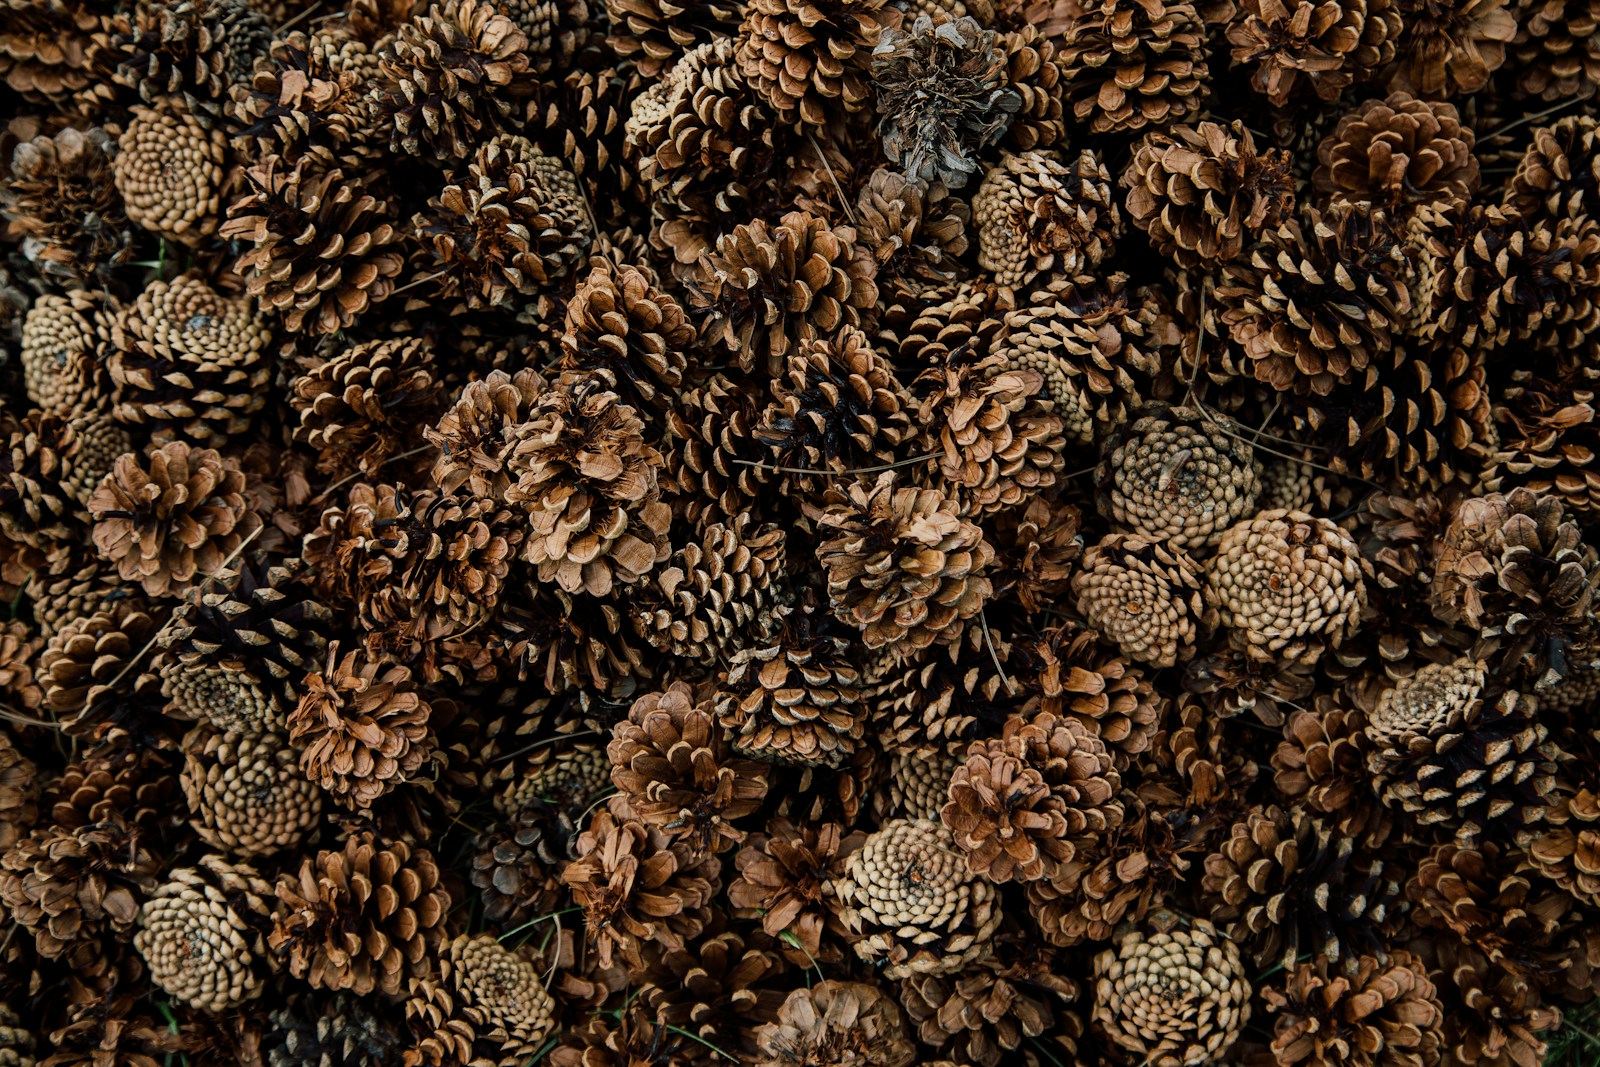
Pine cones are free in many backyards and parks, and they make a rustic garland that looks expensive. Bake the cones on a foil lined tray at a low temperature to clean them, then let them cool. Screw a small eye hook into the base of each cone and thread them onto twine with burlap bows tied in between. A light dusting of white paint on the tips looks like snow. Hang it over a door or along a window frame. For even more ideas, see our pine cone Christmas crafts. How many cones can you gather this weekend?
You will need: Pine cones, small screw eye hooks, jute twine, burlap ribbon, white craft paint, a foil lined baking tray.
How to make it: 1. Bake the cones at 200 F for about 30 minutes to clean them (adult handles the oven). 2. Twist an eye hook into each base and thread them onto twine. 3. Tie burlap bows between the cones and dry brush the tips with white paint.
Christmas Card Display Garland
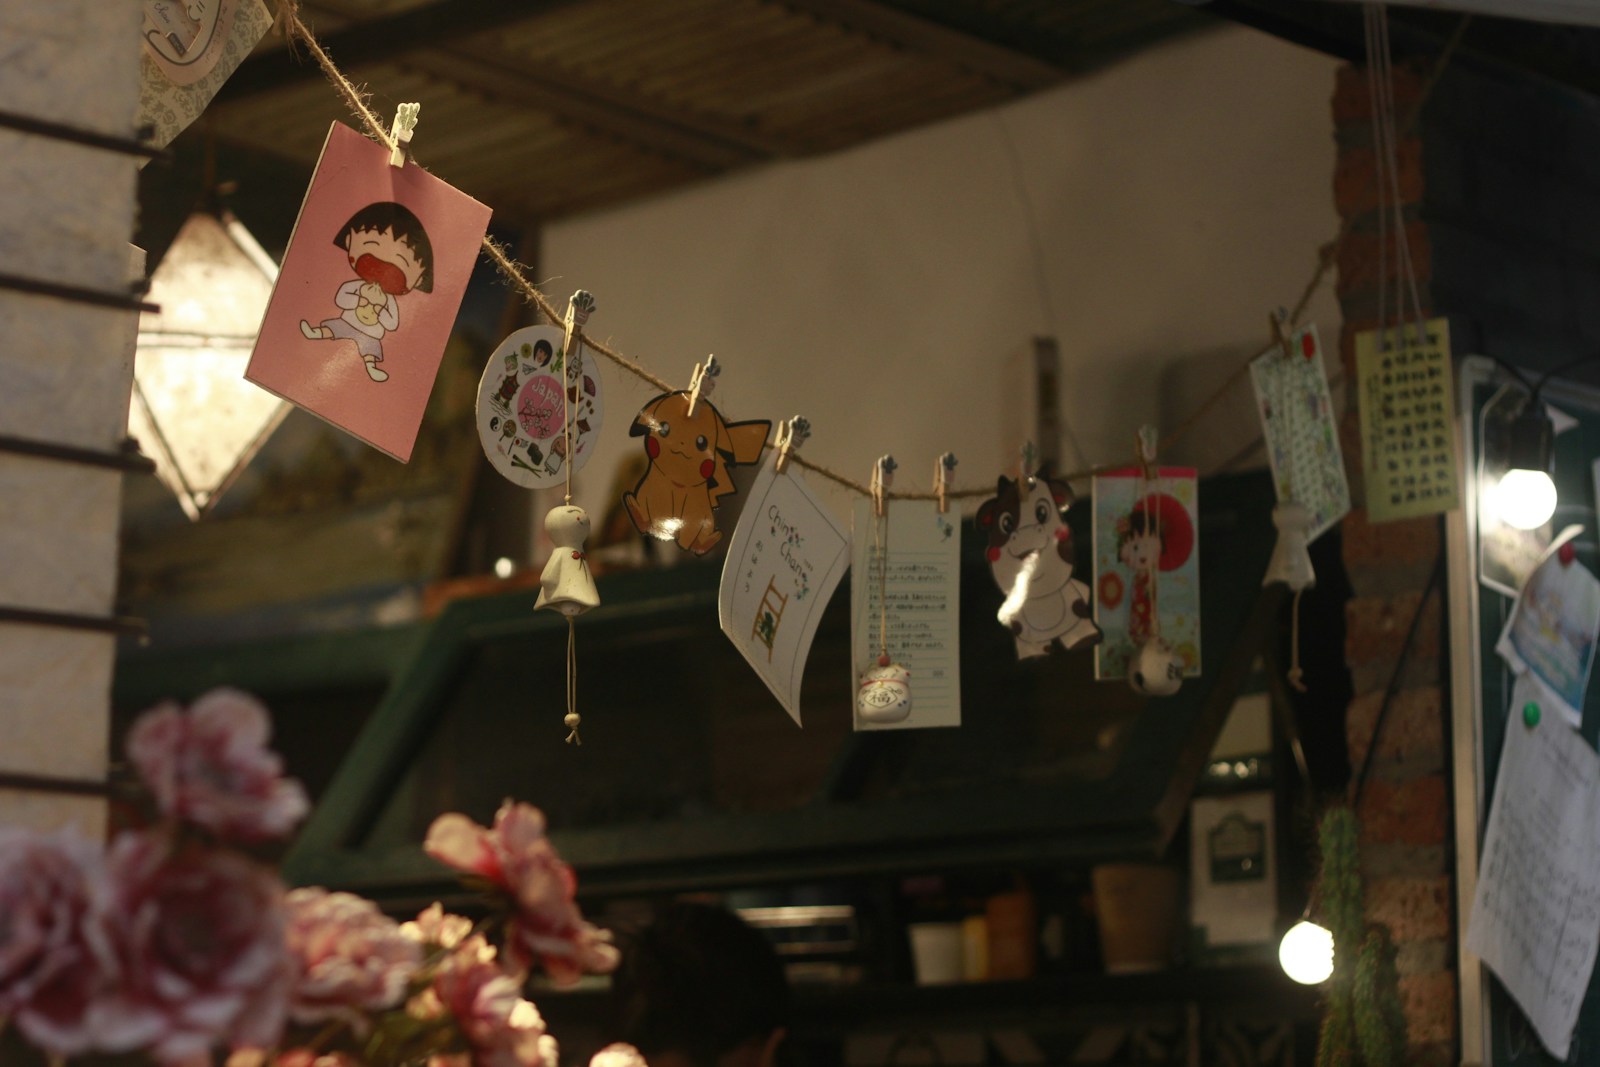
If your holiday cards end up in a pile, give them a place to shine with a DIY Christmas garland made for cards. Hang a length of faux greenery or velvet ribbon across a doorway, bookshelf or wall, then clip each card on with mini clothespins as it arrives. Spray paint the clothespins gold first for a polished look. By mid December, the garland is full of faces and good wishes from family and friends, and it becomes the most personal decoration in the house. It is also the easiest way to keep track of who you still need to write back. Where would you hang yours?
You will need: A faux greenery garland or wide ribbon, mini clothespins, gold spray paint, small adhesive hooks, floral wire.
How to make it: 1. Spray paint the clothespins and let them dry (adult help outdoors). 2. Hang the garland on hooks in a gentle swag. 3. Clip cards along it as they arrive, spacing them evenly.
Staircase DIY Christmas Garland With Velvet Bows

A staircase wrapped in greenery is the picture of a grand holiday home, and it is easier than it looks. Use two thinner garlands twisted together for fullness, then attach them to the banister with zip ties or soft ribbon so you do not scratch the wood. Add big velvet bows at every other post, and let the ribbon tails hang long. Keep the garland on the outside of the rail so hands can still hold it safely. Garlands are huge this year: one simple star garland video passed 6.9 million views. Would you go classic red or soft cream?
You will need: Two faux garlands per run of stairs, clear zip ties or ribbon, wide velvet ribbon, floral wire, scissors.
How to make it: 1. Twist two garlands together for a full look. 2. Attach them to the outer side of the banister with zip ties every 2 feet. 3. Tie velvet bows at every other post and fluff the branches.
Doorframe Garland With Hanging Ornaments

Frame a doorway with a DIY Christmas garland and it instantly feels like a holiday entrance. Hang a garland around the top and sides of an interior door with removable hooks, then tie shatterproof ornaments on ribbons of different lengths so they dangle at the top like a curtain of baubles. Use one color family, like red and gold or silver and white, for the most expensive look. It is a great way to decorate a hallway or a kitchen doorway that people walk through all day. Which doorway in your house deserves a little holiday glow?
You will need: A faux pine garland about 15 feet long, removable adhesive hooks, shatterproof ornaments, thin ribbon, floral wire, scissors.
How to make it: 1. Stick hooks around the door frame and hang the garland. 2. Tie ornaments on ribbons cut to different lengths. 3. Wire them to the top garland so they hang at staggered heights above head level.