Painted Closet Doors: 14 Easy Makeovers That Make Plain Doors Look Custom
Painted closet doors can change the whole feel of a room in a single weekend, and most people never even think about them. Those plain white bifold and sliding doors came with the house, and they just sit there looking tired year after year. But a can of paint, a few strips of trim or a simple stencil can turn them into the prettiest thing in the room. With holiday guests on the way, this is the perfect time to give them some love. Every idea below is budget friendly, and many have removable versions for renters. Open a window for fresh air while you paint, take your time, and get ready for friends to ask who built your custom closet..
Painted Closet Doors With Hand Painted Flowers
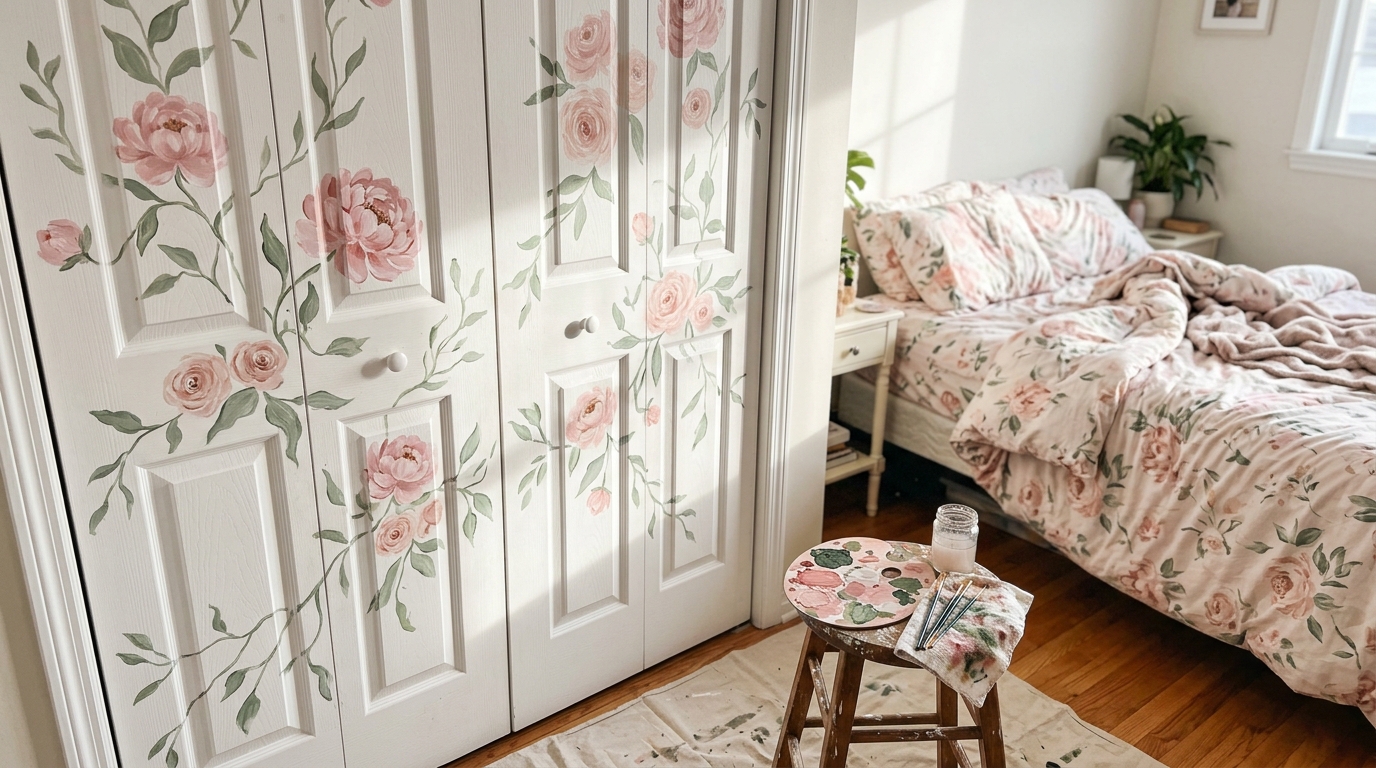
This is the look that stopped thousands of people mid scroll. Soft pink peonies and green vines climb across plain bifold doors and suddenly the closet looks like a piece of art. One creator’s hand painted flower closet doors on Instagram gathered more than 52,000 likes in a few weeks. Painted closet doors like these do not need fancy skills. Simple five petal flowers, loose leaves and a few curling vines are very forgiving, and a slightly wobbly line only makes it look more hand made. Start with a light sketch in pencil so you can plan the flow. Which room in your home would you love to fill with flowers..
You will need: Satin white base paint, small bottles of acrylic or latex sample paint in pink, blush and sage, a pencil, round and flat artist brushes, a clear water based topcoat, painter’s tape, a drop cloth.
How to make it: 1. Clean the doors, sand lightly and paint a fresh base coat. 2. Sketch loose vines and flower circles in pencil, then fill the petals in two shades of pink and the leaves in sage. 3. Add a few darker accents, let it dry overnight and seal with a clear topcoat.
Two Tone Color Block Doors
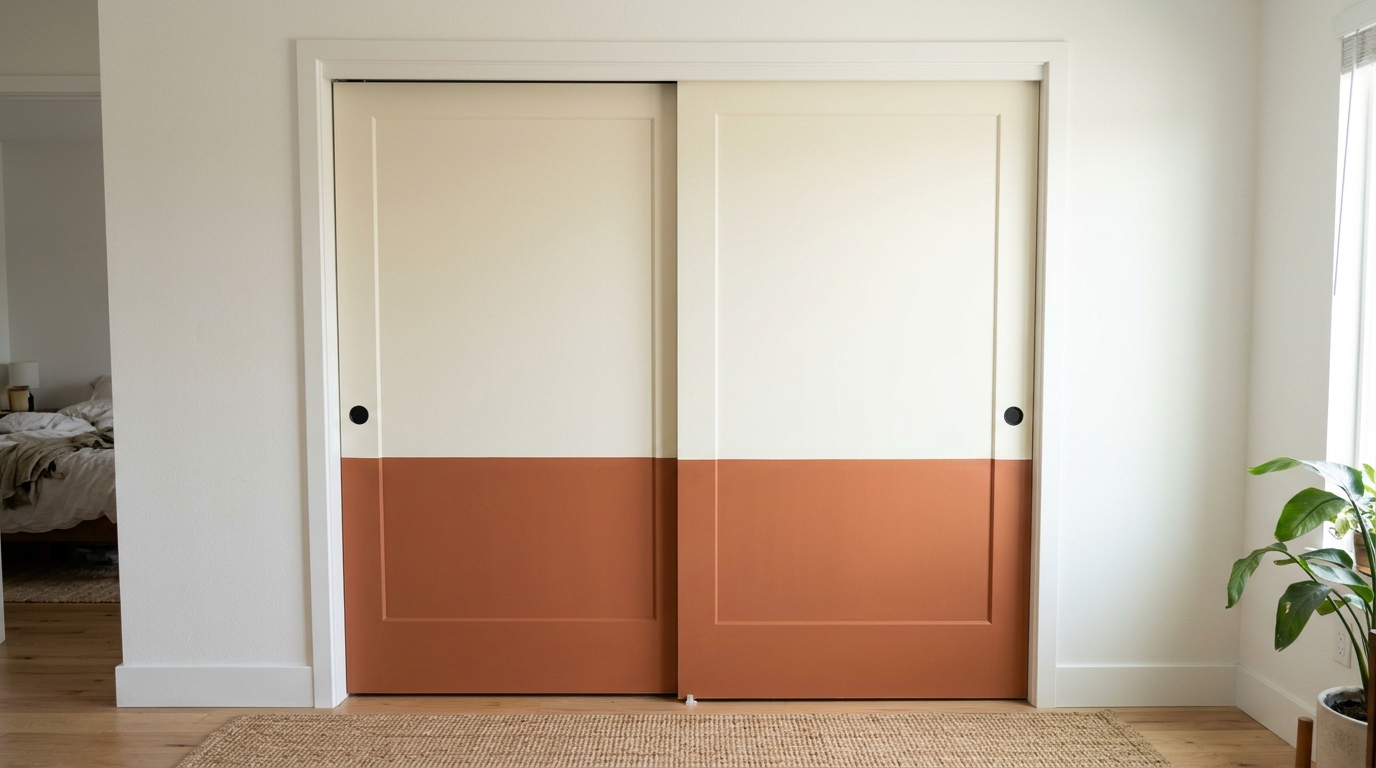
Color blocking is the fastest way to make sliding doors look like they came from a design shop. Paint the bottom third in a warm terracotta and keep the top creamy white. The crisp line is the secret, so press your tape down firmly with a card. Black round knobs pull the look together. It also hides little scuffs from shoes and vacuums. What two colors would you pair?
You will need: Two paint colors, a level, painter’s tape, a small foam roller, a tray, matte black knobs.
How to make it: 1. Measure and mark a level line about a third of the way up each door. 2. Tape above the line and roll on the bottom color in two thin coats. 3. Pull the tape while the last coat is still slightly wet, then add the knobs.
Painted Closet Doors With Faux Panel Molding
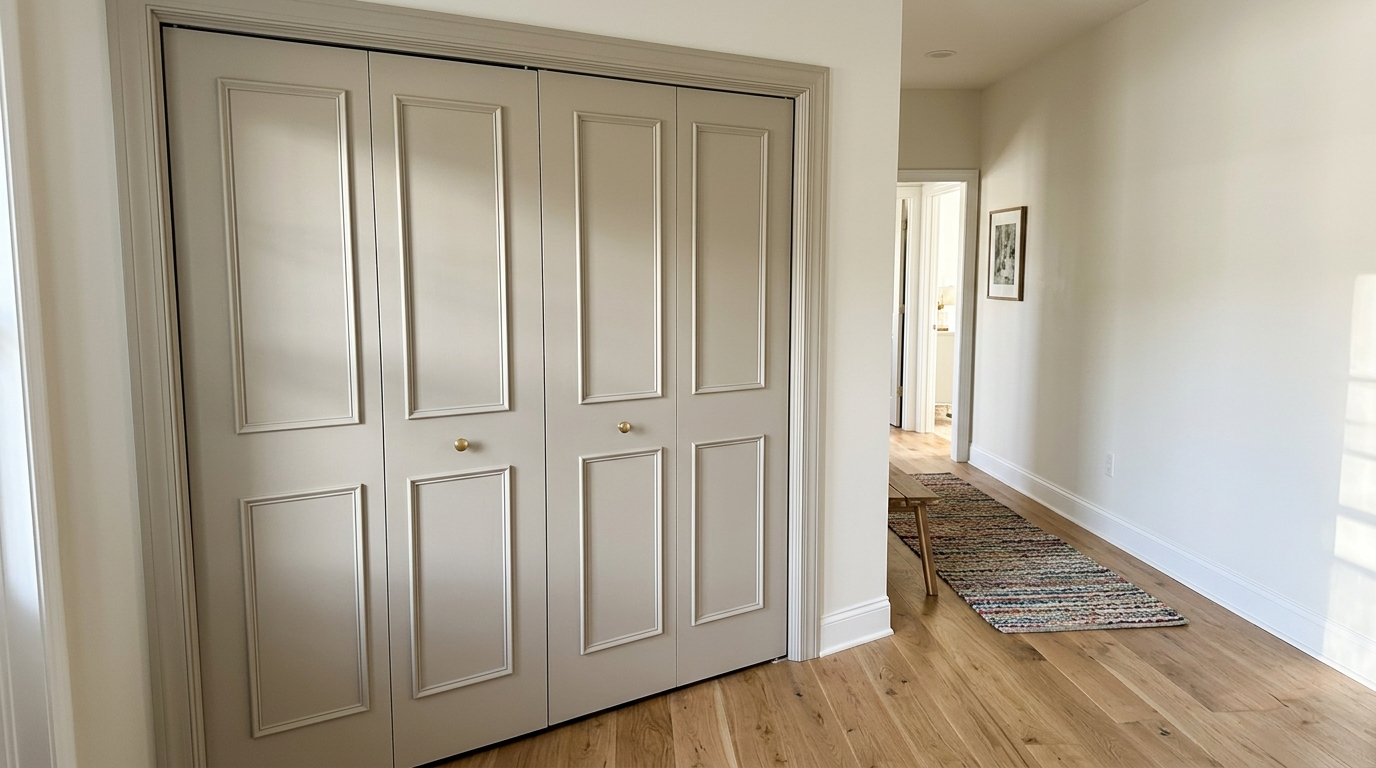
Flat builder grade doors look cheap, but thin trim can make them look like solid custom wood. Glue simple strips of lattice or panel molding in neat boxes, fill the corners and paint everything one soft greige color. Painted closet doors with molding look like they belong in a much more expensive home, and the trim costs only a few dollars per door. Ask an adult helper to handle the miter saw. Could your hallway use this upgrade?
You will need: Thin wood trim or lattice strips, a miter box and hand saw or a miter saw with adult help, wood glue, small brad nails, wood filler, caulk, paint.
How to make it: 1. Plan two or three boxes per panel and mark them with a level. 2. Cut the trim at 45 degree corners, glue it on and tack with small nails. 3. Fill the holes, caulk the edges and paint the whole door in one color.
Cane Webbing Inserts for a Boho Look
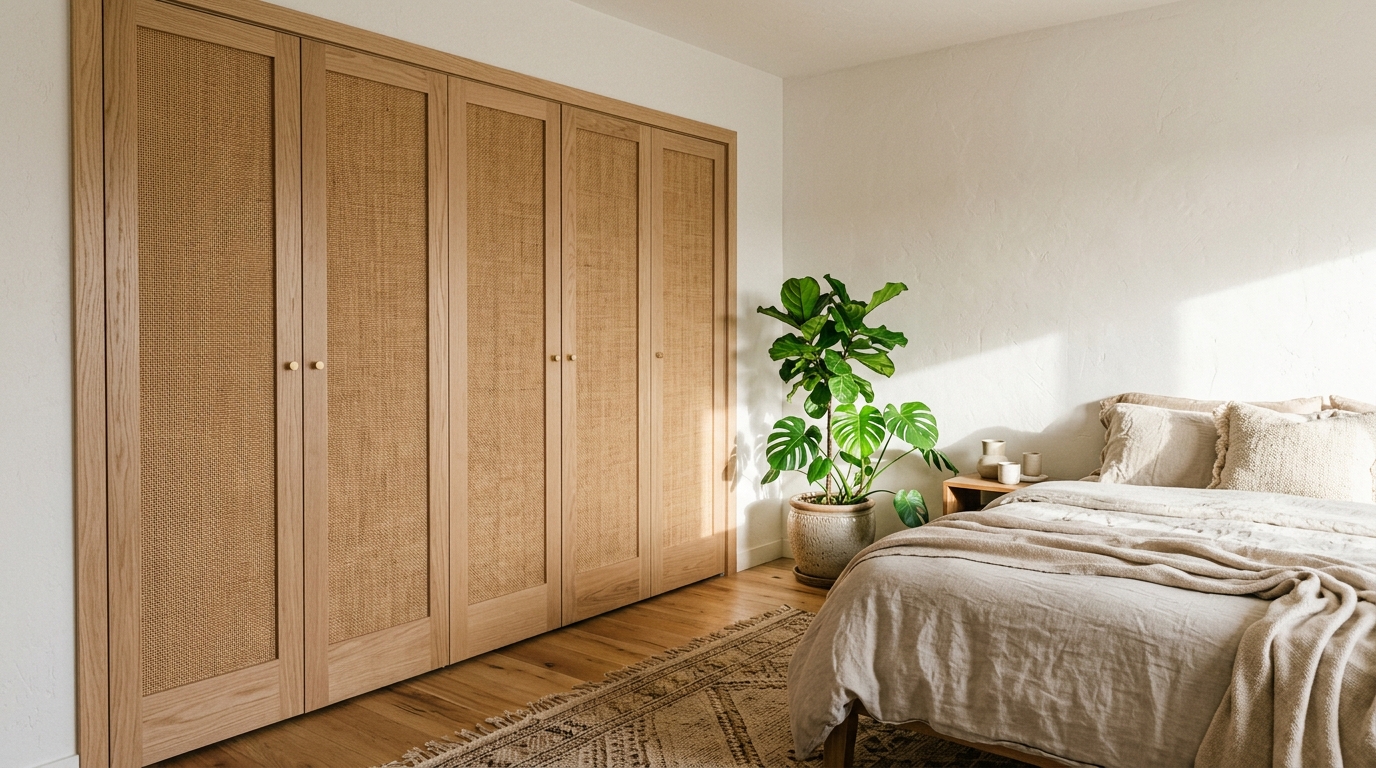
Natural cane webbing brings that airy, beachy look everyone loves right now. Frame it with light oak trim inside each panel and the doors look like boutique furniture. Cane is sold by the roll at craft and hardware stores. Soak it in warm water first so it tightens as it dries for a smooth, flat finish. It lets the closet breathe too. Would this suit your bedroom?
You will need: A roll of pre woven cane webbing, a bowl of warm water, a staple gun, wood glue, thin oak trim, sandpaper, scissors.
How to make it: 1. Cut out the flat center of each panel with adult help, or simply lay cane over the panel for a no cut version. 2. Soak the cane for 30 minutes and staple it tightly behind or over the opening. 3. Cover the edges with glued trim and let it dry.
Painted Closet Doors With a Stenciled Tile Pattern
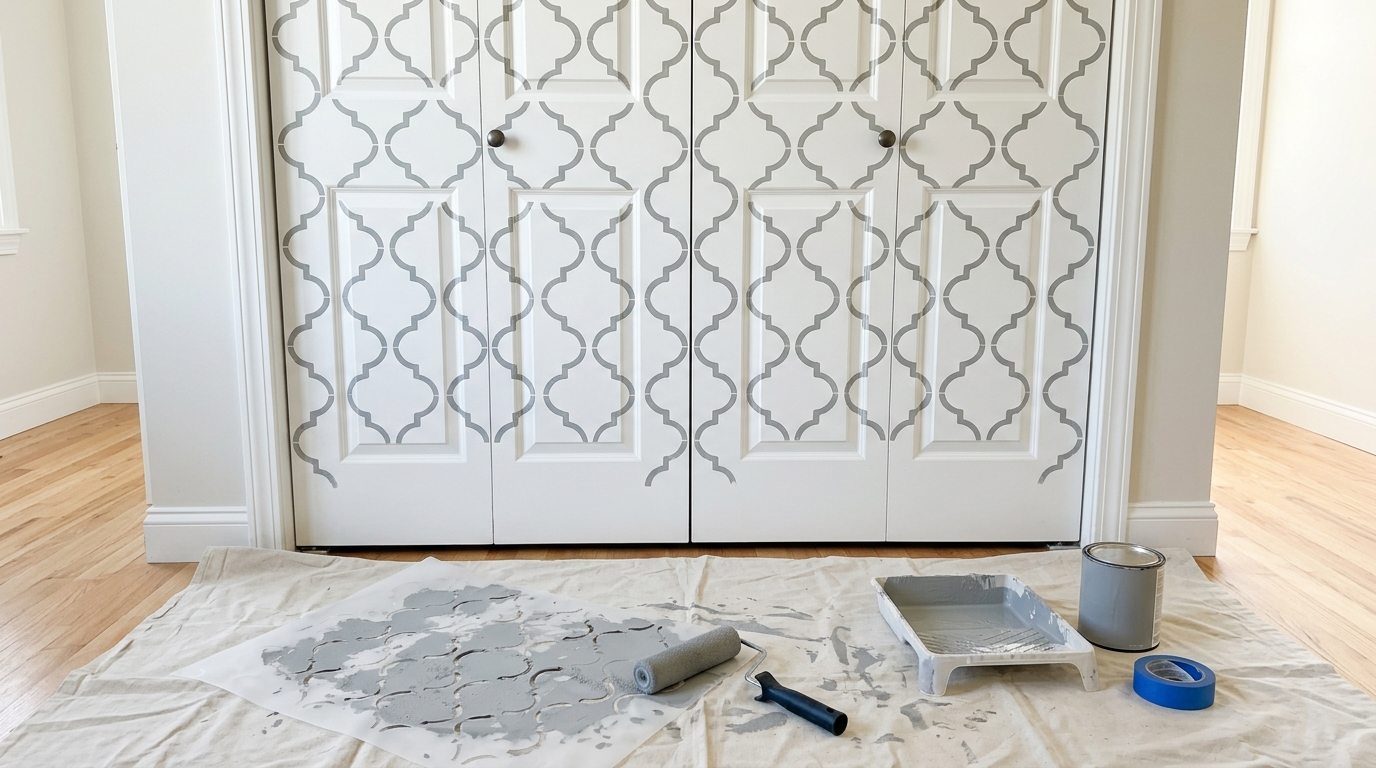
If you love patterned tile, you will love this. A simple Moroccan tile stencil and a foam roller turn plain doors into a soft gray pattern that looks like expensive wallpaper. Painted closet doors with a stencil are perfect for beginners because the stencil does the hard work for you. Use very little paint on the roller to keep the edges sharp. Which pattern would you choose?
You will need: A large repeat tile stencil, spray adhesive or painter’s tape, a small dense foam roller, soft gray paint, paper towels, a level.
How to make it: 1. Paint the doors a clean base color and let them dry. 2. Tape the stencil level at the top and roll a light coat of gray, blotting extra paint off the roller first. 3. Lift, line up the next repeat and keep going until the doors are covered.
A Bold Emerald Green Color Pop
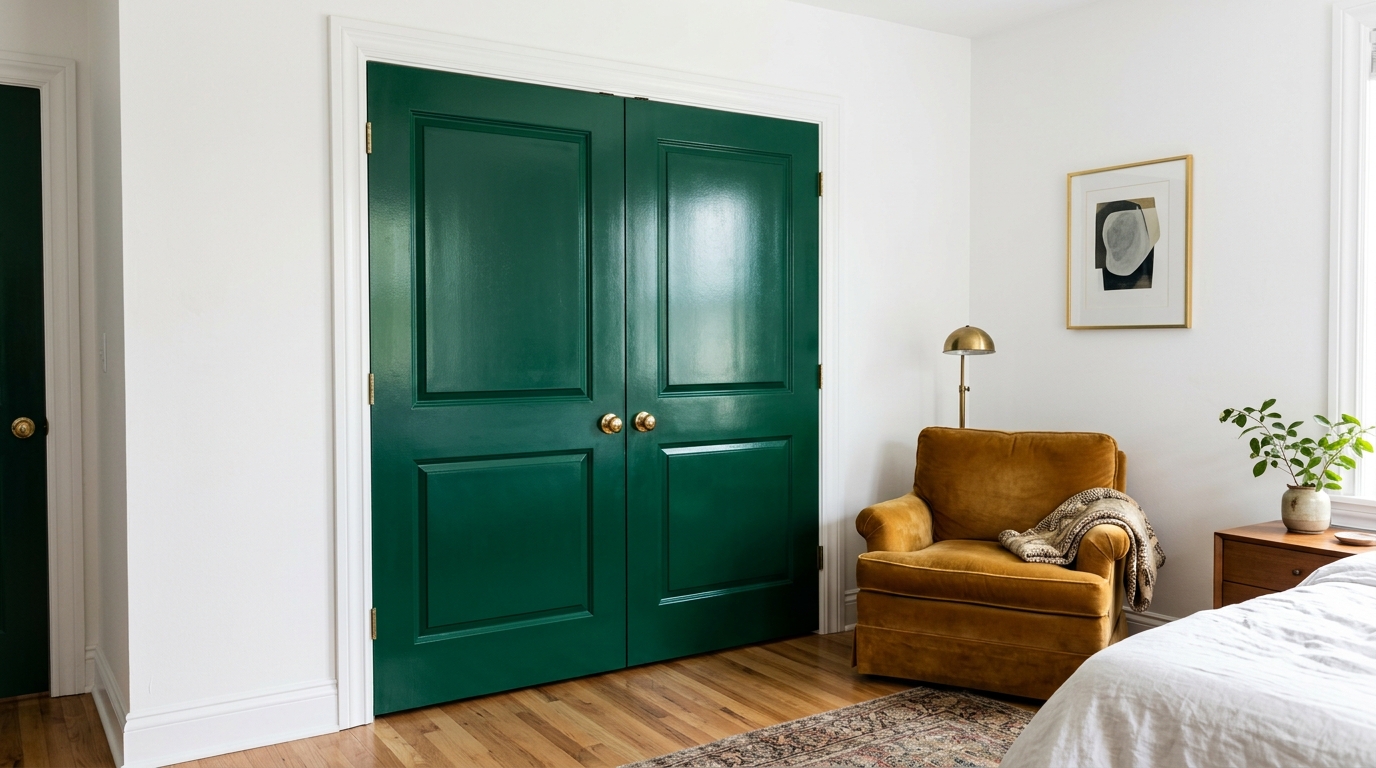
Sometimes the easiest makeover is just one brave color. Deep emerald green with a glossy finish feels rich and cozy, especially next to white walls and brass knobs. It is a lovely backdrop for holiday greenery and red ribbon too. Paint in thin coats with a good brush and a roller for a smooth finish. Would you dare to go this bold?
You will need: Semi gloss or high gloss paint in deep emerald, a bonding primer, a 2 inch angled brush, a small roller, brass knobs, sandpaper.
How to make it: 1. Remove the knobs, sand lightly and prime. 2. Brush the recessed panels first, then roll the flat parts in thin coats. 3. Let each coat dry well, add a third coat if needed and fit the brass knobs.
Painted Closet Doors as a Mountain Mural
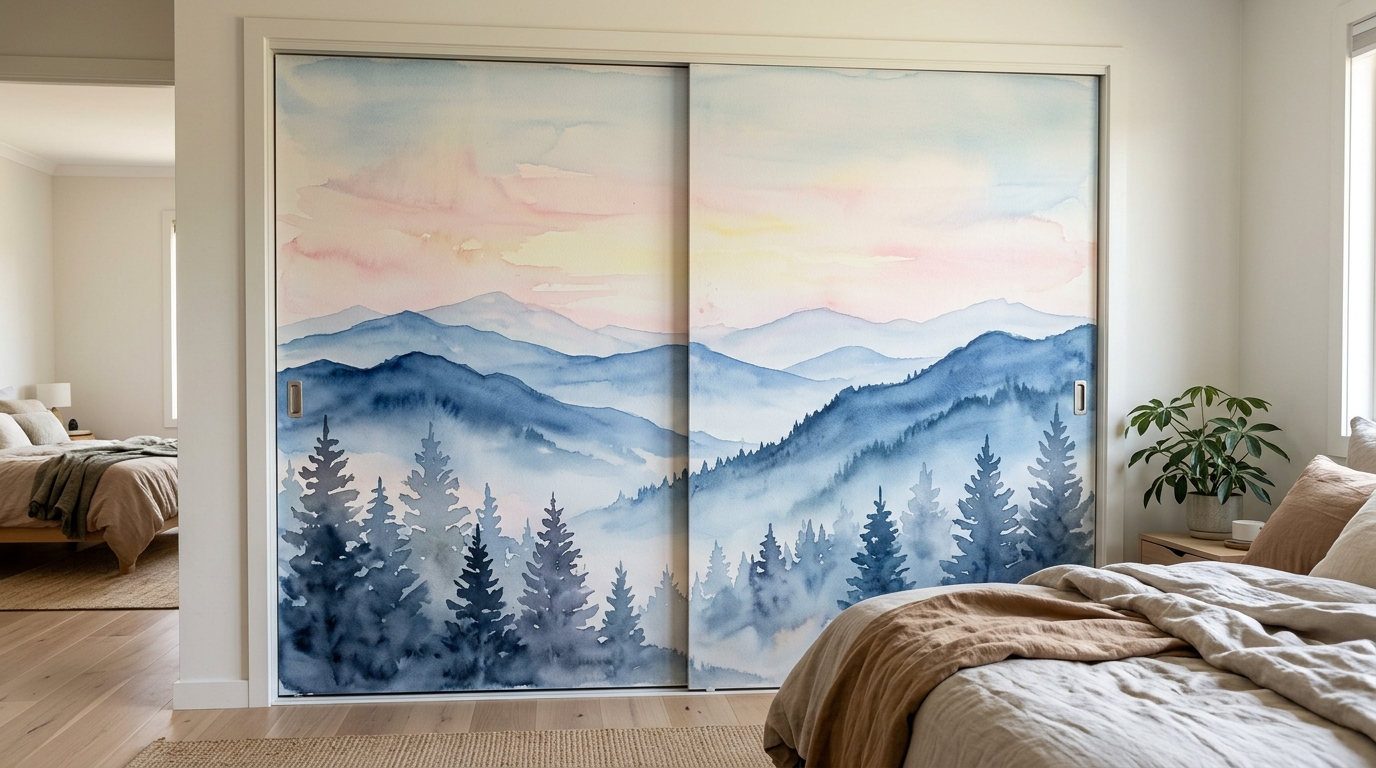
A mural sounds hard, but a soft watercolor style mountain scene is mostly big shapes. Start with a pale sky, add a light blue mountain range across both doors and layer darker ridges and pine trees on top. Painted closet doors with a calm landscape make a bedroom feel like a peaceful cabin. Mistakes blend right in. Which view would you paint?
You will need: Sample pots in pale peach, sky blue, two deeper blues and forest green, wide and small brushes, a sponge, painter’s tape, a clear topcoat.
How to make it: 1. Close the sliding doors and sketch the mountain lines across both. 2. Paint the sky, then each mountain layer from light to dark, softening edges with a damp sponge. 3. Add simple pine trees at the bottom and seal.
Chalkboard Paint Pantry Door
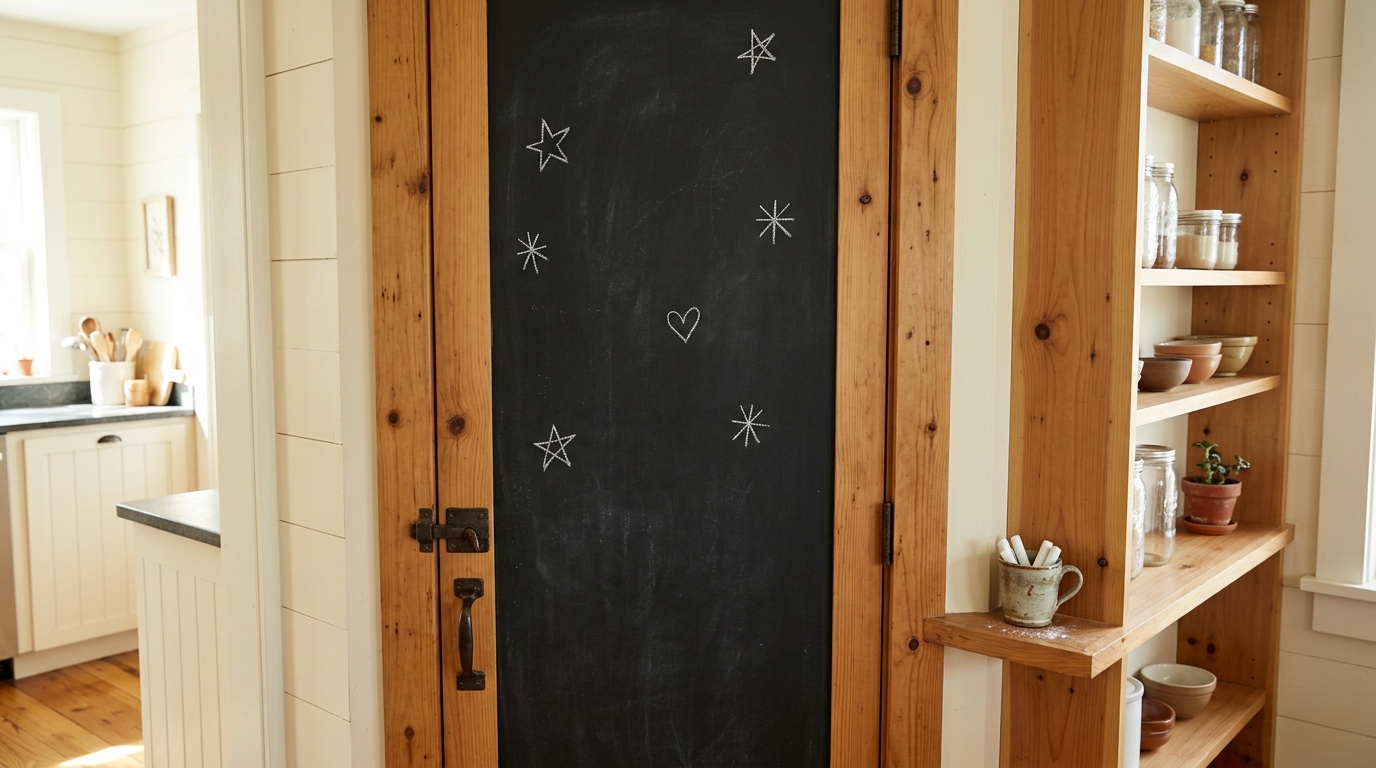
A chalkboard door is part decor and part family message board. Paint a pantry or hall closet door with matte black chalkboard paint and it becomes the spot for grocery lists, holiday countdowns and little notes. Season the surface by rubbing chalk all over and wiping it off before the first use. Kids love it, and grown ups use it more than they expect. Where would you put yours?
You will need: Chalkboard paint, a small roller, painter’s tape, fine sandpaper, a piece of chalk, a soft cloth.
How to make it: 1. Tape off the trim and sand the door lightly. 2. Roll on two or three thin coats, letting each dry fully. 3. Wait three days, then rub chalk over the whole surface and wipe it clean.
Wallpaper Decoupage Panels
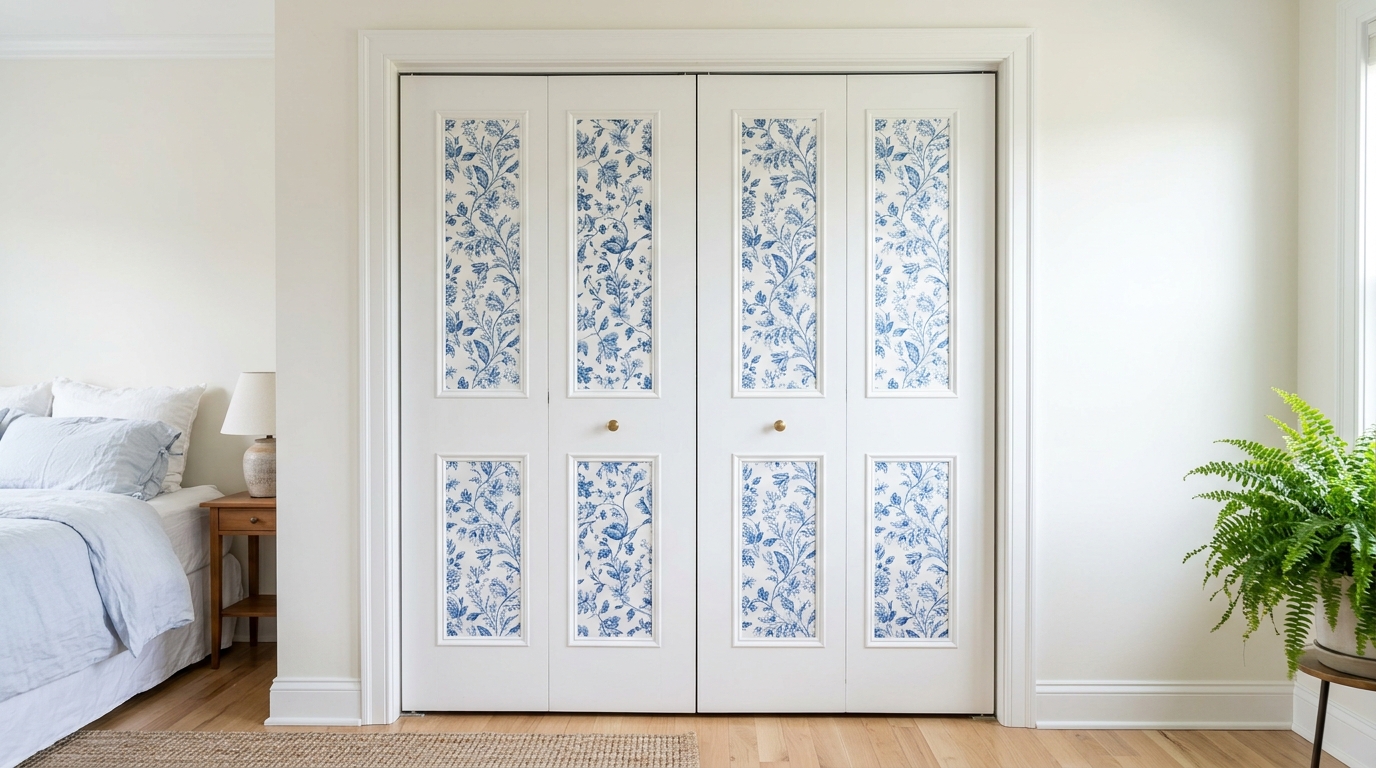
This is decoupage at its biggest and best. Cut pretty wallpaper to fit inside each recessed panel and glue it down with decoupage medium for a custom look in an afternoon. Blue and white florals feel fresh and timeless. Renters can use peel and stick wallpaper instead, which comes off cleanly later. If you like giving old pieces new life, see these thrifted old door makeovers for more inspiration. Which print would you pick?
You will need: Wallpaper or peel and stick paper, decoupage medium, a foam brush, a craft knife, a ruler, a smoothing tool or old card.
How to make it: 1. Measure each panel and cut the paper slightly larger. 2. Brush medium on the panel, lay the paper and smooth out bubbles from the center. 3. Trim the edges with a sharp knife and brush a thin top coat over the paper.
Gold Hardware Swap That Changes Everything
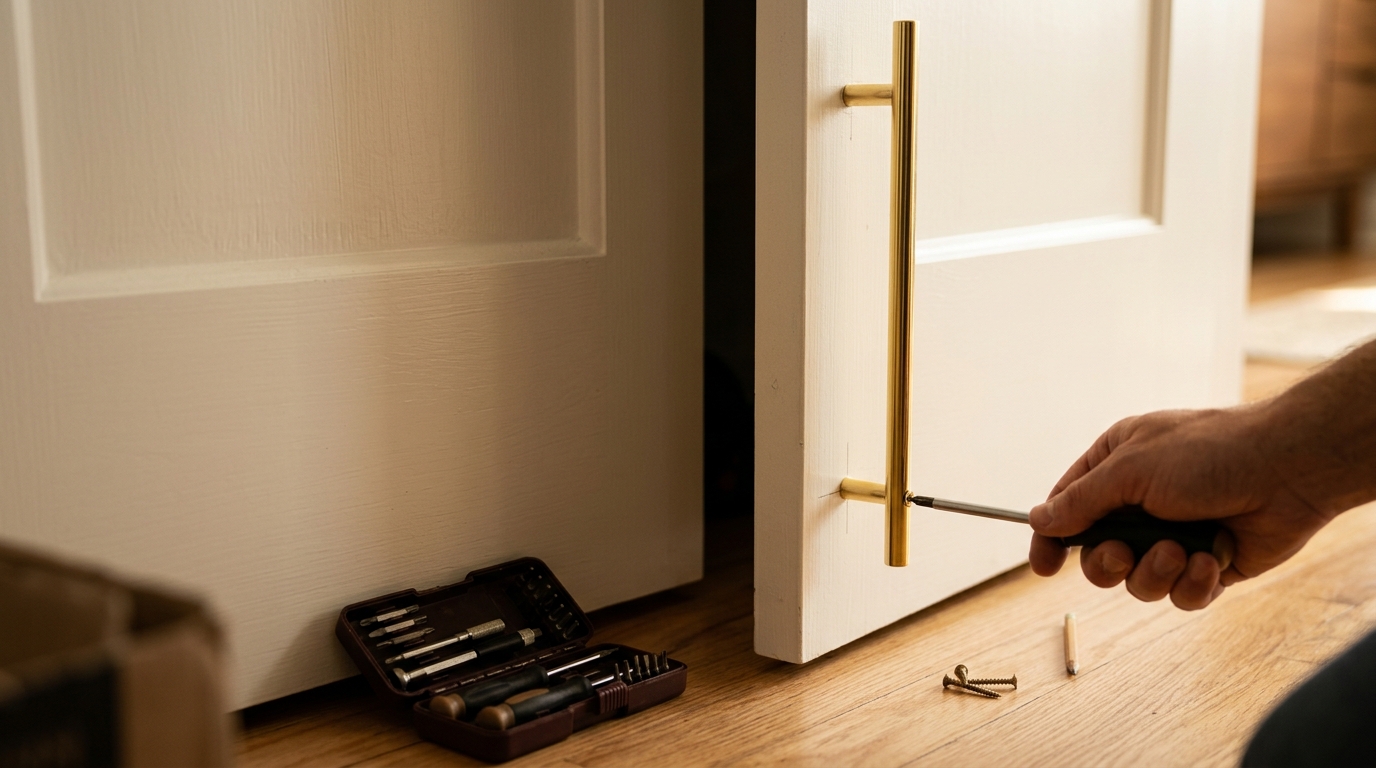
Never underestimate new hardware. Swapping tiny builder knobs for long brass bar pulls makes plain doors look tall, modern and expensive. It takes about ten minutes per door and only a screwdriver. Pick a length that matches the height of the door for a polished look. Paint the doors first, then add the pulls last. Which finish do you like best, brass, black or chrome?
You will need: Long brass bar pulls, a screwdriver, a drill with a small bit (adult help), a tape measure, a pencil, painter’s tape.
How to make it: 1. Remove the old knobs and fill the holes if needed. 2. Put tape on the door, mark the new holes level and drill with adult help. 3. Screw the pulls in place and check that they sit straight.
Mirror Panel Bifold Doors
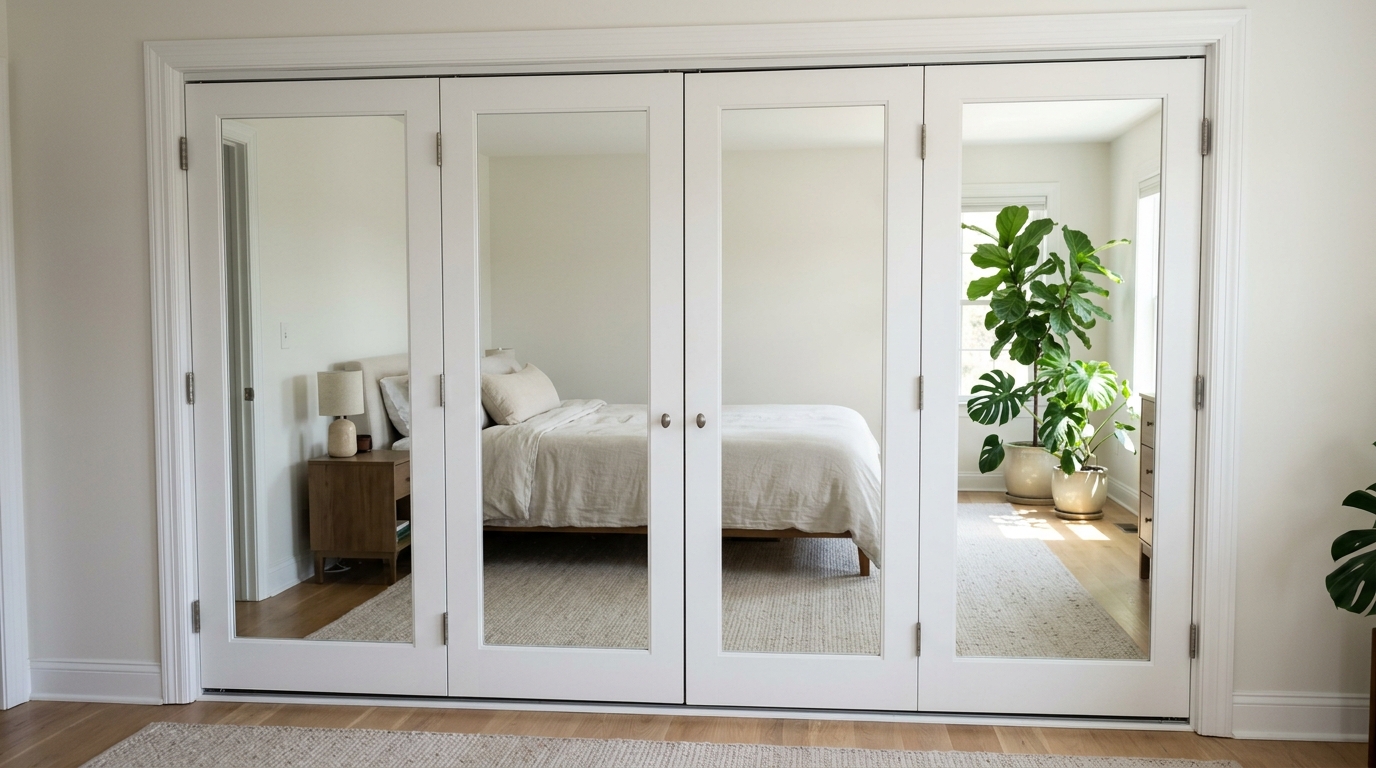
Mirror panels are a smart trick for small bedrooms. Fit a full length mirror into each bifold panel and the room looks twice as bright and big. For safety and lighter weight, use shatter resistant acrylic mirror sheets made for doors. White painted trim around the edges gives a clean finished look. Would this help your smallest room?
You will need: Acrylic mirror sheets cut to size, mirror safe mounting adhesive, thin trim, a tape measure, white paint, caulk.
How to make it: 1. Measure each panel and order acrylic mirror cut to size. 2. Press the mirror on with mirror safe adhesive and support it with tape while it sets. 3. Frame the edges with thin painted trim.
Painted Closet Doors for a Kids Room Rainbow
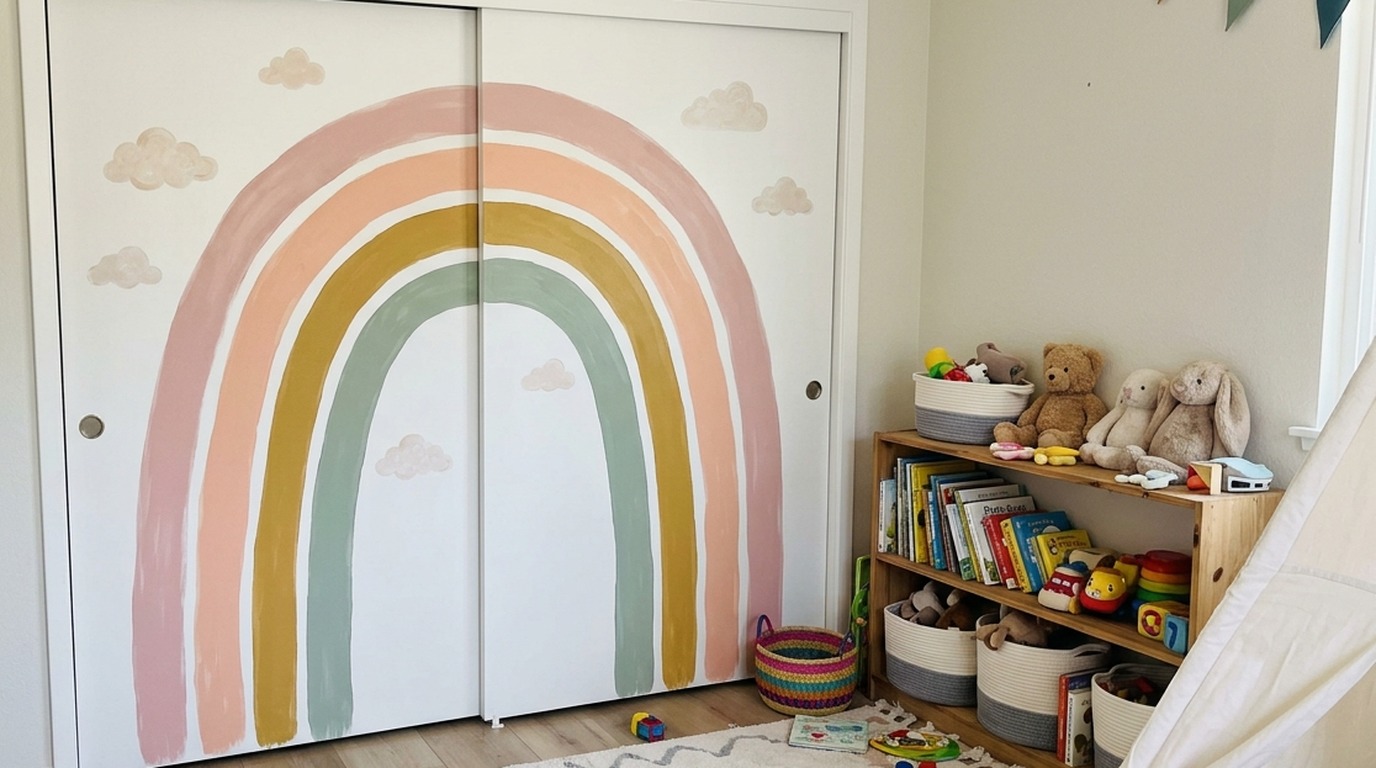
Kids light up when they see a rainbow on their closet. A soft pastel arch in muted pink, peach, mustard and sage feels sweet without being loud, and a few painted clouds make it extra dreamy. Painted closet doors in a child’s room can grow with them, and you can repaint in a few years. Use low odor paint and keep the room aired out. Will your little one help pick the colors?
You will need: Low odor sample paints in four pastel colors, a pencil and string for drawing arcs, painter’s tape, small rollers and brushes, white paint for clouds.
How to make it: 1. Tie a pencil to a string to draw neat rainbow curves across the doors. 2. Paint each band one color at a time, letting them dry between. 3. Add puffy white clouds at the ends and touch up the edges.
Fluted Half Round Trim in Sage Green
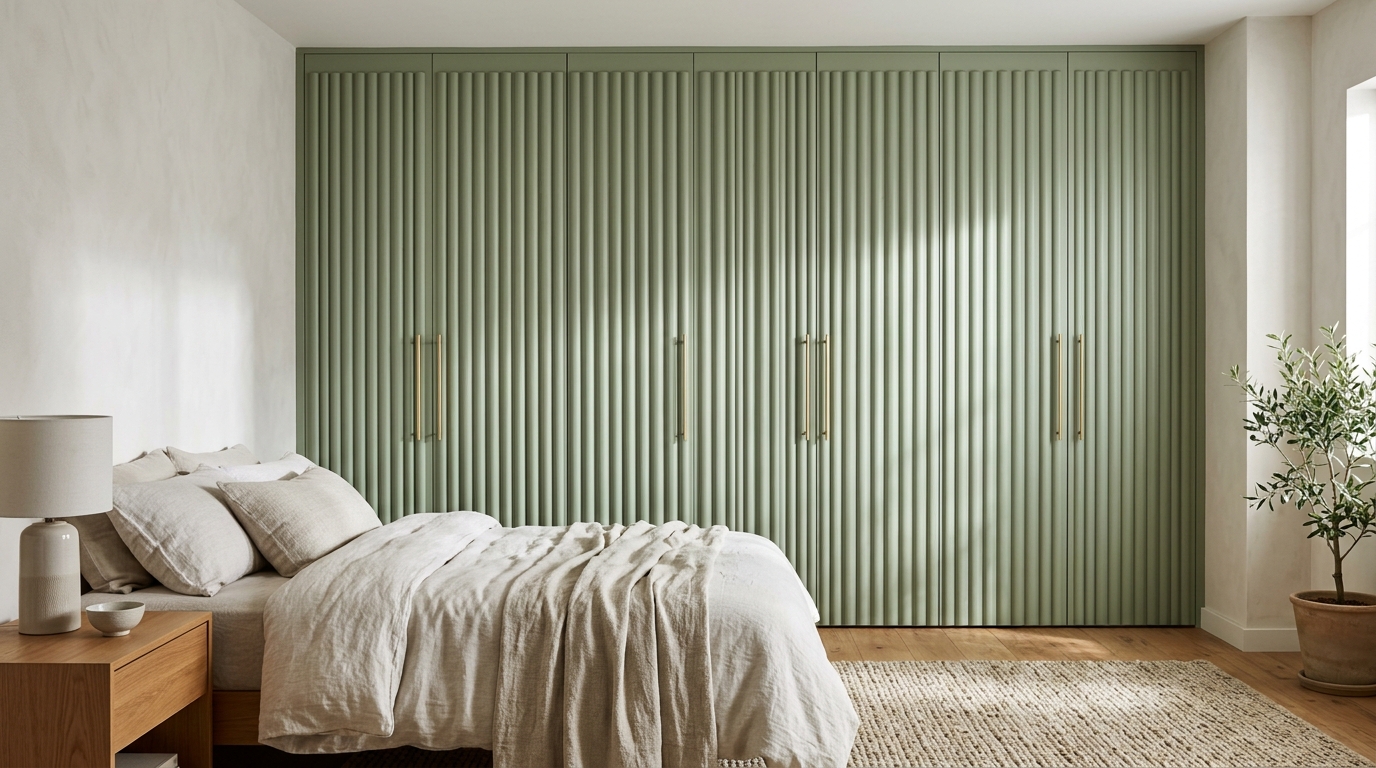
Fluted wood is the designer detail of the year, and you can fake it with half round trim from the hardware store. Glue the strips side by side across flat doors and paint everything soft sage green. The ridges catch the light beautifully and feel like custom cabinetry. Slim gold pulls finish the look. Would you try this in a bedroom or hallway?
You will need: Half round wood trim, a miter box and saw (adult help), construction adhesive, small brad nails, caulk, sage green paint.
How to make it: 1. Cut the trim to the height of the doors. 2. Glue the strips side by side, using a spacer for even gaps, and tack them in place. 3. Caulk the ends and paint the whole door.
Painted Closet Doors With a Soft Pink Arch
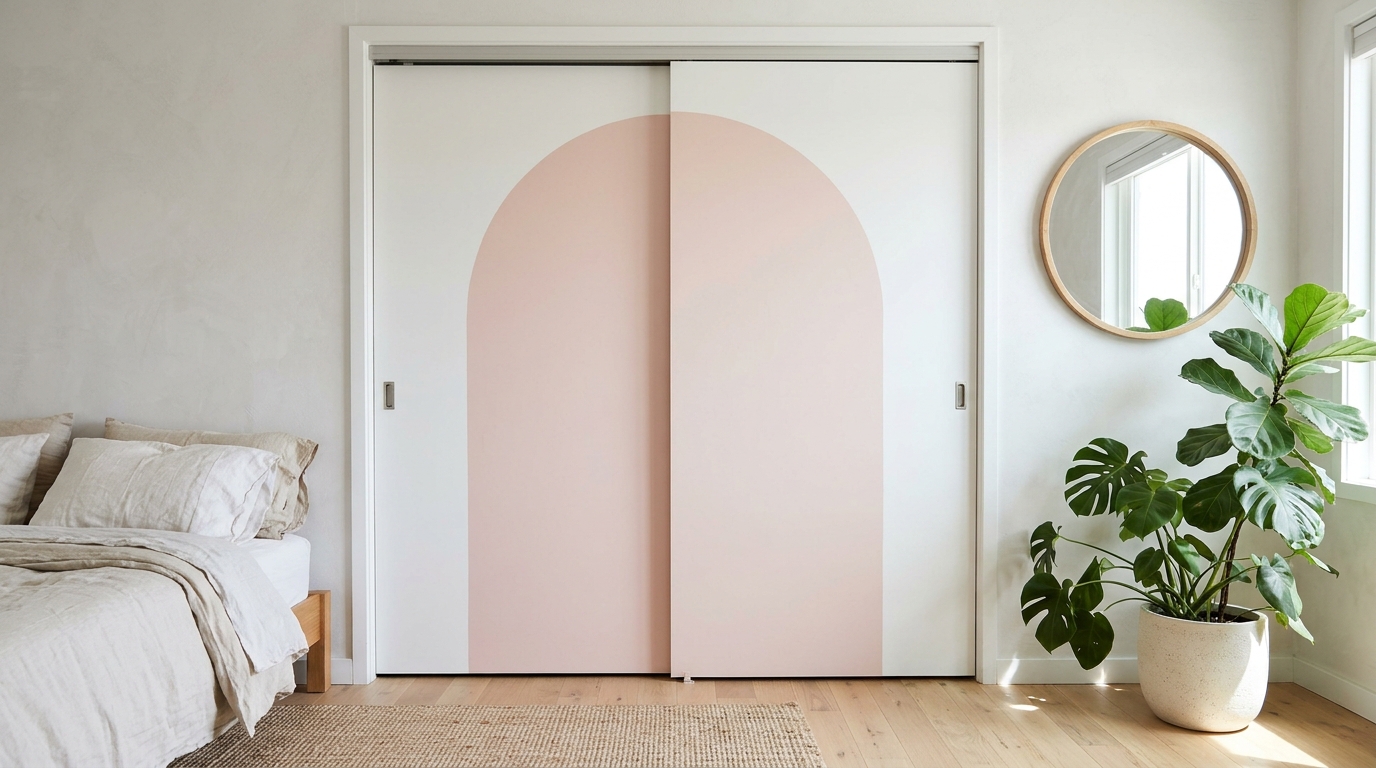
One big painted arch is a simple trick that makes sliding doors look like a design feature. Center a soft blush pink arch across both doors and leave the rest white. It looks fresh, modern and calm, and it frames a mirror or plant beautifully. Painted closet doors like these need only one sample pot of paint. Which color would your arch be?
You will need: One sample pot of blush pink paint, a pencil, string and a nail or pin for the curve, painter’s tape, a small roller, an angled brush.
How to make it: 1. Close the doors and mark the center line. 2. Use a string compass to draw the curved top, then tape the straight sides. 3. Roll on two coats, cut in the curve with a brush and pull the tape.