Day of the Dead Crafts: 15 Colorful Ideas to Honor Loved Ones This Week
Day of the dead crafts are filling kitchen tables right now, and it is easy to see why. Dia de los Muertos is on November 1 and 2, and Google search interest in the holiday jumped about 50 percent this week, while searches for these crafts are up about 70 percent. This is not a sad day. It is a bright, loving time when families in Mexico and around the world remember the people they miss with flowers, photos, favorite foods and lots of color. You do not need much to join in. Crepe paper, tissue paper, paint and a little time are enough. Here are 15 easy, respectful ideas you can make with your family this week, from paper marigolds to a mini altar in a shoebox..
Day of the Dead Crafts Start With Paper Marigolds
Big crepe paper marigolds are the heart of most day of the dead crafts, and they are easier than they look. In Mexico the real flower is called cempasuchil, and families believe its bright color and scent help guide loved ones home. Paper ones last for years, and this crepe paper marigold tutorial shows the whole fold in minutes. Make a big pile in orange and yellow and you already have the start of a beautiful family table. Which color will you make first..
You will need: Orange and yellow crepe paper, scissors, green floral wire or pipe cleaners and a ruler.
How to make it: 1. Cut the crepe paper into strips about 3 inches wide and 20 inches long. 2. Fold each strip like a fan and snip a wavy edge along the top. 3. Gather the bottom, twist it around the wire and tie it tight. 4. Fluff the petals out one layer at a time.
A Marigold Garland for the Family Altar
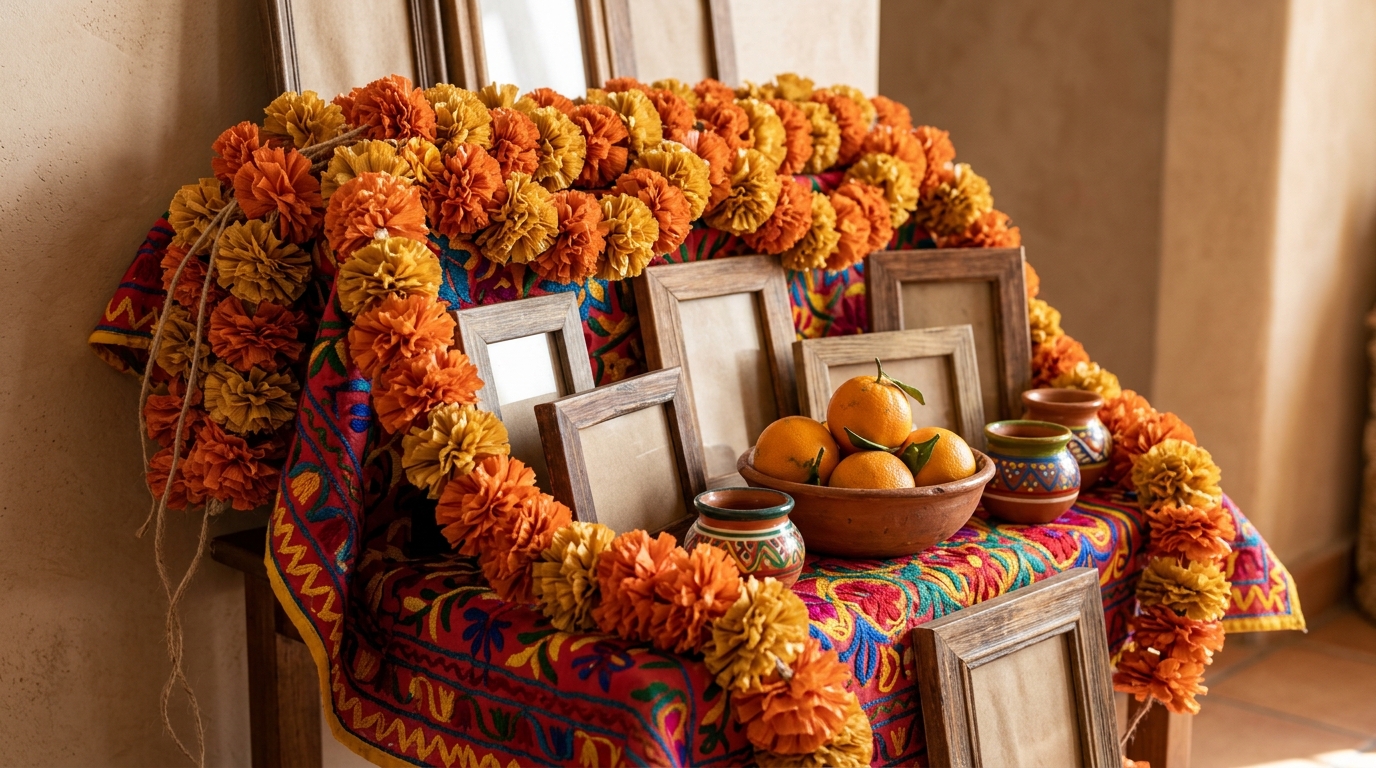
Once you have a pile of paper marigolds, string them into a long garland and drape it across the top of your family altar, called an ofrenda. Search interest in the word ofrenda jumped about 75 percent this week as families get ready for November 1 and 2. A full, heavy garland makes even a small side table look special. Tuck in a bowl of oranges and a few framed photos, and the whole space starts to feel warm and full of love. Who will you remember this year?
You will need: About 20 paper marigolds, strong twine, a large needle and a few small photo frames.
How to make it: 1. Thread the needle with twine and tie a big knot at the end. 2. Push the needle through the center of each flower. 3. Slide the flowers close together so the garland looks full. 4. Tie loops at both ends and hang it over the altar.
Day of the Dead Crafts With Tissue Paper: Papel Picado
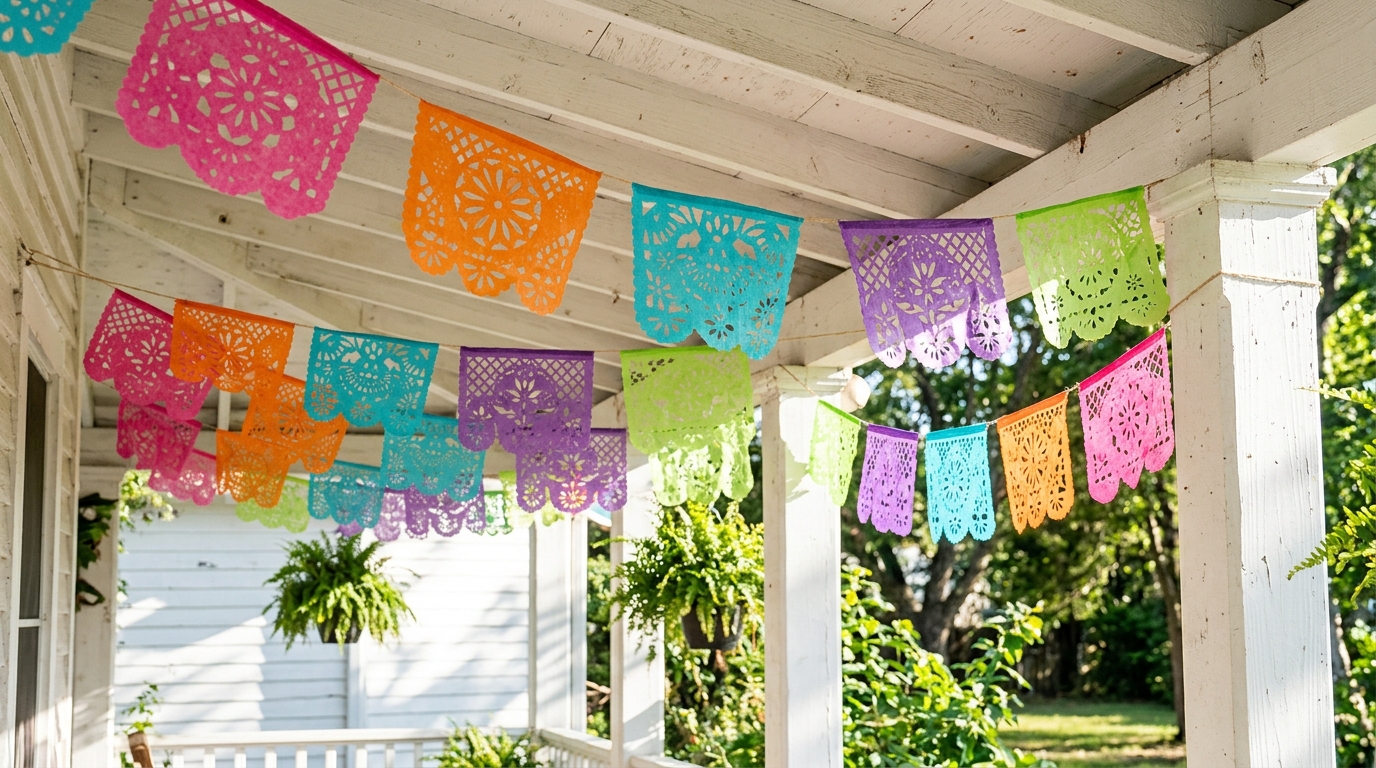
Papel picado means punched paper, and these bright flags flutter over streets, homes and altars all through the holiday. Many families say the thin, fragile paper is a gentle reminder of how short and precious life is. You only need tissue paper and scissors, which makes this one of the best day of the dead crafts to do with kids at the kitchen table. Fold, snip and open each sheet for a little surprise every time. Hang them in rows across a porch and watch the sun shine through.
You will need: Tissue paper in hot pink, orange, purple, turquoise and lime green, sharp scissors, a pencil and string or ribbon.
How to make it: 1. Fold a sheet of tissue paper in half, then in half again. 2. Draw small shapes like flowers, hearts and diamonds along the folds. 3. Cut out the shapes and open the sheet. 4. Fold the top edge over the string and glue it in place.
A Mini Ofrenda in a Shoebox
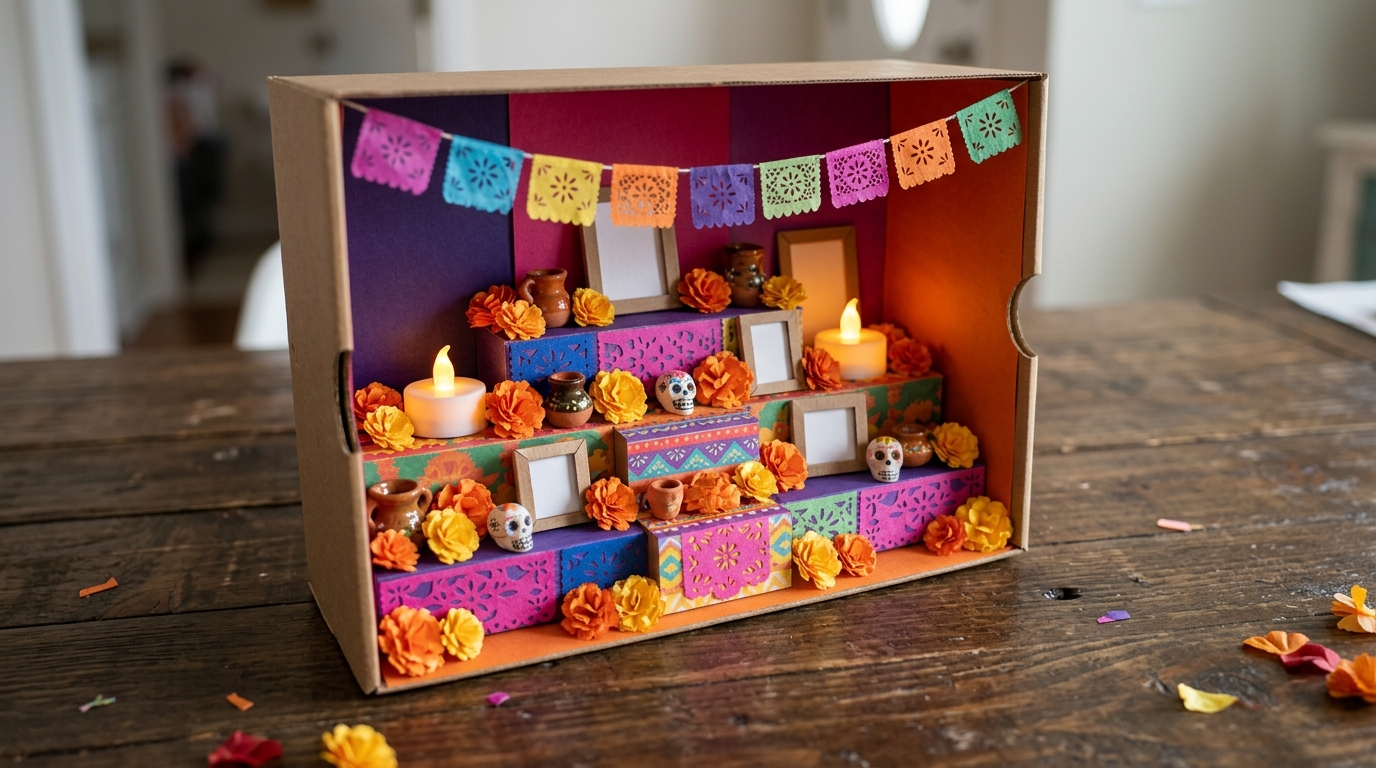
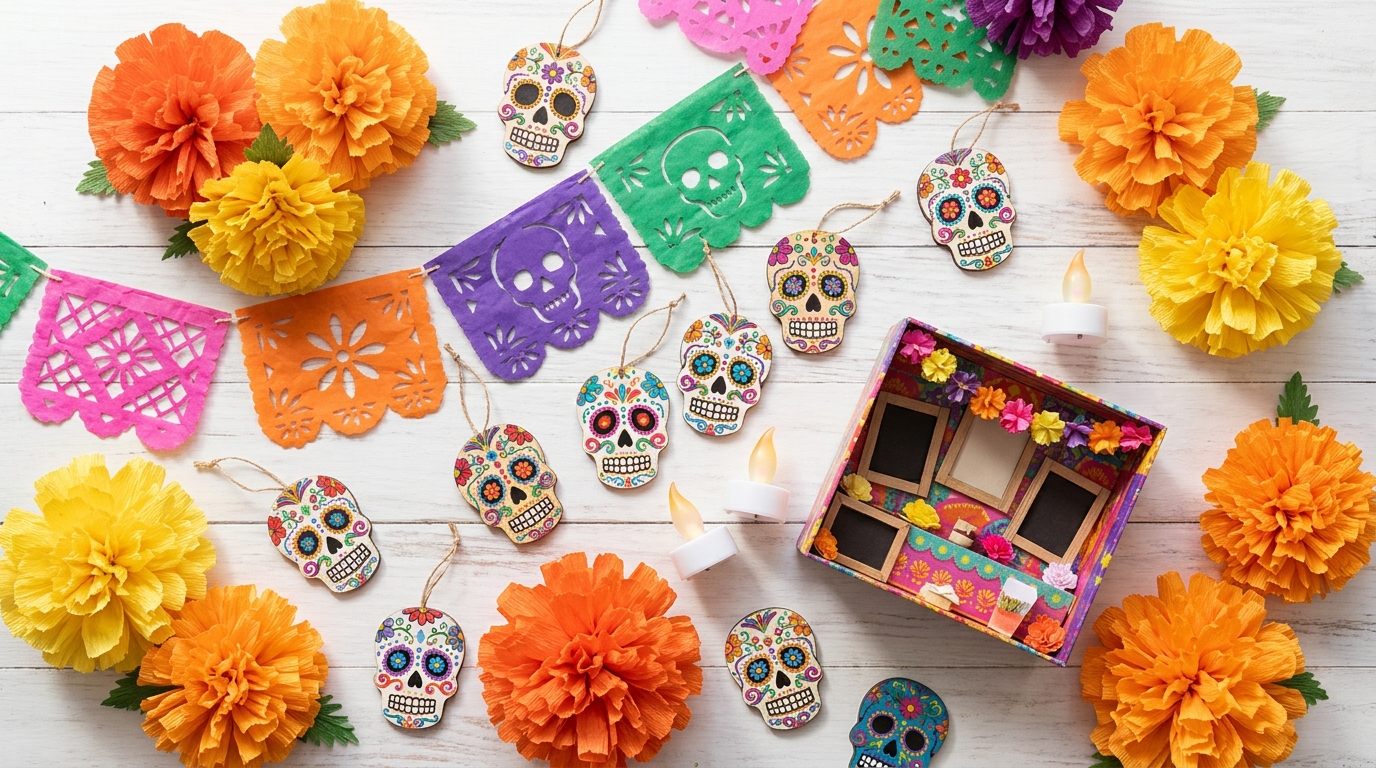
Not everyone has room for a full altar, and that is fine. A shoebox ofrenda fits on a bookshelf or a desk and still holds all the love. Make little steps from folded card, cover them in bright paper and add tiny photos, paper flowers and a small LED tea light. Kids love building these because every part is small and every choice means something. Ask them to add a drawing of something a grandparent loved. It is a sweet way to talk about family stories, isn’t it?
You will need: A shoebox, colored paper, card stock, glue, small printed photos, mini paper flowers and battery LED tea lights.
How to make it: 1. Paint or cover the inside of the box with bright paper. 2. Fold card stock into three small steps and glue them inside. 3. Add tiny photos, flowers and a mini paper banner across the top. 4. Set battery LED tea lights on the steps for a soft glow.
Painted Wooden Sugar Skull Ornaments
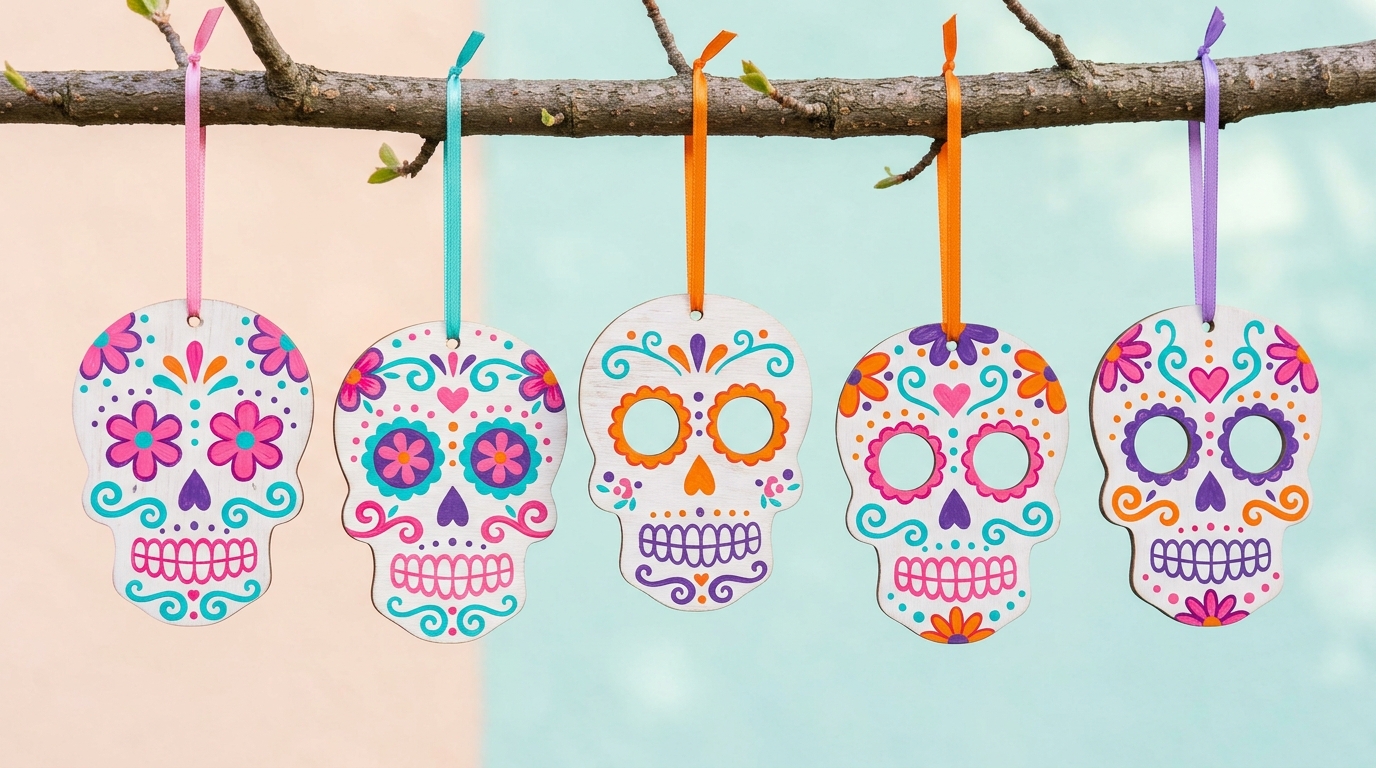
Sugar skulls, or calaveras, are not meant to be scary. They are joyful and colorful, and many families write the name of a loved one across the forehead. This wooden version is pure decor, so like most day of the dead crafts it lasts year after year. Paint plain wooden skull cutouts white, then go wild with flower eyes, dots, swirls and tiny hearts. The brighter, the better. Hang them on a branch in a vase, on a wreath or even on a little tree in the corner. Which colors would you choose?
You will need: Plain wooden skull shaped cutouts, white acrylic paint, bright paint pens, a fine brush and thin ribbon.
How to make it: 1. Paint each cutout white and let it dry. 2. Draw flower shapes around the eyes with paint pens. 3. Add dots, swirls and petals on the cheeks and chin. 4. Glue a ribbon loop on the back for hanging.
Day of the Dead Crafts for the Garden: Painted Rock Calaveras
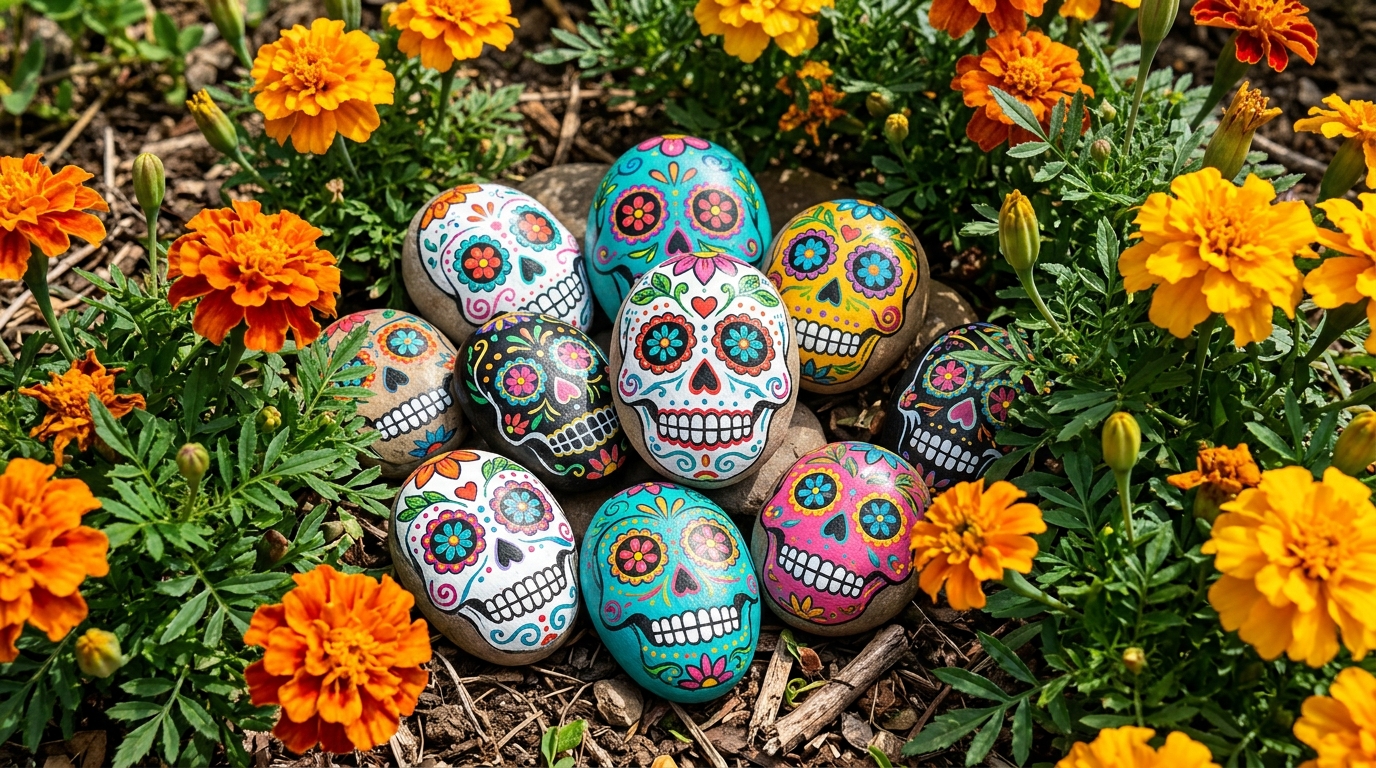
Smooth river rocks make perfect little calaveras, and they look so cheerful tucked in the garden among real marigolds. This is one of those day of the dead crafts that keeps going long after November, since the paint holds up well outside once sealed. Grab a bag of rocks, a few paint pens and set the kids up on the porch. Every rock ends up a little different, which is half the fun. Will you line them along a path or pile them in a planter?
You will need: Smooth flat rocks, white acrylic paint, bright paint pens, a small brush and outdoor clear sealer.
How to make it: 1. Wash and dry the rocks. 2. Paint the front white and let it dry. 3. Draw eyes, a nose and a big smile, then add flowers and dots. 4. Seal the rocks before setting them outside.
Photo Frame Wreath With Paper Flowers
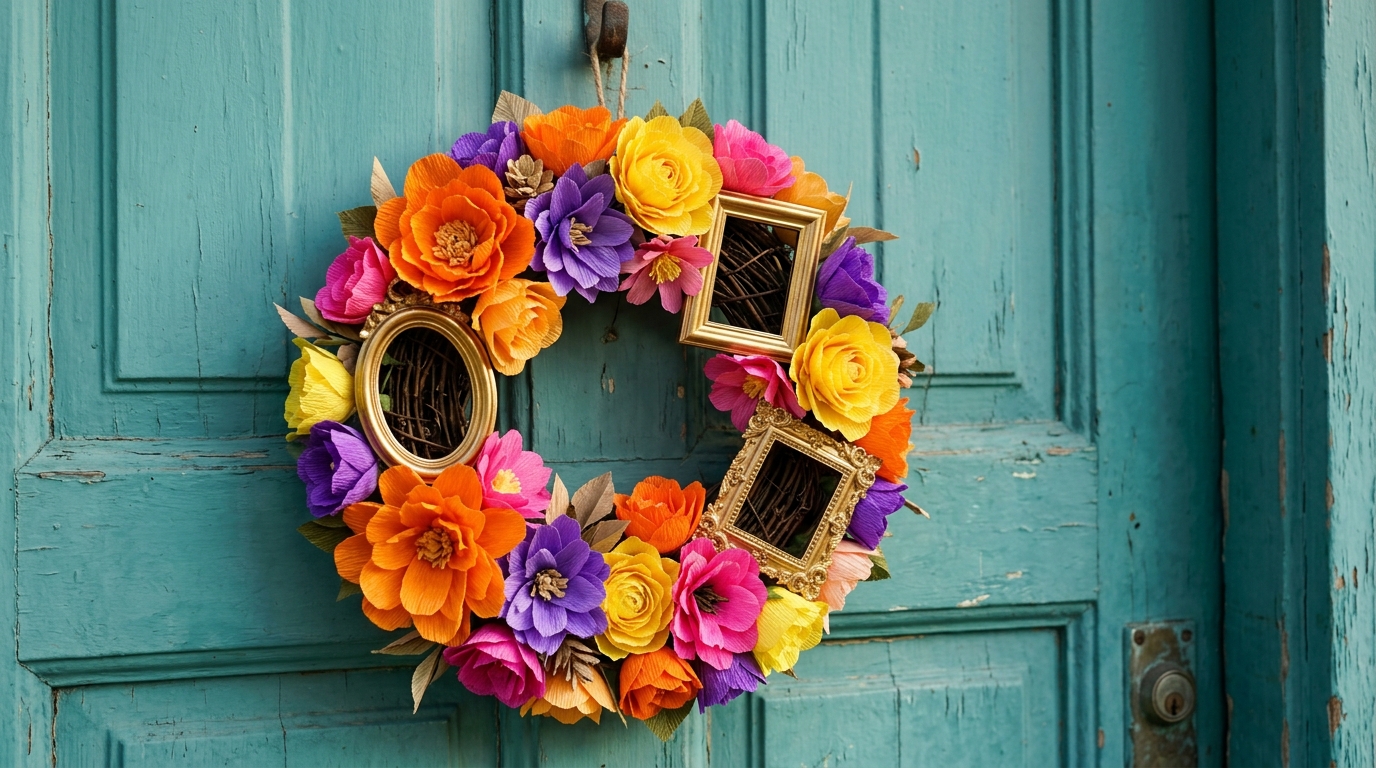
This wreath is about the people, not just the color, which is what day of the dead crafts are really for. Cover a foam ring in paper flowers and tuck in a few tiny frames that hold photos of grandparents, parents or even a beloved pet. Hang it on the front door or above the altar. It is a lovely way to tell your neighbors and visitors that this family remembers. If you liked making our Halloween crafts for adults, this one uses the same simple wreath base but with a much softer meaning. Whose photo will go in the first frame?
You will need: A foam or straw wreath ring, about 25 paper flowers, three small lightweight frames, glue and ribbon.
How to make it: 1. Glue the paper flowers all around the ring until it is covered. 2. Put small photos into the frames. 3. Glue the frames onto the wreath with space between them. 4. Add a ribbon loop at the top for hanging.
Day of the Dead Crafts With Monarch Butterflies
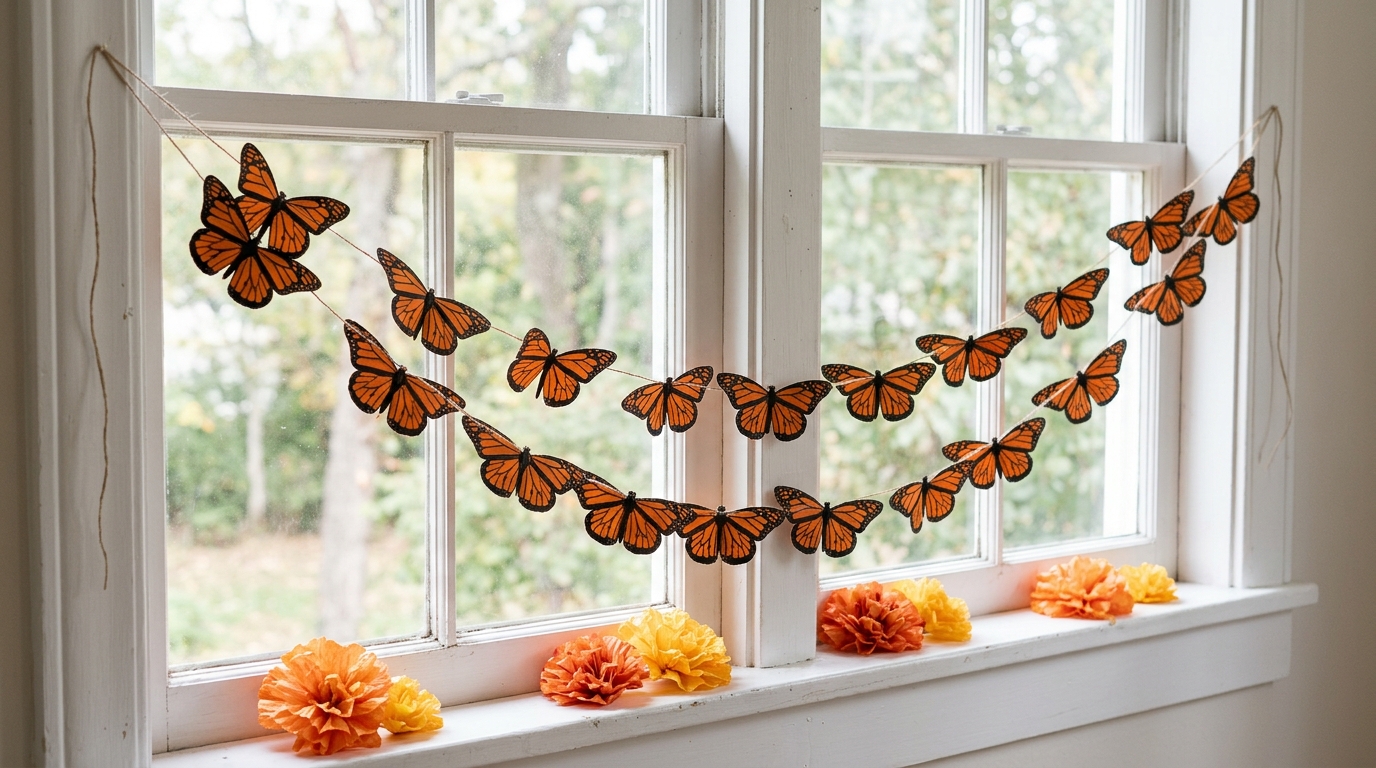
Every fall, millions of monarch butterflies arrive in Mexico right around the holiday, and many families see them as a sign that loved ones are coming back to visit. That is why monarchs show up in so many day of the dead crafts. Cut them from orange paper, add black marker lines and string them across a window. When the light comes in, they seem to flutter. Kids can trace a template and make dozens in one afternoon. How many will fit across your window?
You will need: Orange card stock, a black marker, scissors, a pencil, a butterfly template and thin string.
How to make it: 1. Trace the butterfly shape on orange card stock and cut it out. 2. Draw black veins and edges with the marker. 3. Fold each butterfly gently down the middle. 4. Glue them along the string with space between each one.
Clay Sugar Skull Magnets
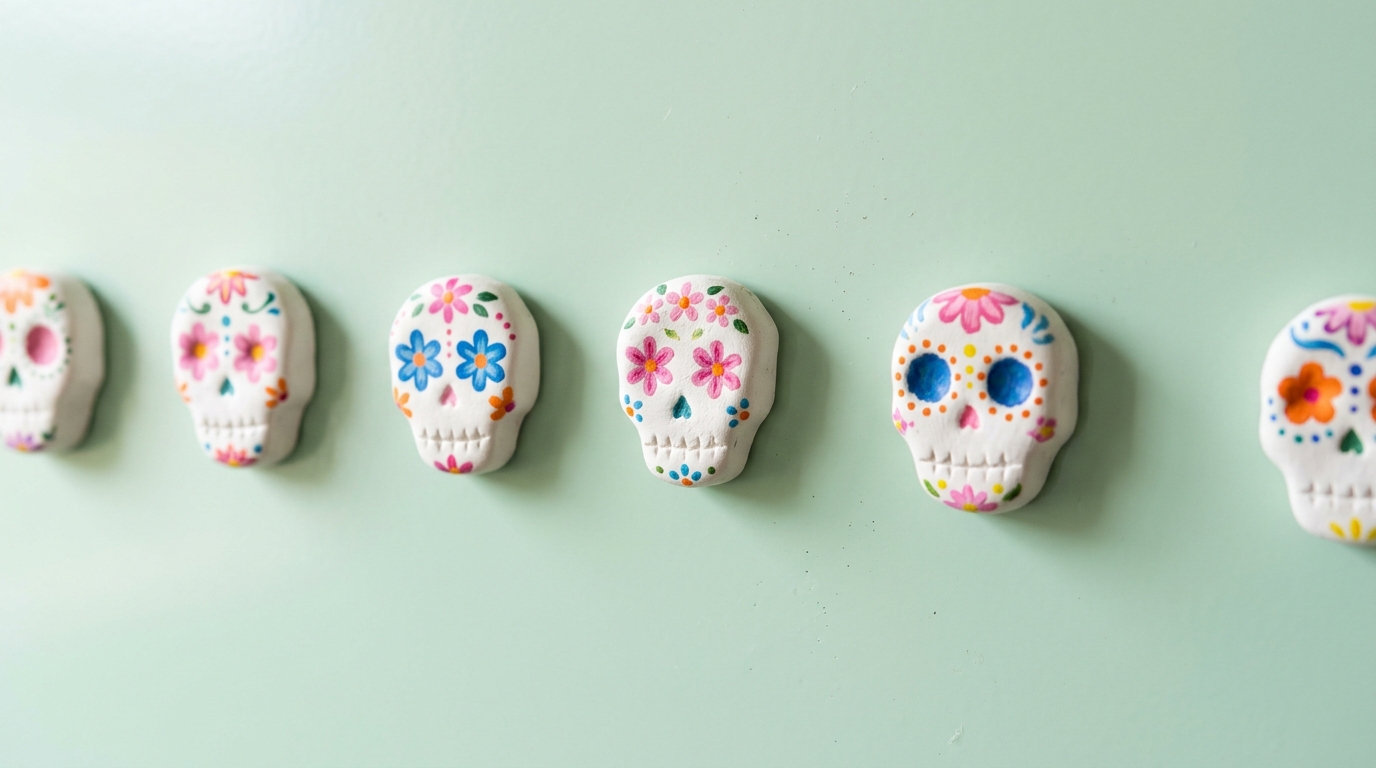
These tiny clay calaveras brighten up the fridge and hold up school drawings and family photos all year. Air dry clay is easy for kids and needs no oven. Roll a ball, press it flat, shape the jaw and let it dry overnight. Then the painting begins. A YouTube video showing how sugar skulls are made for the holiday just passed 341,000 views in 12 days, so lots of families are feeling inspired right now. These are for decoration only, not for eating. Which fridge will you cover first?
You will need: Air dry clay, a toothpick, white paint, bright paint pens, small round magnets and strong glue.
How to make it: 1. Shape a small ball of clay into a flat skull with a rounded top. 2. Press eye holes and a nose with a toothpick. 3. Let it dry overnight, then paint it white. 4. Decorate it with flowers and glue a magnet on the back.
Painted Terracotta Pots With Calavera Designs
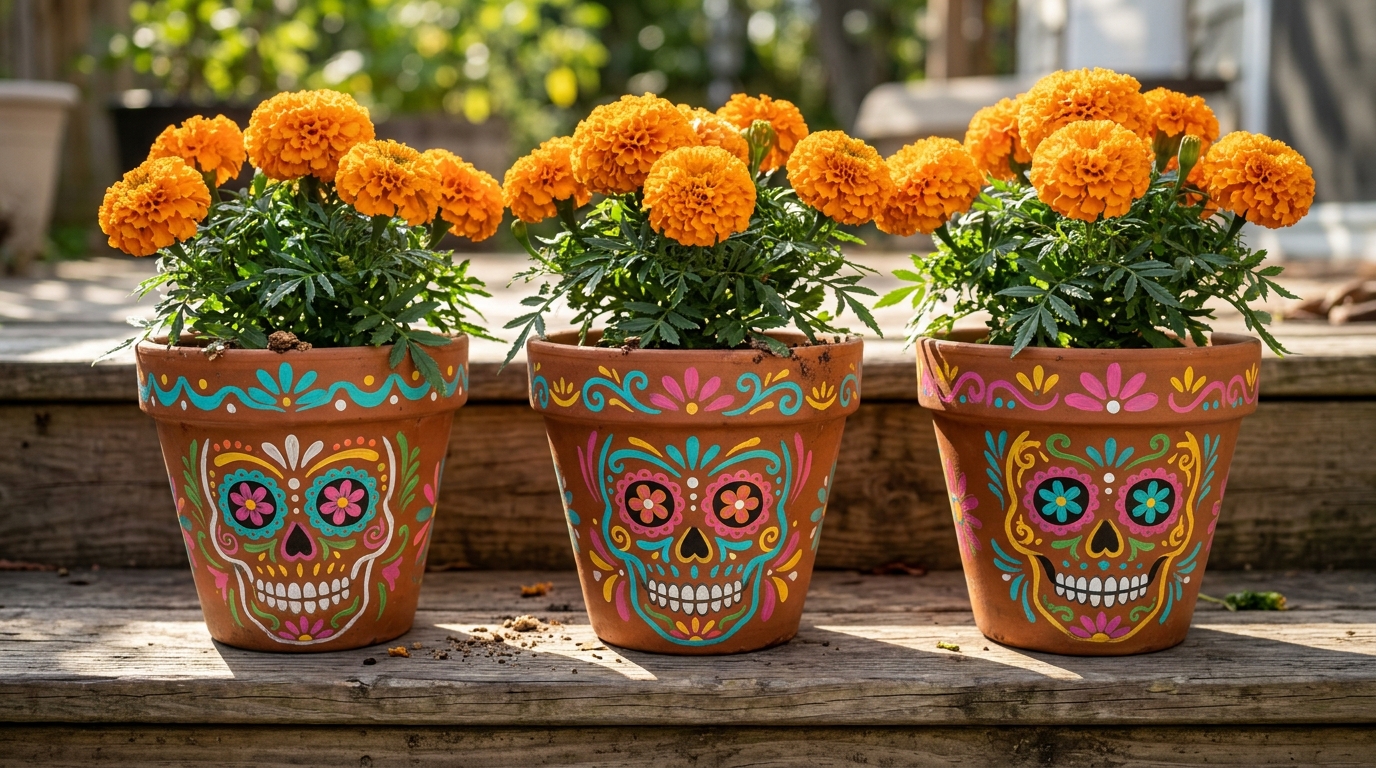
Plain terracotta pots turn into happy little faces with a coat of paint and a steady hand. Plant them with real marigolds and you have a living decoration for the porch or the altar. These day of the dead crafts also make sweet gifts for a grandparent or a neighbor, since the flowers keep blooming well into fall in many places. Paint the face big so it reads from across the yard. Would you keep the flowers orange or mix in yellow too?
You will need: Terracotta pots, acrylic paint, paint pens, a sponge brush, clear outdoor sealer and potting soil with marigolds.
How to make it: 1. Paint the outside of each pot with a base color. 2. Draw a big skull face with flower eyes on the front. 3. Add dots and swirls around it and seal the pot. 4. Fill with soil and plant the marigolds.
Embroidered Marigold Hoop Art
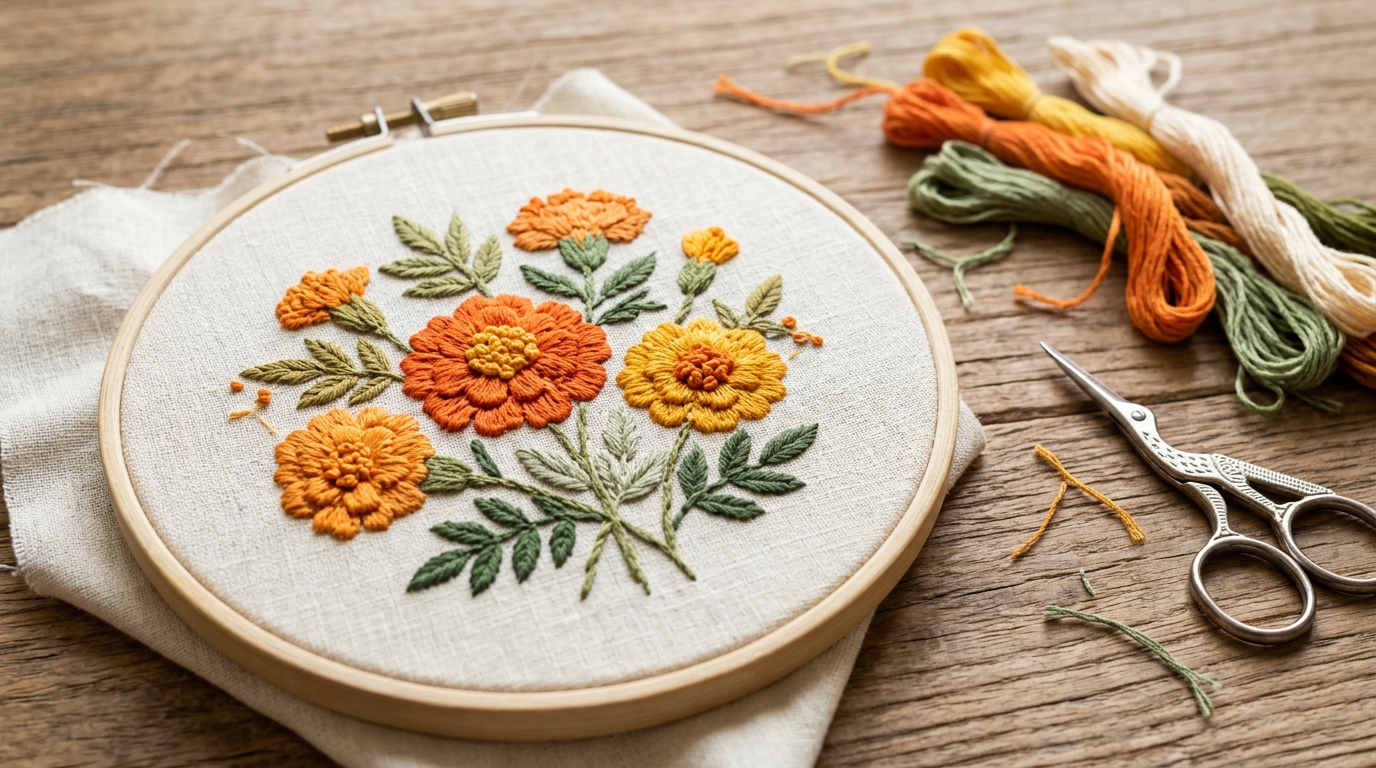
If you love quiet crafts, this one is for you. Stitch a few round marigold blooms with thick orange and yellow thread, add green leaves and hang the finished hoop near your family photos. The simple stitches are perfect for beginners, and each flower takes less than an hour. Many people make one for each loved one they remember, adding a tiny initial in the corner. It is slow, peaceful work that gives you time to think about happy memories. Who would you stitch for?
You will need: A wooden embroidery hoop, cream linen, orange, yellow and green embroidery thread, a needle and a pencil.
How to make it: 1. Draw three round flowers and some leaves on the fabric. 2. Fill each flower with short straight stitches from the center out. 3. Stitch the leaves with a simple satin stitch. 4. Trim the back and hang the hoop.
Felt Marigold Napkin Rings
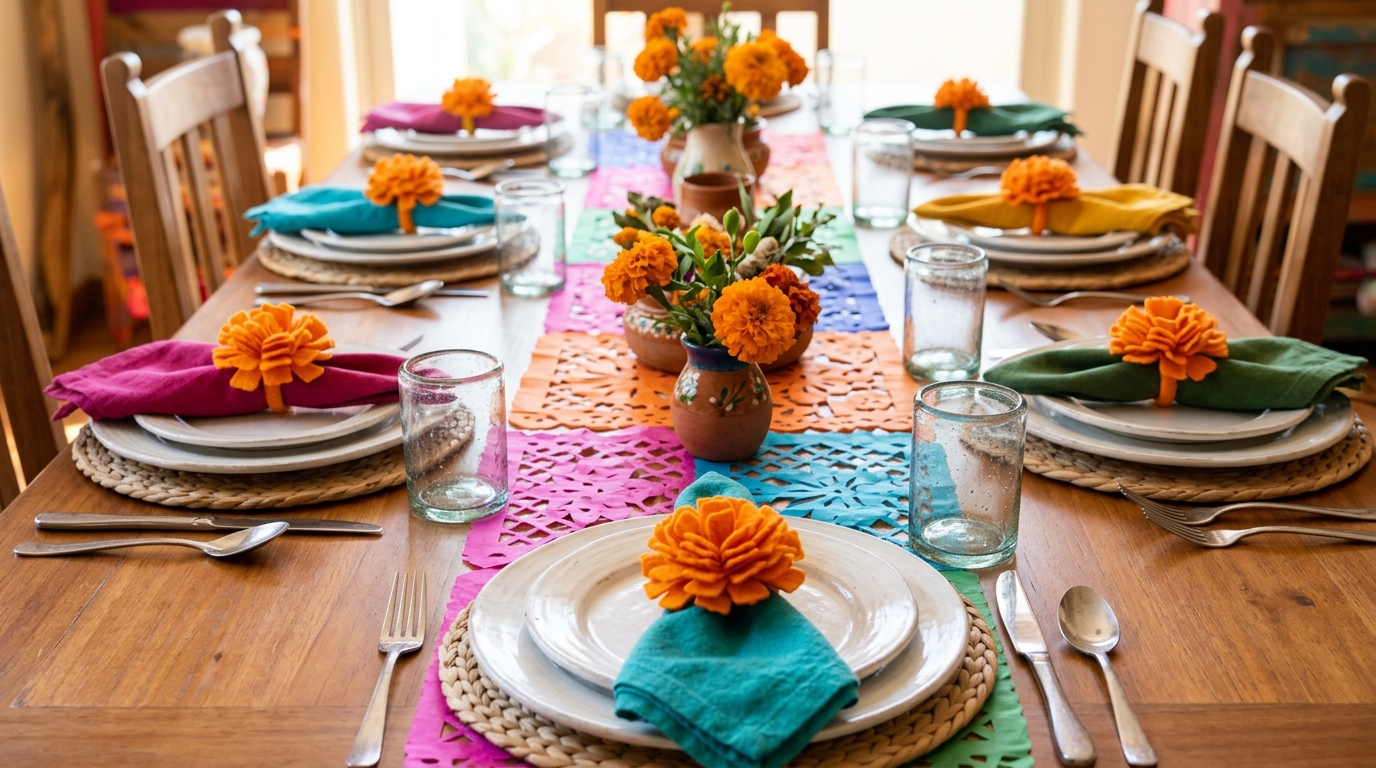
Many families share a big meal during the holiday, and these felt napkin rings make the table feel extra special. Cut wavy felt strips, roll them into little flowers and glue them onto a simple band. Of all the day of the dead crafts here, they are the quickest, and they look lovely next to bright plates and a paper runner. Set a place for everyone, and maybe one extra for a loved one being remembered. Keep the leftovers for Thanksgiving, when orange works just as well. Do you have a family recipe to serve that night?
You will need: Orange and yellow felt, green felt, scissors, a low temperature glue gun (with adult help) and thin cardboard.
How to make it: 1. Cut a long felt strip with a wavy edge on one side. 2. Roll it up tightly and glue the end to make a flower. 3. Cut a band of cardboard, wrap it in green felt and glue it into a ring. 4. Glue the flower on top.
A Cardboard Arch of Paper Flowers
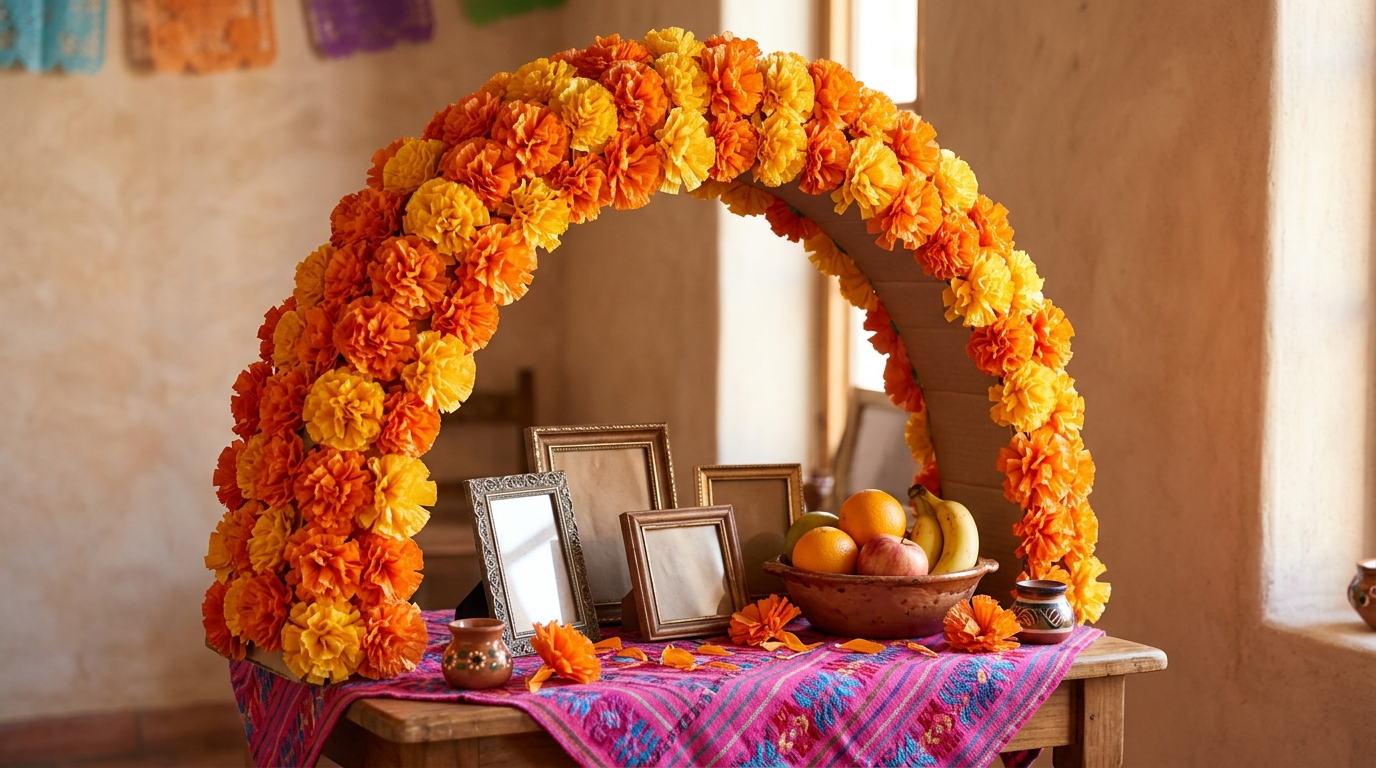
In many homes, a flower arch stands over the ofrenda like a doorway, welcoming loved ones home. You can make one from long strips of cardboard bent into a curve and covered with paper marigolds. It is one of the most eye catching day of the dead crafts you can make, and it costs almost nothing. Once you see a few of these online this week, you will want one too. Prop it up with books behind the table so it stands tall. How tall will you make yours?
You will need: Two long strips of sturdy cardboard, packing tape, about 40 paper marigolds, glue and a few heavy books.
How to make it: 1. Tape the cardboard strips end to end to make one long band. 2. Bend it into an arch and tape the ends to a cardboard base. 3. Glue paper marigolds over the whole arch. 4. Set it over the altar and steady it with books.
Day of the Dead Crafts for Kids: A Calavera Banner
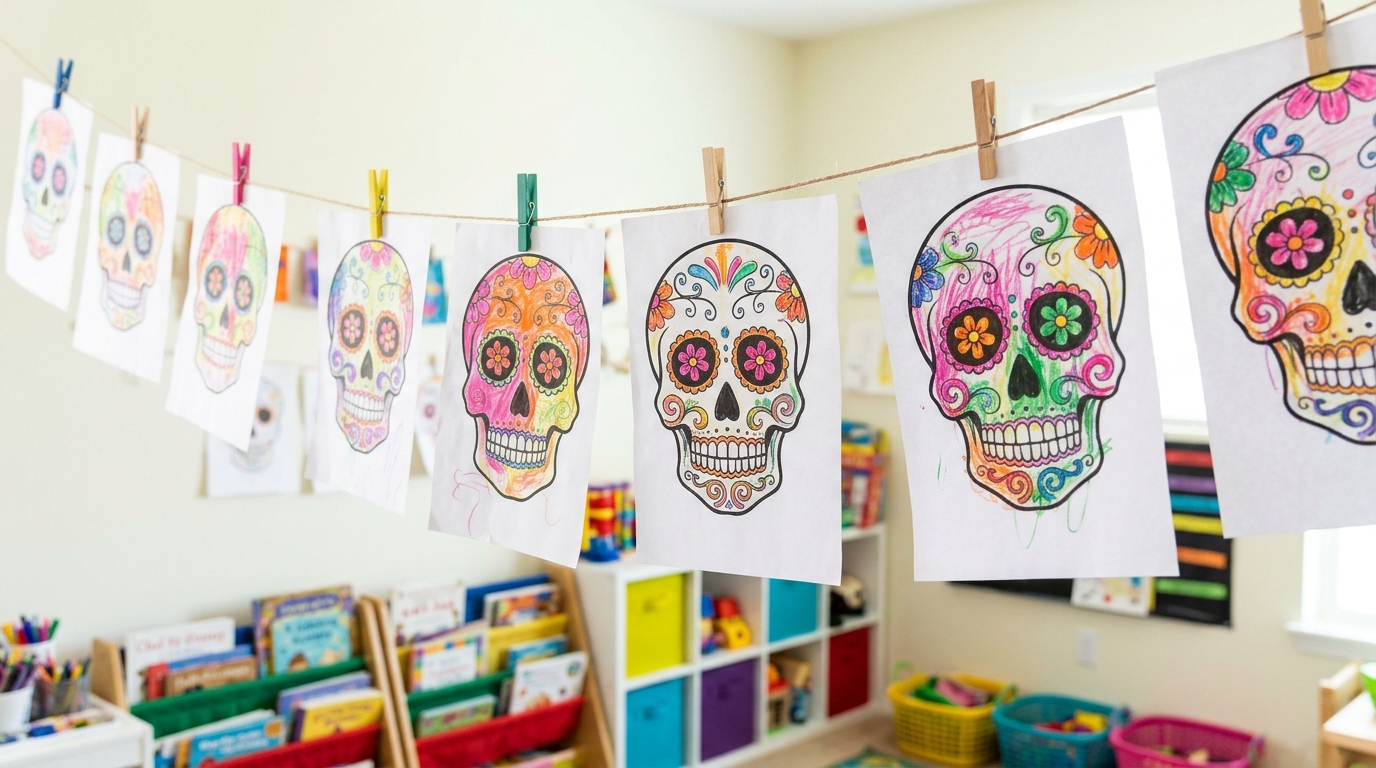
Here is the easiest idea of all, and kids adore it. Print a few calavera coloring pages, hand out crayons and markers, and let everyone go wild with color. Then clip the finished pages onto a string with mini clothespins. You get a cheerful banner that shows off every child’s work. It is a gentle way to talk with little ones about the holiday, about remembering, and about the family members they never got to meet. Which grandparent stories will you share while they color?
You will need: Printed calavera coloring pages, crayons and markers, a long string and mini clothespins.
How to make it: 1. Print one or two coloring pages for each child. 2. Let them color with bright crayons and markers. 3. Hang a string across the wall. 4. Clip the pages along it with mini clothespins.
Painted Jar Lights for a Soft Altar Glow
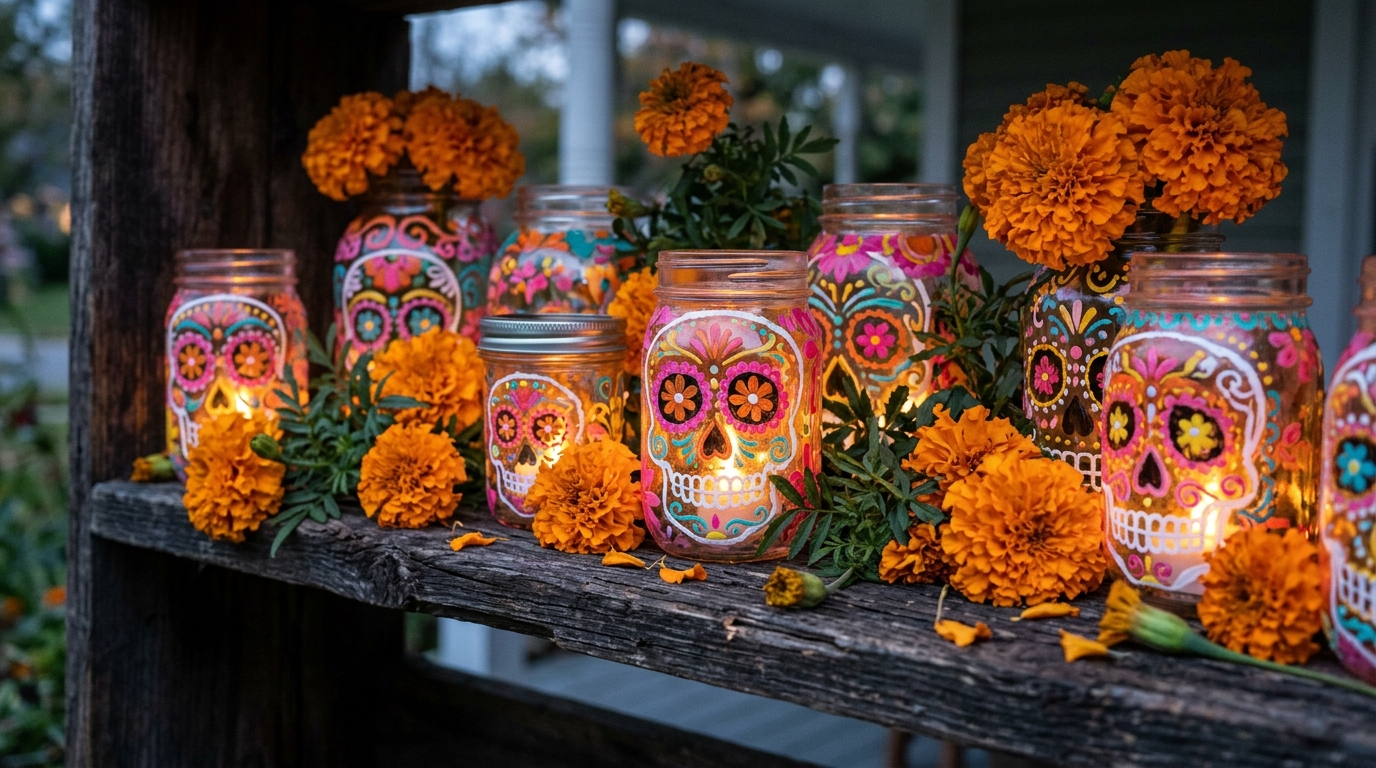
Real candles are a big part of the tradition, but at home with paper flowers all around, battery LED tea lights are the safe choice. Paint a few clean glass jars with flowers and skull designs, drop a tea light inside and watch them glow. They look beautiful on a shelf or on the altar steps as the evening gets dark. Search interest in the holiday is up about 50 percent this week, and these are the perfect finishing touch. Where will you set your glowing jars?
You will need: Clean glass jars, glass paint or paint pens, a fine brush and battery LED tea lights.
How to make it: 1. Wash and dry the jars well. 2. Paint flowers, dots and skull faces on the outside. 3. Let the paint dry fully. 4. Place a battery LED tea light inside each jar and switch it on.