Cardboard Christmas Decorations: 15 Almost Free Ideas That Look Store Bought
Cardboard Christmas decorations are having a big moment this year, and it is easy to see why. The boxes are already piling up by the door, and with a little paint, twine and glue they turn into stars, trees and wreaths that look like they came from a fancy shop. One cardboard holiday tutorial on YouTube has been watched more than 1.1 million times since it went up on October 6, and a short video of a snowflake made from paper rolls passed 441,000 views in just three weeks. People clearly love decor that costs almost nothing and still feels special. Below are 15 ideas you can make at the kitchen table, from gold poinsettias to a glowing lantern that runs on a safe battery light. Save your boxes, grab a pair of scissors and let’s get started..
Cardboard Christmas Decorations Start With Gold Poinsettias
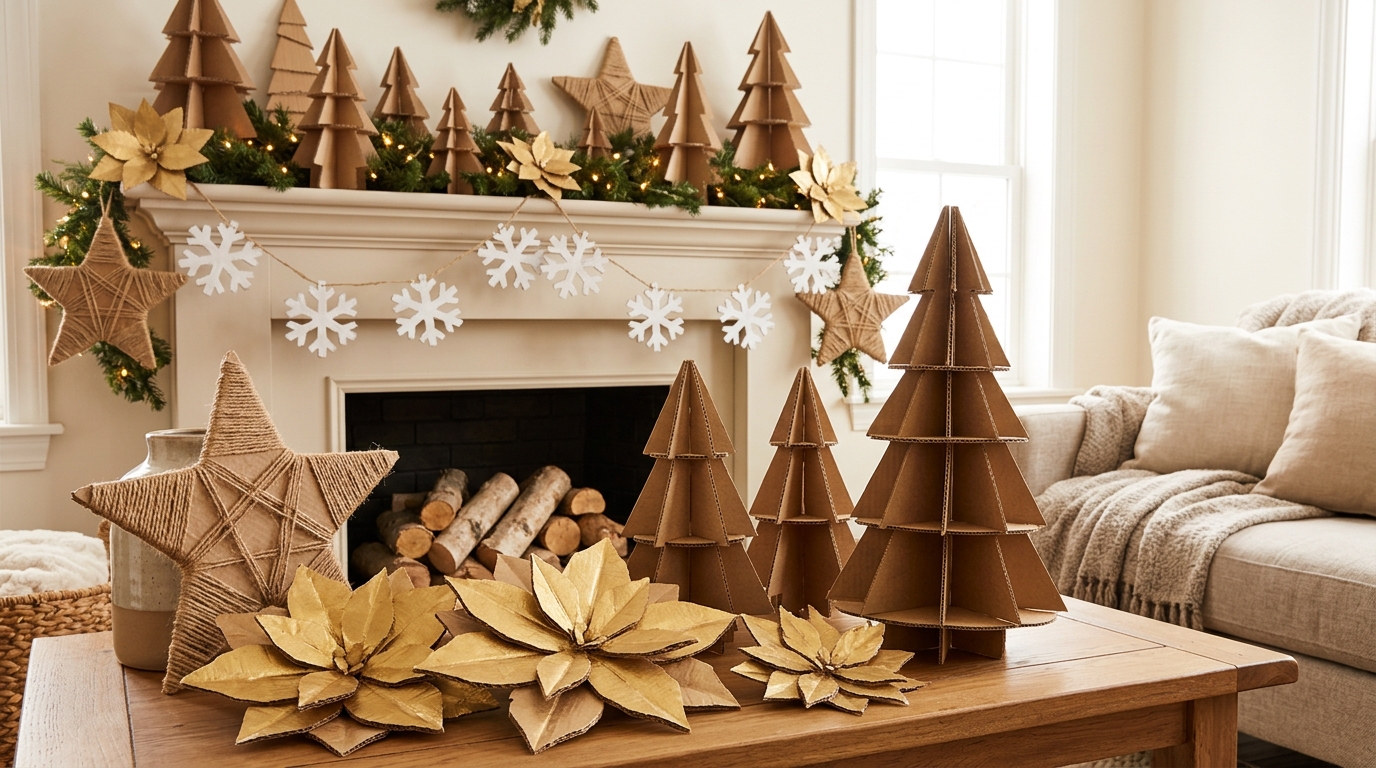
These gold poinsettias are the first thing guests notice, and nobody guesses they began as a shipping box. Cut pointed petals in two sizes, give each one a soft fold down the middle and layer them into a big flower. A coat of gold paint hides every brown edge and catches the light beautifully. Set a few on the mantel, tuck one into a wreath or lay them along the table. Cardboard Christmas decorations do not get much easier or prettier than this, so let’s begin with the star of the show..
You will need: Thin cardboard from cereal or shipping boxes, a pencil, scissors, gold acrylic paint, a brush, a hot glue gun (adult help) and a few yellow beads or buttons for the centers.
How to make it: 1. Draw and cut six large and six small pointed petals. 2. Fold each petal lightly down the middle, paint both sides gold and let them dry. 3. Glue the large petals in a circle, add the small ones on top and finish with beads in the center.
Twine Wrapped Cardboard Star for the Front Door
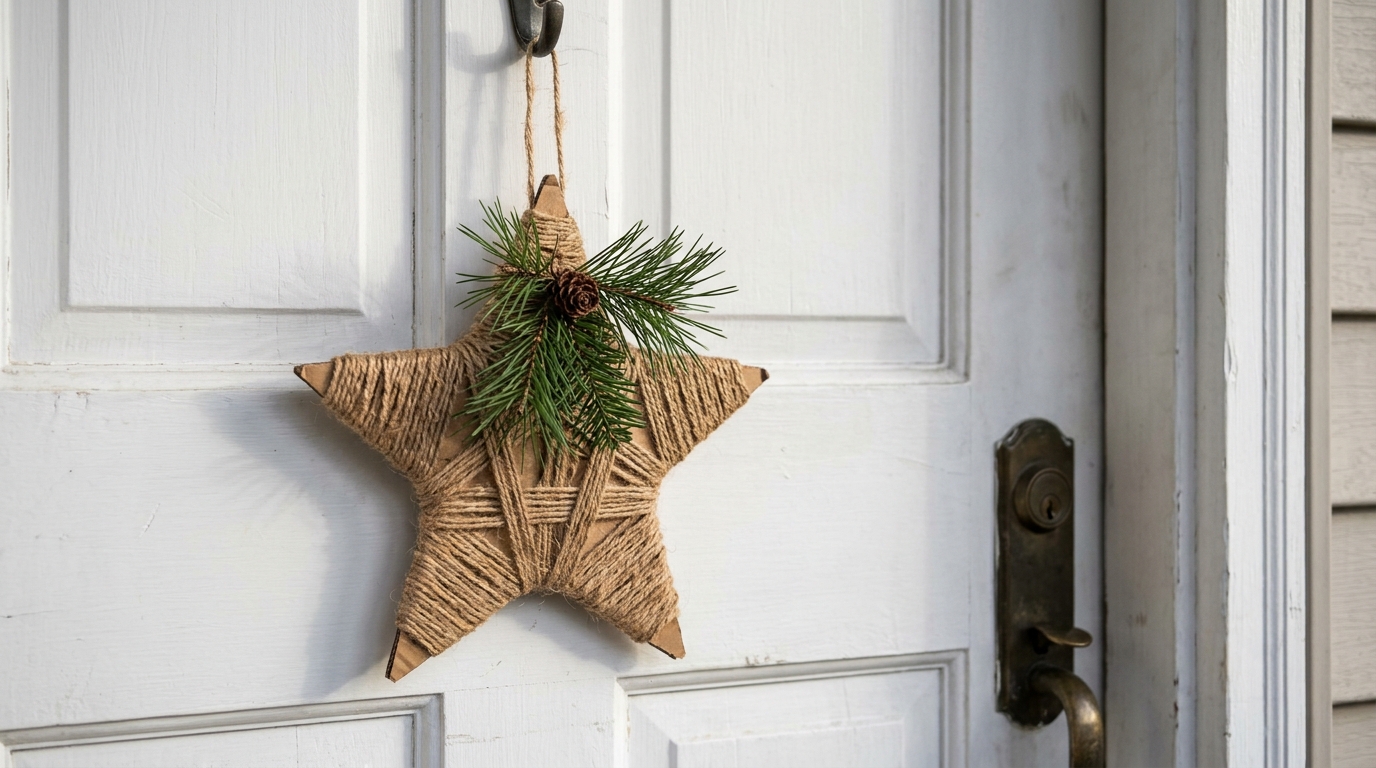
A twine star looks like something from a farmhouse boutique, yet the base is just a star shape cut from a sturdy box. The fun part is the wrapping. Round and round the twine goes until no cardboard shows, and the rough texture gives it a warm rustic look. Hang it on the front door with a sprig of pine, or make three in different sizes for a gallery wall. It is a calm, relaxing project for a quiet evening with a cup of tea. How big will you make yours?
You will need: Thick corrugated cardboard, a ruler, a pencil, a craft knife (adult only), natural jute twine, white glue and a loop of ribbon.
How to make it: 1. Draw a five point star and have an adult cut it out with the craft knife. 2. Dab glue on one point and wrap the twine tightly, working point by point. 3. Tuck the end under, glue it down and add a ribbon loop for hanging.
Layered Cardboard Christmas Tree in Soft Green
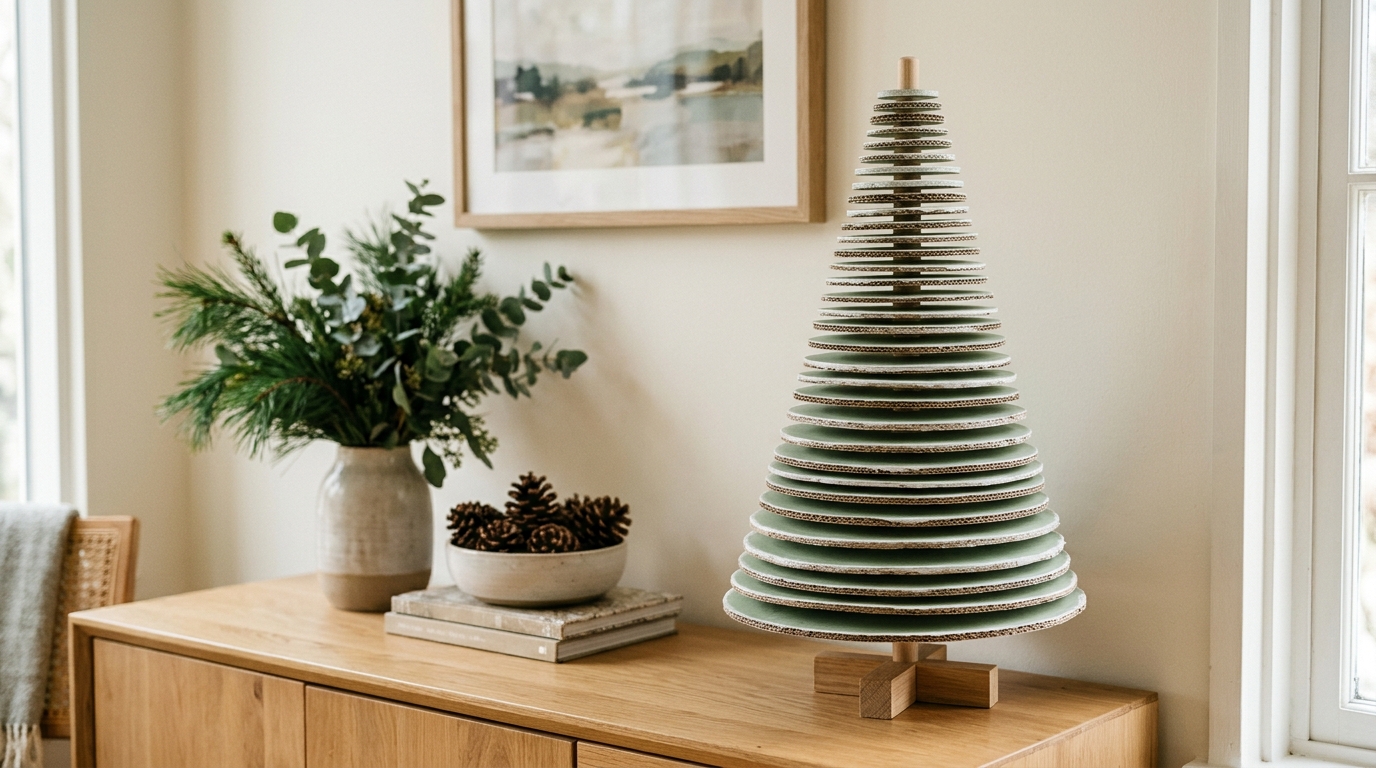
Stack a pile of cardboard circles from big to small and you get a tree with real shape and depth. Paint each layer a soft sage green, then brush the edges white so it looks lightly dusted with snow. A wooden dowel down the middle keeps everything straight and steady. Of all the cardboard Christmas decorations here, this one packs away the flattest, so it is great for small homes. It looks lovely on a sideboard, an entry table or a bookshelf. Would you keep it green or try white and gold?
You will need: Corrugated cardboard, round lids or bowls to trace, scissors, a wooden dowel, a small wooden or thick cardboard base, green and white acrylic paint and white glue.
How to make it: 1. Trace and cut about 15 circles, each a little smaller than the last. 2. Poke a hole in the center of each and paint them green with white edges. 3. Glue the dowel into the base and slide the circles on from largest to smallest, then top it with a small star.
Cardboard Christmas Decorations That Sparkle Like Snow
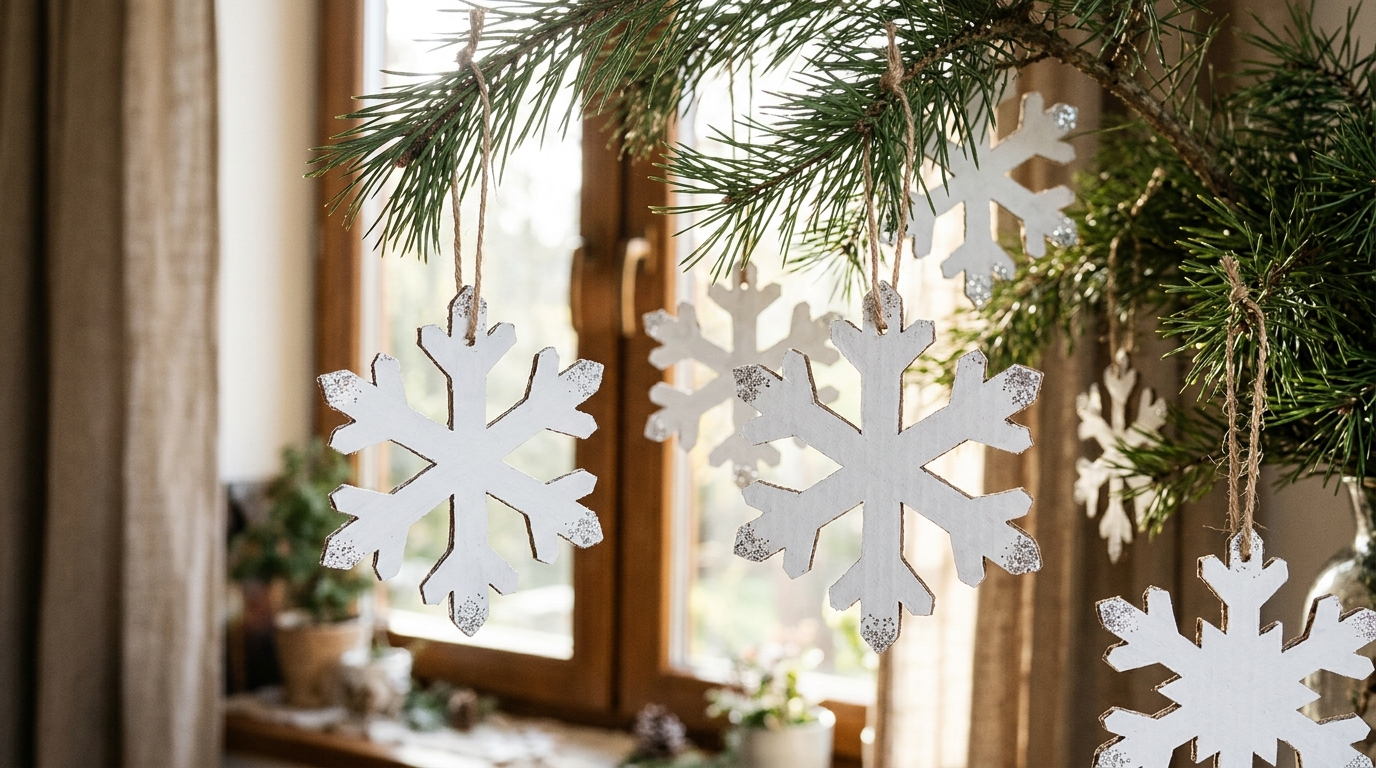
White snowflakes never go out of style, and these ones cost nothing at all. Draw a simple design with six matching arms on cardboard, cut it out and paint it bright white. A little silver glitter on the tips makes them sparkle in a sunny window. Every snowflake can be a little different, which makes this a great job to share with the kids while an adult handles any tricky cuts. These cardboard Christmas decorations look best in a big group, so how many can your family make this weekend?
You will need: Cereal box cardboard, a pencil, scissors, white acrylic paint, a small brush, silver glitter, white glue and thin white string.
How to make it: 1. Draw a snowflake with six matching arms and cut it out. 2. Paint both sides white and let them dry. 3. Brush glue on the tips, sprinkle on glitter, then tie on a string for hanging.
Cardboard Gingerbread House With Painted Icing
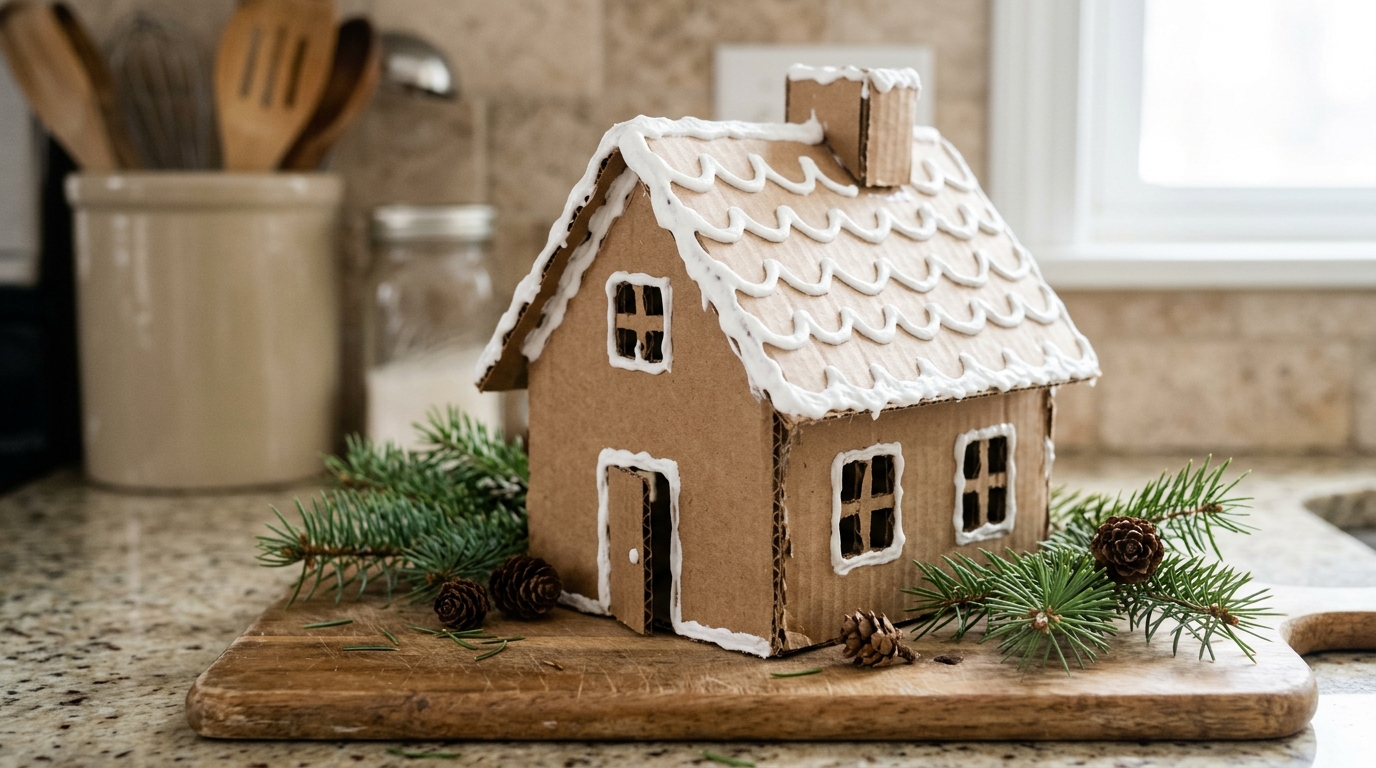
A cardboard gingerbread house gives you all the charm of the real thing with none of the crumbs. Brown box cardboard already has that cookie color, so you only need a white paint pen for the icing trim. Draw scallops on the roof, little frames around the windows and dots along every edge. Make one for the kitchen counter or build a whole street of them. If you love tiny houses, our DIY Christmas village shows more little homes you can make glow this season. Which detail will you draw first?
You will need: Brown corrugated cardboard, a ruler, a pencil, a craft knife (adult only), a hot glue gun (adult help), white paint pens and a few pom poms or buttons for candy.
How to make it: 1. Cut a front and back wall with peaked tops, two side walls and two roof pieces. 2. Draw the icing trim, windows and door with the paint pen before you build. 3. Have an adult glue the walls together, add the roof and stick on the button candies.
Scandinavian Style Cardboard Reindeer Silhouette
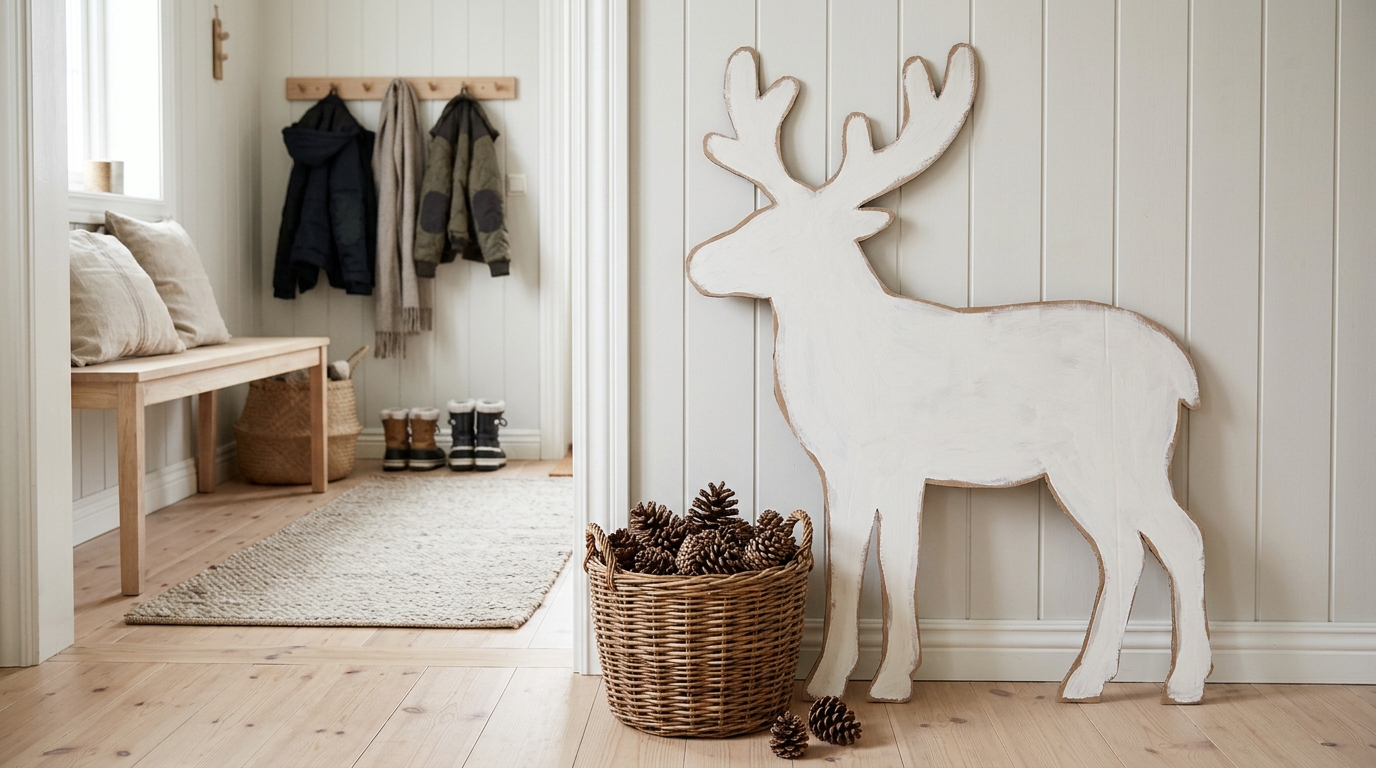
One large reindeer cut from a moving box can fill an empty corner with holiday spirit. A flat silhouette painted warm white looks clean and modern, just like the simple Nordic decor so many people love. Lean it against the wall in the entryway with a basket of pine cones, or stand it next to the tree. You can sketch your own outline or trace a picture you love. It takes about an hour and looks far more expensive than it really is. Where would your reindeer stand?
You will need: A large flat box, a pencil, a craft knife (adult only), white or cream acrylic paint, a wide brush and a folded piece of cardboard for a stand.
How to make it: 1. Sketch the reindeer outline on the flat cardboard. 2. Have an adult cut it out slowly with the craft knife. 3. Paint it with two coats of white and glue a folded cardboard stand on the back so it leans safely.
Gold Cardboard Leaf Wreath for a Shining Wall
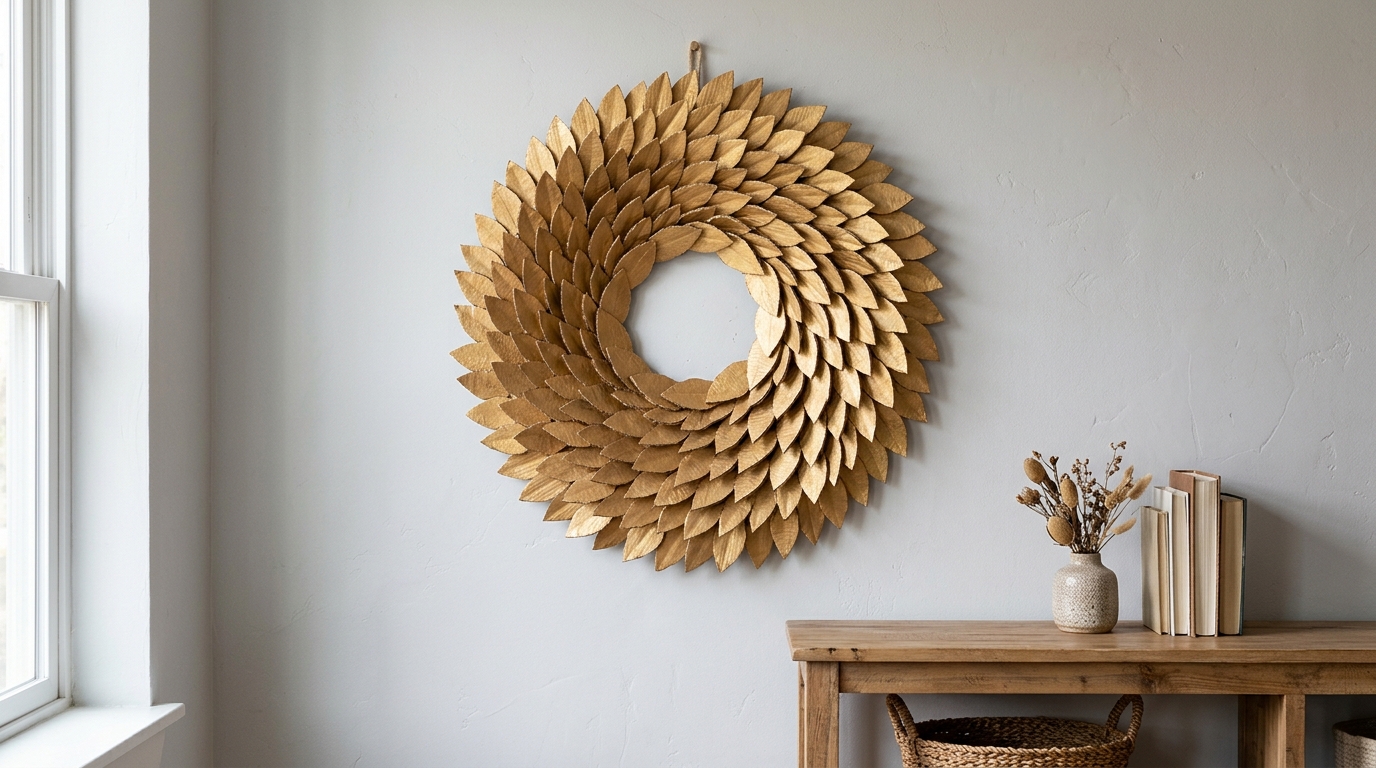
This wreath is all about the shine. Dozens of simple leaf shapes, painted gold and layered in a circle, catch the light from every angle. Up close you can see the tiny cardboard ridges, and they add a lovely texture that metal wreaths do not have. It looks gorgeous on a door, above a bed or on a pale wall where the gold really stands out. Cut the leaves while you watch a holiday movie and the time flies by. Will you go all gold or mix in some copper?
You will need: Thin cardboard, a leaf template, scissors, gold acrylic paint, a cardboard ring about 14 inches wide, a hot glue gun (adult help) and a ribbon for hanging.
How to make it: 1. Trace and cut 40 to 50 leaves and paint them gold. 2. Cut a ring from a large box for the base. 3. Glue the leaves around the ring in overlapping rows, all pointing the same way, then add a ribbon.
Kraft Brown Cardboard Christmas Decorations for the Table
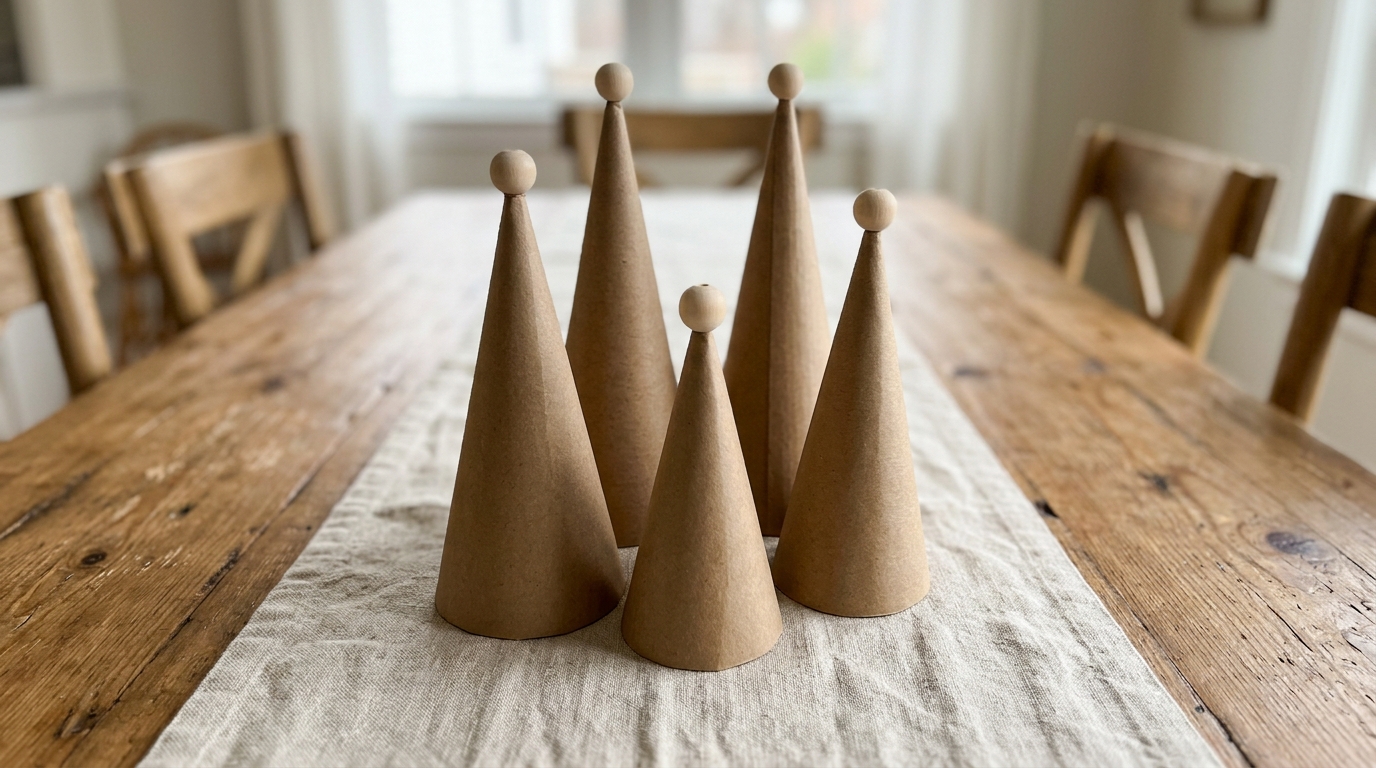
Sometimes the plain brown look is the prettiest of all. These cone trees keep the natural kraft color, so they feel calm and earthy next to greenery and white dishes. Roll each one from a half circle of thin cardboard, tape the seam inside and trim the bottom flat. Make five or six in different heights and group them down the middle of the dining table. Simple cardboard Christmas decorations like these suit a cozy rustic theme perfectly. Want to add a tiny wooden bead on top of each one?
You will need: Thin brown cardboard or kraft board, a large plate or a string compass, scissors, tape, white glue and a few wooden beads.
How to make it: 1. Draw half circles in several sizes and cut them out. 2. Roll each one into a cone and tape the seam on the inside. 3. Trim the bottoms flat so they stand, and glue a bead on top if you like.
Little Cardboard Advent Houses With Numbers
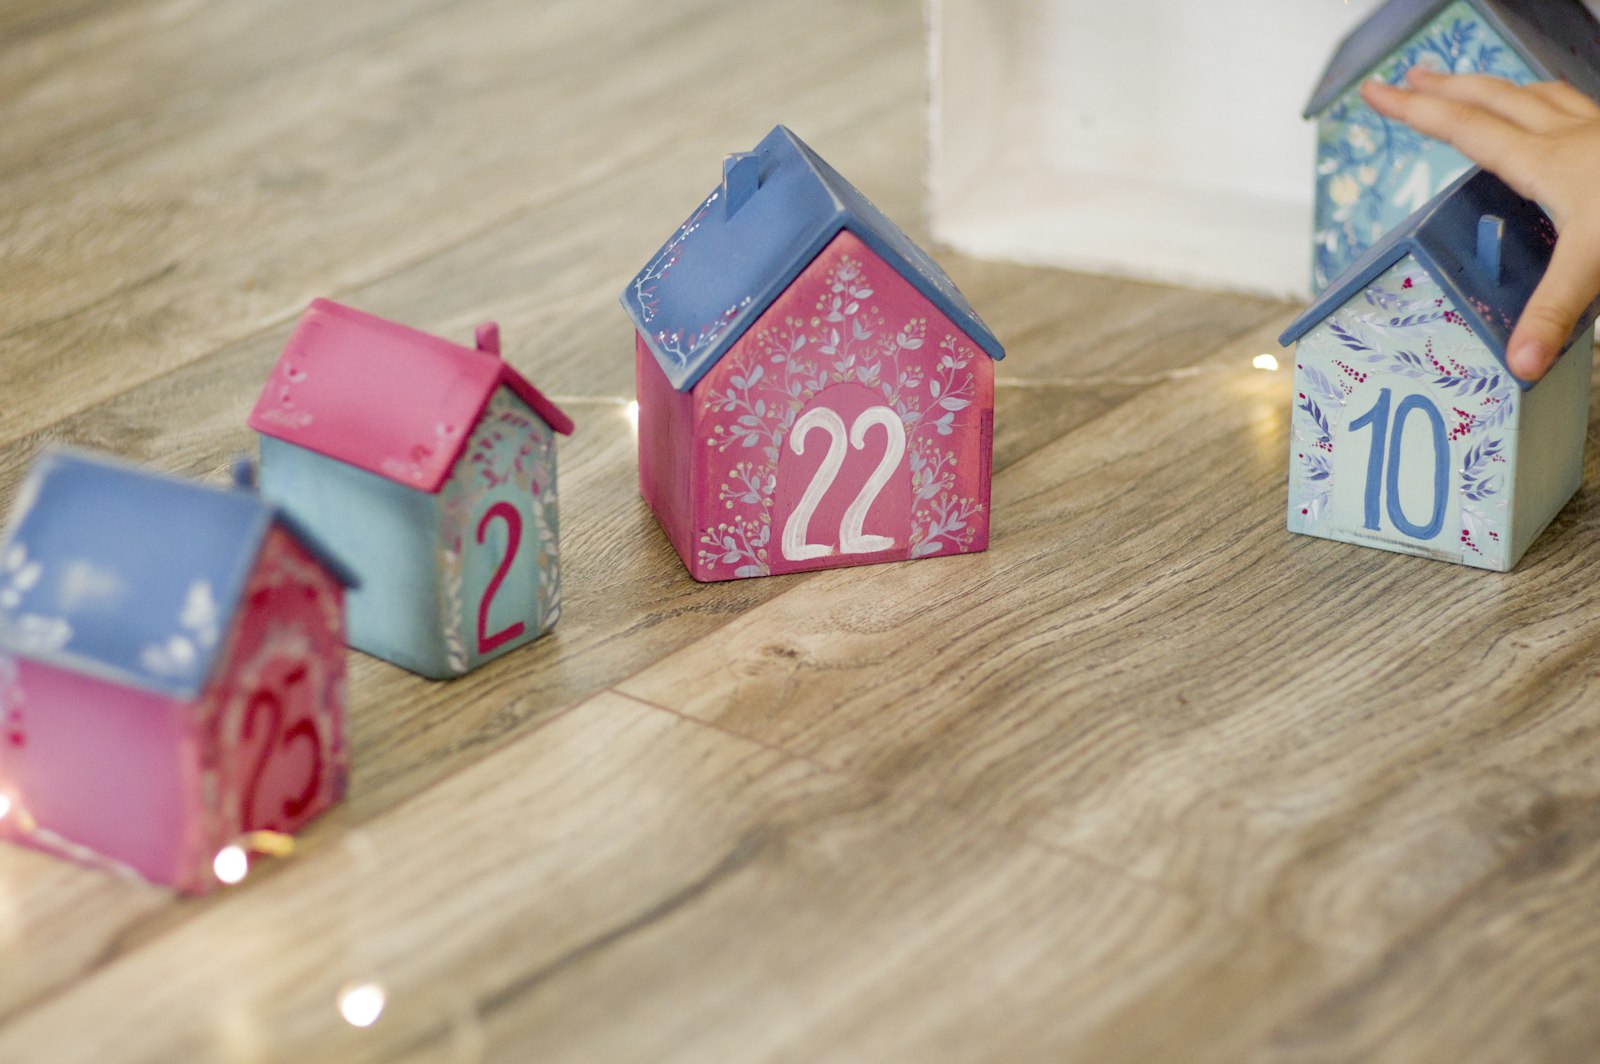
Counting down to Christmas is more fun when every day opens a tiny house. Fold small boxes into house shapes with pointed roofs, paint them in bright colors and add a number from 1 to 24 on each. Tuck a small treat, a kind note or a sticker inside. Line them up on a shelf or near the tree so the kids can find the day’s house each morning. The best part is that you can fill them again next year. What surprise would you hide in house number one?
You will need: Thin cardboard, a ruler, a pencil, scissors, white glue, acrylic paints, a paint pen for the numbers and small treats or notes.
How to make it: 1. Draw a simple house shaped box pattern with a pointed roof and cut it out. 2. Fold, glue and paint 24 houses in cheerful colors. 3. Write a number on each one, fill them and line them up in order.
Cardboard Angel With White Paper Wings

An angel made together quickly becomes a family treasure. The body is a simple cone of cardboard, the head is a wooden bead and the wings are folded from white paper like a fan. Grandparents and grandkids can make this one side by side, with the grown up handling the glue gun. Paint a gold halo, add a little lace and she is ready to sit on a shelf or top a small tree. Handmade cardboard Christmas decorations like this one carry memories for years. Who would you love to make one with?
You will need: Thin cardboard, a wooden bead, white printer paper, gold paint, lace or ribbon, white glue and a hot glue gun (adult help).
How to make it: 1. Roll a cardboard cone for the body and glue the bead on top. 2. Fan fold a strip of paper, pinch the middle and glue it on as wings. 3. Cut a thin cardboard ring, paint it gold for the halo and add lace around the dress.
Corrugated Cardboard Ornaments With Glitter Edges
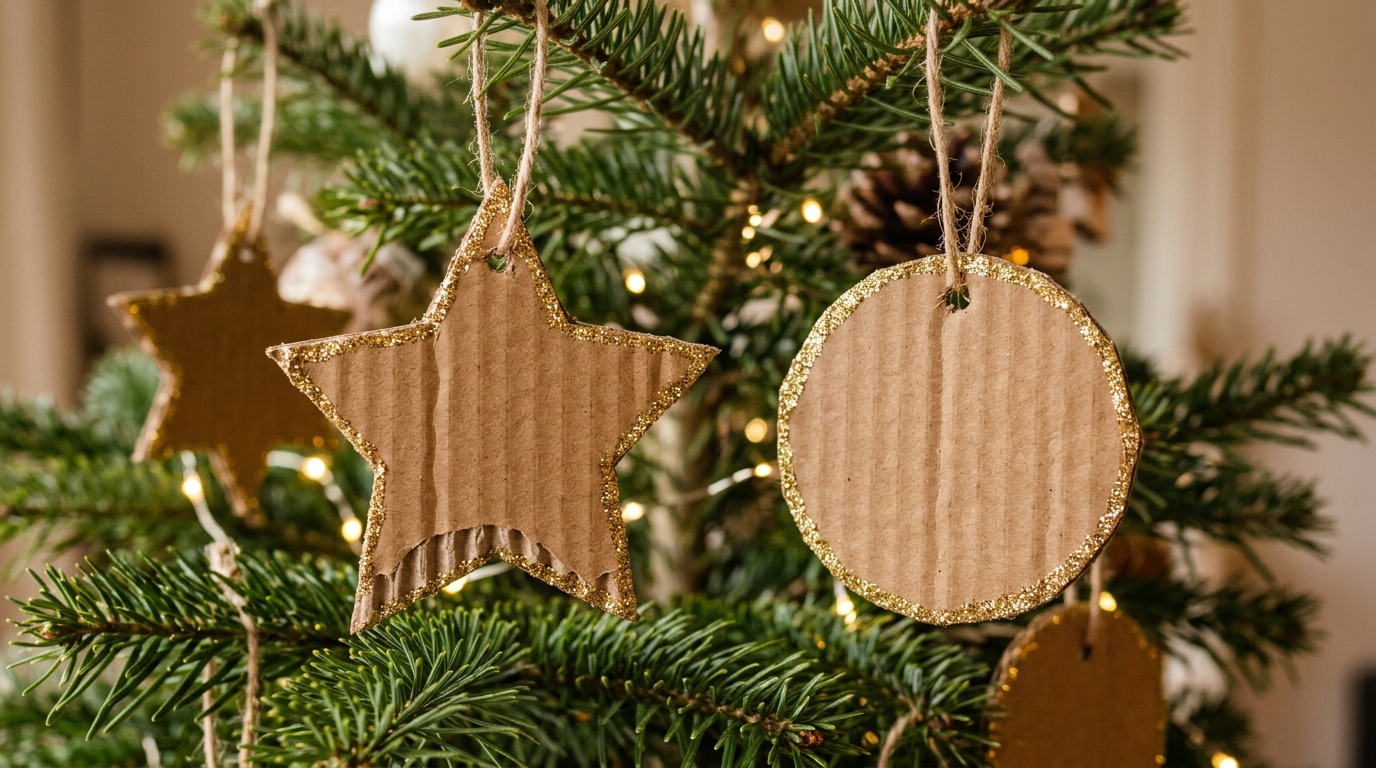
Peel the top paper off corrugated cardboard and you find rows of little ridges that look amazing on ornaments. Cut circles, stars and hearts, then run glue around the edges and dip them in gold glitter. The plain middle and sparkly rim make a pretty contrast on a green tree. They are light, so they will not bend the branches, and they will not break if a curious pet knocks one down. Kids love the glitter part, so set out a tray to catch the mess. Which shape will you make first?
You will need: Corrugated cardboard, cookie cutters or paper templates, scissors, white glue, gold glitter, a tray and ribbon or twine for hanging.
How to make it: 1. Trace and cut the shapes, peeling off the top paper layer if you want the ridges to show. 2. Brush glue along the edges and dip them into glitter over the tray. 3. Poke a small hole at the top and tie on a ribbon.
Cardboard Christmas Decorations That Spell JOY
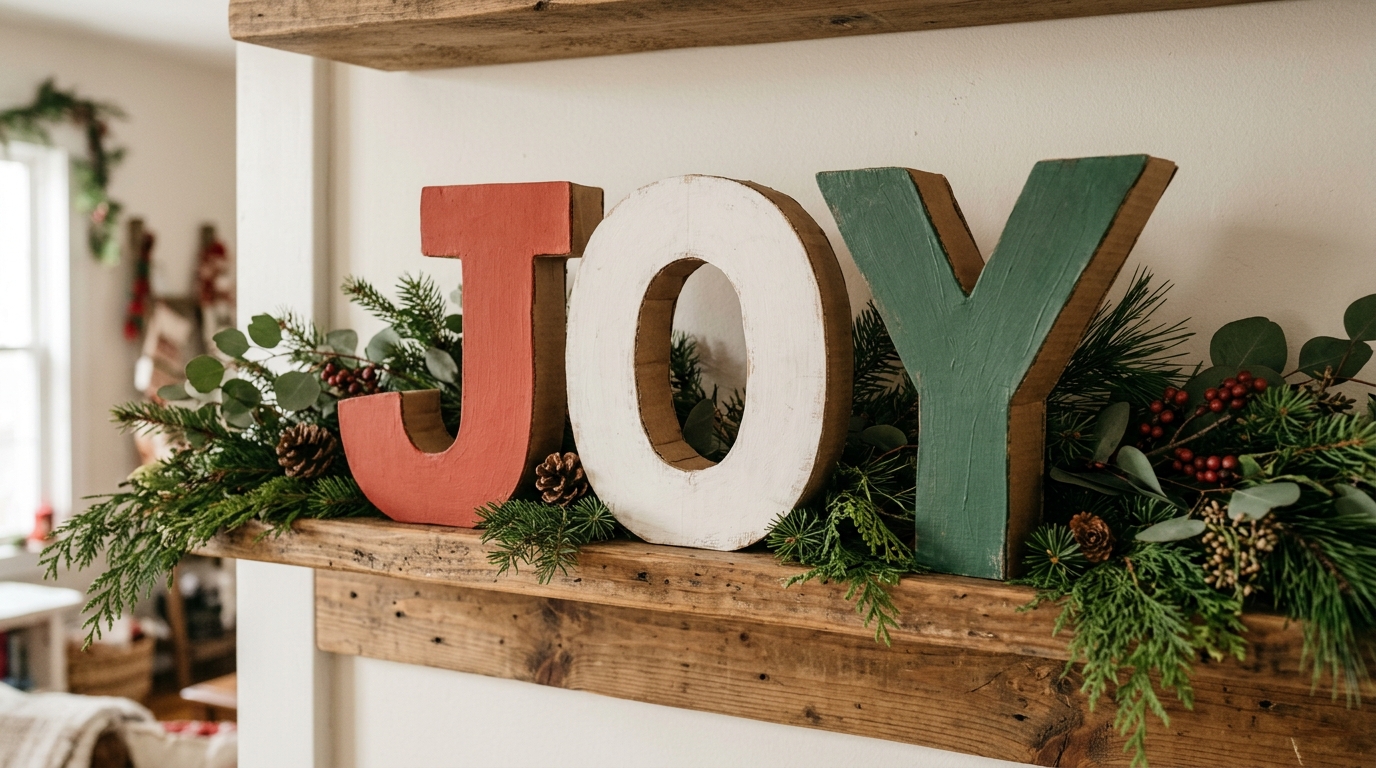
Big letters make a big statement, and these ones come from a few old boxes. Cut out J, O and Y about a foot tall, then paint them red, white and green, or wrap them in yarn or twine. Stand them on a shelf with some greenery or hang them above a bench in the hallway. You could spell NOEL, PEACE or your family name instead. These cardboard Christmas decorations add a cheerful word to any room, so which word fits your home best?
You will need: Thick cardboard, a ruler, a pencil, a craft knife (adult only), white glue, acrylic paints, brushes and greenery for styling.
How to make it: 1. Draw block letters about 12 inches tall. 2. Have an adult cut two of each letter, then glue the pairs together for extra thickness. 3. Paint each letter, let it dry and stand them up with a little greenery.
Cardboard Star and House Garland for the Mantel
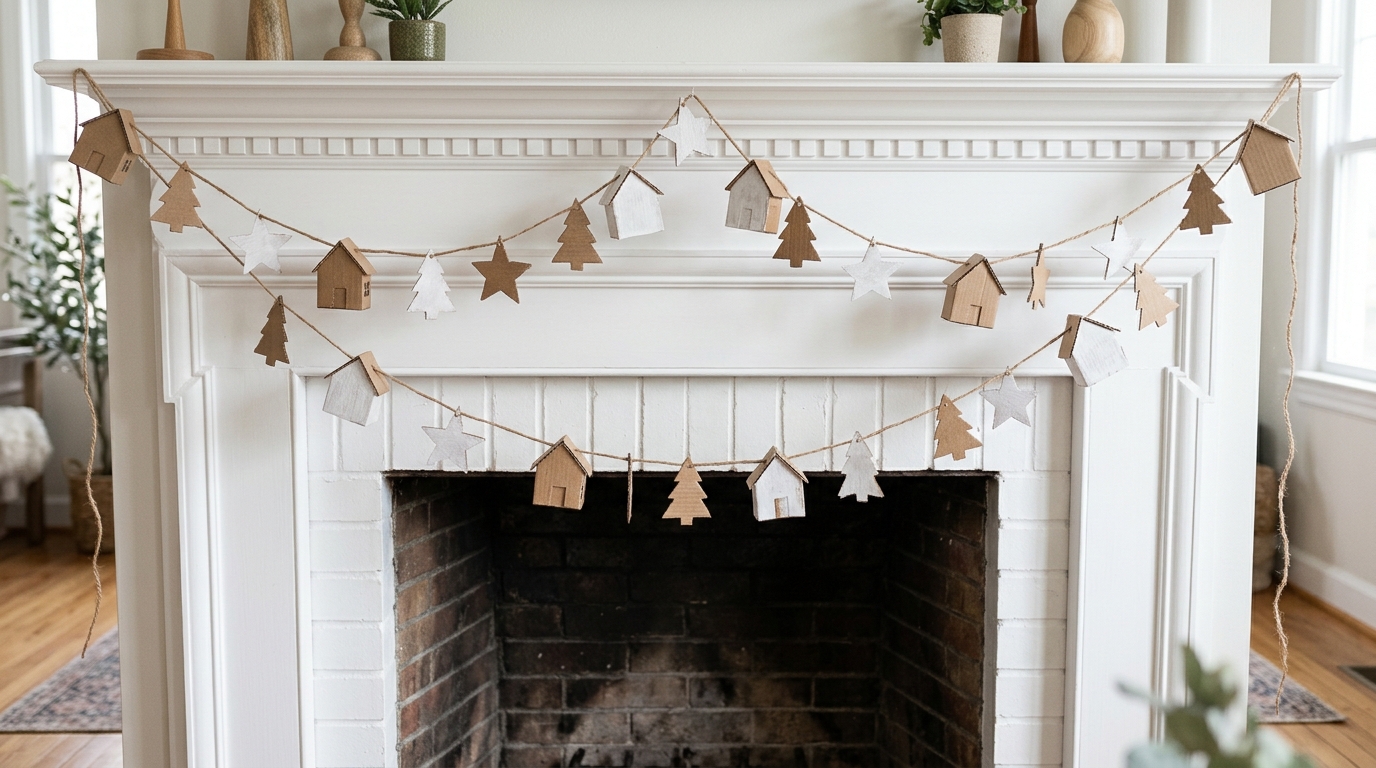
A long cardboard garland fills a whole mantel for the cost of some twine. Cut a mix of stars, mini trees and tiny houses, punch a hole in each and string them along. Paint some white, leave some kraft brown and the mix looks like a cozy cabin in the snow. Drape it across a mantel, a doorway or a stair rail. If you light your fireplace, hang the garland on a shelf or doorway instead, since paper decor should stay far from heat. How long will yours be?
You will need: Thin cardboard, templates for stars, trees and houses, scissors, a hole punch, white paint and natural twine.
How to make it: 1. Cut 30 to 40 small shapes and paint about half of them white. 2. Punch a hole near the top of each one. 3. String them on the twine in a repeating pattern and tie a loop at both ends.
Painted Cardboard Bell Ornaments

Bells have been a Christmas favorite for generations, and these cardboard ones look a lot like vintage metal ornaments. Cut a classic bell shape, paint it metallic silver or red and tie a small ribbon bow at the top. A round bead glued at the bottom makes the clapper. Hang a cluster of three on a branch or a door knob. They also make a sweet extra on wrapped presents, and the person who opens the gift gets to keep an ornament. Would you go silver, red or a mix of both?
You will need: Thin cardboard, a bell template, scissors, metallic silver and red acrylic paint, small beads, white glue and narrow ribbon.
How to make it: 1. Trace and cut the bell shapes. 2. Paint both sides and let them dry. 3. Glue a bead at the bottom, poke a hole at the top and tie on a ribbon bow.
Cardboard Christmas Decorations Finale: A Glowing Star Lantern
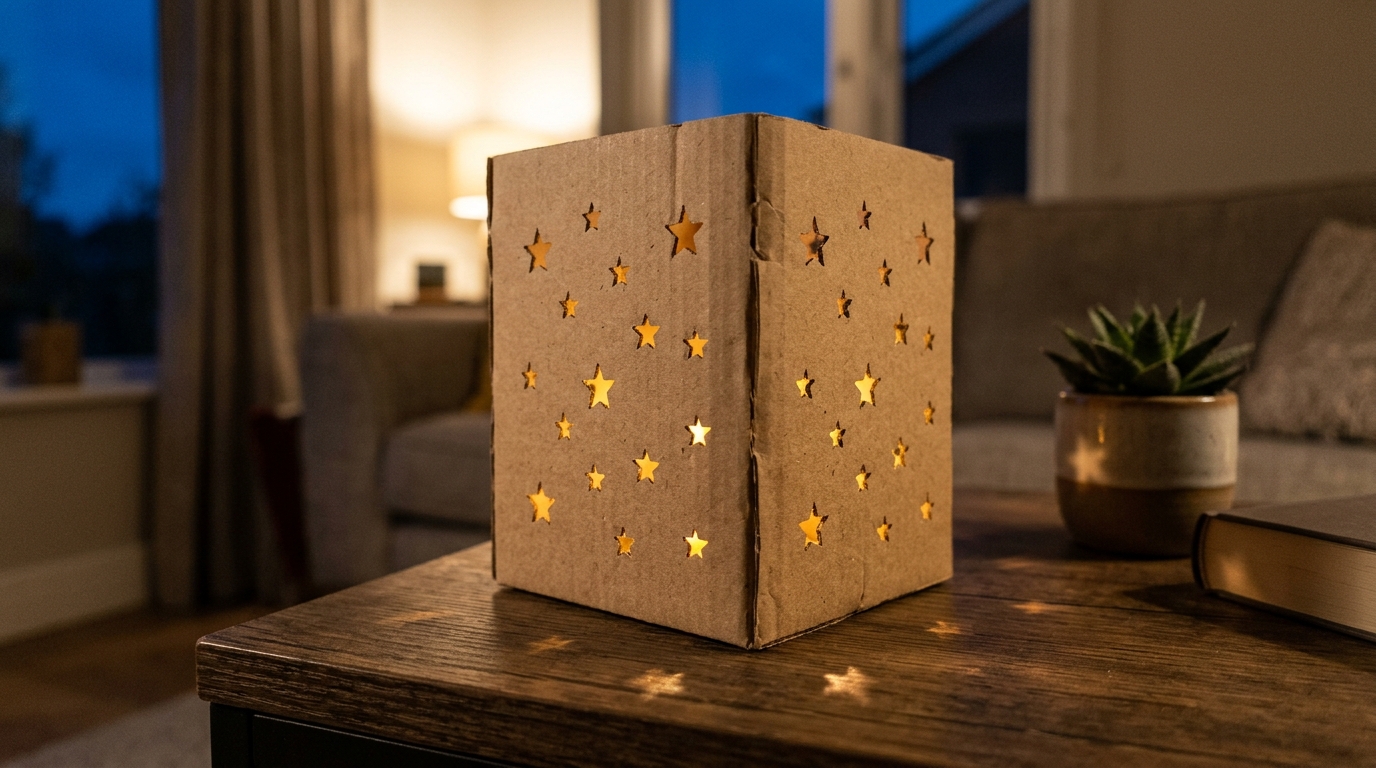
End your crafting with a soft glow. This lantern has little stars cut into each side, and a battery LED light inside makes them shine on the table at night. It is a safe twist on a cardboard holder tutorial that passed 1.1 million views in about three weeks. Always use a battery light, never a real candle, because cardboard can catch fire. It is the perfect last project to light up all your other cardboard Christmas decorations. Where will you set yours?
You will need: Thick cardboard, a ruler, a pencil, a craft knife (adult only), a small star template, white glue, paint and a battery LED tea light.
How to make it: 1. Cut four equal side panels and a square base. 2. Have an adult cut small stars into each panel with the craft knife. 3. Glue the box together, paint it and place the battery LED light inside.