Tiny Diorama Art: 15 Little Worlds One Artist Sculpts by Hand That Millions Keep Watching
Tiny diorama art has a way of making grown adults lean in close to the screen and smile. One small maker channel, Odd Little Workshop, shapes mushrooms, birds, tree houses and silly creatures so small they sit on a fingertip, and people cannot stop watching. His newest spooky season short, a little mushroom that turns into a ghost, passed 1.2 million views in just four days this month. His channel now has 354,000 subscribers and more than 20 shorts over a million views each. The best part is that you do not need a studio to join in. A lump of air dry clay, a toothpick and a bit of moss from the yard are enough to start. Below are 15 of his most loved pieces, each with a simple version you can try at the kitchen table tonight..
Tiny Diorama Art Starts With the Mushroom Ghost
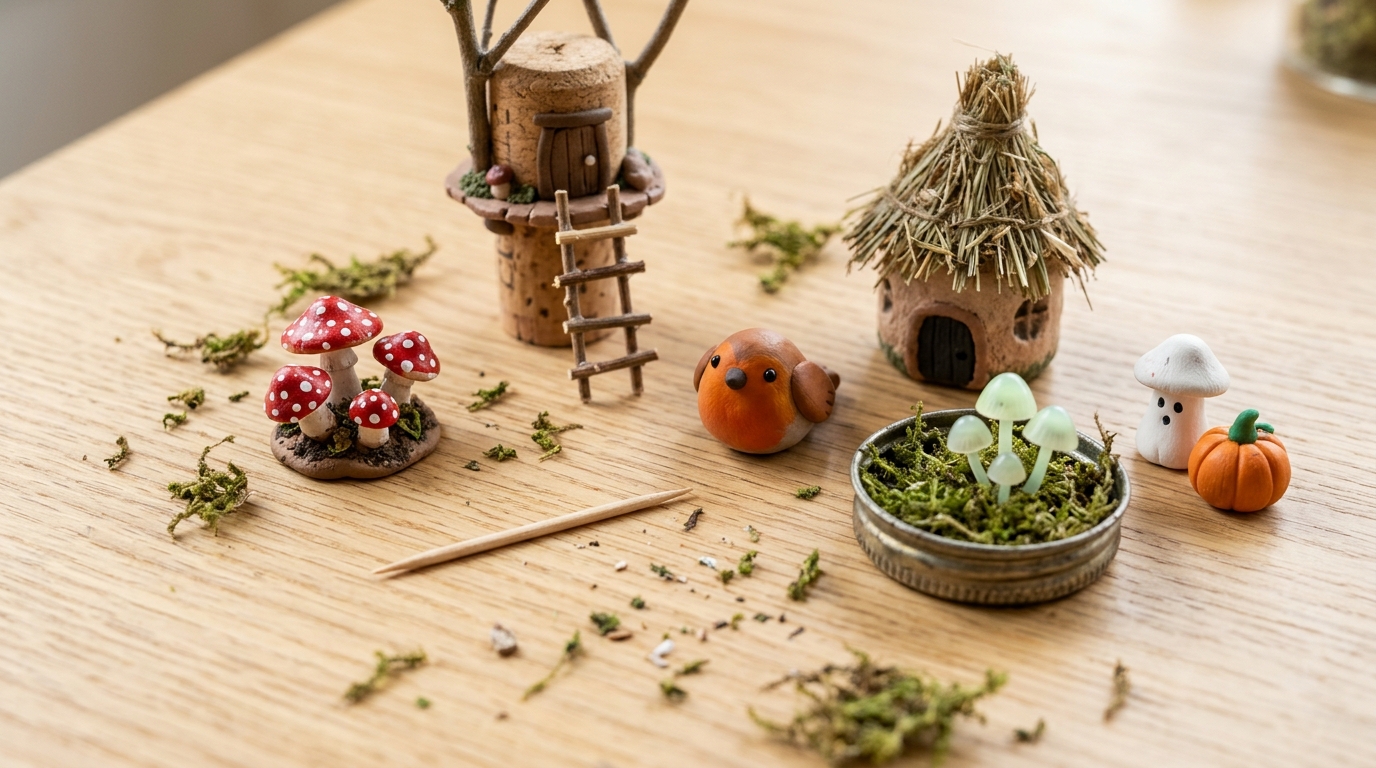
The newest hit is a smiling white mushroom that melts into a tiny ghost, and it is the perfect start for spooky season. It went up on October 23 and had 1,240,248 views four days later, which tells you how much people love small, gentle Halloween ideas. Nothing scary, just a sweet little face on a mushroom cap. You can make your own in ten minutes, and kids love naming them. Ready to make a whole family of little ghosts for the shelf..
You will need: White air dry clay, a toothpick, black acrylic paint, a fine brush and a metal bottle cap.
How to make it: 1. Roll a pea sized ball for the cap and a small cone for the stem. 2. Press them together and pull the stem edge into a soft ghost tail. 3. Let it dry, dot on two eyes and a smile, and set it on the bottle cap.
The Tiny Tree House That Fits in One Hand
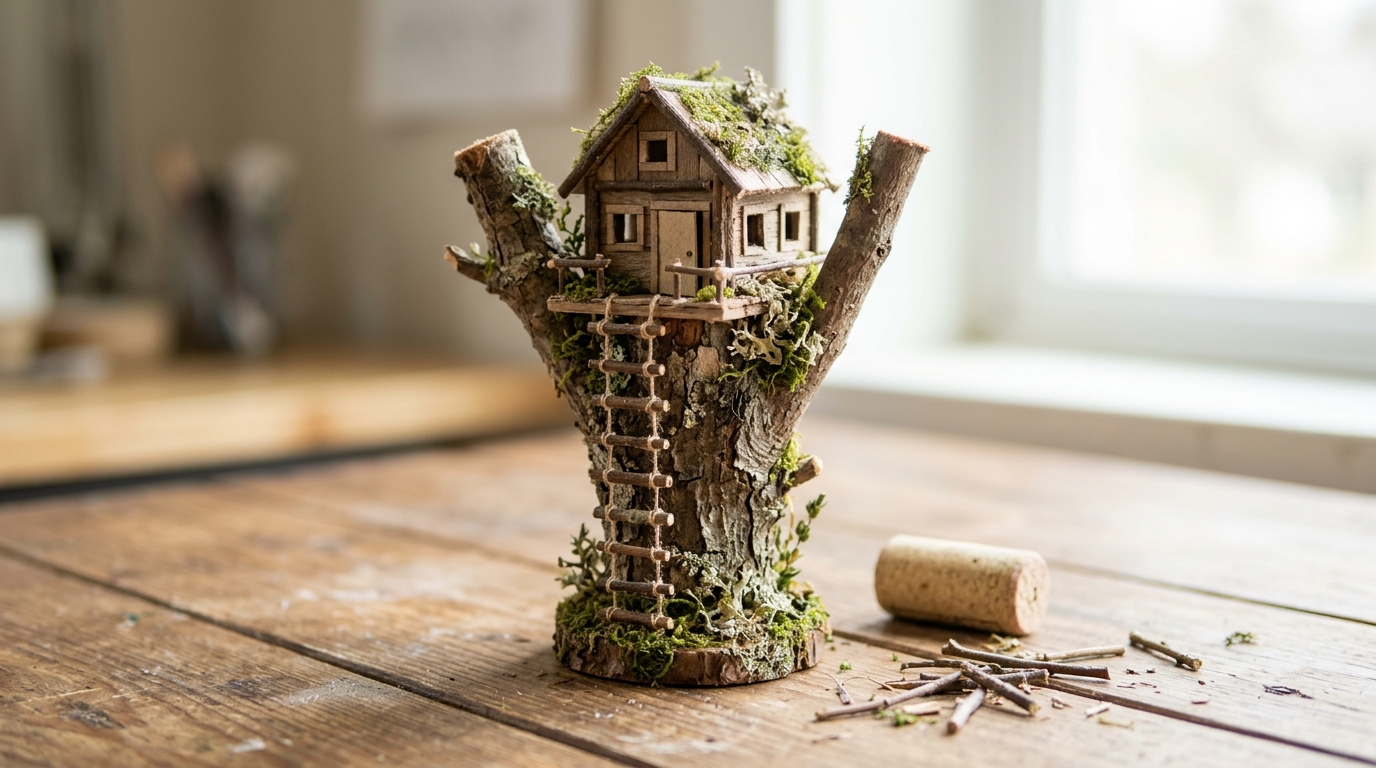
This is the big one. His tiny tree house, with a ladder, little windows and a door, has 47,244,231 views since September 2025, more than any other video on the channel. People watch it again and again because every small part is made by hand. A home version is easier than it looks. A wine cork becomes the trunk, twigs become the ladder and a scrap of cardboard becomes the door. Which room would you add first?
You will need: A wine cork, thin twigs, craft glue, a scrap of cardboard, a little dried moss and a craft stick.
How to make it: 1. Glue short twigs around the cork like bark and add a twig ladder up one side. 2. Cut a tiny cardboard door and glue it on. 3. Top it with a craft stick platform and a pinch of moss.
A Plump Little Robin, Feather by Feather
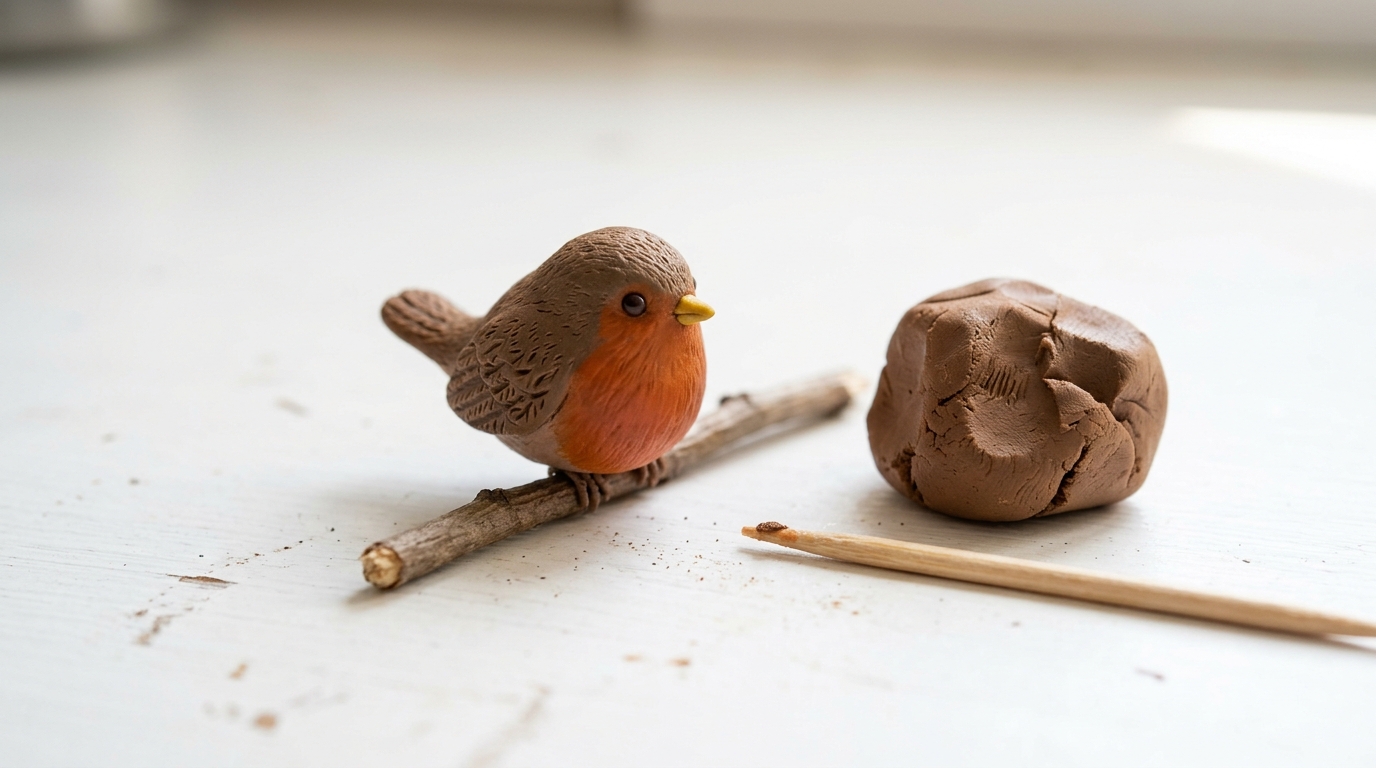
His tiny robin is so round and soft looking that you want to pick it up. It has 17,040,372 views since August 2025, and the comments are full of people saying it looks alive. The secret is patience: he presses in the feathers one small line at a time. In tiny diorama art, your robin does not need to be perfect to be charming. A brown egg shape with a red belly is already a bird everyone will know. Will yours sit on a twig or a windowsill?
You will need: Brown and red air dry clay, a toothpick, a tiny bit of yellow clay and a short twig.
How to make it: 1. Roll a brown egg shape the size of a grape. 2. Press a flat red oval onto the front for the belly. 3. Add a tiny yellow beak and use the toothpick to draw small feather lines.
Tiny Diorama Art in a Jar Lid: The Glowing Toadstools
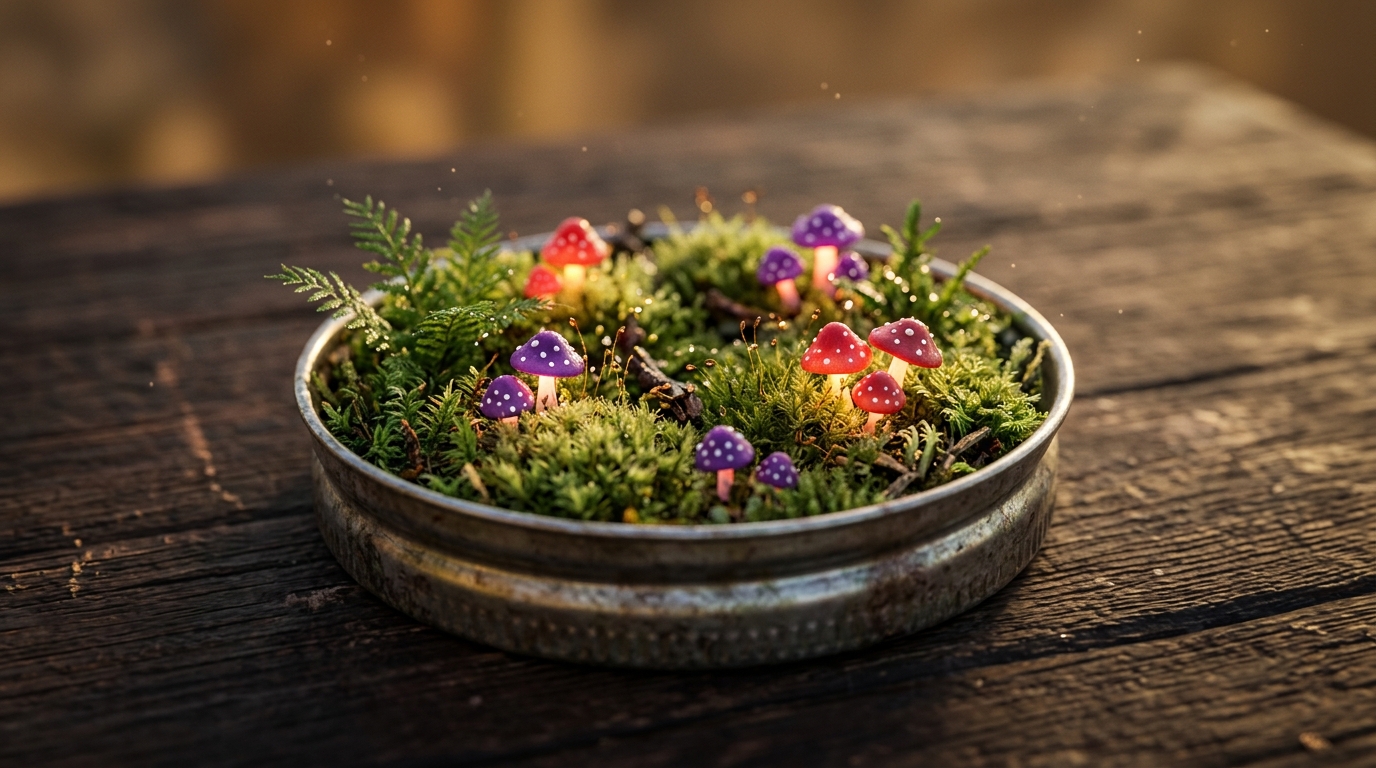
One of his older pieces, a trippy toadstool scene packed into a small lid, has 8,778,882 views since February 2024. It shows how tiny diorama art does not need a big base. A jar lid is the perfect frame because it already has a little wall around it. Fill it with moss, add three mushrooms with painted dots and you have a whole forest floor that fits in your palm. Where would you hide yours so guests find it?
You will need: A clean metal jar lid, dried moss, air dry clay in red and white, acrylic paint and craft glue.
How to make it: 1. Glue a layer of moss into the lid. 2. Shape three small mushrooms of different heights and let them dry. 3. Paint white dots on the caps and press them into the moss.
The Walking Head Everyone Laughed At
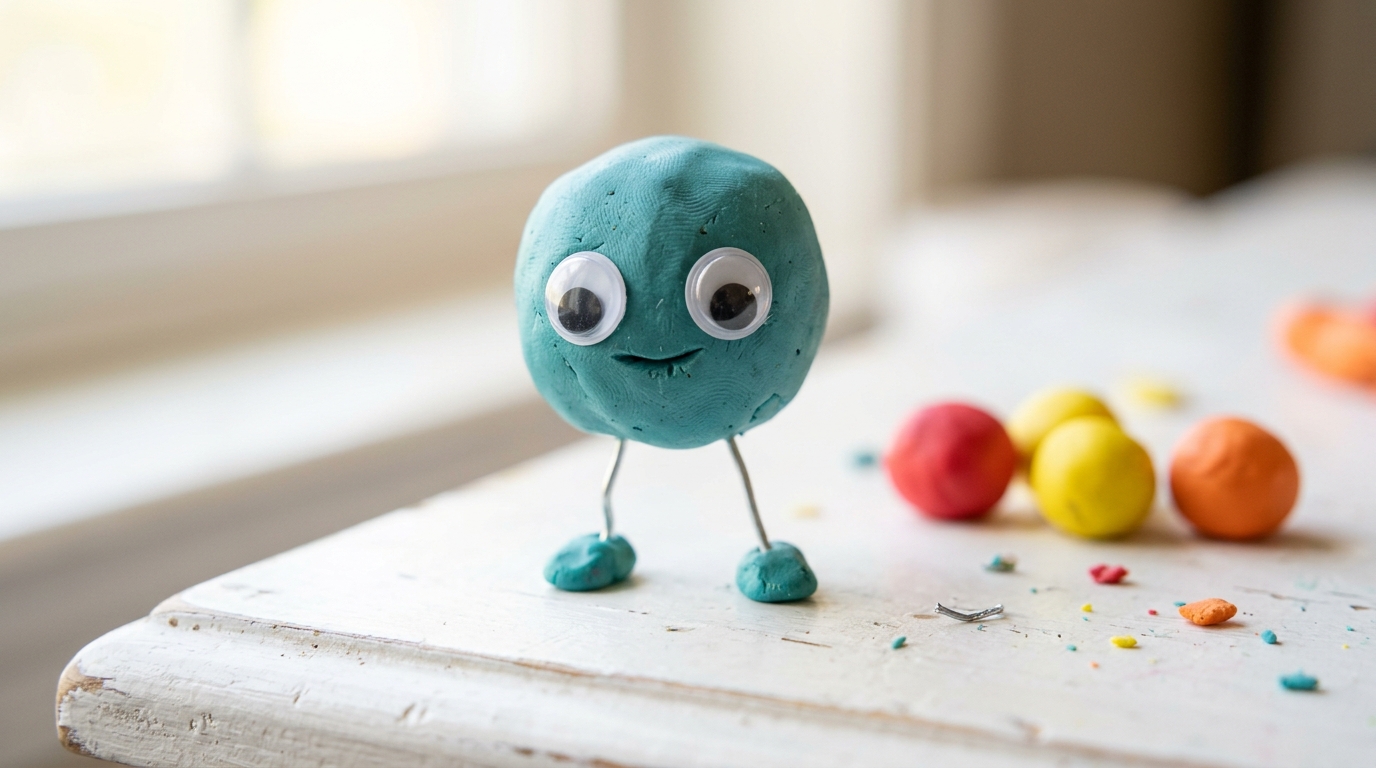
Not every hit in tiny diorama art is cute. The walking head is just a big round face on two tiny legs, and it made 6,481,188 people stop and laugh. It is a good reminder that tiny makes do not have to be serious or perfect. This one is the best project for kids, because it is pure fun and every version looks different. Give them clay, two bits of wire and let them name the creature. What would your family call theirs?
You will need: Air dry clay in any color, two short pieces of soft craft wire, googly eyes and craft glue.
How to make it: 1. Roll a smooth ball about the size of a walnut. 2. Push in two short wire legs and add small clay feet. 3. Glue on googly eyes and draw a grin with a toothpick.
A City Pigeon So Real People Asked if It Was a Photo
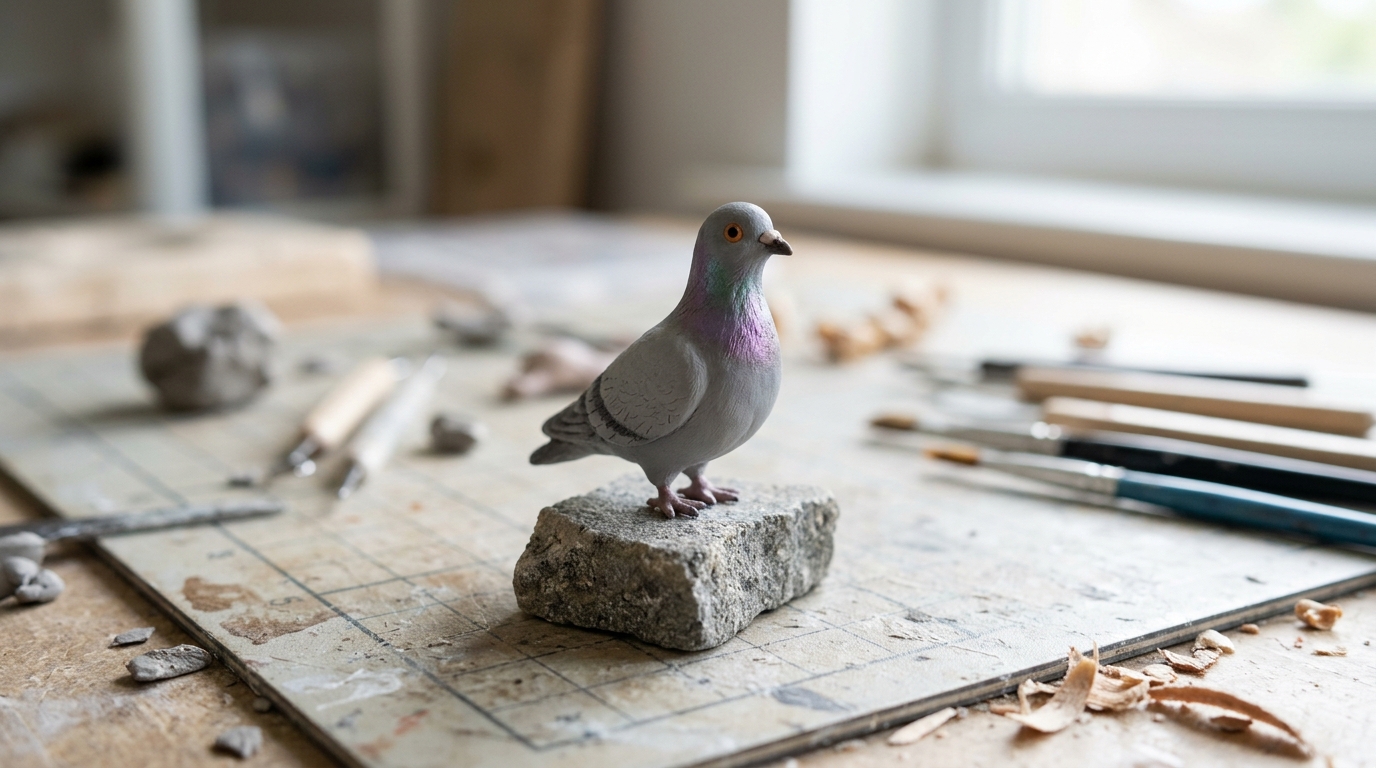
Pigeons are not the bird most people would choose to sculpt, which is exactly why this one worked. His tiny pigeon has 5,623,164 views, and many viewers asked if it was a real photo. The trick is the shimmer on the neck. A soft brush of purple and green chalk on gray clay gives that oily rainbow look you see on city birds. That is the magic of tiny diorama art: it makes something ordinary feel special. Have you ever looked closely at a pigeon?
You will need: Gray air dry clay, a toothpick, purple and green chalk pastel, a soft brush and a small stone.
How to make it: 1. Shape a small oval body with a round head. 2. Draw wing lines with the toothpick and let it dry. 3. Brush a little purple and green chalk on the neck and glue the bird to the stone.
The Ocugrubling, Part Cute and Part Creepy
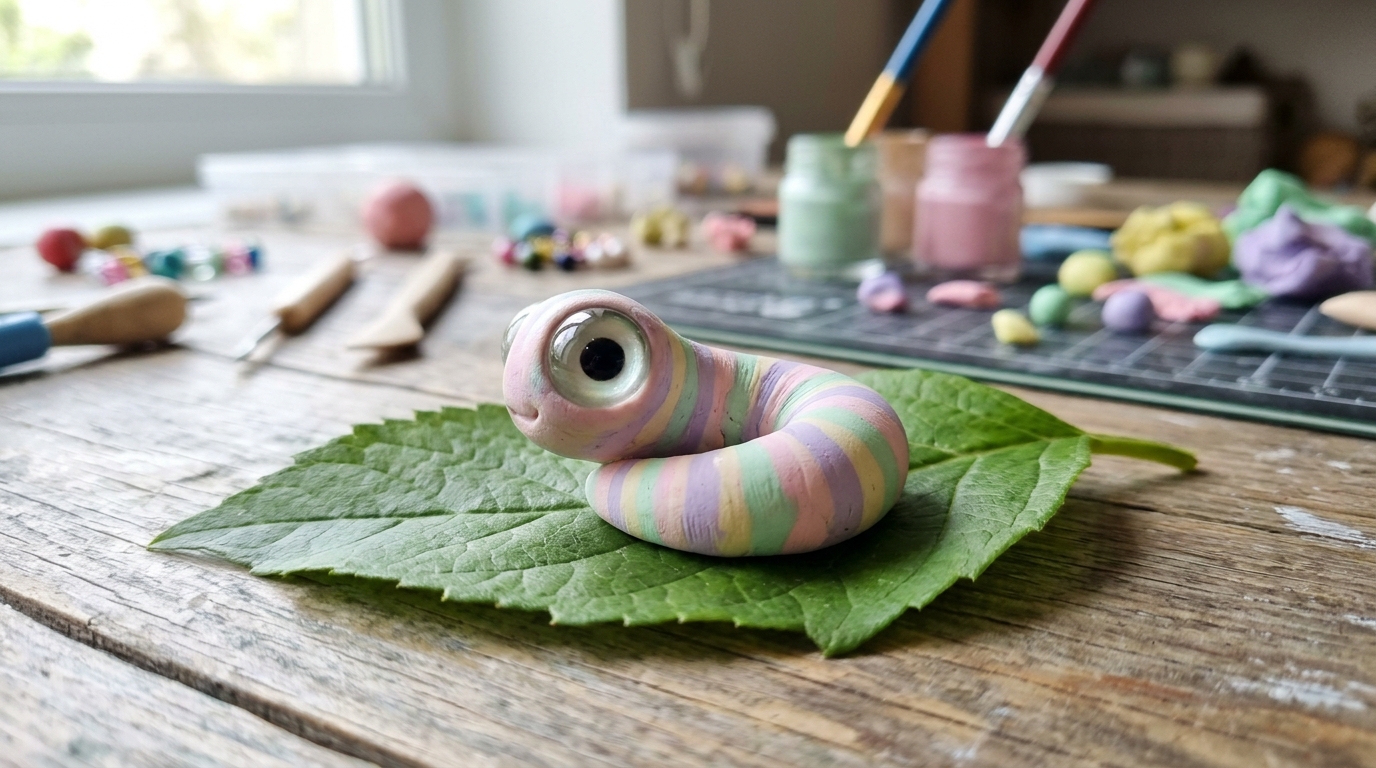
With one big eye and soft stripes, the ocugrubling sits right between sweet and spooky, and 5,460,164 people watched it come to life. It is a great idea for the last days before Halloween, when kids want something a little weird but not scary. A clay worm with a googly eye takes five minutes, and the pastel stripes make it look friendly. Line a few of them up on a leaf for a silly centerpiece. Would your kids say cute or creepy?
You will need: Pastel air dry clay in two colors, one googly eye, a toothpick and craft glue.
How to make it: 1. Roll two thin clay ropes and twist them into one striped worm. 2. Curl it into a soft S shape. 3. Glue a googly eye on the head and add a tiny smile.
Tiny Diorama Art With a Little Bug Guest
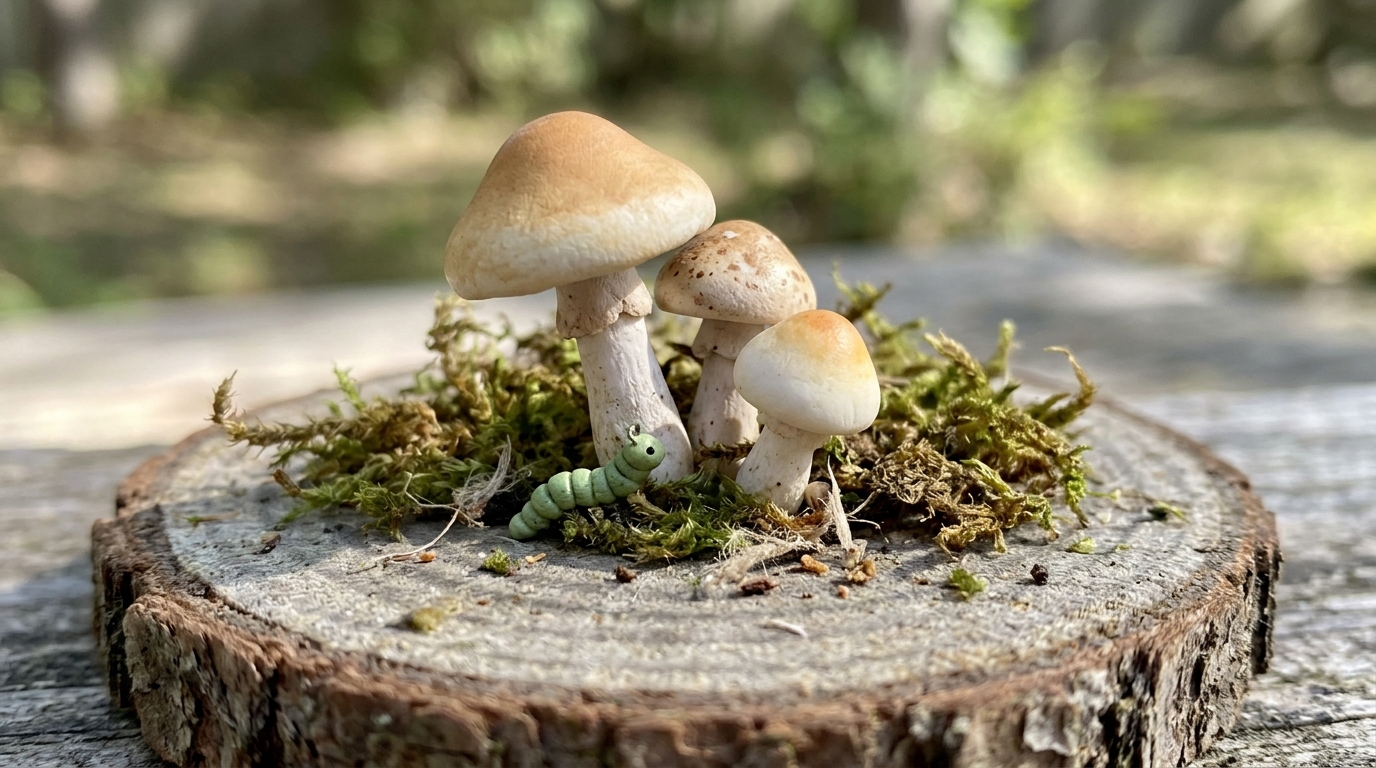
Small stories make small scenes feel alive. In this short, a cluster of mushrooms gets a visitor, a little caterpillar, and 5,264,062 people watched. Adding one tiny animal is the easiest way to turn a plain group of shapes into tiny diorama art with a story. Try three mushrooms of different heights on a slice of wood, then hide a green clay bug at the bottom. Kids love finding it. What tiny guest would you add?
You will need: A round wood slice, air dry clay in tan, cream and green, dried moss and craft glue.
How to make it: 1. Shape three mushrooms, one tall, one medium and one short. 2. Glue them to the wood slice with a little moss around the base. 3. Roll a tiny green caterpillar and tuck it beside the stems.
A Briefcase the Size of a Fingernail
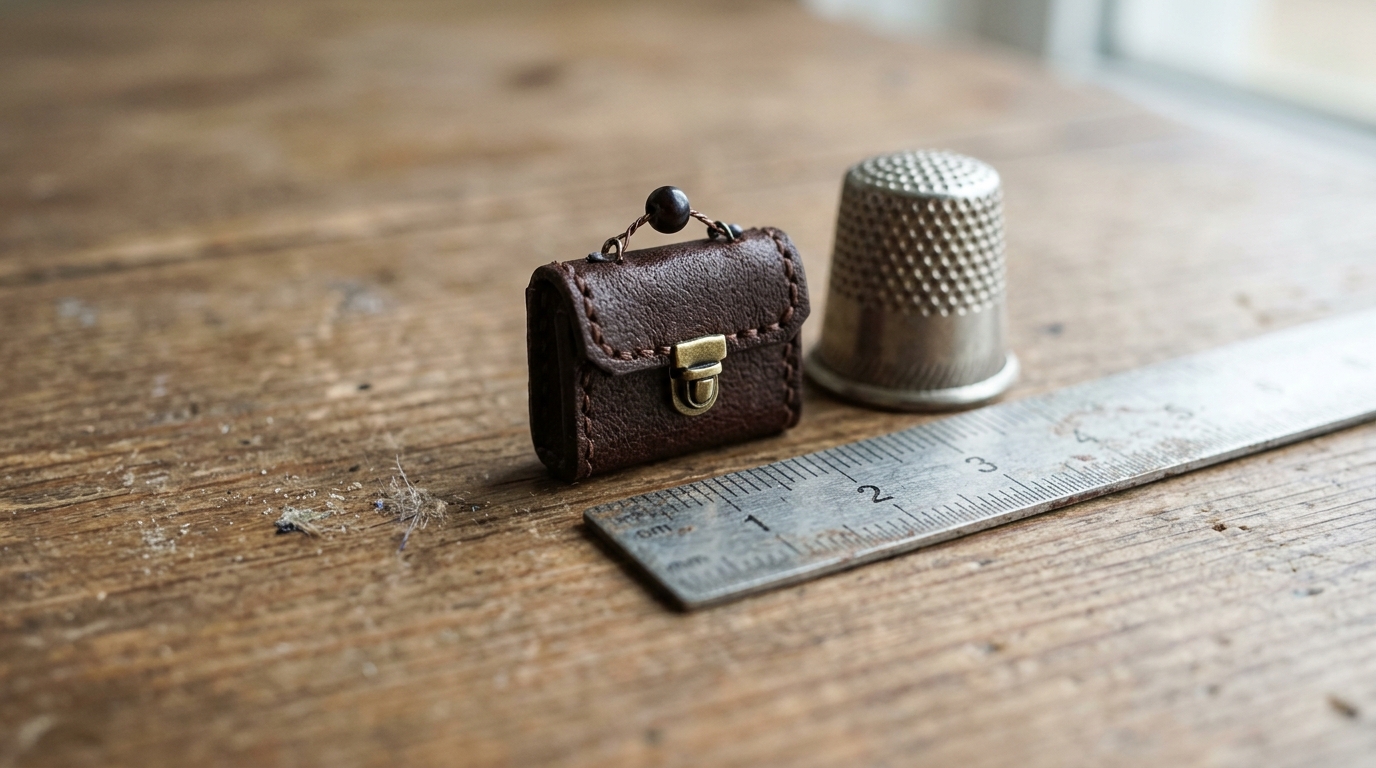
This one shows how far tiny diorama art can push small. His tiny briefcase, posted in May 2026, has a real clasp that opens and closes, and it has 5,169,890 views. You do not need metal work to make a sweet home version. The cover of a matchbox folds into a perfect little case, and a single bead makes the handle. It is a lovely gift for a dollhouse or a desk. What would you keep inside yours?
You will need: An empty matchbox, brown paper or paint, one small bead, thin wire or thread and craft glue.
How to make it: 1. Cover the matchbox sleeve with brown paper or paint it. 2. Fold a paper flap over the top for the lid. 3. Thread a bead on wire or thread and glue it on as the handle.
Remaking His First Viral Mushroom
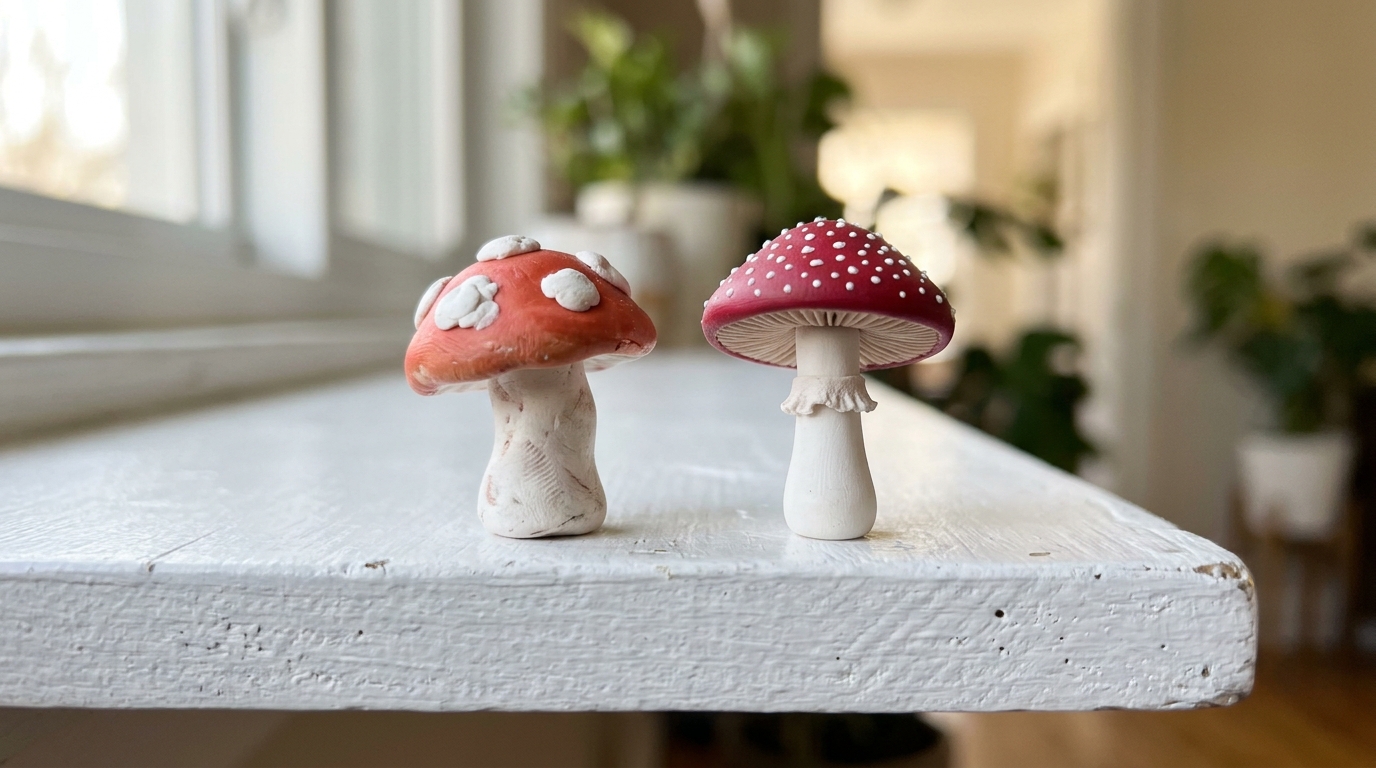
This short has a message every beginner needs. He went back and remade the mushroom that started it all, to show how much his skills have grown, and 5,014,776 people watched. The first one is not bad, it is just simpler. That is how every maker begins. Make your first tiny mushroom today, save it, and make the same one again next month. Seeing the two side by side feels wonderful. Will you take the challenge?
You will need: Red and white air dry clay, a toothpick, white paint and a small shelf or box to keep them in.
How to make it: 1. Make one simple mushroom today and write the date under it. 2. Practice a little each week. 3. Make the same mushroom next month and set the two side by side.
The Tiny Cottage With Glowing Windows
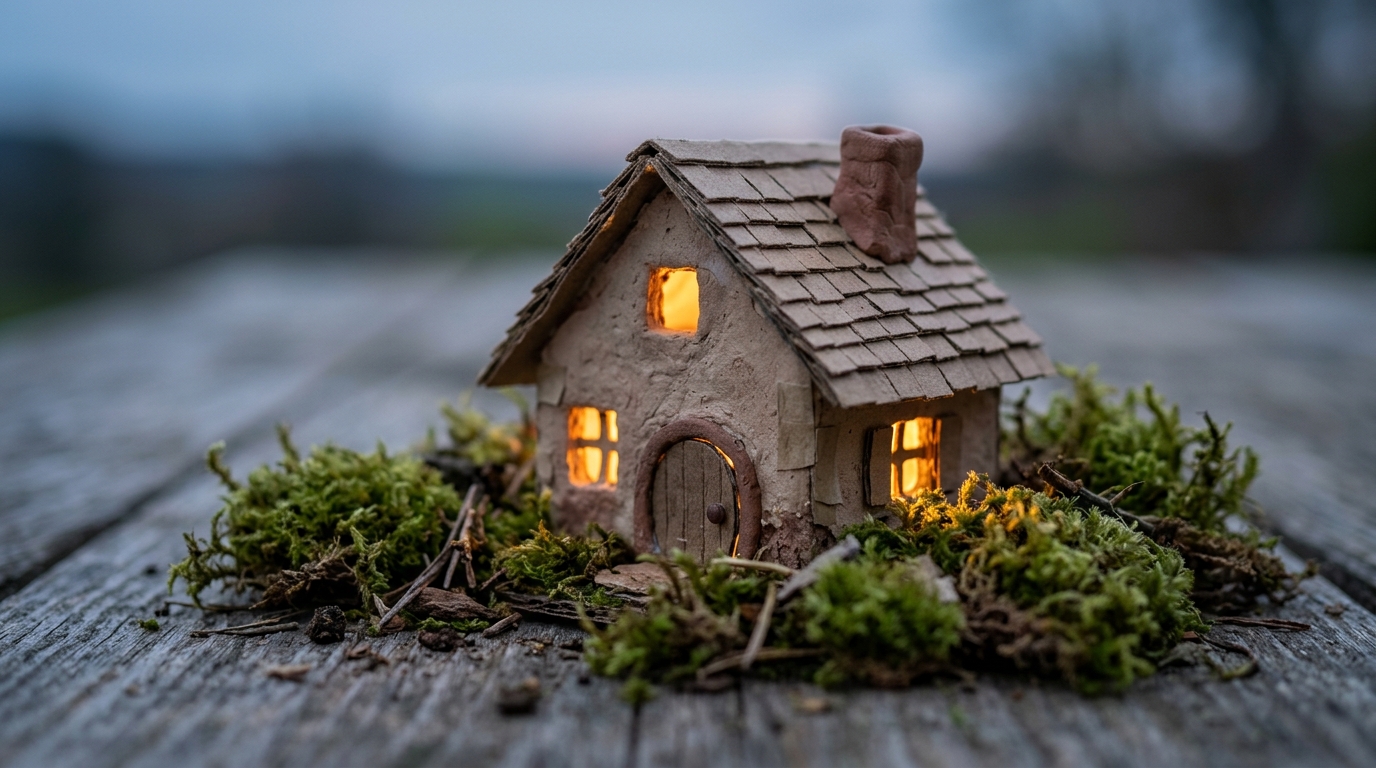
Glowing windows make any tiny house feel cozy, and his little cottage with a sloped roof has 4,070,778 views since July. You can make a version from a small cardboard box, and the glow comes from a battery LED tea light tucked inside. Never use a real flame in a paper house. Set it on a shelf with some moss and it becomes a lovely night light for fall and winter. Which shelf would it brighten in your home?
You will need: A small cardboard box, craft knife for an adult, paint, cardstock for the roof, moss and a battery LED tea light.
How to make it: 1. Have an adult cut small windows and a door in the box. 2. Paint the walls and glue on a folded cardstock roof. 3. Slide a battery LED tea light inside and add moss around the base.
A Bright Blue Frog on a Leaf
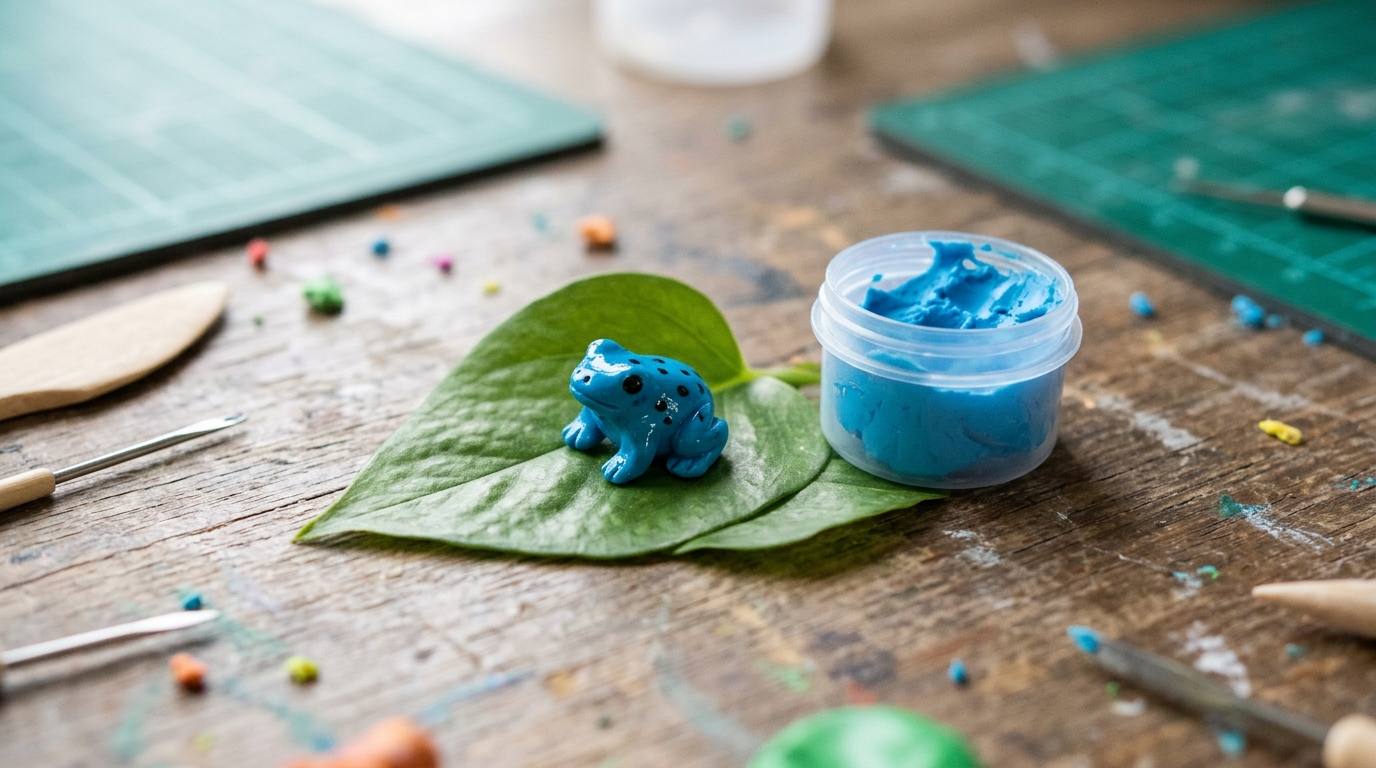
His poison dart frog is bright blue with black spots, and 2,975,974 people watched him shape it. The real frogs live in rainforests, but this clay one is perfectly safe for little hands. The color is what makes it pop, so pick the brightest blue you can find. A black marker is enough for the spots once it is dry. It looks great on a green leaf or a moss bowl. Would your kids pick blue, red or yellow?
You will need: Bright blue air dry clay, a toothpick, a black marker and a real or fake green leaf.
How to make it: 1. Roll a small oval body and pinch out four tiny legs. 2. Add two bumps for eyes and let it dry. 3. Dot on black spots with the marker and set the frog on a leaf.
Tiny Diorama Art for the Garden: A Fairy Hut
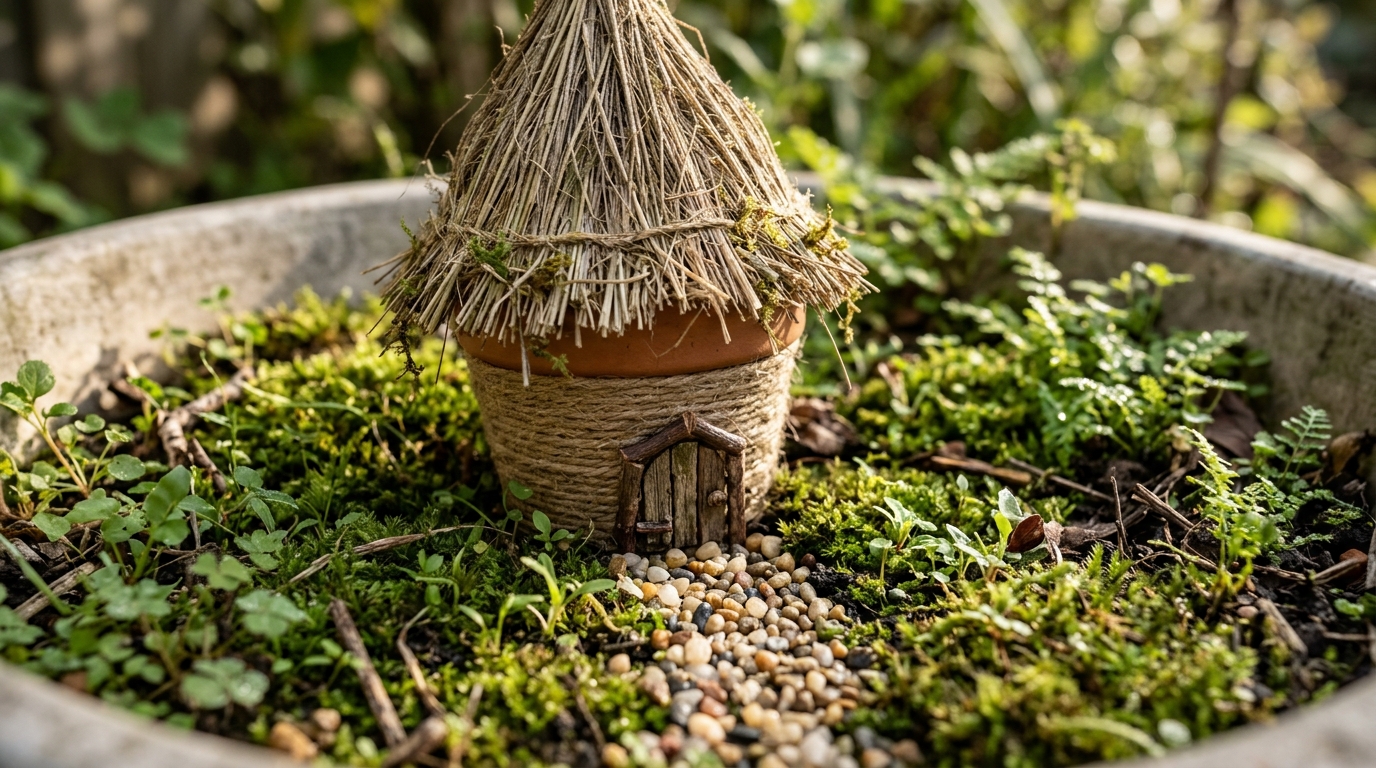
Garden fairies need a home too. His round fairy hut with a thatched roof has 2,719,946 views, and it is the easiest piece on this list to copy outside. A small pot wrapped in twine becomes the walls, and a bundle of dried grass becomes the roof. Add a pebble path and it turns a plain planter into tiny diorama art. Our fairy house ideas have even more ways to build one. Where would your fairies live?
You will need: A small clay pot, jute twine, dried grass or raffia, craft glue, cardboard and small pebbles.
How to make it: 1. Wrap the pot in twine, gluing as you go. 2. Tie dried grass into a cone and glue it on top. 3. Glue on a cardboard door and lay a pebble path in front.
The Pumpkin With a Silly Nose
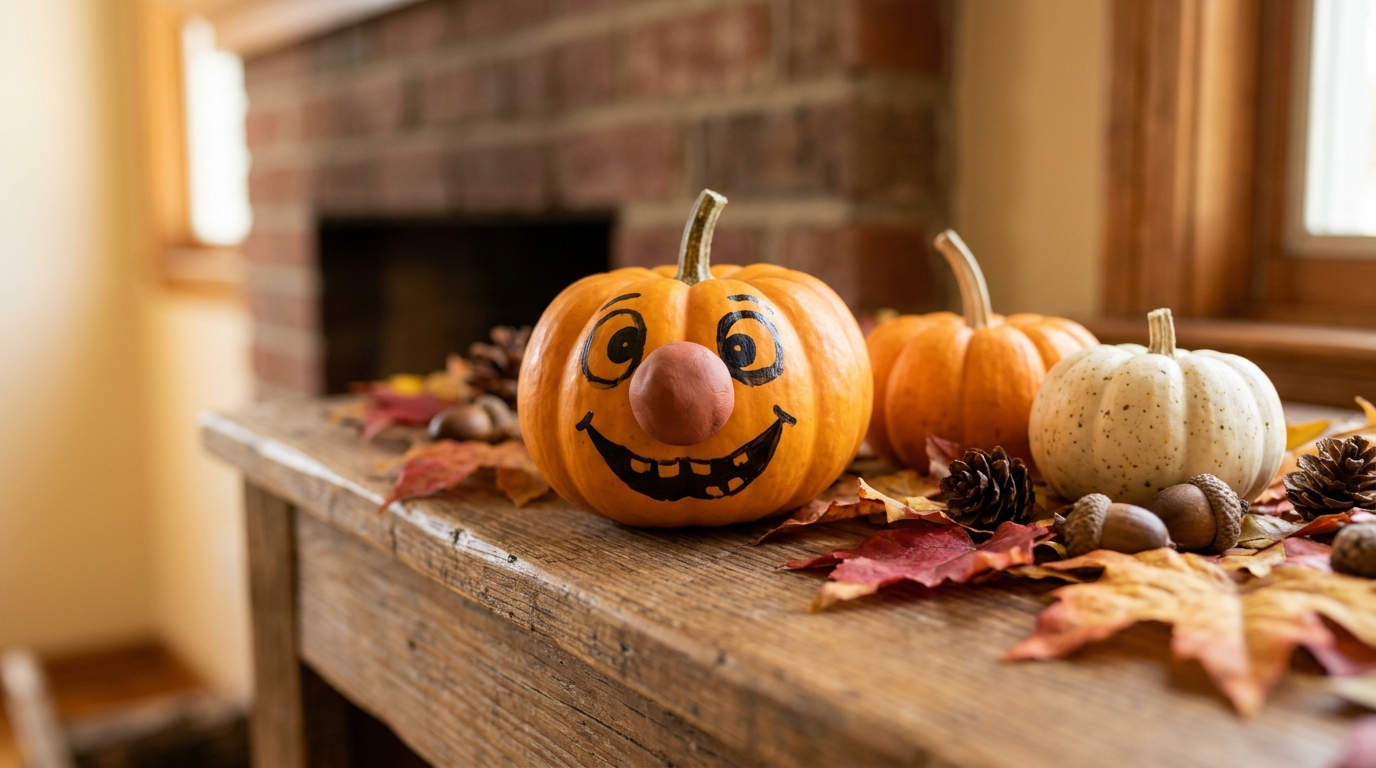
Sometimes the funniest idea wins. A pumpkin with a big goofy nose made 2,515,467 people laugh, and it is a perfect no carve idea for this week. Paint a face on a mini pumpkin and glue on a round clay nose. It takes five minutes, there are no knives involved, and the pumpkin lasts much longer than a carved one. Make a whole family with different noses for the mantel. Which nose would you give yours?
You will need: Mini pumpkins, acrylic paint, a small brush, air dry clay and craft glue.
How to make it: 1. Paint two eyes and a big smile on the pumpkin. 2. Roll a round clay nose and let it dry. 3. Glue the nose in the middle of the face.
Make Your Own Tiny Diorama Art This Weekend
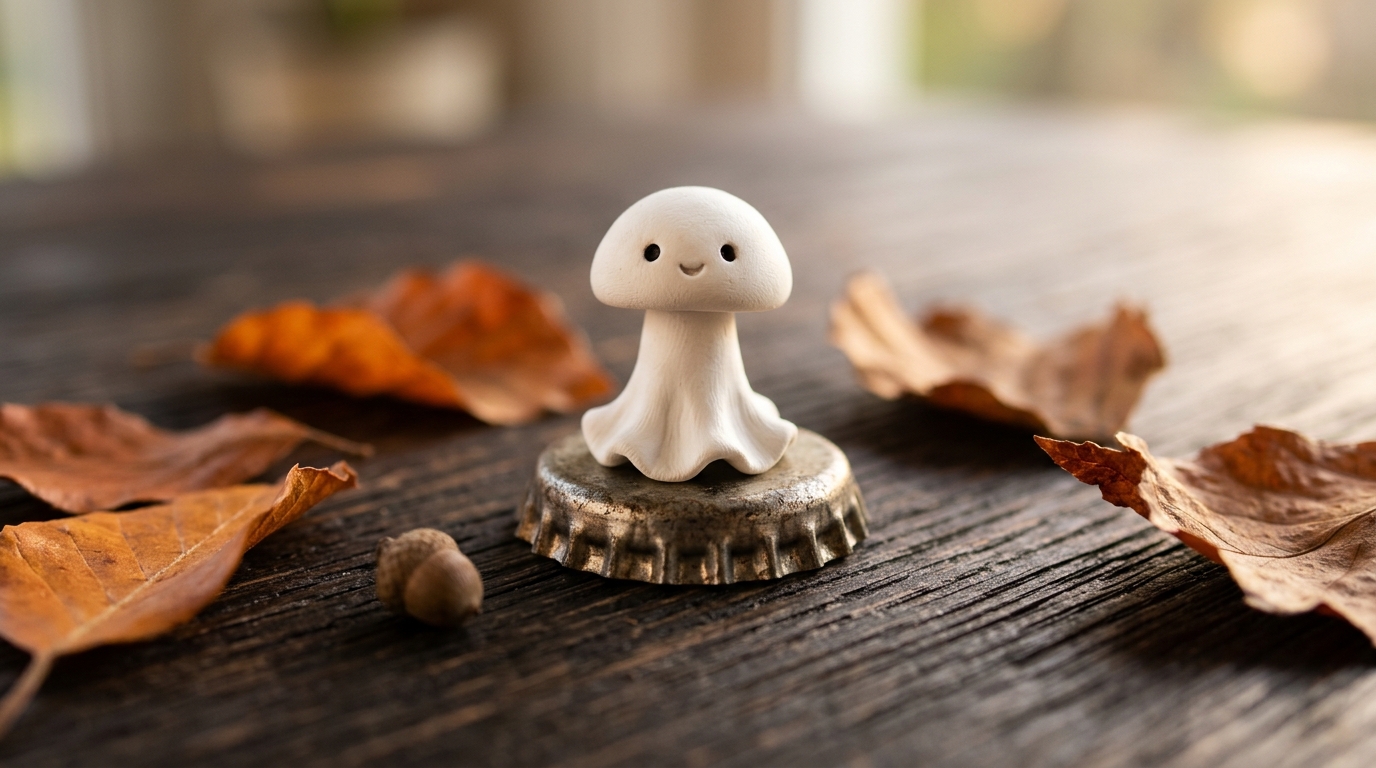
After watching all of these, the best next step is to make one. Pick your favorite, clear a corner of the table and give yourself one quiet hour. Tiny diorama art is calm work, and there is something special about holding a whole little world in your hand. Start with the mushroom ghost because it is quick and forgiving. You can watch the real pieces on the Odd Little Workshop shorts page for ideas. Which piece will you make first?
You will need: Air dry clay in a few colors, a toothpick, acrylic paint, small brushes, moss and a few bottle caps or jar lids.
How to make it: 1. Choose one piece from this list. 2. Shape it slowly and let it dry overnight. 3. Paint the details and give it a little base of moss or a bottle cap.