Photo Christmas Gifts: 16 DIY Keepsakes Grandparents Will Treasure for Years
Photo Christmas Gifts are the presents grandparents keep long after the wrapping paper is gone. Think about it: the sweater gets worn, the candy gets eaten, but a smiling family picture turned into something they can hold stays on the shelf for years. The best part is that you already have everything that matters, because the photos are sitting in your phone right now. Below are 16 easy handmade ideas, from wood block transfers and glass gem magnets to a jar full of rolled up memories, each with a short supply list and simple steps. Most cost only a few dollars and can be finished in one cozy evening at the kitchen table. Pick a favorite picture, warm up a mug of cocoa and let’s start making..
Photo Christmas Gifts Start With a Wood Block Photo Transfer
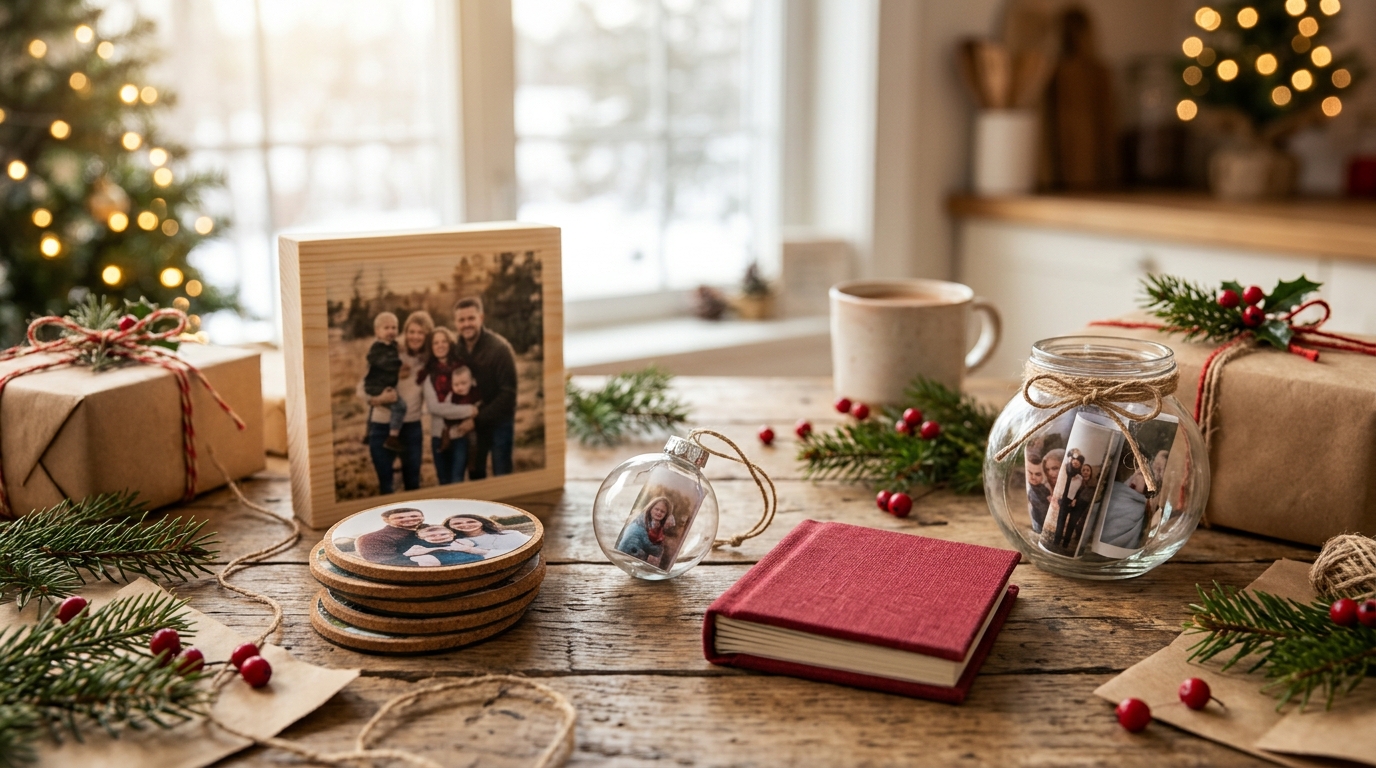
Of all the Photo Christmas Gifts on this list, the wood block transfer is the one that makes people gasp. The photo seems to soak right into the grain, so it looks soft, warm and a little vintage, like it has always been there. A simple square of pine from the hardware store does the job, and the process needs no special tools at all. Make one for each grandparent and watch them line up on the mantel. Which family picture would you choose first..
You will need: A square block of pine wood about 6 by 6 inches, a laser print of your photo on plain paper (printed in reverse), clear decoupage glue or gel medium, a foam brush, a damp sponge and fine sandpaper.
How to make it: 1. Sand the block smooth and brush a thick, even coat of gel medium over the front. 2. Lay the print face down, smooth out every bubble with your fingers and let it dry overnight. 3. Rub the paper away with a damp sponge until the picture shows, then seal with one more thin coat.
Glass Gem Photo Magnets
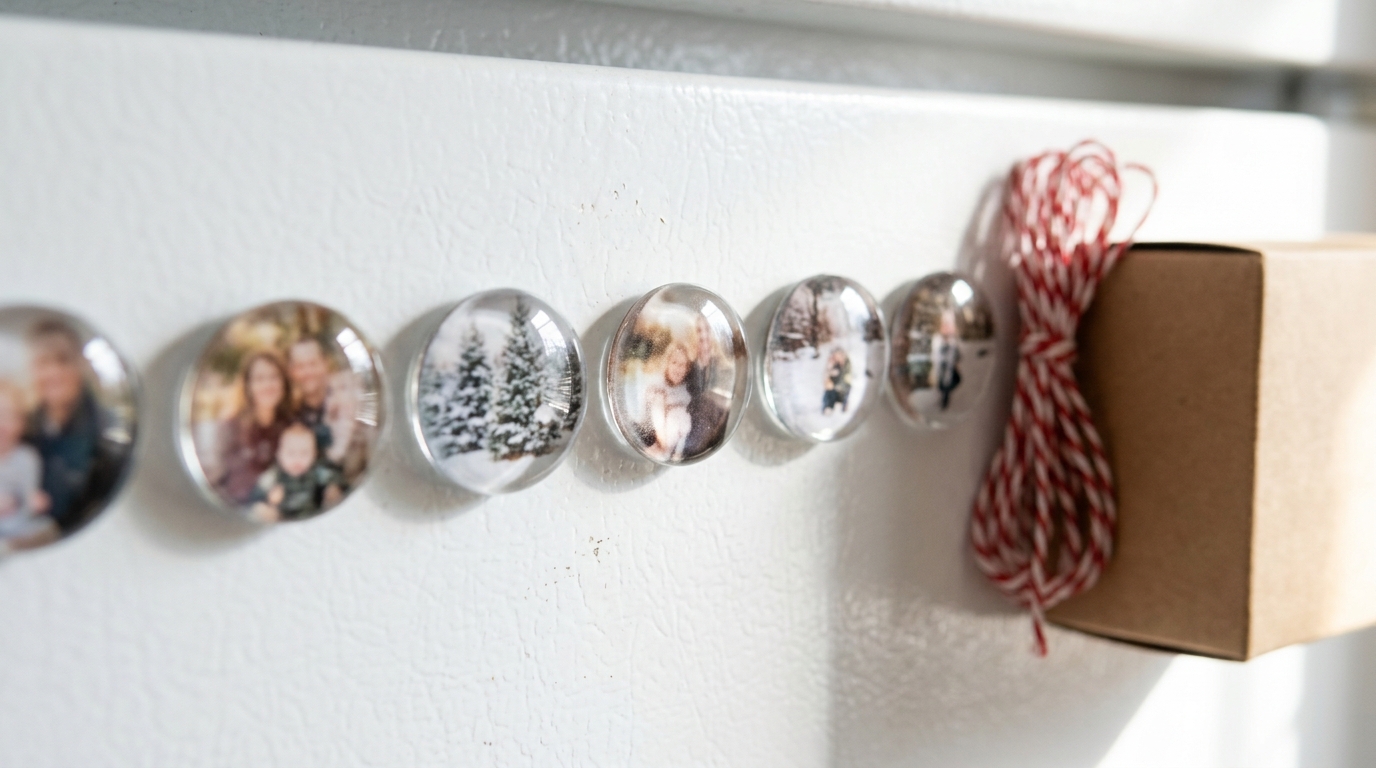
Tiny photos look like little treasures under a clear glass gem. These magnets are cheap, quick and so cute that you will want a set for your own fridge too. The flat glass gems from the craft store magnify the picture a little, so faces and pets look bright and close. A set of six in a small kraft box makes a sweet stocking stuffer for grandma, and kids can help pick the pictures. How many faces would you squeeze onto one fridge?
You will need: Clear flat glass gems about 1 inch wide, small printed photos, clear drying craft glue or decoupage glue, small round magnets, strong craft glue and scissors.
How to make it: 1. Trace a gem over each photo and cut the circles out just inside the line. 2. Spread a thin layer of clear glue on the flat side of the gem, press the photo face down and push out any bubbles. 3. Once dry, glue a magnet to the back and let it set for a few hours.
Canvas Tote With a Vintage Family Photo
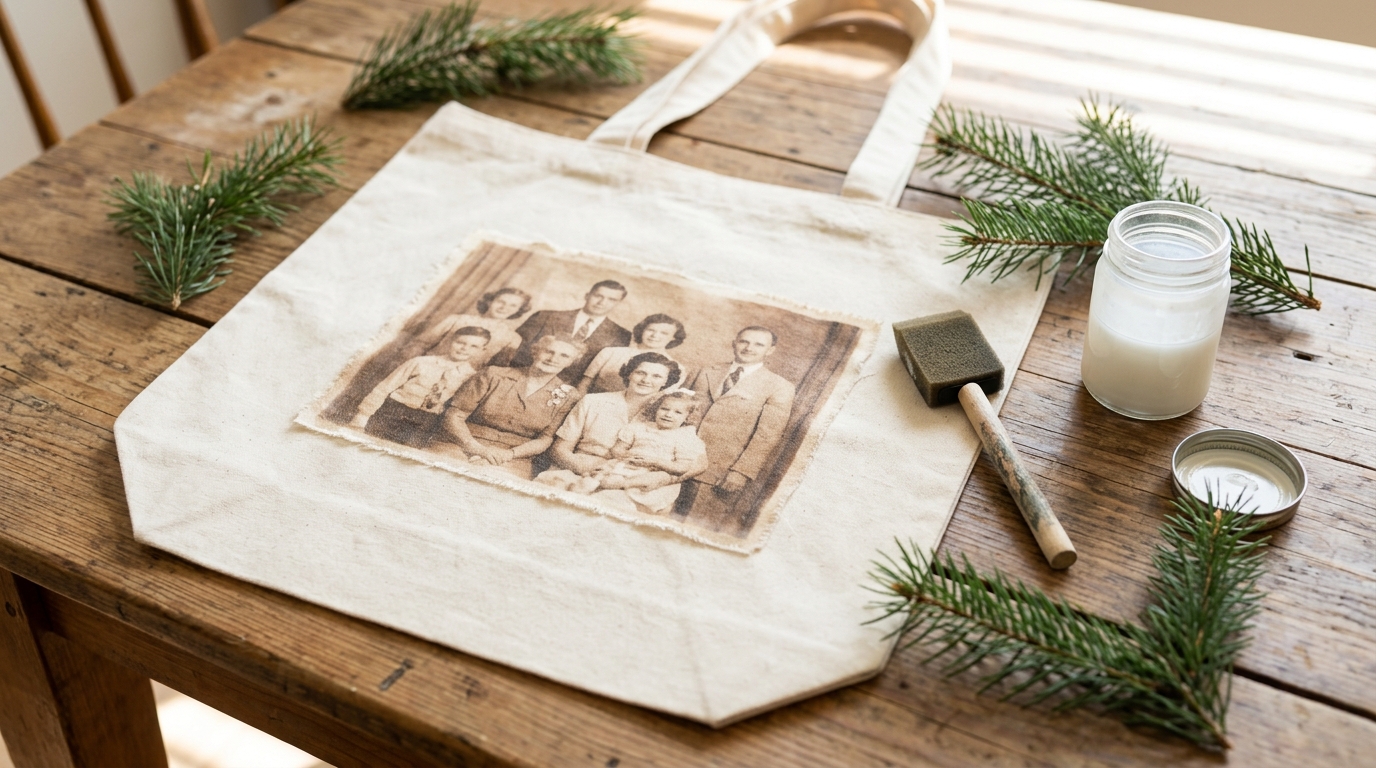
A plain canvas tote turns into a one of a kind gift when you add a family photo to the front. A fabric transfer medium lifts the ink from a printed picture and settles it into the cloth, so it looks faded and vintage in the best way. Grandparents can carry it to the market, the library or church and show off the grandkids along the way. Choose a photo with good contrast so it shows up clearly. Who in your family would carry it every week?
You will need: A plain natural canvas tote bag, a laser print of your photo in reverse, fabric photo transfer medium, a foam brush, a piece of cardboard and a damp sponge.
How to make it: 1. Slide cardboard inside the bag, brush transfer medium over the print and press it face down on the canvas. 2. Smooth it flat and let it dry for a full day. 3. Wet the paper with a sponge, rub it away gently and let the bag cure for three days before washing.
Mini Photo Christmas Gifts: A Photo Book in a Tin
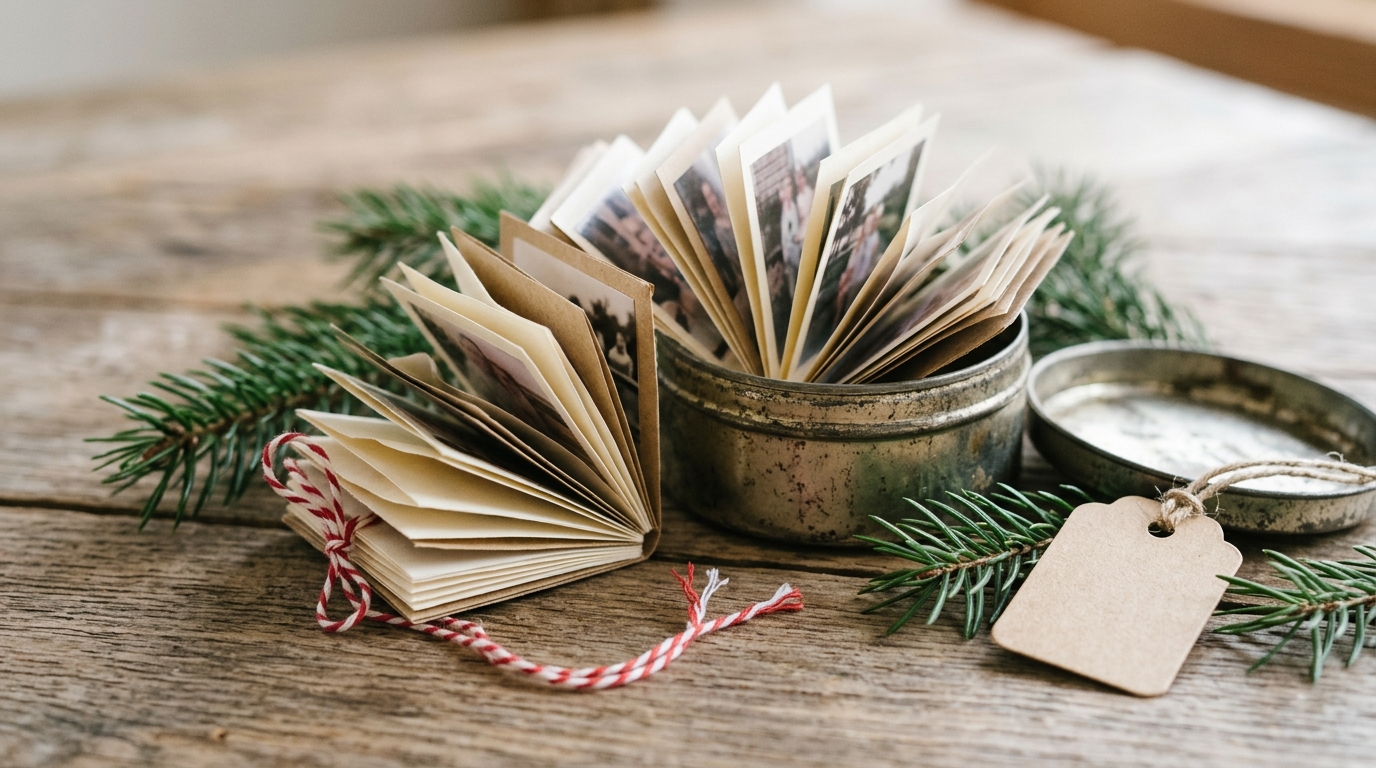
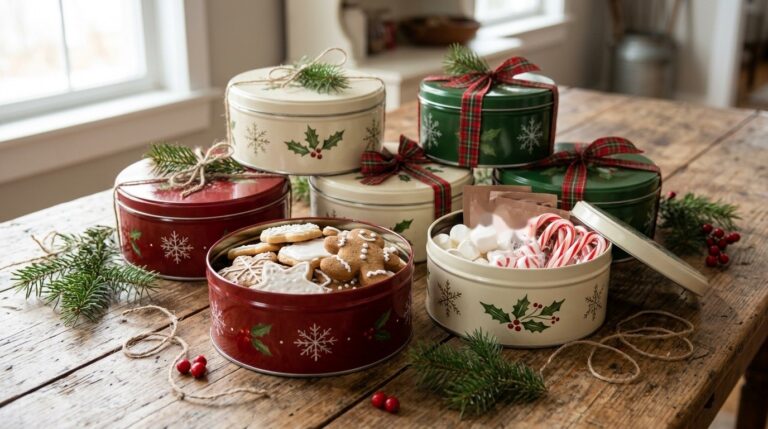
Small Photo Christmas Gifts can carry big feelings, and this one fits in the palm of a hand. A strip of cardstock folds into a little accordion book, each page holding one tiny picture from the year. Tuck it into a small round tin, tie it with baker’s twine and it is ready to slip into a purse or coat pocket. Grandparents love pulling it out to show friends. It also makes a lovely gift for an aunt who lives far away. What would you put on the first page?
You will need: A small round or square tin, a long strip of cardstock, 8 to 10 tiny printed photos, a glue stick, scissors, a ruler and red and white baker’s twine.
How to make it: 1. Measure the inside of the tin and cut a cardstock strip the same height. 2. Fold the strip back and forth like a fan so each panel fits the tin. 3. Glue one photo on each panel, fold it closed, tuck it inside and tie the tin with twine.
Photo Transfer Throw Pillow
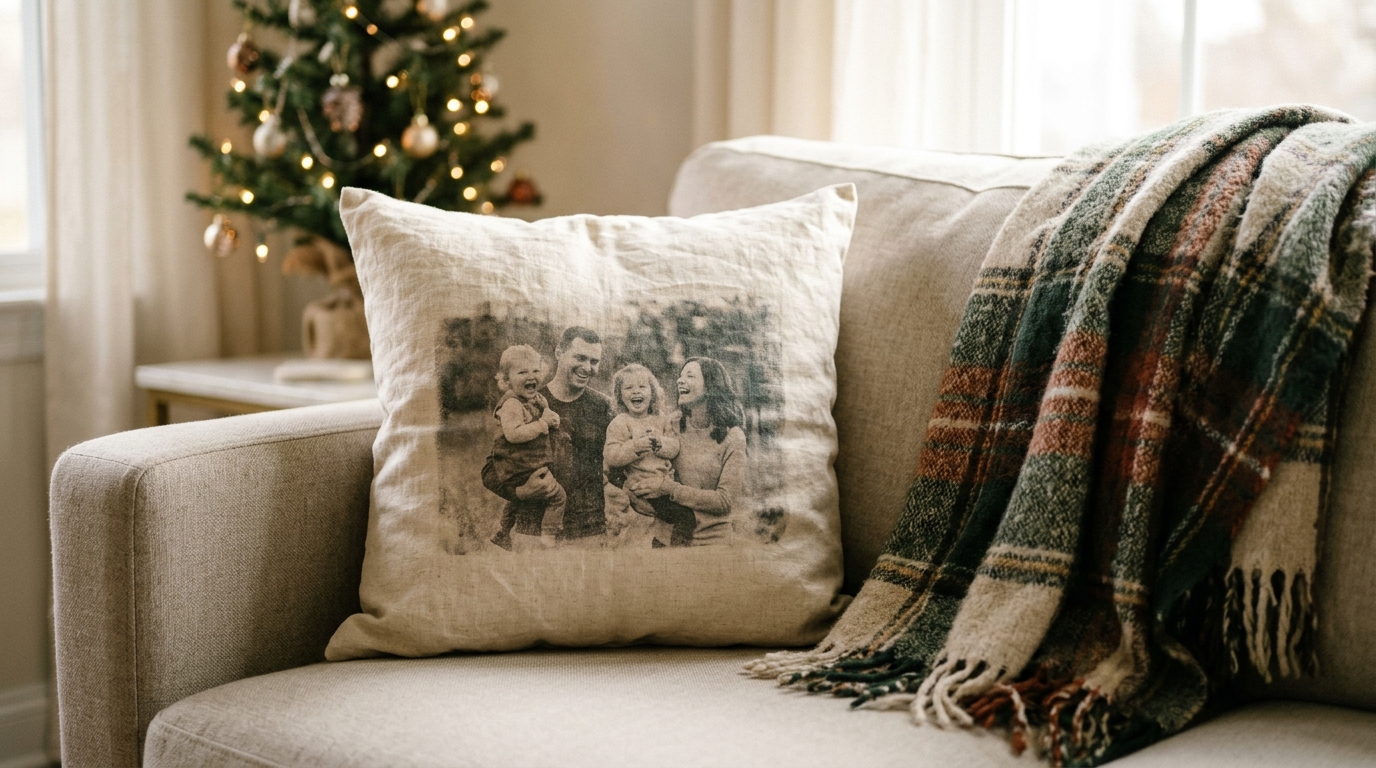
A pillow with a family picture on it is the gift that gets hugged every single day. Plain linen pillow covers are easy to find for a few dollars, and the same transfer method used on the tote works beautifully here. The linen texture softens the photo, so it looks gentle and timeless on any sofa or bed. Pick a wedding photo, a picture of the grandkids or a shot of the family dog. Wrap it with a little card about the day the photo was taken. Which photo would make them smile the most?
You will need: A plain cream linen or cotton pillow cover with an insert, a laser print of your photo in reverse, fabric photo transfer medium, a foam brush, cardboard and a damp sponge.
How to make it: 1. Put cardboard inside the cover, brush transfer medium on the print and press it face down in the center. 2. Let it dry overnight. 3. Dampen and rub the paper away, let it cure for three days, then add the insert.
Photo Transfer River Stones
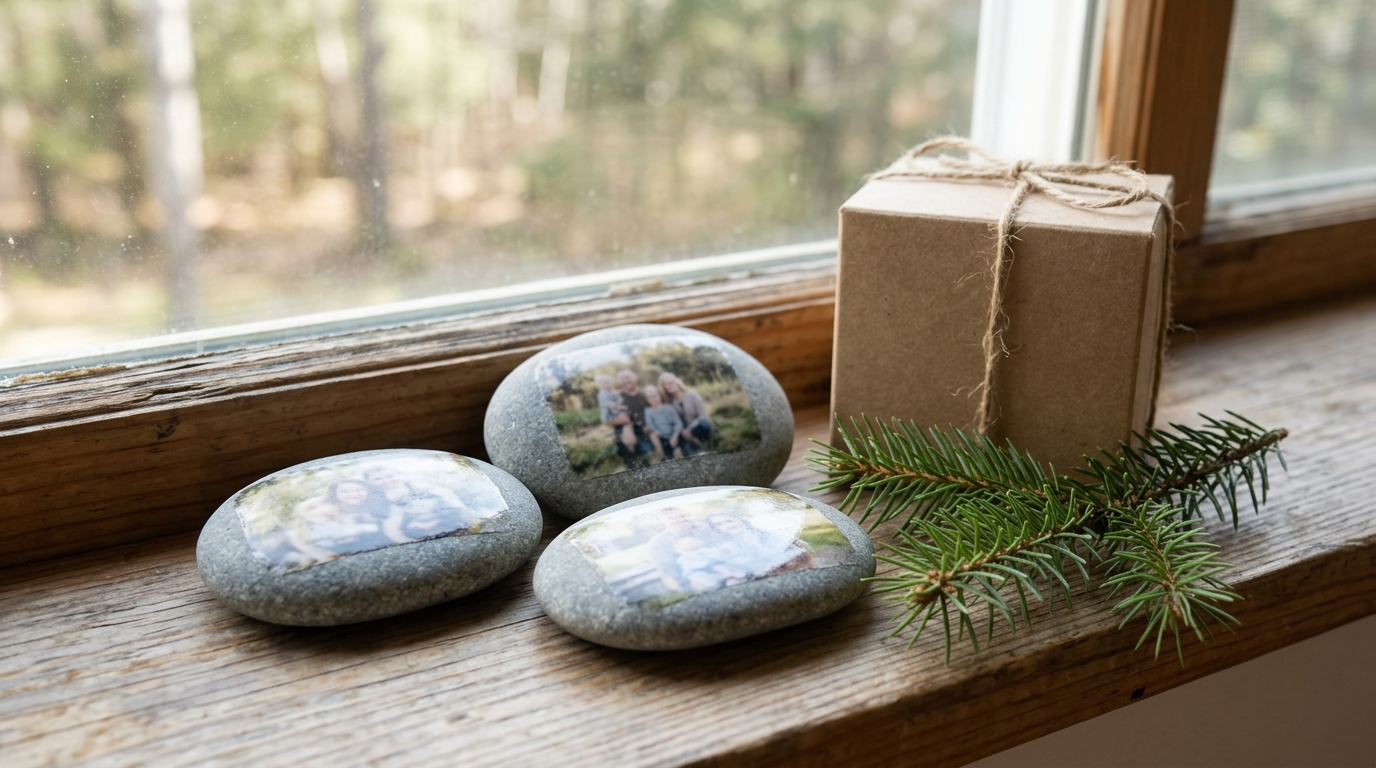
Smooth flat river stones make sweet little photo keepsakes that feel cool and solid in your hand. They work as paperweights, windowsill decor or a tiny family gallery on a bookshelf. Pick stones with a flat face, wash them well and let them dry in the sun. A thin layer of decoupage glue holds a cut out photo in place, and a glossy top coat makes it shine like it was polished by a river. A set of three for each grandparent tells a little story. Where would yours sit at home?
You will need: Three smooth flat river stones, small photos printed on thin paper, decoupage glue, a soft brush, scissors and a glossy clear sealer.
How to make it: 1. Wash and dry the stones, then cut each photo to fit the flattest face. 2. Brush glue on the stone, press the photo on and brush another thin coat over the top. 3. Let it dry, then add two coats of glossy sealer.
Year in Photos Memory Jar, One of the Sweetest Photo Christmas Gifts
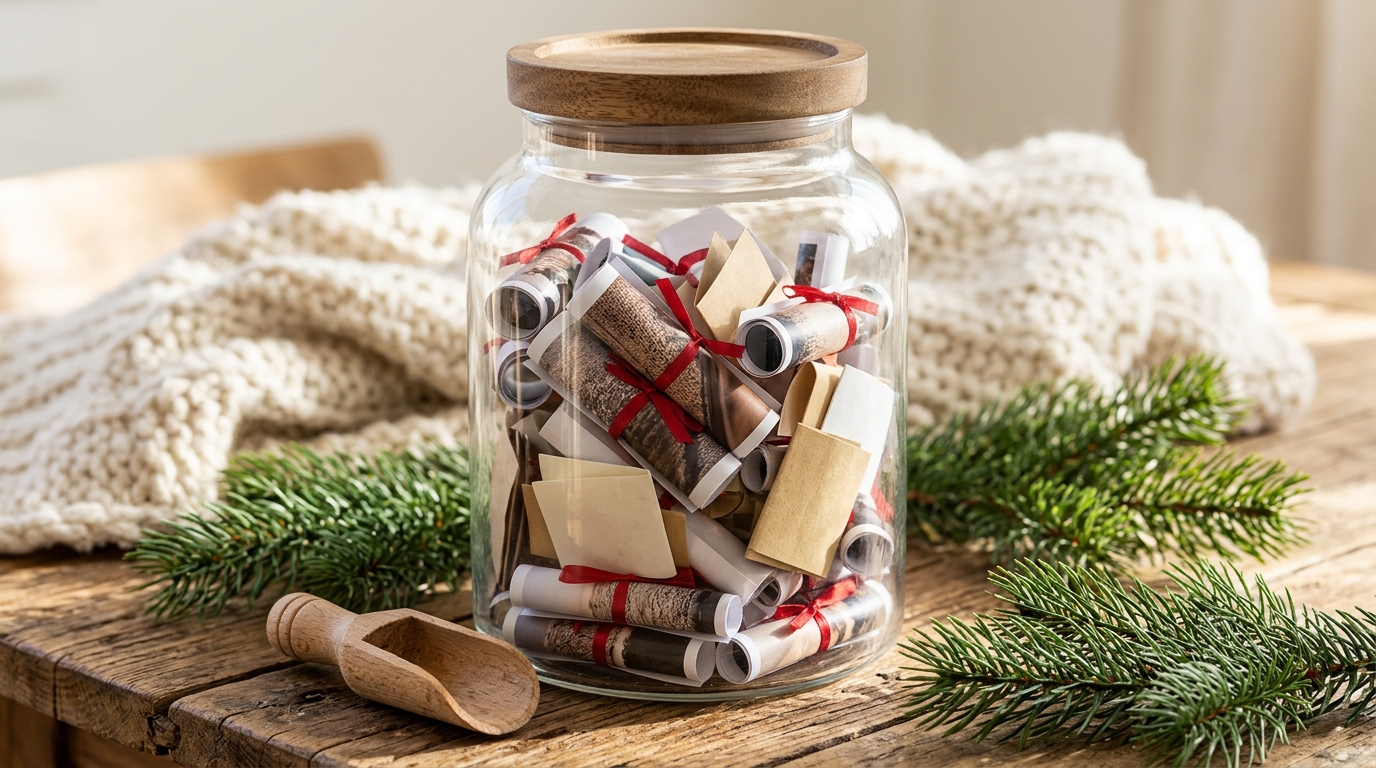
If you want Photo Christmas Gifts that last all year, fill a jar with memories. Print 52 small photos, roll each one up with a short note on the back and tie it with thin red ribbon. Grandma can pull out one memory every Sunday and relive a birthday, a beach day or a first tooth. It is simple to make, and it gets everyone in the family involved because each person can add a few pictures and notes. It feels like a hug in a jar. Who would write the first note?
You will need: A large clear glass jar with a lid, 52 small photo prints, a pen, thin red ribbon or baker’s twine, scissors and a small tag for the lid.
How to make it: 1. Print the photos about wallet size and write a short memory or message on the back of each. 2. Roll each photo up with the picture facing out and tie it with ribbon. 3. Fill the jar, close the lid and tie a tag around the neck.
Accordion Photo Card That Stands Up
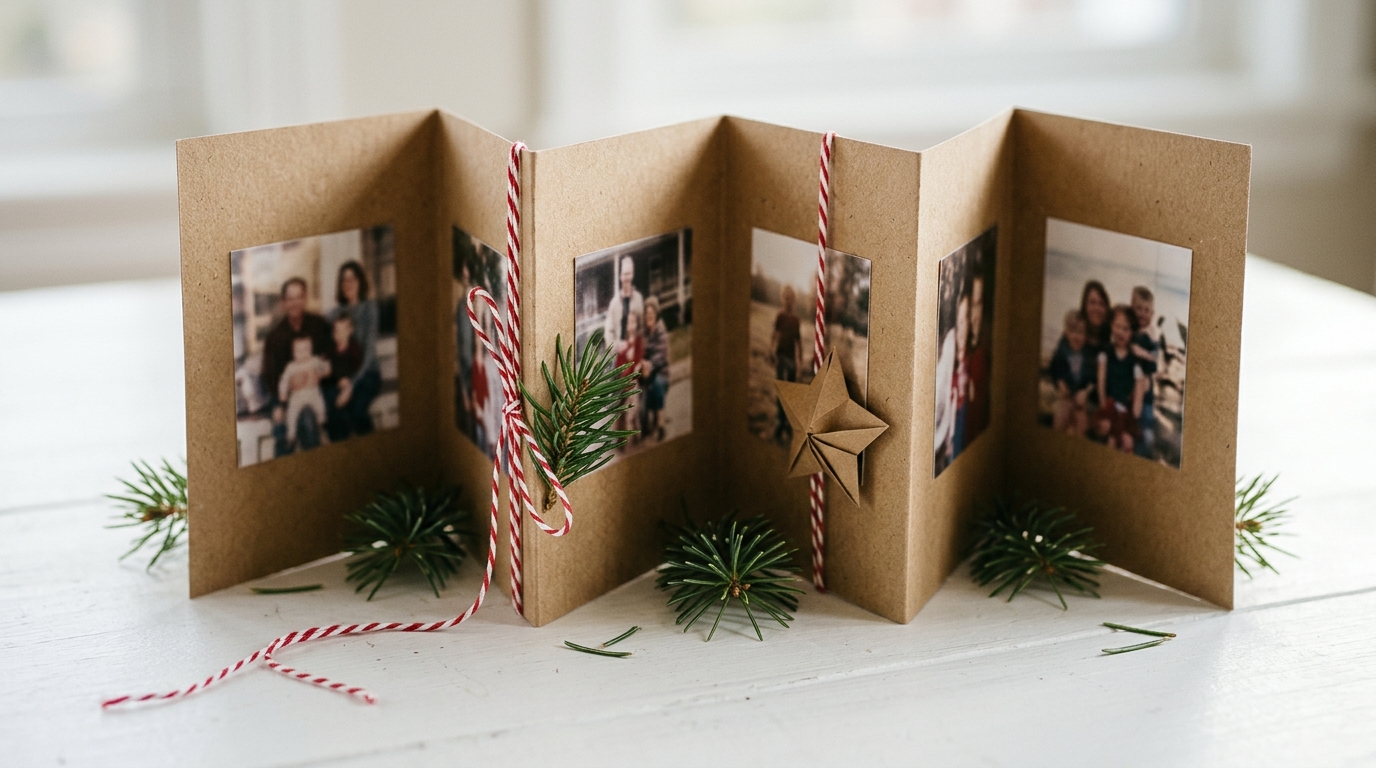
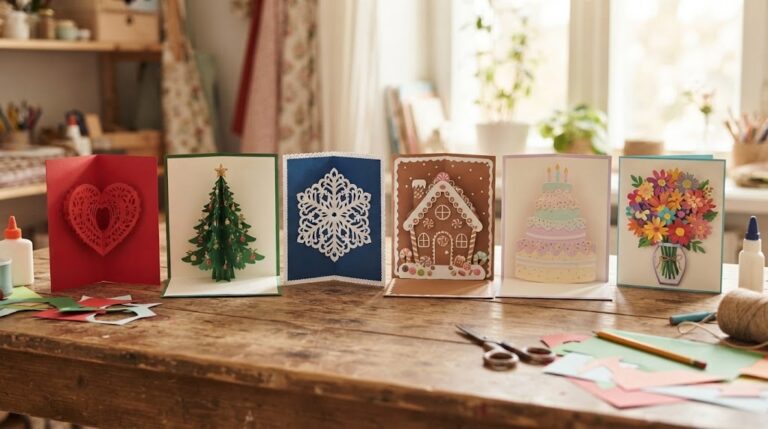
A Christmas card that unfolds into a little photo display is a gift all on its own. Fold a long strip of kraft paper into panels, glue a square photo on each one and it stands up proudly on a shelf all season. Add a paper star on the front and a twine bow to keep it closed in the envelope. Grandparents often keep these out long after the tree comes down. It is also a great way to share the year with family who live far away. How many panels would yours need?
You will need: A long strip of kraft cardstock, square printed photos, a glue stick, a bone folder or ruler, a small paper star, baker’s twine and an envelope.
How to make it: 1. Fold the strip into equal panels like a fan, pressing each crease flat. 2. Glue one photo in the center of each panel and the star on the front. 3. Fold it closed, tie it with twine and slip it into the envelope.
Glowing Photo Jar With Fairy Lights
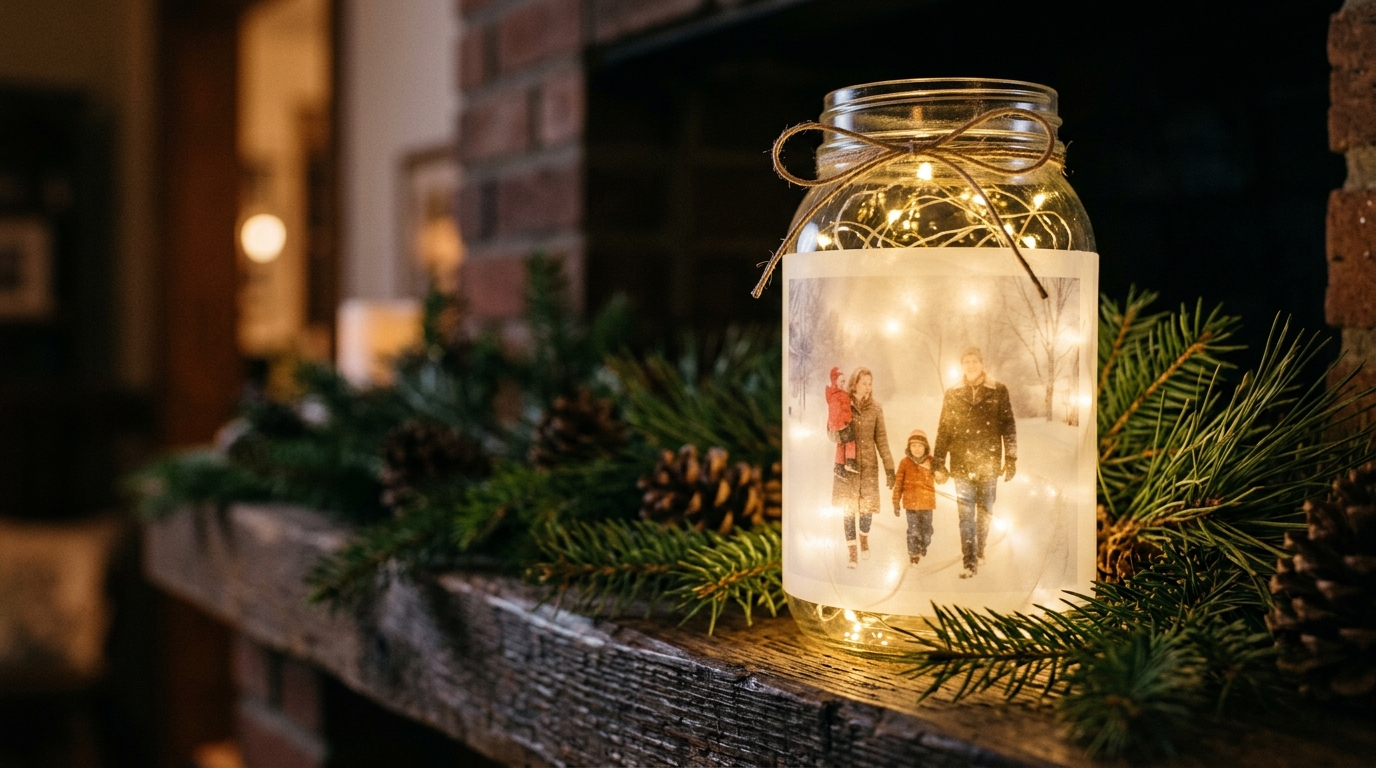
Print a winter family photo on see through vellum, wrap it around a jar and suddenly a picture glows like a lantern. A string of battery powered fairy lights tucked inside gives a soft, safe light with nothing to light by hand. It looks magical on a mantel or a bedside table on long winter evenings, and grandparents can switch it on whenever they miss you. Snowy or outdoor photos look best because the light shines through the sky. Which winter picture would glow the brightest?
You will need: A clear straight sided glass jar, a photo printed on vellum paper to fit around it, clear double sided tape, a short string of battery powered fairy lights and a ribbon.
How to make it: 1. Trim the vellum print so it wraps around the jar with a small overlap. 2. Fix the seam with clear double sided tape. 3. Coil the battery fairy lights inside, tie a ribbon around the rim and switch them on.
Photo Christmas Gifts for the Kitchen: A Decoupage Photo Tray
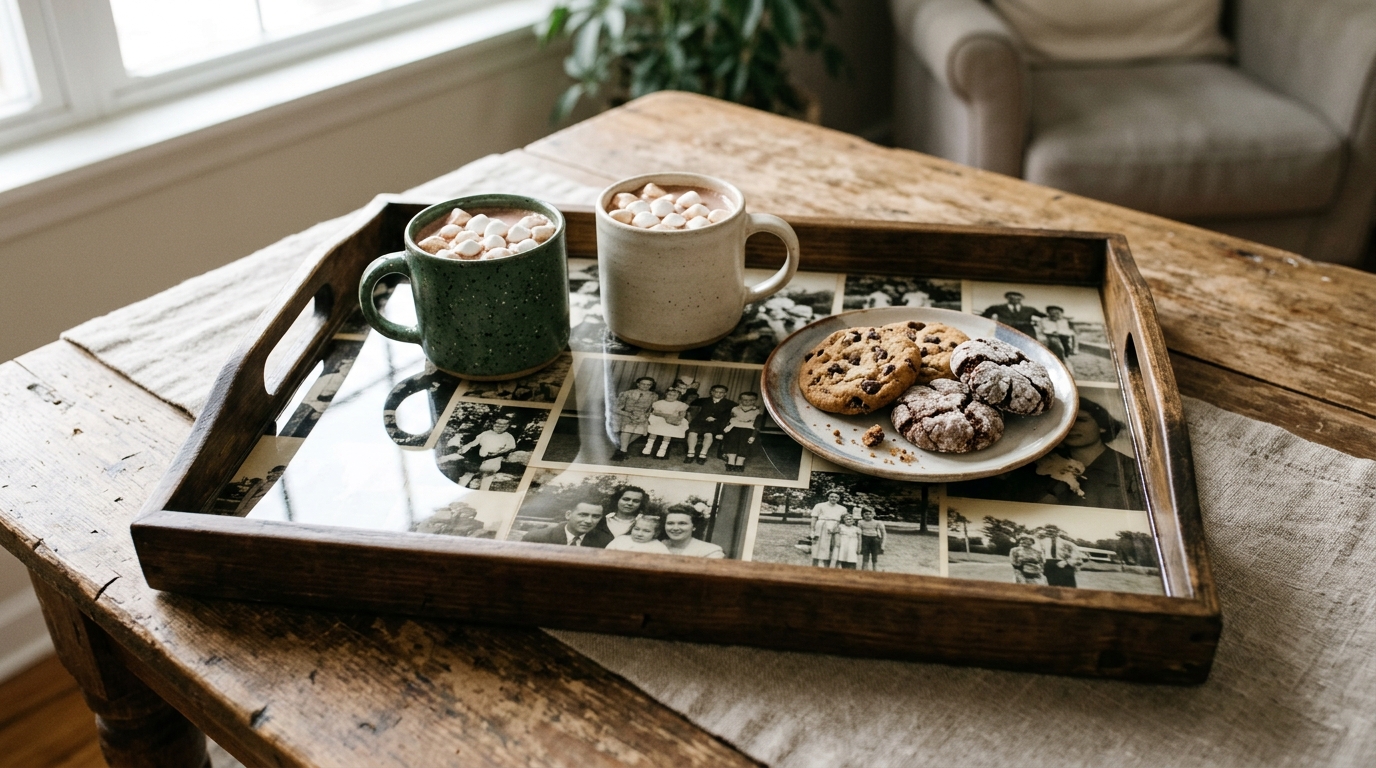
Some of the most useful Photo Christmas Gifts are the ones that come out every day, like a serving tray covered in family photos. Black and white copies of old pictures look elegant together, and a glossy top coat makes the tray wipe clean after coffee and cookies. Thrift stores are full of plain wooden trays for a few dollars. Mix old wedding photos with new ones of the grandkids and you have a family history on the coffee table. Which old picture in your family deserves a spot? For more ideas in the same spirit, see our sentimental Christmas gifts.
You will need: A plain wooden serving tray, black and white photo copies on regular paper, decoupage glue, a foam brush, scissors, a brayer or old card and a food safe clear top coat.
How to make it: 1. Lay out the photos inside the tray, trim them to fit and note where each goes. 2. Glue them down one at a time and smooth out bubbles with a brayer. 3. Add a coat of glue on top, let it dry and finish with two coats of clear top coat.
Photo Tile on a Mini Easel
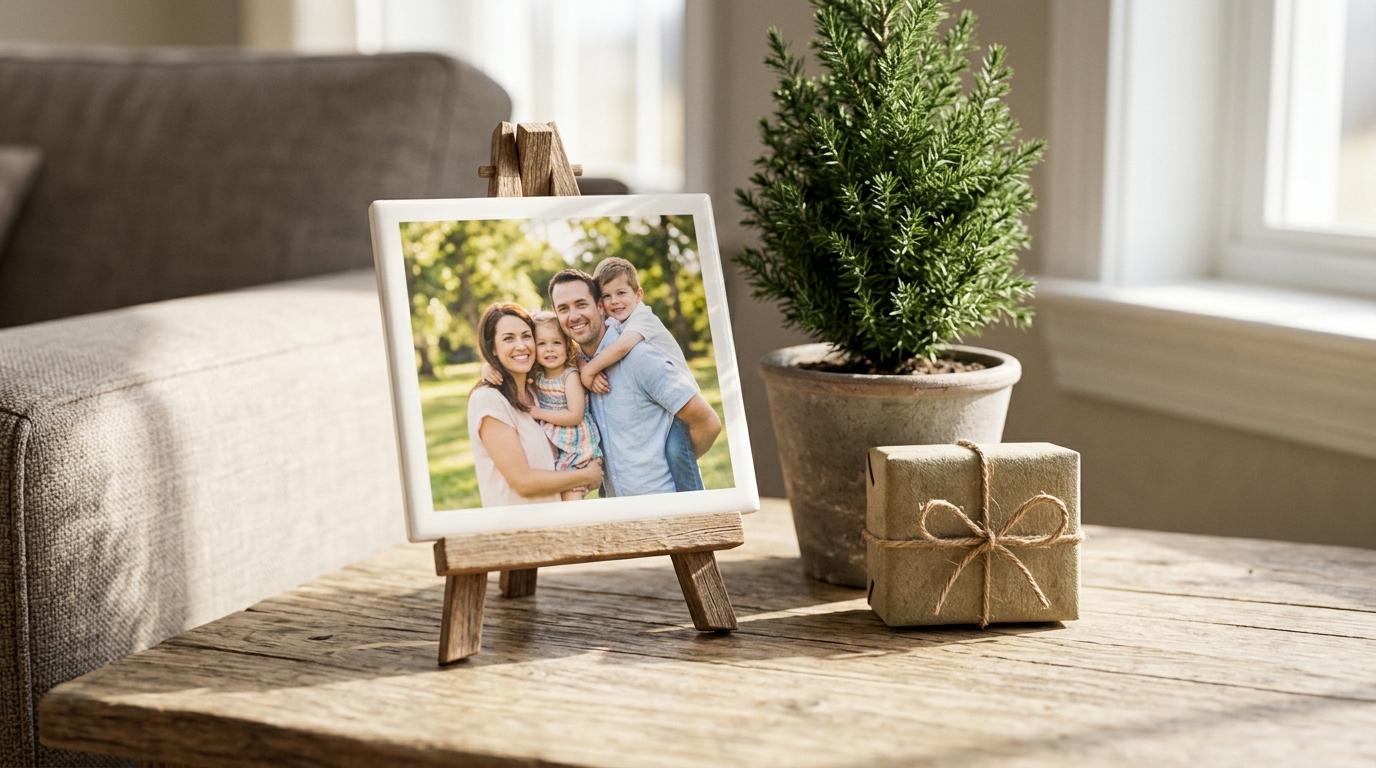
A plain white ceramic tile from the hardware store costs less than a dollar, and it turns a favorite photo into a little piece of art. The glossy surface makes colors look rich, and a small wooden easel shows it off on a desk, a kitchen counter or a nightstand. Add a photo with a big smile or a funny moment from the year. Because tiles are so cheap, you can make one for every relative in an afternoon. Would you choose a funny photo or a sweet one?
You will need: A 4 or 6 inch white ceramic tile, a laser print of your photo in reverse, gel medium, a foam brush, a damp sponge, clear sealer and a small wooden easel.
How to make it: 1. Brush gel medium on the glossy side of the tile and press the print face down. 2. Smooth it out and let it dry overnight. 3. Rub the paper off with a damp sponge, seal it and set it on the easel.
Chicken Wire Photo Board From an Old Frame
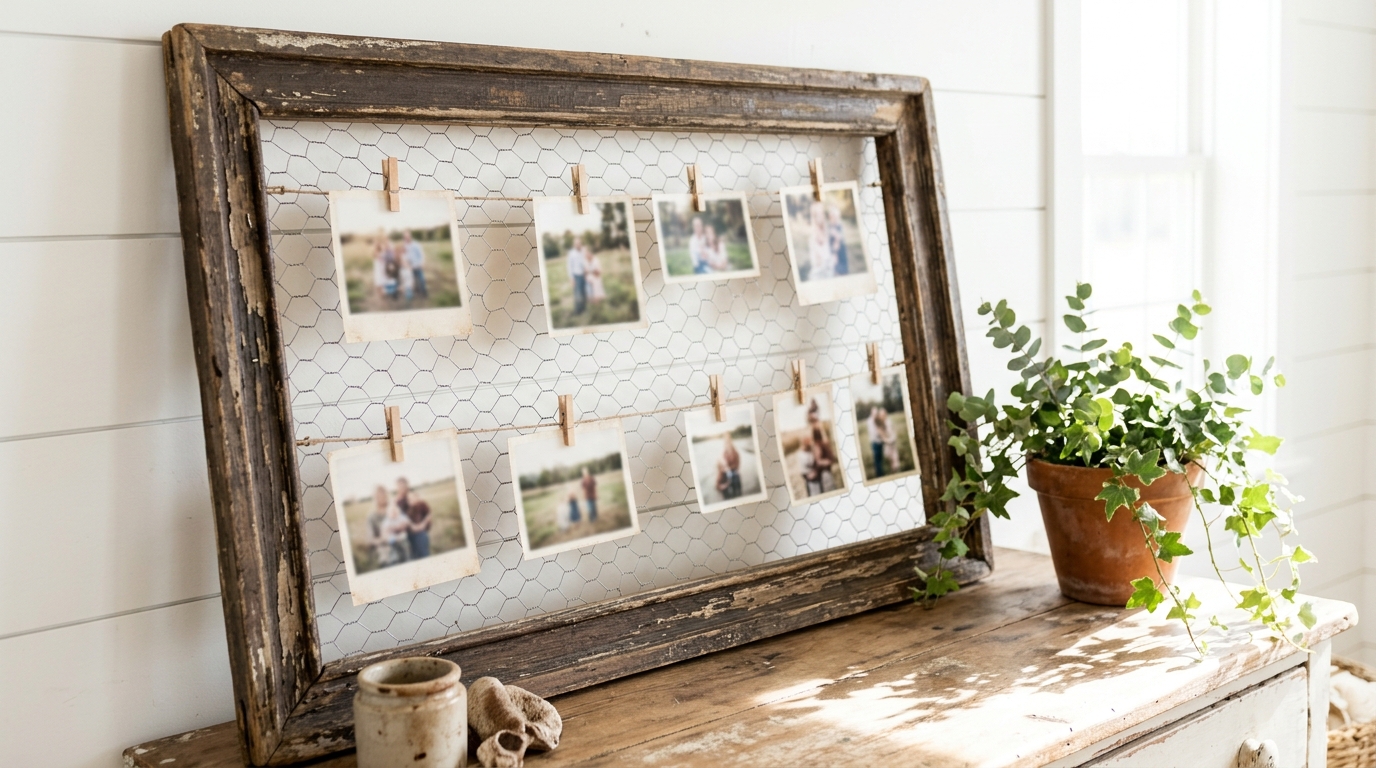
An old frame with the glass removed becomes a farmhouse style photo board with a simple roll of chicken wire. Mini clothespins hold small prints, so photos can be swapped as the grandkids grow and new pictures arrive. It looks rustic and charming on a dresser or in a hallway, and the frame can be painted any color. Start it off with a few favorite family photos and send fresh ones through the year. It is the gift that keeps getting updated. What color would you paint the frame?
You will need: An old wooden picture frame, a piece of chicken wire, wire cutters, a staple gun, chalk paint, a paintbrush, mini wooden clothespins and small photo prints.
How to make it: 1. Remove the glass and backing, then paint the frame and let it dry. 2. With an adult handling the wire cutters and staple gun, cut the chicken wire to size and staple it across the back. 3. Clip photos onto the wire with mini clothespins.
Photo Christmas Gifts for Grandma: A Family Recipe Book With Pictures
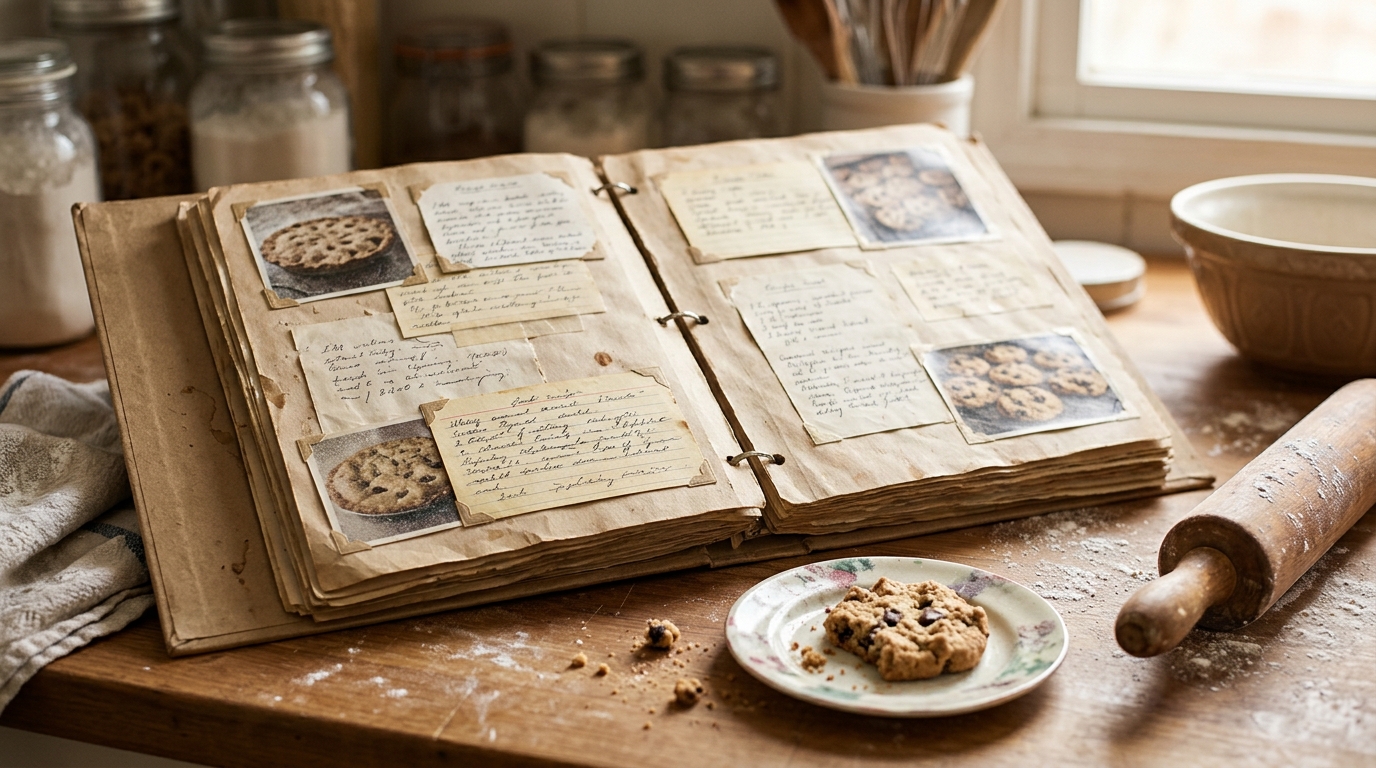
Photo Christmas Gifts do not always need faces in them. A homemade recipe book with a picture of each dish next to the recipe is a treasure for grandmas who love to bake, and a sweet way to save family favorites for the next generation. Collect recipes from aunts and cousins, snap a photo of each one, and slip the pages into a simple binder with a kraft cover. Leave a few empty pages for new recipes. It might become the most used book in the house. Which family recipe would go on page one?
You will need: A small three ring binder, kraft cardstock for the cover, printed recipe pages, photos of each dish, clear sheet protectors, a glue stick and ribbon.
How to make it: 1. Cover the binder with kraft cardstock and tie a ribbon around the spine. 2. Glue each recipe and its photo onto one page and slide it into a sheet protector. 3. Fill the binder and leave a few blank pages at the back.
Custom Family Photo Wrapping Paper
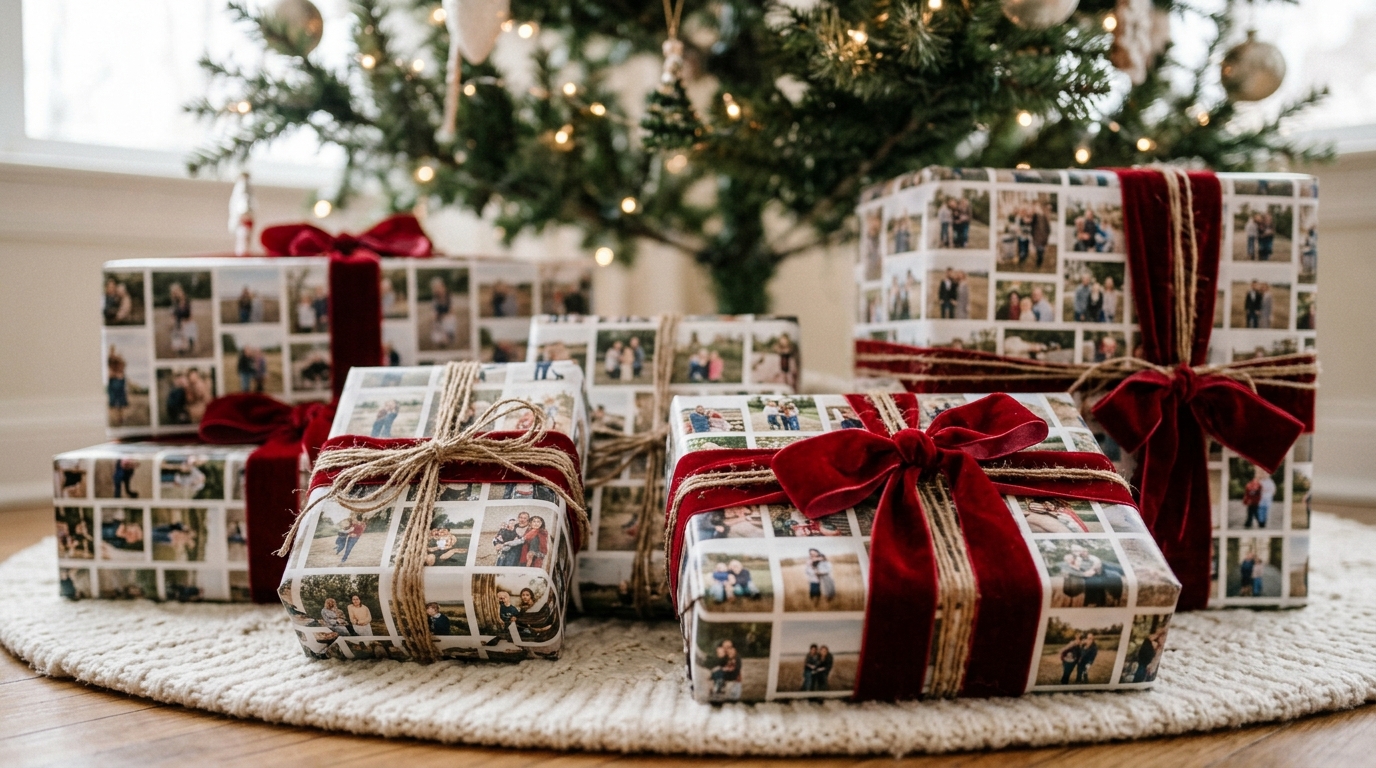
Sometimes the wrapping is the gift. Paper printed with a repeating pattern of small family photos makes grandparents stop and look before they even open the box. Many people save the paper afterward to frame or use in scrapbooks. Make a simple grid of photos on your computer and print it at a copy shop on large paper, or tile several sheets together with tape on the back. Red velvet ribbon makes it feel extra festive. Would anyone in your family dare to tear it?
You will need: A sheet of photos arranged in a grid and printed on large paper or several letter size sheets, clear tape, scissors and red velvet ribbon.
How to make it: 1. Arrange 20 to 30 small photos in a grid on your computer and print them large. 2. Tape the sheets together on the back if needed. 3. Wrap the gift and tie it with red velvet ribbon.
Instant Style Photo Garland for the Mantel
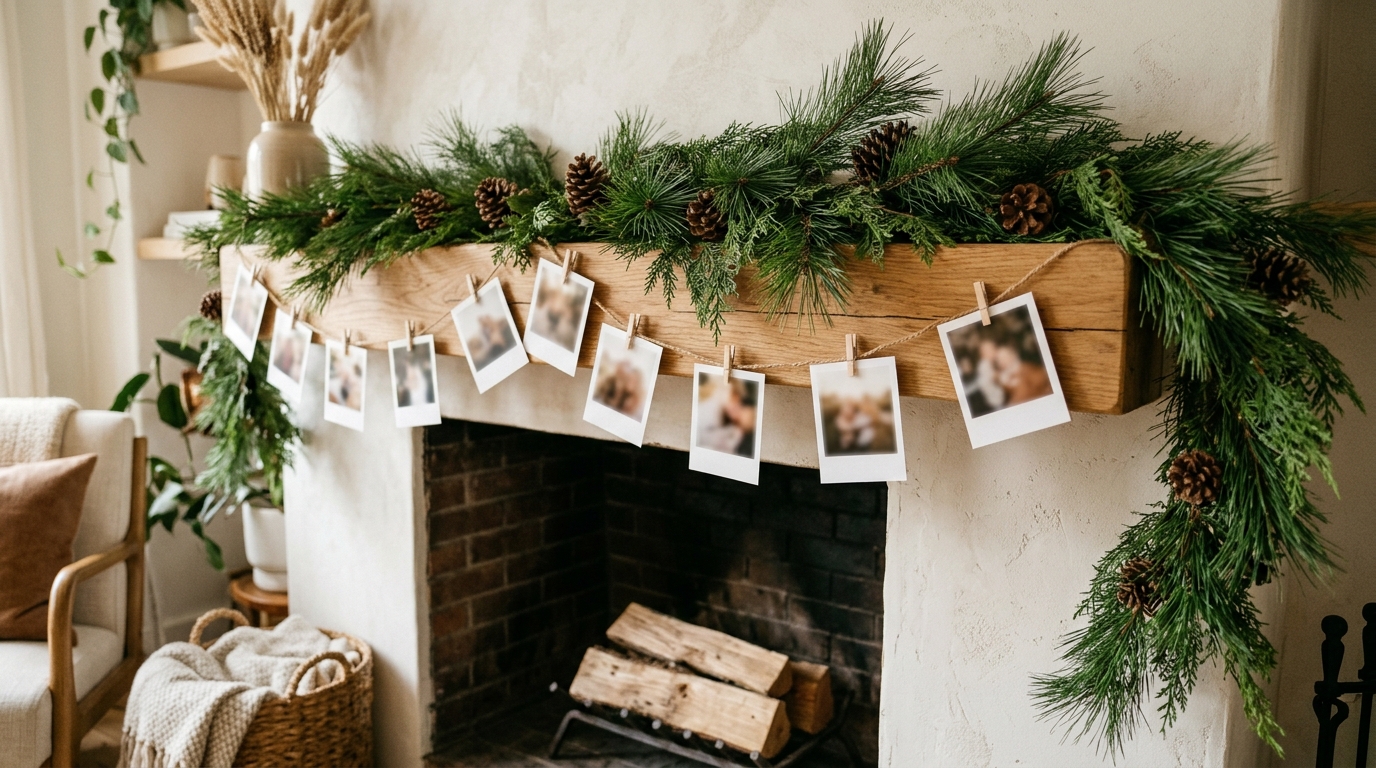
A photo garland is a gift and holiday decor at the same time. Print square photos with a white border so they look like old instant prints, then clip them along jute twine with tiny clothespins. Drape it through the pine garland on the mantel and the whole room feels personal and warm. Give it in a small box with a note saying it can hang year round. It is one of the easiest last minute ideas because all you need is a printer. As searches for DIY Christmas gifts for family are climbing fast on Google Trends, it is the perfect time to start. How many photos would fit on your mantel?
You will need: Square photo prints with a white border, a long piece of jute twine, 20 to 30 tiny wooden clothespins and two small removable hooks.
How to make it: 1. Print the photos about 3 inches square with a white border. 2. Tie the twine between two hooks along the mantel. 3. Clip the photos on with tiny clothespins, spacing them evenly through the greenery.
Photo Christmas Gifts That Tick: A Family Photo Wall Clock
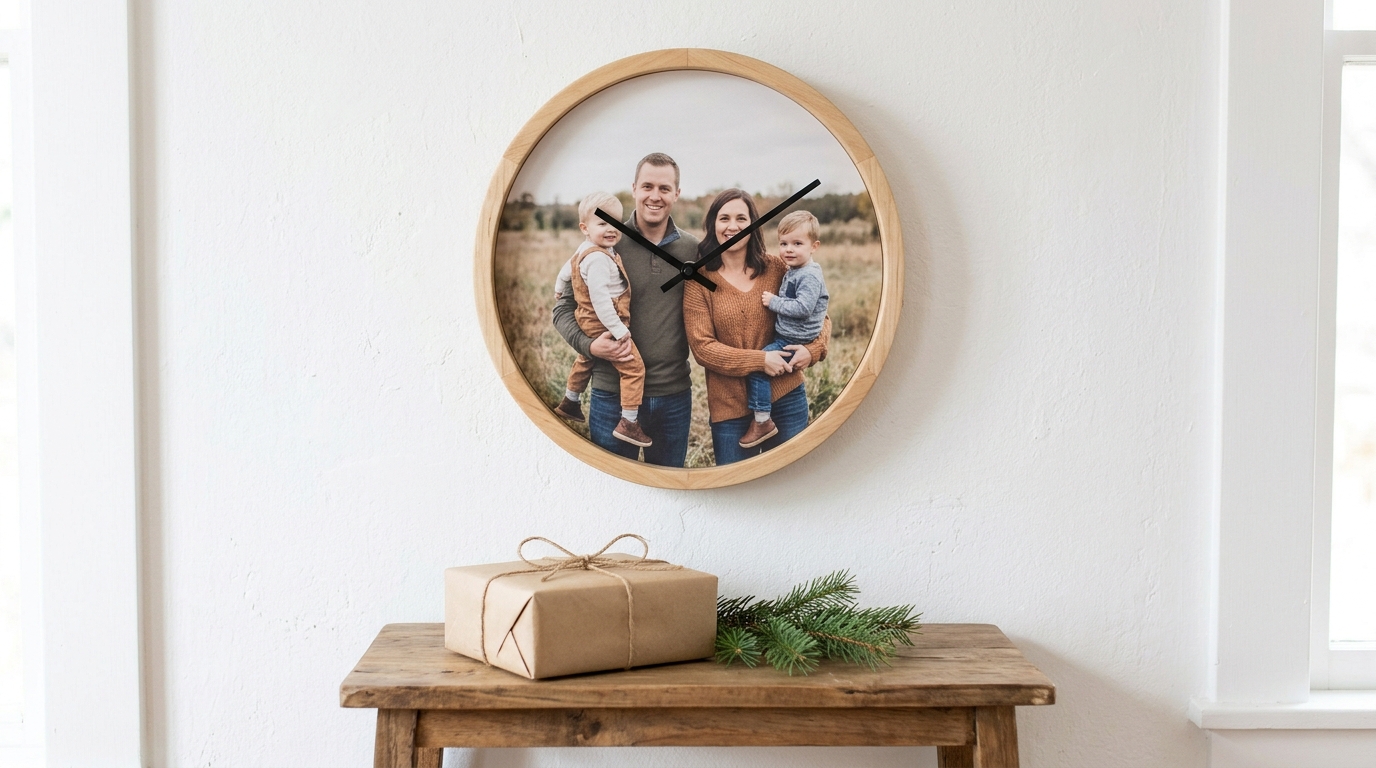
End your list of Photo Christmas Gifts with something grandparents will look at many times a day: a wall clock with a family photo as the face. A simple clock kit from the craft store fits through a hole in a round wood board, and the photo is glued on with decoupage glue before the hands go on. Every time they check the time, they see the family smiling back. Choose a photo with the faces off center so the hands do not cover anyone. Which room in their home would it hang in?
You will need: A round wood board about 10 inches wide with a center hole, a clock movement kit with hands, a round photo print, decoupage glue, a foam brush, a battery and a wall hook.
How to make it: 1. Glue the photo onto the board, cut a small slit at the center hole and seal it with one more coat. 2. Once dry, push the clock movement through from the back and attach the hands. 3. Add the battery, set the time and hang it up.