Norman Rockwell Thanksgiving: 13 Vintage DIY Touches for a Picture Perfect Table
Norman Rockwell Thanksgiving dinners live in our imagination as the warmest family gatherings of all: a crisp white tablecloth, a golden turkey, sparkling glass dishes and happy faces all around. You do not need antiques or a big budget to bring that feeling home. Most of the charm comes from simple handmade touches, thrifted dishes and old fashioned details that anyone can recreate in a weekend. We gathered 13 easy vintage DIY ideas inspired by that classic American table, from hand stitched linens and pressed glass to a homemade cornucopia and little cards that remind everyone what they are thankful for. Pick a few, set the table early and let the nostalgia do the rest..
Norman Rockwell Thanksgiving Starts With the Classic Family Table
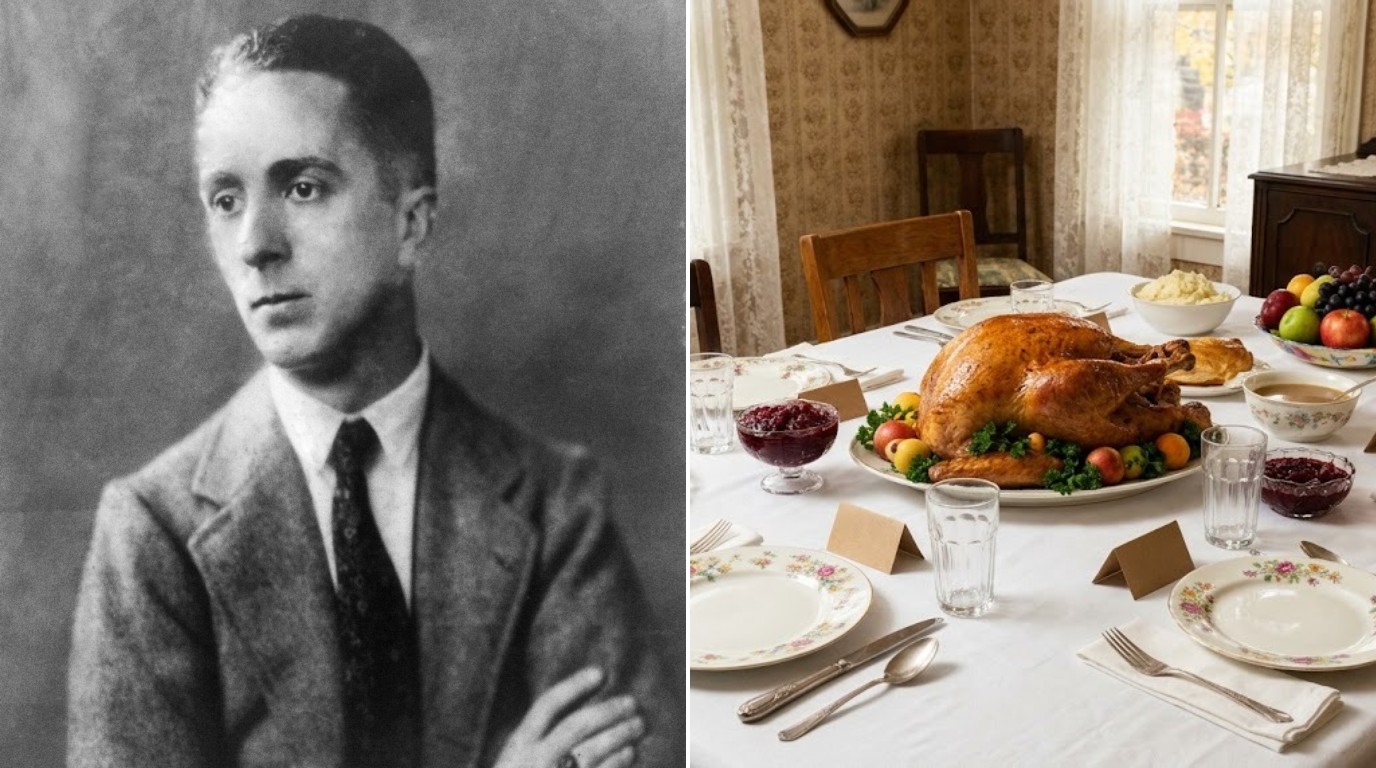
Norman Rockwell (1894 to 1978) painted hundreds of covers for The Saturday Evening Post, and his 1942 painting Freedom from Want, often called The Thanksgiving Picture, became the most famous image of an American family holiday. It ran in the magazine on March 6, 1943, and family and friends from Arlington, Vermont posed for it. The table it shows is simple: white linen, a big turkey, glass dishes and people who love each other. That is the feeling these DIY touches will bring to your home. Ready to set a table worth remembering..
You will need: A white tablecloth, your favorite serving platter, simple glass dishes, a few handmade details from the ideas below.
How to make it: 1. Start with a white cloth and a centerpiece platter. 2. Add glass dishes and simple handmade decor. 3. Leave space for family to pass dishes around.
A Crisp White Tablecloth With a Hand Stitched Hem
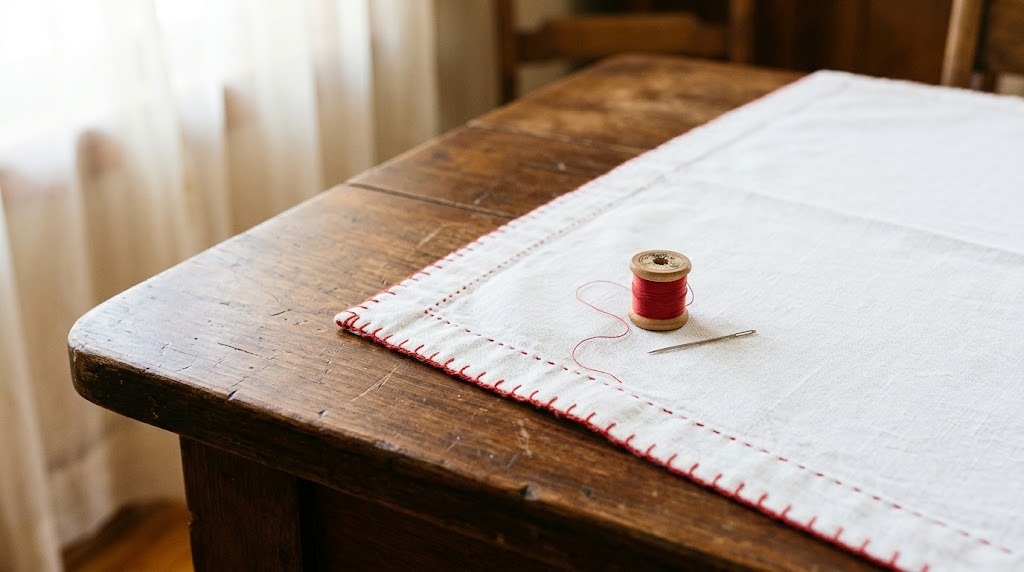
The classic vintage table always starts with a bright white cloth. You can make your own from a length of cotton sheeting, finishing the edges with a simple hand stitched hem. A running stitch in red thread adds a sweet homemade touch that guests will notice up close. Iron it the day before so it looks crisp and fresh. Cotton washes easily after the gravy spills, and it will be ready again for Christmas dinner. Have you ever hemmed a tablecloth by hand?
You will need: White cotton fabric cut to size, red embroidery floss, a needle, pins, an iron.
How to make it: 1. Fold each edge under twice and press with the iron. 2. Pin the folds in place. 3. Sew a neat running stitch along the hem in red thread.
Norman Rockwell Thanksgiving Sparkle From Vintage Pressed Glass
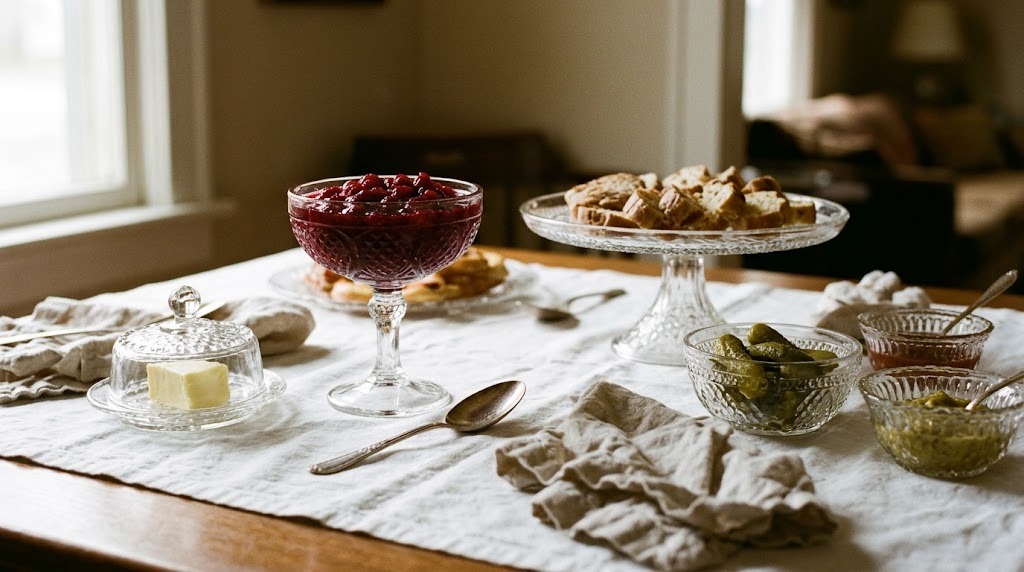
Clear pressed glass catches the light and makes any table feel festive and old fashioned. Thrift stores and flea markets are full of footed compotes, cake stands and butter dishes for a few dollars each. Mixed patterns look charming together, as if they were collected over a lifetime. Fill them with cranberry sauce, pickles and butter, and the colors glow against the white cloth. Wash them by hand to keep the shine. Do you already have a piece or two in the cupboard?
You will need: Thrifted pressed glass compotes, cake stands and small dishes, warm soapy water, a soft towel.
How to make it: 1. Hunt for pressed glass pieces at thrift stores and yard sales. 2. Wash and polish them until they sparkle. 3. Group different heights down the center of the table.
Hand Lettered Kraft Paper Place Cards
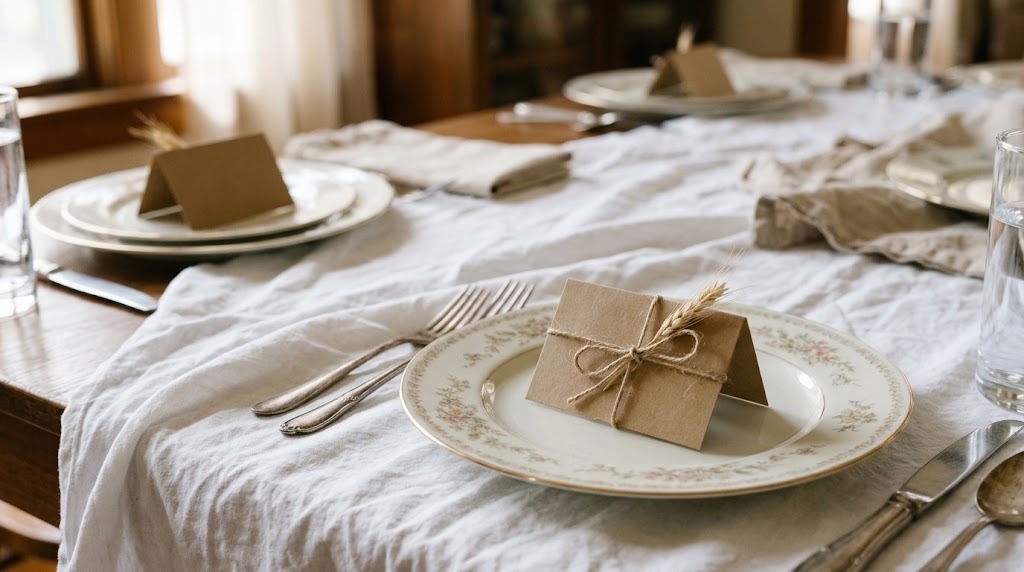
Place cards make every guest feel expected and loved. Fold small rectangles of kraft paper, write each name by hand in your best script and tie them with twine and a tiny sprig of dried wheat. They look like something from a farmhouse wedding, yet they cost pennies. Ask a child with neat handwriting to help write the names. After dinner, guests often tuck them into a purse as a keepsake. Will you write names or little nicknames?
You will need: Kraft cardstock, scissors, a calligraphy or felt tip pen, jute twine, dried wheat or grass stems.
How to make it: 1. Cut cards about 3 by 4 inches and fold them in half. 2. Write each name on the front. 3. Tie twine around the fold and tuck in a wheat sprig.
The Classic Celery and Relish Tray
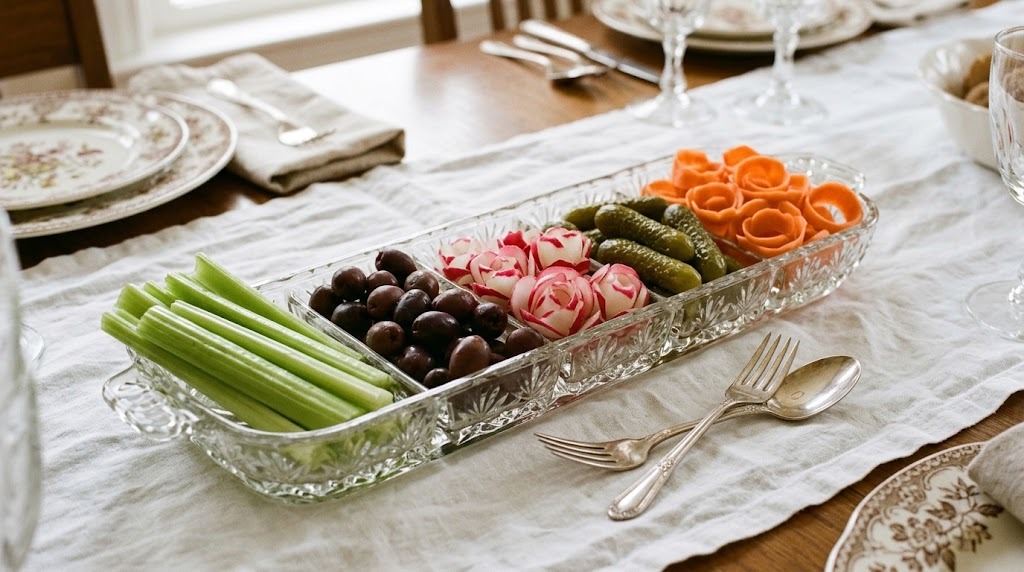
No vintage holiday table was complete without a relish tray. Long glass trays filled with celery sticks, olives, pickles and radishes were a must on mid century tables. They add crunch, color and a dose of nostalgia that older relatives will love. Make radish roses and carrot curls with a vegetable peeler for extra charm, with an adult handling the knife. It is also a light snack for guests waiting for the turkey. Does your family still serve one?
You will need: A long glass relish tray, celery, olives, radishes, pickles, carrots, a vegetable peeler, a small knife (adult help).
How to make it: 1. Cut celery into sticks and carrots into thin curls with the peeler. 2. Make small cuts in the radishes and chill them in ice water so they open. 3. Arrange everything in neat rows on the tray.
A DIY Cornucopia From a Woven Basket
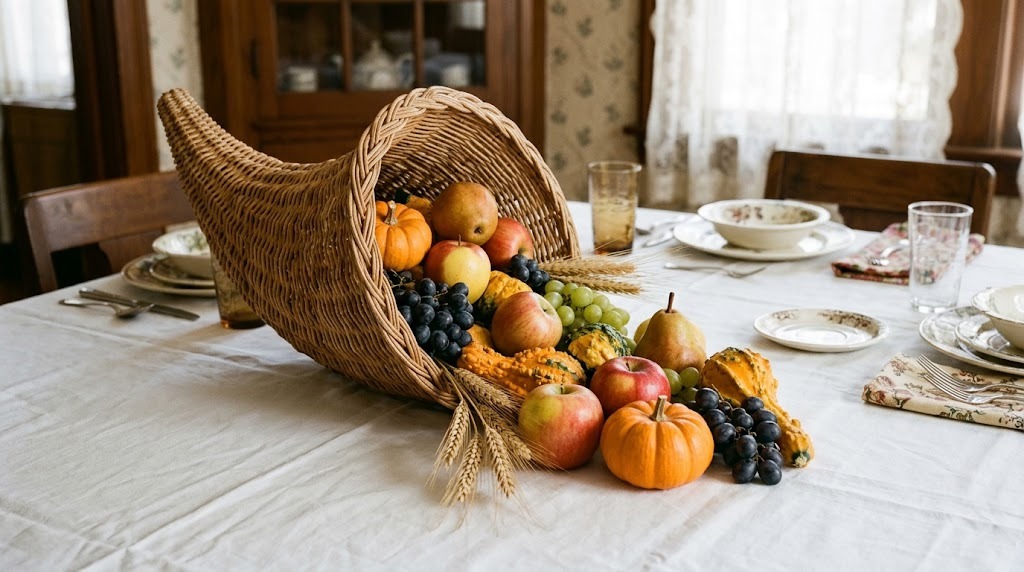
The horn of plenty is the classic symbol of a generous harvest, and it is having a big comeback this year. Look for a woven horn basket at a thrift or craft store, or shape one from rolled grapevine. Lay it on its side and let small pumpkins, gourds, apples, pears and grapes spill out across the table. Tuck in stalks of wheat for height. After dinner, the fruit can go straight into pies and snacks. What would you put in your horn of plenty?
You will need: A wicker cornucopia basket, mini pumpkins and gourds, apples, pears, grapes, dried wheat stalks.
How to make it: 1. Lay the basket on its side in the center of the table. 2. Fill the opening with the largest pieces first. 3. Let smaller fruit and wheat spill out across the cloth.
Mismatched Thrift Store China
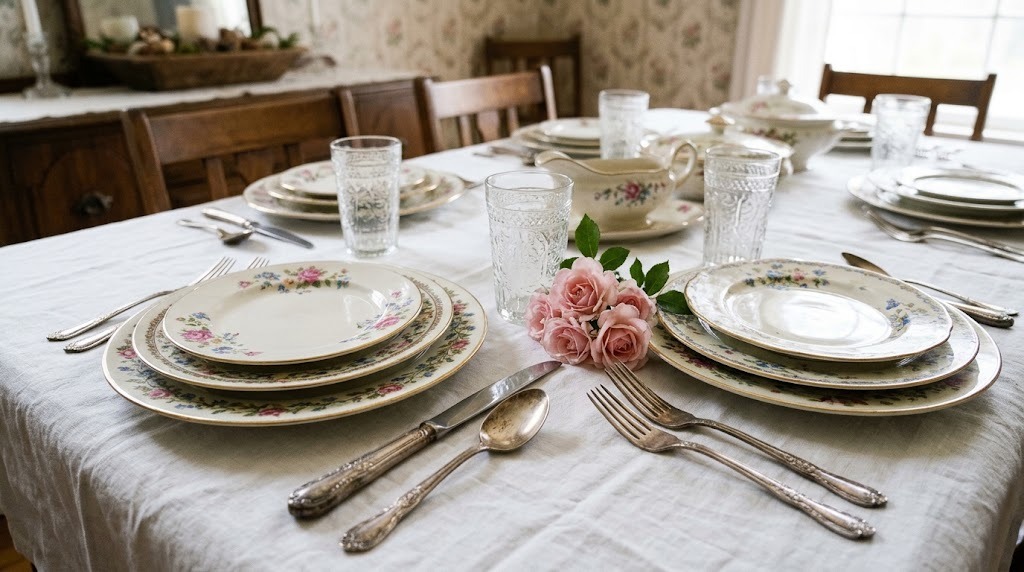
Mismatched floral china is one of the easiest ways to get that grandma style table, and it costs far less than a matching set. Pick plates that share one color, like pink, blue or gold trim, so the mix looks planned. Thrift stores, estate sales and church rummage sales are full of single plates for a dollar or two. Every guest gets a different pattern, which always starts a conversation. If you love a thrifted look, our napkin decoupage ideas turn plain thrift finds into treasures too. Which color would tie your set together?
You will need: Thrifted dinner and salad plates in one color family, warm soapy water, a soft towel.
How to make it: 1. Choose one common color or trim. 2. Collect one plate per guest in different patterns. 3. Stack each dinner plate with a different salad plate on top.
Hand Stamped Linen Napkins
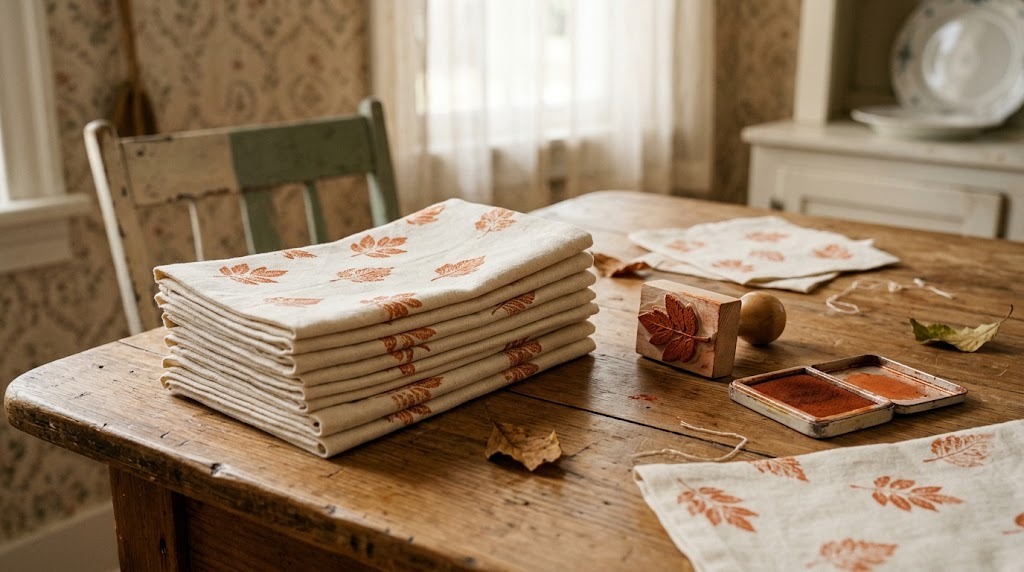
Plain cotton or linen napkins become heirlooms with a simple carved stamp. Cut a leaf shape from a rubber eraser or use a real leaf, dab it with fabric paint and press it onto the corner of each napkin. Rust orange, deep red and mustard yellow feel warm and autumnal. Heat set the paint with an iron so the napkins can be washed again and again. This is a relaxing craft for an afternoon before the holiday. How many leaves will go on each napkin?
You will need: Plain cream napkins, a leaf stamp or real leaves, fabric paint in fall colors, a foam brush, an iron.
How to make it: 1. Brush a thin layer of fabric paint onto the stamp. 2. Press it firmly onto the corner of each napkin. 3. Let it dry and heat set with an iron as the paint label directs.
Gingham Ribbon Napkin Rings
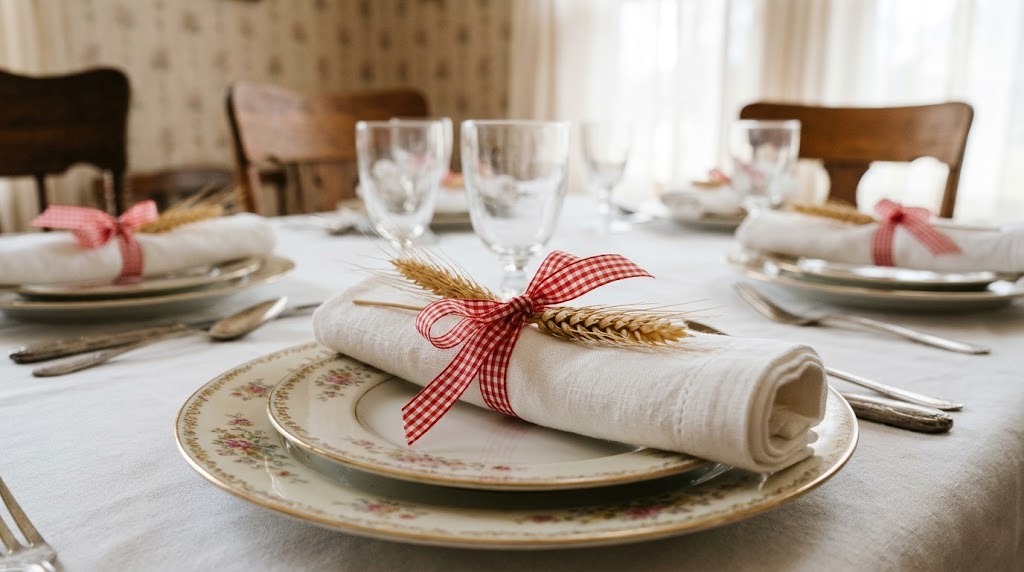
Red and white gingham is pure country kitchen nostalgia. Instead of buying napkin rings, roll each napkin and tie it with a length of gingham ribbon in a neat bow. Tuck a sprig of dried wheat or a small leaf into the knot. The look is homey, cheerful and very old fashioned in the best way. A single roll of ribbon covers a whole table, and you can reuse the bows next year. Is gingham your favorite pattern too?
You will need: A roll of red and white gingham ribbon, white or cream napkins, dried wheat sprigs, scissors.
How to make it: 1. Roll or fold each napkin into a neat bundle. 2. Tie a gingham bow around the middle. 3. Tuck a wheat sprig under the knot and set it on the plate.
Norman Rockwell Thanksgiving Place Holders From Cream Painted Pumpkins
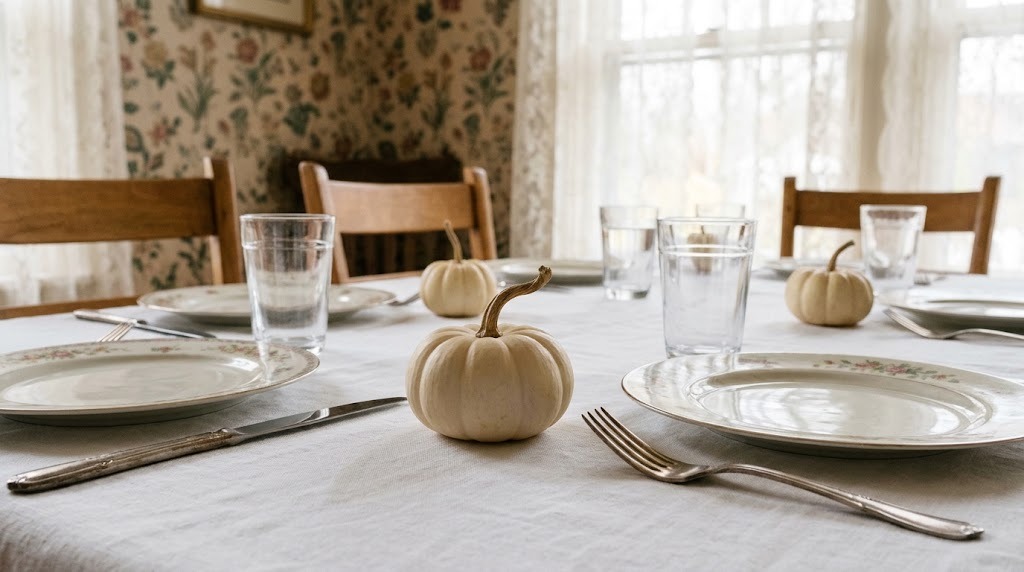
Mini pumpkins painted a soft cream look calm and elegant next to vintage china. A quick coat of chalk paint gives a velvety finish that feels like an old farmhouse. Set one at each place, or write a name on a little tag tied to the stem. They also look lovely grouped in the middle of the table. Kids can help paint, since there is nothing sharp involved. After the holiday, line them up on the porch for the rest of the season. Cream, white or sage?
You will need: Mini pumpkins, cream or ivory chalk paint, a foam brush, small tags and twine (optional).
How to make it: 1. Wipe the pumpkins clean and dry. 2. Paint two thin coats of cream, avoiding the stem. 3. Add a name tag to each stem if you like.
Retro Paper Honeycomb Turkey Decor
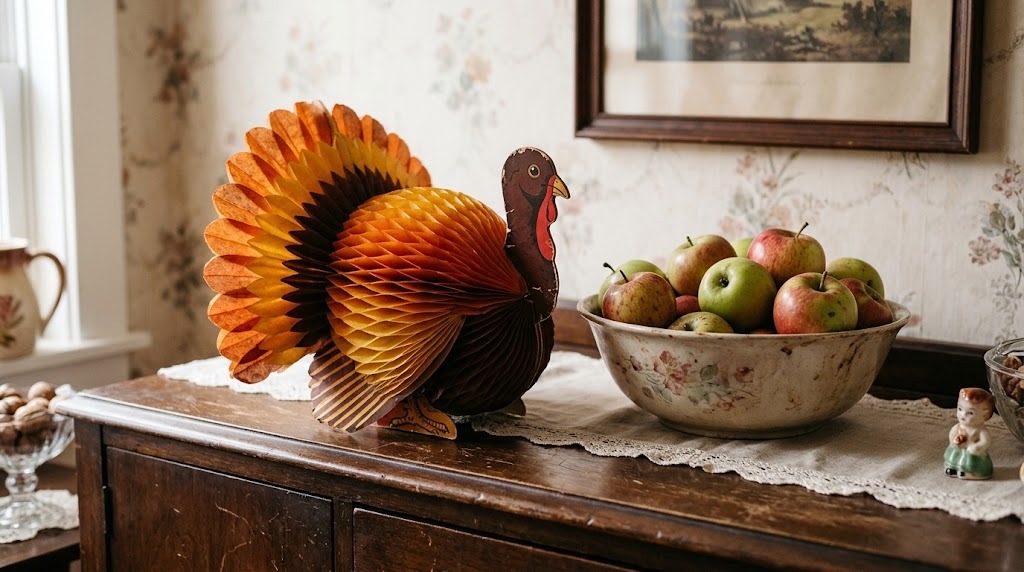
Fold out paper turkeys with honeycomb tails were a staple of mid century holidays, and they still bring a smile. You can make your own with honeycomb paper or tissue paper layers cut into a half circle and glued in a zigzag pattern. Add a cardstock head and the tail fans open into a fluffy feathered turkey. They look adorable on a sideboard, a mantel or the kids table. For more simple ideas like this, see our turkey crafts for kids. Will you make one or a whole flock?
You will need: Honeycomb paper or layered tissue paper in orange, yellow and brown, cardstock, glue stick, scissors.
How to make it: 1. Cut the honeycomb paper into a half circle. 2. Glue a cardstock turkey head and body to the flat side. 3. Open the tail into a fan and clip it in place.
Norman Rockwell Thanksgiving Gratitude Cards in Each Glass
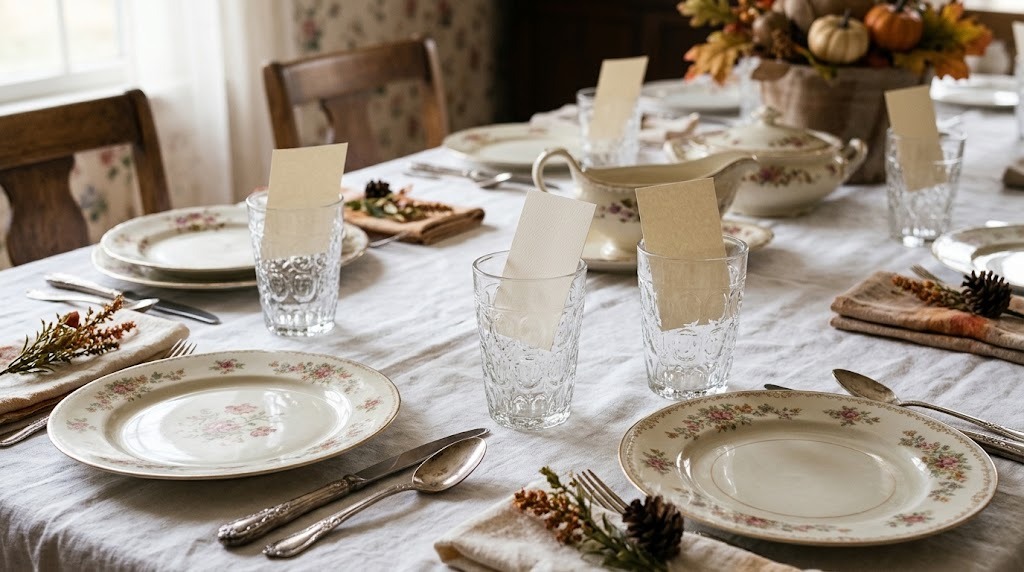
This simple idea captures the true spirit of the holiday. Tuck a small blank card into each guest’s glass with a question like what made you smile this year. Before dessert, everyone reads their answer out loud. It turns a busy meal into a moment of real connection, just like the warm faces around that famous painted table. Keep the cards in a jar and read them again next Thanksgiving. Even shy guests usually love joining in. What would you write on yours?
You will need: Small cream cards, a pen, vintage glasses, ribbon (optional).
How to make it: 1. Cut cards about 2 by 3 inches. 2. Write a short gratitude question on each. 3. Tuck one into every glass before guests sit down.
A Norman Rockwell Thanksgiving Buffet With a Lace Runner
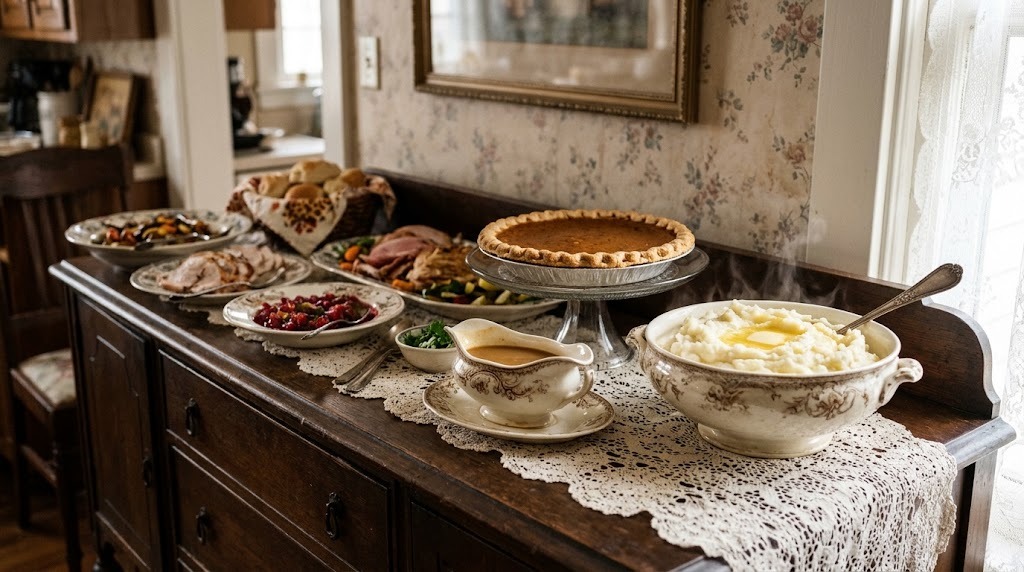
If your table is too small for every dish, set up a buffet on a sideboard, just like grandma used to. A white lace runner, thrifted or inherited, instantly sets the vintage mood. Line up the pies on cake stands, the gravy boat and big bowls of potatoes and stuffing. Use the same pressed glass and floral china from the table so everything feels connected. Guests can serve themselves and come back for seconds. Who in your family always goes back for more pie?
You will need: A white lace runner, vintage serving platters, cake stands, a gravy boat, serving spoons.
How to make it: 1. Lay the lace runner along the sideboard. 2. Place tall items like pies at the back and bowls in front. 3. Put plates at one end and napkins at the other.