Santa’s Workshop Decor: 16 Cozy DIY Ideas That Turn Your Home Into the North Pole on a Budget
Santa’s workshop decor is the sweetest way to turn an ordinary living room into a little North Pole this Christmas. Think wooden toys on a scuffed workbench, ribbon spools lined up like tools, stacks of kraft paper gifts and a cozy plaid throw waiting by the tree. The best part is that most of this look comes from things you already own or can find at a thrift store for a few dollars. An old desk, a couple of fruit crates and a roll of twine do most of the heavy lifting. Below are 16 easy ideas, from a sign post and crate cubbies to flour boot prints and reindeer feed jars, each with a short supply list and simple steps. Pick two or three for a quick refresh, or build the full workshop with your kids one weekend at a time..
Santa’s Workshop Decor Starts With an Old Desk Workbench
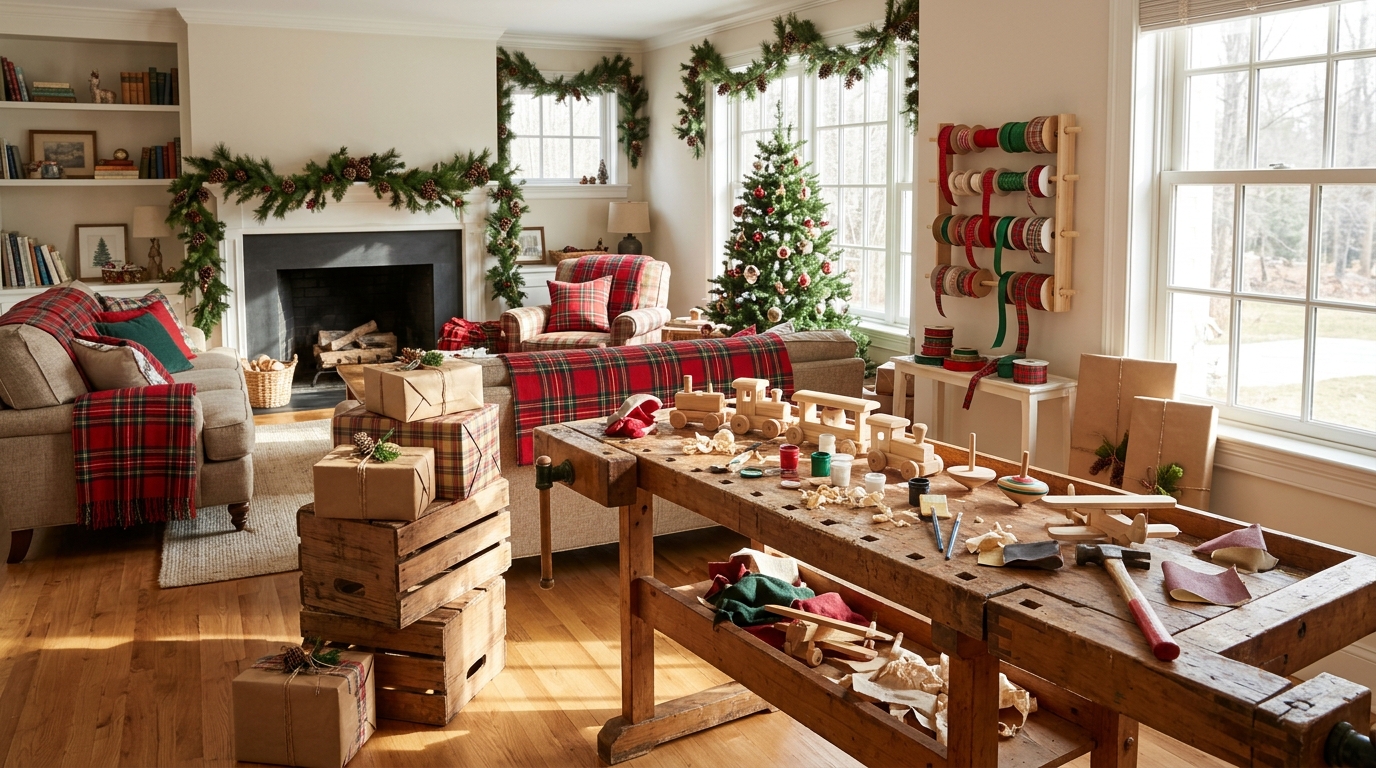
This cozy trend took off when a dad named Mason Smith shared a short video of his living room turned into Santa’s workshop, and it pulled in about 15 million views. The heart of any Santa’s workshop decor is a busy workbench. An old desk or a sturdy console table works perfectly. Pile it with wooden toys, a tin of simple tools, ribbon and a few wrapped boxes so it looks like the elves just stepped away. If you like handmade wooden gifts, this is the perfect place to show them off..
You will need: an old desk or console table, wooden toys, a tin can, a few hand tools, ribbon spools, kraft paper gifts.
How to make it: 1. Clear the desk and lay down a strip of brown kraft paper as a work mat. 2. Group wooden toys in the center, tools in a tin on one side and ribbon on the other. 3. Add two or three wrapped boxes and a sprig of pine at the back corner.
Kraft Paper Gifts Tied With Red Twine

Real workshops are full of finished orders, so every corner needs a stack of wrapped gifts. Plain kraft and white paper look handmade and cost very little, and red baker’s twine makes them feel like they came straight off the sleigh. Empty boxes work just as well as real presents for display. Wrap a few cereal boxes and shoe boxes in different sizes, then tuck a sprig of pine or a bit of greenery under the twine. Our easy gift wrapping tricks make the bows go faster.
You will need: empty boxes, kraft paper, white paper, red and white baker’s twine, tape, pine sprigs.
How to make it: 1. Wrap boxes in kraft or white paper with neat folded ends. 2. Wind twine around each box twice in both directions and tie a small bow. 3. Slide a pine sprig under the knot and stack the boxes largest to smallest.
Santa’s Workshop Decor North Pole Sign Post
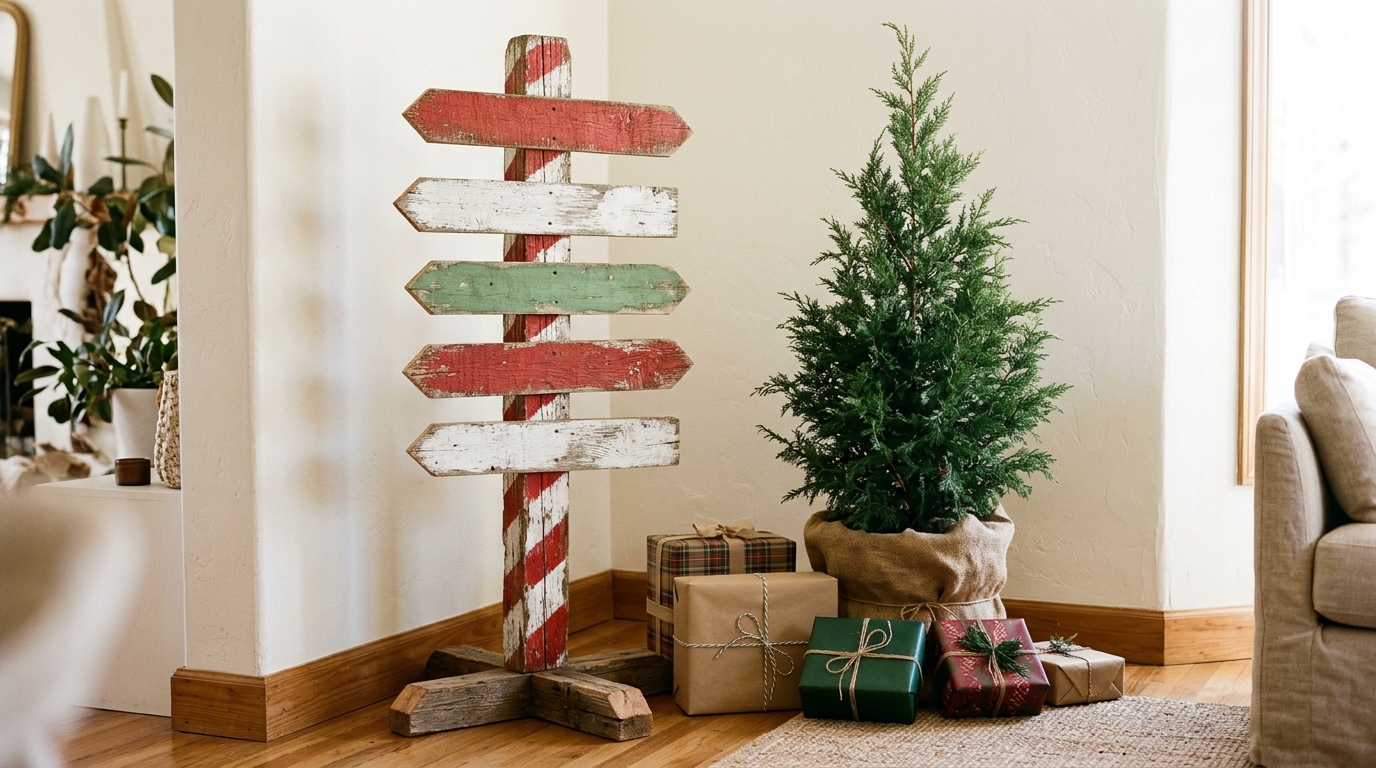
A painted sign post is the landmark that tells everyone they have arrived. Cut a few old boards into arrow shapes and paint them in red, white and green, then mount them on a pole wrapped in striped paint. You can leave the arrows plain, or stencil short names like North Pole and Toy Shop if you want. This piece of Santa’s workshop decor fits nicely in an empty corner next to a potted tree. Leftover boards from fence picket crafts are perfect here.
You will need: old boards or fence pickets, a 2×2 post, a wooden base, red, white and green paint, painter’s tape, wood glue, small nails.
How to make it: 1. Cut one end of each board into a point and sand the edges. 2. Paint the arrows and tape stripes onto the post for a candy stripe finish. 3. Glue and nail the arrows to the post at different angles and attach the post to a heavy base.
A Wooden Rocking Horse on the Toy Shelf
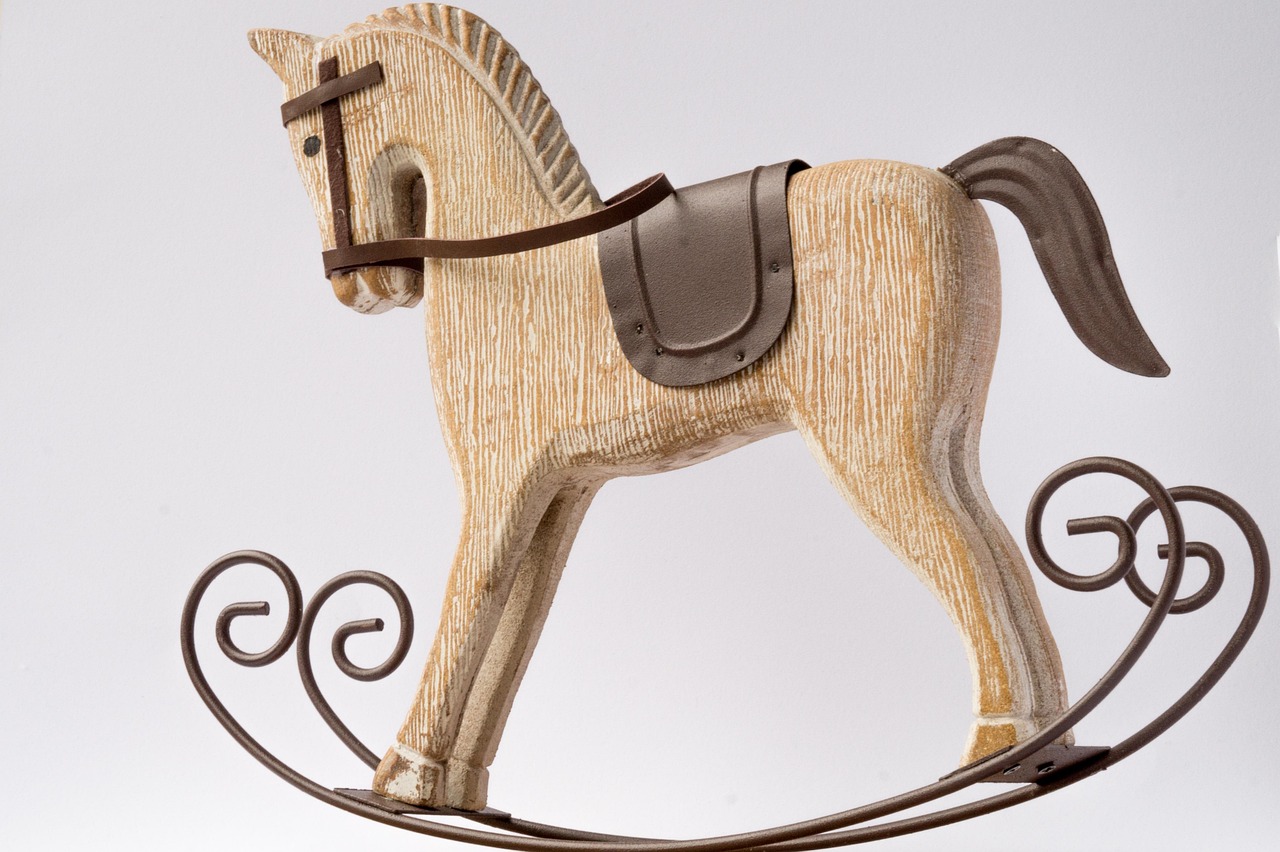
Nothing says old fashioned toy maker like a wooden rocking horse. You do not need an antique. A small decorative one from a craft store or a thrift shop fits on a shelf and instantly sets the mood. Place it on a shelf with wooden blocks, a spinning top and a little toy train so it looks like finished work waiting for delivery. A styled holiday bookshelf gives you the perfect stage, so clear one shelf just for toys this season.
You will need: a small wooden rocking horse, wooden blocks, a spinning top, a few vintage style toys, a shelf.
How to make it: 1. Clear one shelf and wipe it down. 2. Set the rocking horse slightly off center as the star piece. 3. Fill in around it with blocks and small toys in odd numbers, keeping the colors to red, green and natural wood.
Santa’s Workshop Decor Elf Cubbies From Stacked Crates
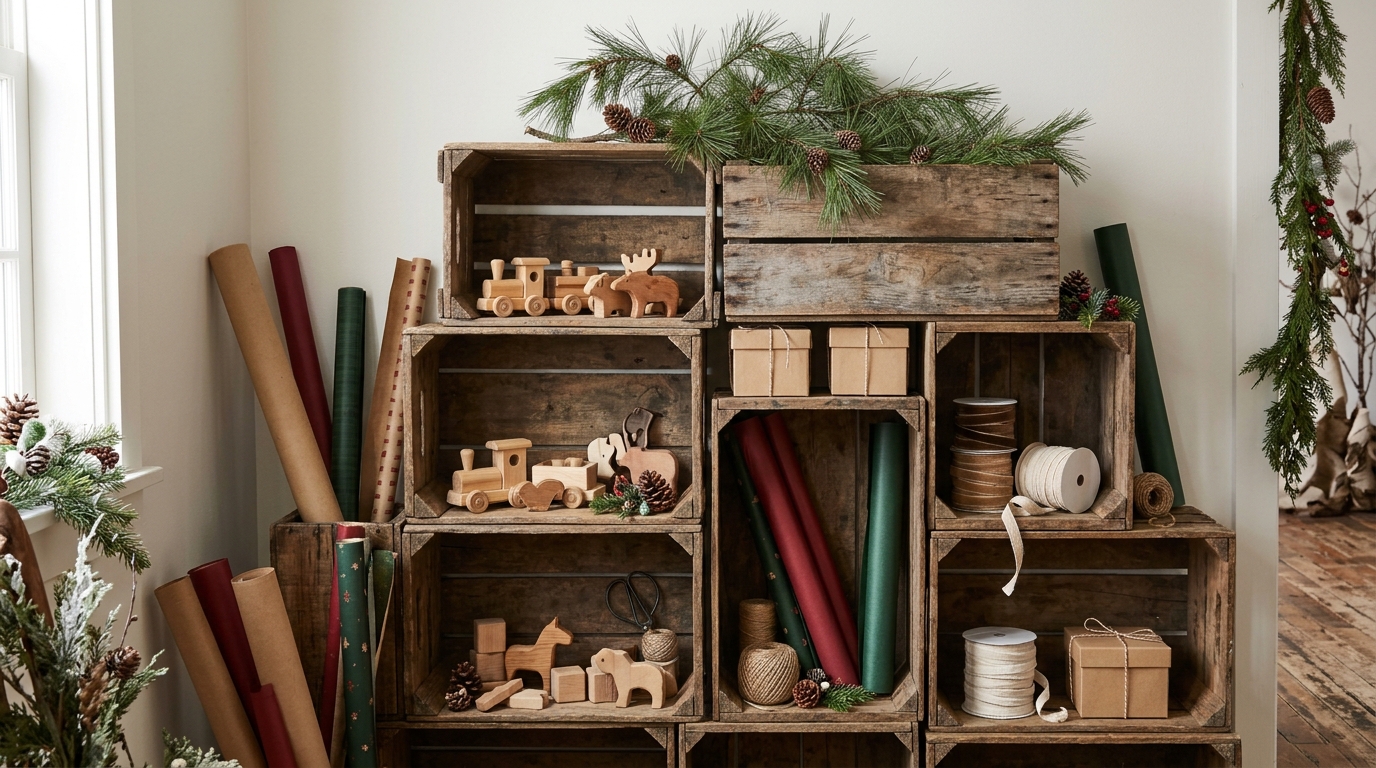
Every elf needs a place for their supplies, and stacked fruit crates make the cutest cubbies. Turn the crates on their sides and stack them in a staggered pattern against a wall. Fill each opening with something different, like wooden toys, rolled paper, spools of twine and tiny gift boxes. This bit of Santa’s workshop decor also hides real clutter during the busy season. You will find more wooden crate ideas if you fall in love with the look.
You will need: four to six wooden fruit crates, sandpaper, wood stain or clear finish, small brackets, pine sprigs, toys and supplies to fill.
How to make it: 1. Sand any rough edges and add a light stain if you want a warmer color. 2. Stack the crates on their sides and join them with small brackets for safety. 3. Fill each cubby and tuck a sprig of pine on top.
Velvet Ribbon Spools for the Bow Station
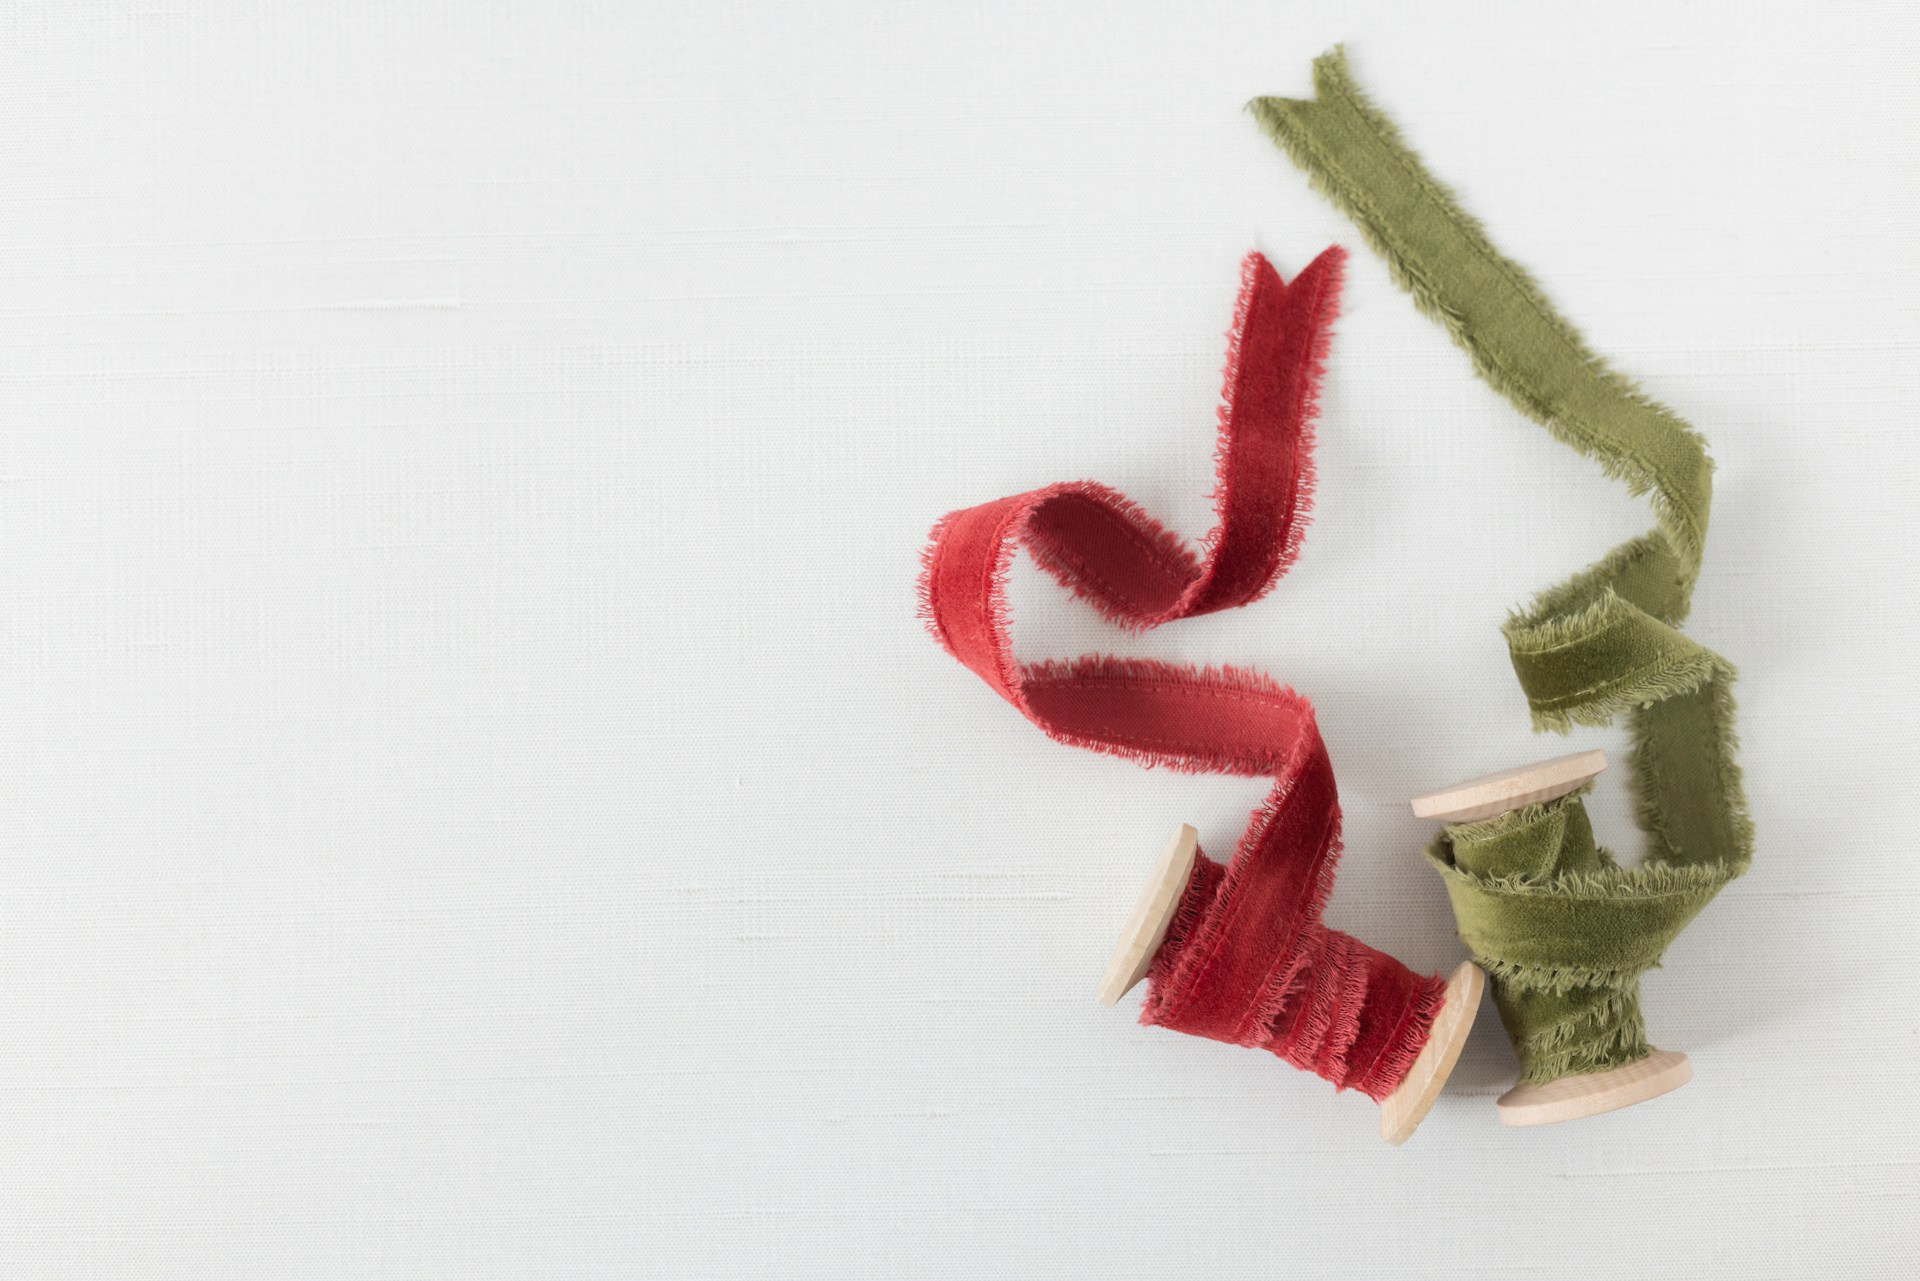
Ribbon is the elves’ favorite supply, so give it a spot where everyone can see it. Rich velvet ribbon in red and deep green looks expensive and feels cozy. Slide the spools onto a wooden dowel set between two brackets, or simply line them up in a shallow tray on the workbench. Pull a few tails loose so it looks like someone is mid project. Use the same ribbon for big holiday bows on the tree and the front door so every room ties together.
You will need: velvet ribbon spools in red and green, a wooden dowel, two shelf brackets or a shallow tray.
How to make it: 1. Mount two brackets on the wall about the width of your dowel. 2. Slide the ribbon spools onto the dowel and set it in place. 3. Let a few ribbon ends hang down and trim them with a neat V cut.
Santa’s Workshop Decor Wrapping Paper Wall
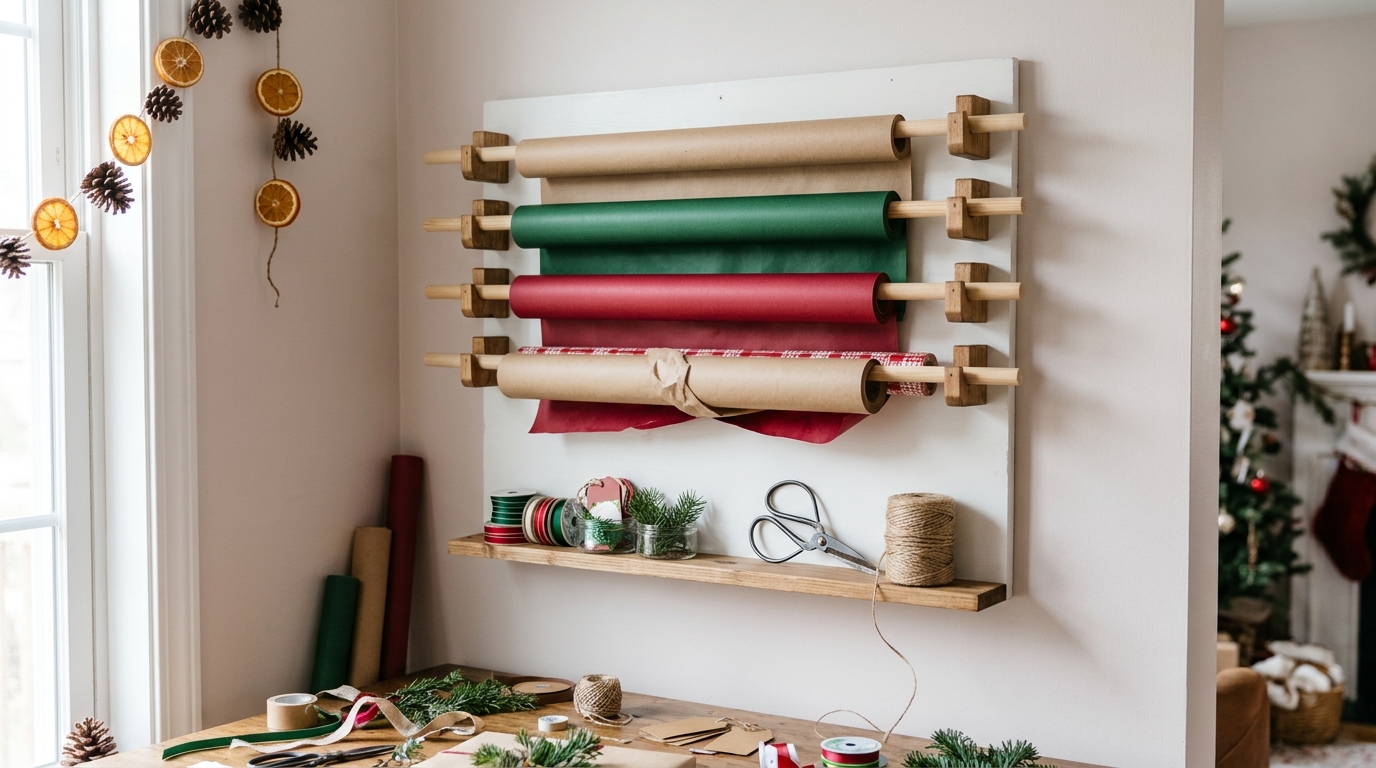
A wrapping paper station looks like part of the set and keeps your rolls from getting crushed. Mount wooden dowels across a painted board and hang rolls of red, green and kraft paper from them. Add a small shelf below for scissors, tape and twine. This kind of Santa’s workshop decor is pretty to look at and useful all month long, especially when the gift pile grows. It also works as one of the smart holiday storage hacks you will be glad you set up early.
You will need: a painted board or plywood panel, three or four wooden dowels, dowel brackets, a small shelf, wrapping paper rolls, scissors, twine.
How to make it: 1. Paint the board white and let it dry. 2. Attach dowel brackets in rows and drop in the dowels with the paper rolls. 3. Mount the board on the wall and add the shelf underneath for tools.
Red Plaid Throw for the Cozy Corner
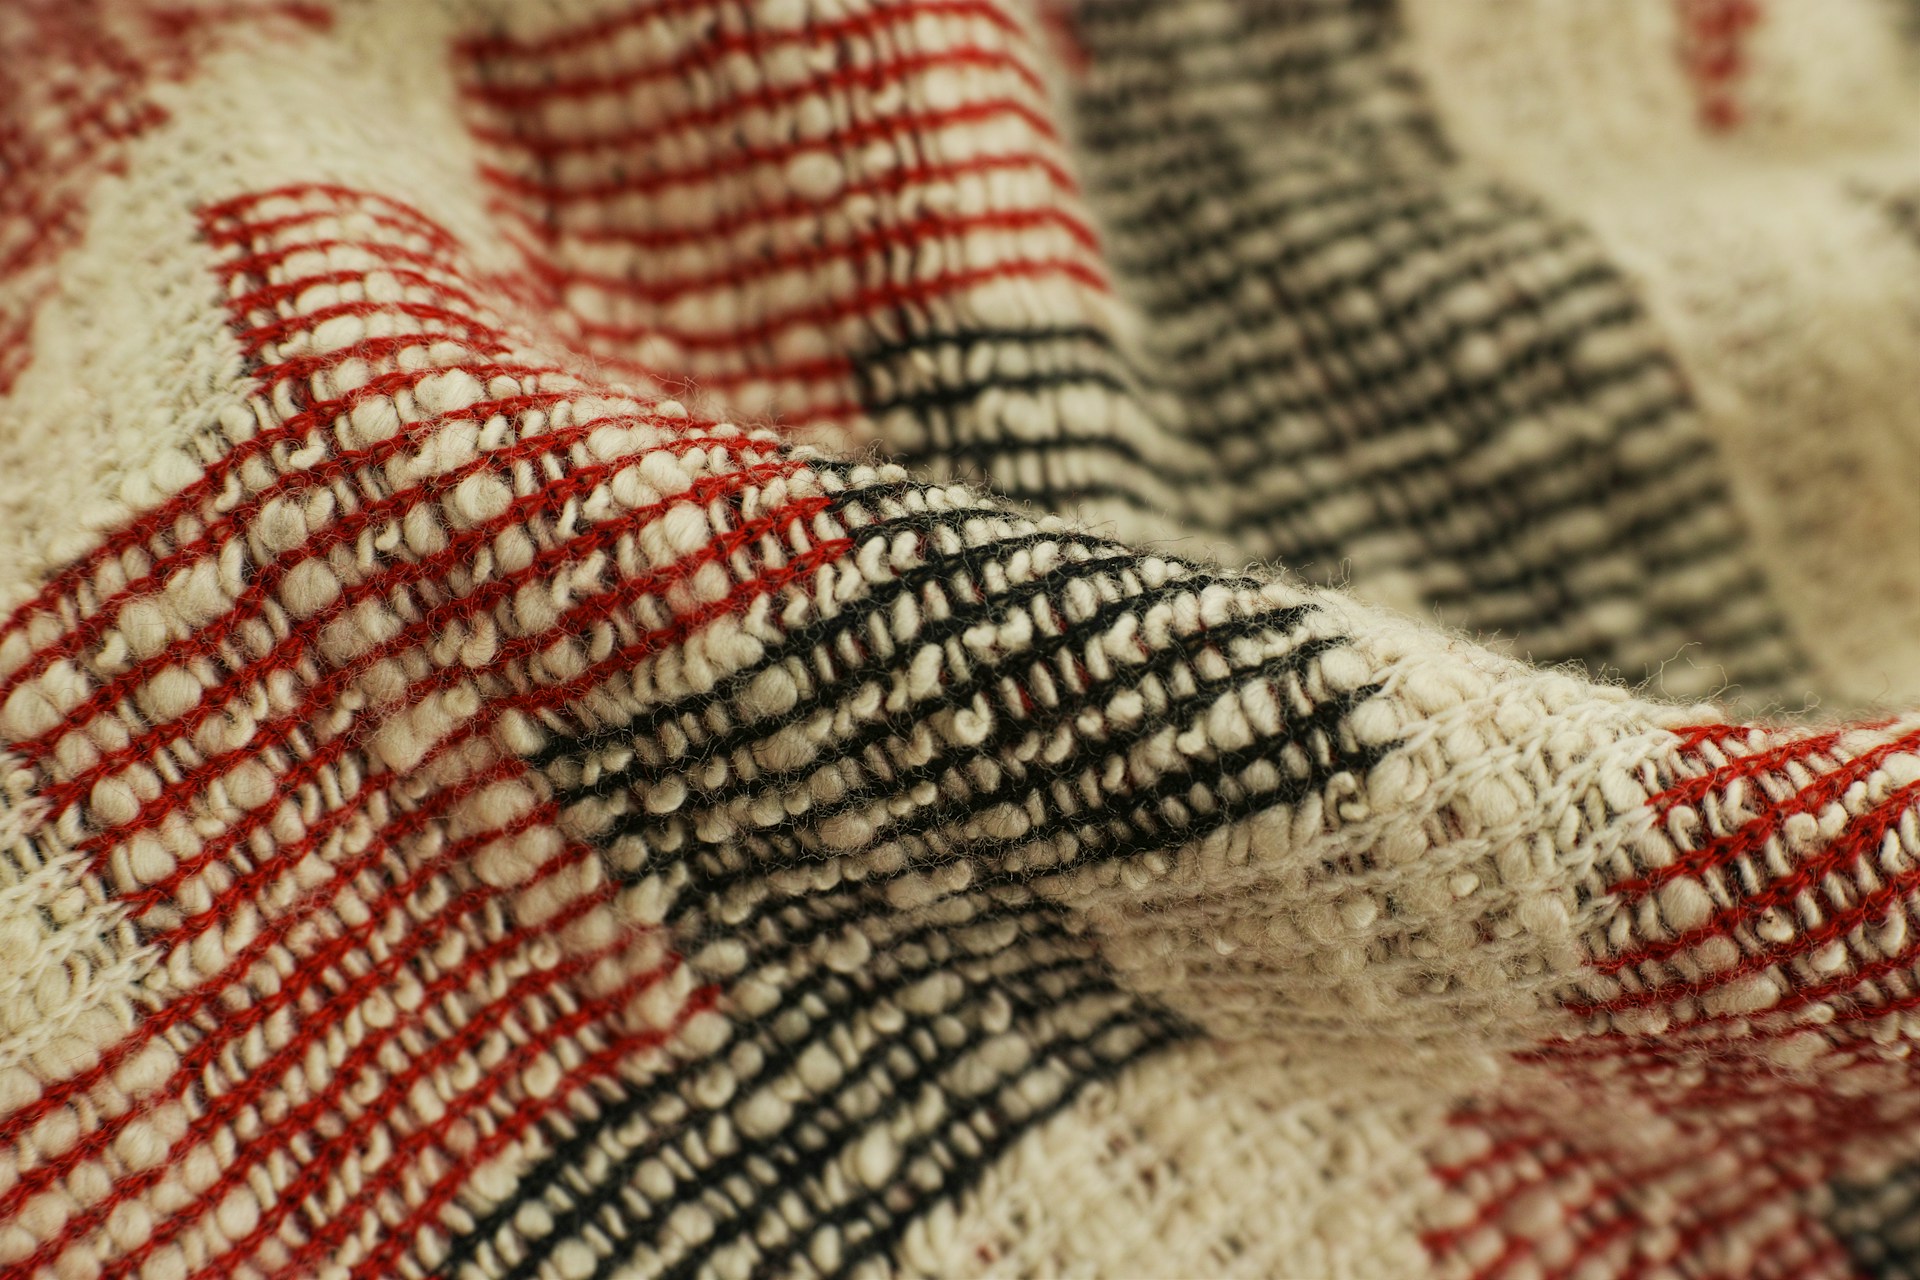
A workshop can feel a little busy, so add one soft spot to rest. Drape a red plaid throw over a wooden chair or the arm of the sofa and add a sheepskin or a knit pillow. The warm colors tie the toys, ribbon and greenery together. Plaid also hides little messes from hot cocoa and craft time. For more plaid holiday touches, mix a large plaid with a small check so the corner feels layered and relaxed.
You will need: a red plaid throw blanket, a wooden chair or armchair, a faux sheepskin, a knit pillow.
How to make it: 1. Pick a chair near the tree or the workbench. 2. Lay the sheepskin over the seat and fold the throw loosely over the back. 3. Add one pillow and keep a basket nearby for extra blankets.
Nice List Scroll on a Twine Line
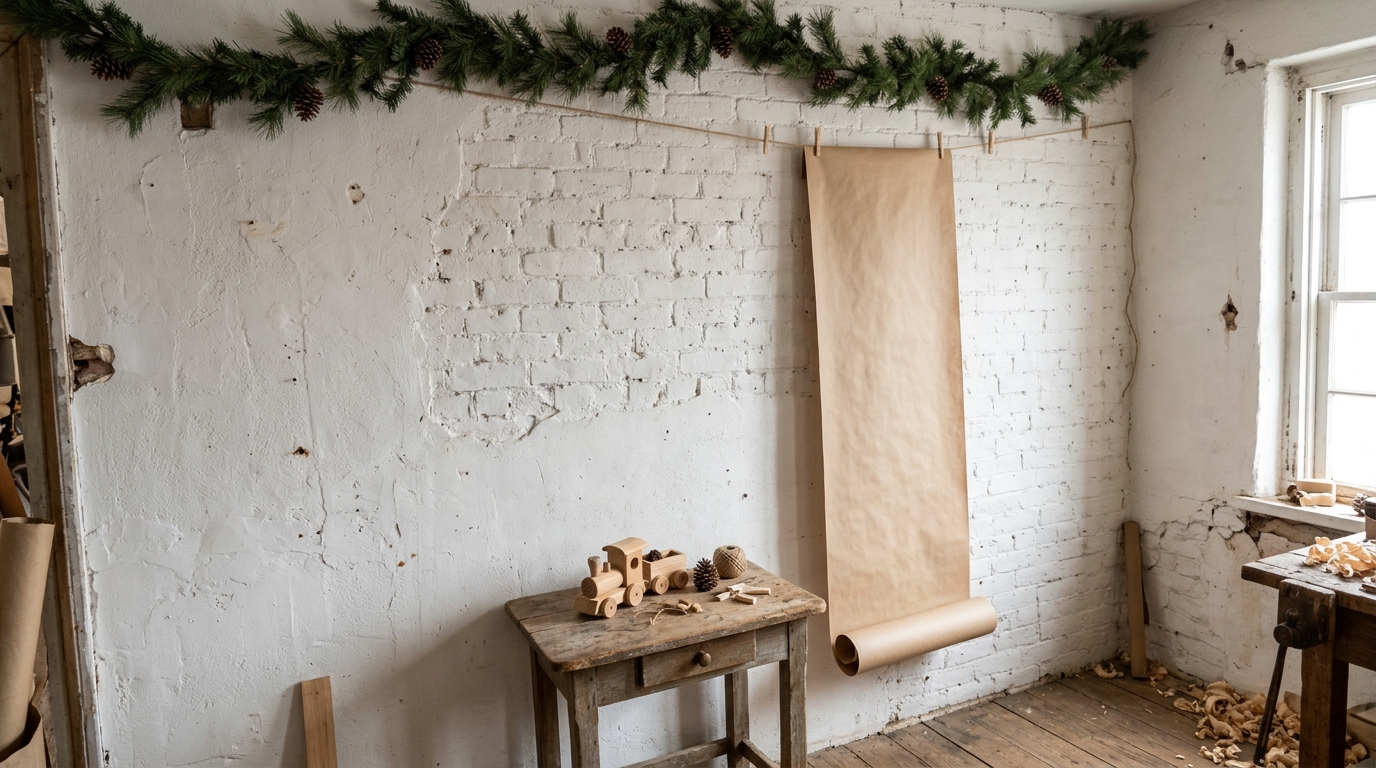
Santa always checks his list twice, so hang one where the family can see it. Unroll a long sheet of kraft paper and clip it to a line of twine with small wooden clothespins. Let kids write their wishes, good deeds or family names on it with a marker, and add to it each night. It is cheap, fun and very personal. Tie the line with the same jute twine you use on gifts, and keep a basket of markers nearby.
You will need: a roll of kraft paper, jute twine, small wooden clothespins, two small wall hooks, markers.
How to make it: 1. Set two hooks on the wall and stretch a line of twine between them. 2. Cut a long strip of kraft paper and roll the bottom slightly. 3. Clip the top edge to the twine with clothespins and let the family fill it in.
Jingle Bell Garland on the Front Door

Sound is part of the magic, and nothing sounds more like the North Pole than bells. String silver jingle bells onto ribbon and hang them from the door handle or knob so they ring every time someone comes in. You can also wire bells into a small ring for a quick wreath. Mix two or three bell sizes for the best sound. If you want more ideas, our handmade Christmas bells show how to dress plain bells in paint and ribbon.
You will need: silver jingle bells in two or three sizes, ribbon, floral wire, a small wire ring.
How to make it: 1. Thread bells onto ribbon, spacing them a few inches apart. 2. Tie a loop at the top and hang it from the door handle. 3. For a ring, wire bells around a small hoop, packing them tightly, and add a bow.
Santa’s Workshop Decor Letters to Santa Mailbox
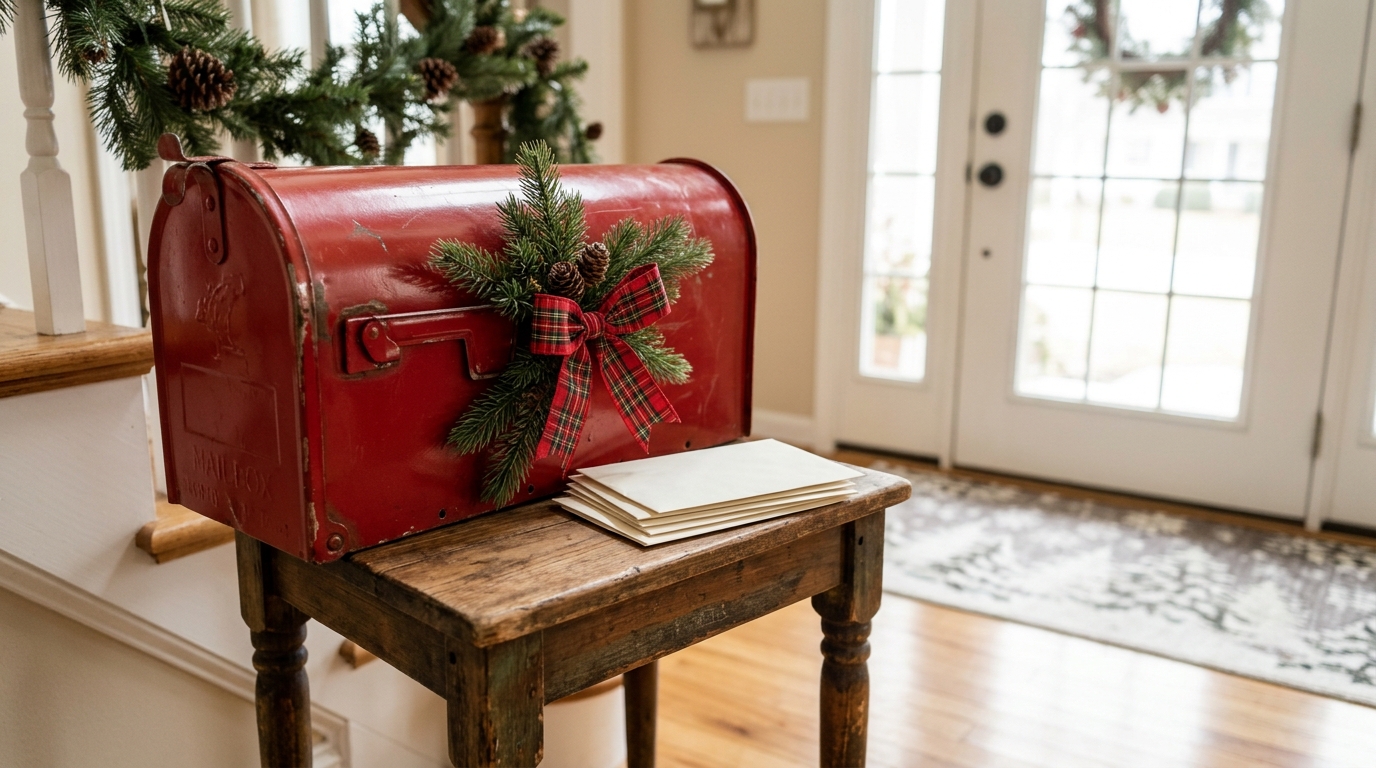
A red mailbox gives kids a real place to drop their letters, and it looks adorable in an entryway. Grab an inexpensive metal mailbox, give it a coat of glossy red spray paint and set it on a small stand or stool. Add a plaid bow and a sprig of pine. This Santa’s workshop decor idea keeps the excitement going all month as letters pile up. A dressed up mailbox by the street makes a fun matching outdoor version.
You will need: a basic metal mailbox, glossy red spray paint, a small wooden stand or stool, a plaid bow, pine sprigs, envelopes.
How to make it: 1. Lightly sand the mailbox and spray it red in thin coats outdoors. 2. Let it dry fully, then set it on a stand by the door. 3. Wire on a bow and a pine sprig and keep envelopes and pencils nearby.
Wooden Toy Train Under the Tree
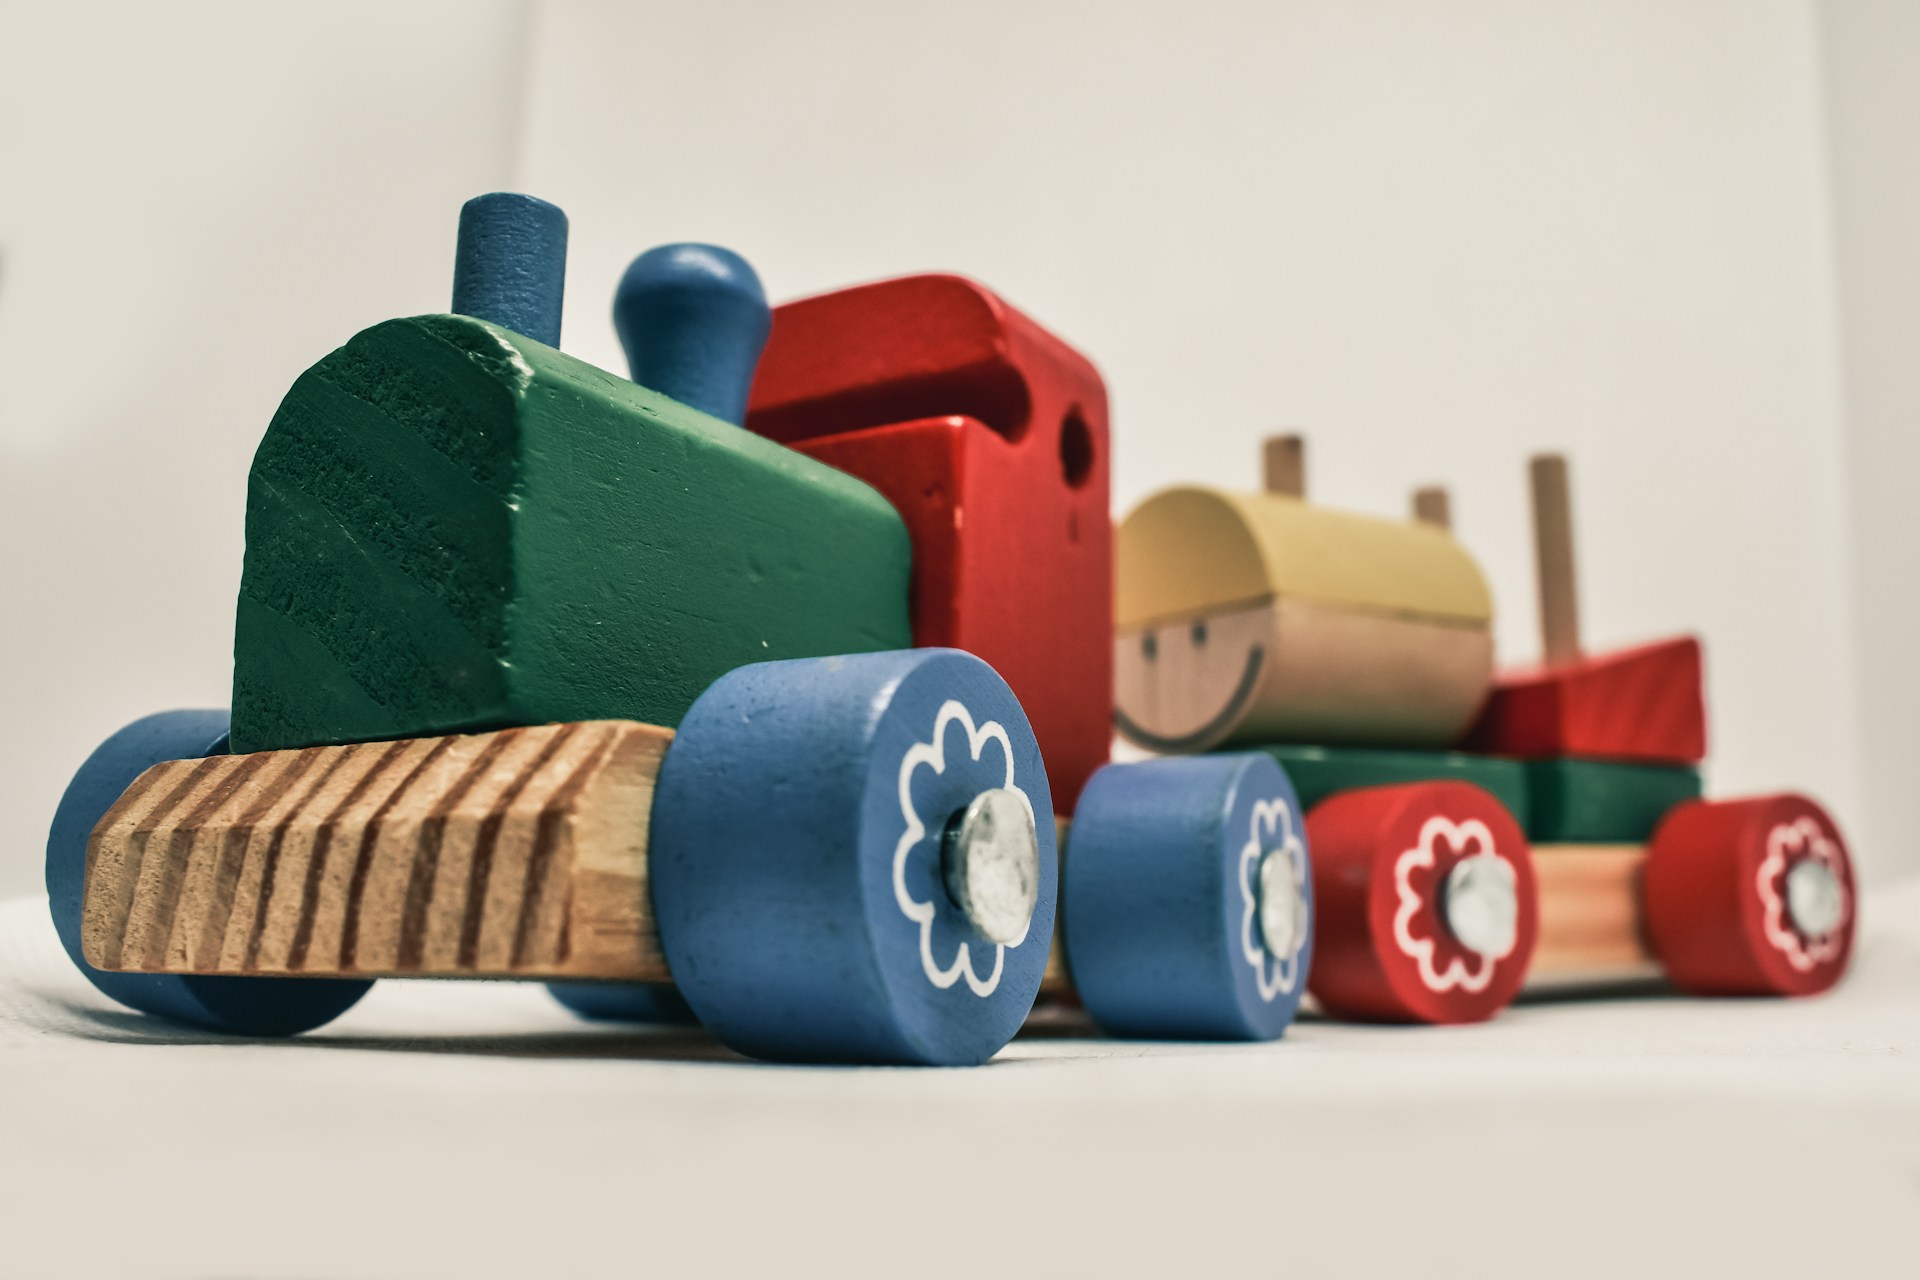
A toy train circling the tree is classic for a reason. A simple painted wooden train, like the stacking kind made for little ones, looks charming and is safe for kids to play with. Set a loop of wooden track around the tree skirt and let the train sit on it, or line up a few cars along the workbench. Our toy train displays have more ways to use trains on mantels and shelves too.
You will need: a wooden toy train set, wooden track pieces, a tree skirt, small wrapped boxes.
How to make it: 1. Build a simple oval of track around the tree base. 2. Set the train on the track with the engine facing the room. 3. Tuck small wrapped boxes inside the oval like cargo waiting to load.
Elf Boot Prints in Flour
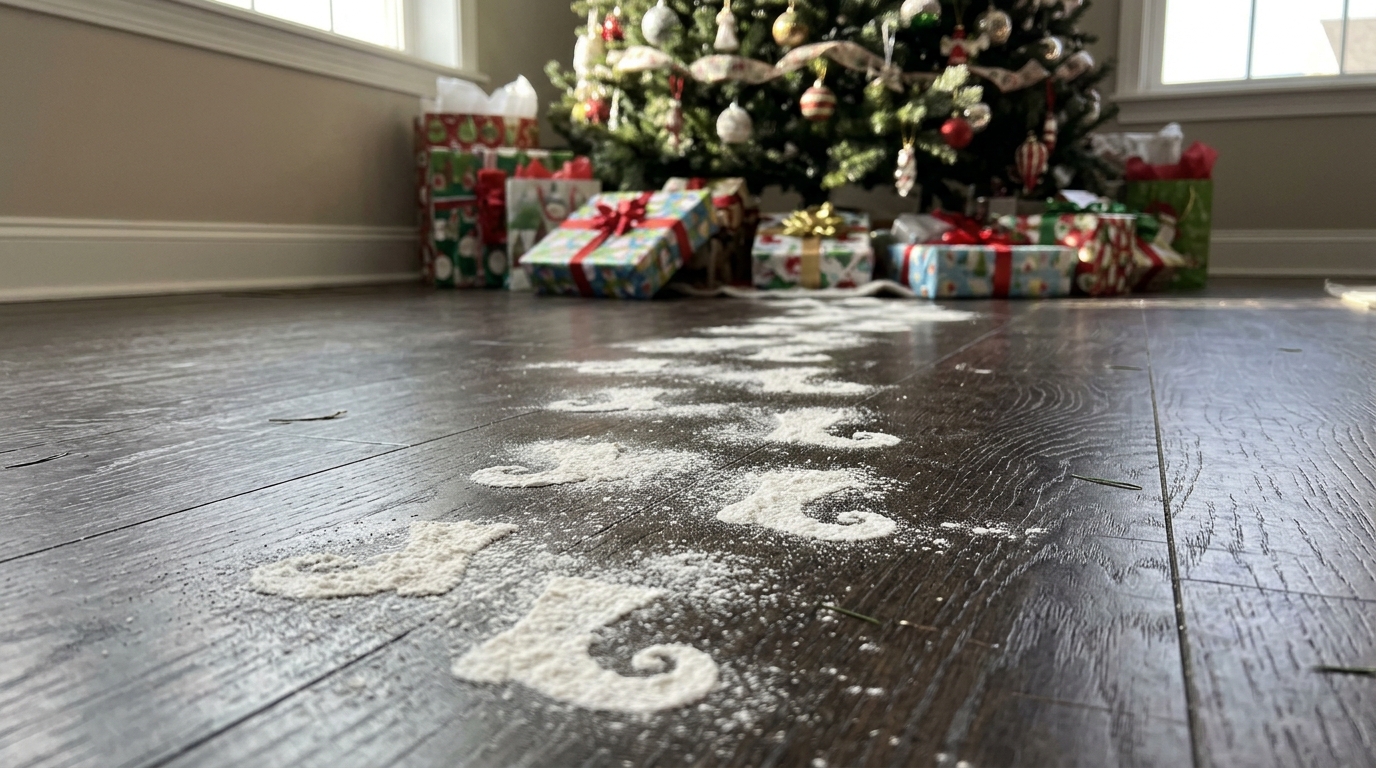
This trick will make kids gasp on Christmas morning. Cut a small boot shape from cardstock, lay it on a dark floor and sift a little flour over it, then lift it to reveal a tiny footprint. Make a trail from the door to the tree so it looks like elves made a late delivery. It sweeps up in seconds. If you already love faux snow tricks, this is the easiest one of all.
You will need: cardstock, scissors, all purpose flour, a small sieve, a soft brush and dustpan for cleanup.
How to make it: 1. Draw and cut a small boot shape from cardstock. 2. Lay the stencil on the floor, sift a light layer of flour over it and lift it straight up. 3. Repeat in a trail, alternating left and right boots.
Glass Jar of Candy Canes on the Workbench

A big glass jar of candy canes adds color and a sweet treat for helpers. Use an apothecary jar or a large canister and fill it to the top so a few canes spill out on the table. Tie a ribbon around the neck to match the rest of the room. It is one of the cheapest ways to make the workbench look busy and bright. For more ideas, try our candy cane crafts for ornaments and gift toppers.
You will need: a large glass jar or canister, a box of candy canes, ribbon.
How to make it: 1. Wash and dry the jar. 2. Stand the candy canes inside with the hooks facing out and let a few lean over the rim. 3. Tie a ribbon bow around the neck and set it at the corner of the workbench.
Santa’s Workshop Decor Reindeer Feed Jars

The reindeer need fuel for the big night, so set out a few jars of reindeer feed. Fill plain glass jars with oats mixed with red and green sprinkles, tie on ribbon and add blank kraft tags for kids to label. These jars are for display or sweet party favors, and they make lovely Santa’s workshop decor on a windowsill. They also double as gifts in a jar for neighbors and teachers.
You will need: three plain glass jars with lids, old fashioned oats, red and green sprinkles, ribbon, kraft tags.
How to make it: 1. Mix oats and sprinkles in a bowl. 2. Spoon the mix into each jar and close the lid. 3. Tie ribbon around the neck, add a tag and line the jars up on a shelf or windowsill.
Frosted Window Glass for a North Pole View

Finish the look with windows that feel snowy, even if your town is mild. Frost patterns form naturally on cold glass, and you can copy the look with a light coat of snow spray along the edges of the panes. Add a few cut paper snowflakes in the centers so the window becomes the perfect final touch for your Santa’s workshop decor. Our paper snowflake ideas make the cutting part easy and fun for kids.
You will need: a can of window snow spray, painter’s tape, white paper, scissors, clear tape.
How to make it: 1. Clean the glass and mask the window frame with painter’s tape. 2. Spray light bursts of snow in the corners and along the edges. 3. Fold and cut paper snowflakes and tape them to the center of the panes.