Teddy Roosevelt Teddy Bear: 15 Easy DIY Bears You Can Make for Christmas Gifts
Teddy Roosevelt Teddy Bear history is one of those stories that makes people smile at the dinner table. In November 1902, President Theodore Roosevelt refused to harm a bear that had been captured for him on a trip in Mississippi, a newspaper cartoon made the moment famous, and a Brooklyn candy shop owner sewed a soft little bear and called it Teddy’s bear. More than 120 years later, handmade bears are still everywhere: no-sew bear videos have pulled tens of millions of views this year alone. Here are 15 easy DIY bears you can make for Christmas gifts, from a ten minute hanky bear to a memory bear sewn from a loved one’s shirt. Most use scraps you already have, and every one of them is made to be hugged..
A Plaid Flannel Teddy Roosevelt Teddy Bear for Christmas
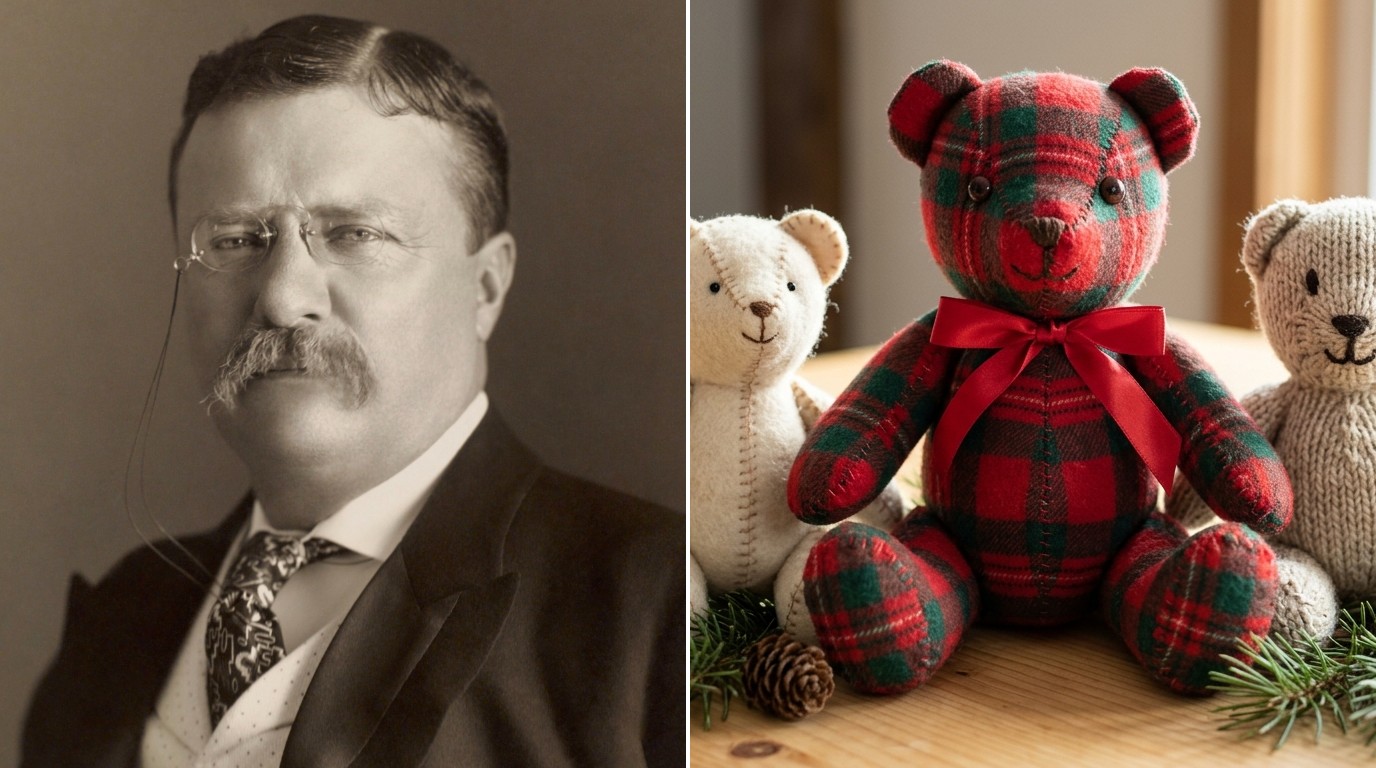
Start with the bear that looks like Christmas morning. A simple two piece pattern cut from red and green plaid flannel, stuffed until it is plump and finished with a satin bow, makes a gift that feels like it came from an old toy shop. Old flannel shirts work perfectly, so it can cost nothing at all. Pair it with a little card telling the story of the first Teddy Roosevelt teddy bear, and your gift comes with a bit of history attached. Who on your list would love one most? Make that one first..
You will need: Plaid flannel (an old shirt is ideal), a printable teddy bear pattern, fiberfill, embroidery floss, a needle or sewing machine, satin ribbon.
How to make it: 1. Trace the pattern twice on the flannel and cut it out. 2. Sew the pieces right sides together, leaving a gap at the side. 3. Turn right side out and stuff firmly. 4. Stitch the gap closed, embroider the face and tie on the bow.
No-Sew Teddy Bear From a Hanky
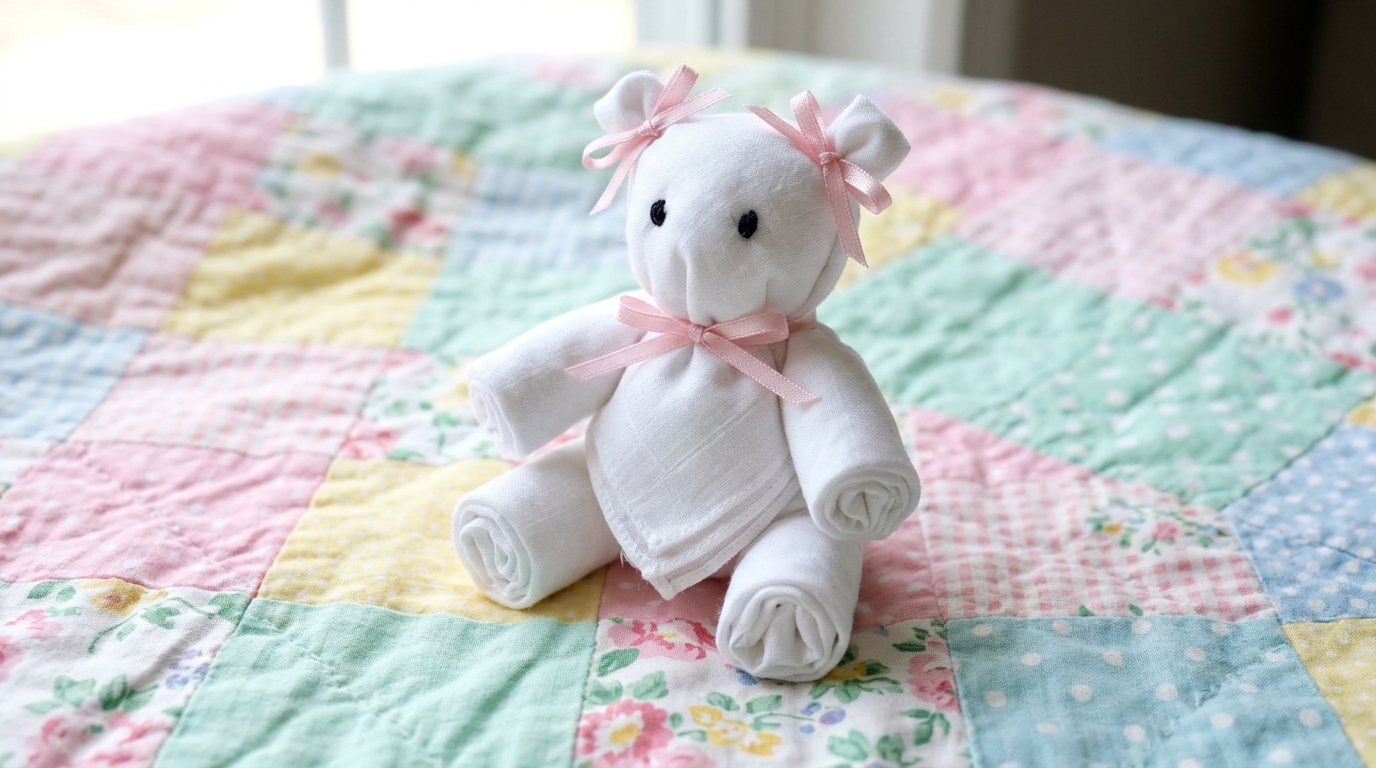
This is the clever little bear behind one of the most watched craft shorts of the year, a handkerchief teddy video with about 50 million views. You roll and fold a single cotton hanky or washcloth, tie off the head, ears, arms and legs with thin ribbon and you are done. No needle, no glue and no mess, which makes it perfect for a rainy afternoon with kids. Tuck one into a baby gift basket and watch it steal the show. Do you still have a hanky in a drawer somewhere?
You will need: A cotton handkerchief or washcloth, thin ribbon or hair elastics, a fabric marker.
How to make it: 1. Lay the hanky flat and roll two opposite corners to the middle. 2. Fold in half and tie a ribbon to form the head. 3. Fold back the ends for arms and legs and tie them. 4. Pinch two small ears, tie them and draw on a face.
Old Sweater Teddy Bear
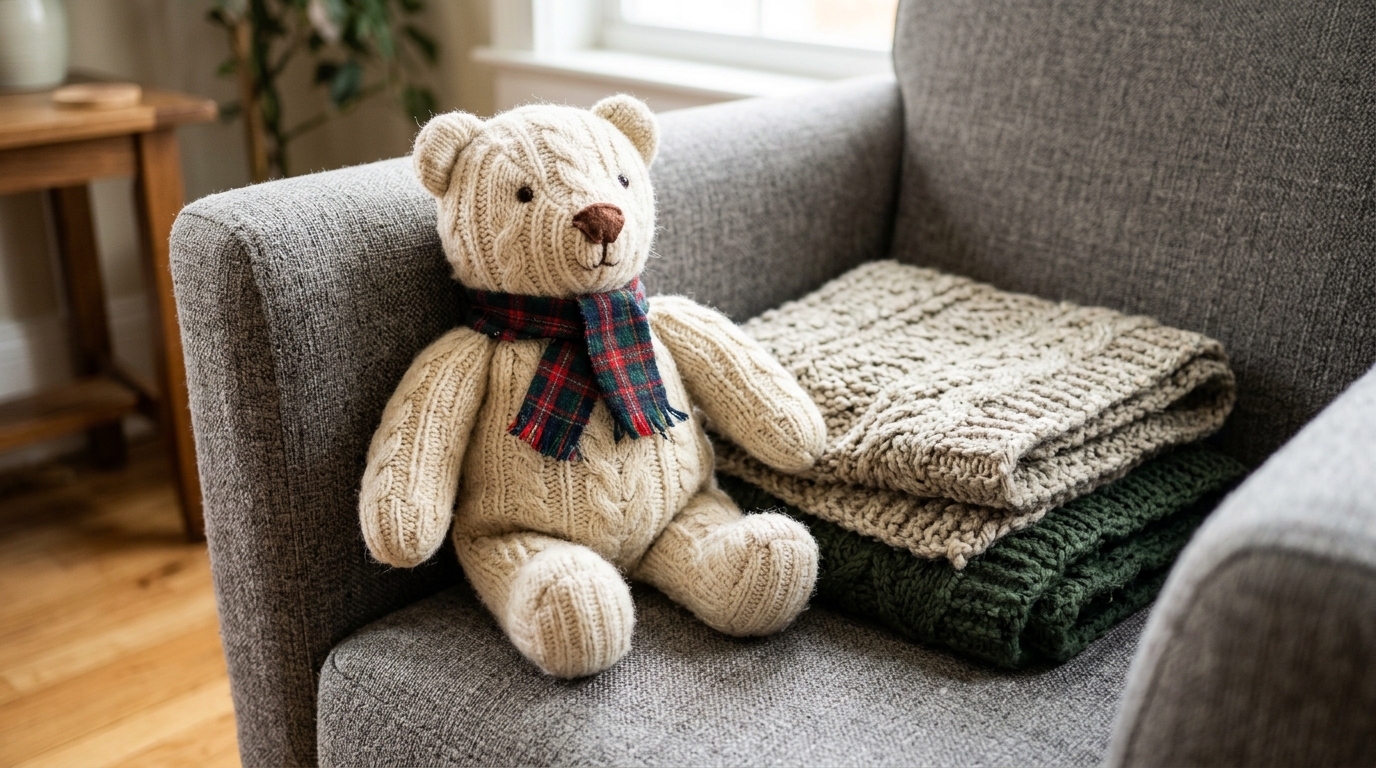
A cozy cable knit sweater that shrank in the wash or has a hole at the elbow can become the softest bear you will ever hug. The knit texture does all the work, so even a basic Teddy Roosevelt teddy bear pattern looks like a boutique piece. Iron fusible interfacing on the back of the pieces first so the knit does not stretch or unravel while you sew. Finish with a scrap of tartan as a scarf. Is there a sweater in your closet that deserves a second life?
You will need: An old wool or acrylic sweater, fusible interfacing, a teddy bear pattern, fiberfill, a sewing machine or needle, brown felt for the nose.
How to make it: 1. Iron interfacing onto the back of the sweater fabric. 2. Cut the pattern pieces and sew them together. 3. Turn and stuff firmly. 4. Add a felt nose, stitched eyes and a small scarf.
Sock Teddy Bear in One Evening

One fuzzy or striped sock makes a whole bear, and this is the project that turns odd socks from the dryer into a gift. The heel becomes the tummy, and the cuff makes the ears and arms. Sew it by hand while watching a movie and it is finished before the credits roll. Choose button eyes only for older kids and stitched eyes for little ones, since small parts are not safe for babies. Who in your family has a drawer full of lonely socks?
You will need: One clean adult sock, fiberfill, a needle and strong thread, embroidery floss, a scrap of yarn for a scarf.
How to make it: 1. Turn the sock inside out and mark the legs, body and ears with chalk. 2. Stitch along the lines and cut between the legs. 3. Turn, stuff and close the top. 4. Tie a thread around the neck and embroider the face.
The 1902 Cartoon Behind the Teddy Roosevelt Teddy Bear
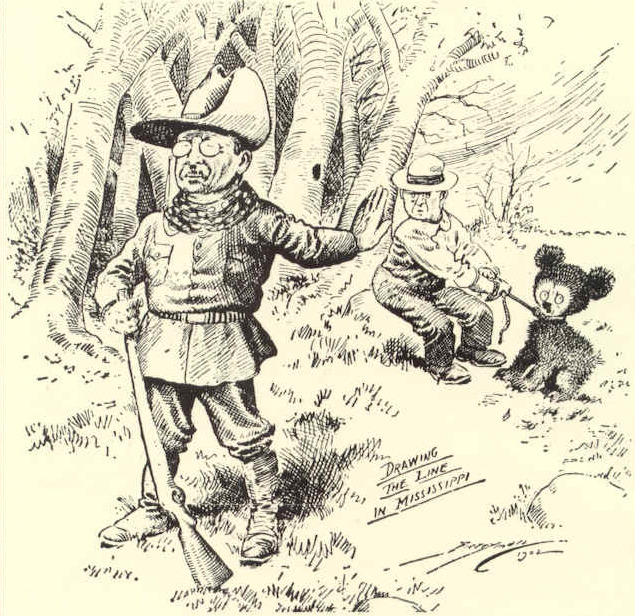
Here is where it all began. On November 16, 1902, The Washington Post ran this cartoon by Clifford Berryman showing President Roosevelt refusing to harm a small, round eyed bear. In Brooklyn, Morris Michtom saw it, made a soft toy bear, put it in his shop window with a sign reading Teddy’s bear and later founded a toy company, as the history of the teddy bear explains. For a fun project, trace the cartoon cub’s simple round shape as the start of your own Teddy Roosevelt teddy bear pattern. Will you give your bear a name with a story too?
You will need: Tracing paper, a pencil, card stock, scissors, a printout of a simple bear outline.
How to make it: 1. Sketch a round head, oval body and four short limbs. 2. Add a quarter inch seam allowance around every piece. 3. Cut the pieces from card stock to use as templates. 4. Label each piece and keep them together in an envelope.
A Vintage Teddy Roosevelt Teddy Bear Like the First Ones
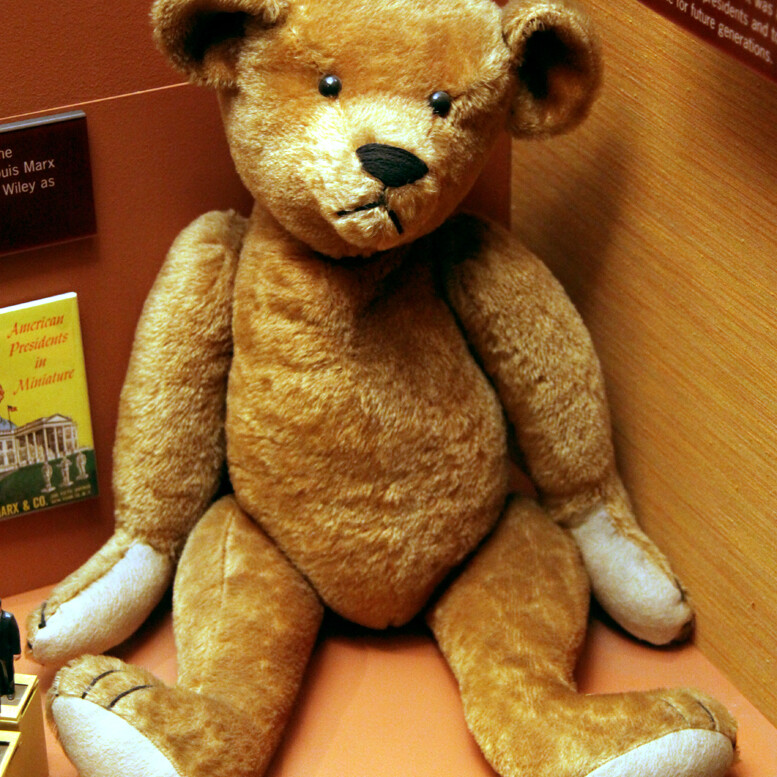
Early teddy bears from the 1900s, like this one at the Smithsonian, had long arms, a humped back, a pointed muzzle and jointed limbs that move. You can copy that classic look with a vintage style pattern and simple button joints sewn through the body. Use a warm tan fabric such as faux mohair or brushed cotton, and the bear will look like a family heirloom from day one. It is a slower project, so start it a few weeks before Christmas. Are you ready for a weekend sewing challenge?
You will need: A vintage style jointed bear pattern, tan faux mohair or brushed cotton, four pairs of large buttons, strong thread, a long doll needle, fiberfill.
How to make it: 1. Cut and sew the head, body, arms and legs separately. 2. Stuff each piece firmly. 3. Join arms and legs to the body with a button inside and outside, pulling the thread tight. 4. Attach the head and embroider the nose.
Pipe Cleaner Teddy Bear Keychains
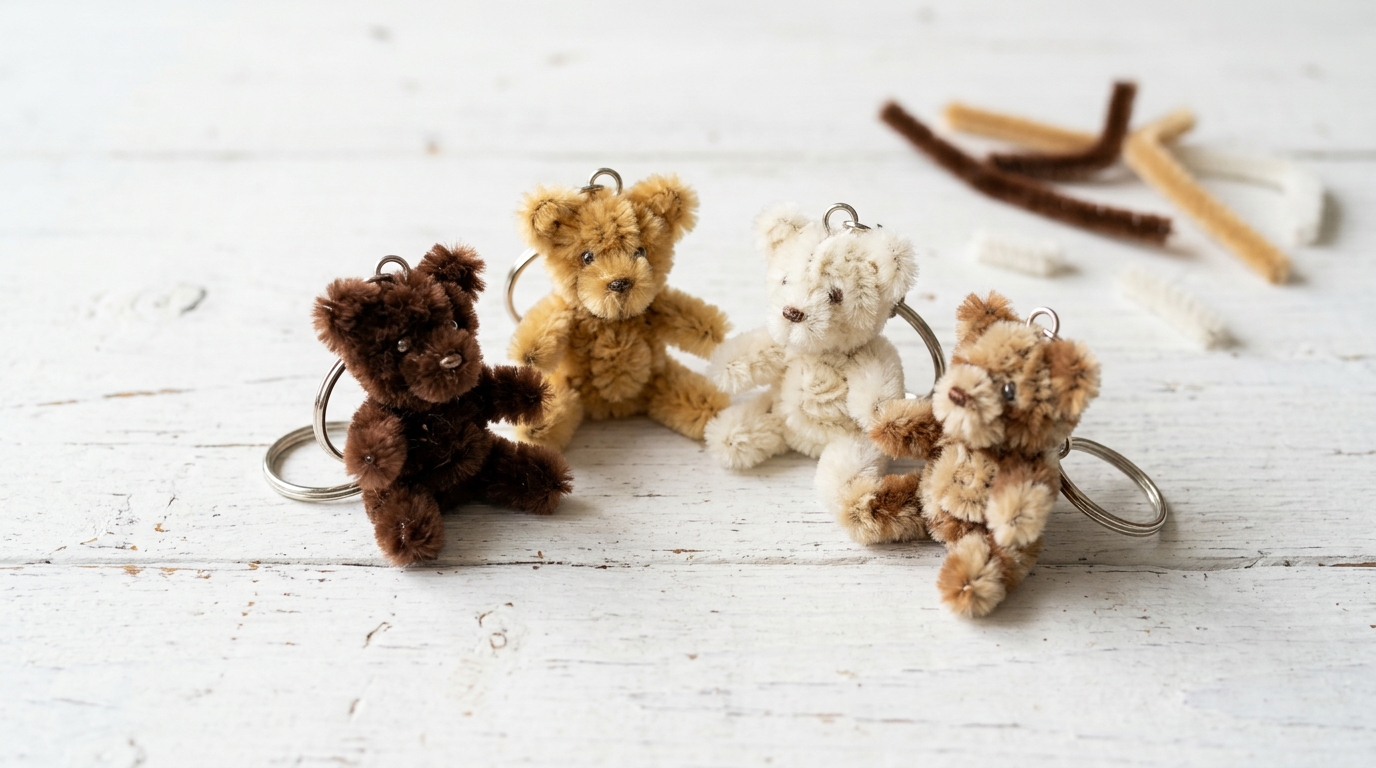
Tiny fuzzy bears twisted from pipe cleaners are having a moment online, with one keychain tutorial passing 7 million views. They take about fifteen minutes each, cost pennies and look adorable dangling from a backpack, a purse or a set of house keys. Make a little family in brown, tan and white, and hand them out as stocking stuffers. Kids around eight and up can do most of the twisting themselves. Which color bear would you make first?
You will need: Fuzzy pipe cleaners in brown, tan and white, small key rings, tiny black beads or a fine marker, scissors, tacky glue.
How to make it: 1. Wrap a pipe cleaner around a pencil to make tight coils. 2. Shape the coils into a head, body, arms and legs. 3. Twist the parts together and glue on tiny bead eyes. 4. Attach a key ring at the top of the head.
Memory Bear From a Loved One’s Shirt
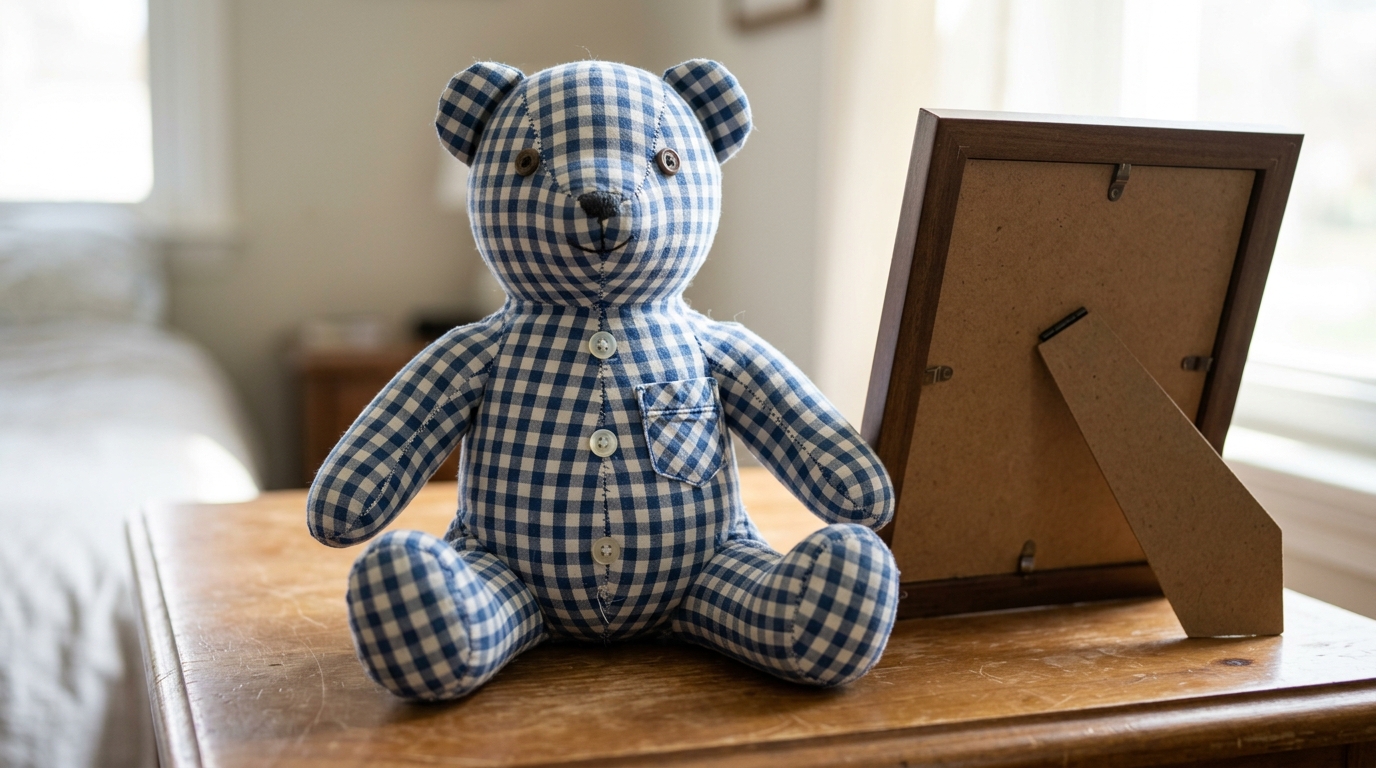
This is the bear that makes people cry happy tears. Sewn from a parent’s or grandparent’s favorite shirt, a memory bear keeps a loved one close, and the buttons and pocket stay right where they were. Many crafters place the shirt pocket on the chest so a little note can tuck inside. It is the most personal Teddy Roosevelt teddy bear twist you can make, so cut carefully around the details. Whose shirt would you turn into a bear?
You will need: A button down shirt, fusible interfacing, a teddy bear pattern, fiberfill, a sewing machine, embroidery floss.
How to make it: 1. Iron interfacing on the back of the shirt fabric. 2. Plan the pattern so the buttons and pocket land on the tummy. 3. Cut, sew and stuff the bear. 4. Embroider the face and add a ribbon or a small name tag.
Denim Teddy Bear From Old Jeans
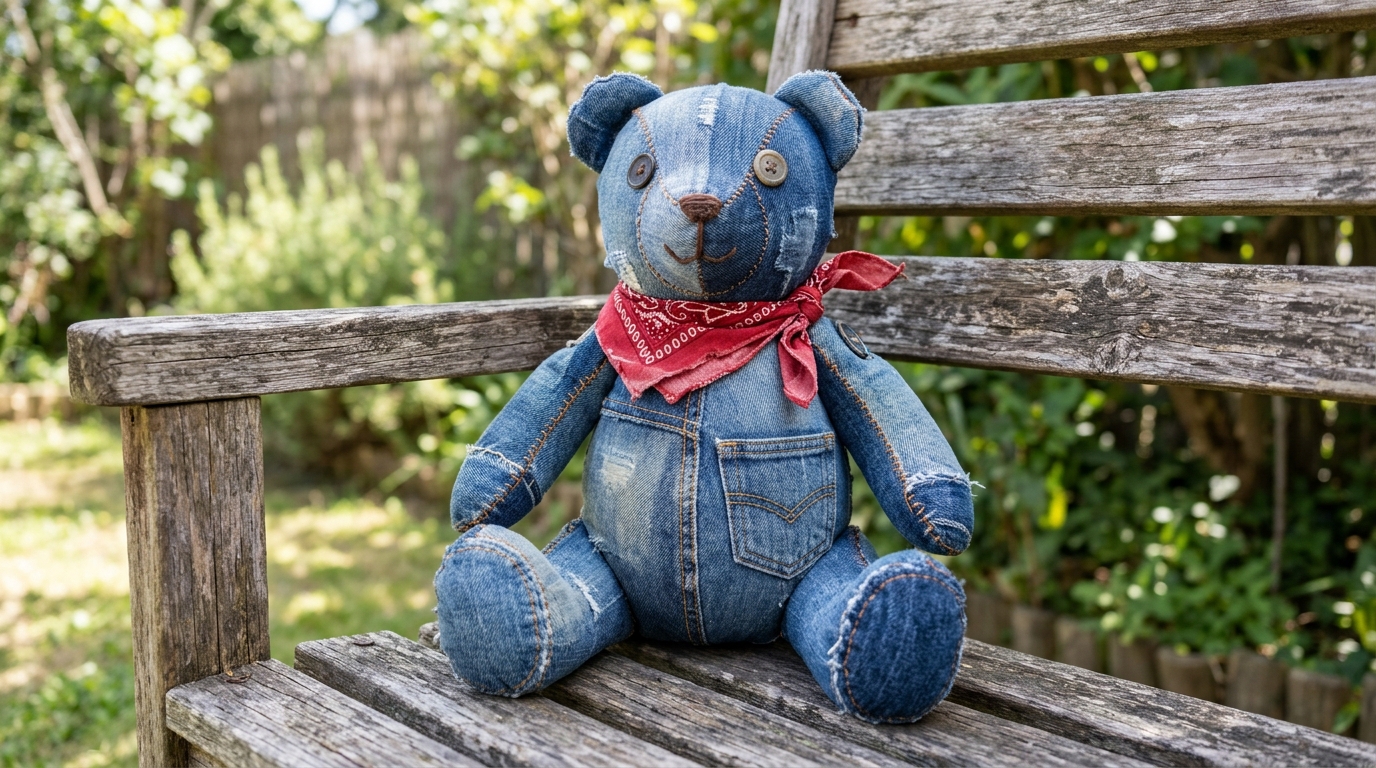
Old jeans make a tough, washable bear with plenty of character. The seams, rivets and back pocket become little design details, and a red bandana around the neck finishes the farmhouse look. Denim is thick, so use a jeans needle on your machine and keep the pattern simple with fewer small pieces. If you love this one, our old jeans upcycles have plenty more ideas for the rest of the pair. Will you keep the back pocket on the tummy?
You will need: One pair of old jeans, a simple bear pattern, a denim sewing needle, strong thread, fiberfill, a bandana scrap.
How to make it: 1. Cut the pattern from the leg, placing a pocket on the tummy piece. 2. Sew with a denim needle and a longer stitch. 3. Clip the curves, turn and stuff. 4. Close the gap and tie on the bandana.
Felt Teddy Roosevelt Teddy Bear Ornaments

Small, flat felt bears are the easiest sewn bear of all, and they look wonderful on the Christmas tree. Cut two bear shapes, stitch around the edge with a blanket stitch, stuff lightly and add a tiny red felt heart. Make them in tan and brown, and write the year on the back with a fabric pen so each Teddy Roosevelt teddy bear ornament becomes a keepsake. A batch of ten is a cozy evening’s work. Could you make one for every grandchild this year?
You will need: Tan and brown felt, red felt scraps, embroidery floss, a needle, a little fiberfill, red ribbon, a fabric pen.
How to make it: 1. Trace and cut two bears per ornament. 2. Glue or stitch a tiny heart to the front. 3. Blanket stitch the edges, adding a pinch of stuffing before closing. 4. Sew a ribbon loop to the head.
Stuffing Secrets for a Huggable Bear
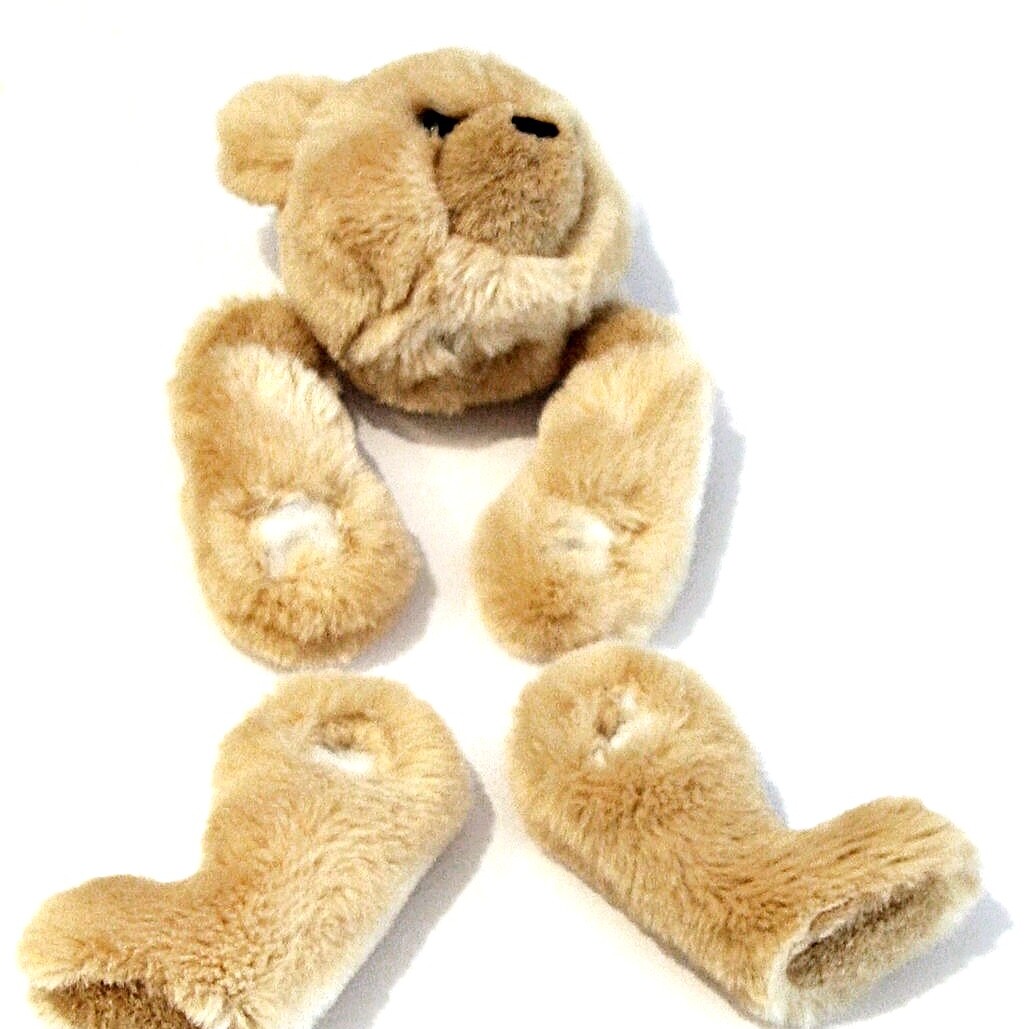
The difference between a lumpy bear and a lovable one is all in the stuffing. Use small pieces of fiberfill, not big clumps, and push them into the far corners first with the blunt end of a chopstick. Fill the nose and paws firmly so they hold their shape, then go a little softer in the tummy for a squishy hug. Roll the bear between your hands as you work to smooth out bumps. Ever had a project turn out lumpy? This trick fixes it.
You will need: Polyester fiberfill, a chopstick or stuffing tool, a needle, strong thread.
How to make it: 1. Pull the fiberfill into small fluffy pieces. 2. Fill the smallest parts first, packing firmly. 3. Fill the body more softly, checking the shape often. 4. Close the opening with a ladder stitch so the seam disappears.
Crochet Amigurumi Teddy Bear
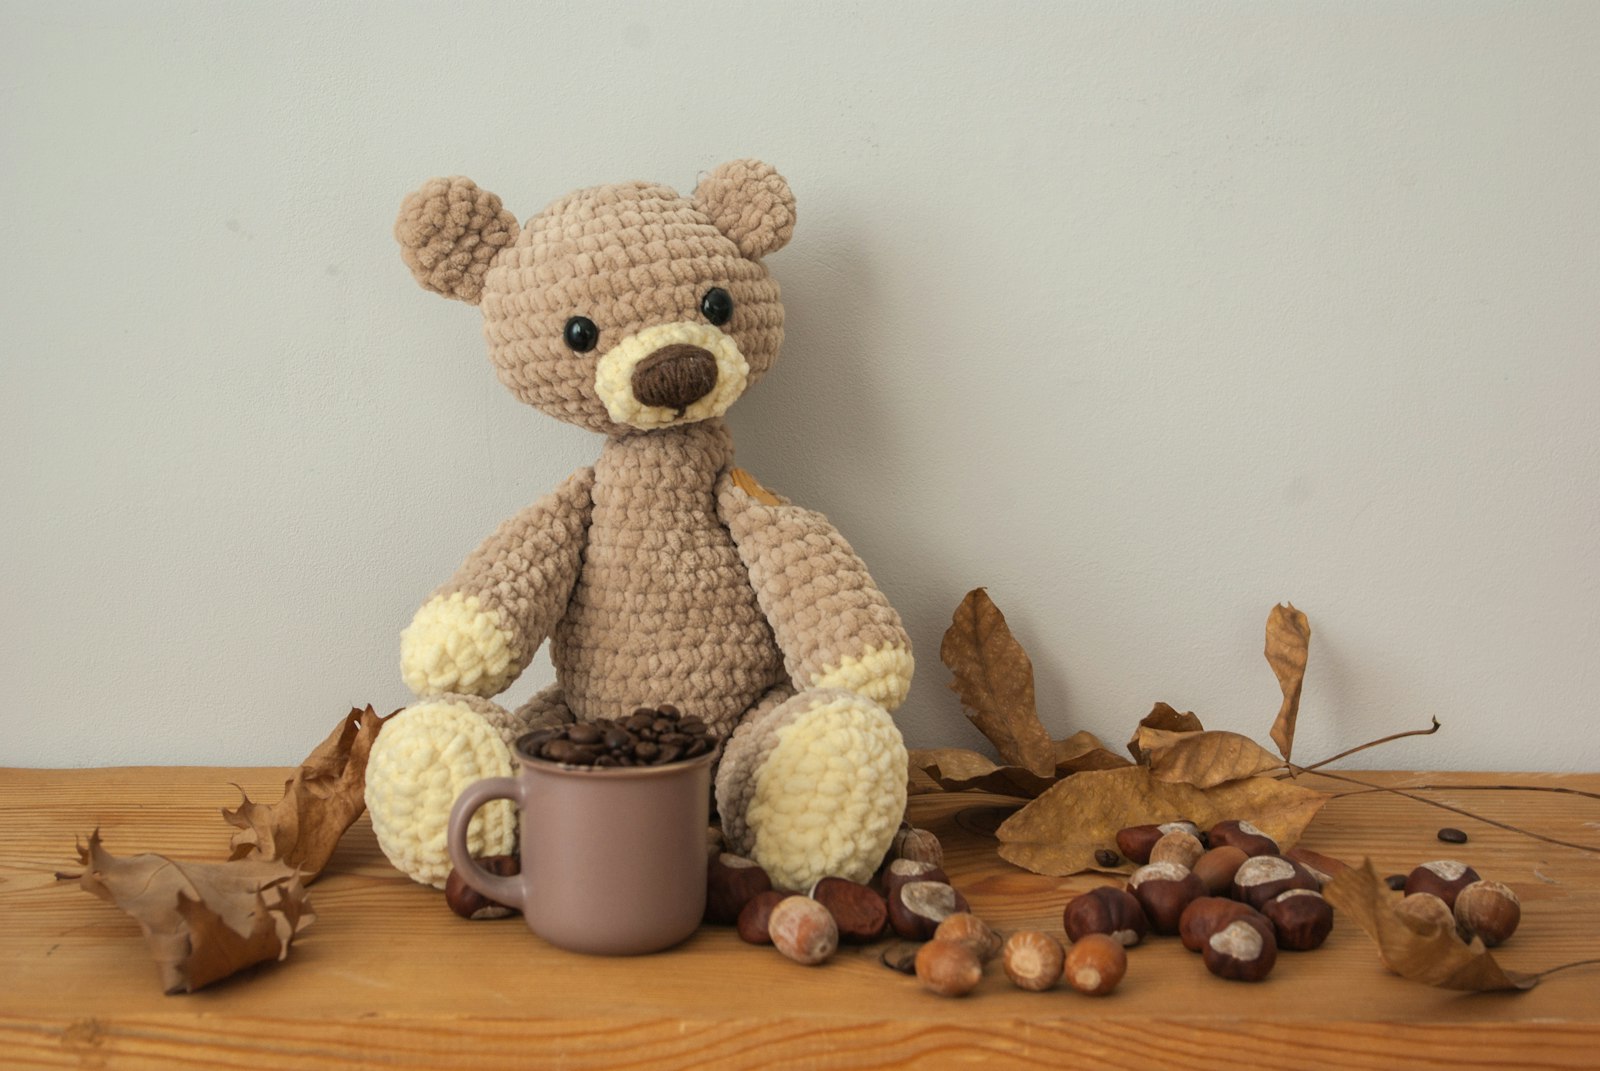
If you crochet, an amigurumi bear is a perfect Christmas project. Worked in tight spirals of single crochet, the pieces come out firm and round, and you can finish a small bear in one or two evenings. Soft cotton yarn in oatmeal or caramel gives that classic Teddy Roosevelt teddy bear look, and stitched eyes keep it safe for babies. Make one for every little one in the family. Which yarn color will your bear be?
You will need: Cotton or acrylic yarn, a 3 mm crochet hook, safety eyes or embroidery floss, a stitch marker, fiberfill, a yarn needle.
How to make it: 1. Crochet the head and body in rounds, stuffing as you go. 2. Make small arms, legs and ears. 3. Sew the pieces onto the body. 4. Add the eyes and embroider the nose.
Patchwork Scrap Fabric Teddy Bear
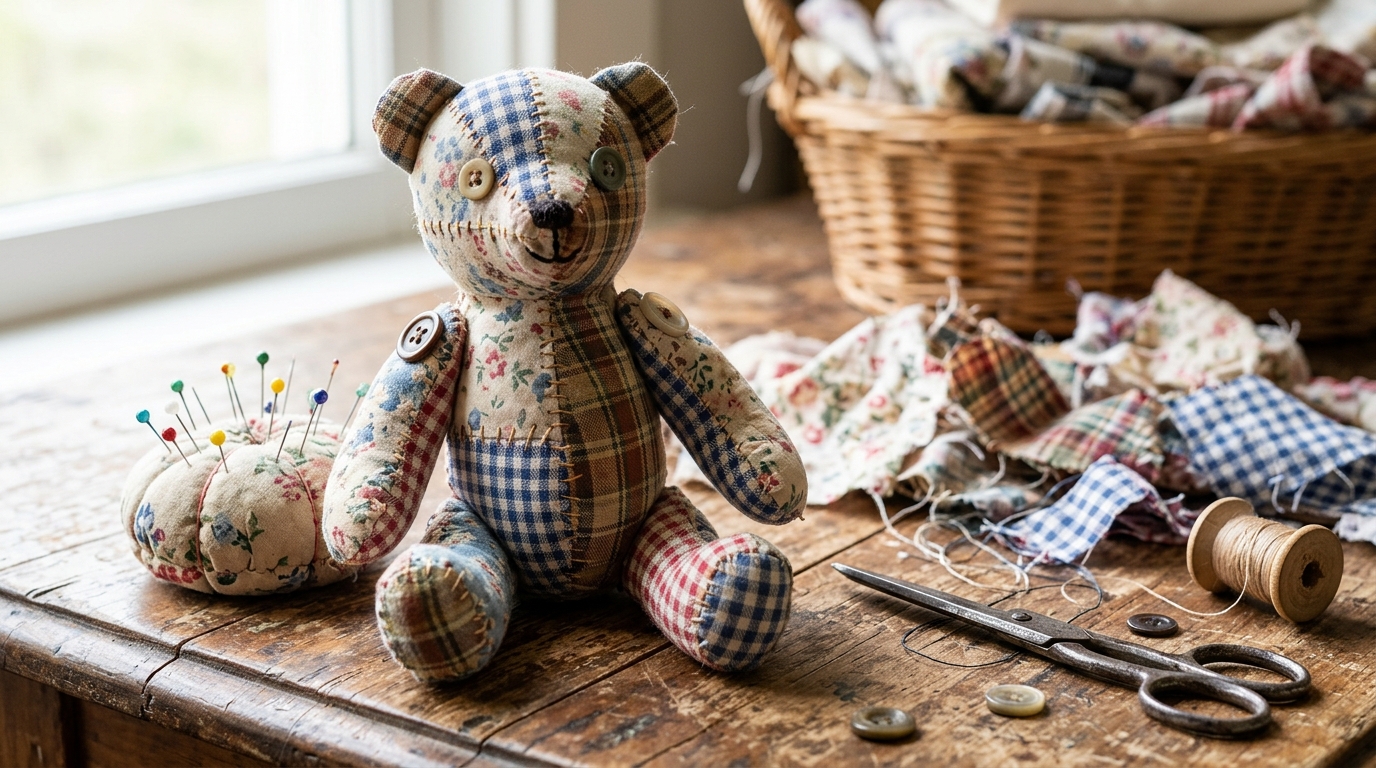
A patchwork bear is a happy way to use every last scrap in the sewing basket. Sew strips and squares of floral, gingham and plaid cotton together first, then cut your bear pieces from that new patchwork fabric. Each bear turns out one of a kind, and you can include fabric from a baby’s first dress or an old family quilt. Button joints make the arms and legs move. Which fabric memories would you stitch in?
You will need: Cotton fabric scraps, a sewing machine, a teddy bear pattern, fiberfill, four pairs of buttons, strong thread.
How to make it: 1. Sew scraps together into a piece big enough for your pattern. 2. Press the seams flat and cut out the bear. 3. Sew, turn and stuff each part. 4. Join the limbs with buttons and stitch the face.
Lavender Teddy Bear Sachet
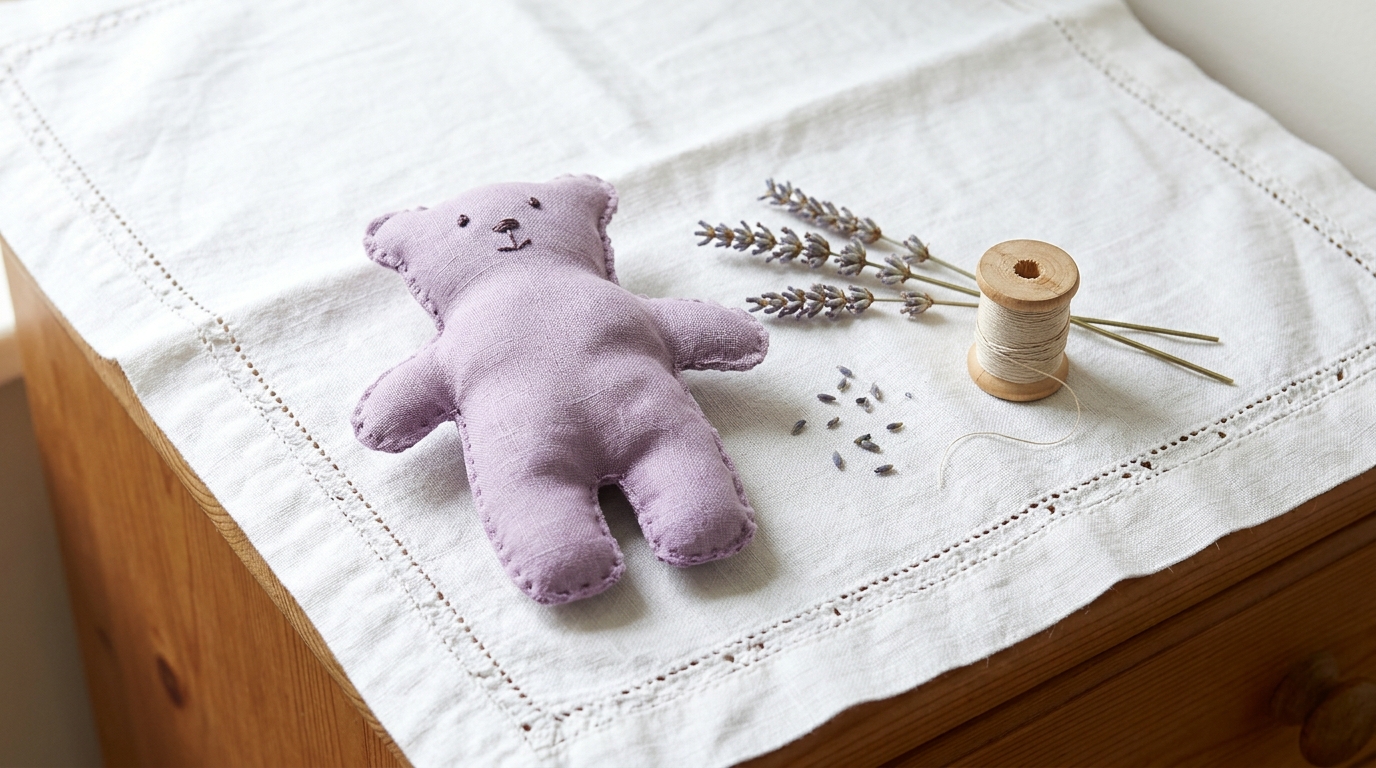
A flat little bear filled with dried lavender makes a lovely gift for a drawer, a closet or a guest room. Sew it from linen or soft cotton in lilac or cream, fill it with lavender mixed with a little fiberfill, and stitch it closed. It smells lovely for months, and you can refresh it with a few drops of lavender oil. Make a set of three and tie them with ribbon for teachers and neighbors. Who would love a sweet smelling surprise?
You will need: Linen or cotton fabric, dried lavender, a little fiberfill, embroidery floss, a needle, a paper bear template.
How to make it: 1. Cut two bear shapes from the fabric. 2. Embroider a simple face on the front. 3. Sew around the edge, leaving a small gap. 4. Fill with lavender and fiberfill, then stitch it closed.
Teddy Roosevelt Teddy Bear Gift Jar Topper
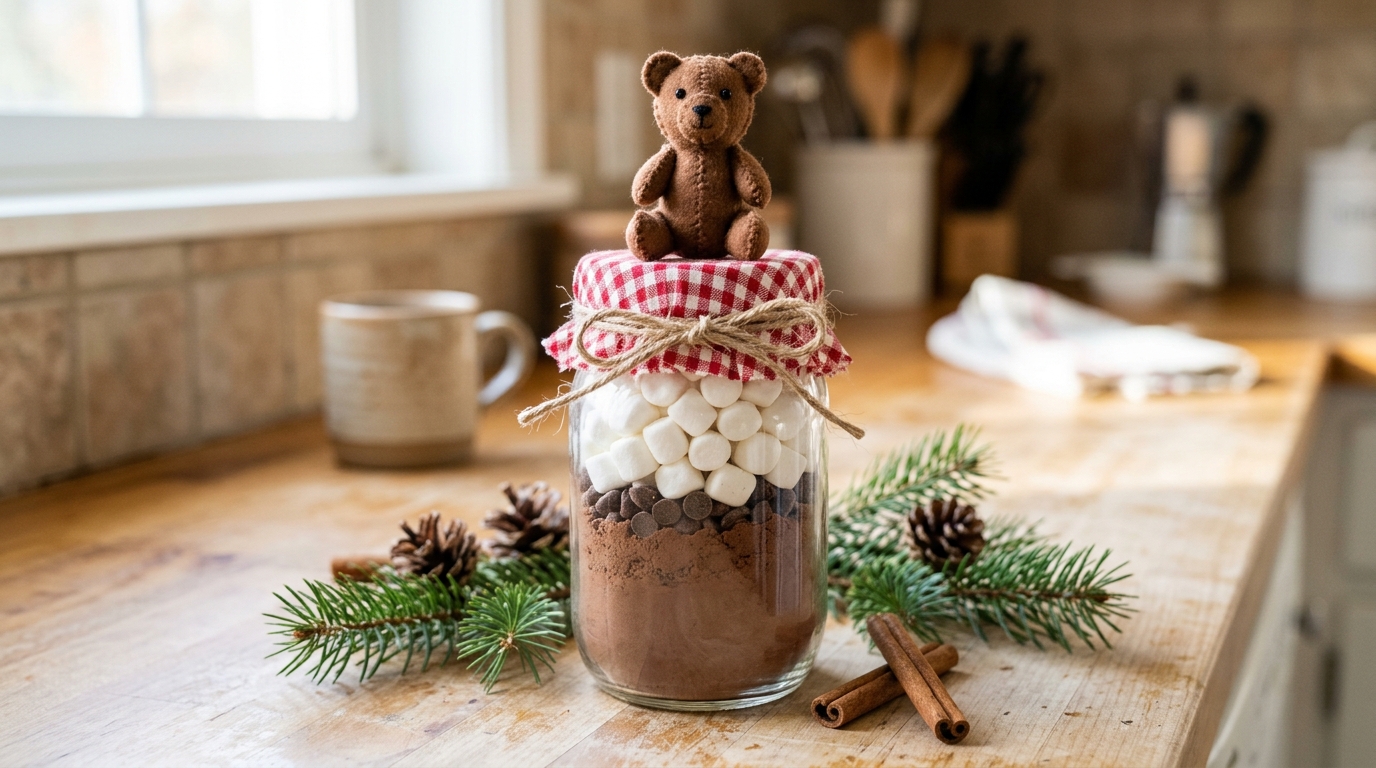
A jar of homemade cocoa mix becomes the cutest gift on the table with a tiny felt bear perched on the lid. Cover the lid with a circle of gingham fabric, tie it with twine and glue a mini bear on top, then add a tag that shares the Teddy Roosevelt teddy bear story in one line. It is cheap, fast and perfect for coworkers, teachers and neighbors. Make a dozen in one afternoon. Who is first on your gift list?
You will need: Mason jars, cocoa mix and mini marshmallows, gingham fabric, twine, a small felt bear, tacky glue, gift tags.
How to make it: 1. Fill the jar with cocoa mix and marshmallows. 2. Cut a fabric circle two inches wider than the lid. 3. Place it over the lid and tie it with twine. 4. Glue the felt bear on top and add a tag.