Weekend DIY Projects: 16 Fast Builds You Can Finish Before Sunday Night
Weekend DIY projects are suddenly what everyone is searching for. On Google Trends in the US, searches for weekend DIY home projects jumped about 550 percent in the past week, and they were still up about 400 percent in the last day. Other fast risers tell the same story: a bench from wood offcuts climbed about 3,750 percent, and concrete planters made in a laundry basket rose about 3,050 percent. People want small wins they can start on Saturday morning and show off by Sunday night. That is exactly what this list is for. Below are 16 quick builds for every room, from the front door to the garage. Most need only basic tools, a little paint and a free afternoon. Pick one, grab your coffee and let’s make this weekend count..
Weekend DIY Projects Start With a Scrap Wood Bench
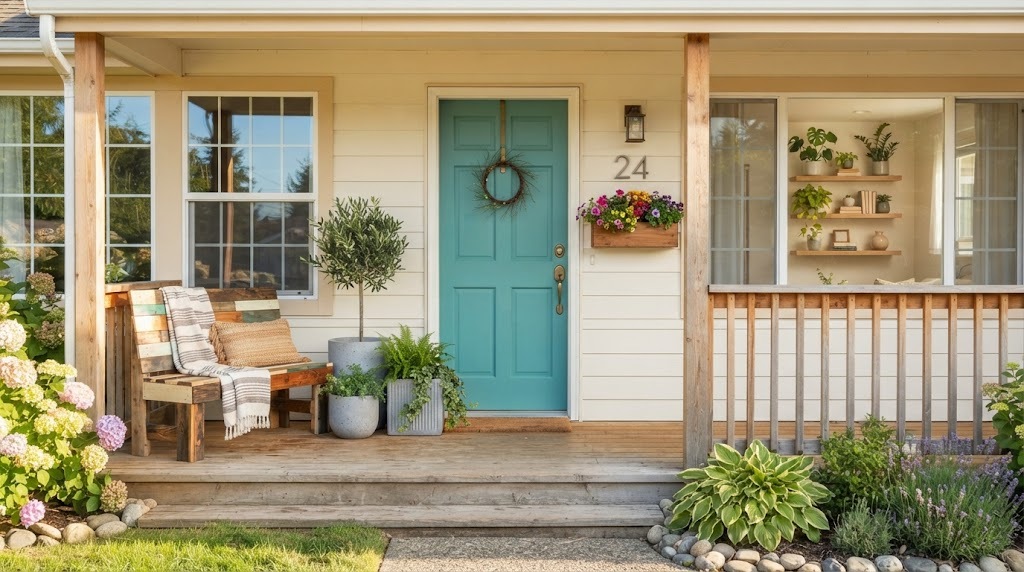
Searches for a bench made from wood offcuts shot up about 3,750 percent this week on Google Trends. It makes sense. Most of us have a pile of leftover boards in the garage, and a simple bench turns that pile into something useful. Stack short pieces side by side for a chunky, striped look, then add sturdy legs. It is a perfect first build, and it looks great at the door or on the porch. Let’s get started..
You will need: Leftover boards of the same thickness, wood glue, clamps, screws, a drill, sandpaper, four bench legs and wood finish.
How to make it: 1. Cut the boards to the same length with adult help and glue them side by side. 2. Clamp them overnight, then sand the top smooth. 3. Screw on the legs and finish with a clear coat.
Concrete Planters Cast in a Laundry Basket
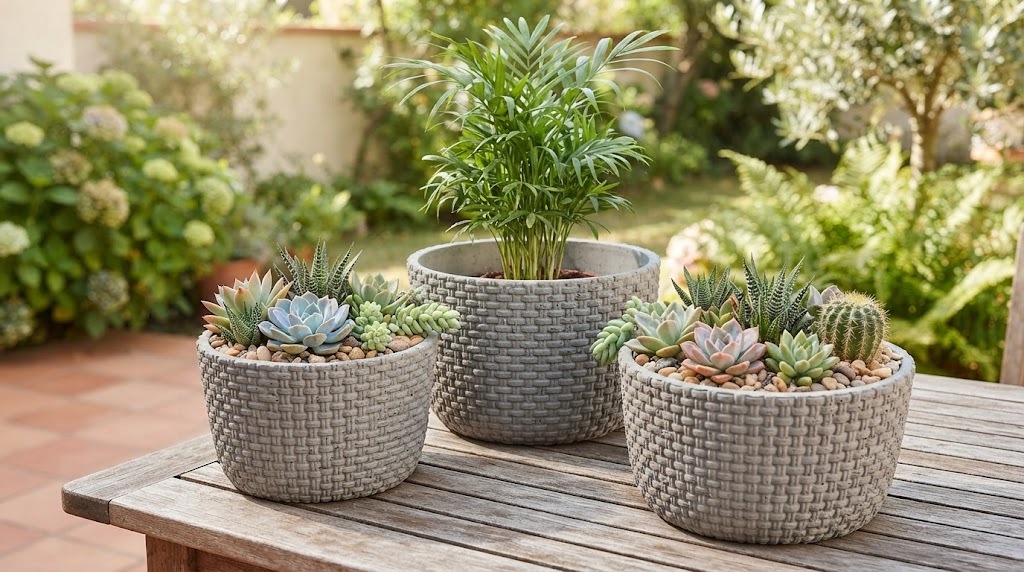
This clever trick rose about 3,050 percent in searches this week. You line a plastic laundry basket with plastic wrap, pour in concrete, and press a smaller bucket into the middle. When it sets, the basket pattern stays on the outside like a woven print. It is one of those weekend DIY projects that looks like it came from a fancy garden shop. Wear gloves and a mask when mixing. Which plants would you put in yours?
You will need: A plastic laundry basket, plastic wrap, quick setting concrete mix, a smaller bucket, cooking spray, gloves, a dust mask and a stir stick.
How to make it: 1. Line the basket with wrap and spray it lightly. 2. Wearing gloves and a mask, mix the concrete, pour it in and press the bucket into the center with a weight inside. 3. Let it set for two days, then pull out the basket and bucket.
Floating Shelves for a Bare Wall
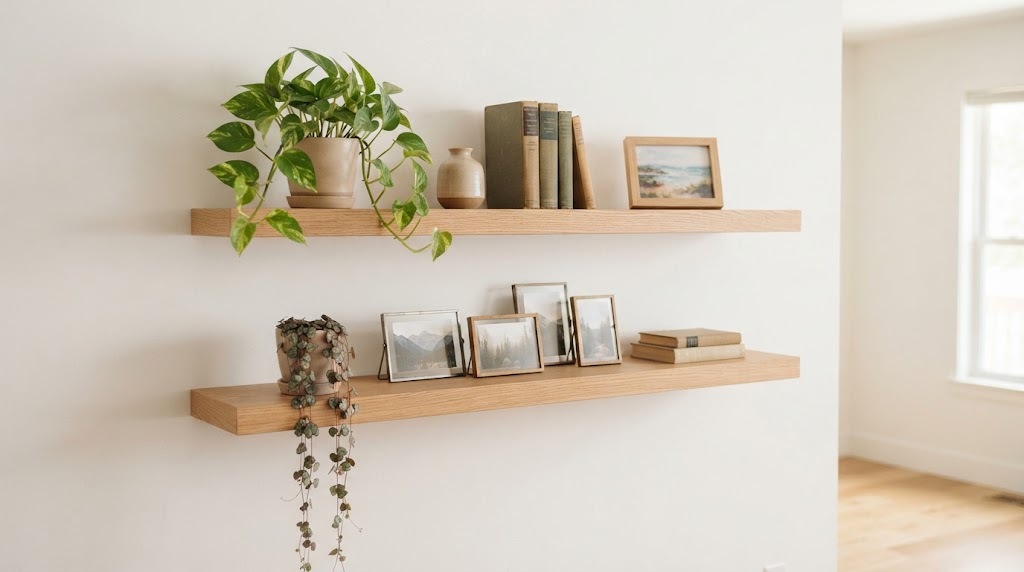
A bare wall can feel cold, but two floating shelves change the whole room in an afternoon. They hold plants, books and photos without bulky brackets showing. Hidden bracket kits make it easy, and you can stain the wood to match your floors. Just be sure to find the studs so they hold weight safely. Which wall in your home needs a little life?
You will need: Two floating shelf kits with hidden brackets, a stud finder, a level, a drill, screws and wood stain.
How to make it: 1. Find the studs and mark a level line. 2. With adult help, screw the hidden brackets into the studs. 3. Slide the shelves on and style them with light items.
Peel and Stick Backsplash Refresh
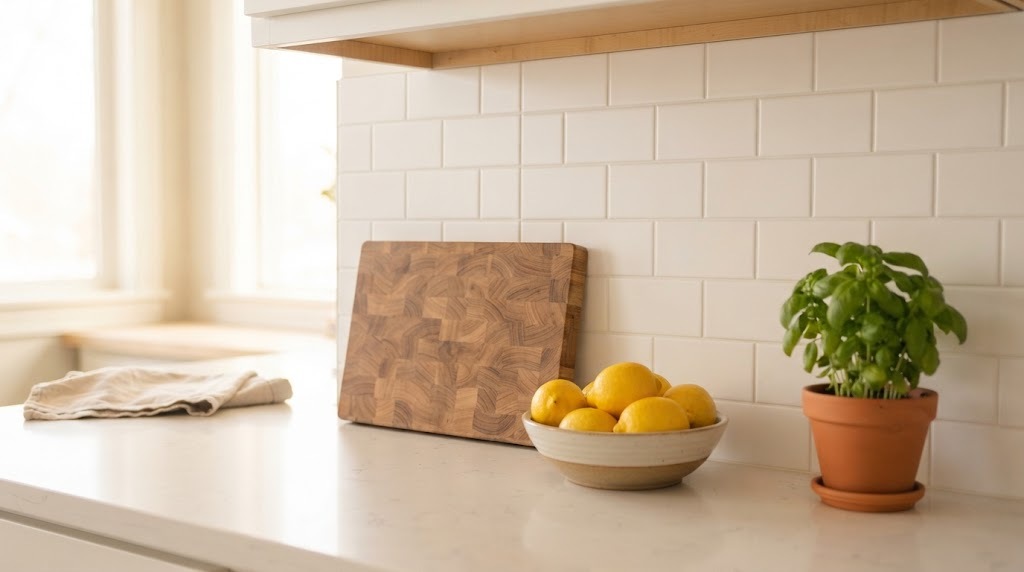
A new backsplash used to mean tile, grout and a big mess. Now peel and stick tiles go up in an afternoon with just scissors and a ruler. They come in white subway, marble looks and bold patterns. It is a renter friendly update that makes a tired kitchen look brand new. Clean the wall really well first so the tiles stay put. Would you go classic white or bold?
You will need: Peel and stick tile sheets, a level, a utility knife used by an adult, a ruler, degreaser and a soft cloth.
How to make it: 1. Clean the wall with degreaser and let it dry. 2. Start at the bottom center and press the first sheet on level. 3. Overlap each sheet as the package shows and trim the edges.
Weekend DIY Projects for Curb Appeal: Paint the Front Door
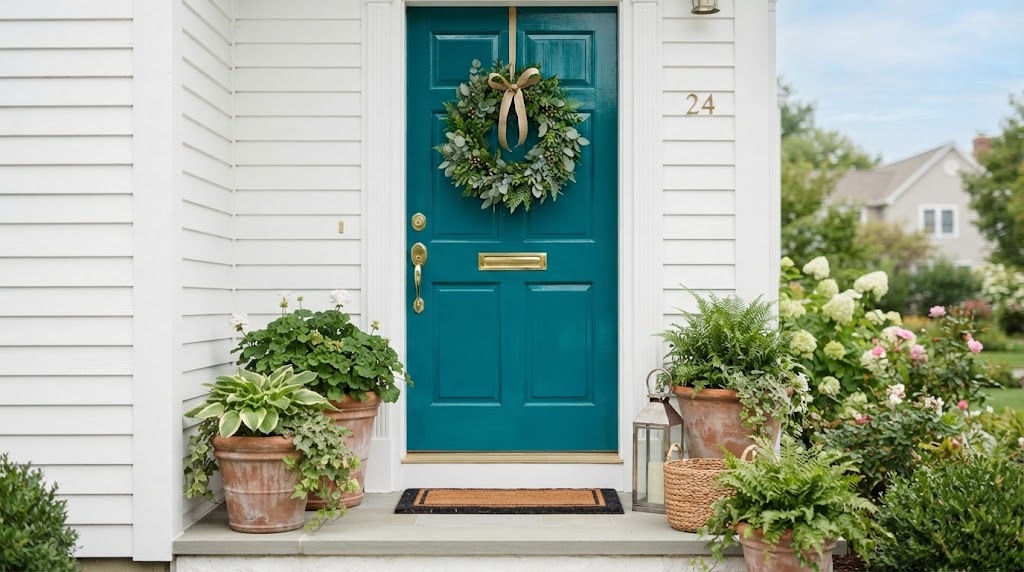
Painting your front door is one of the quickest weekend DIY projects with the biggest wow. A bold teal, a deep navy or a cheerful yellow makes your home stand out on the street. Pick a dry, mild day and take your time with thin coats. Neighbors will notice, and you will smile every time you come home. What color matches your style?
You will need: Exterior door paint, an angled brush, a small foam roller, painter’s tape, sandpaper and a drop cloth.
How to make it: 1. Clean and lightly sand the door. 2. Tape the hardware and glass. 3. Paint in thin coats, letting each one dry before the next.
Picture Ledge for Rotating Art
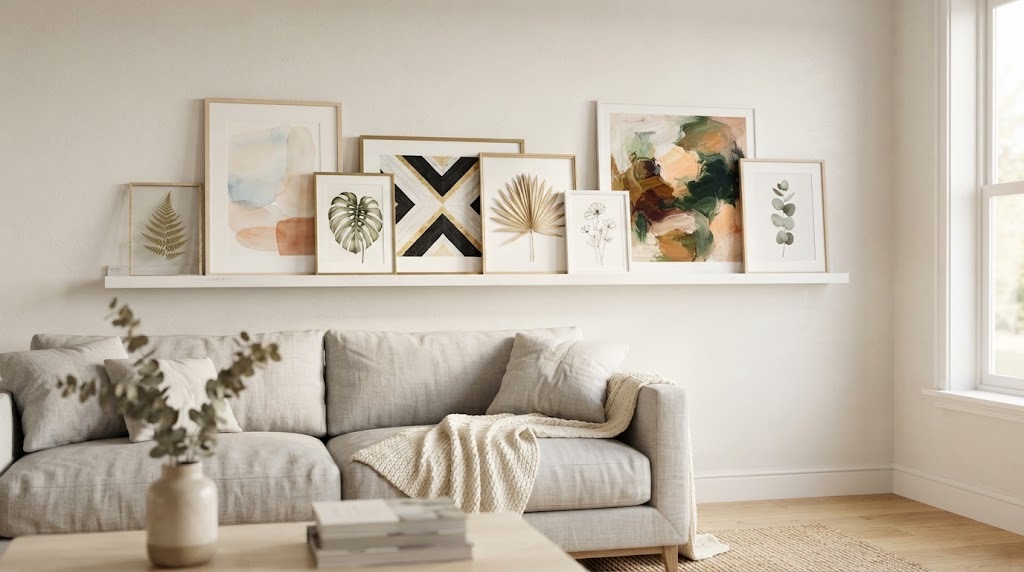
Hanging a gallery wall means lots of nail holes. A picture ledge solves that. Lean frames on a narrow shelf with a lip, and swap them whenever you like. Kids’ art, holiday prints and family photos can all take a turn. It is a simple build from one board and a thin strip of trim. How often would you change your display?
You will need: One 1×4 board, one 1×2 board, a thin trim strip, wood glue, nails, screws, wall anchors and paint.
How to make it: 1. Glue and nail the 1×2 to the back edge of the 1×4. 2. Add the trim strip to the front edge as a lip. 3. Paint it and screw it to the wall with anchors.
Weekend DIY Projects With Big Impact: Board and Batten Wall
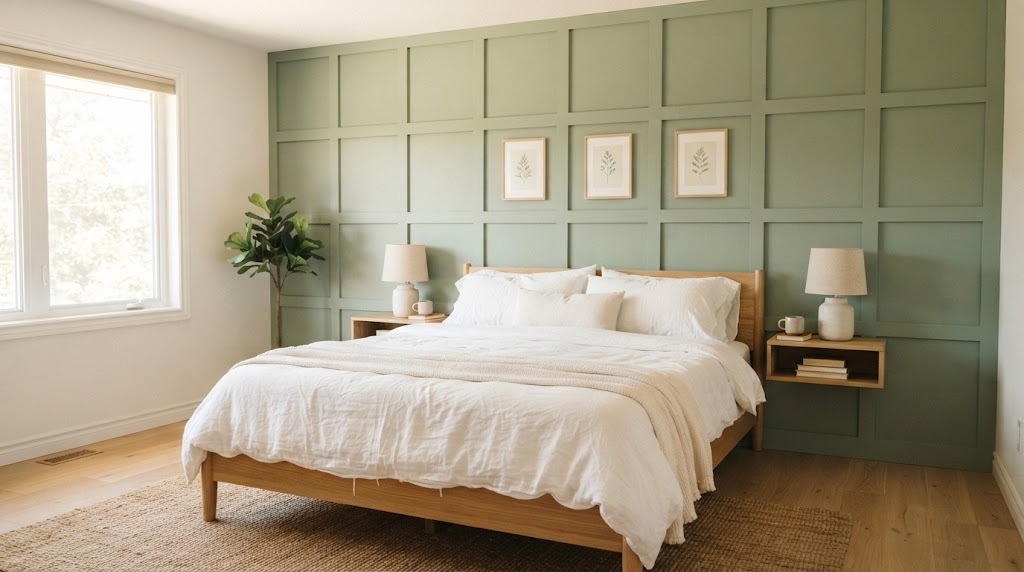
A board and batten wall adds instant character to a bedroom, hallway or dining room. Thin wood strips go up in a simple grid, and then the whole wall is painted one color. It looks like expensive millwork, but it costs much less. Sage green, navy and soft white are all popular right now. Measure carefully, and the rest is easy. Which room would you choose?
You will need: Thin MDF or pine strips, a level, a tape measure, construction adhesive, a brad nailer used by an adult, caulk and paint.
How to make it: 1. Plan your grid on paper and mark it on the wall. 2. Glue and nail the strips in place with adult help. 3. Caulk the seams and paint the wall and strips one color.
Headboard From Plywood and Fabric
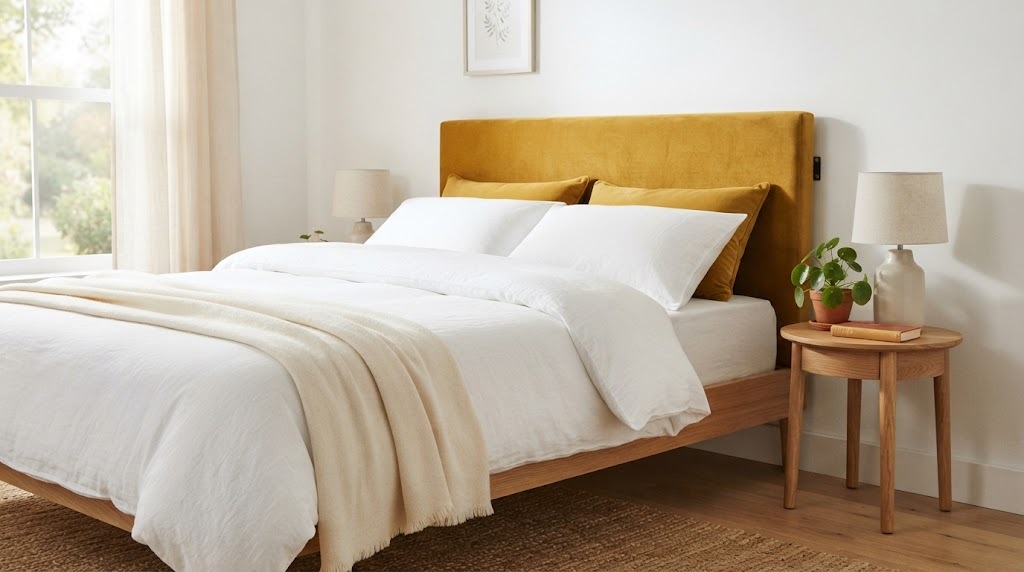
A soft upholstered headboard makes a bed feel like a hotel. You can make one with a sheet of plywood, some foam and your favorite fabric. Mustard, velvet green and linen gray all look lovely. It is one of the best weekend DIY projects for a guest room before the holidays. Mount it to the wall so the bed frame stays simple. What fabric would you choose?
You will need: A plywood sheet cut to the bed width, foam, batting, fabric, a staple gun used by an adult and a wall cleat.
How to make it: 1. Glue the foam to the plywood and wrap it in batting. 2. Pull the fabric tight and staple it on the back. 3. Hang it on a wall cleat behind the bed.
House Number Planter Box
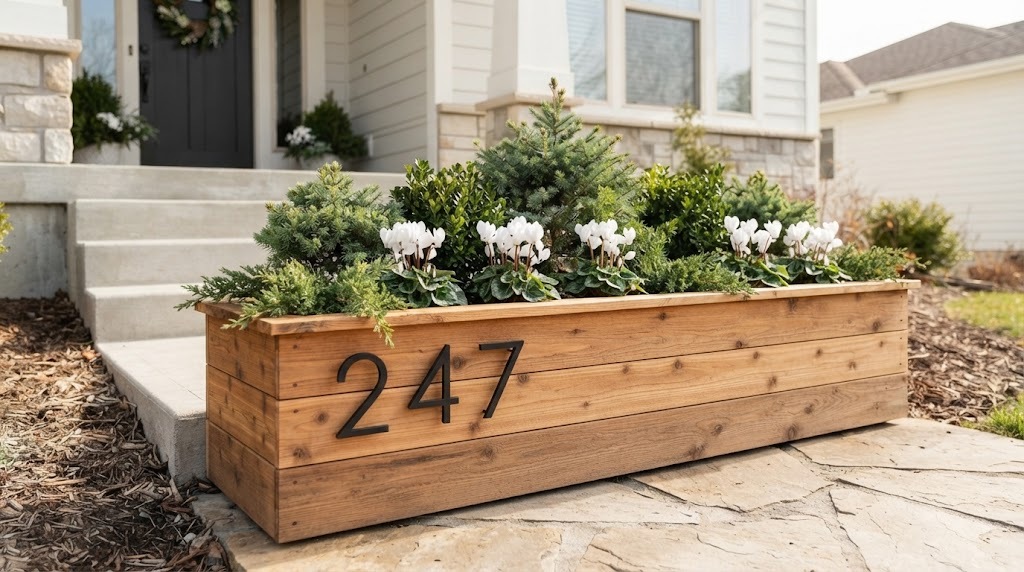
A house number planter does two jobs. It helps visitors and delivery drivers find you, and it adds flowers right at the front step. Build a simple box, add metal numbers on the front, and fill it with seasonal plants. In winter, try small evergreens and pine cones. It is a quick and friendly upgrade for any porch. What would you plant first?
You will need: Cedar boards, wood screws, a drill, metal house numbers, potting soil and plants.
How to make it: 1. Screw the cedar boards into a long box with drainage holes in the bottom. 2. Attach the house numbers to the front. 3. Fill it with soil and plants and set it by the steps.
Rope Wrapped Plant Stand
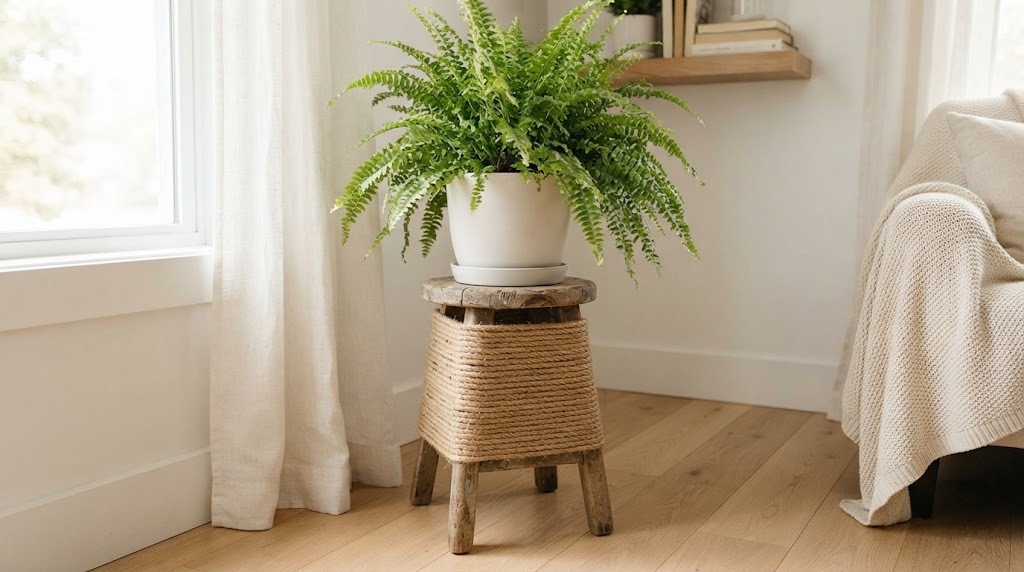
An old stool or a plain plant stand gets a cozy coastal look with natural rope. Wrap it tightly around the legs and top, gluing as you go. It hides scratches and makes the stand look new. Put a big fern or snake plant on top, and the corner comes alive. It is a calm, relaxing project for a rainy Saturday. Where would you put yours?
You will need: An old stool or plant stand, jute rope, a low temp hot glue gun used with adult help, and scissors.
How to make it: 1. Start at the bottom of one leg and glue the rope end down. 2. Wrap tightly, adding a little glue every few turns. 3. Finish the top in a spiral and tuck the end underneath.
Weekend DIY Projects for the Kitchen: Swap the Cabinet Hardware
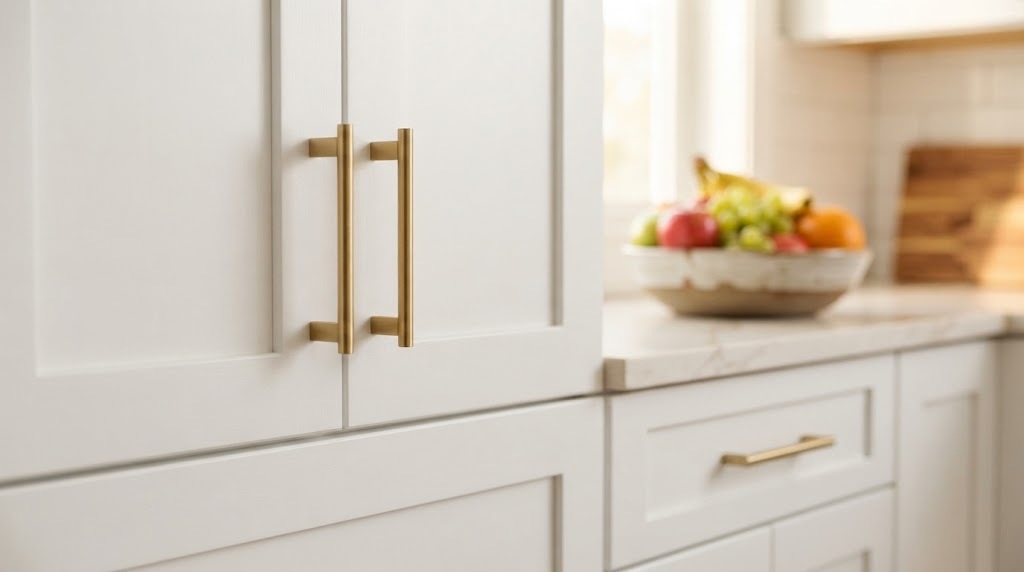
Swapping cabinet hardware is one of the easiest weekend DIY projects, and it changes the whole kitchen. New brass, black or wood pulls make old doors look fresh in an afternoon. Measure the hole spacing first so the new pulls fit the old holes. If you want to go further, take a look at our kitchen cabinet makeovers for more ideas. Which finish would you pick?
You will need: New cabinet pulls or knobs, a screwdriver, a tape measure and wood filler for any extra holes.
How to make it: 1. Measure the distance between the old screw holes. 2. Buy pulls with the same spacing. 3. Unscrew the old ones and screw on the new ones.
Built In Look for Basic Bookcases
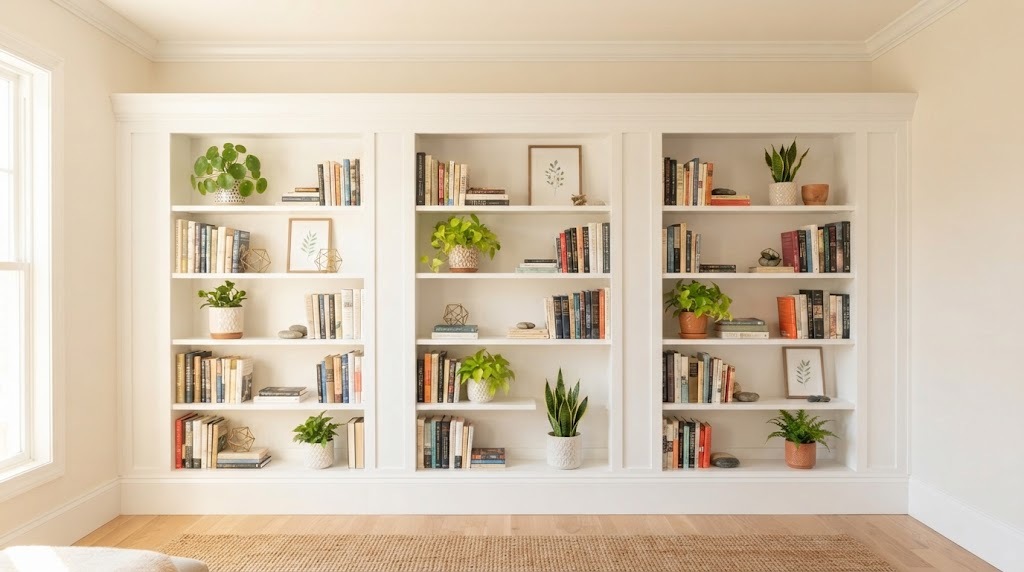
Plain bookcases can look like custom built ins with a little trim. Push two or three together, add a board along the top and some molding, and paint them the wall color. Suddenly they look like they came with the house. It is a popular weekend upgrade for living rooms and home offices. Always anchor tall bookcases to the wall for safety. Ready for the upgrade?
You will need: Two or three basic bookcases, wall anchors and straps, a 1×4 board, crown molding, wood glue, nails and paint.
How to make it: 1. Line up the bookcases and strap them to the wall. 2. Glue and nail a board across the top and trim along the front edges. 3. Fill nail holes and paint everything the same color.
Garage Pegboard Tool Wall
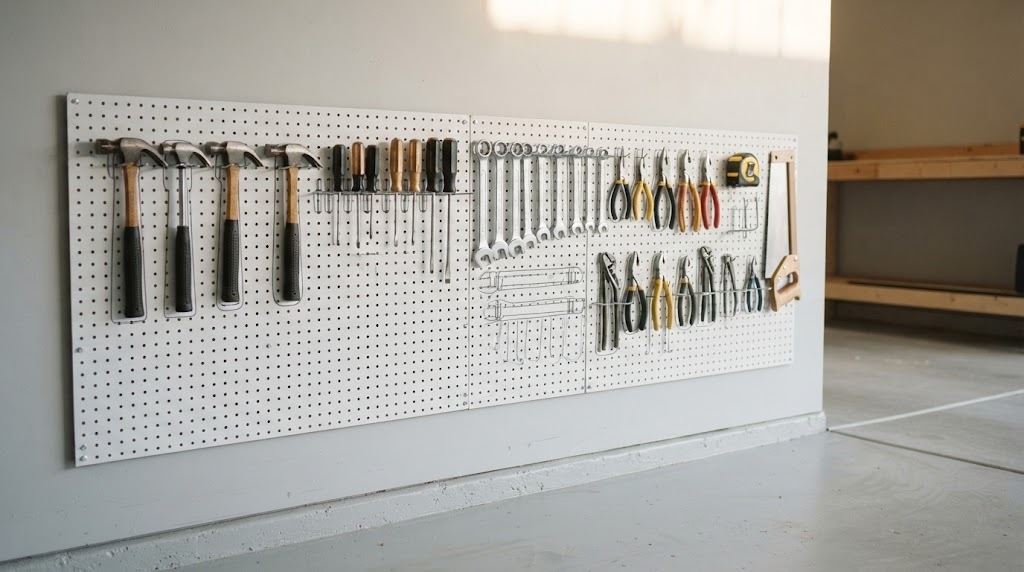
A pegboard wall turns a messy garage into a tidy workshop. Every tool gets its own hook, so you can see what you have and grab it fast. You can paint the board a bright color to make the space fun. Of all the weekend DIY projects here, this one may save you the most time for years. Trace around each tool with a marker so everything goes back in the right spot. What would you hang first?
You will need: A pegboard panel, wood furring strips, screws, a drill, pegboard hooks and paint.
How to make it: 1. Screw furring strips to the wall studs so the board sits off the wall. 2. Screw the pegboard to the strips. 3. Add hooks and hang tools, tracing each outline.
Window Box Planters for Every Season
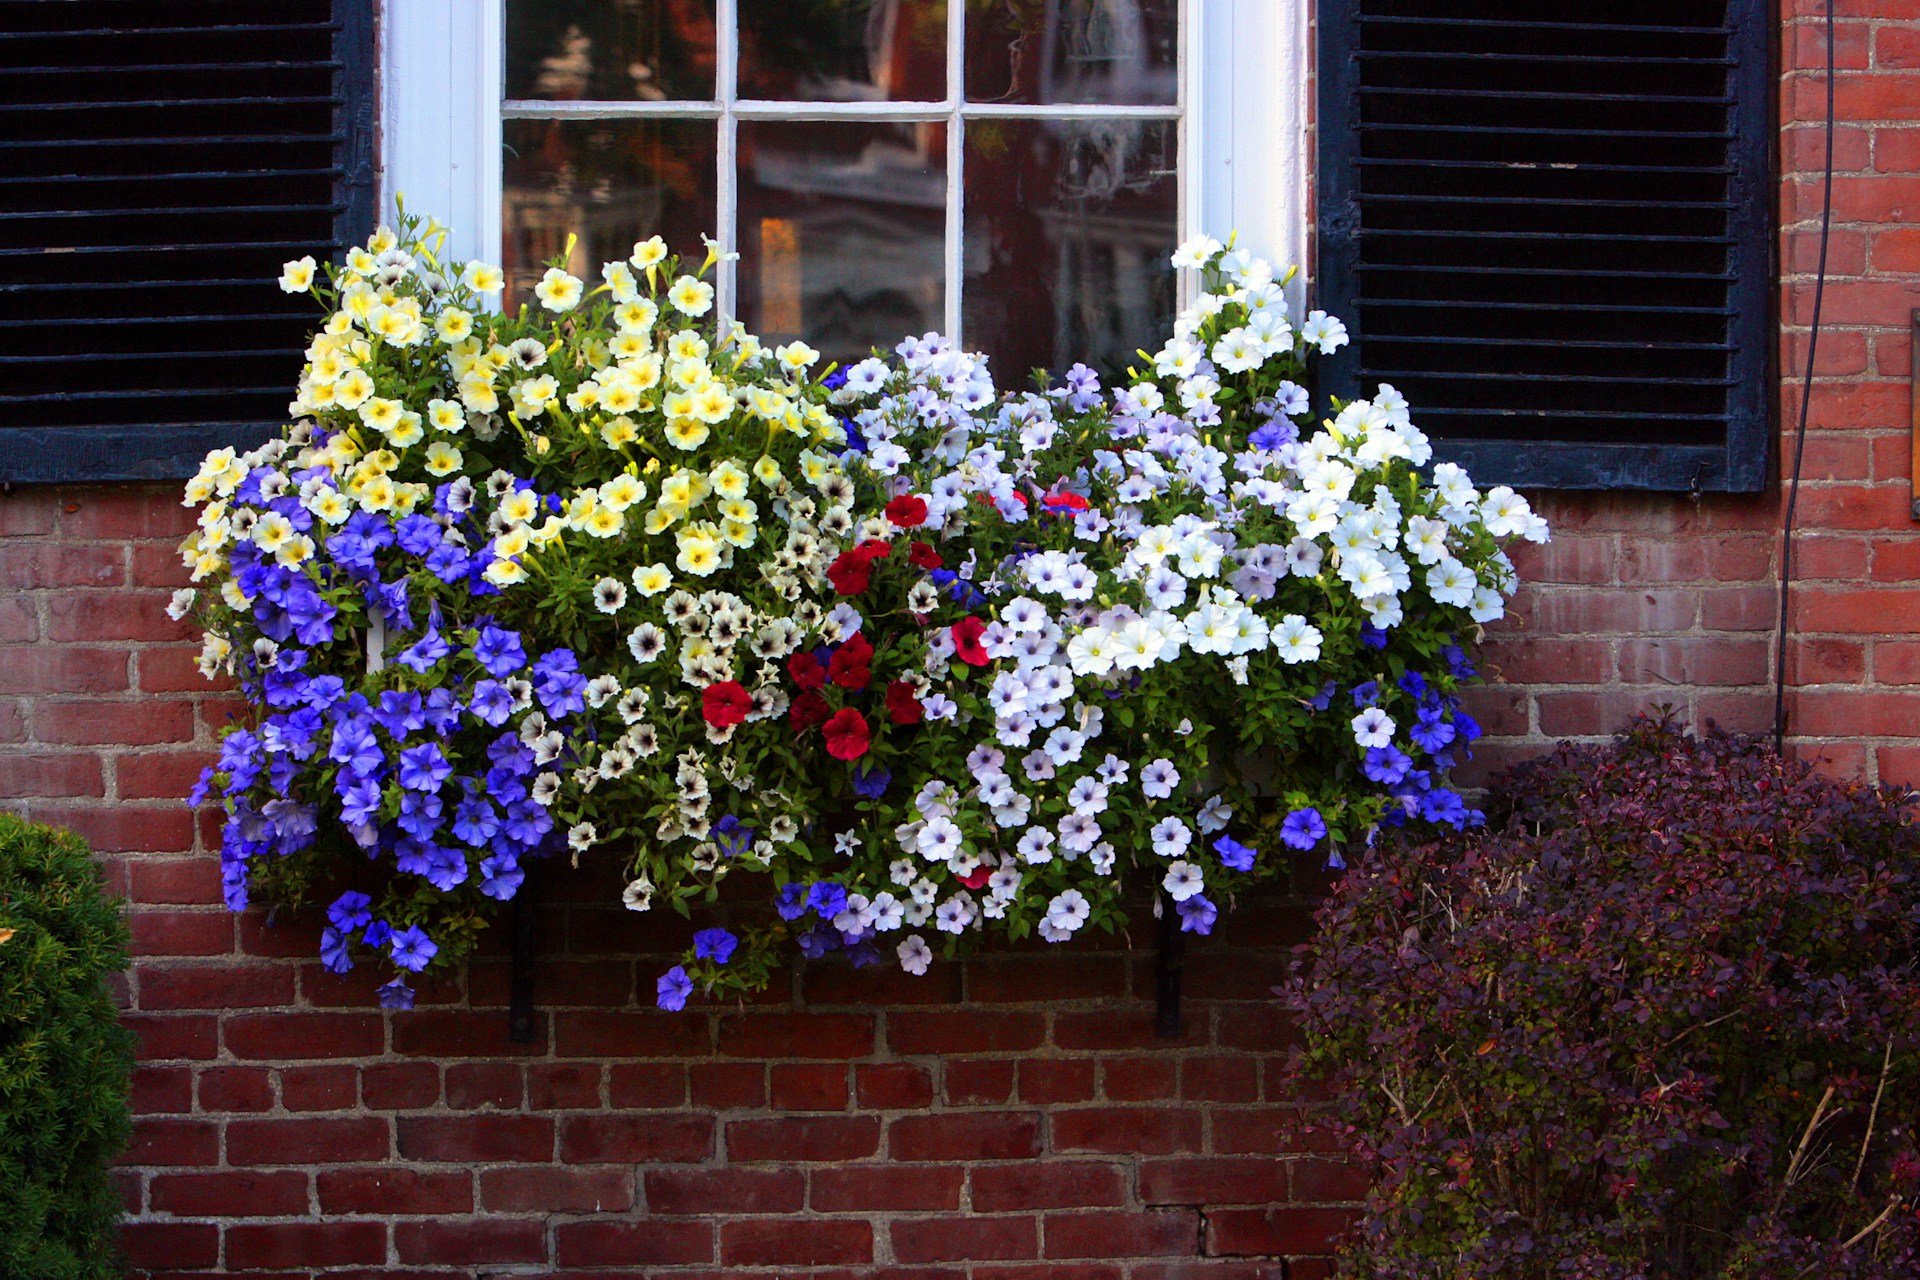
A window box full of flowers makes any house look happy. Plant bright blooms while the weather is mild, then swap in evergreen branches, small conifers and pine cones when it turns cold, so the box stays pretty all winter. It makes the outside of your home look warm and welcoming, even on gray days. Fix the brackets firmly, because wet soil is heavy. Would you add a bow for the holidays?
You will need: A window box with brackets, screws, a drill, potting soil, flowering plants, and later evergreen branches and pine cones.
How to make it: 1. With adult help, screw the brackets under the window. 2. Set the box on top and fill it with soil. 3. Plant your flowers now and swap in evergreens and cones when it gets cold.
Upholstered Ottoman From a Round Storage Bin
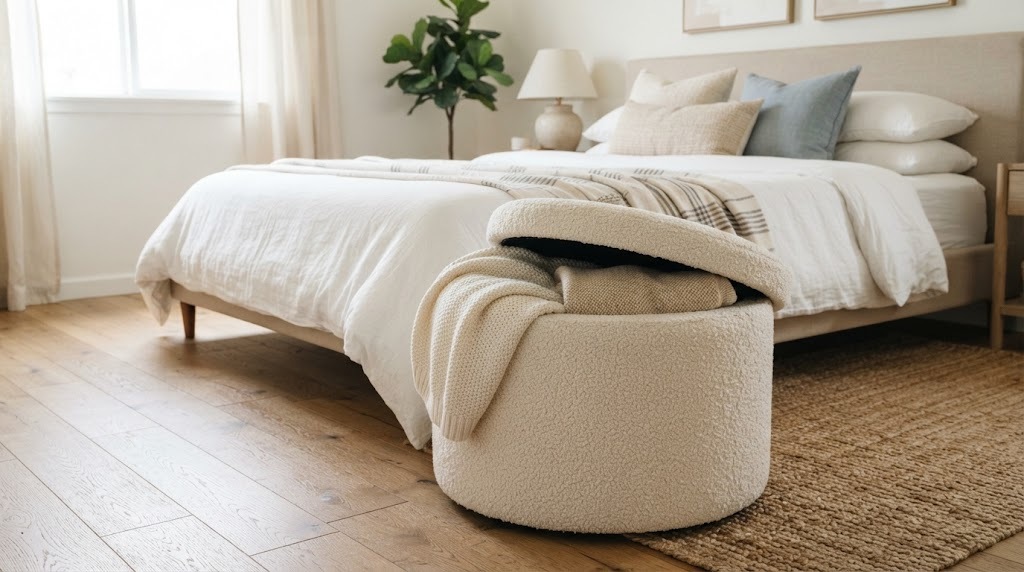
In one of the thriftiest weekend DIY projects, a cheap round storage bin becomes a soft ottoman with hidden storage inside. Add a padded lid wrapped in pretty fabric, and wrap the sides too. It is a great place to hide blankets, toys or board games. Put it at the end of the bed or by the sofa. Velvet, boucle and plaid all look lovely. What would you hide inside?
You will need: A round sturdy storage bin with a lid, a plywood circle, foam, batting, fabric, a staple gun used by an adult and fabric glue.
How to make it: 1. Cover the plywood circle with foam, batting and fabric, stapling underneath. 2. Glue fabric around the bin sides. 3. Attach the padded circle to the lid.
Weekend DIY Projects for the Entry: Coat Rack From a Board and Knobs
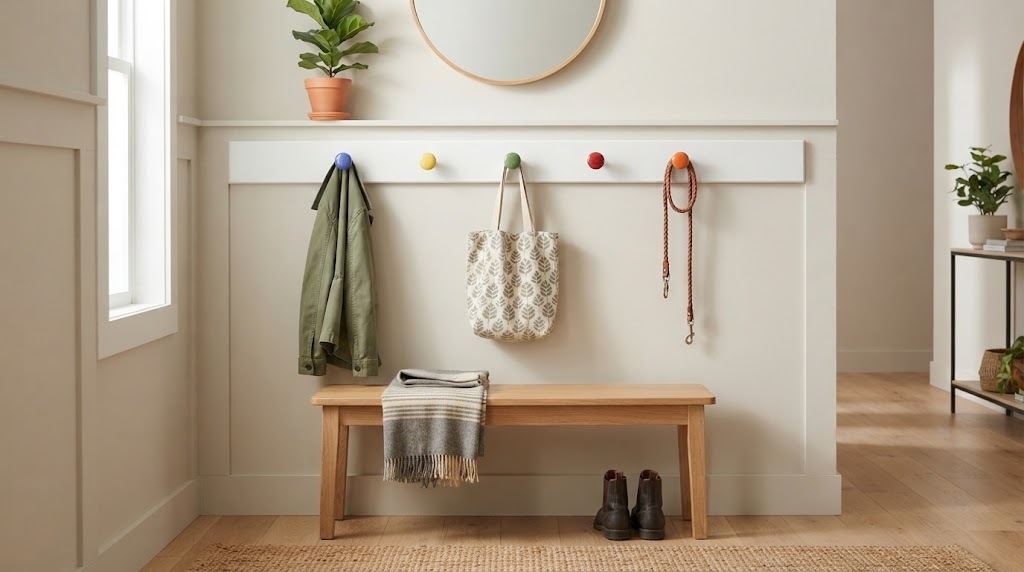
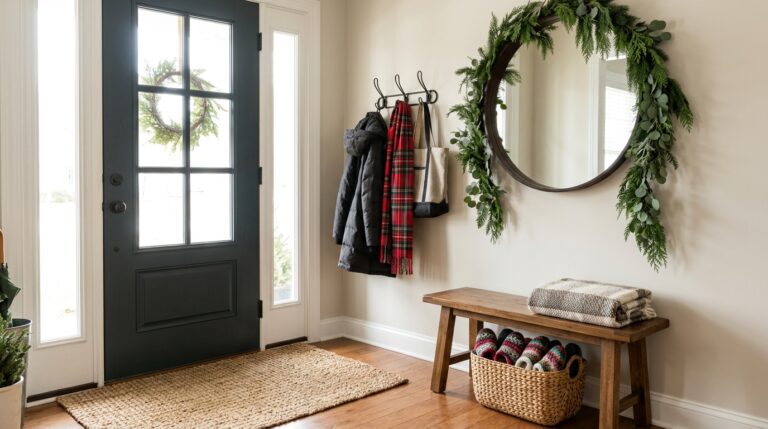
End your weekend with an easy win. A wooden board and a few pretty knobs become a coat rack for jackets, bags and dog leashes. Ceramic knobs, brass hooks or wooden pegs all work. It is one of those weekend DIY projects that kids can help paint, and it makes busy mornings calmer. Hang it at a height the whole family can reach. Ready to finish strong?
You will need: A pine board, sandpaper, paint or stain, four or five knobs or hooks, a drill, screws and wall anchors.
How to make it: 1. Sand and paint the board. 2. Drill holes and attach the knobs evenly spaced. 3. Screw the board into studs or anchors by the door.