Cyanotype Gifts: 15 Blue Botanical Ideas That Feel Like Little Art Shop Finds
Cyanotype Gifts turn a few familiar leaves and a sheet of prepared paper into deep blue keepsakes with a personal story. The process uses sunlight to make a photographic print, leaving pale shapes where your chosen objects block the light. The Denver Art Museum’s beginner guide shows how precoated paper, a firm base, water, and everyday objects can get you started. Use the instructions supplied with your paper for exposure, rinsing, and care. These ideas focus on finished paper prints and simple ways to present them, from a small frame to a useful bookmark. Each finished project lets the pale plant shapes and rich blue background do the decorating, with plenty of room for a personal touch.
Frame a Fern Print for a Plant Lover
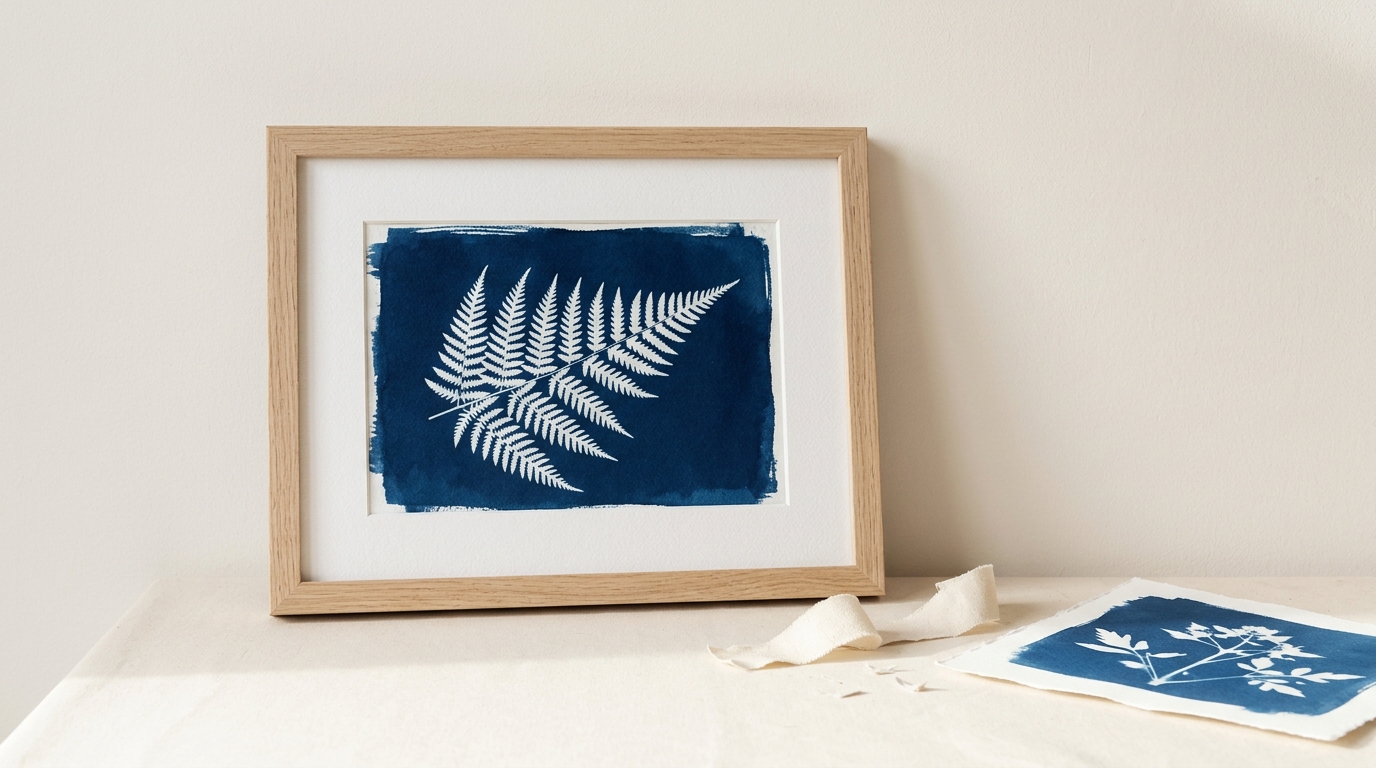
A bright blue fern print gives a plain frame a purpose. Make the image yourself with precoated sun print paper, then let the white leaf shape stand against a generous blue margin. A small botanical subject suits a desk, bedside table, or narrow shelf without taking over the room. Choose a frame with a ready-made mat so the paper stays clear of the glazing. For another personal approach, borrow the presentation ideas in photo Christmas gifts. This version feels thoughtful because you chose the leaf, arranged the design, and made the print yourself.
You will need: Precoated sun print paper, a flat fern, stiff board, a water tray, paper towels, and a small frame with a mat.
How to make it:
- Arrange the flat fern on prepared paper indoors, leaving a generous border.
- Expose and rinse according to the paper instructions, then dry the sheet completely.
- Fit the dry print behind the mat and close the frame backing.
Leafy Cyanotype Gifts With Room to Breathe
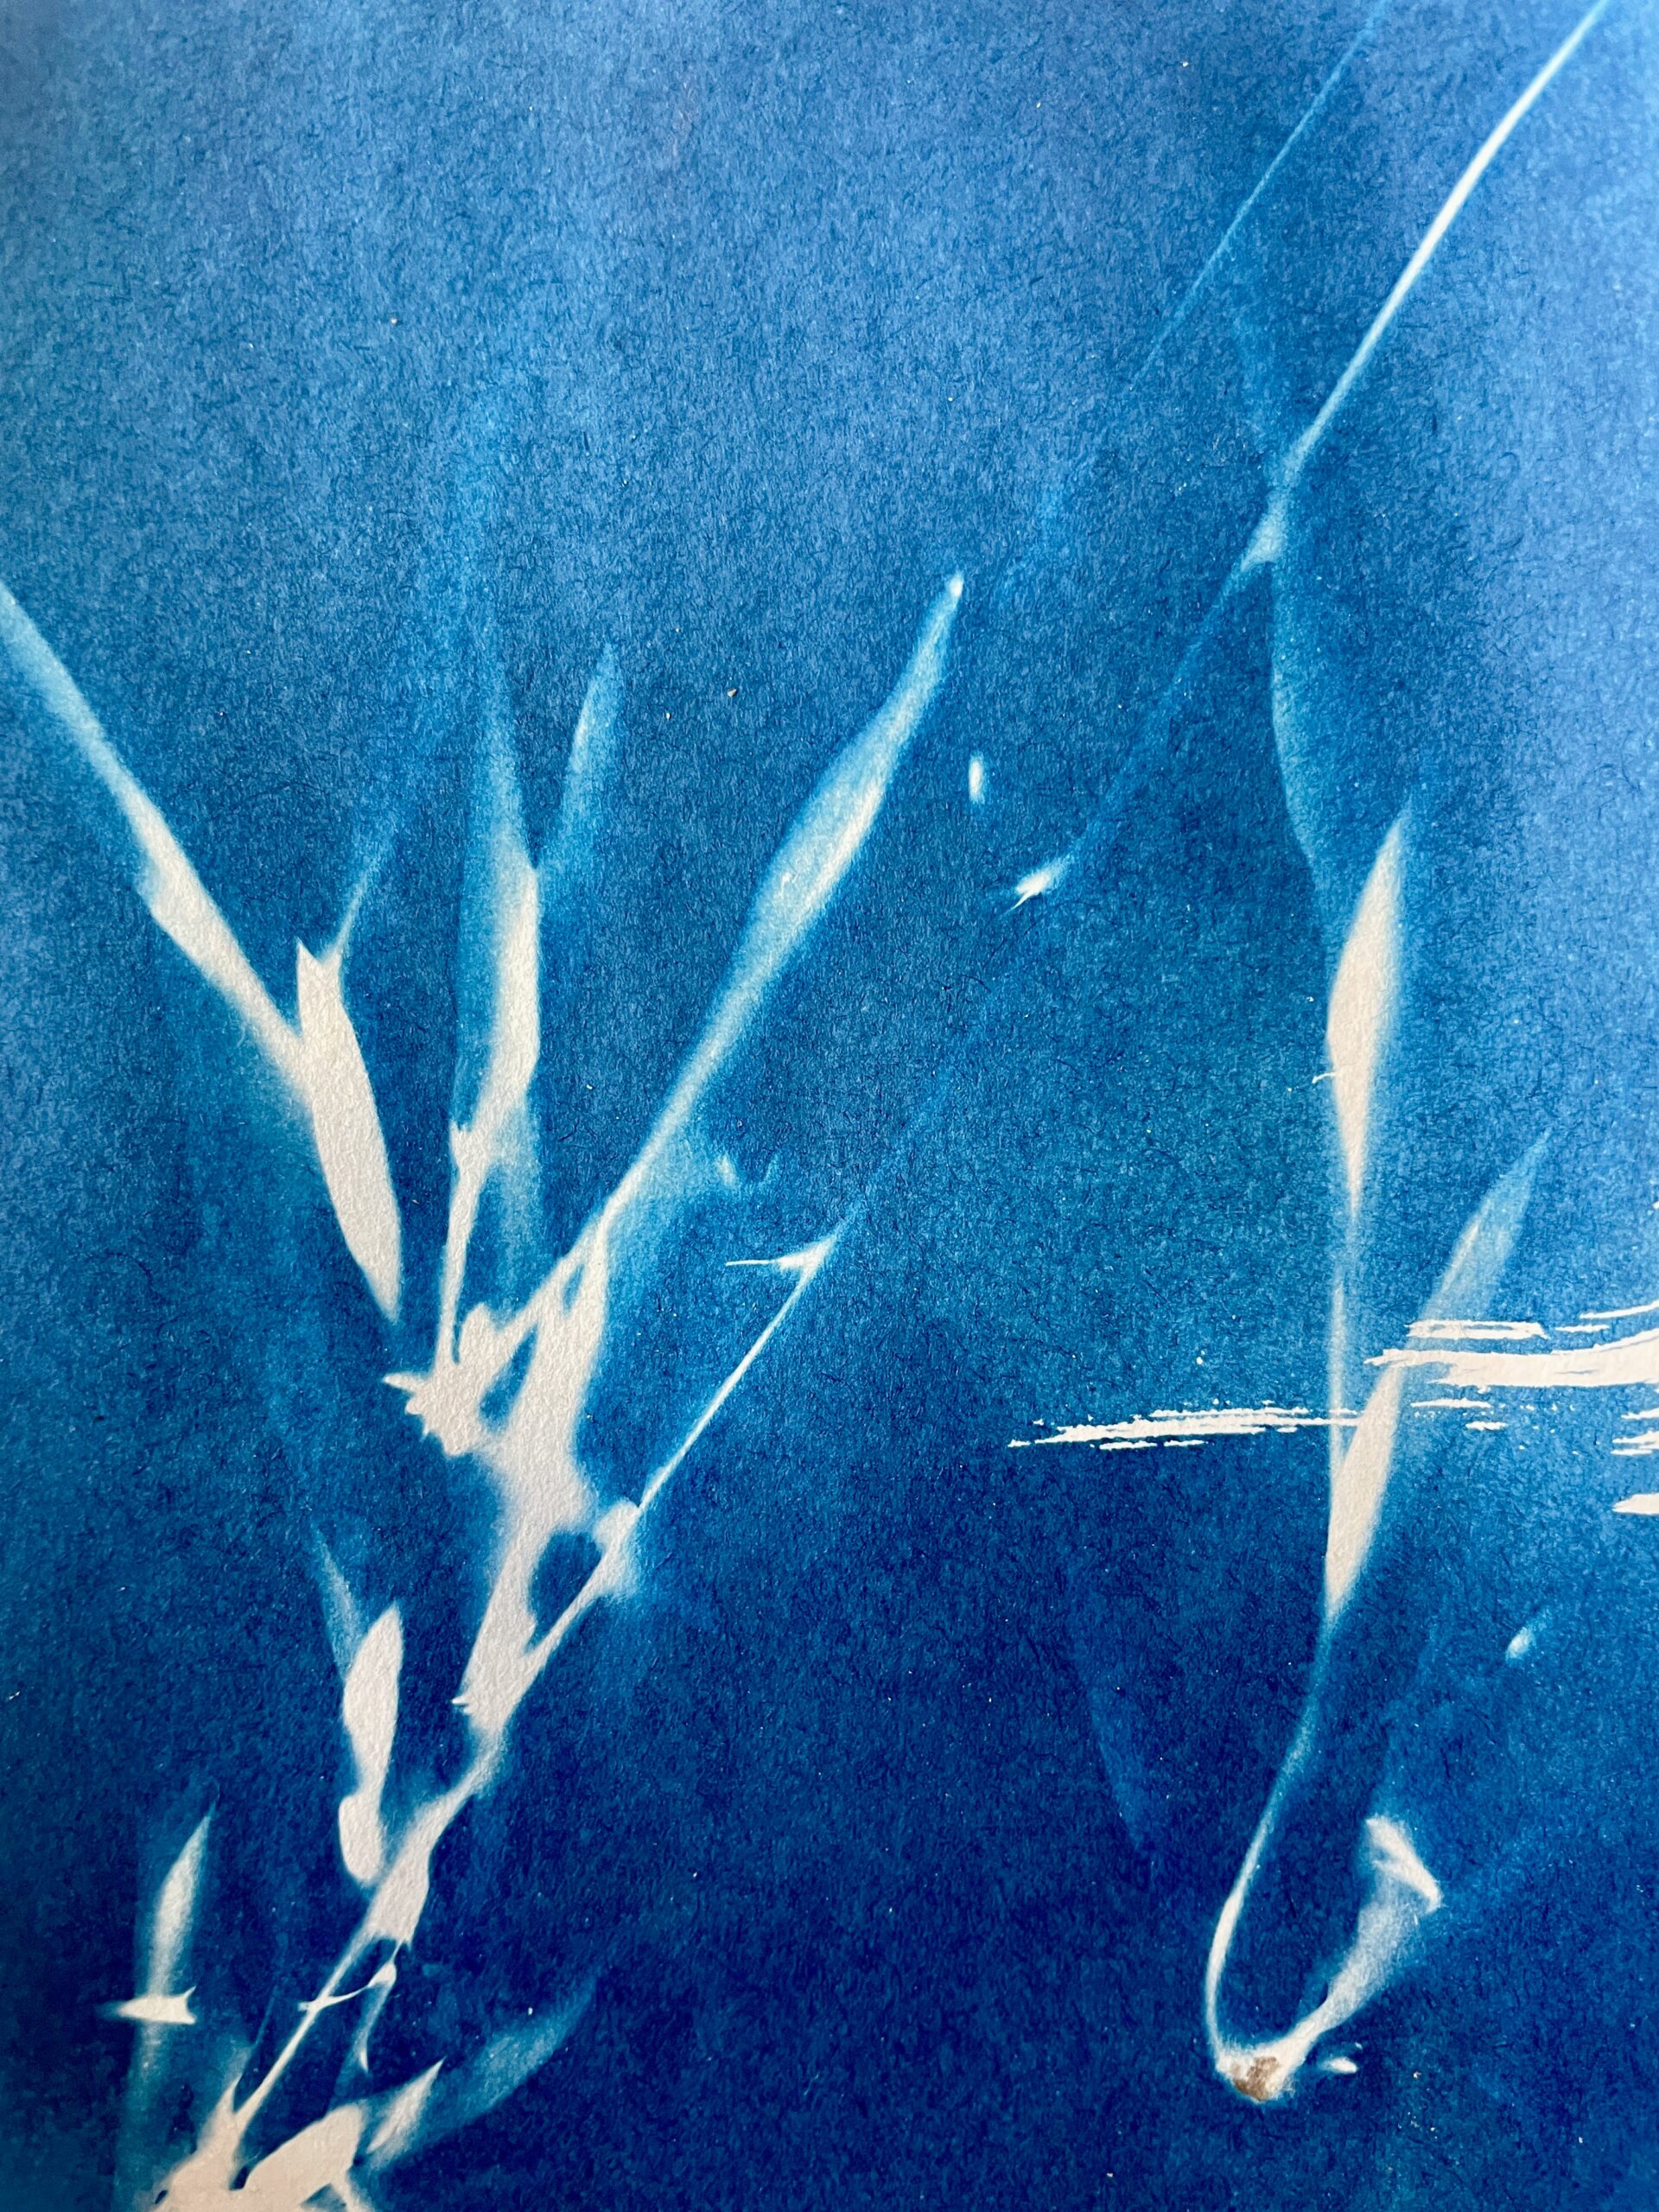
A leafy stem crossing the paper at an angle gives this print its quiet movement. The white leaves stretch across the rich blue surface, with each small gap becoming part of the finished pattern. Leave some blue space around the smallest leaves; packing every corner makes their outlines harder to enjoy. Cyanotype Gifts can look polished without a complicated arrangement. Pair the dry sheet with an unprinted mat or a protective sleeve. The same respect for empty space makes beginner watercolor compositions feel calmer and easier to read across a room.
You will need: Precoated sun print paper, one flat leafy stem, a stiff board, a water tray, and a plain protective art sleeve.
How to make it:
- Test the diagonal layout on ordinary paper before opening the prepared sheet.
- Transfer the stem indoors, then expose and rinse as the paper maker directs.
- Dry flat and place the artwork in a sleeve with stiff backing.
Cyanotype Gifts for a Favorite Reader
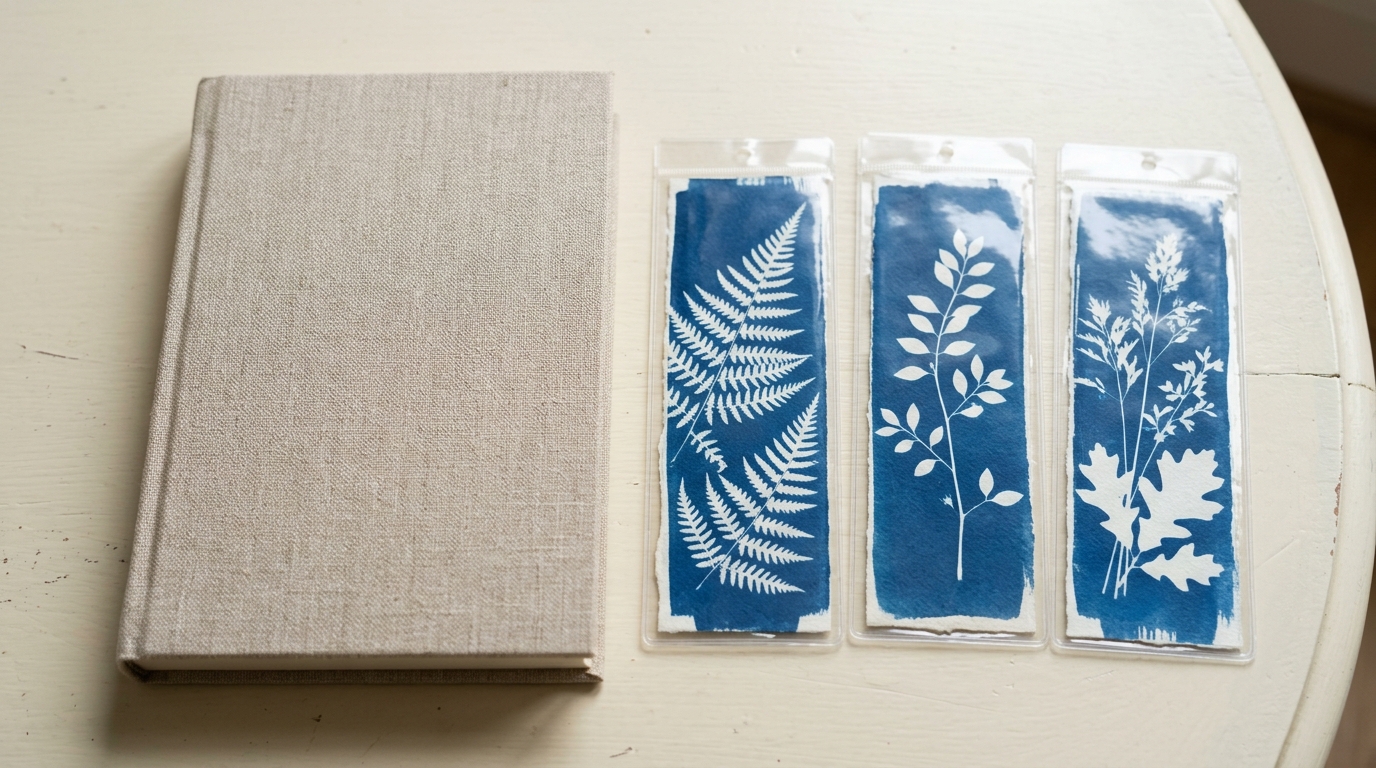
A narrow sun print turns into a bookmark with very little extra material. Start with a long, slim leaf rather than trimming through a dense arrangement of flowers. The design will stay recognizable after you cut the dry paper to size. Round the corners gently so the bookmark slips between pages without catching. A clear sleeve protects its surface while keeping the handmade texture visible. Tuck one beside a book or into handmade gifts for Grandpa for a personal extra. The blue paper feels like a tiny artwork every time the reader opens a page.
You will need: A dry narrow botanical sun print, a ruler, scissors, a rounded corner template, and a clear bookmark sleeve.
How to make it:
- Make a narrow leaf print using the coated paper instructions and dry it fully.
- Cut a slim rectangle from the dry sheet and gently round its corners.
- Place it in a clear bookmark sleeve and check its fit in a closed book.
Let Tiny Wildflowers Fill the Blue
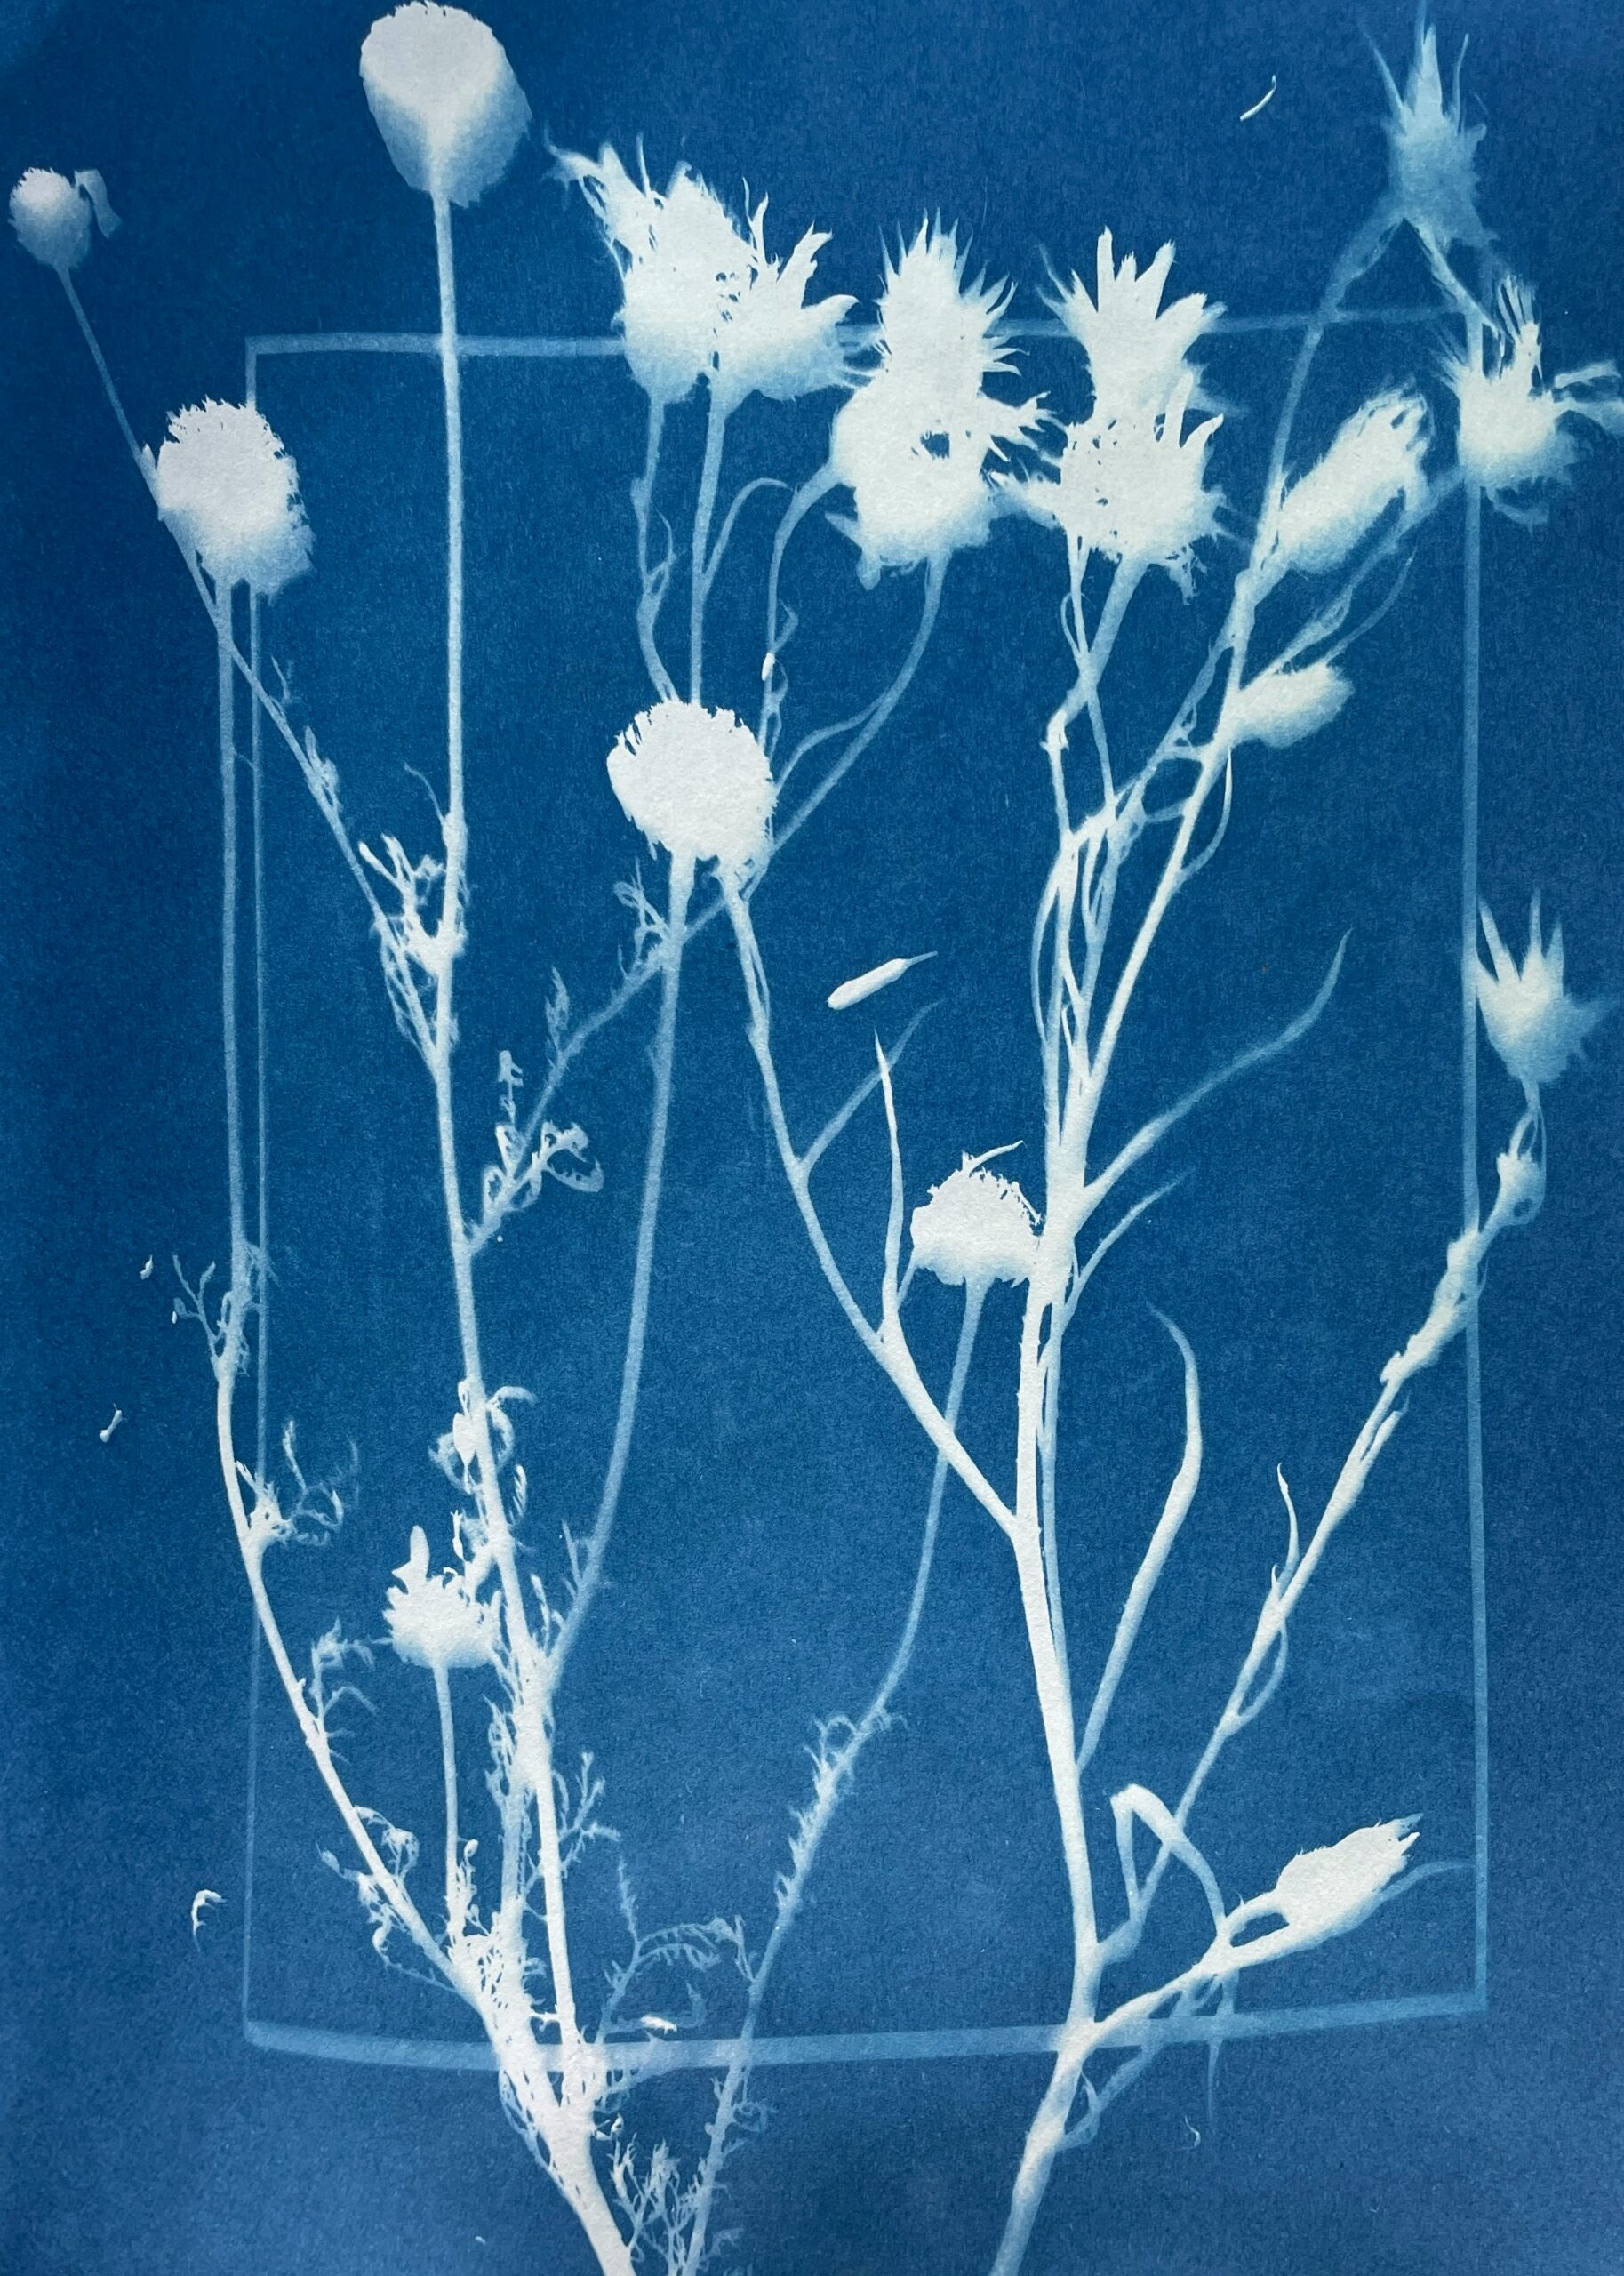
Fine stems and tiny blooms create a softer print than a heavy leaf. The open spaces between them are part of the design, not areas that need filling. Ask permission before collecting plants and leave unfamiliar specimens alone. Cyanotype Gifts made with this airy arrangement suit someone who likes gentle details. A neutral backing will let the blue feel richer. If your recipient enjoys fiber work, combine the print with the soft textures in easy weaving projects. Let the thinnest stems stay visible against the blue instead of gathering them into one thick cluster.
You will need: Precoated sun print paper, a few flat delicate stems, a board, a water tray, and clean neutral backing paper.
How to make it:
- Arrange familiar, safely collected stems with small gaps between their outlines.
- Expose the prepared paper and rinse as directed, keeping the design steady.
- Dry completely, support with neutral backing, and protect the print for gifting.
Paper Butterflies Among Botanical Shapes
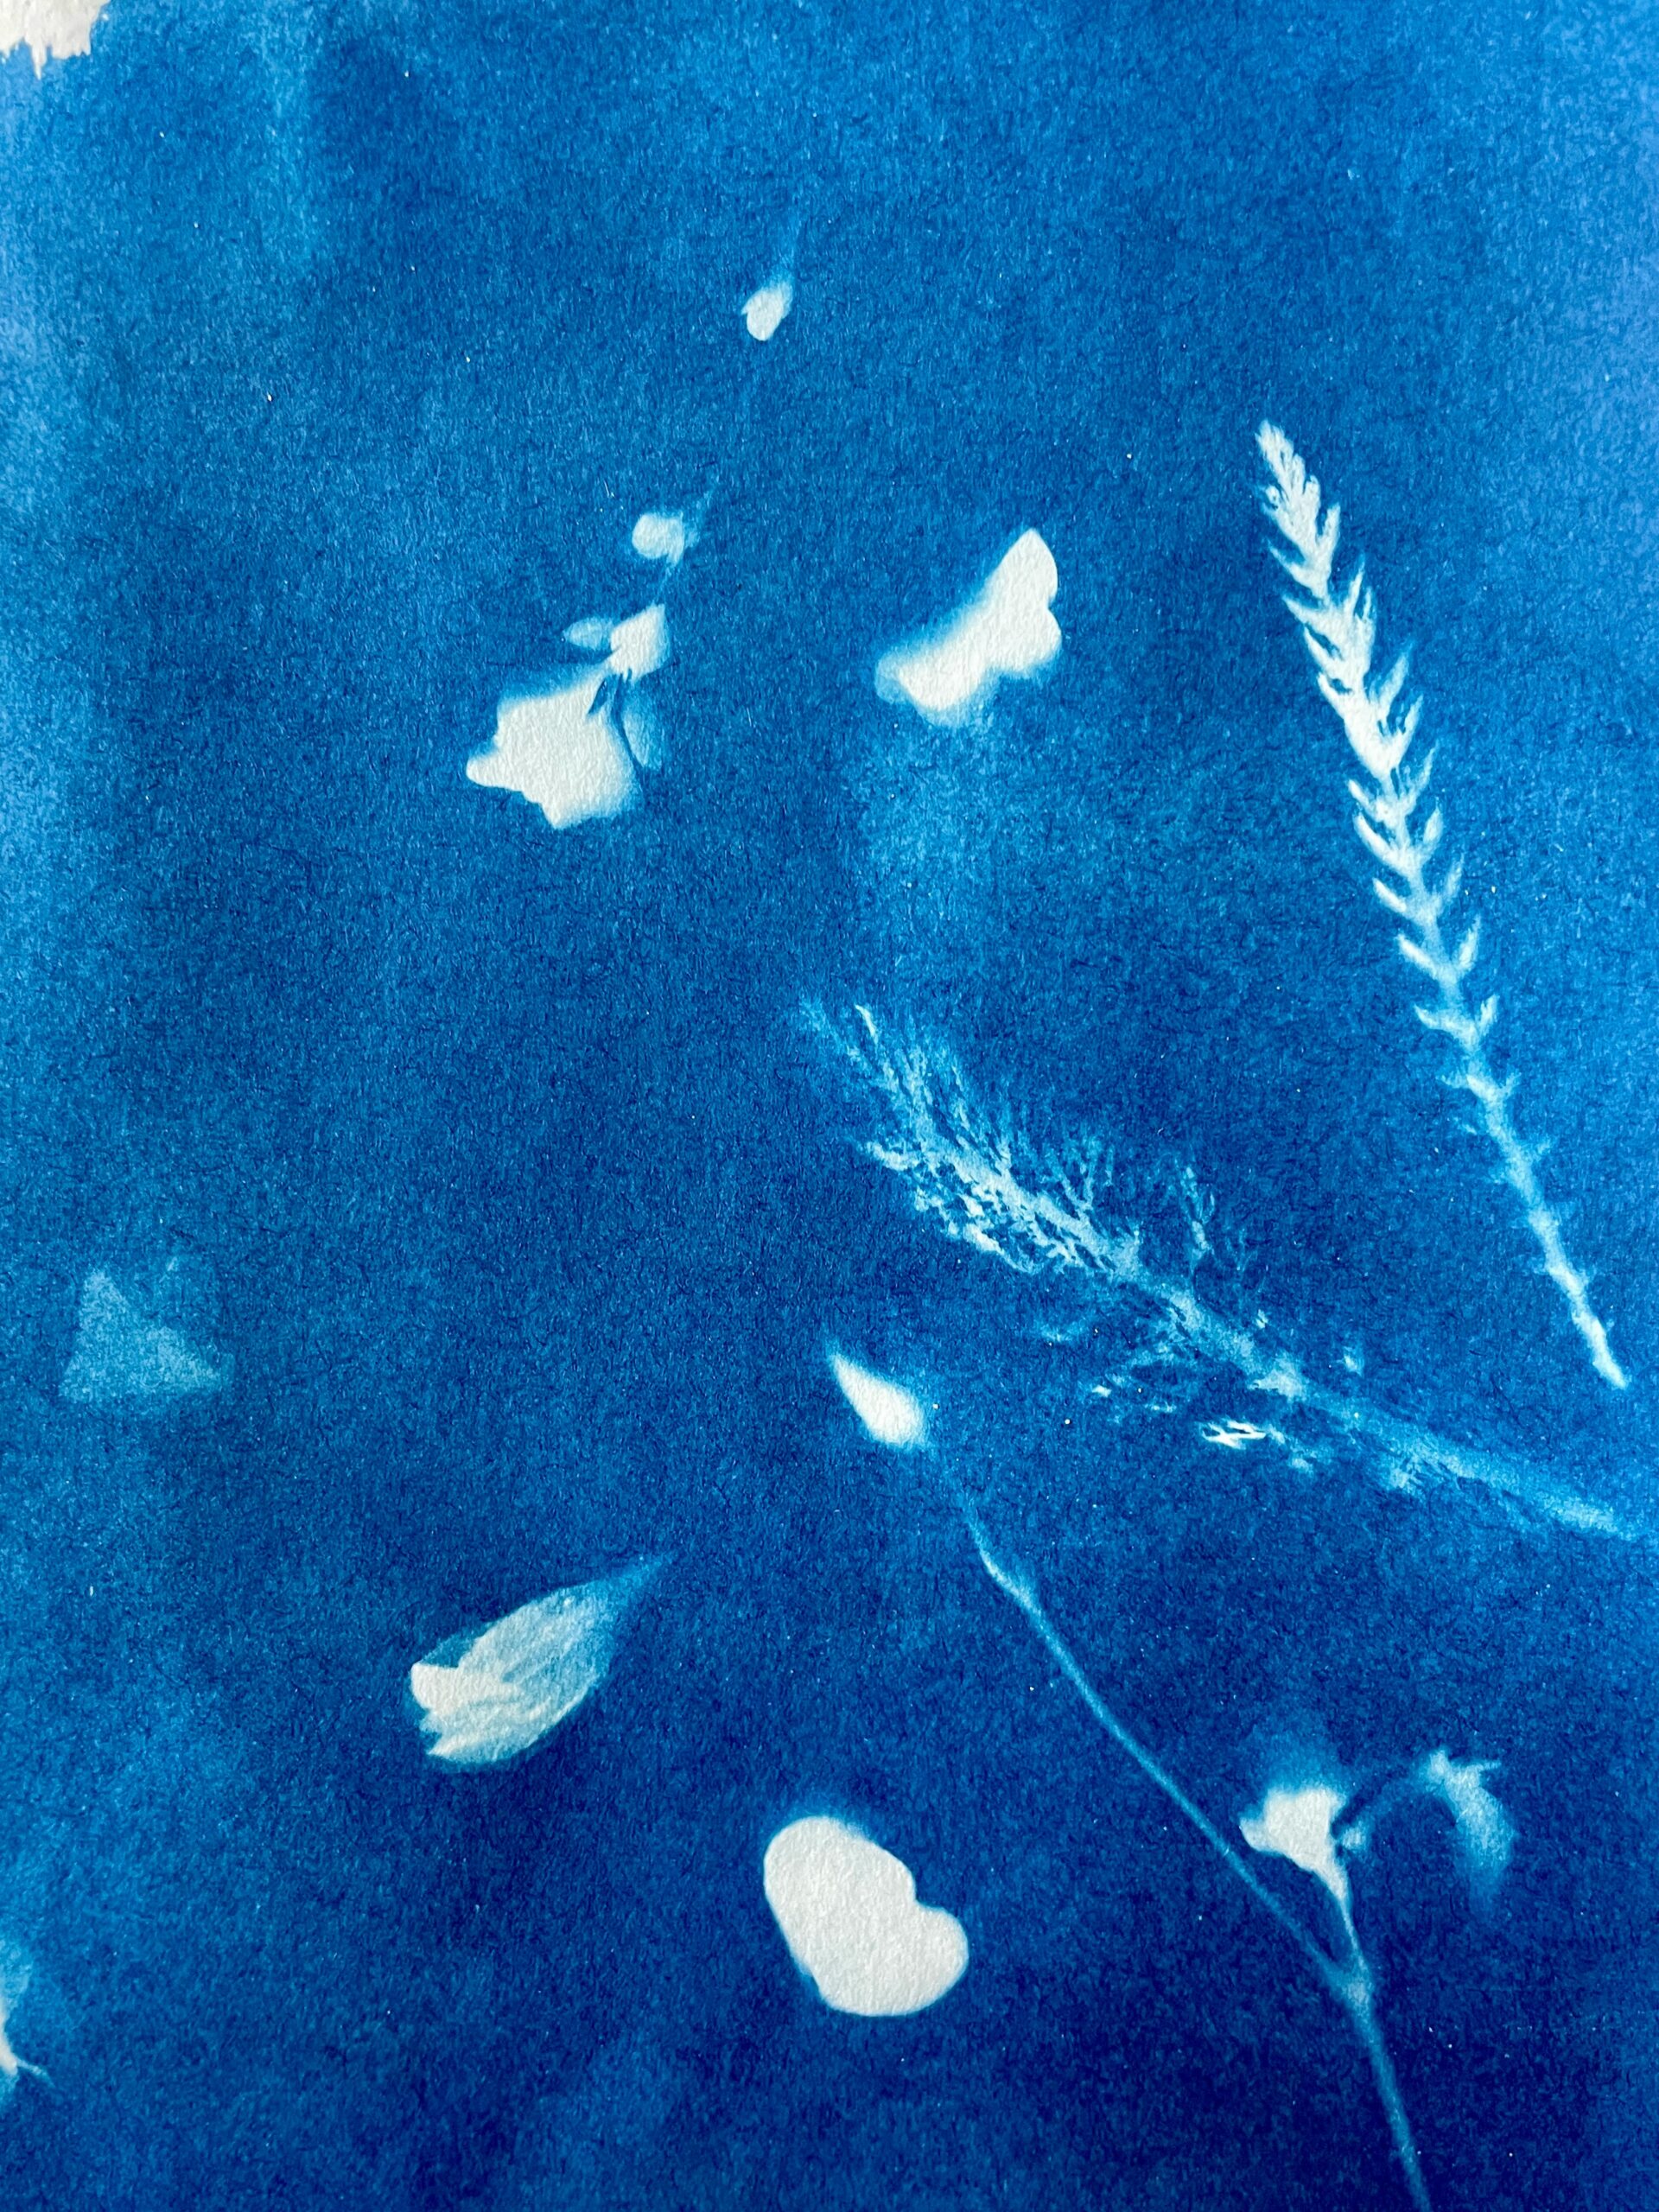
Pale butterfly shapes add a playful note among the finer botanical marks in this blue print. Use plain paper cutouts for the butterfly forms rather than collecting insects. The solid paper blocks more light, while delicate plant material can create softer outlines beside it. A print made with this contrast have a lively, slightly surprising finish. Keep the arrangement sparse so the strongest shapes have room to stand out. A simple folio keeps the finished paper safe, using the neat presentation approach in Christmas gift packaging without covering the design with a heavy border.
You will need: Precoated paper, plain butterfly paper cutouts, flat fine stems, stiff backing, a water tray, and a plain art folio.
How to make it:
- Arrange paper butterfly shapes and a few flat stems indoors on the prepared sheet.
- Expose and rinse following the paper instructions, then dry the print flat.
- Support the finished artwork with backing and slide it into a plain protective folio.
Cyanotype Gifts With Delicate Seed Heads
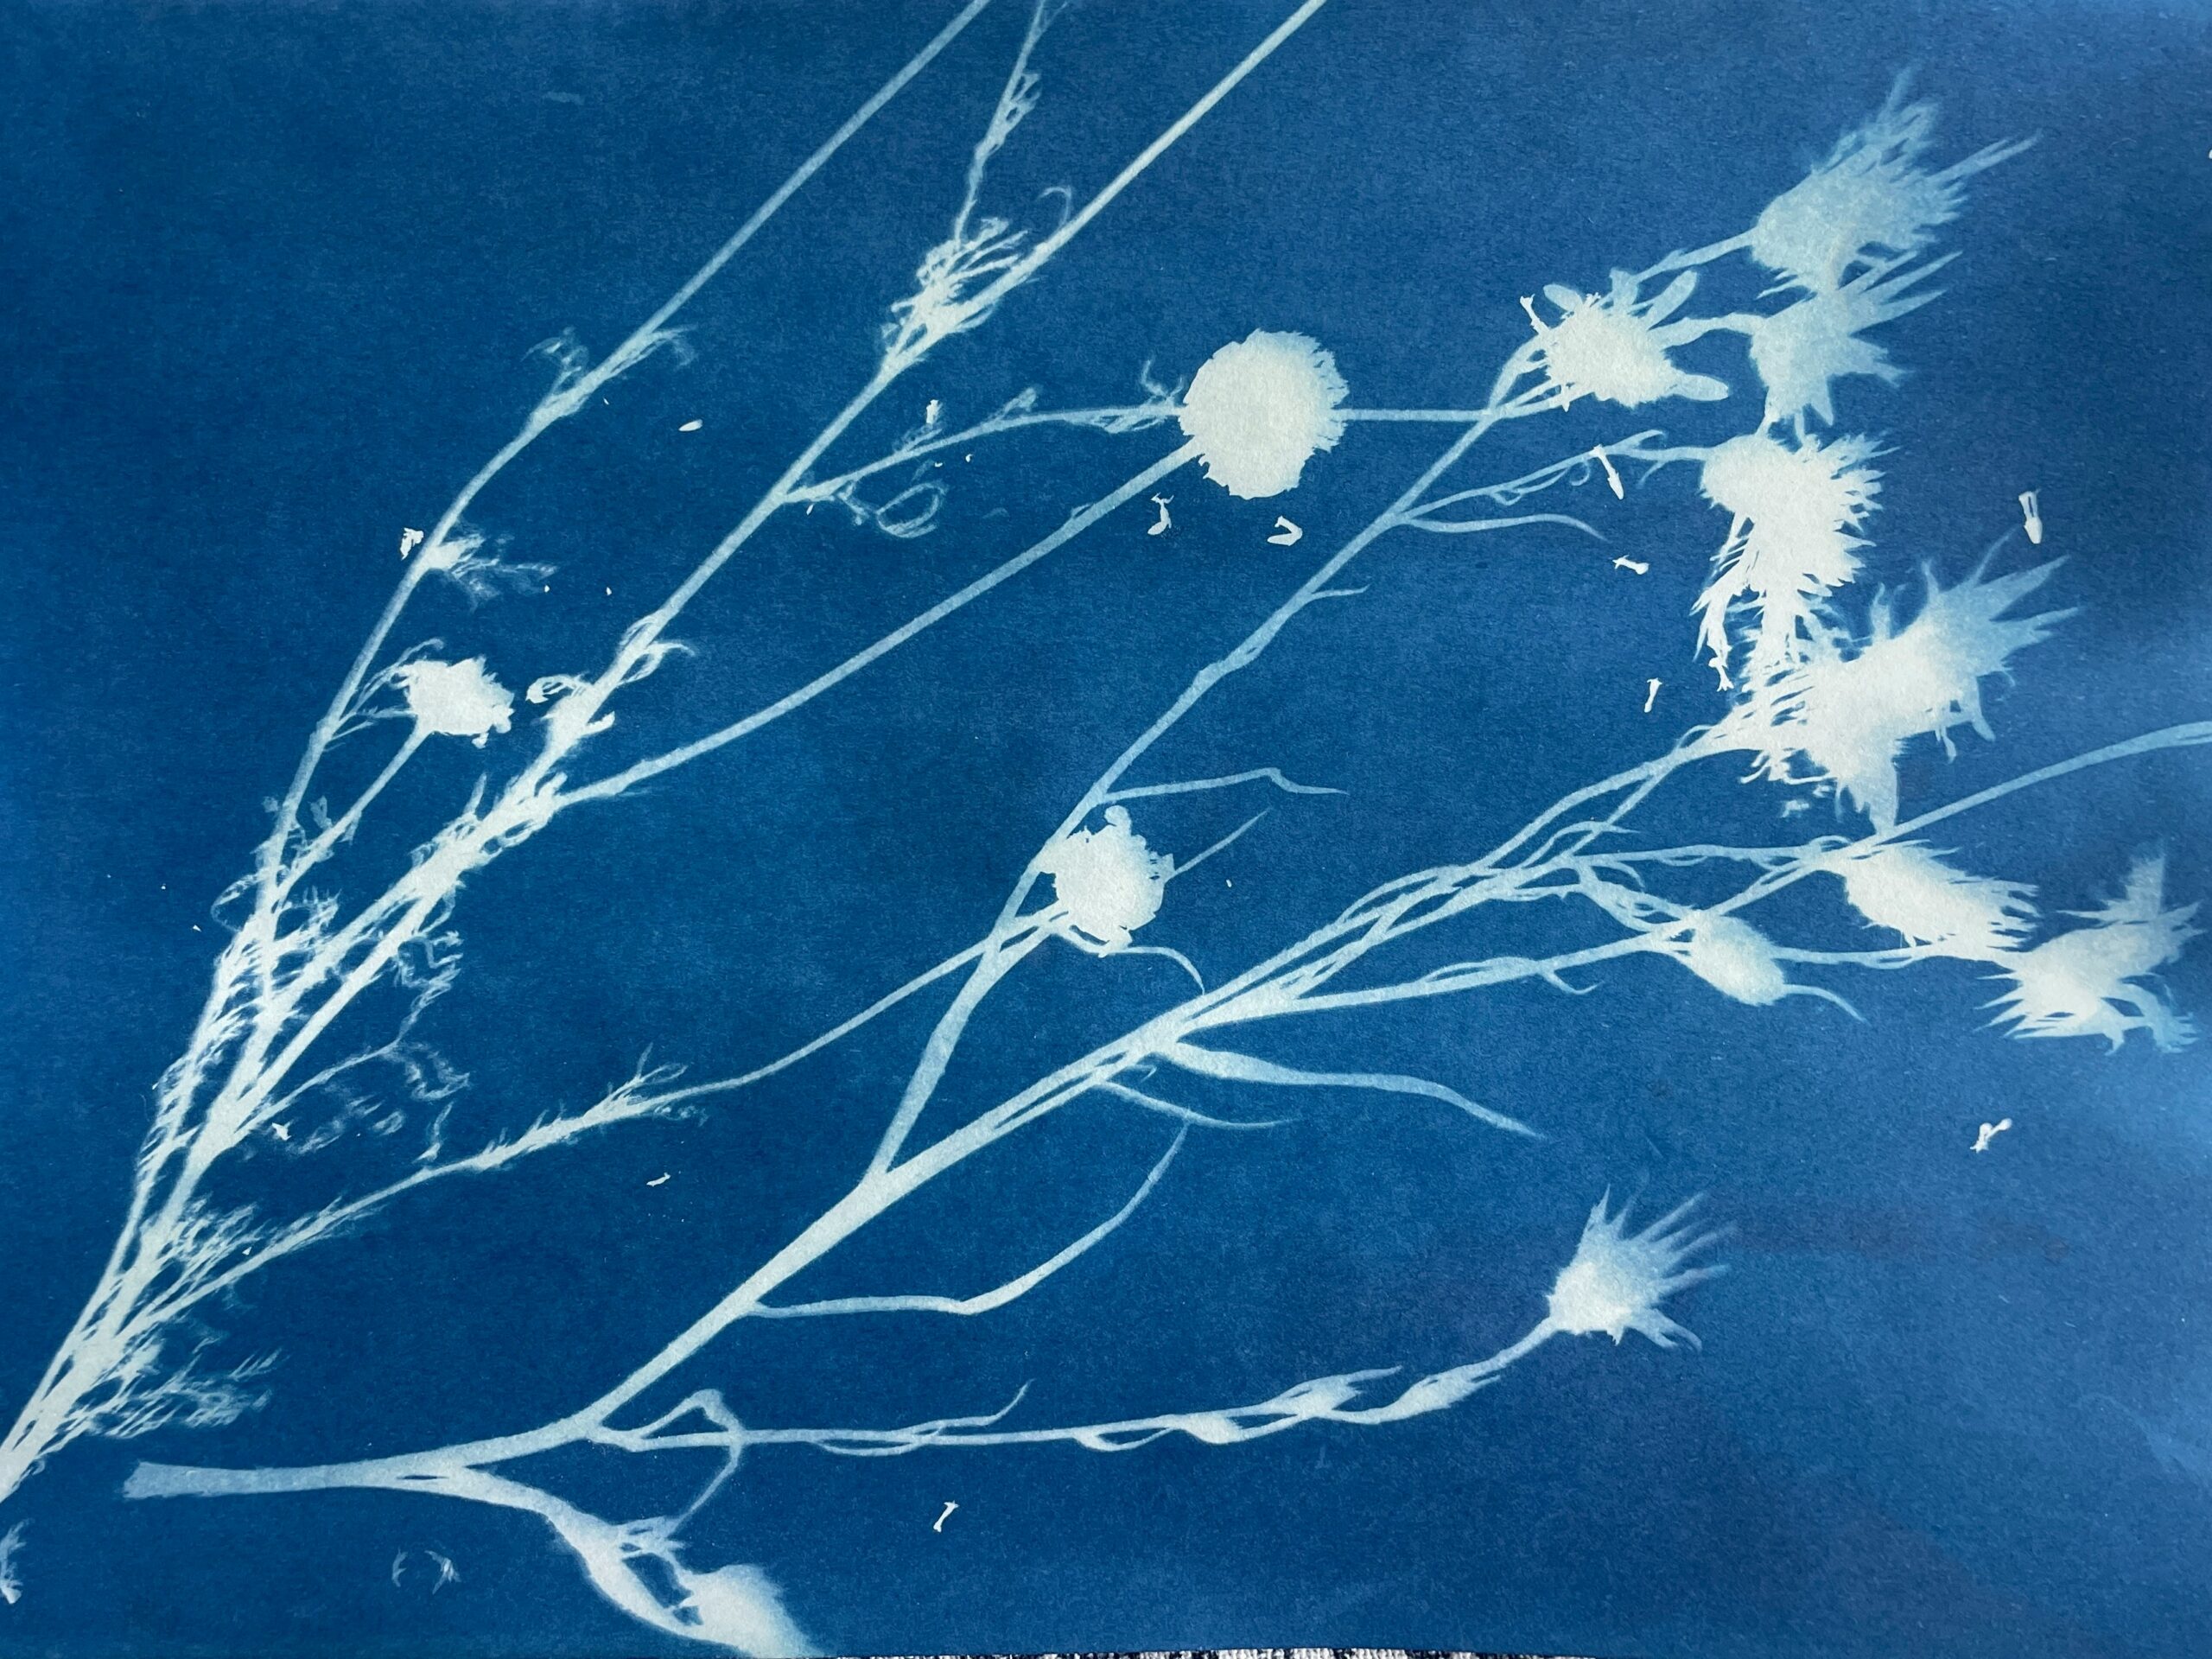
Seed heads bring a different rhythm to blue paper. Fine branching stems and pale seed shapes give the finished artwork an airy, almost lace-like quality. Look for similar flat silhouettes among safe, familiar specimens you already have. Avoid seeds that shed across the prepared paper, since movement can blur an edge. Cyanotype Gifts with these shapes feel seasonal without needing holiday wording. A small handmade envelope can carry the print, using the tidy folded approach from gift bag upcycles in a quieter color palette. The long stems also make the arrangement feel taller, even on a modest sheet of paper.
You will need: Precoated paper, clean dry seed stems, a board, a water tray, paper towels, and a plain art envelope.
How to make it:
- Choose clean seed stems that do not shed easily and test the layout first.
- Make the print following the prepared paper instructions, keeping the stems steady.
- Rinse, dry flat, and place the print in an envelope with stiff backing.
Layer Ferns for a Softer Blue Print
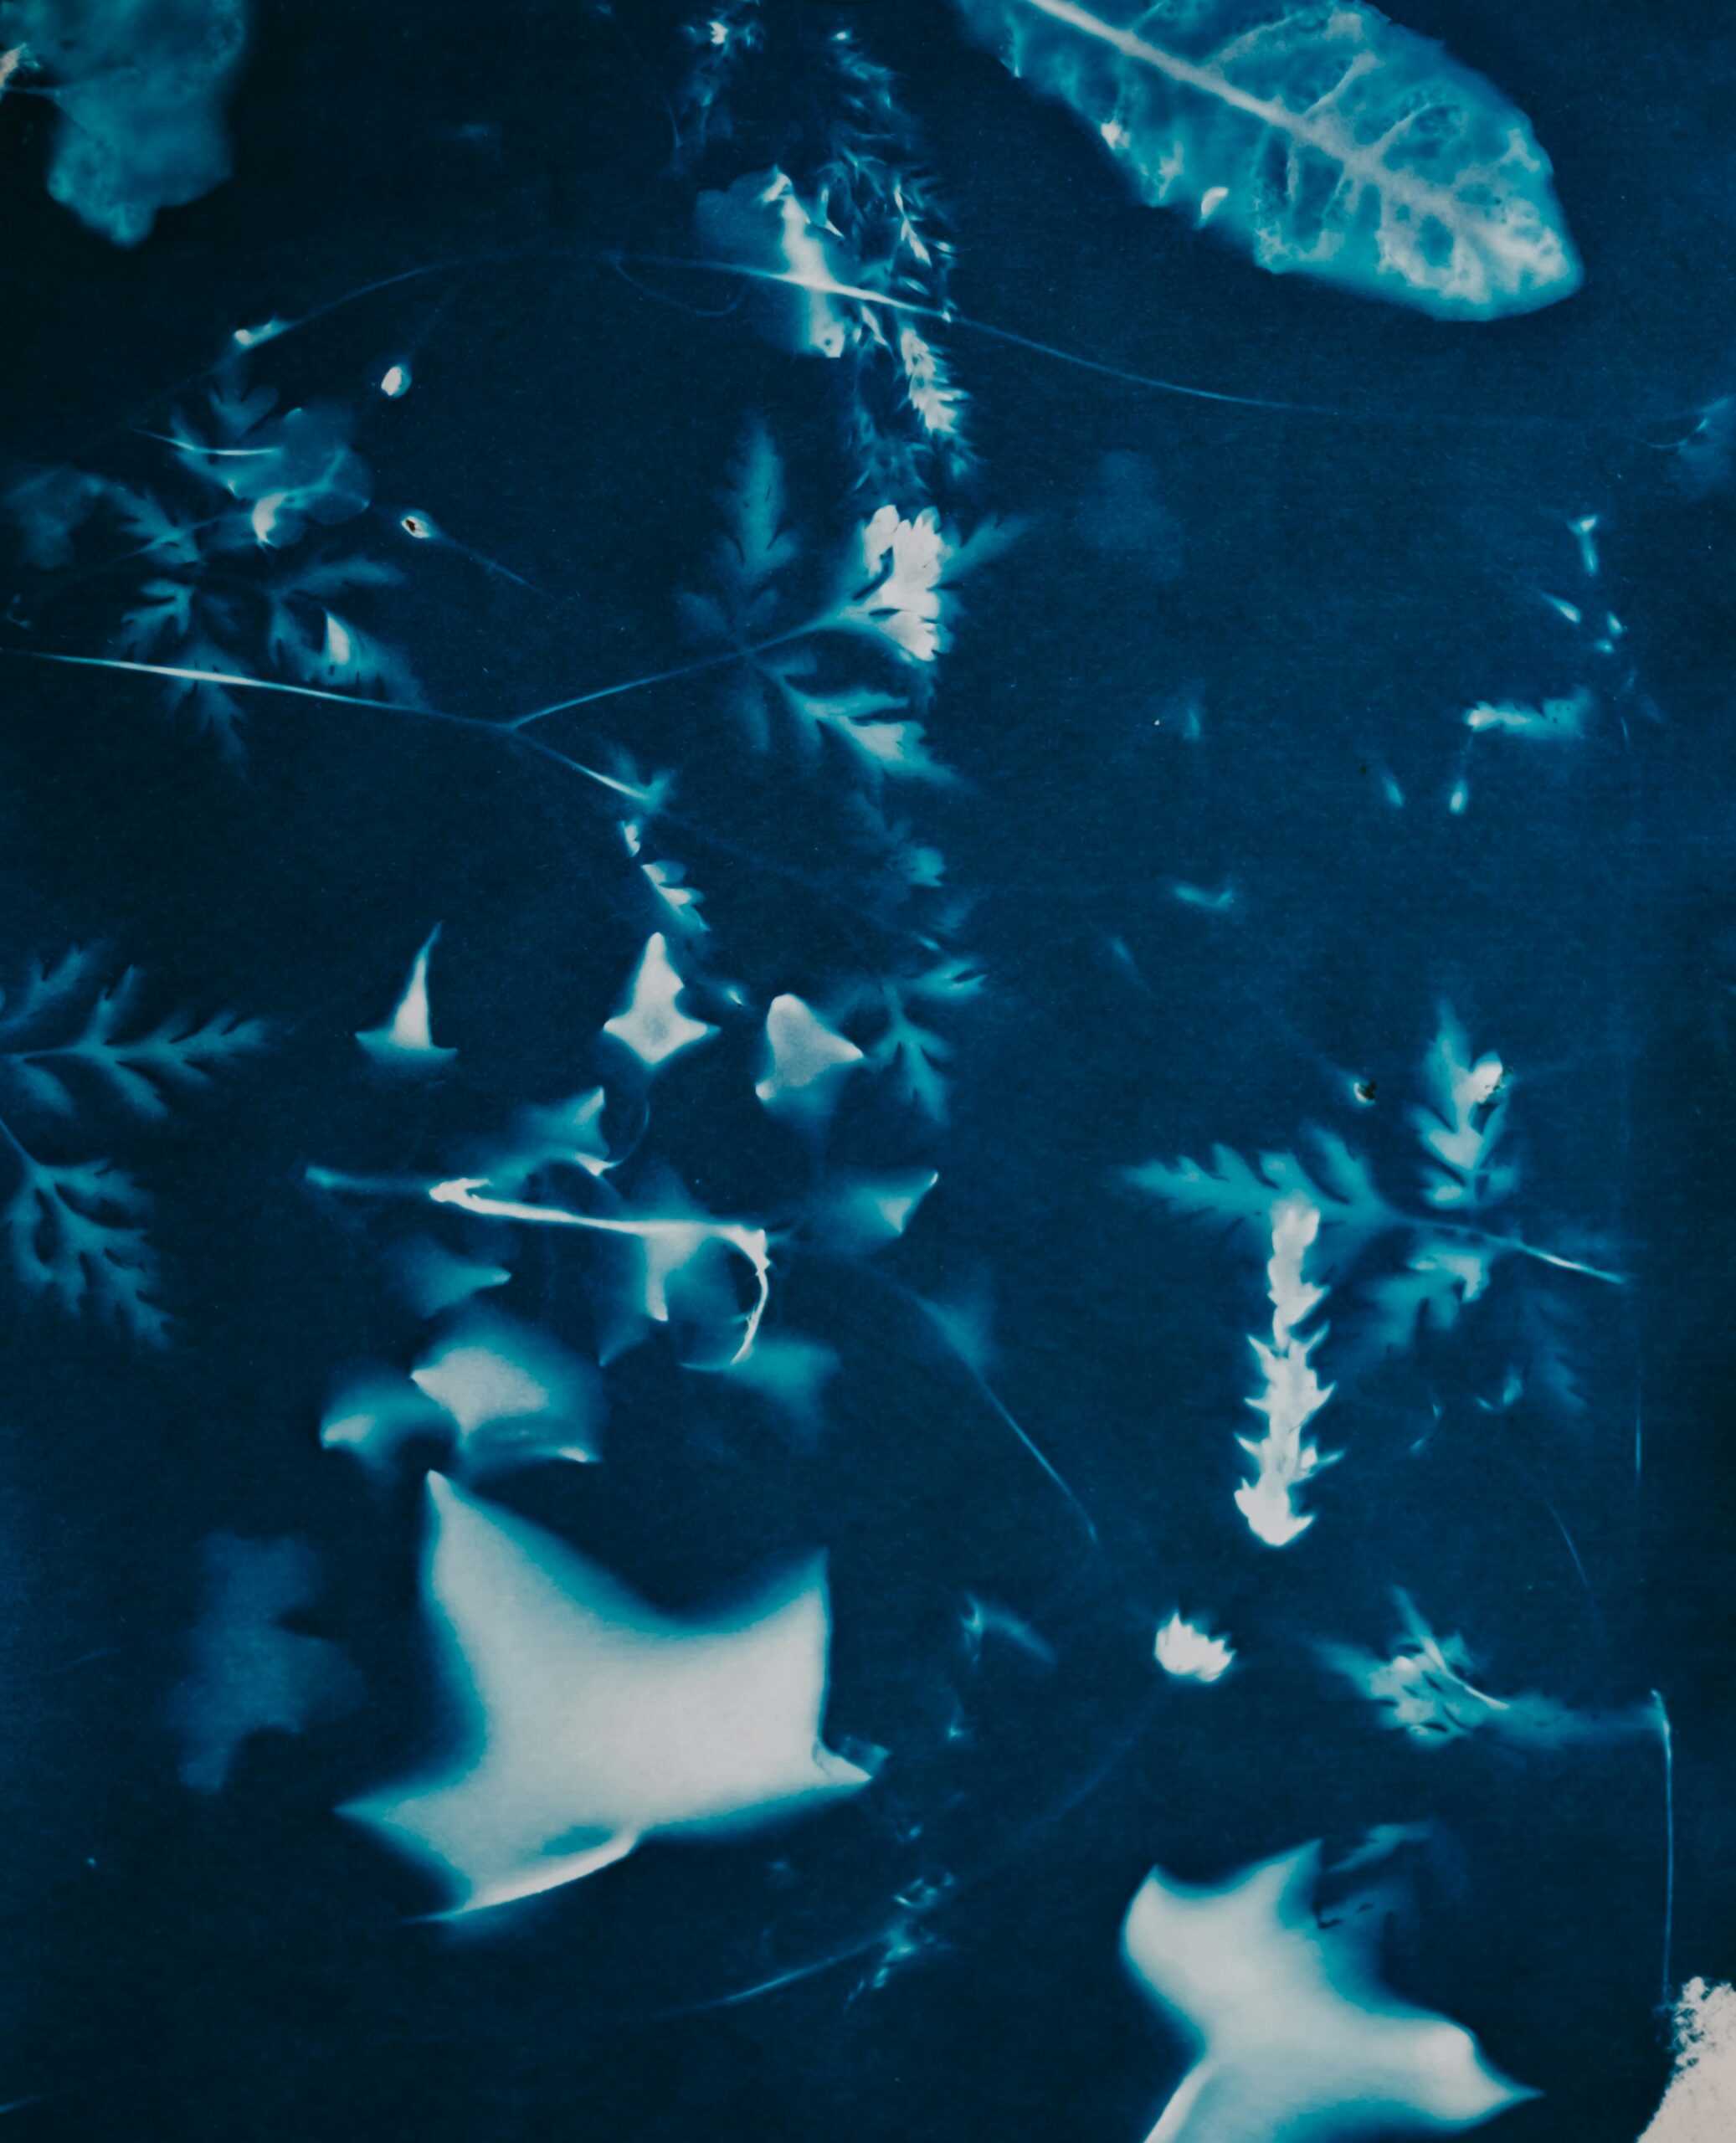
Not every sun print needs a hard white outline. Soft fern and leaf shapes spread across deep blue paper, overlapping in a loose composition. The pale layers give the finished print depth without needing a frame or extra decoration. Raised or translucent material can allow some light underneath, making edges less defined. That gentle variation is part of the appeal for someone who enjoys experimental art. Slip the fully dry sheet into a protective portfolio. It is a personal addition to DIY gifts for teens who like making things and exploring new materials.
You will need: Precoated paper, clean fern and leaf specimens, a stiff base, a rinse tray, and a protective art sleeve.
How to make it:
- Arrange a few fern and leaf shapes, leaving some blue background between them.
- Follow your coated paper instructions for exposure, rinsing, drying, and safe handling.
- Keep the completely dry print flat in a protective sleeve before wrapping it.
Keep One Clover Stem in Focus
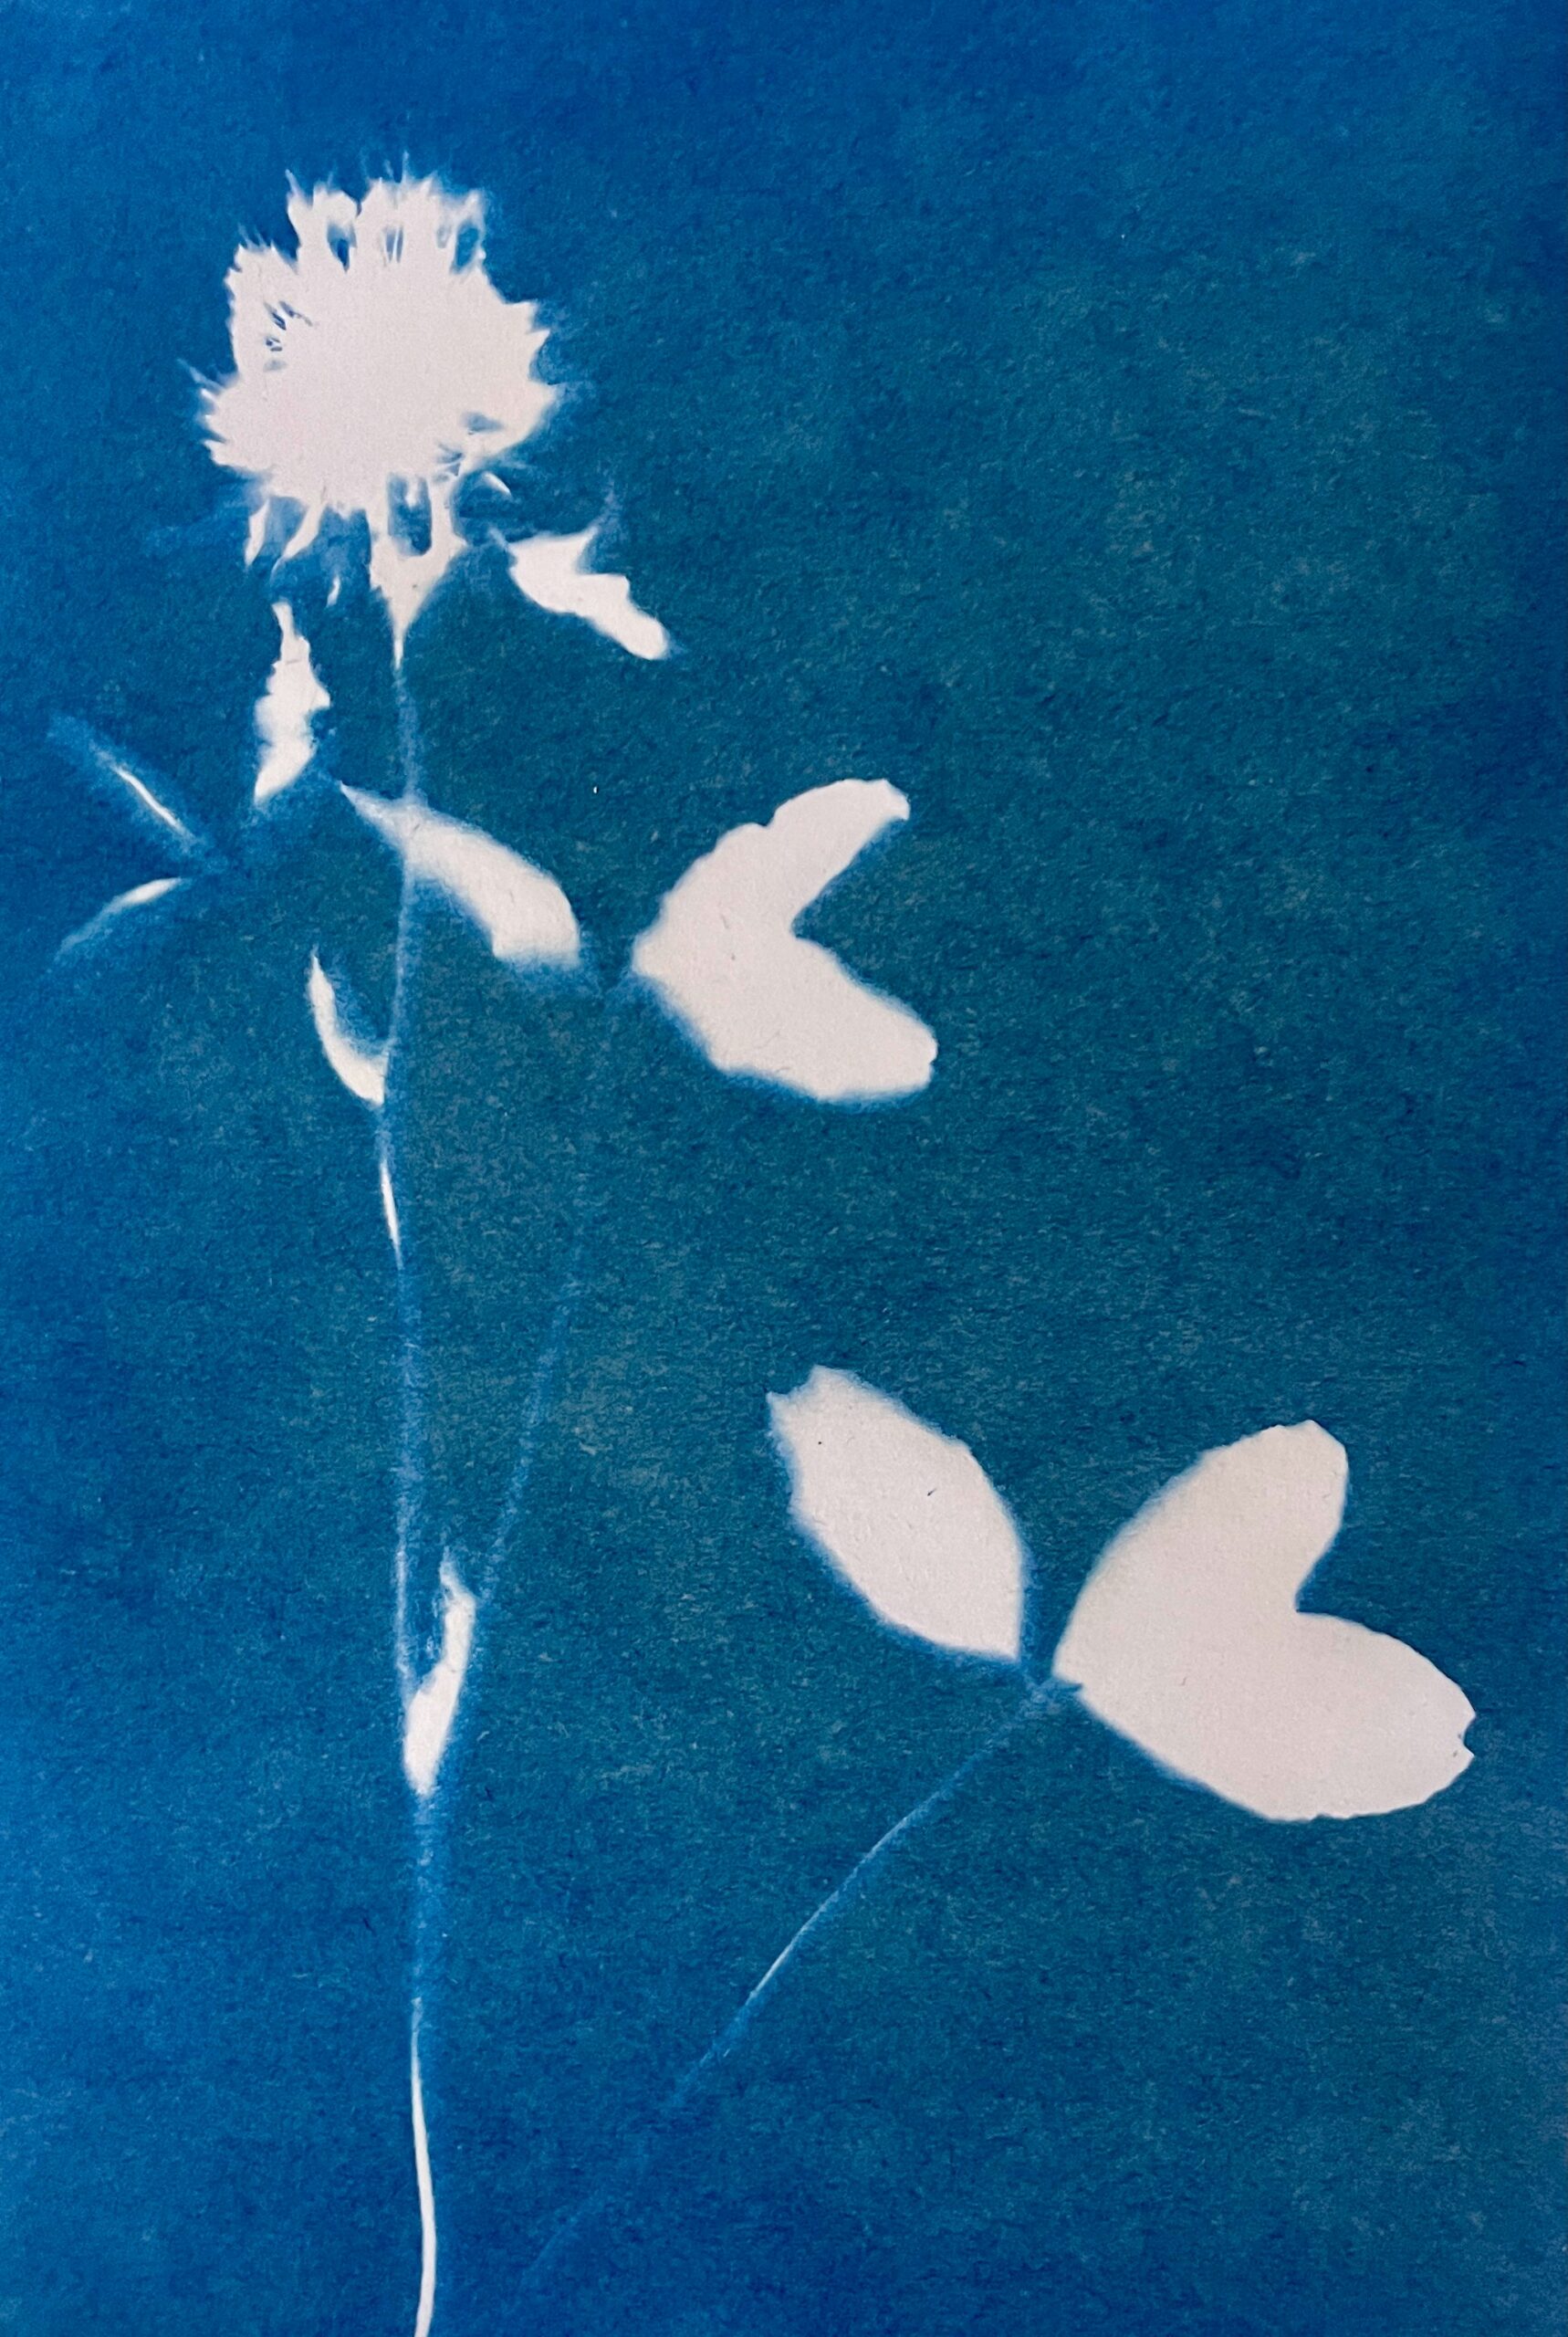
A single clover stem is enough to make a complete design. The pale flower and leaves remain distinct against the blue, making the small subject easy to enjoy. Begin with one familiar specimen and adjust its position before you open the coated paper. A small print can feel especially personal when the chosen plant reminds someone of a garden they love. Present the print with a small handmade paper extra, taking the restrained approach of simple paper cutout projects rather than adding a crowded border. The simple outline gives the familiar garden plant a surprisingly graphic presence in blue and white.
You will need: Precoated sun print paper, a flat clover specimen, a stiff board, a water tray, and plain backing card.
How to make it:
- Position the clover so the leaves do not cover the flower outline.
- Arrange the specimen indoors, then expose and rinse as the paper instructions direct.
- Dry completely and add backing to keep the artwork flat while wrapping.
Hang a Small Print Between Wood Rails
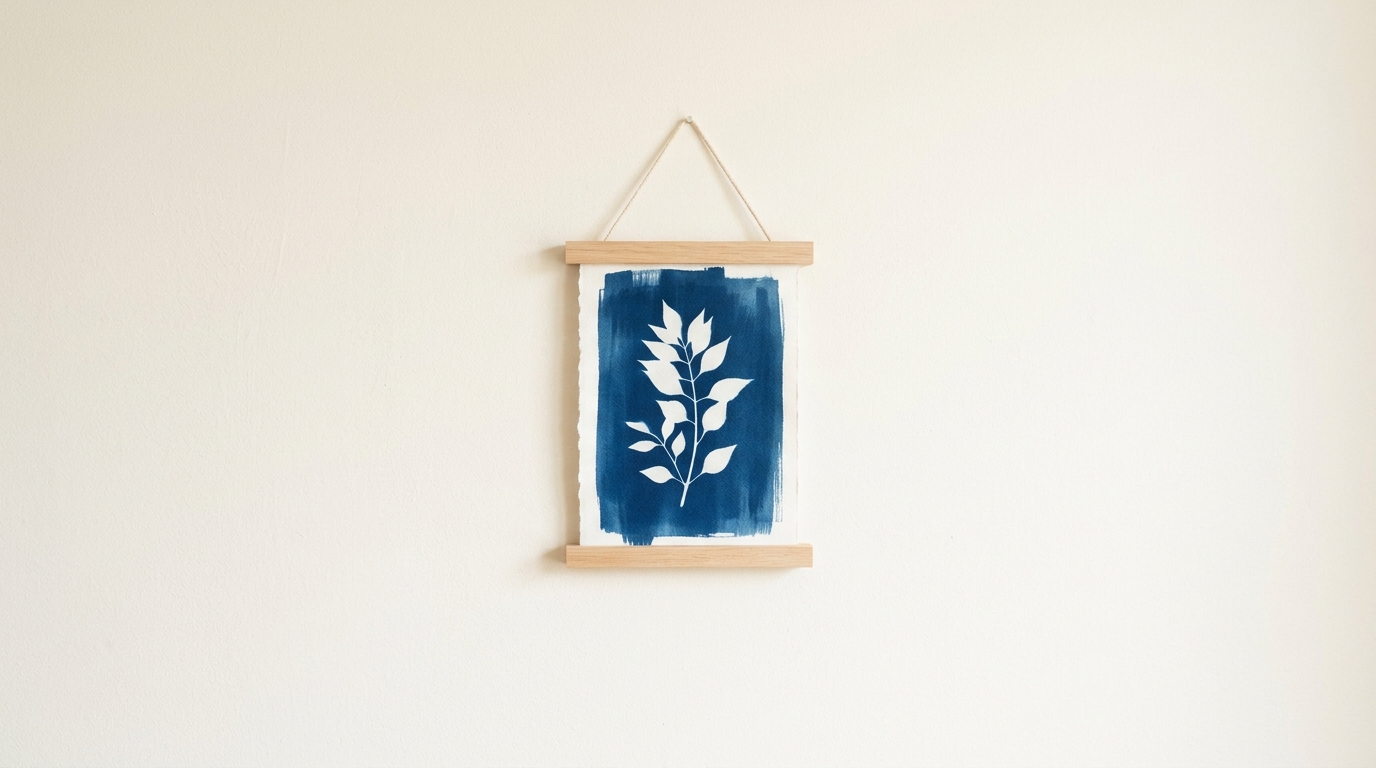
Two short wood rails can turn a small sun print into a light wall hanging. The rails grip the top and bottom edges while the blue design remains the focus. Leave a blank margin where the magnets will sit. For a gift with mixed textures, pair this with a small fiber piece inspired by cardboard loom gifts. Keep the hanging indoors and out of direct sun. A narrow botanical print looks particularly neat because the vertical shape already suits a small wall space. The pale wood adds warmth to the cool blue without hiding the delicate white leaves.
You will need: A dry vertical sun print, a correctly sized magnetic poster hanger, its supplied hanging cord, and plain wrapping tissue.
How to make it:
- Make a vertical botanical print with clear top and bottom margins.
- Rinse and dry the paper completely, following its product care directions.
- Fit the ready-made magnetic rails over the margins and check that it hangs straight.
Round Leaves Make a Calm Composition
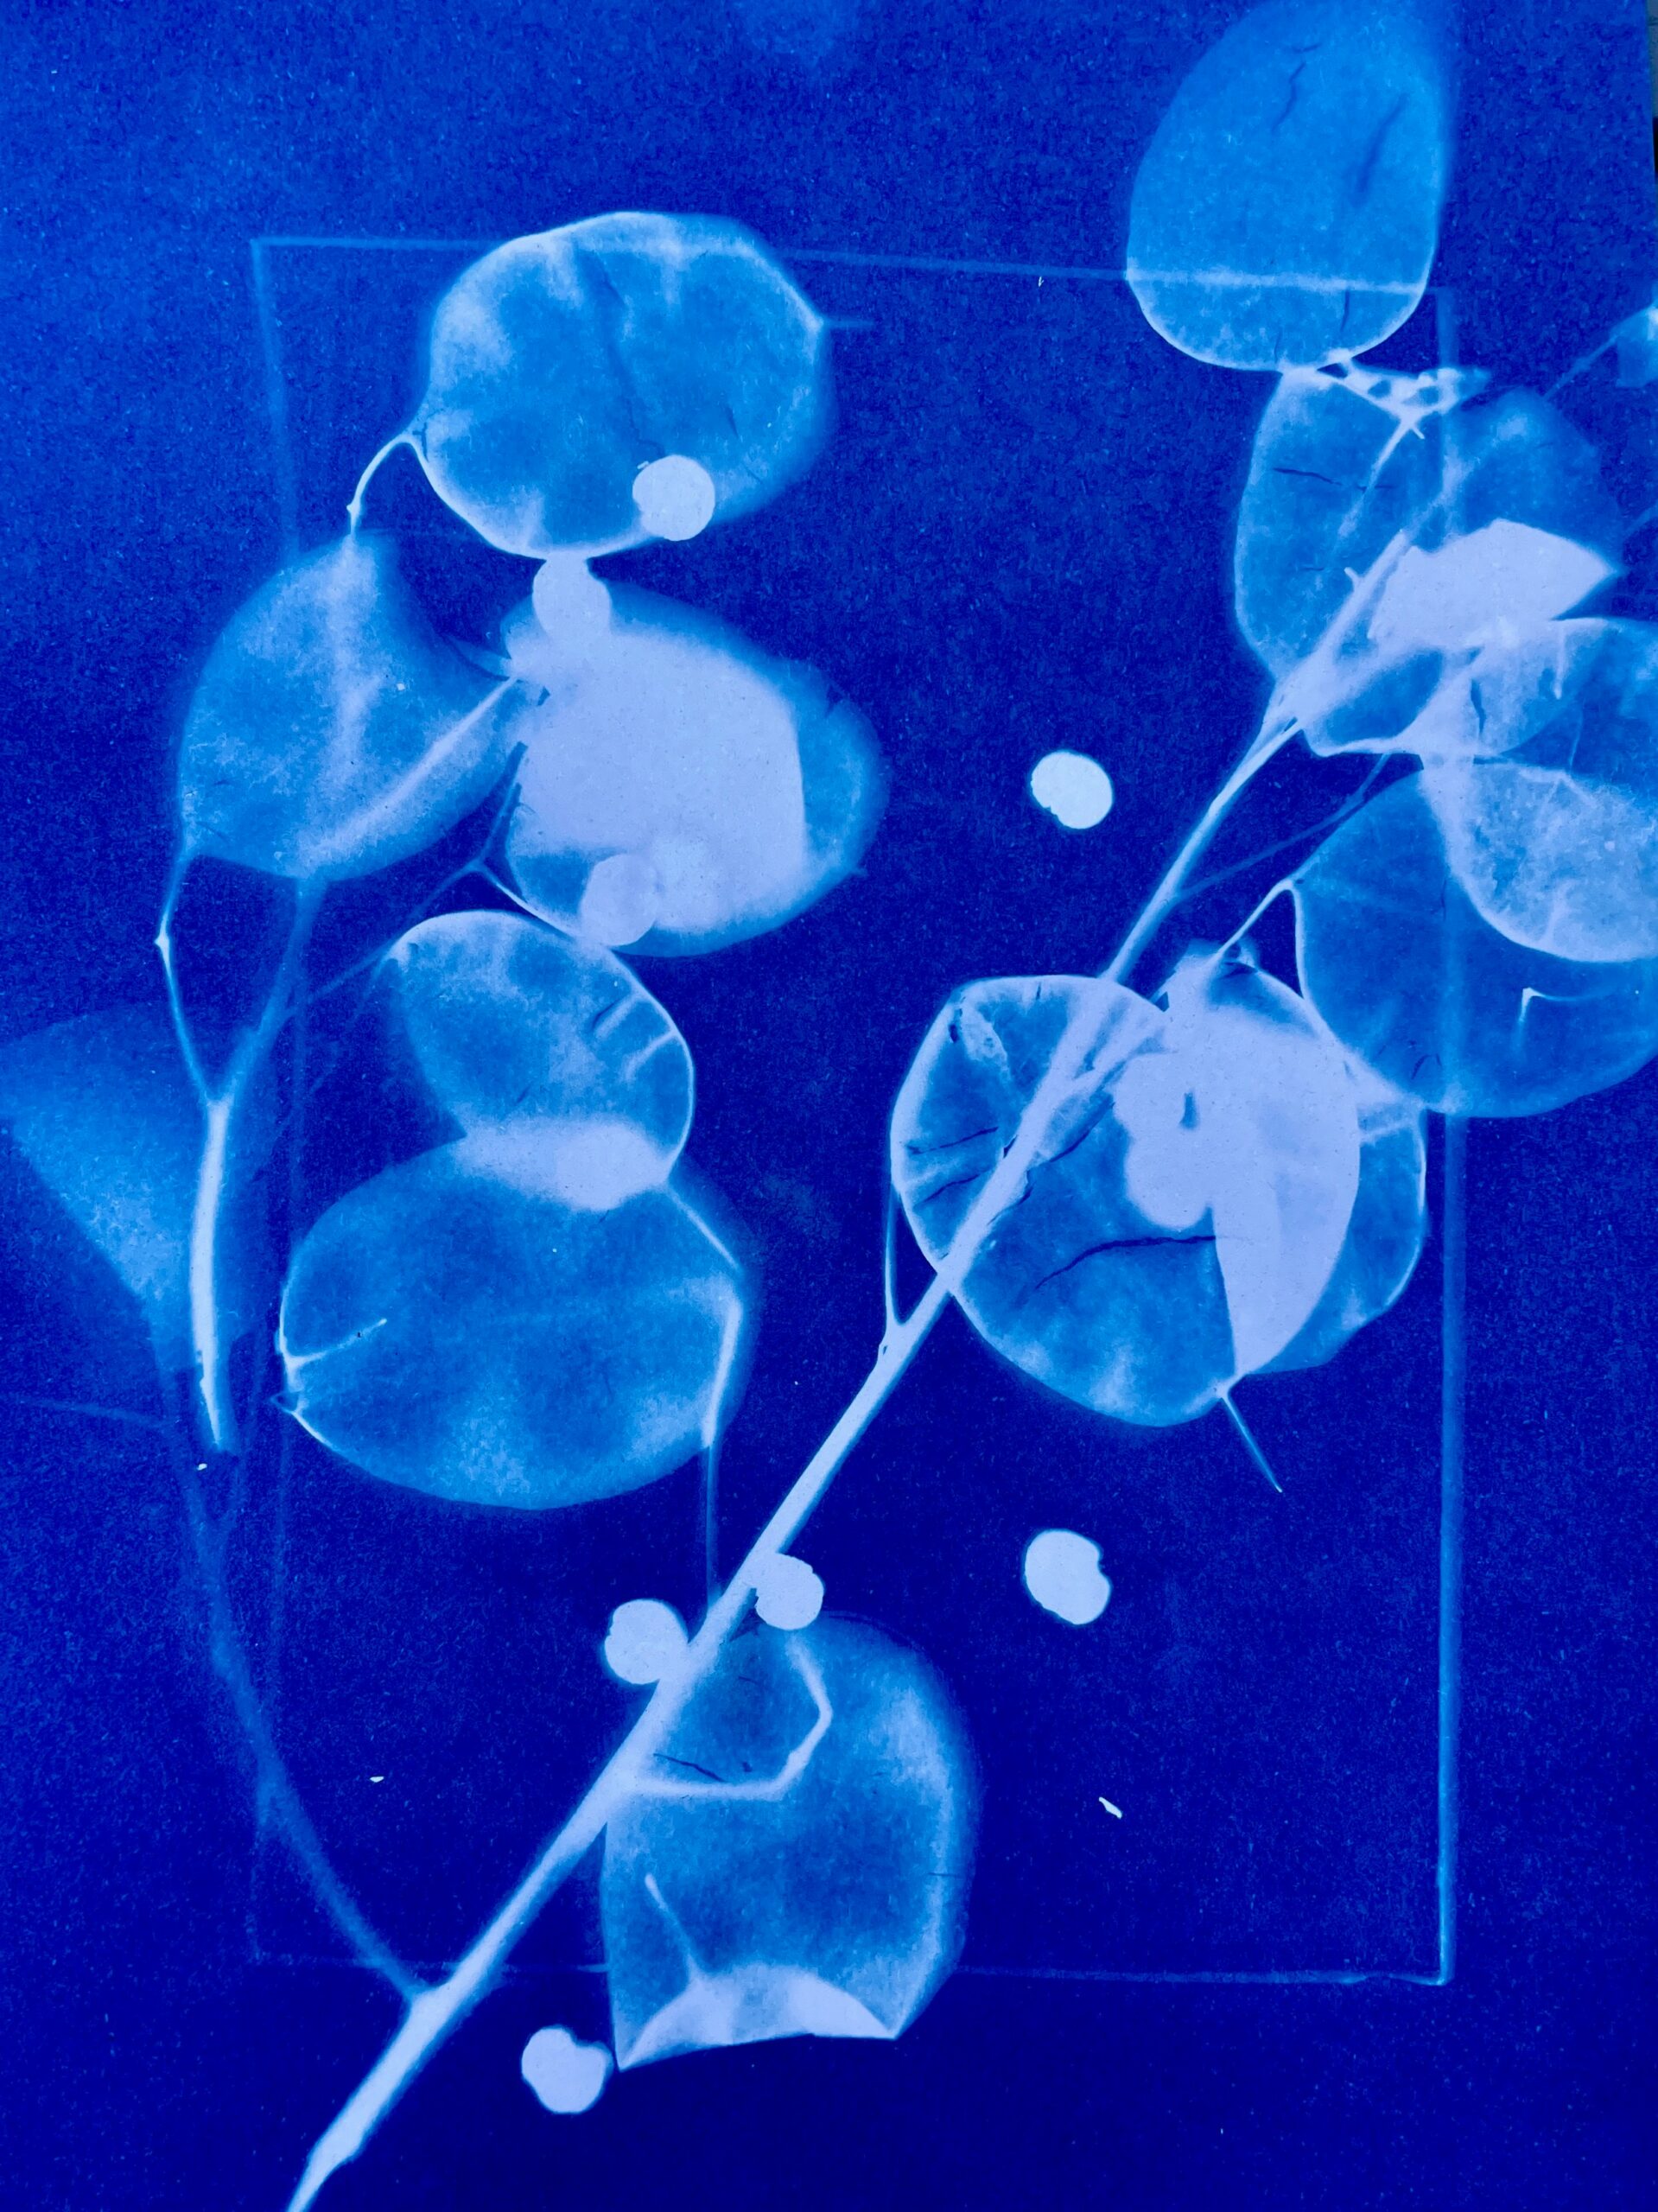
Round leaves give a sun print a pleasing contrast to fine stems. The pale rounded shapes stand apart from the slender stem, making a clear, relaxed pattern across the blue. Choose specimens that lie reasonably flat so the edges stay more defined during exposure. These leafy prints do not need every detail to be symmetrical; a gentle lean can make a design feel lively. A restrained color choice also works well with the finishing ideas in handmade embroidery gifts, especially when blue thread ties the presents together.
You will need: Precoated sun print paper, a flat round-leaf stem, a stiff base, a water tray, and a plain protective sleeve.
How to make it:
- Arrange the round-leaf stem with space between its largest leaves.
- Expose and rinse the prepared paper according to its supplied instructions.
- Dry fully, then protect the artwork in a sleeve sized for the paper.
Dress a Plain Gift Box With a Blue Band
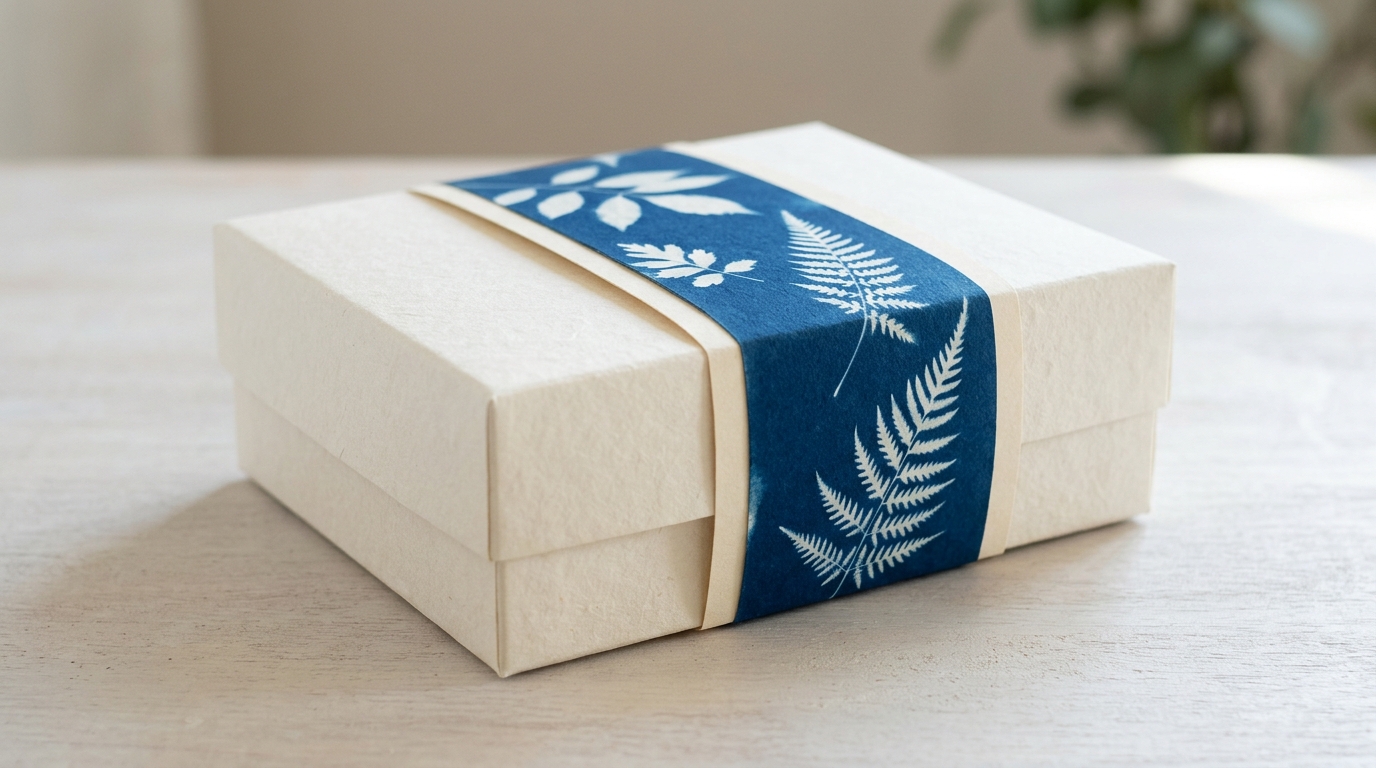
A narrow strip of handmade blue paper can make a plain box feel like part of the gift. Protect the artwork by mounting it on a slightly longer backing band, then close the band around the box without stretching the print. For a small exchange, the idea fits neatly with handmade Secret Santa gifts. Keep the rest of the box unprinted so the blue strip gets the attention. The band also slides away neatly, so the recipient can keep the small botanical artwork after opening the box and enjoying the gift.
You will need: A plain gift box, a fully dry botanical print, backing paper, scissors, a ruler, and paper-safe adhesive.
How to make it:
- Measure a backing band around the box and mark its front display area.
- Mount a trimmed section of dry print there, keeping artwork away from folds.
- Wrap the band around the box and secure its ends to each other.
One-Flower Cyanotype Gifts
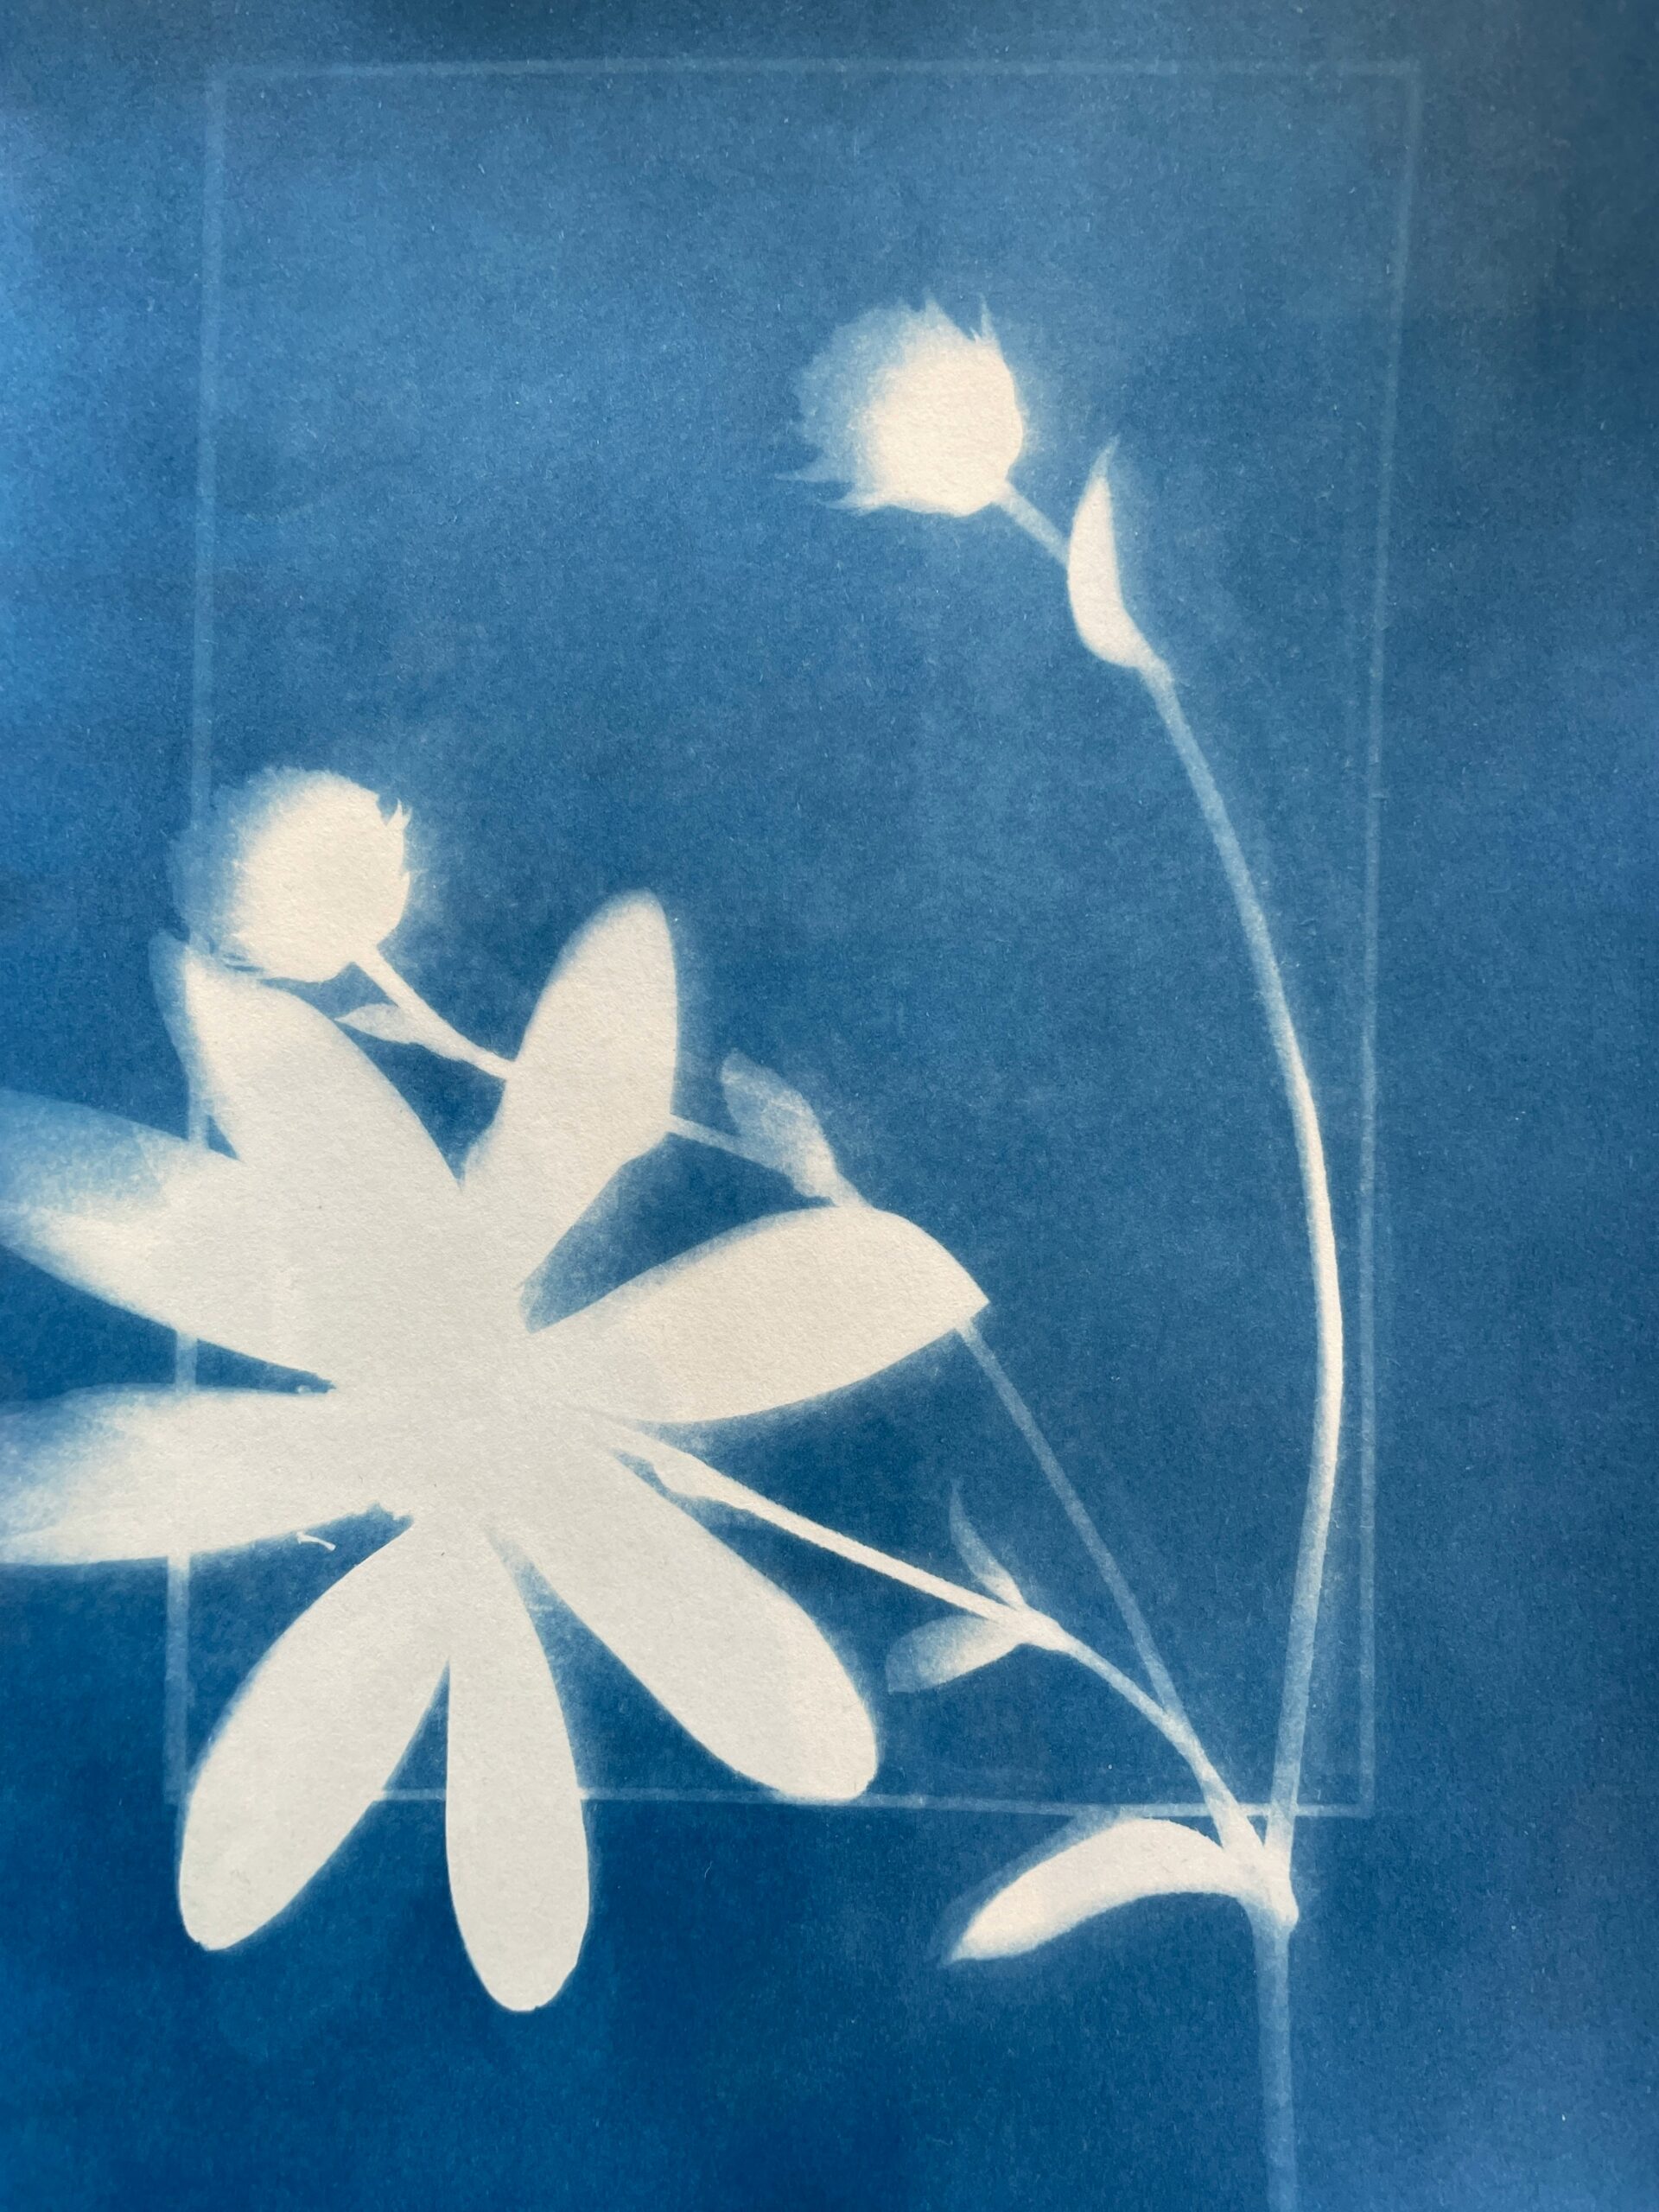
A bold flower shape brings a different mood to blue paper: cheerful, clear, and easy to recognize from a distance. One white flower shape takes the lead, while its narrow stem gives the composition a clear direction. A generous blue margin keeps the petals from competing with a busy border. Cyanotype Gifts with one bloom make a good starting point for someone who prefers uncomplicated art. The bright focal point also echoes the confident color choices in hand-painted ornament designs, without adding extra decoration. The finished print needs very little around it because the flower already carries the design.
You will need: Precoated sun print paper, a safe flat flower specimen, stiff backing, a water tray, and clean drying paper.
How to make it:
- Plan the flower shape on ordinary paper, leaving a clear margin.
- Make the print using the exposure and rinsing directions for your coated paper.
- Dry the artwork flat and protect it with backing before gift wrapping.
Matching Cyanotype Gifts for Two
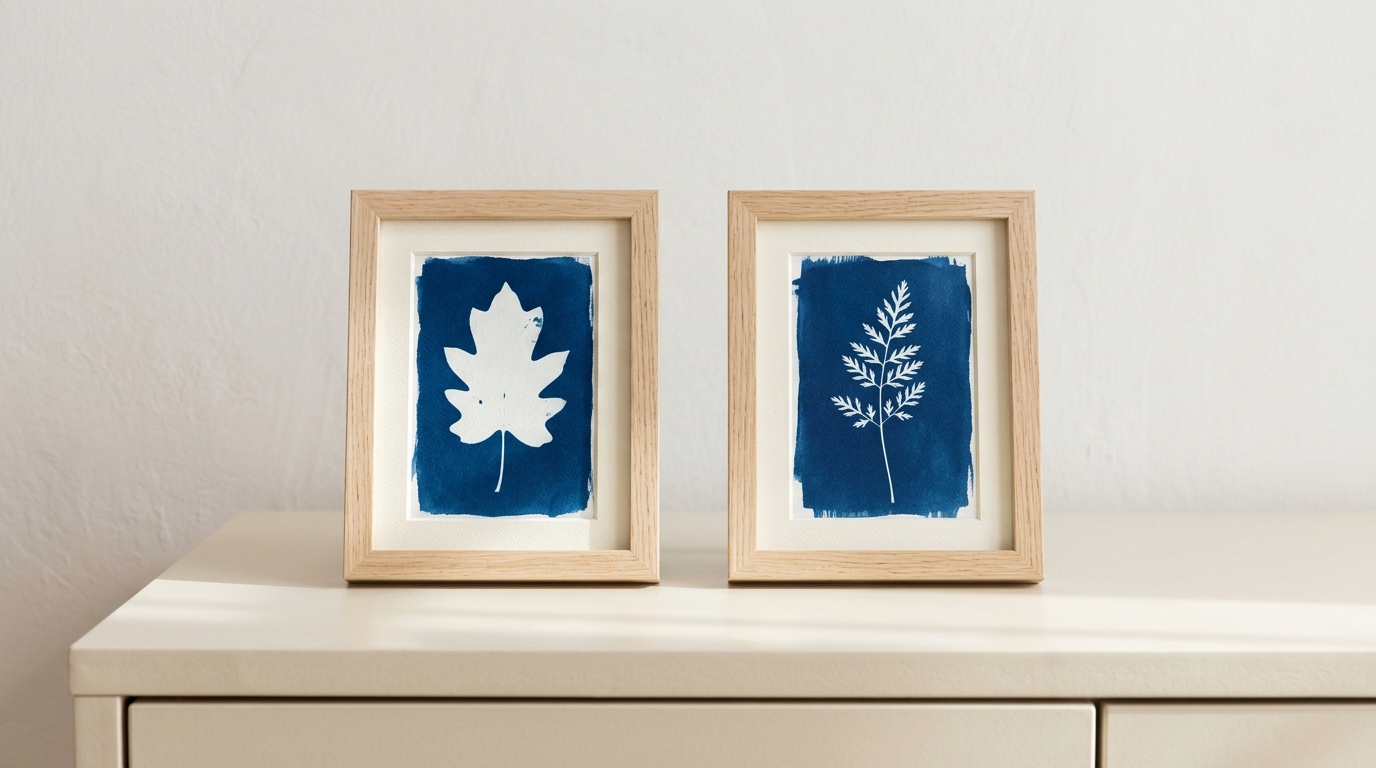
Two small prints make a thoughtful shared gift when their colors and margins work together. They do not need to be identical. That gives each print its own character while the presentation keeps them connected. The idea belongs beside other handmade gifts for couples, especially for a home with limited display space. Use ready-made mats to avoid pressing the paper directly against the glazing. Keep both designs free of wording so the pair can stay out after the holidays. A shared blue palette makes the pair feel connected even when the leaf shapes are different.
You will need: Two dry sun prints in matching sizes, two simple frames with mats, clean backing boards, and protective wrapping tissue.
How to make it:
- Make two botanical prints on matching coated paper and follow its processing directions.
- Dry both completely, then compare their margins with the matching frame mats.
- Fit the prints behind the mats, close the frames, and wrap them separately.
Give Two Flowers Their Own Space
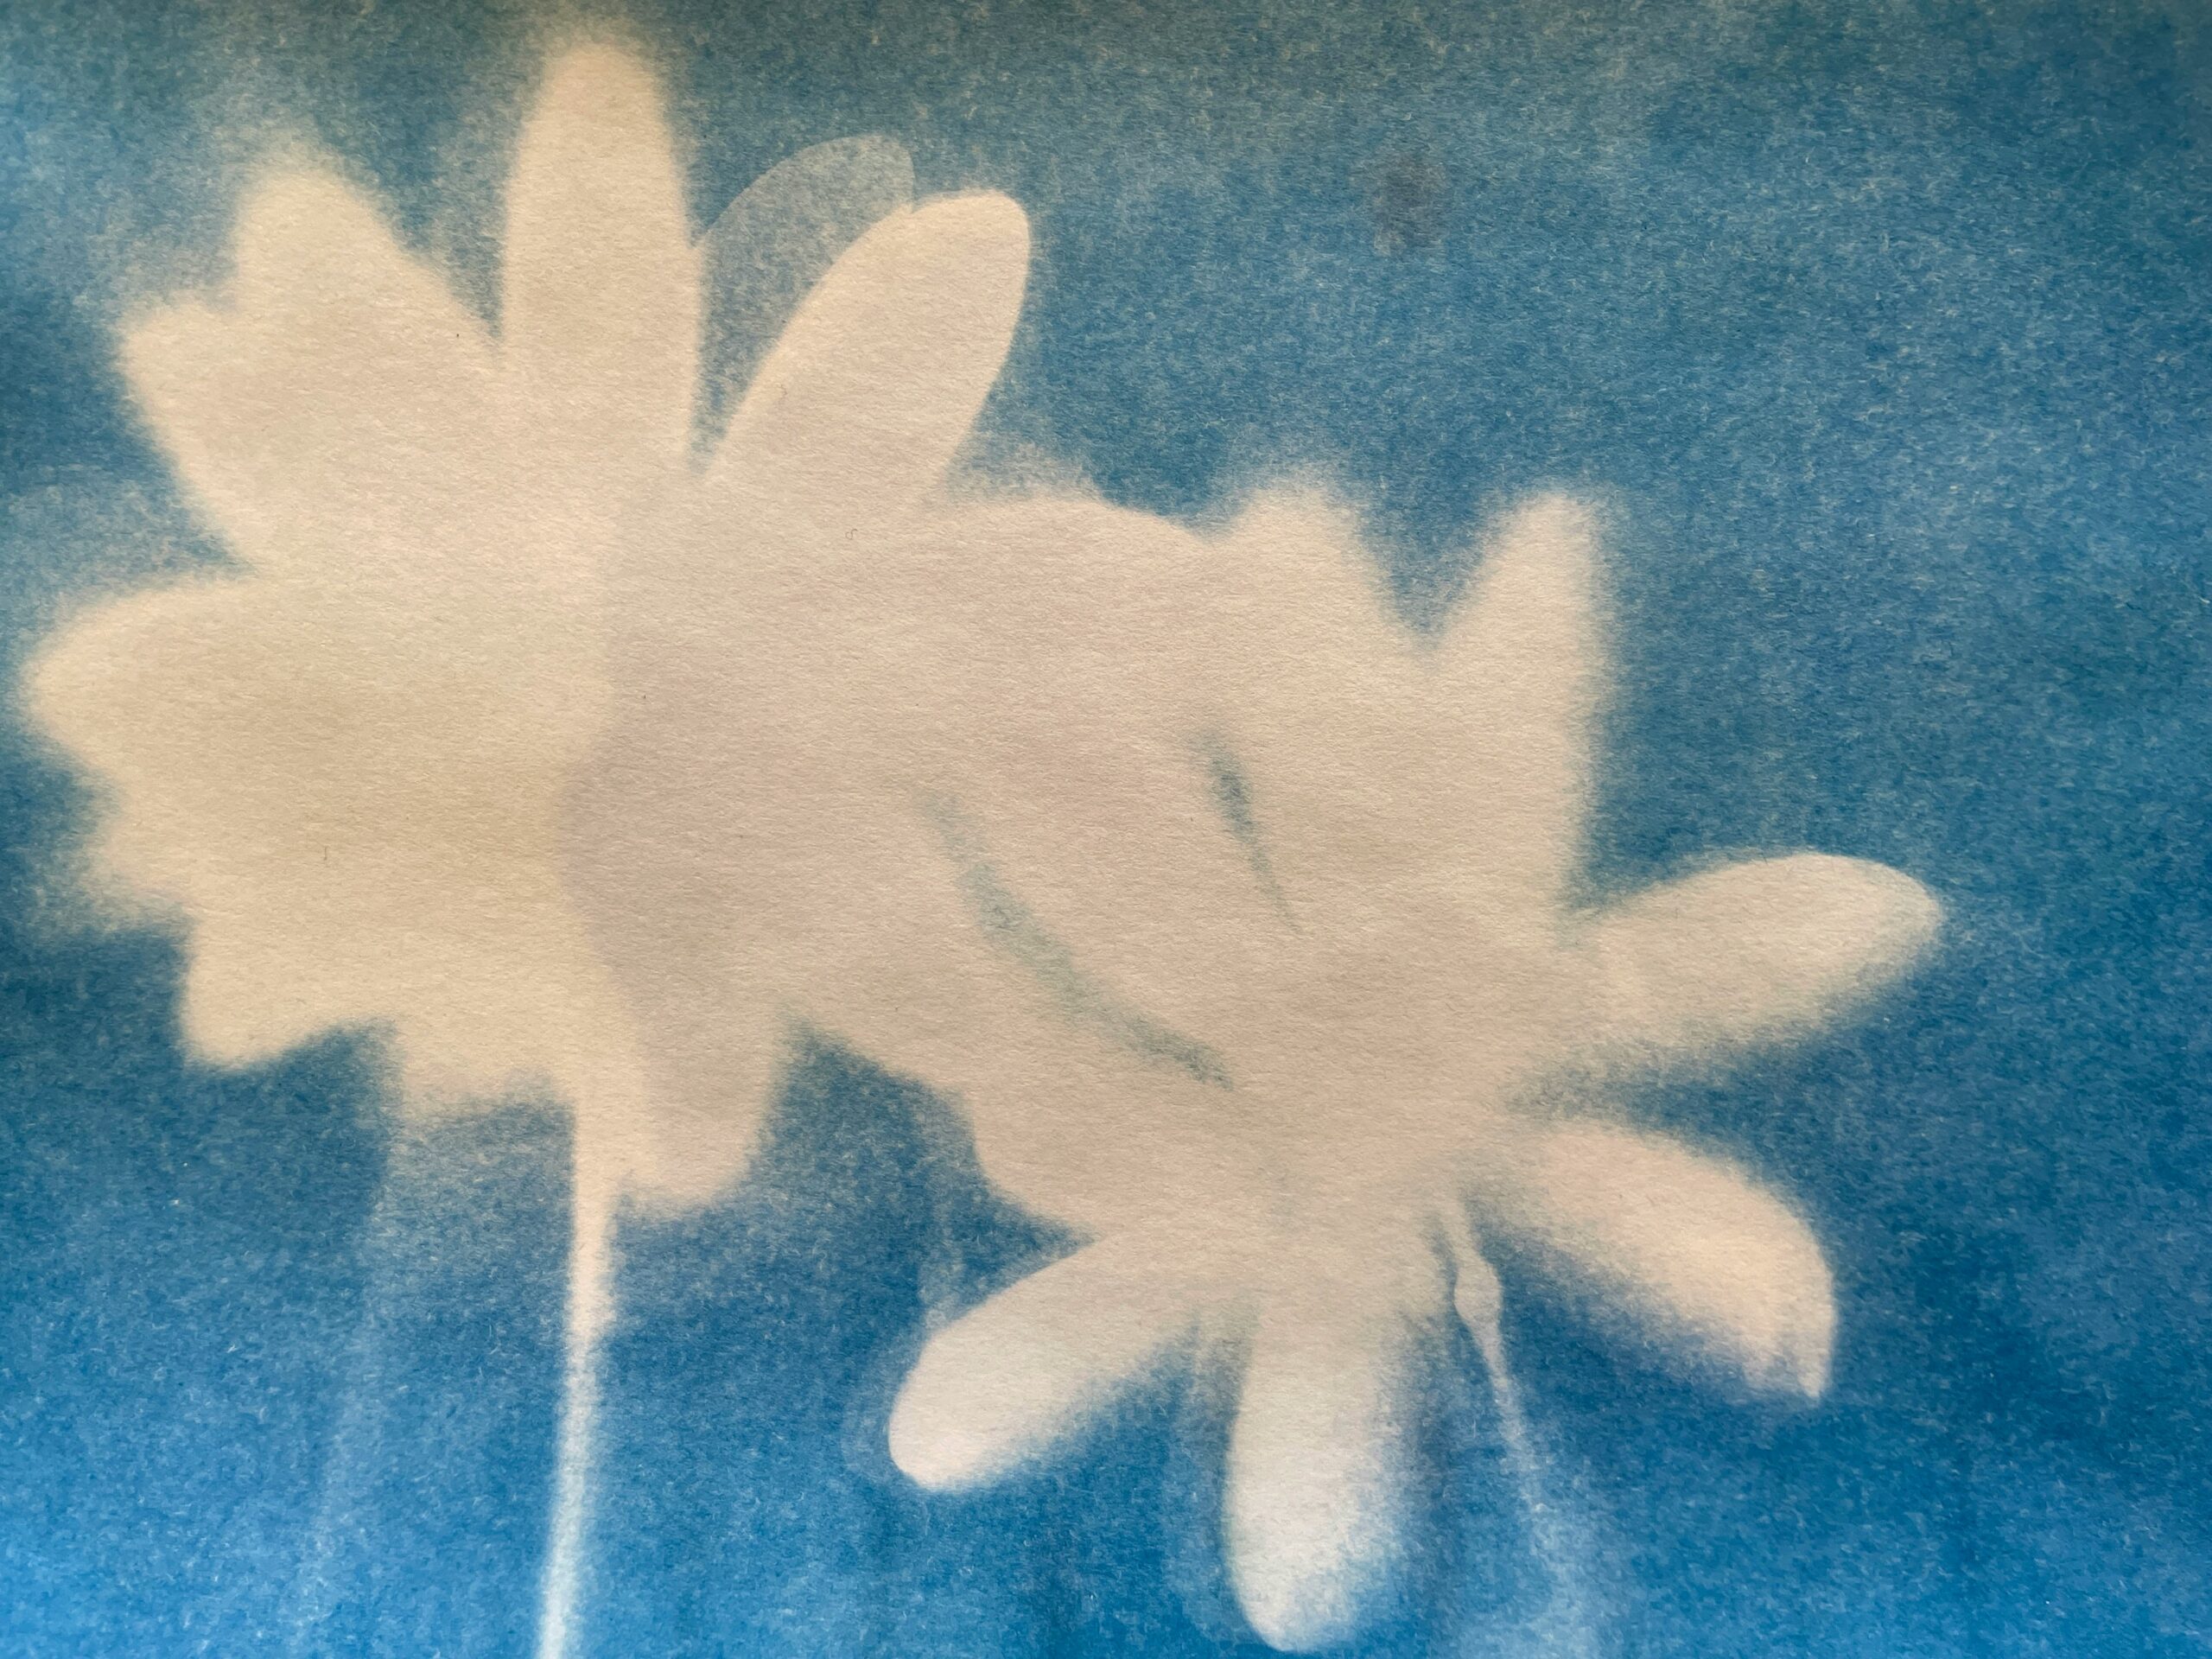
A pair of flower silhouettes can tell a different visual story from a single bloom. Place the stems at slightly different heights so the shapes do not merge into one heavy patch. Their different heights give the finished artwork a gentle rhythm, while the open blue space keeps both flower heads distinct. Cyanotype Gifts made this way suit a recipient who likes botanical art with a little movement. A plain fabric sleeve gives the paper a soft outer layer, borrowing a useful wrapping idea from reusable fabric gift bags.
You will need: Precoated sun print paper, two flat flower specimens, a stiff board, a water tray, and protective backing for wrapping.
How to make it:
- Arrange two flowers at different heights, keeping their petals and stems separate.
- Expose and rinse the prepared paper according to the maker instructions.
- Dry fully and add protective backing and a sleeve before wrapping.
Leafy Branch Cyanotype Gifts
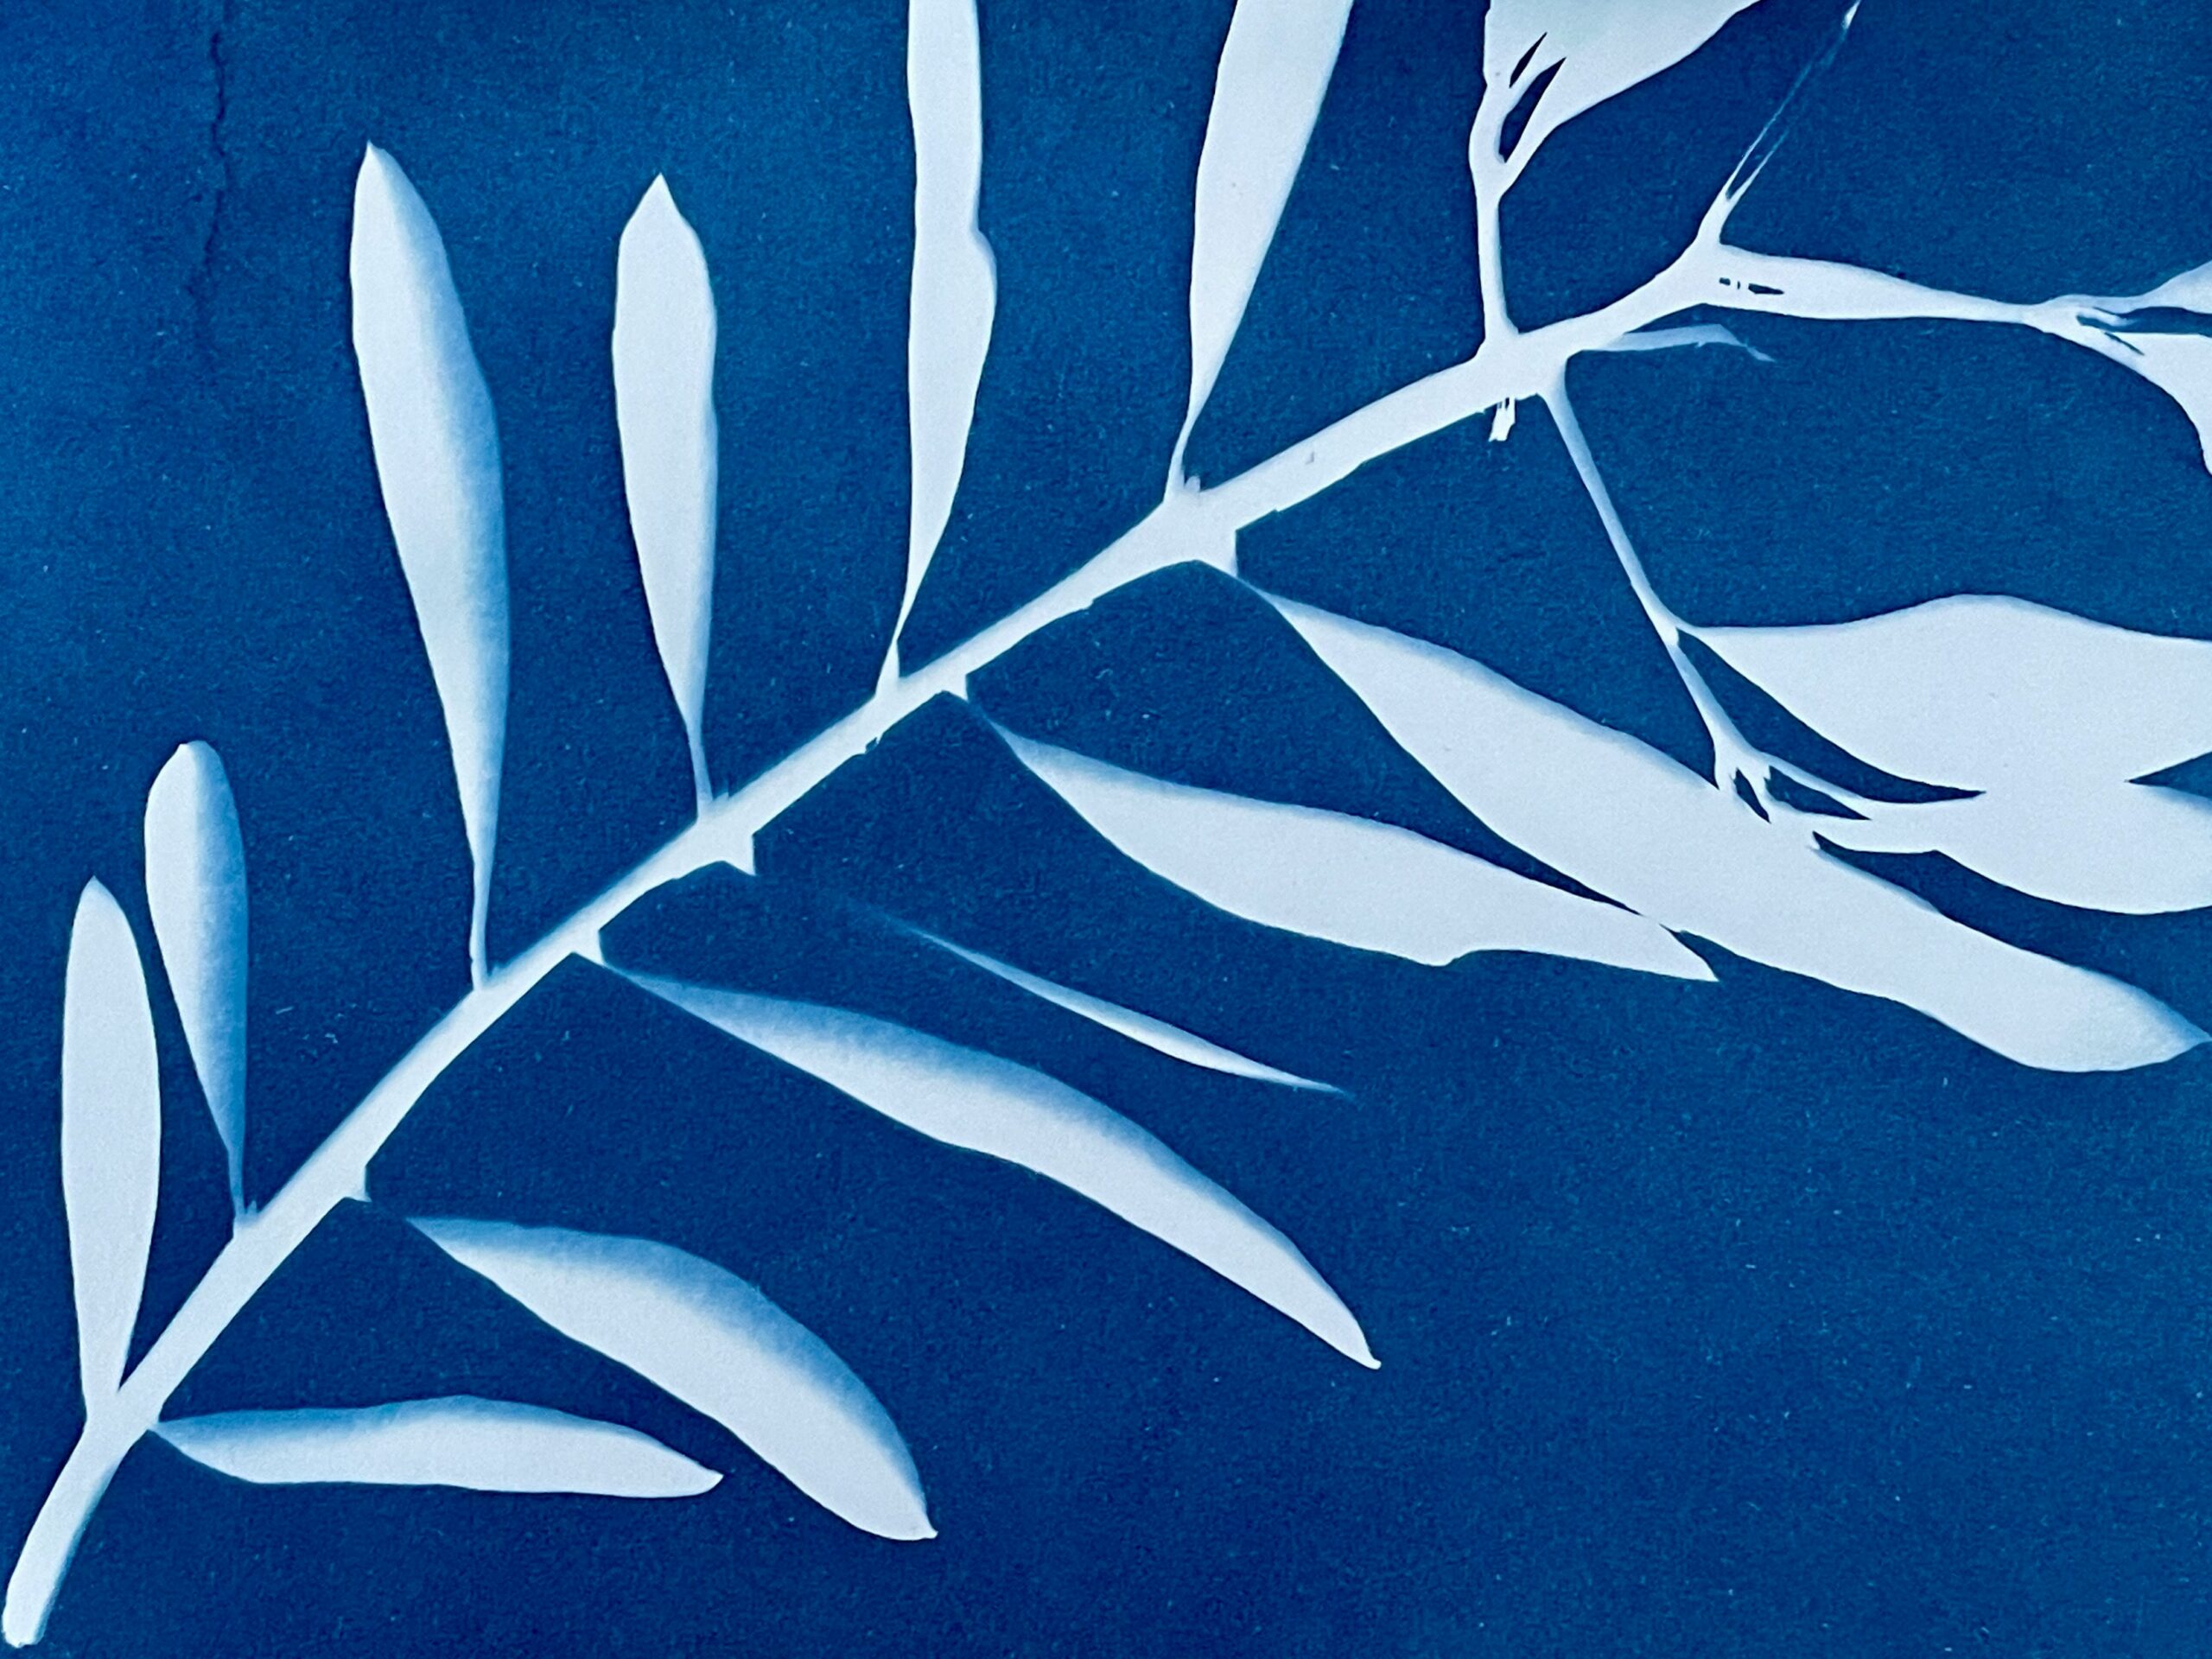
A leafy branch makes a strong final print without needing a crowded arrangement. Its branching shape leads the eye across the blue, while the pale leaves give the artwork an easy, flowing rhythm. Choose a familiar stem that lies flat, then decide where the largest leaves will sit before opening your coated paper. Leave a little breathing room around the edges so the design feels complete on its own. Protect the dry artwork with clean backing. For a personal finishing touch, add one of these handmade gift tag ideas to the outside of the wrapping.
You will need: Precoated sun print paper, a flat leafy branch, a stiff board, a rinse tray, and protective backing.
How to make it:
- Arrange the leafy branch indoors, leaving a clear margin around its outline.
- Expose and rinse according to the prepared paper instructions, then dry flat.
- Add protective backing before wrapping the finished blue print.