Henri Matisse Paper Cutouts: 14 Easy Scissor Projects for Adults Who Think They Can’t Make Art
Henri Matisse paper cutouts were born from a hard season, not a lucky one. In his seventies, after a major illness left the French master in bed or in a wheelchair for long stretches, he could no longer stand at an easel for hours. So he picked up scissors. His helpers painted sheets of paper in bold gouache colors, and he cut leaves, stars and dancing shapes straight into the color, then had them pinned to the walls around him. He called those final years his second life, and the work he made in them is some of the most loved art of the last century. The best part for the rest of us? You need no talent with a brush, only paper, paint, scissors and a free evening. Here are 14 easy projects to start your own second life at the craft table..
Henri Matisse Paper Cutouts Start With a Painted Leaf Collage
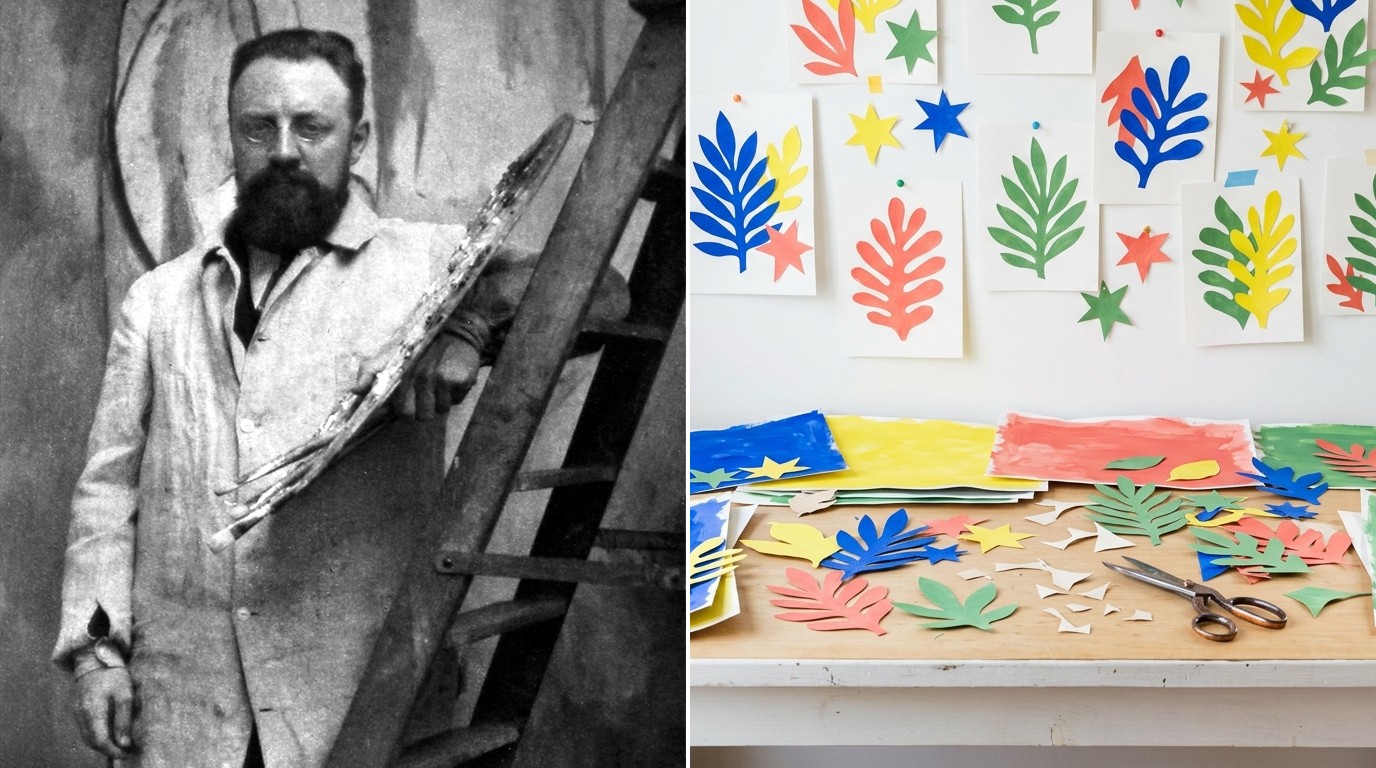
The easiest way into Henri Matisse paper cutouts is the one he loved most: the leaf. Paint a few sheets of plain paper in strong colors, let them dry, then cut loose leaf shapes without drawing them first. Wobbly edges are the point, because they look alive. Pin or glue the leaves onto a white sheet and keep moving them until the page feels happy. His Wikipedia biography describes how this cut paper work grew into a major body of art in his last years. Most people are surprised how good the first one looks. Ready to cut your very first leaf tonight..
You will need: Mixed media paper, poster or acrylic paint in 4 bold colors, a wide brush, sharp scissors, a glue stick, a sheet of white card.
How to make it: 1. Paint each sheet one solid color and let it dry flat. 2. Cut leaf shapes freehand, big and small. 3. Arrange them on the white card, then glue them down once you love the layout.
Seaweed Shape Wall Art for a Plain Wall
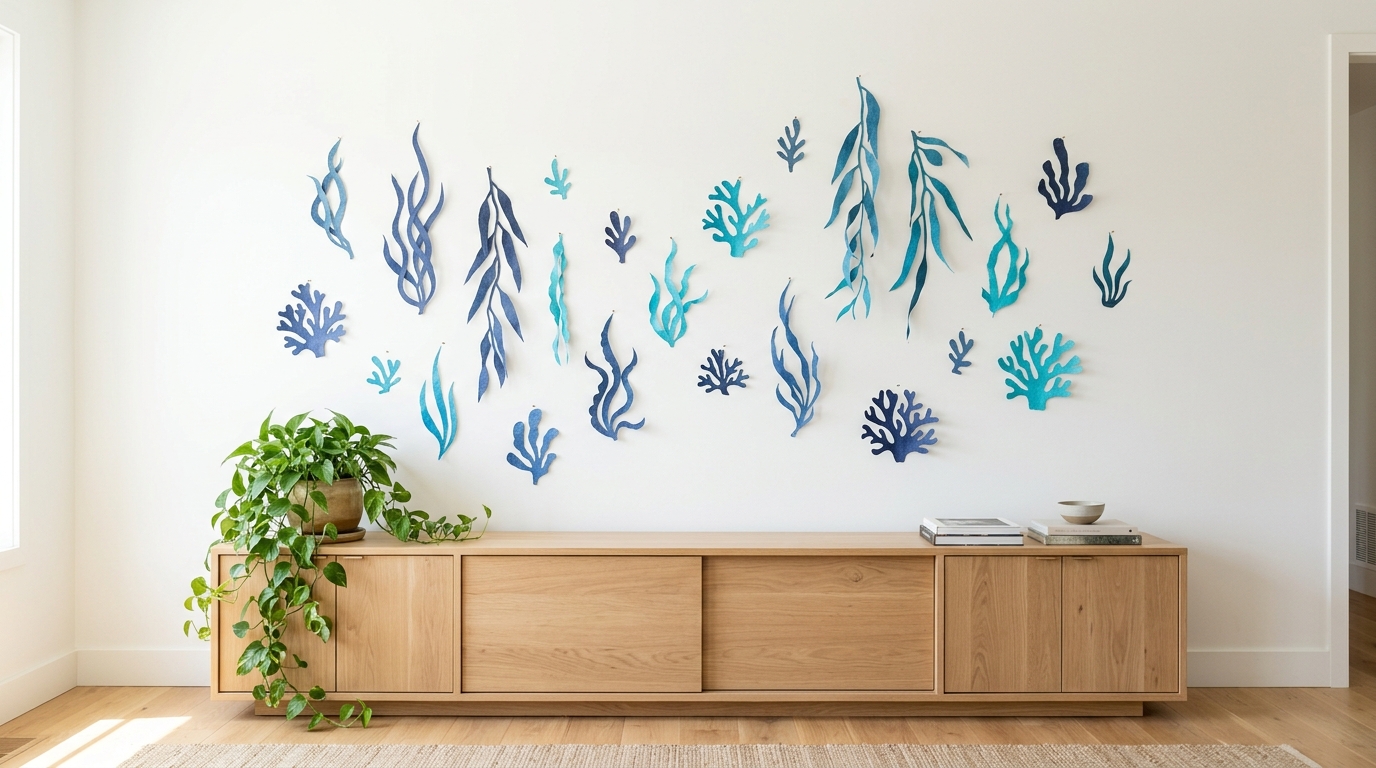
Long, curling seaweed shapes are the cutouts people remember, and they work beautifully on a bare wall. Cut tall wavy fronds from deep blue and turquoise paper, then pin them in a loose grid with plenty of white space between. Removable putty or small pins keep the wall safe, so renters can join in too. The look is calm, fresh and feels like a gallery, yet the whole wall costs less than a single framed print. Which wall in your home could use a splash of sea blue?
You will need: Painted paper in blues and greens, scissors, removable poster putty or flat pins, a pencil for light guide marks.
How to make it: 1. Cut 6 to 12 tall seaweed shapes, each a little different. 2. Lay them on the floor first to plan spacing. 3. Stick them to the wall in rows, keeping even gaps.
Henri Matisse Paper Cutouts on a Christmas Tree Card
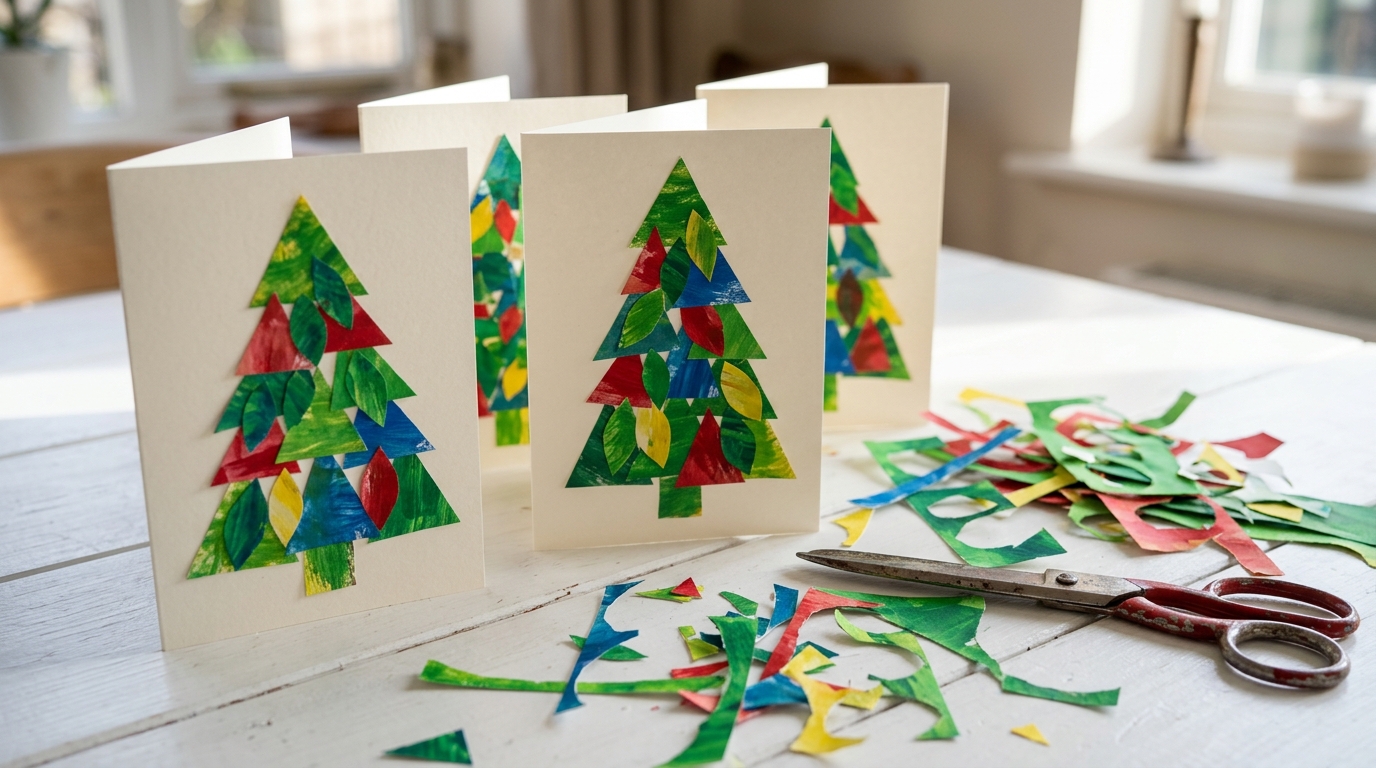
Holiday cards are the perfect small canvas for Henri Matisse Paper Cutouts. Build a Christmas tree from stacked triangles and leaf shapes in green, then add a yellow star and a few red and blue dots for ornaments. No two cards will match, and that is exactly why people keep them on the fridge long after New Year. Make a stack while a holiday movie plays and you have a whole season of cards ready. Who on your list would love a card you cut by hand?
You will need: Folded white cards, scraps of painted paper, scissors, a glue stick, a fine black pen for the message.
How to make it: 1. Cut 3 or 4 green triangles in different sizes. 2. Glue them in a stack on the card front to form a tree. 3. Add a paper star on top and small dots for ornaments.
Bold Paper Star Garland for the Mantel
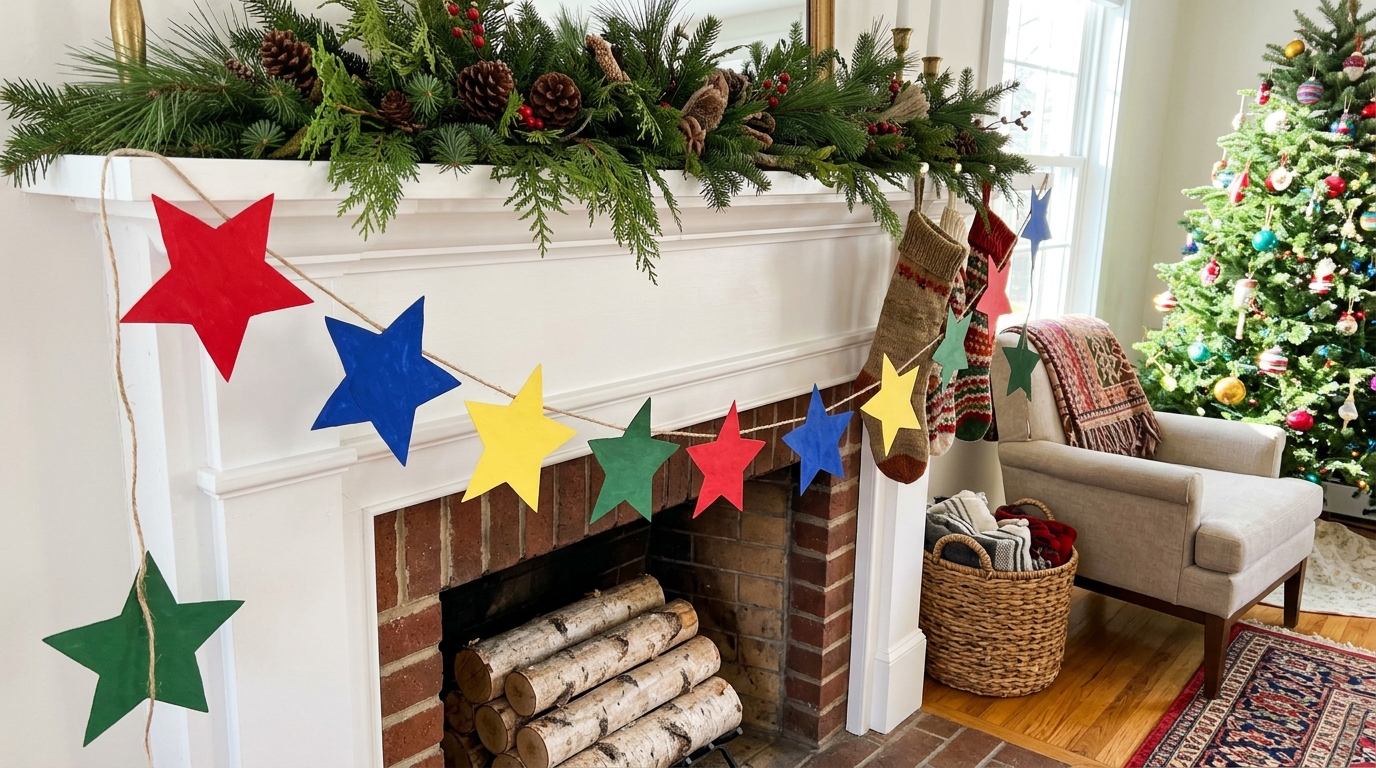
A string of big, bold stars brings instant cheer to a mantel or doorway. Cut stars from your painted paper in five or six colors, glue two together back to back with the string in between, and hang the garland in a gentle swoop. Matisse loved stars that felt a little uneven, as if they were dancing, so do not worry about perfect points. This one is a great project to make with friends over hot cocoa. How many stars will your mantel need?
You will need: Painted paper or colored card, a star template if you want one, scissors, glue stick, baker’s twine.
How to make it: 1. Cut pairs of matching stars in many colors. 2. Lay the twine across one star and glue its twin on top. 3. Space the stars about a hand apart and hang.
Framed Blue Cutouts That Look Gallery Ready
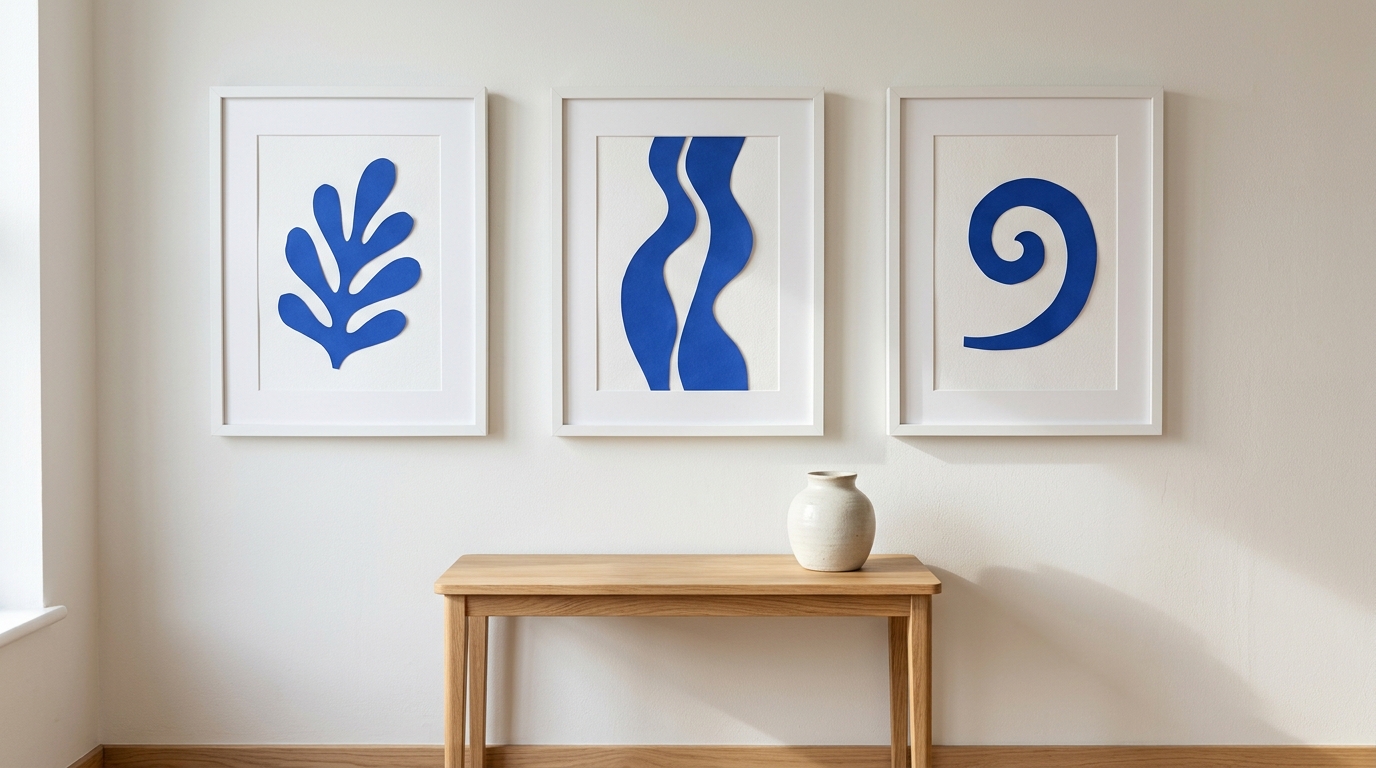
One shape, one color and a simple white frame is all it takes to make art that looks like it came from a museum shop. Choose a strong cobalt blue and cut a single leaf, wave or curl for each frame. Hang three together in a row and the set suddenly looks planned and expensive. Thrift store frames work perfectly once you paint them white. It is a lovely gift for anyone who says they have no art on their walls. Would you hang a set of three or five?
You will need: Cobalt blue painted paper, white card, scissors, 3 matching frames, glue stick.
How to make it: 1. Cut one bold shape for each frame. 2. Glue each shape in the center of white card cut to frame size. 3. Frame them and hang in a straight row.
Window Cutout Clings That Glow in the Sun
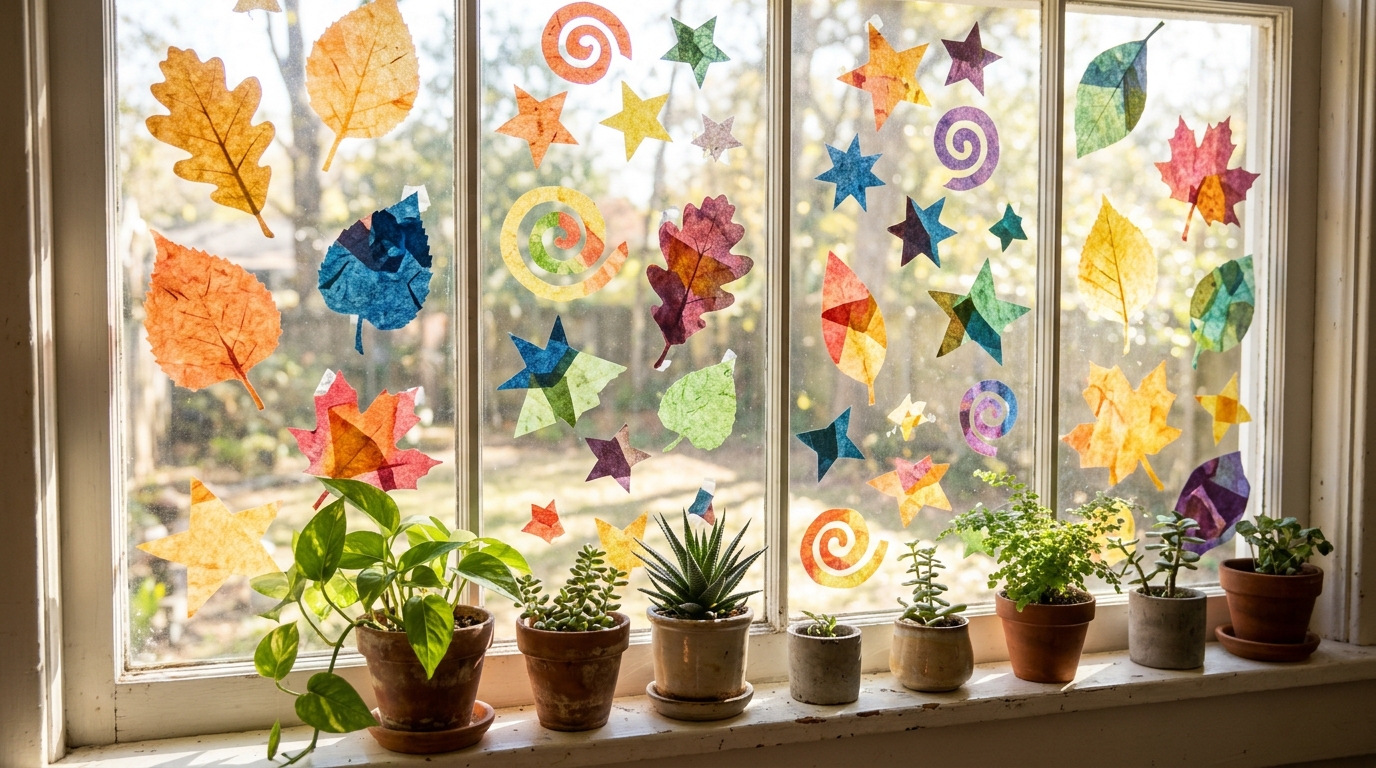
Tissue paper turns your cutouts into little stained glass panes when the sun comes through. Cut leaves, stars and swirls from bright tissue and stick them to a clean window with a thin layer of clear contact paper. On a gray winter morning the colors light up the whole room. Kids love helping with this one, and it peels off cleanly when spring arrives. Which sunny window gets the most light in your house?
You will need: Colored tissue paper, clear self adhesive contact paper, scissors, painter’s tape.
How to make it: 1. Cut shapes from tissue paper. 2. Lay them sticky side down on a sheet of contact paper. 3. Tape the sheet to the window glass, shapes facing in.
Henri Matisse Paper Cutouts as Holiday Gift Wrap
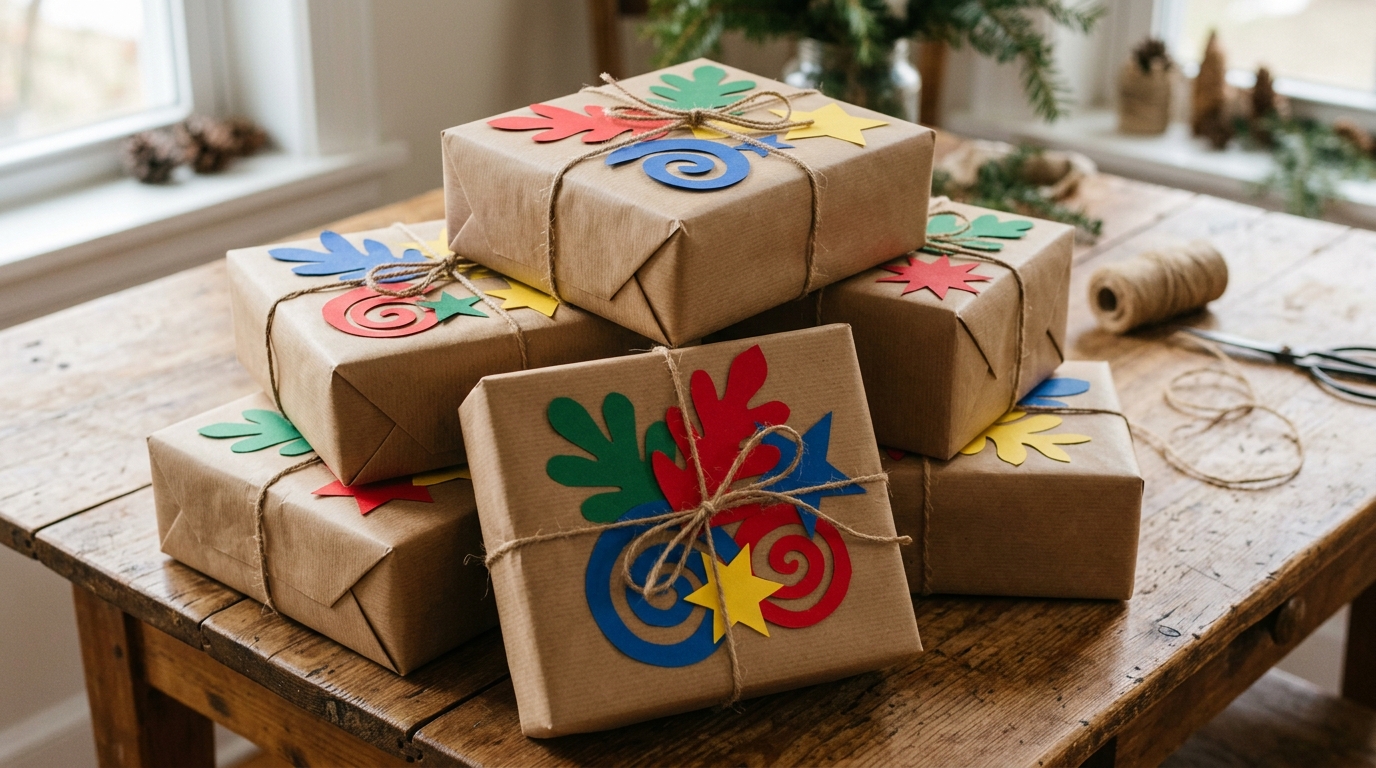
Plain brown paper becomes something special with a few glued shapes on top. Try Henri Matisse Paper Cutouts as gift wrap: wrap your boxes in kraft paper, then add a bold leaf, star or curl in bright color to the top of each one. Tie on twine and you are done. It costs pennies, uses up every scrap, and people always ask who wrapped the presents. A stack of these under the tree looks like a design shop window. Will you match the colors or mix them all?
You will need: Kraft paper, painted paper scraps, scissors, glue stick, twine, tape.
How to make it: 1. Wrap each gift in kraft paper. 2. Cut one or two large shapes per box. 3. Glue the shapes on top and tie with twine.
Collage Greeting Cards for Every Friend
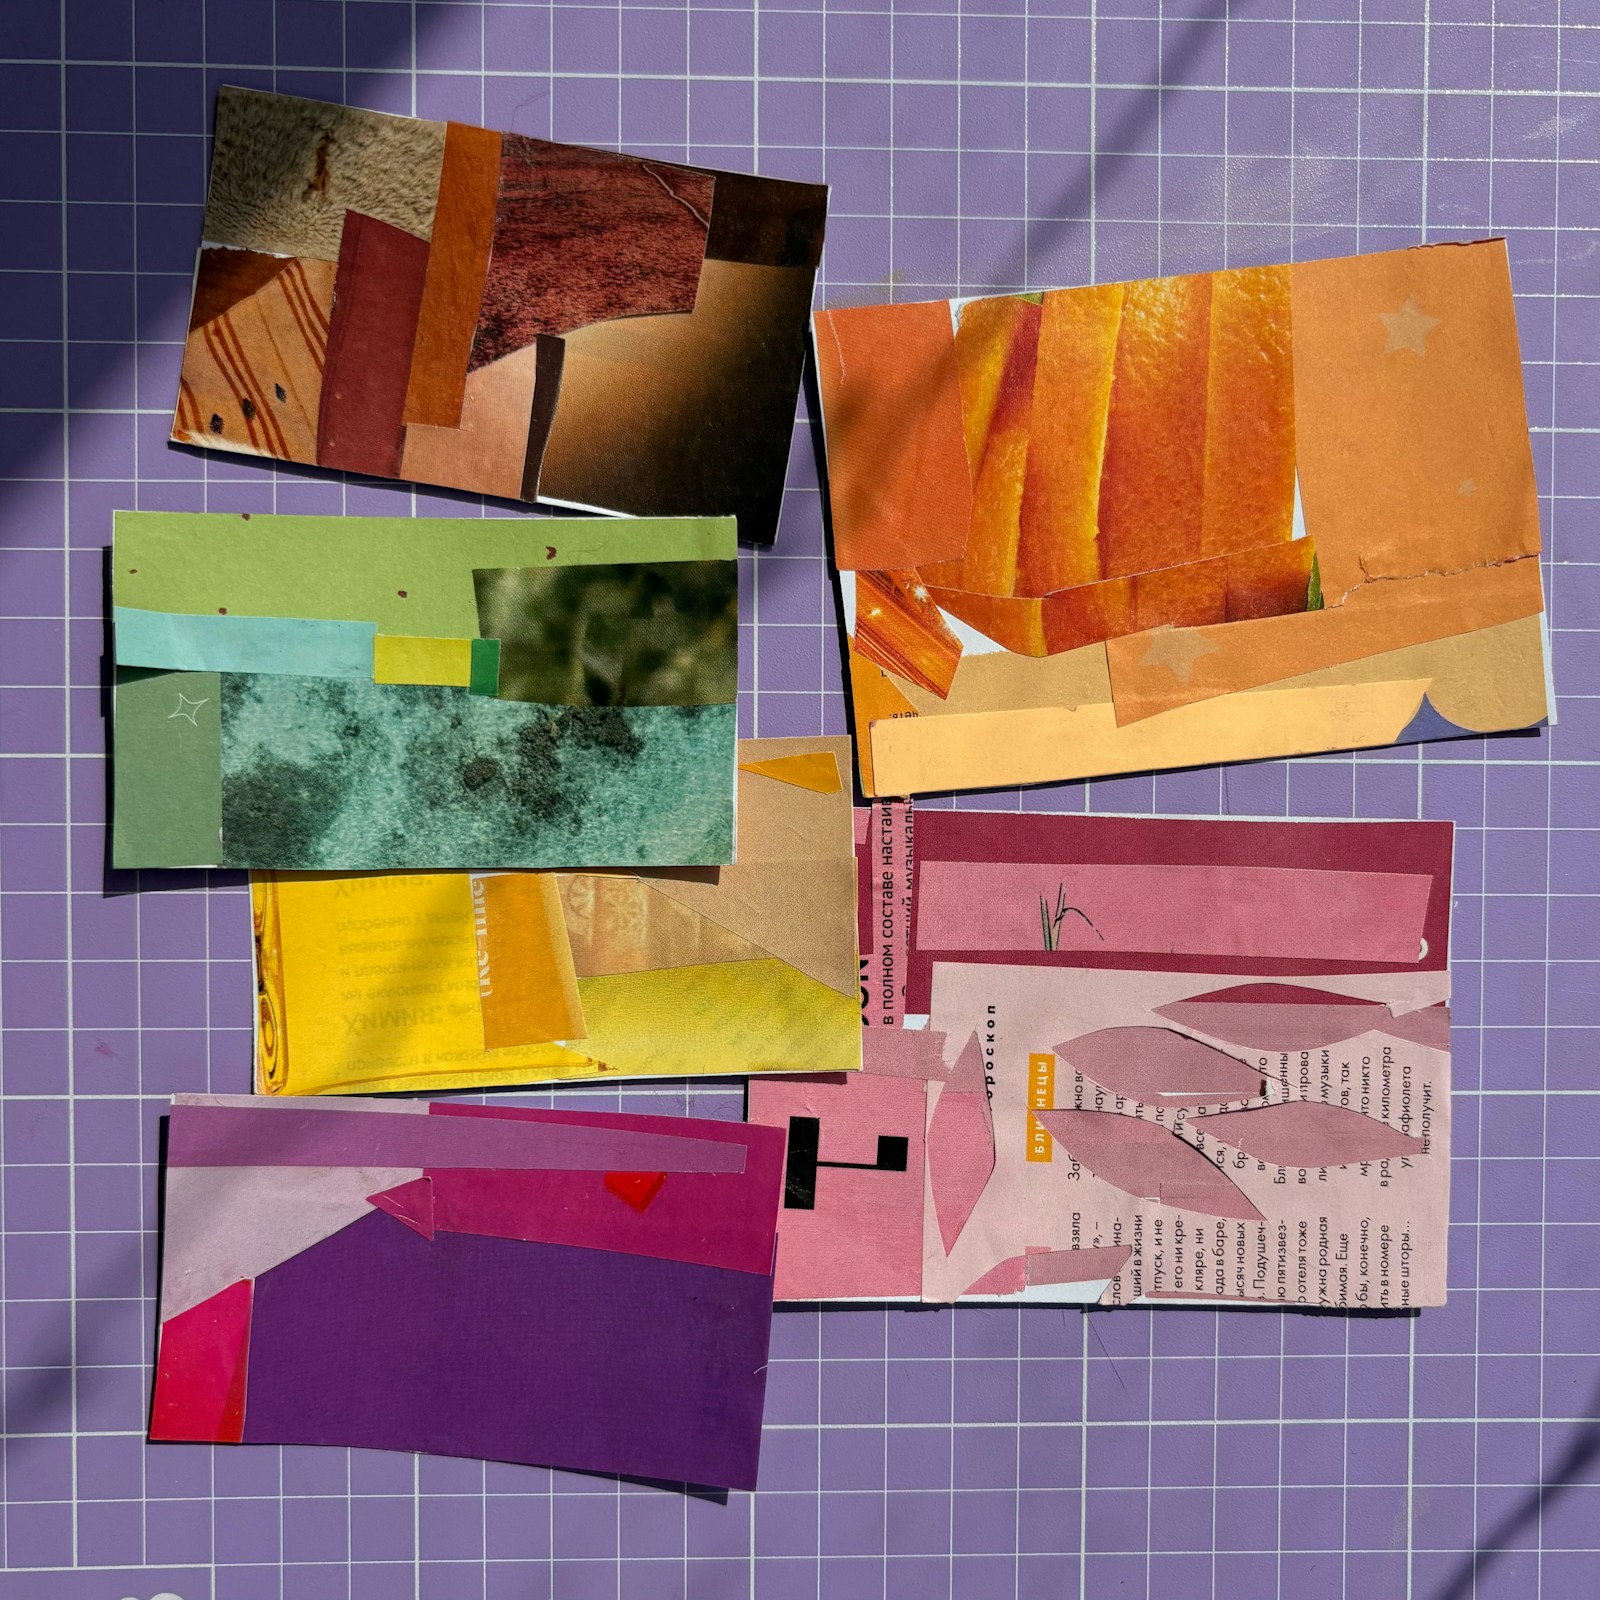
Small collage cards are a wonderful way to practice without pressure. Glue a few cut shapes, a strip of patterned paper and a stamp of color onto a folded card, and send it to someone who needs a lift. Many adults who never thought of themselves as creative find this is the craft that hooks them, just like retired president George W Bush found his late start with a brush in our George W Bush painting projects. Who could you surprise with a card this week?
You will need: Blank folded cards, paper scraps, scissors, glue stick, a pen.
How to make it: 1. Pick three colors and cut a few simple shapes. 2. Arrange them on the card front with some empty space. 3. Glue down and write a short note inside.
Coral Shape Table Runner for Holiday Brunch
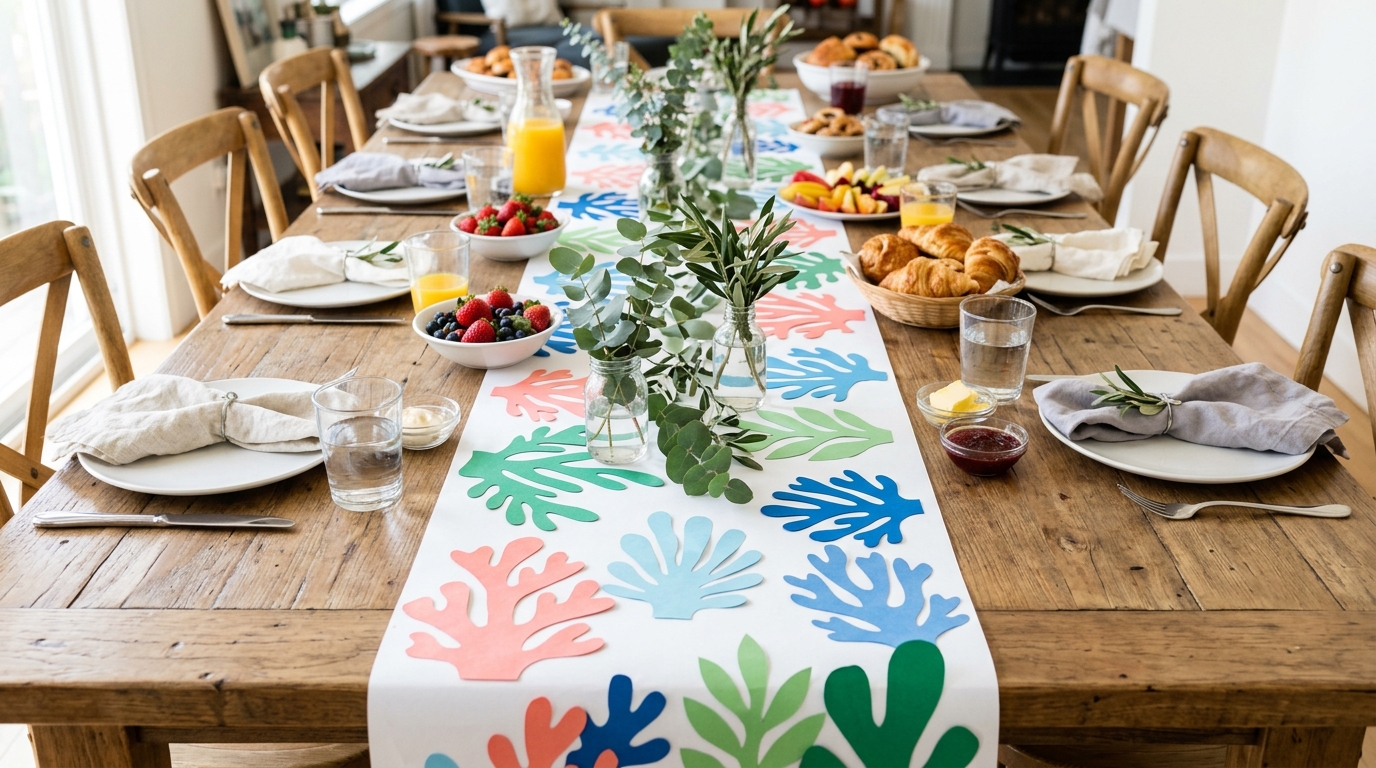
Roll out a long strip of white paper on the table and decorate it with coral, leaf and seaweed shapes in pink, blue and green. Guests will talk about it all through brunch, and you can let them add a shape or two of their own. When the meal is done, roll it up and save the best section as art. It is a fun twist on a holiday table when you want color without buying new linens. What would your family add to the runner?
You will need: White craft paper roll, painted paper in coral, blue and green, scissors, glue stick.
How to make it: 1. Cut the paper roll to the length of your table. 2. Cut 15 to 20 coral and leaf shapes. 3. Glue them along the runner in a loose wave.
Henri Matisse Paper Cutouts as Tree Ornaments
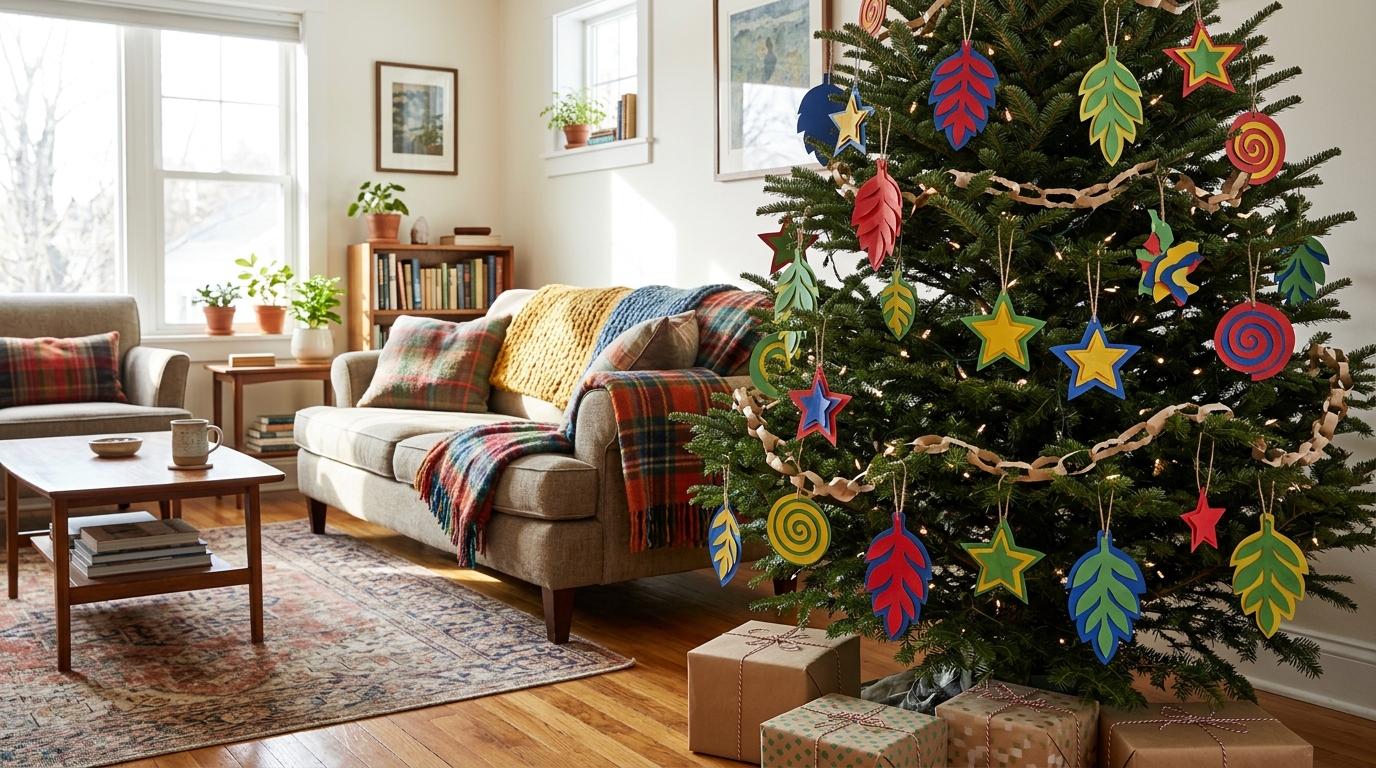
Flat paper ornaments are light, safe for little hands and easy to store. To turn Henri Matisse Paper Cutouts into ornaments, layer two or three shapes in different colors, glue them to stiff card, and punch a hole for a ribbon. Leaves, stars and spirals look wonderful together on the tree, and a whole set can be made in an afternoon. They also make sweet add ons to wrapped gifts. Which shape will you hang first?
You will need: Painted paper, thin card for backing, scissors, glue stick, hole punch, ribbon or string.
How to make it: 1. Cut a base shape from card. 2. Glue smaller painted shapes on top in layers. 3. Punch a hole and tie a ribbon loop.
Grandparents and Grandkids Collage Night
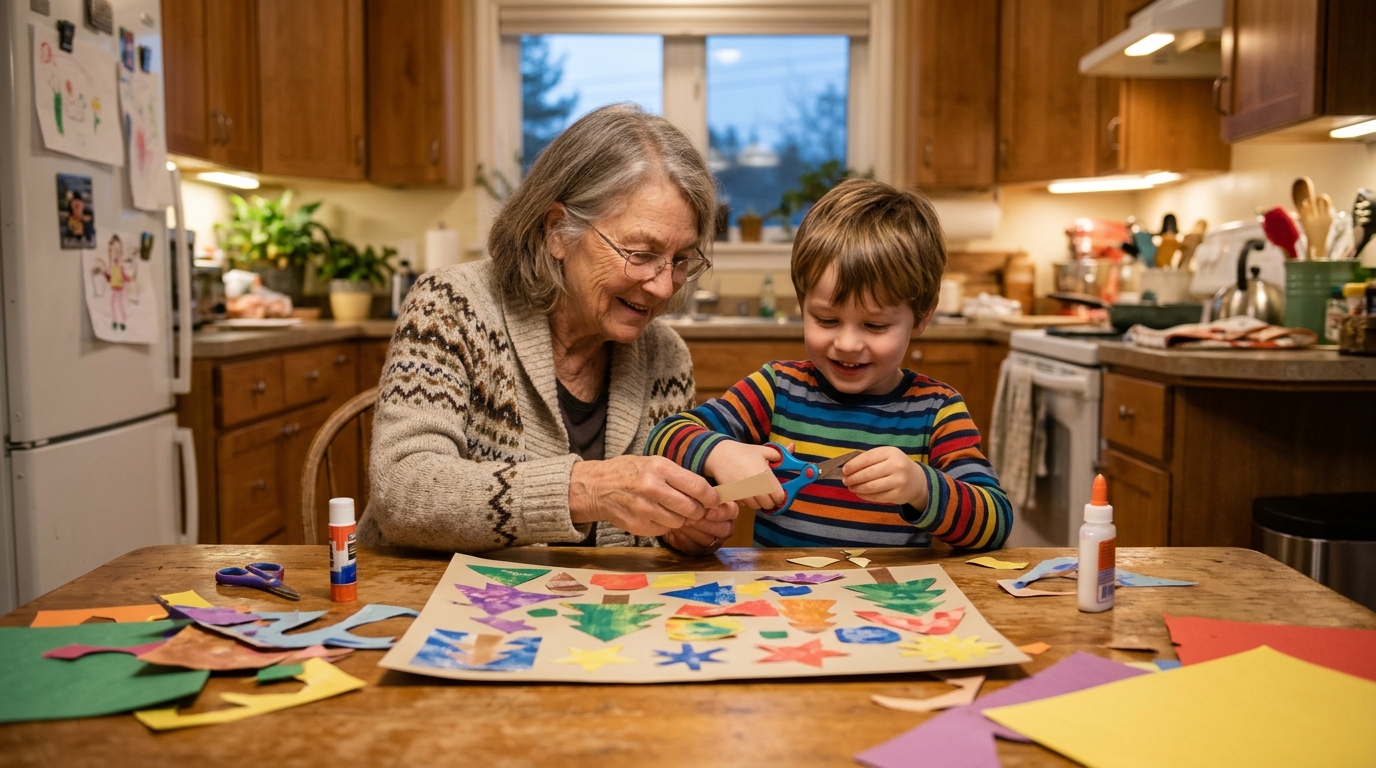
Matisse made many of his cutouts with helpers at his side, and that makes this a lovely craft to share across ages. Set up a table with painted paper, child safe scissors and glue, then let grandparents and grandkids build one big collage together. Nobody needs to be good at drawing, so everyone feels proud of the result. Date it on the back and it becomes a keepsake. When could your family set up a collage night this winter?
You will need: A large sheet of white paper, painted paper, child safe scissors, glue sticks, a marker to sign and date it.
How to make it: 1. Let each person pick a color and cut a few shapes. 2. Take turns placing shapes on the big sheet. 3. Glue everything down and sign it together.
Painted Paper Wreath for the Front Door
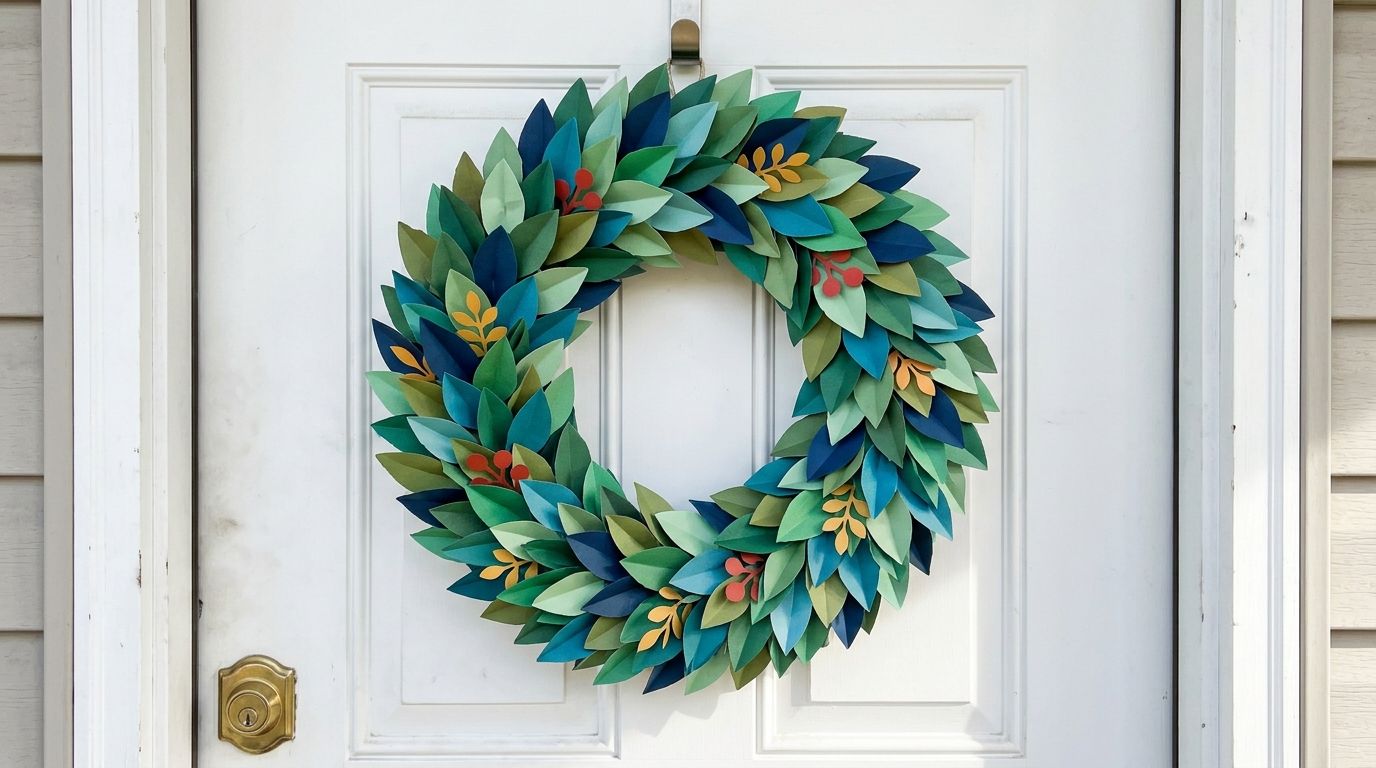
A wreath made only of paper leaves is light, cheerful and very different from the usual pine. Cut dozens of leaves in several greens and blues, then glue them in overlapping layers around a cardboard ring. Tuck in a few red and yellow leaves for a pop of holiday color. Hang it on a covered front door or inside on a pantry door so the paper stays dry. Will your wreath be all green or a full rainbow?
You will need: A cardboard ring cut from a box, painted paper in greens and blues plus a little red and yellow, scissors, glue, ribbon.
How to make it: 1. Cut a ring about 14 inches wide from cardboard. 2. Cut 40 to 60 leaves. 3. Glue the leaves around the ring in overlapping layers and add a ribbon hanger.
Henri Matisse Paper Cutouts on a Big Canvas Over the Sofa
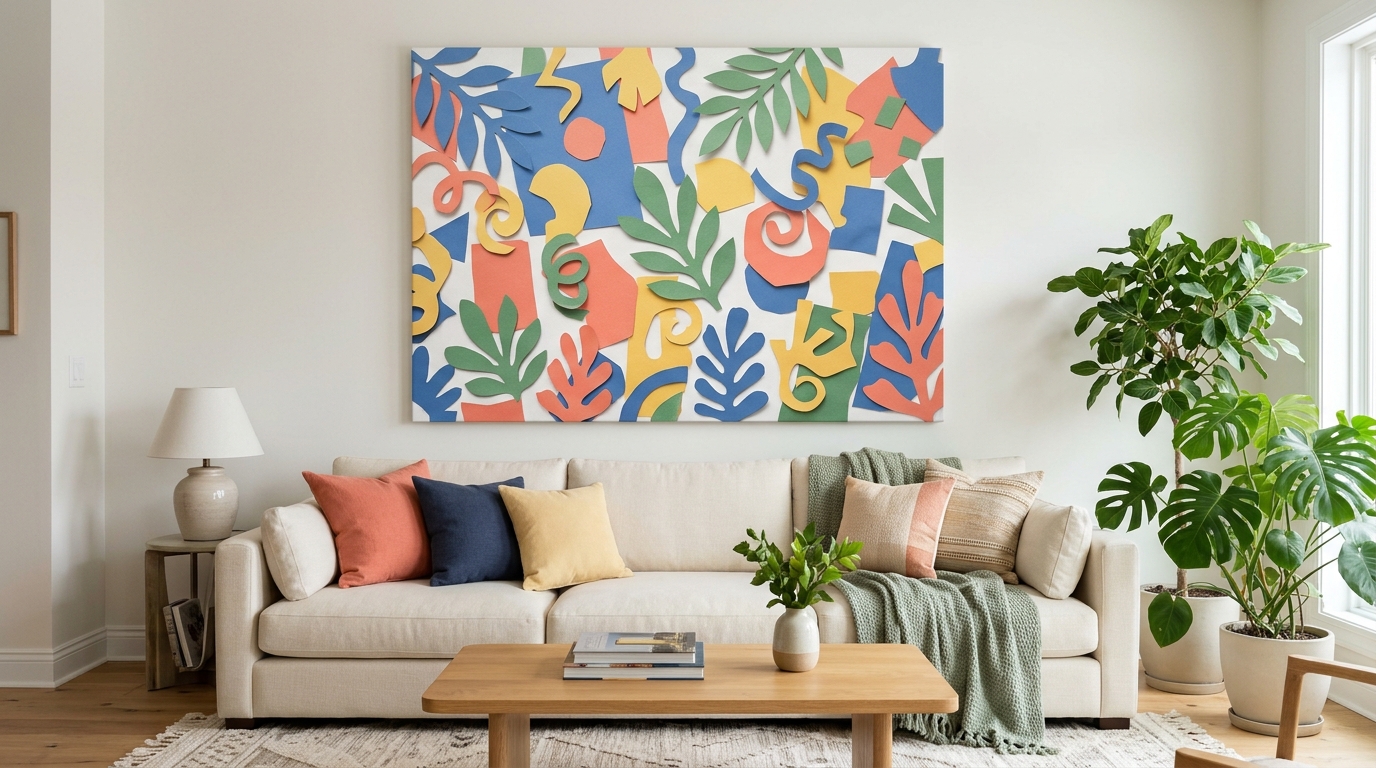
Ready for something bigger? Try Henri Matisse Paper Cutouts on a large canvas over the sofa. Paint the canvas white, then glue on big leaves and curls in blue, coral, yellow and green. A wide canvas from a craft store sale costs far less than a print of the same size, and you get to say you made it. Step back often while you work, as Matisse did, and move pieces until the whole thing feels balanced. How big will you go?
You will need: A large stretched canvas, white paint, painted paper in 4 colors, scissors, decoupage glue, a foam brush.
How to make it: 1. Paint the canvas white and let it dry. 2. Cut large shapes and pin them on to plan the layout. 3. Glue each shape down and seal with a thin top coat.
Henri Matisse Paper Cutouts for Tiny Gift Tags

End with the quickest project of all. Use your smallest scraps of Henri Matisse Paper Cutouts to dress up plain gift tags: one leaf, one star or a tiny heart on each tag is enough. They take about ten minutes for a whole batch and finish your wrapped gifts with a handmade touch. Keep a jar of scraps by the wrap station and you will never buy tags again. Who gets the first tag on your list?
You will need: Plain white or kraft gift tags, tiny painted paper scraps, small scissors, glue stick, twine.
How to make it: 1. Cut tiny shapes from your leftover paper. 2. Glue one or two shapes on each tag. 3. Write the name and tie the tag to the gift.