DIY Christmas Tree Stands: 15 Thrift Store Pedestals That Make a Cheap Tree Look Grand
DIY Christmas tree stands are the cheapest trick for making a small tree look like it came from a fancy boutique. Here is the secret designers know: height is everything. Lift a skinny three foot tree onto a pedestal and it suddenly looks tall, rich and planned. Thrift flip videos of this idea are taking over Facebook right now, with one brass look base made from five dollar table legs pulling in 18,700 reactions and an elegant tabletop version passing 19,800. Below are 15 easy risers you can make from table legs, crates, suitcases, clay pots and even a cake plate from the back of the cupboard. Each one comes with a short supply list and simple steps. Pick one this weekend and watch your tree grow without spending much at all..
DIY Christmas Tree Stands From Brass Look Table Legs
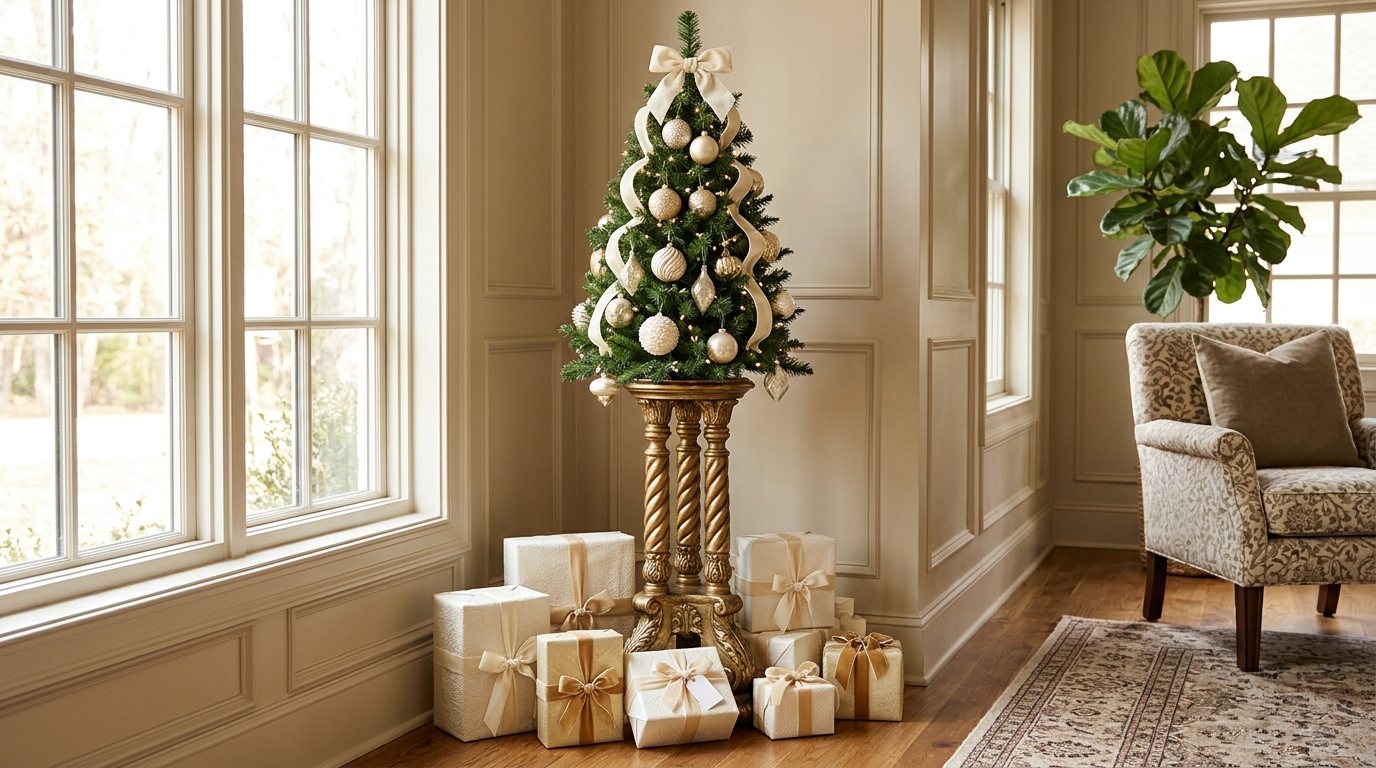
This is the flip that started it all. One crafter turned a pair of five dollar table legs into a brass look base, and the video drew 18,700 reactions and 686 shares. Four turned legs glued to a round top make a pedestal that looks like an antique shop find. A coat of gold paint does the rest, and it is the reason DIY Christmas tree stands are everywhere this year. If you love that warm metal glow, see more brass Christmas decor ideas. Wait until you see what an old suitcase can do..
You will need: four turned wooden table legs, two round wood boards, wood glue, small metal corner brackets, gold spray paint, sandpaper.
How to make it: 1. With adult help, attach the legs between the two round boards with glue and small corner brackets. 2. Sand lightly and spray two thin coats of gold paint outdoors. 3. Set the tree in its own base on top and add a heavy book under the base for weight.
Antique Pedestal Table Base Makeover
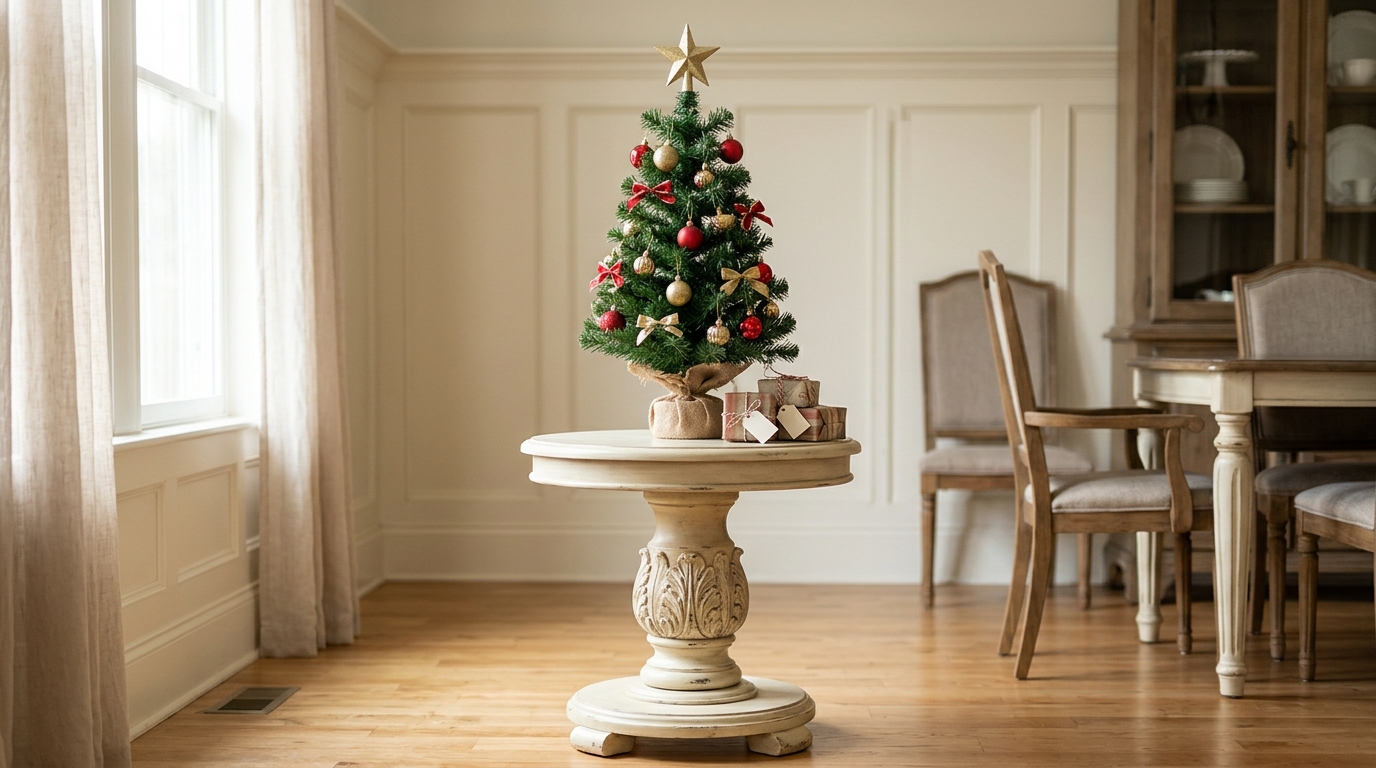
The holiday tree tradition goes back centuries, but this idea is new: old pedestal tables often lose their tops, and the bases sell for almost nothing. One video of an antique table base turned into a tree riser got 11,700 reactions and 1,800 shares. Paint it soft cream, add a round top, and you get a stand that looks like it belongs in a grand dining room. The heavy center column keeps it steady, which matters for DIY Christmas tree stands. For more soft vintage looks, try these shabby chic Christmas ideas.
You will need: a thrifted pedestal table base, a round plywood top, chalk style paint, a brush, wood glue, small metal corner brackets.
How to make it: 1. Clean the base and sand any shiny spots. 2. With adult help, fix a round plywood top to the base with glue and brackets. 3. Paint two coats of cream and let it dry overnight before adding the tree.
DIY Christmas Tree Stands That Look Like Stone Urns
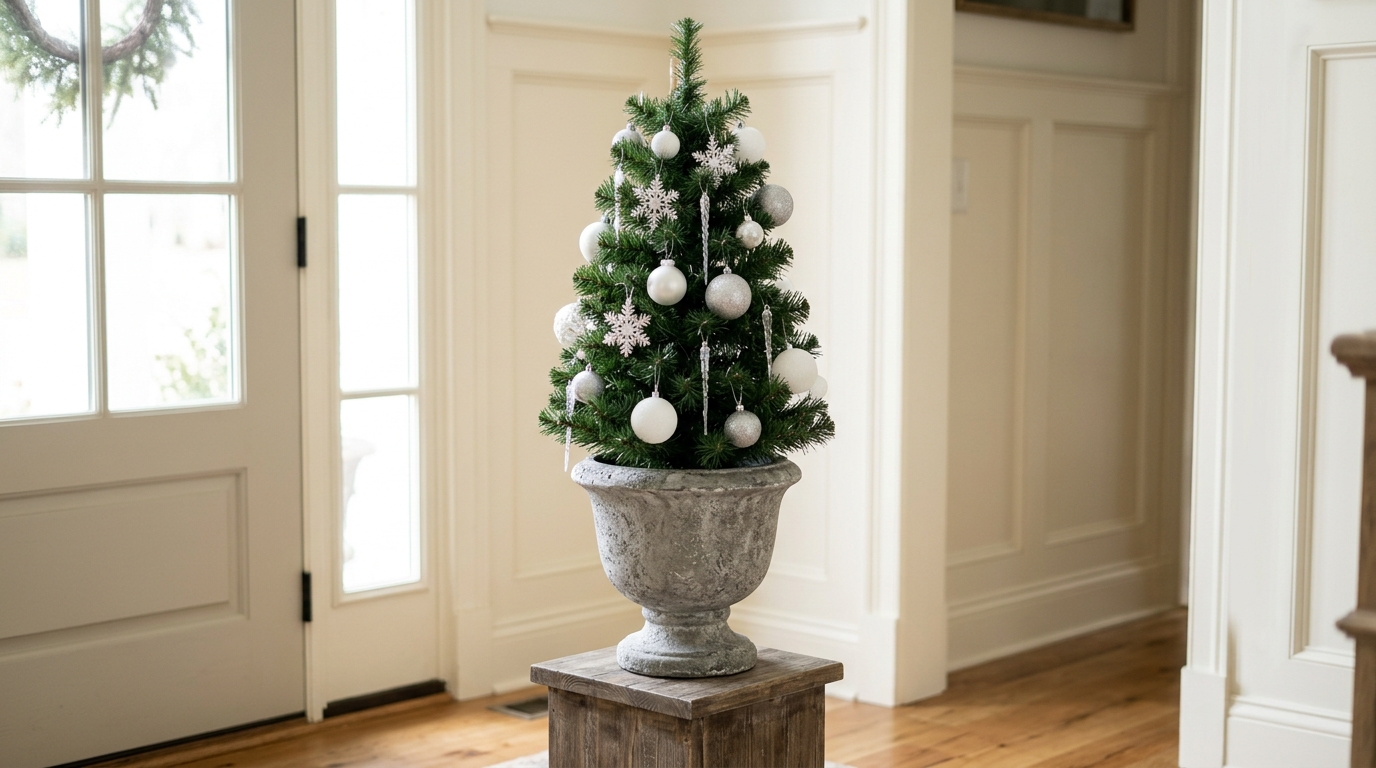
A plain plastic planter can pass for a heavy garden urn with the right paint. Dab on gray paint mixed with a little baking soda and the texture looks just like stone. Set it on a short wood block for extra lift and it stands proudly by the front door. Fill the bottom with rocks so the tree stays put, a rule for all DIY Christmas tree stands. For more entry ideas, browse these Christmas porch planters.
You will need: a plastic urn shaped planter, gray and white craft paint, baking soda, a sponge, rocks or sand, a wood block.
How to make it: 1. Mix two spoons of baking soda into a cup of gray paint. 2. Sponge it on in layers, then dry brush white on the high spots. 3. Fill the base with rocks, set in the tree and pack the trunk with more rocks.
Old Wooden Stool With a Crate Cover
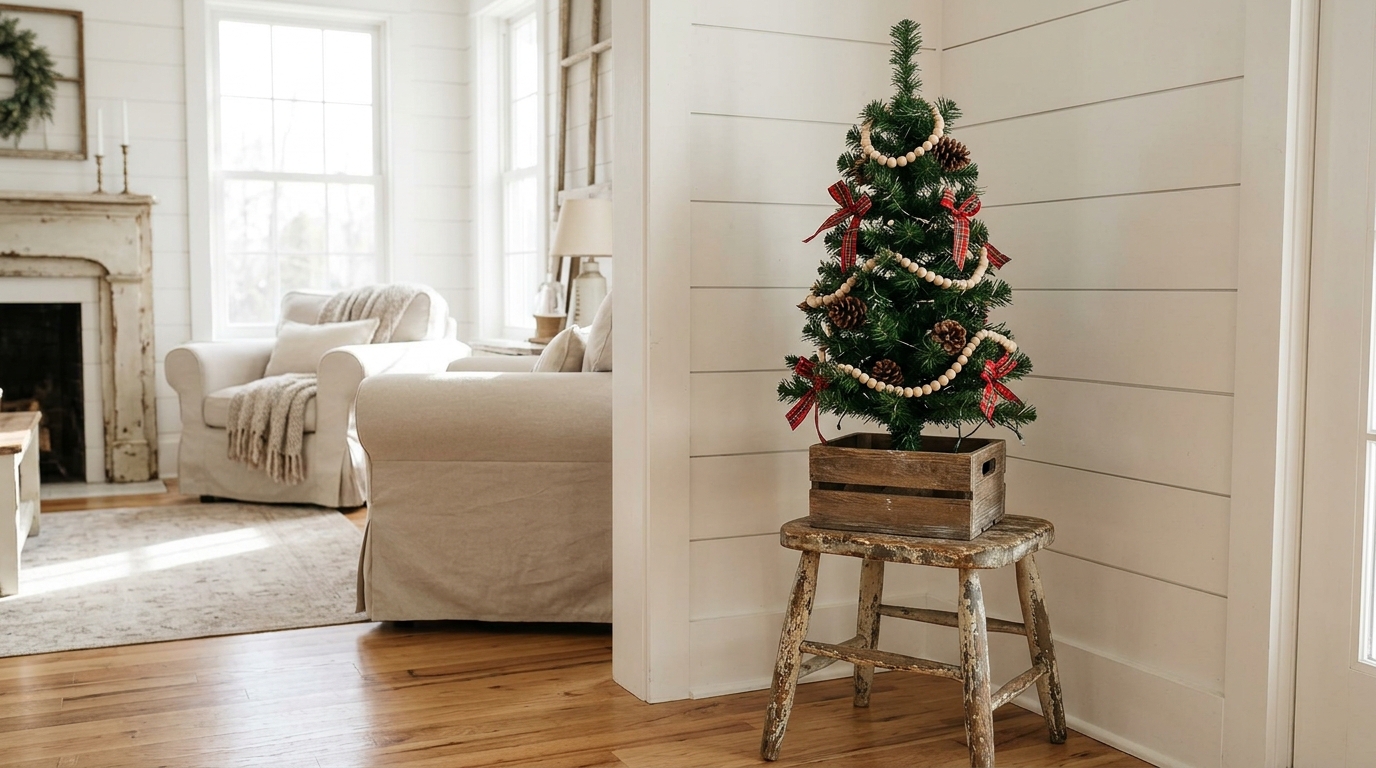
A worn kitchen stool already has the perfect height. Set a small wooden crate on top to hide the tree base and you have a rustic riser in five minutes. Wrap red plaid ribbon around the crate and add a wood bead garland to the tree. The chippy paint is part of the charm, so do not sand it away. More ideas live in these wooden crate Christmas decor.
You will need: an old wooden stool, a small wooden crate, red plaid ribbon, a wood bead garland, two small clamps or strong tape.
How to make it: 1. Center the crate on the stool seat and secure it with clamps or tape underneath the rim. 2. Set the tree and its base inside the crate. 3. Tie the ribbon around the crate and drape the garland.
DIY Christmas Tree Stands From Vintage Suitcases
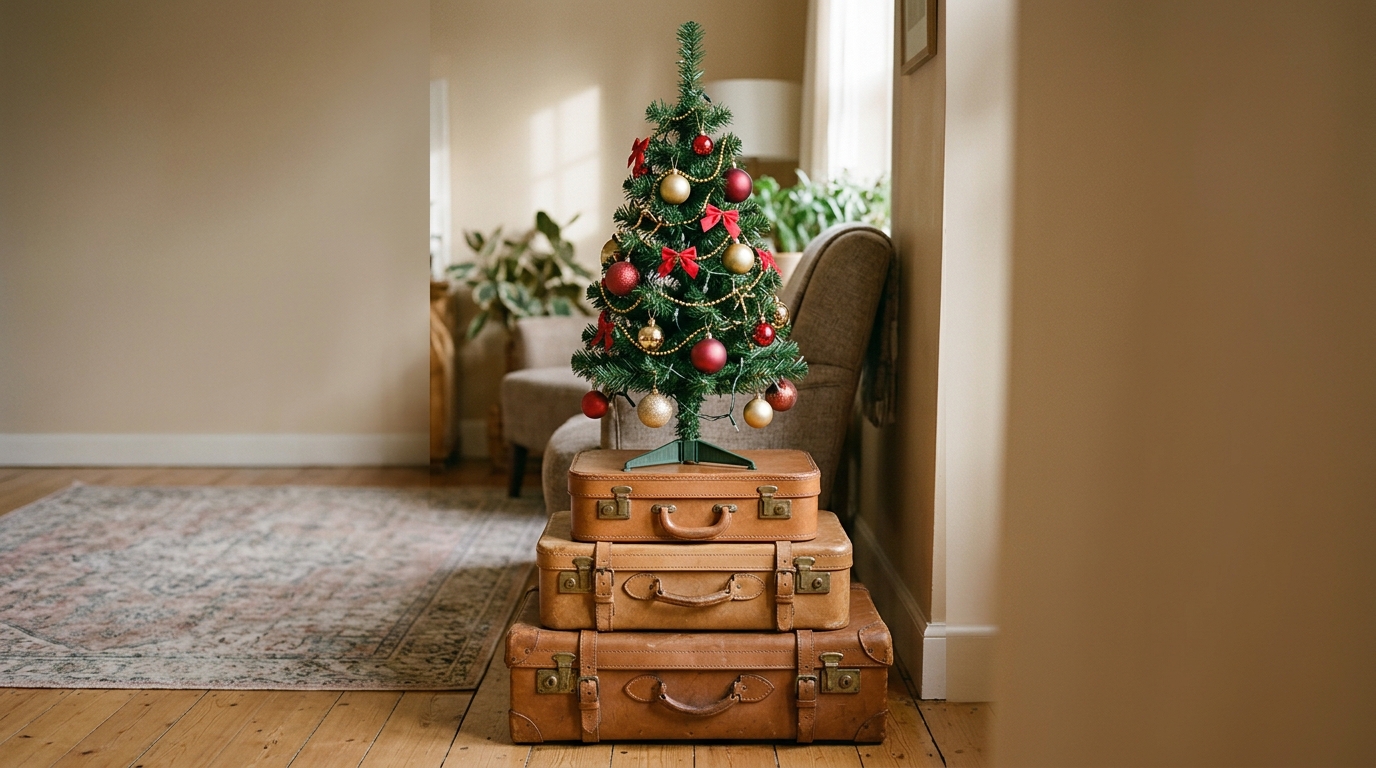
Three old suitcases stacked largest to smallest make a riser full of story. They show up at thrift stores and yard sales for a few dollars each. The leather tones look warm next to red and gold ornaments, and you can store wrapping paper inside. Of all the DIY Christmas tree stands here, this one feels most like a winter trip from long ago. For more thrift wins, read these thrift store decor finds.
You will need: three vintage suitcases in graduated sizes, museum putty or strong double sided tape, a small tray.
How to make it: 1. Stack the suitcases with the biggest at the bottom and handles facing back. 2. Press putty between each case so they cannot slide. 3. Set a tray on top, then place the tree in its base on the tray.
Galvanized Milk Can Riser
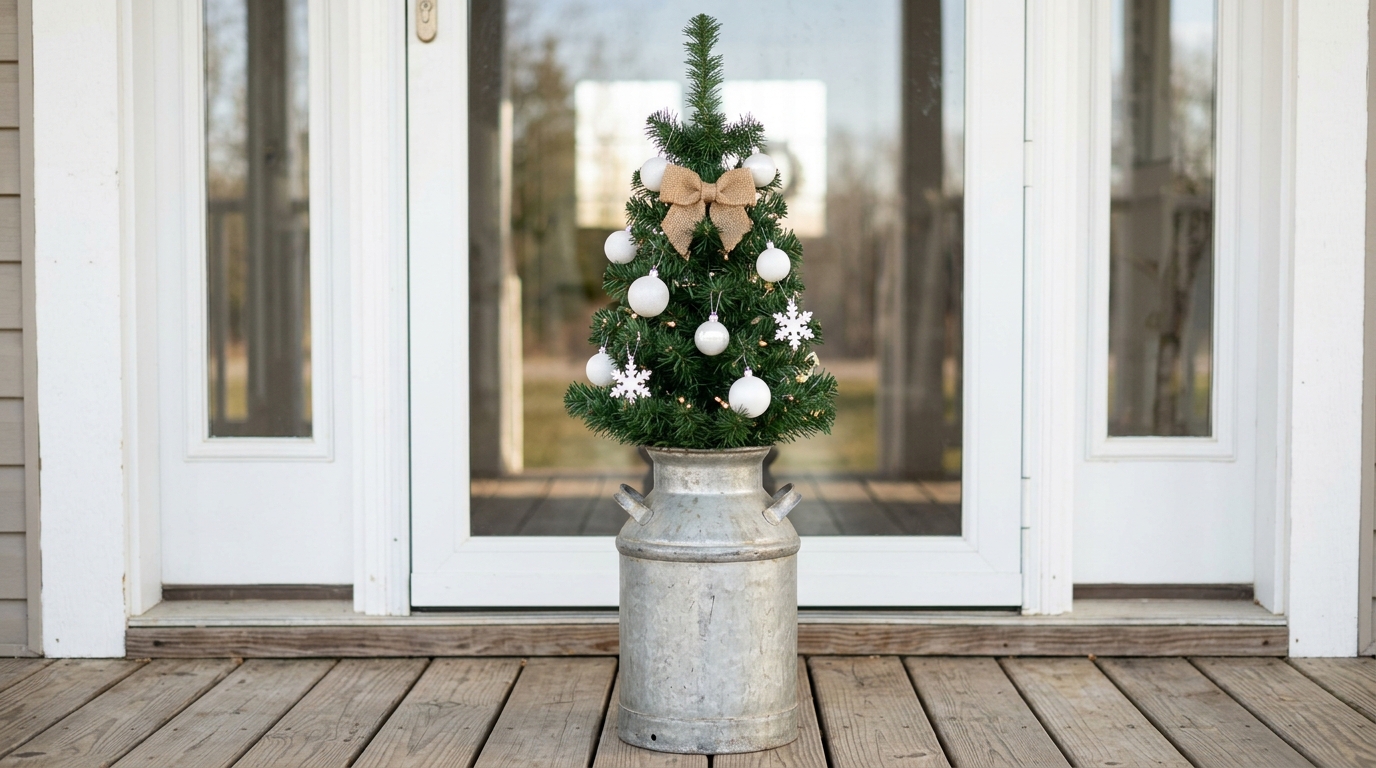
An old metal milk can is tall, heavy and full of country charm. Slip a small tree right into the opening and it stands at the perfect height for a porch or entry. White ornaments and a little burlap bow keep it simple. If your can is too wide, wedge the trunk with a block of floral foam. For more silver metal looks, see this galvanized Christmas decor.
You will need: a metal milk can, floral foam or a coffee can filled with rocks, a small burlap bow, white ornaments.
How to make it: 1. Place a coffee can of rocks or a foam block inside the milk can. 2. Push the tree trunk into the foam or rocks so it stands straight. 3. Tie the burlap bow around the neck and hang the ornaments.
Upside Down Clay Pot Pedestal
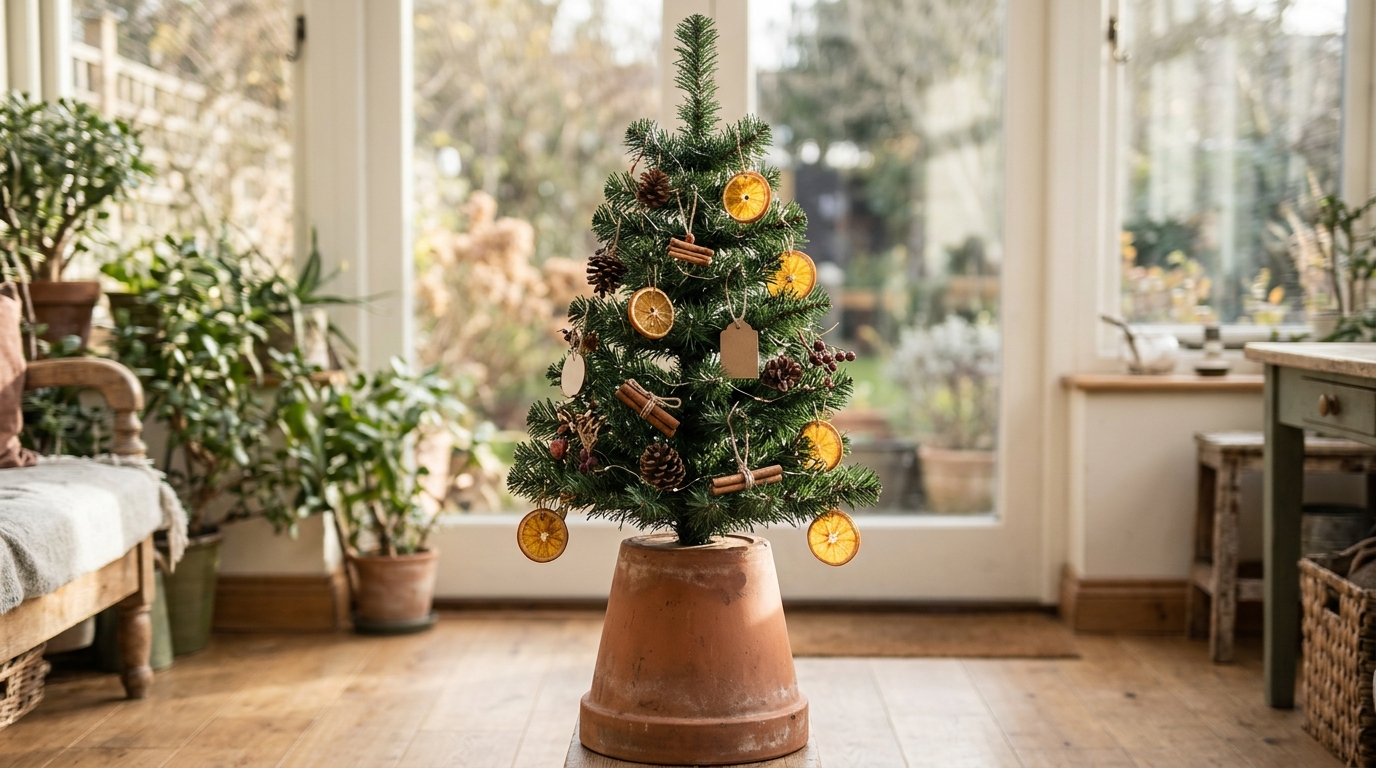
Flip a big clay pot upside down and you have an instant pedestal for under ten dollars. The warm terracotta looks lovely with dried orange slices and natural ornaments. It is a perfect pick for a sunroom or a plant lover. Add a round wood board on top for a wider, safer base. For more clay pot fun, try these clay pot Christmas crafts.
You will need: a large terracotta pot, a round wood board a bit wider than the pot base, strong craft glue, dried orange slices, twine.
How to make it: 1. Turn the pot upside down on a flat surface. 2. Glue the wood board to the pot bottom and let it set for an hour. 3. Set the tree on the board and hang orange slices with twine.
DIY Christmas Tree Stands From Stacked Wood Slices
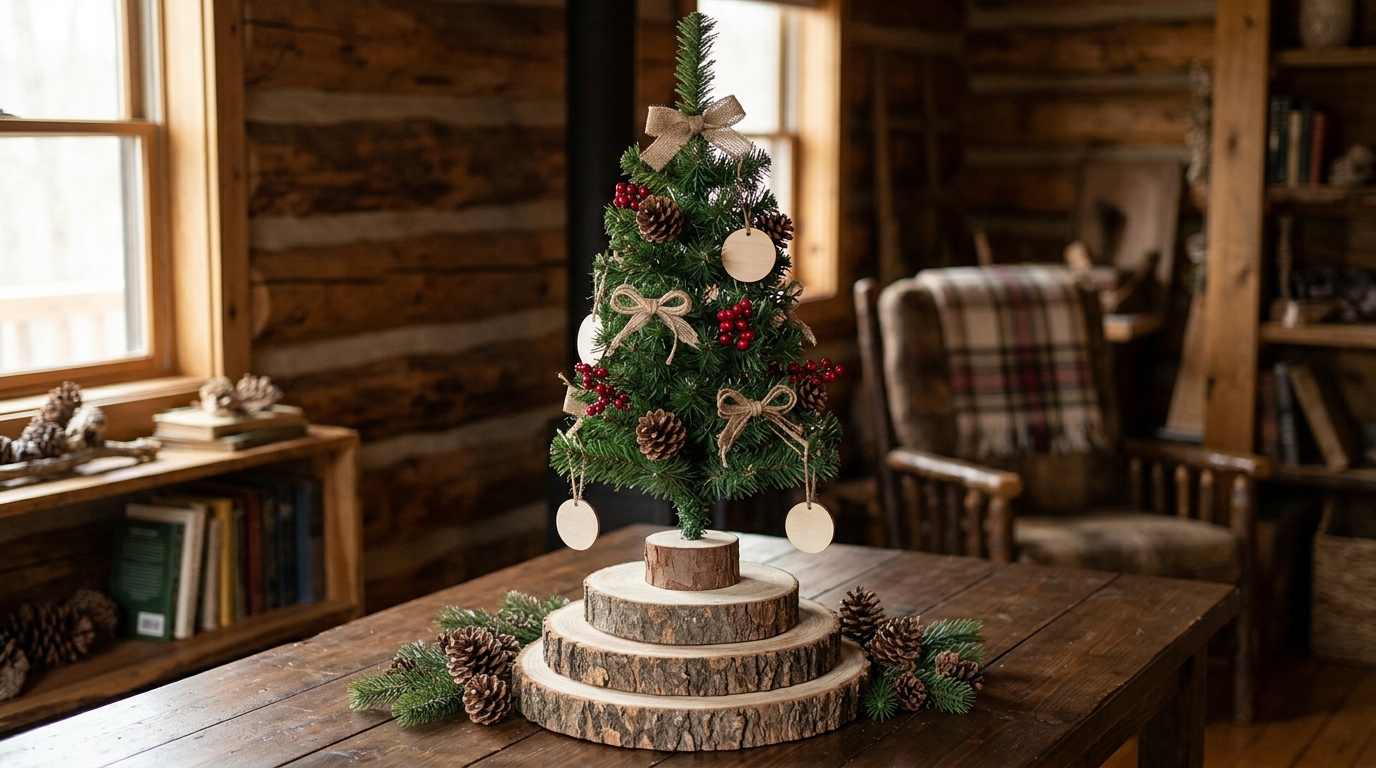
Three round wood slices in different sizes make a simple, natural riser. Stack them like a wedding cake, glue them together, and the tree sits right on top. Pinecones and red berries finish the cabin look. Craft stores sell bark edge slices, or ask a friend with a woodpile. For more ways to use them, see these wood slice Christmas crafts.
You will need: three wood slices in small, medium and large, wood glue, pinecones, red berry picks.
How to make it: 1. Glue the medium slice centered on the large one, then the small slice on top. 2. Clamp or stack books on top and let it dry overnight. 3. Set the tree on the stack and tuck pinecones around the bottom.
Thrifted Cake Plate for a Tabletop Tree
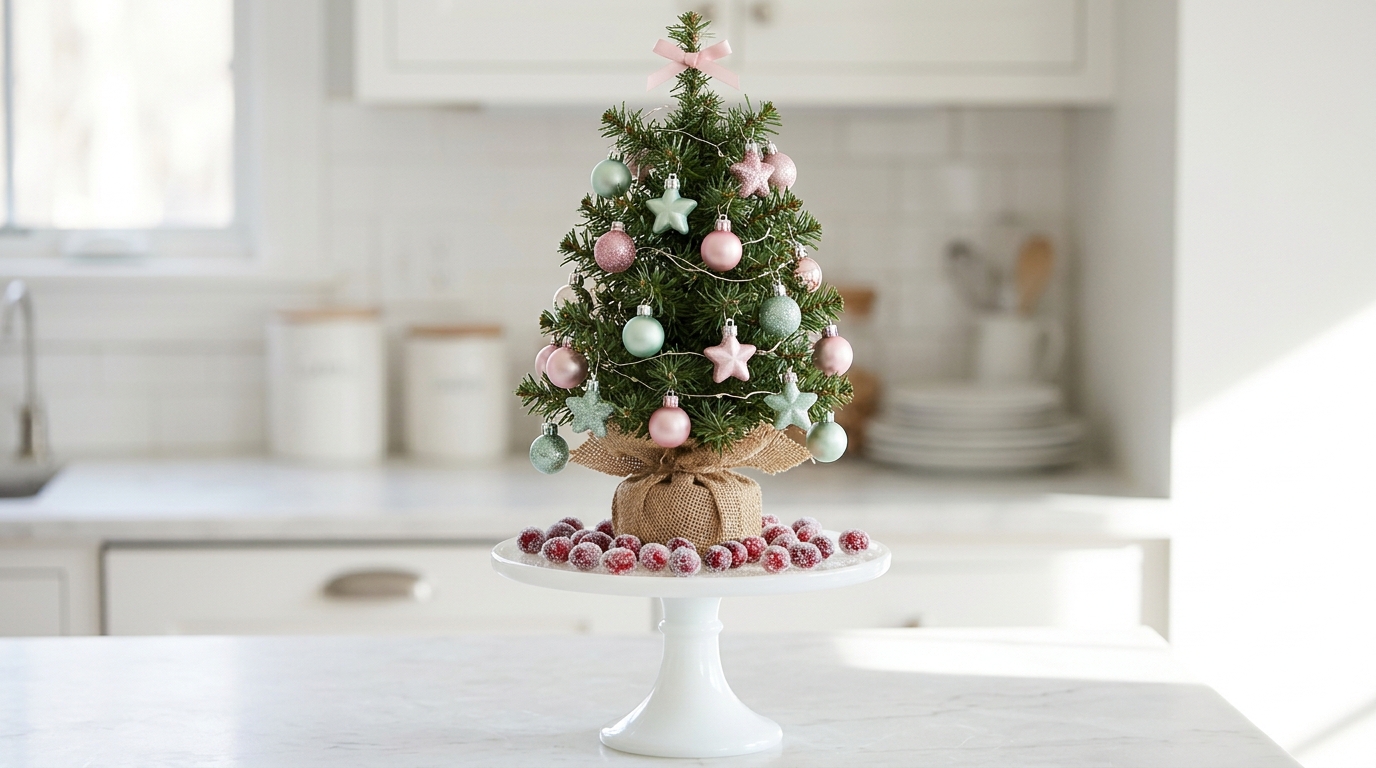
A tall cake plate turns a tiny tree into a sweet kitchen centerpiece. Thrift stores are full of white glass ones for a couple of dollars. Pink and mint ornaments look like candy, and sugared cranberries around the base make it look good enough to eat. It is one of the easiest DIY Christmas tree stands of all, with no tools needed. See more thrifted glassware ideas.
You will need: a tall glass cake plate, a two foot tree, museum putty, pastel ornaments, fresh cranberries, sugar.
How to make it: 1. Press museum putty under the tree base so it grips the plate. 2. Center the tree on the cake plate. 3. Roll damp cranberries in sugar, let them dry, and scatter them around the base.
Brass Candlestick Holder for a Mini Bottle Brush Tree
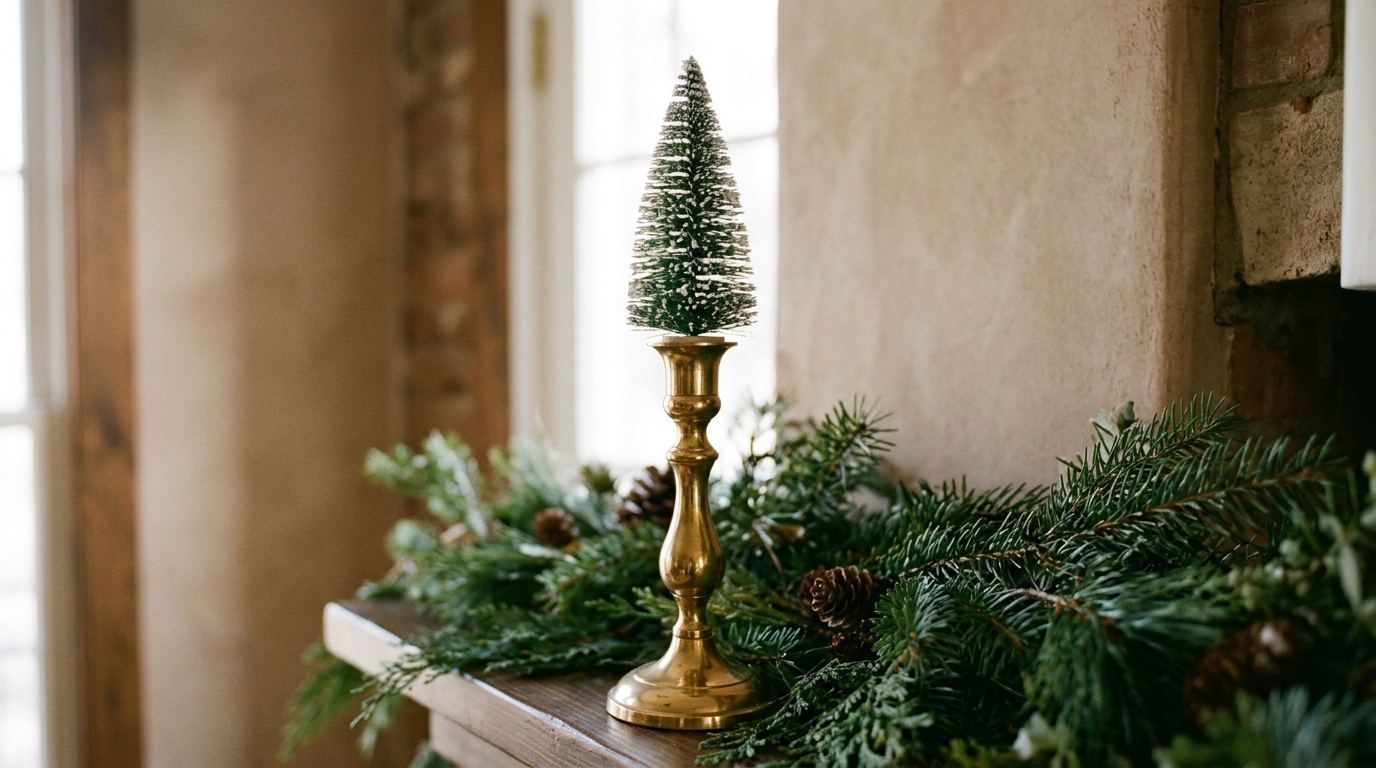
Here is a tiny trick with a big look. Set a small bottle brush tree right on top of a brass candlestick holder and it becomes an elegant little topiary. Use one tall holder or line up three at different heights on the mantel. There is no candle here at all, just the tree. For more tiny tree ideas, see these bottle brush tree ideas.
You will need: a brass candlestick holder, a small bottle brush tree, museum putty or hot glue, mantel greenery.
How to make it: 1. Remove any candle and clean the holder. 2. Press putty into the cup, or with adult help add a dot of hot glue. 3. Push the tree base into the cup and set it among the greenery.
DIY Christmas Tree Stands in Gold Plant Stand Style
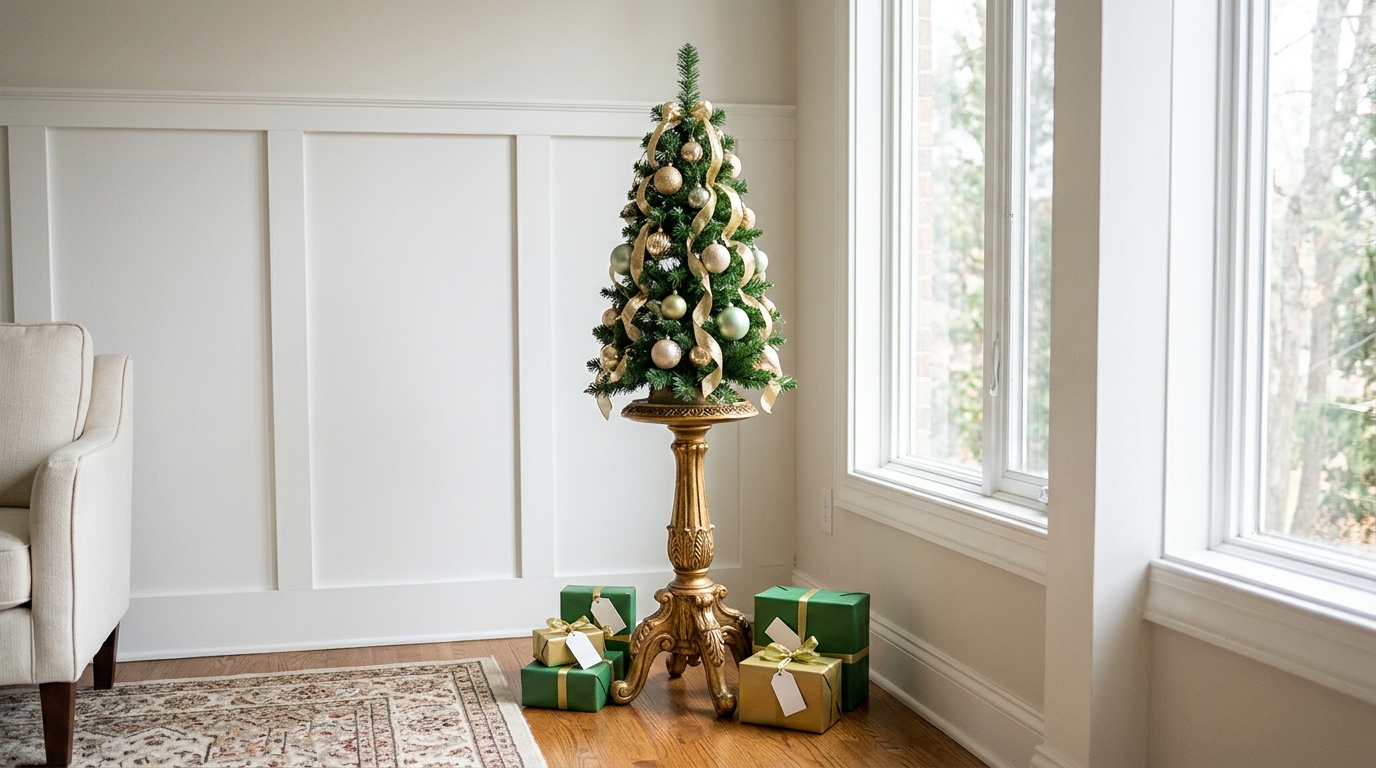
Old metal or wood plant stands are made to lift things up, so they are perfect tree risers. Spray an outdated one gold and it looks like a luxury piece. A slim tree on top fills an empty corner beautifully, and gifts at the foot make it feel complete. Check that the top is wide enough for the tree base. For more gold and silver ideas, see these silver and metallic decor.
You will need: a thrifted plant stand, gold spray paint, a round board if the top is small, museum putty, wrapped gifts.
How to make it: 1. Clean the stand and spray two thin coats of gold paint outdoors. 2. Add a round board on top if needed. 3. Set the tree in its base on top, secure it with putty and pile gifts around the bottom.
Burlap Wrapped Crate Box Riser
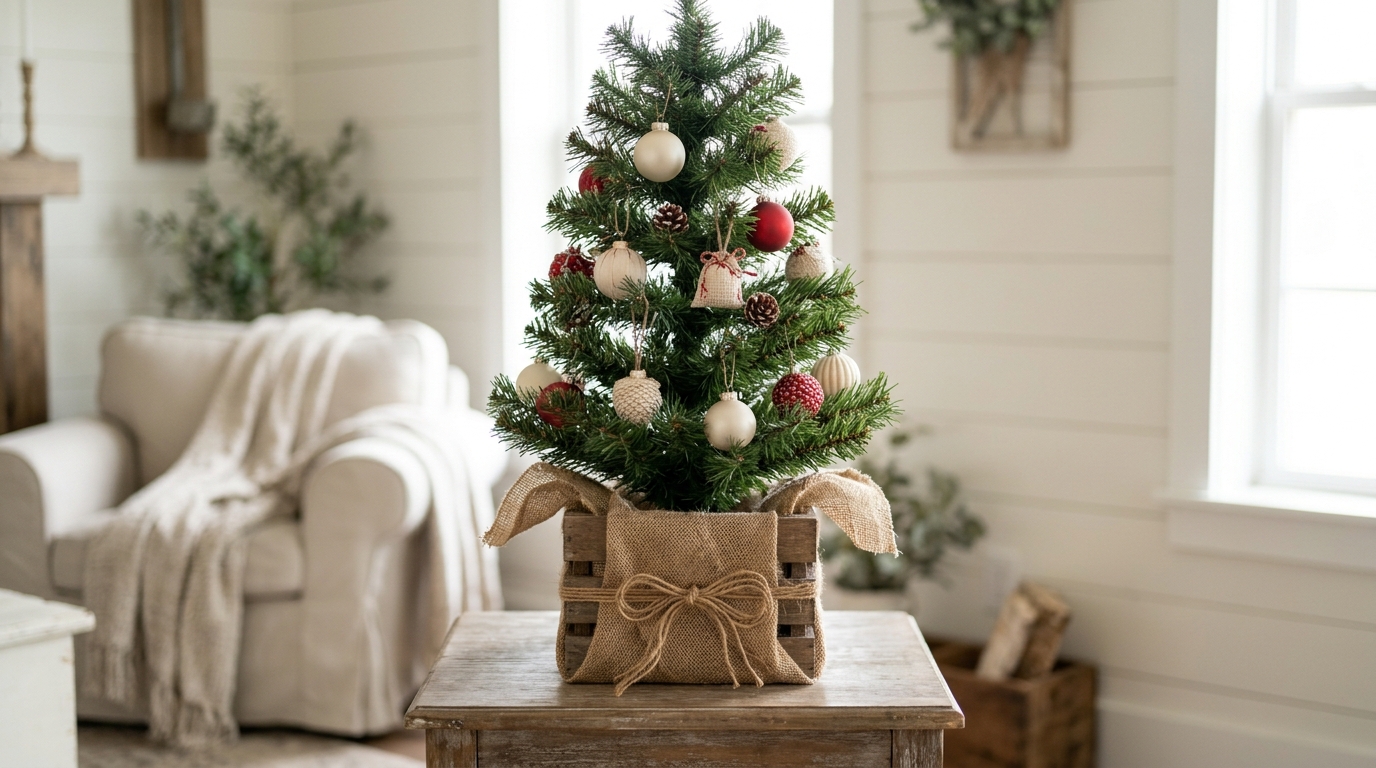
A plain wooden crate turned on its side and wrapped in burlap becomes a cozy riser that hides any ugly base. Tie it with jute twine and add a simple bow. Cream and red ornaments give it a soft farmhouse feel. Among DIY Christmas tree stands, it is the one that hides storage too. Love the rope look? Try these jute twine Christmas decor.
You will need: a small wooden crate, natural burlap fabric, jute twine, a staple gun, scissors.
How to make it: 1. Wrap burlap around the crate and, with adult help, staple it on the inside edges. 2. Tie twine around the middle and make a bow. 3. Set the tree base inside the crate and fluff the burlap at the top.
Vintage Child’s Chair Tree Seat
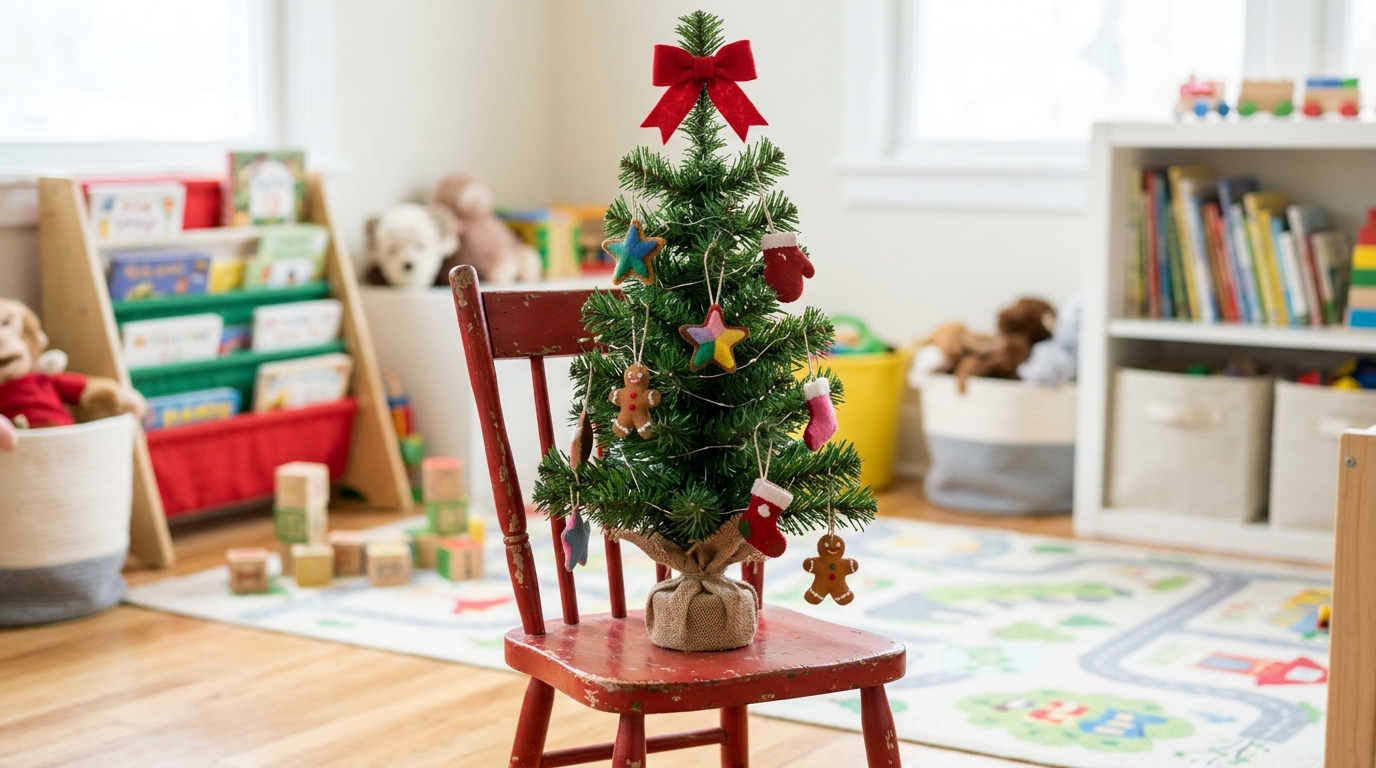
A little wooden chair is just the right height for a small tree in a kids room. Paint it bright red and it looks like it came from a storybook. Felt ornaments are soft and safe for little hands. Place the chair against a wall so it cannot tip. For more chair decorating ideas, see these Christmas chair swags.
You will need: a small wooden chair, red paint, a brush, museum putty, felt ornaments, a felt bow.
How to make it: 1. Sand the chair lightly and paint two coats of red. 2. Set the tree base on the seat and press putty underneath. 3. Push the chair against a wall and hang the felt ornaments.
DIY Christmas Tree Stands From a Painted Bucket
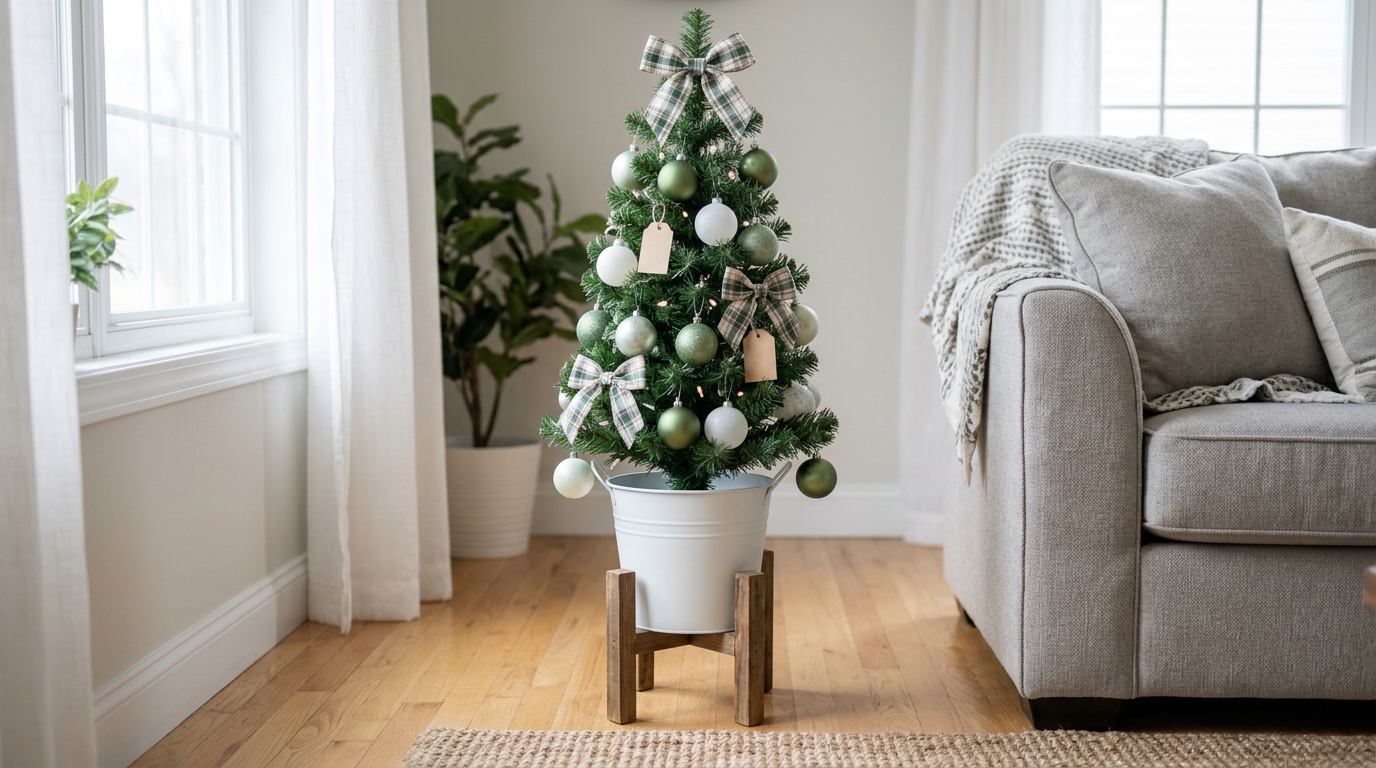
A metal bucket gets a fresh look with white paint, and a short wood riser underneath gives it the lift it needs. Pack the bucket with rocks so the tree stands straight. Green and white ornaments and a plaid bow keep it clean and bright. It is a fresh take that fits almost any room. For more slim tree ideas, see these skinny tree ideas.
You will need: a metal bucket, white spray paint, a short wooden riser, rocks or gravel, a plaid bow.
How to make it: 1. Spray the bucket white outdoors and let it dry. 2. Set it on the riser and add rocks halfway up. 3. Stand the tree trunk in the rocks, fill to the top and tie on the bow.
Tufted Ottoman With a Round Tray

No floor space? Use the ottoman you already own. A large round tray on top makes a flat, safe platform, and the soft fabric looks cozy under a small tree. Gold and white ornaments keep it elegant. When the holidays end, the tray goes back to holding coffee cups. This is the last of our DIY Christmas tree stands, and maybe the easiest. Style the tray with ideas from these tiered tray Christmas decor.
You will need: a sturdy ottoman, a large round wooden tray, non slip shelf liner, gold and white ornaments, a few small gifts.
How to make it: 1. Lay non slip liner on the ottoman. 2. Set the tray on top and center the tree base on the tray. 3. Add ornaments and tuck a few small gifts around the edge.