Bottle Brush Trees: 14 Vintage Christmas Ideas That Look Just Like Grandma’s House
Bottle brush trees are the tiny vintage treasures that made grandma’s house feel like Christmas, and they are back in a big way. These little bristle trees were a favorite in mid century homes, often tucked into paper villages under the tree. Today you can find them for a dollar or two, and one budget Christmas DIY video on MSN that showed them perched in candle holders drew more than 260 likes this season. Below are fourteen easy ways to style them, from pastel dyed forests and teacup trees to a wreath, place cards and a snowy shadow box. No candles needed, just a little faux snow and a lot of nostalgia. Let’s make your home look like grandma’s house..
Bottle Brush Trees in a Vintage Dough Bowl
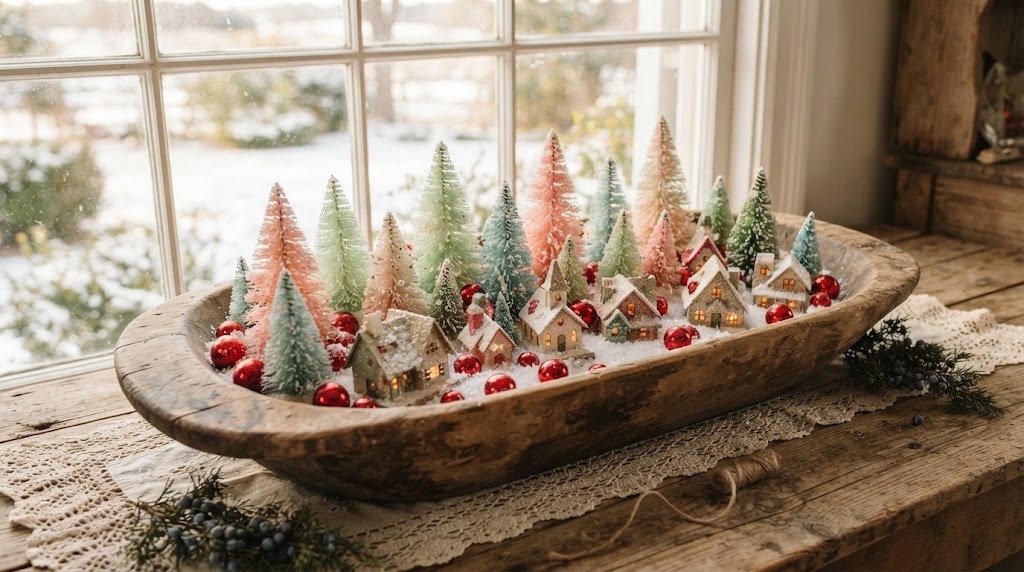
This is the display that makes everyone say it looks just like grandma’s house. Fill an old wooden dough bowl or tray with a bed of faux snow, then crowd in trees of different heights and colors. Tuck tiny vintage style houses and shiny red ornaments between them, and finish with a sprinkle of snow on top. Mixing pastel pink and mint with classic green is the secret to that sweet 1950s look. It works on a coffee table, a kitchen island or a sideboard..
You will need: A wooden dough bowl or tray, faux snow, 15 to 20 bottle brush trees in mixed sizes and colors, small putz style houses, mini red ornaments.
How to make it: 1. Spread faux snow in the bowl. 2. Place the tallest trees in the center and shorter ones around the edges. 3. Tuck in the houses and ornaments, then dust everything with more snow.
Pastel Dyed Bottle Brush Trees
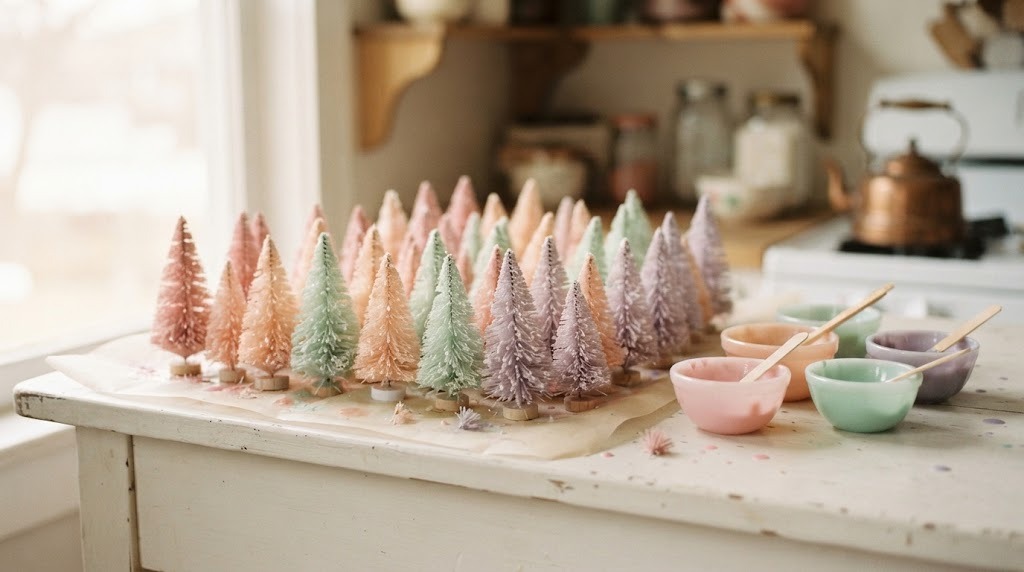
Plain green trees are easy to turn into soft vintage pastels. Skip harsh chemicals and simply dip them in warm water mixed with fabric dye or watered down craft paint. Swish each tree, shake off the extra, and let them dry standing up on parchment. Pink, peach, mint and lavender look just like the trees sold in dime stores decades ago. Wear gloves and work on a covered table. Which color would you try first?
You will need: Green or white trees, fabric dye or acrylic craft paint, warm water, small bowls, gloves, parchment paper.
How to make it: 1. Mix a little dye or paint into warm water in a bowl. 2. Dip each tree, swirl and lift, adding more dips for a deeper color. 3. Stand the trees on parchment until fully dry.
Bottle Brush Trees in Brass Candlesticks
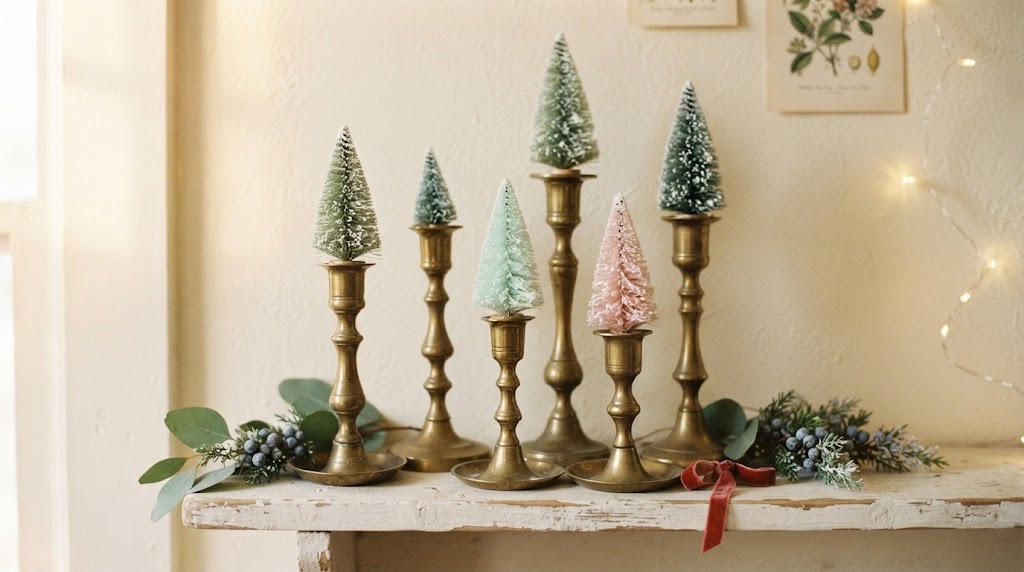
This is the idea from that MSN video that caught our eye. Instead of candles, pop a little tree into each brass candlestick. Thrift stores are full of odd candlesticks, and grouping three or five of different heights looks collected and charming. Press a bit of putty into the cup so each tree stands straight. No flame, no worry, just the warm shine of brass. Would you mix brass and glass holders?
You will need: Vintage brass or glass candlesticks, small trees, removable putty, a little greenery.
How to make it: 1. Press a pea sized ball of putty into each candlestick cup. 2. Push a tree into the putty so it stands upright. 3. Group the candlesticks in odd numbers with greenery around the base.
Snowy Flocked Bottle Brush Trees
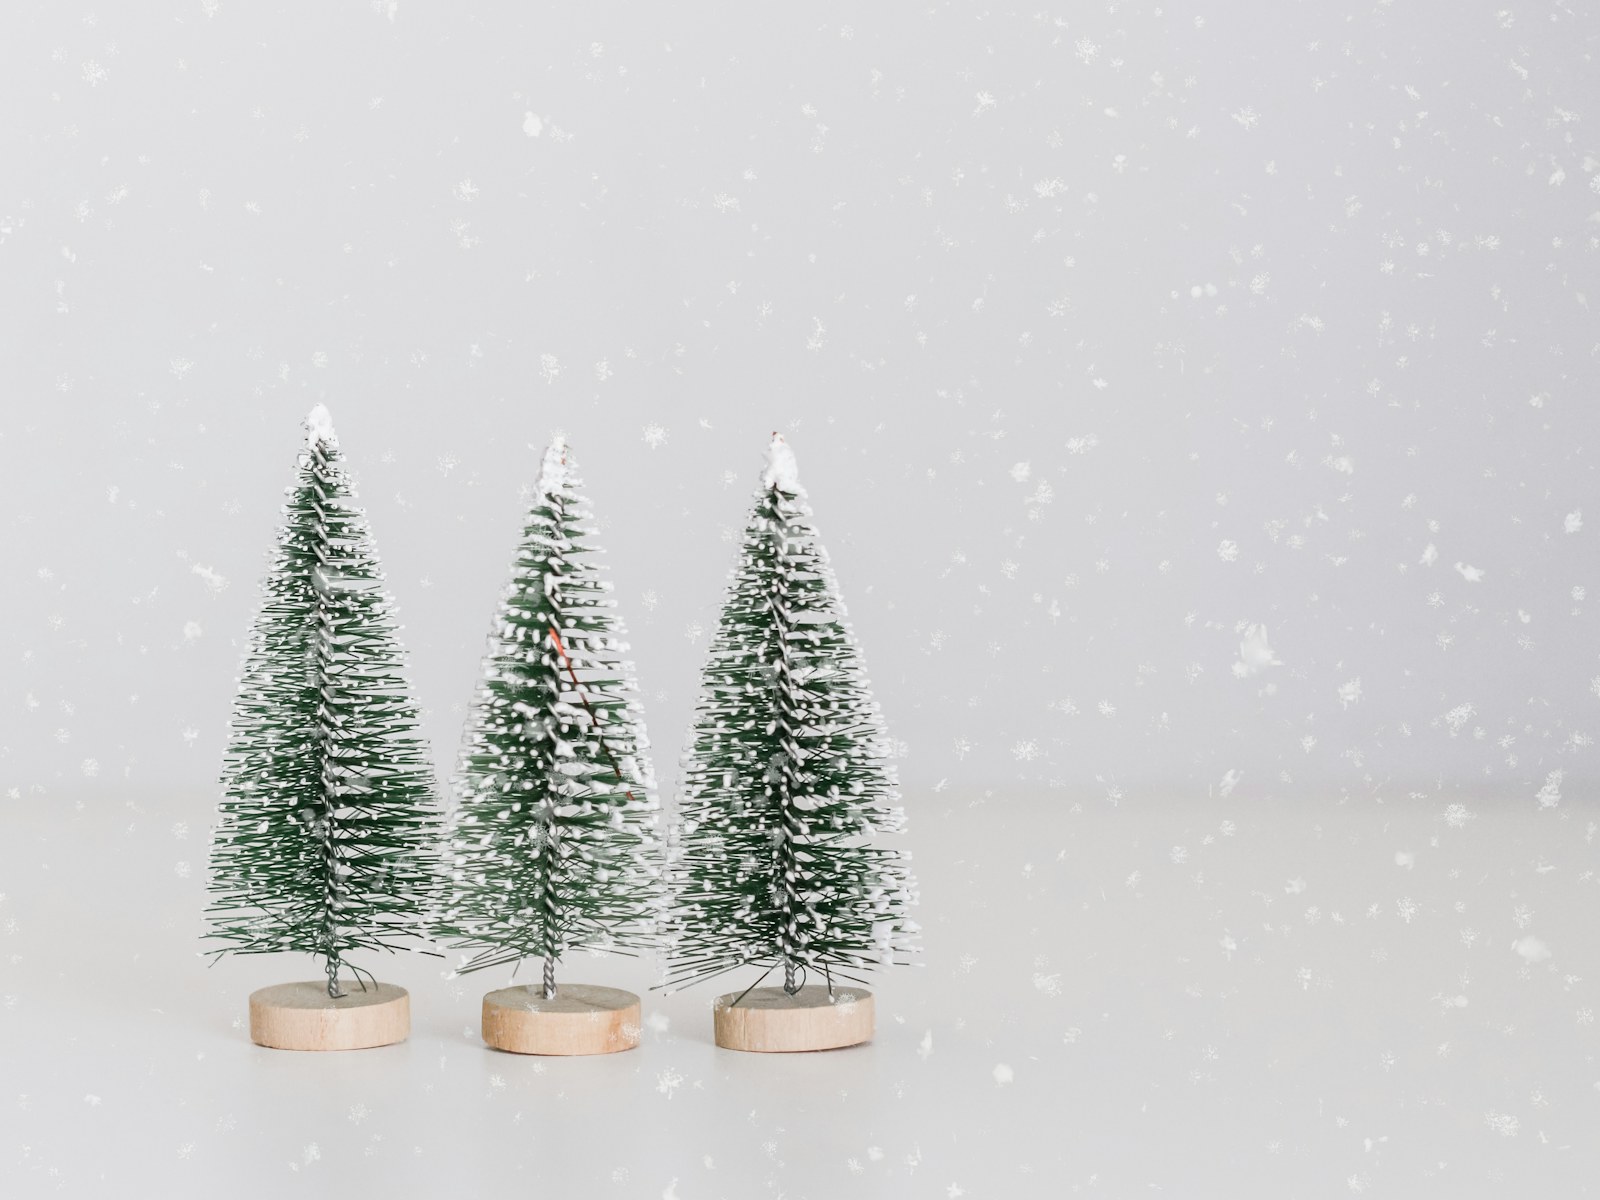
Flocked trees look like they just came in from a snowstorm. Buy them flocked, or brush plain trees with white glue and roll them in fake snow. Group three of different heights for a tiny forest on a shelf, windowsill or bathroom counter. White and green together feel fresh and wintery, so you can leave them out until spring. It is the simplest way to add a little winter magic to any corner. Where would your little forest go?
You will need: Plain trees, white school glue, a soft brush, faux snow or flocking powder, a tray.
How to make it: 1. Brush glue lightly onto the tips of the branches. 2. Sprinkle or roll the tree in faux snow over a tray. 3. Let it dry overnight and shake off the extra.
Jar Snow Globe Tree
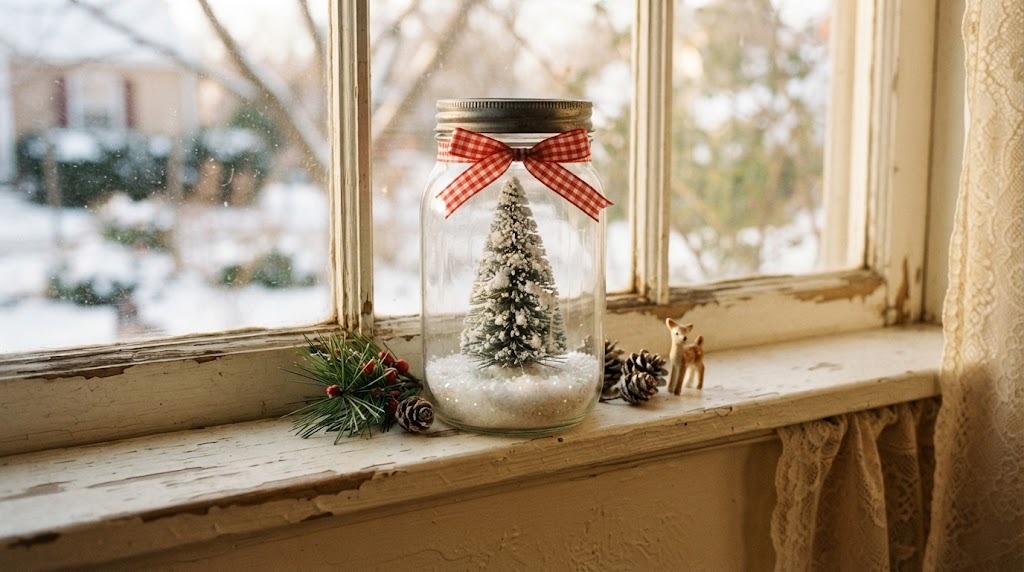
A clean glass jar becomes a dry snow globe in five minutes. Glue a little tree to the inside of the lid, add a scoop of faux snow to the jar, and screw it on upside down so the tree stands inside. Tie a gingham ribbon around the lid and you have a perfect little gift. Make a row of them for a windowsill or give them to neighbors. Kids can make these with very little help. Which jar would you use?
You will need: Small glass jars with lids, mini trees, faux snow, craft glue, ribbon.
How to make it: 1. Glue a tree to the inside of the lid and let it dry. 2. Add faux snow to the jar. 3. Screw the lid on, flip the jar so it sits on the lid, and tie on a ribbon.
Retro Red Truck Carrying a Tree
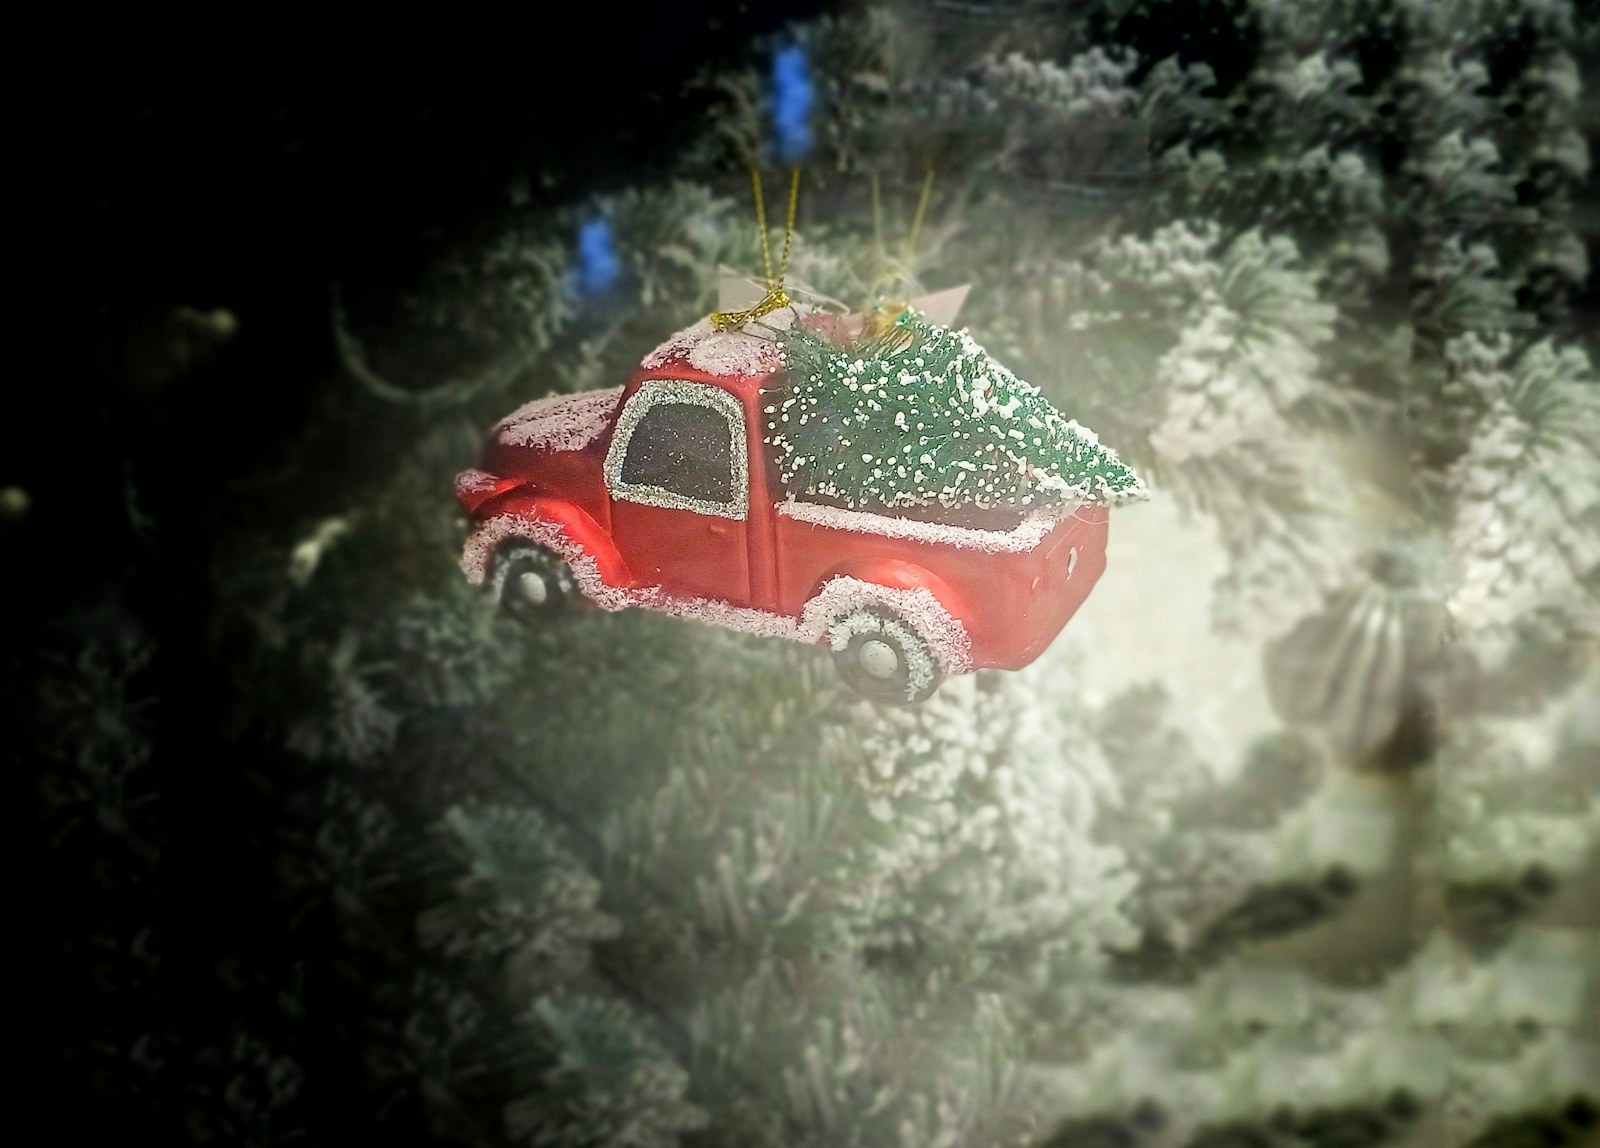
The little red truck with a tree in the back is a vintage favorite, and you can make your own. Buy a small toy truck, give it a coat of glossy red paint if needed, and glue a mini tree into the bed. Hang it on the tree, set it on a shelf, or park it in your village. Add a tiny wrapped present beside the tree for extra charm. Our old fashioned handmade Christmas ornaments gallery has more grandma style ideas. Would you hang it or display it?
You will need: A small toy truck, red acrylic paint (optional), a mini bottle brush tree, craft glue, ribbon for hanging.
How to make it: 1. Paint the truck if needed and let it dry. 2. Glue the tree into the truck bed. 3. Tie a ribbon loop around the cab to hang it.
Mantel Line of Bottle Brush Trees
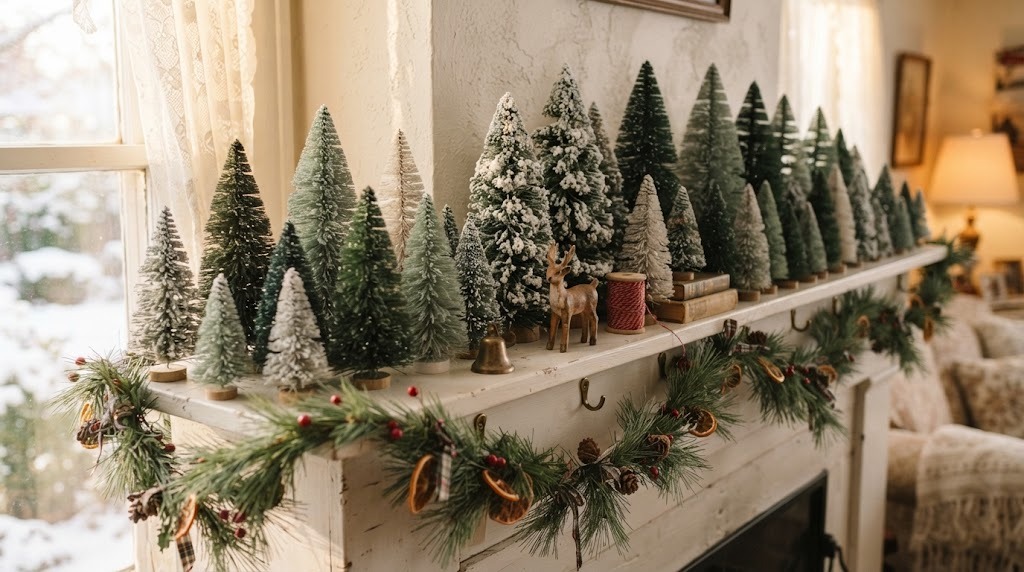
A row of trees in graduated heights along a mantel or shelf looks clean and modern while still feeling vintage. Line them up from tall to short, or tallest in the middle, and drape a soft pine garland in front. Stick to two colors, like green and white, for a calm look. It is an easy way to decorate a shelf you see every day, and the same trees can do a different job next year. Would you go symmetrical or tall to short?
You will need: Ten to twenty trees in mixed heights, a pine garland, removable putty.
How to make it: 1. Sort the trees by height. 2. Line them along the shelf, securing each with a dot of putty. 3. Drape the garland along the front edge.
Wreath Ringed With Bottle Brush Trees
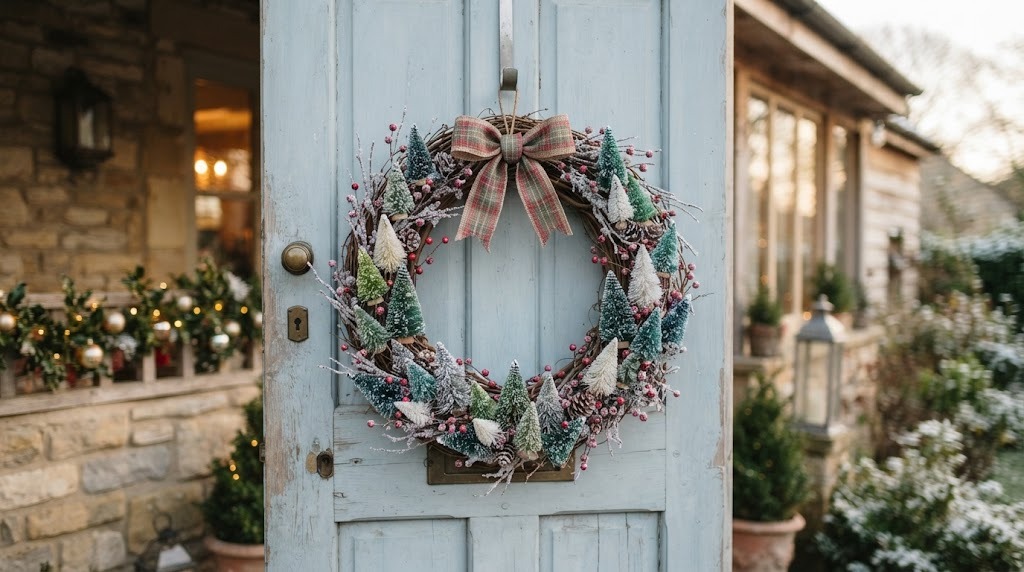
A ring of tiny trees turns a plain grapevine wreath into a whole snowy forest. Hot glue the trees around the front of the wreath, with an adult handling the glue gun, and tuck small red berries between them. Hang it on the front door or above a bed. It is lightweight and holds up well all season. Use a mix of green and white for a frosty look. What color door would you hang it on?
You will need: A grapevine wreath, 20 to 30 small trees, red berry picks, a hot glue gun (adult use), ribbon.
How to make it: 1. Arrange the trees around the wreath before gluing. 2. An adult glues each tree in place. 3. Tuck in berries and add a ribbon to hang.
Bottle Brush Trees in Teacups
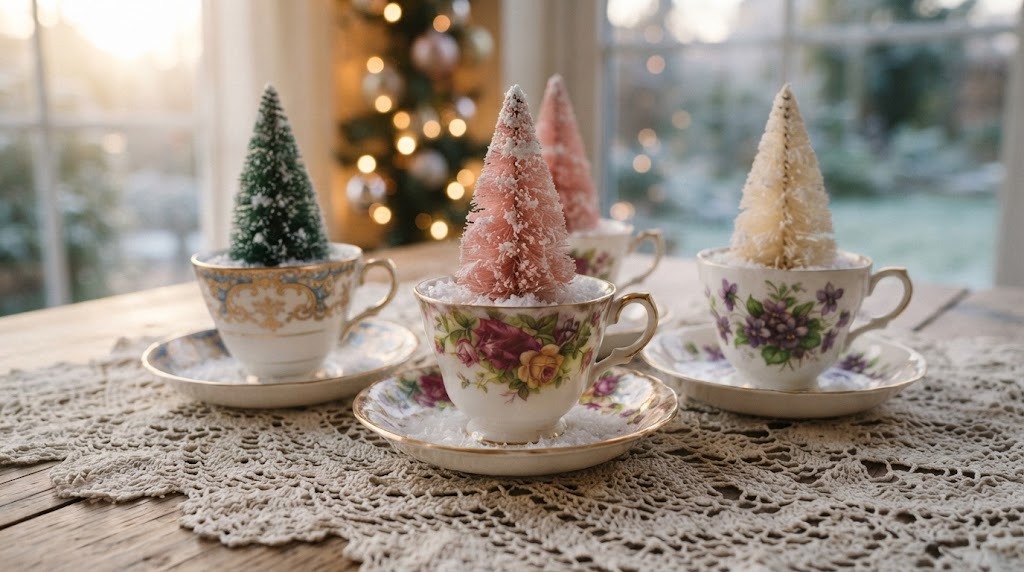
Mismatched teacups from the thrift store are the perfect grandma style planters for little trees. Fill each cup with faux snow or a bit of floral foam, stand a tree in the middle, and set it on its saucer. Line a few down a table or give them as gifts with a tea bag tucked in. They look especially sweet on a lace tablecloth. Do you have a cup collection waiting for a new job?
You will need: Vintage teacups and saucers, mini trees, faux snow or floral foam.
How to make it: 1. Fill each cup with floral foam or snow. 2. Press a tree into the center. 3. Top with more snow and set the cup on its saucer.
Advent Shelf Village
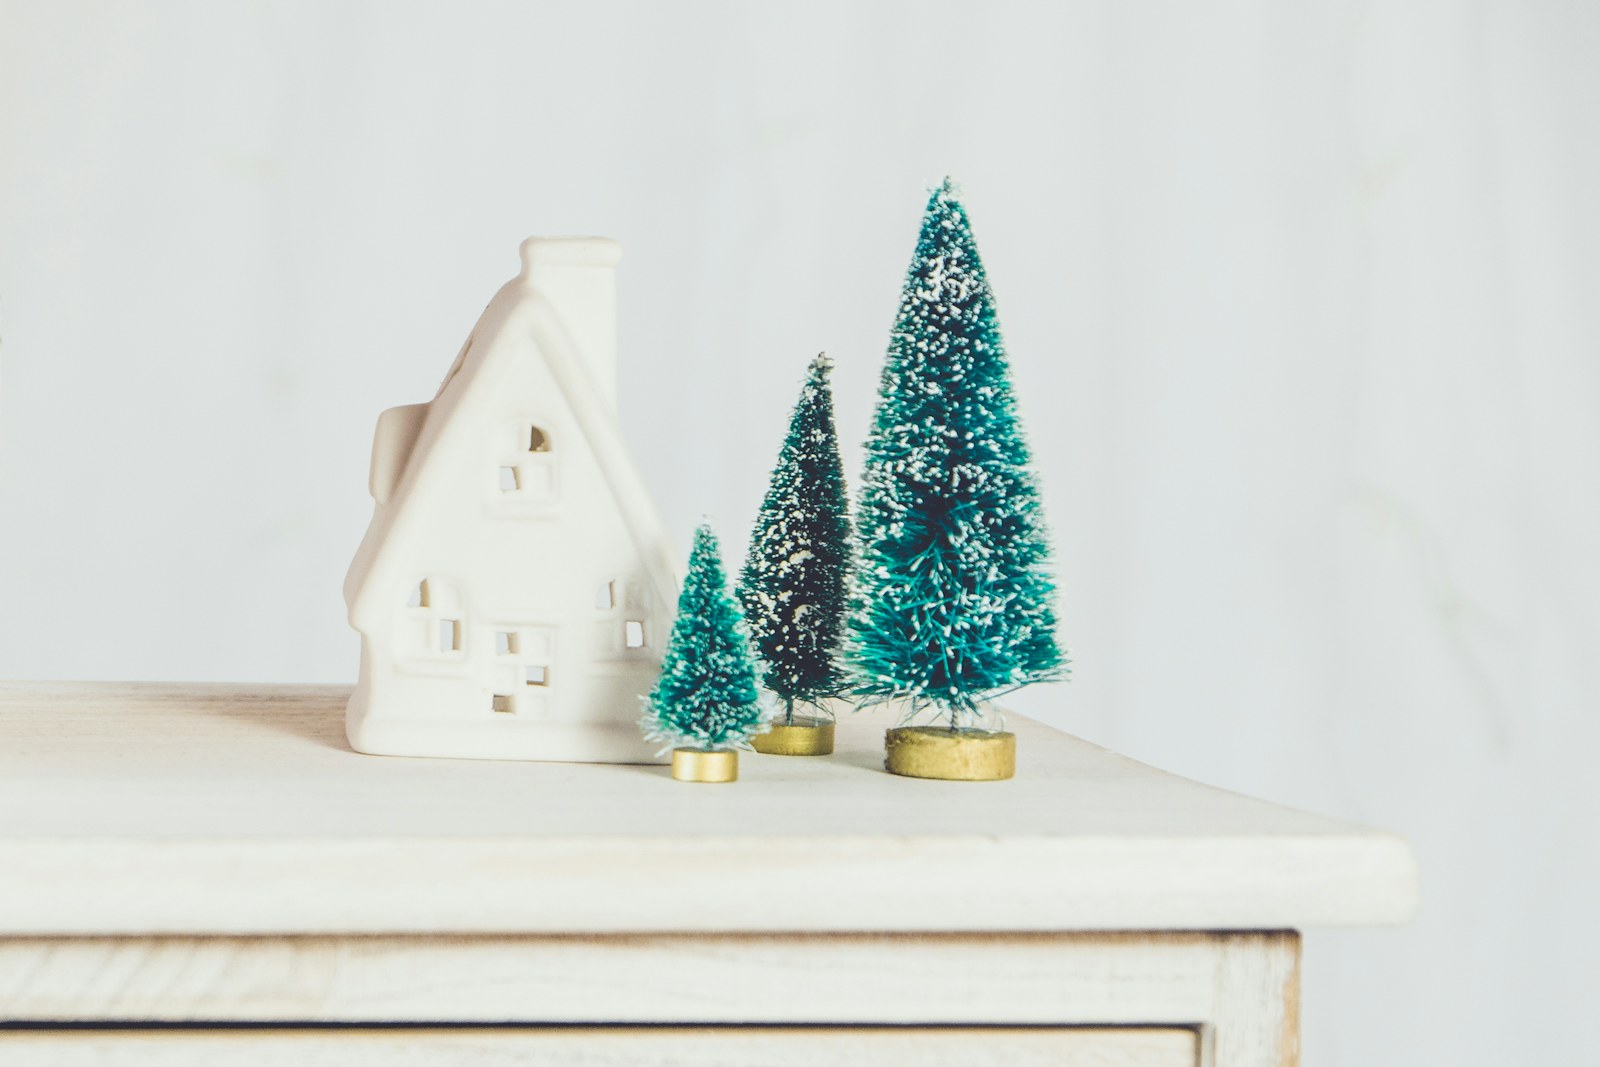
A simple shelf with a few houses and trees becomes a tiny village you can add to every day of December. Start with one white ceramic house and two trees, then add a new tree, house or little figure each morning as a countdown. Kids love racing to see what is new. White houses and green bottle brush trees look clean and stylish in any room. How many days would your village grow?
You will need: A shelf, small ceramic or paper houses, trees in several sizes, faux snow (optional).
How to make it: 1. Clear a shelf and lay down a little snow. 2. Start with one house and two trees. 3. Add one new piece each day until Christmas.
Gift Topper Trees

Skip the bow and top each present with a little tree. Wrap gifts in plain kraft paper, tie them with red and white baker’s twine, and tuck a tree under the knot. The trees become a bonus ornament for whoever opens the gift. It looks charming under the tree and costs less than store bows. Would you match trees and twine colors?
You will need: Kraft wrapping paper, baker’s twine, mini bottle brush trees, tape, scissors.
How to make it: 1. Wrap each gift in kraft paper. 2. Tie it with twine, leaving a knot on top. 3. Slide the tree’s base under the knot or glue it on.
Place Card Trees for the Table
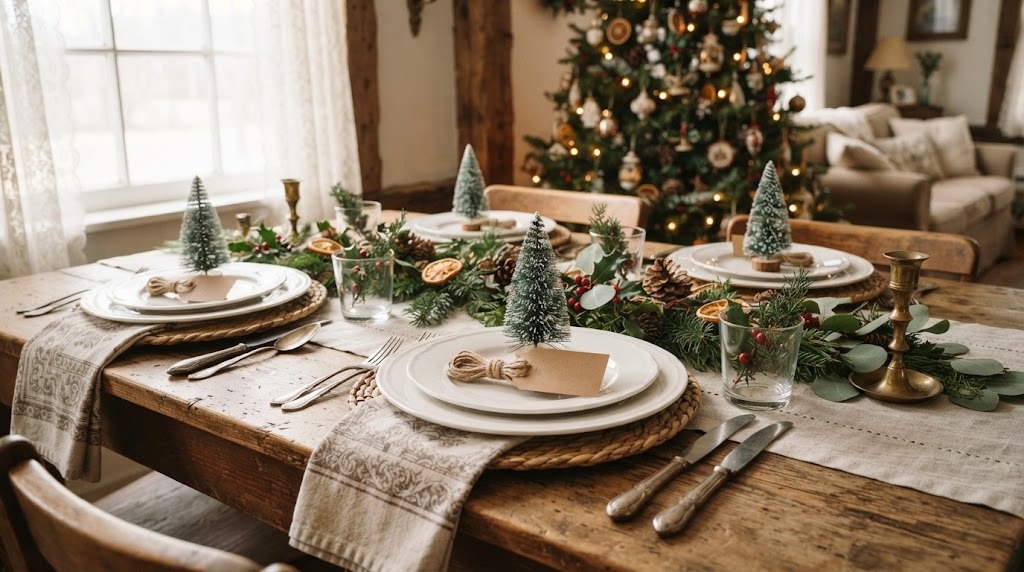
Little trees make the sweetest place cards for a holiday dinner. Set one on each plate with a small kraft tag tied to it or tucked beside it with each guest’s name. Guests take them home as a keepsake. Bottle brush trees also add height and color to the table without blocking anyone’s view. Would you write the names yourself or let the kids do it?
You will need: Small bottle brush trees with bases, kraft paper tags, twine, a pen.
How to make it: 1. Write each guest name on a tag. 2. Tie the tag to the tree base with twine. 3. Set one tree on each plate before dinner.
Shadow Box Christmas Scene
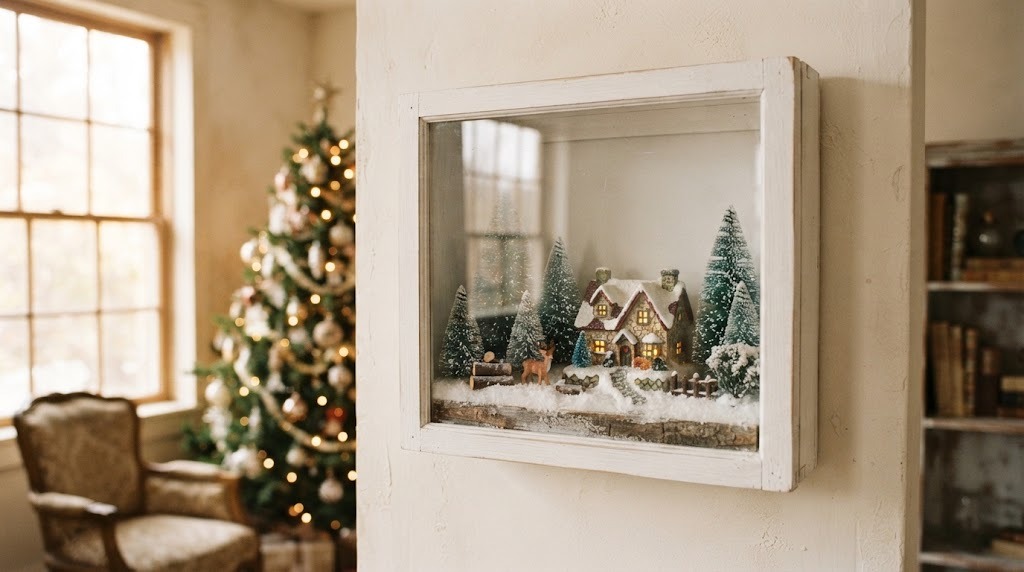
A shadow box turns a few trees and a tiny house into framed art. Paint the inside a soft blue, glue a strip of foam board at the bottom as the ground, and add snow, trees and a little cottage. Hang it on the wall or stand it on a shelf. It stays dust free and lasts for years. This is a perfect project for a quiet afternoon. What would you put in your scene?
You will need: A deep shadow box frame, blue acrylic paint, foam board, faux snow, mini bottle brush trees, a small house, craft glue.
How to make it: 1. Paint the back of the box and let it dry. 2. Glue a foam strip at the bottom and cover it with snow. 3. Glue in the house and trees, then close the frame.
Painted Base Bottle Brush Trees
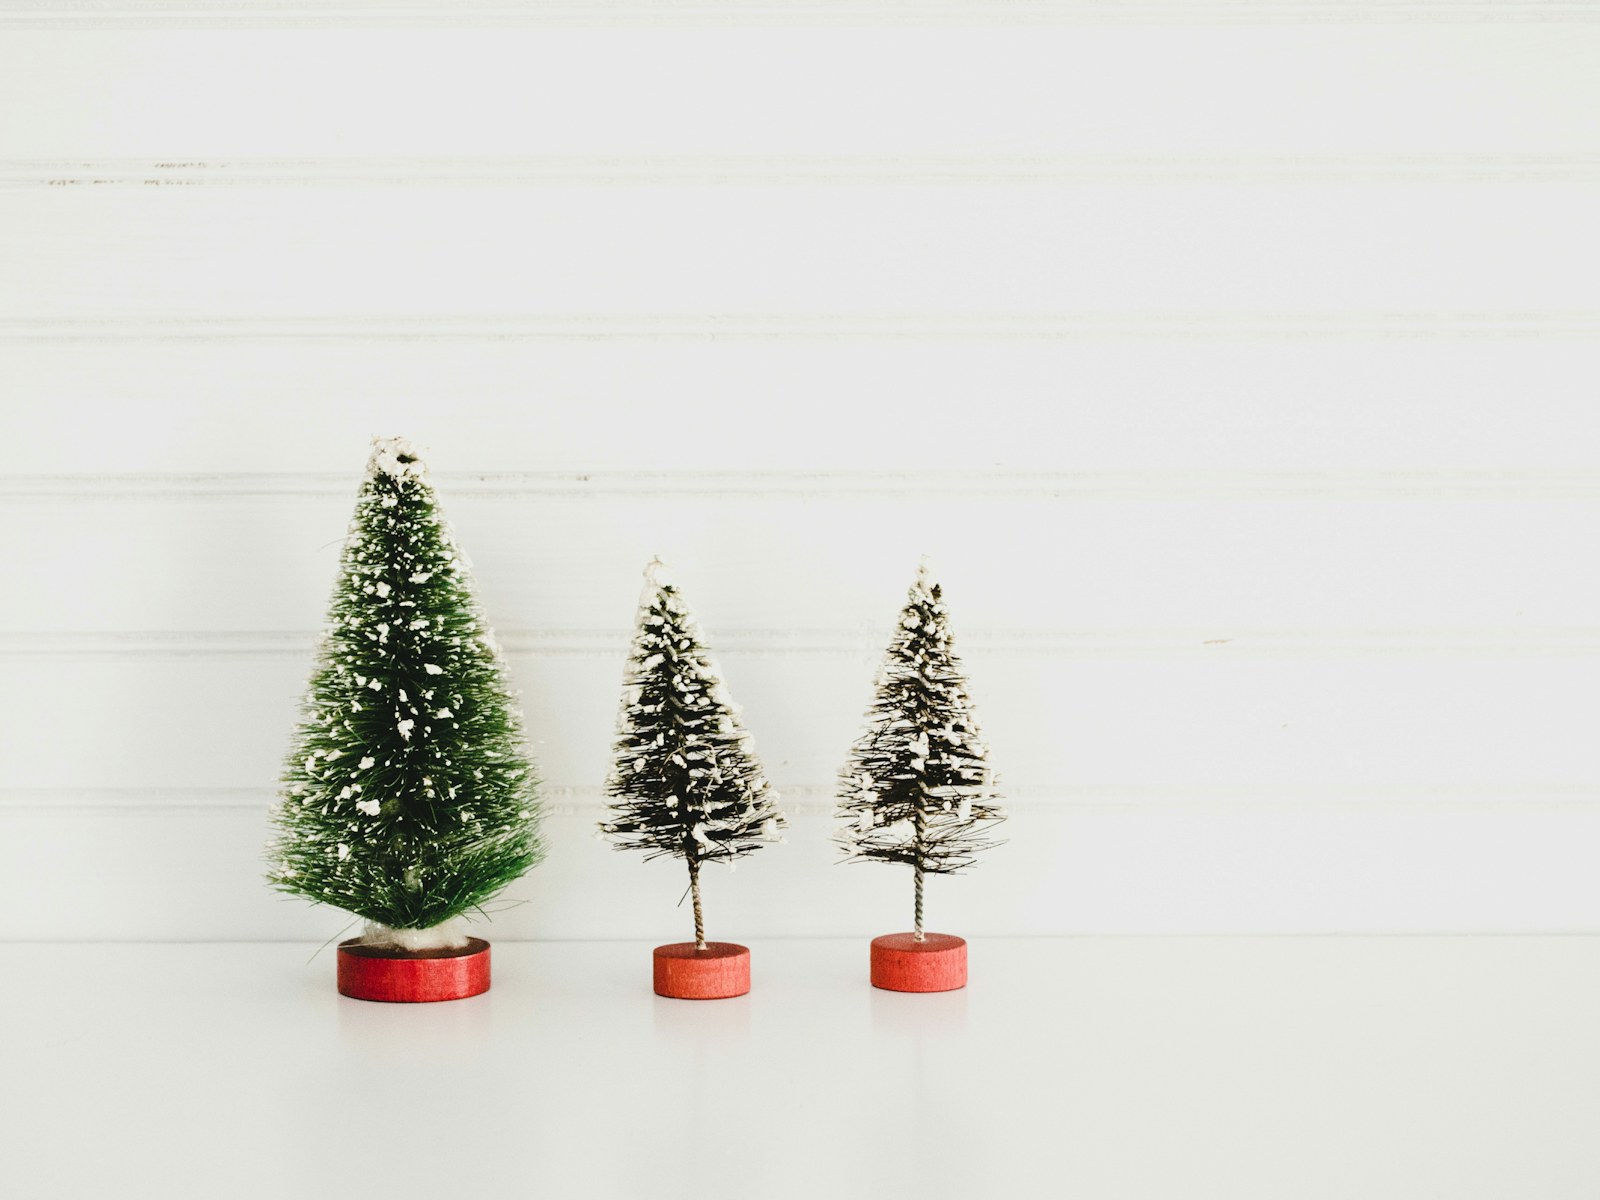
Small details make bottle brush trees look truly vintage. Paint the plain wooden bases bright red, add a little tinsel garland or tiny pom poms to the branches, and they instantly look like the ones from an old dime store. It is a quick upgrade for cheap dollar store trees. Line them up on a windowsill or tuck them into any display above. Grandma would be proud. Which upgrade would you try first?
You will need: Bottle brush trees with wooden bases, red acrylic paint, a small brush, mini tinsel garland or tiny pom poms, craft glue.
How to make it: 1. Paint the bases red and let them dry. 2. Wrap a thin strand of tinsel around each tree or glue on tiny pom poms. 3. Display them in a row or add them to a village.