Drew Scott Christmas: 18 Handmade Ideas From the Property Brothers Star’s Crafty Holiday Home
Drew Scott Christmas decorating is a lot more homemade than you might expect from a Property Brothers star. In a December 2025 holiday house tour on the Drew and Jonathan site, Drew and his wife Linda Phan showed shelves turned into an advent calendar, a toy train circling the living room up near the ceiling, felted figures Linda made, a ring garland cut from old holiday cards and bows made from leftover ribbon and pompoms. Drew said a lot of the ornaments in the house are handmade, and summed it up simply: they love crafting. These 18 Drew Scott Christmas ideas are inspired by that tour, not endorsed by the couple, and every one can be made with craft drawer basics, a little felt and some Mod Podge..
Turn a Wall of Shelves Into a Drew Scott Christmas Advent Calendar

The showstopper in the Drew Scott Christmas tour is a full wall of built in shelves turned into an advent calendar, with every cubby dressed in velvet bows and ribbon. You do not need custom millwork to copy it. A cube bookcase works the same way. Wrap a small parcel for each cubby, tie on a bow and open one a day. For more ways to count down to the big day, browse these DIY advent calendars..
You will need: A cube bookcase or open shelves, 24 small boxes, kraft paper, red and green velvet ribbon, Mod Podge Matte, a foam brush, small treats or notes.
How to make it: Wrap each box in kraft paper and brush Mod Podge Matte over the seams so they stay crisp. Tie a velvet bow on each one, fill with a treat and set one box in every cubby.
Cut Old Cards Into a Drew Scott Christmas Ring Garland
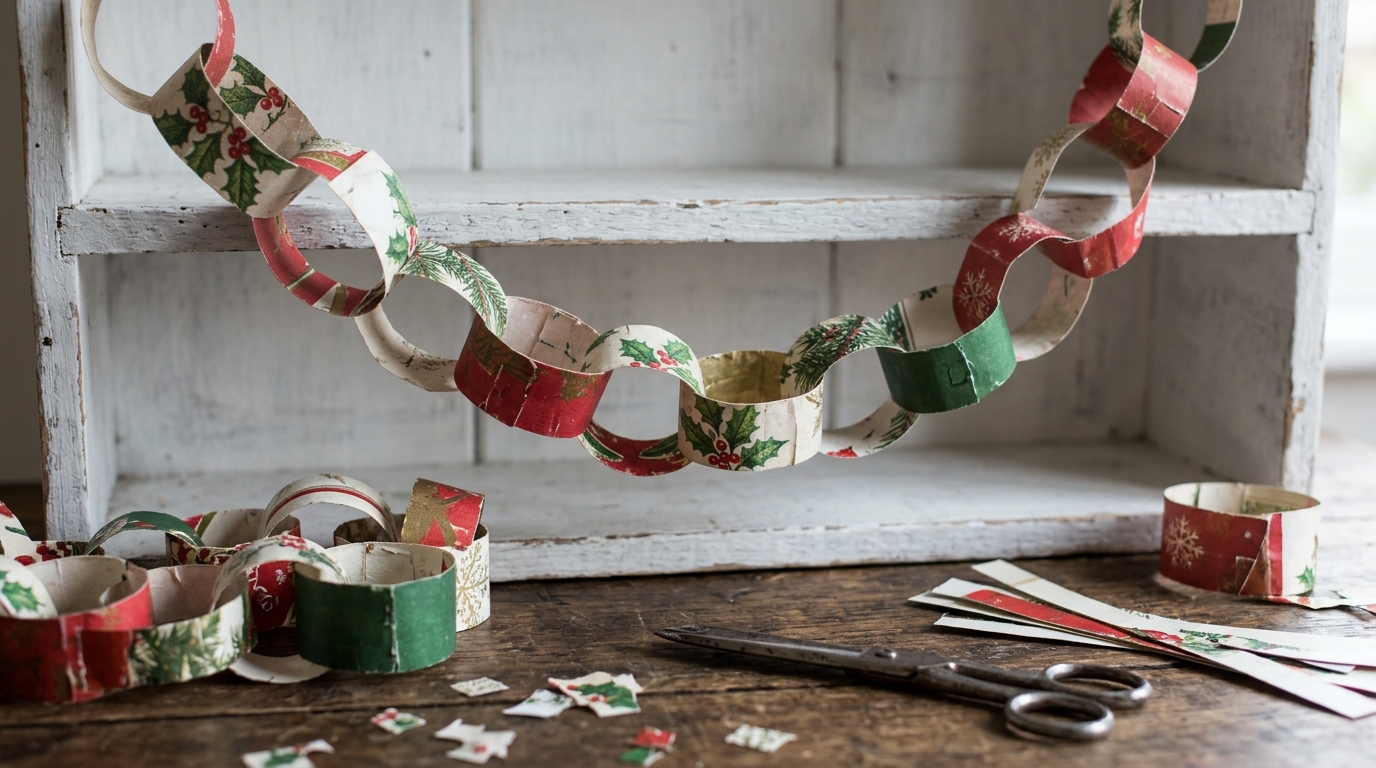
Linda cut old holiday cards into bands and looped them into a ring garland, and it might be the cheapest idea in the entire house tour. Card stock is stiffer than construction paper, so the links hold their shape for years. Pick the cards with the prettiest patterns and skip the ones with writing on the inside, or turn that side in. If you love the idea of garland on a budget, see these DIY Christmas garland ideas.
You will need: Old Christmas cards, a paper trimmer or scissors, a ruler, a glue stick, Mod Podge Gloss, a small brush.
How to make it: Cut the cards into bands about 1 inch wide and 6 inches long. Loop the first strip and glue it closed, thread the next strip through and repeat. Brush a thin coat of Mod Podge Gloss over the outside of each link to keep it from curling.
Tie Bows From Leftover Ribbon

Bows made from leftover ribbon are all over this holiday home, and they are a smart way to use up those short ends that pile up in every gift wrap bin. A bow only needs about 18 inches of ribbon, so even odd pieces count. Mixing satin and twine, like this pairing, gives each bow a little texture. Find more ways to decorate with them in these Christmas bow decor ideas.
You will need: Leftover ribbon pieces at least 18 inches long, metallic twine, sharp scissors, fabric stiffener, wire twist ties.
How to make it: Make two loops, cross them and pinch the center. Wrap twine around the middle and knot it. Brush the loops with fabric stiffener so they hold their shape, then trim the tails at an angle.
Make Yarn Pompoms for Bows and Gifts
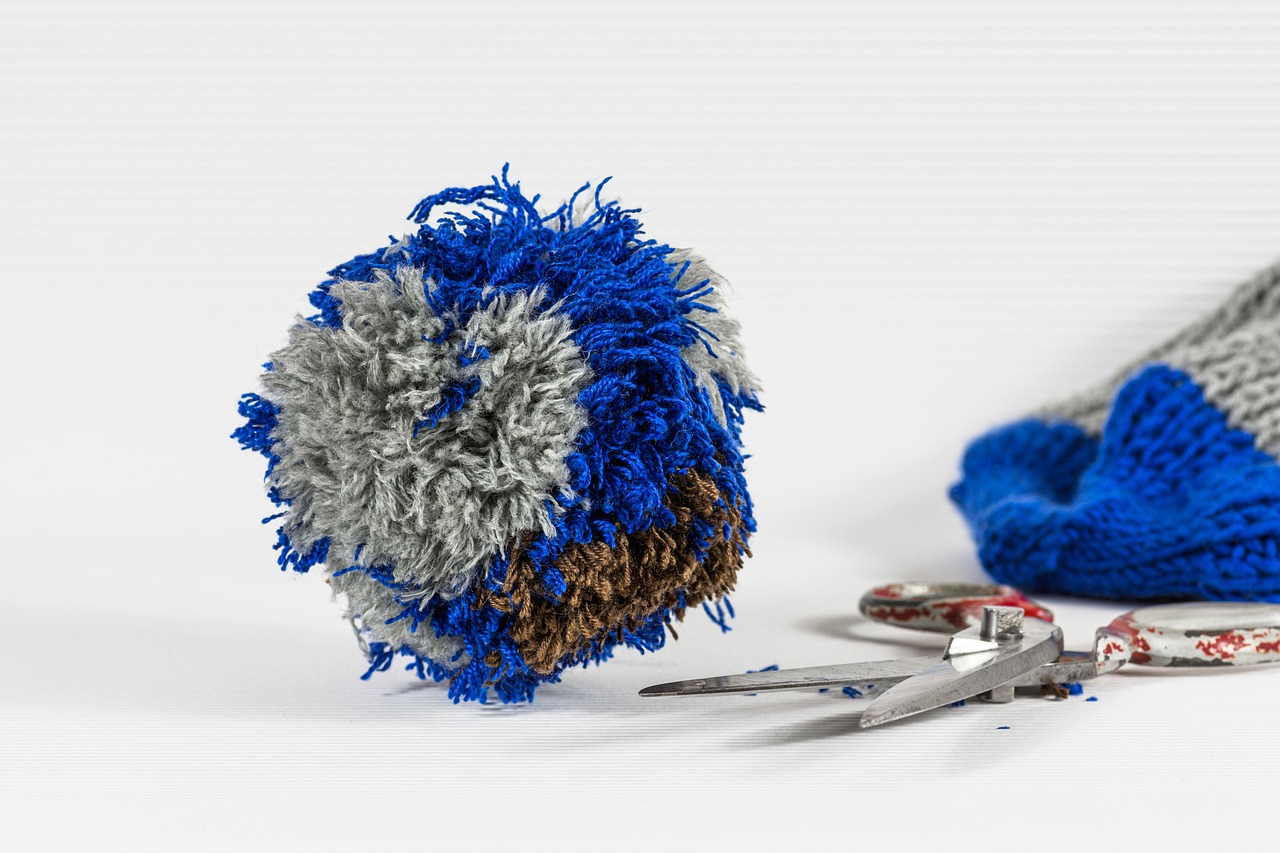
The couple also topped their bows with pompoms, which is a sweet trick for kid made decor. Pompoms use up odd bits of yarn, cost nothing and look cheerful on gifts, wreaths and even the tree. Make a few in your holiday colors and tie one into the center of each bow. Once you have a pile, try a few of these Christmas crafts for adults too.
You will need: Leftover yarn, a pompom maker or a piece of cardboard, sharp scissors, a tapestry needle.
How to make it: Wrap yarn about 100 times around a pompom maker or a cardboard strip. Tie a tight knot through the middle, cut the loops and trim the pompom into a round shape. Leave the tie ends long to attach it to a bow.
Copy the Drew Scott Christmas Stocking Bows
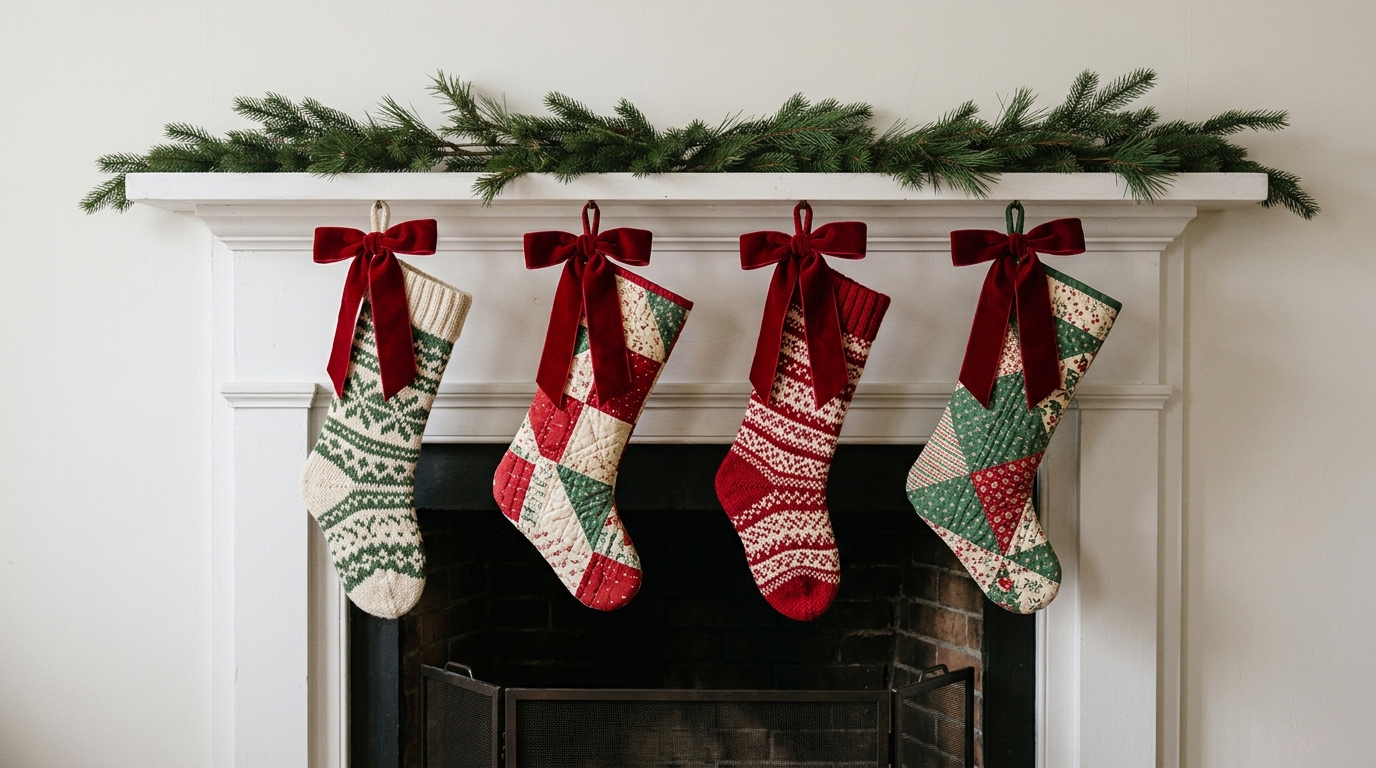
The Drew Scott Christmas mantel holds vintage inspired stockings, each tied with a ribbon bow. That one detail makes a mismatched set look planned. Mix knit and quilted stockings, then tie the same deep red velvet bow on every cuff so they read as a family. Thrift stores are full of older stockings that only need a bow. To sew your own, try these DIY Christmas stockings.
You will need: Knit or quilted stockings, 1 yard of wide red velvet ribbon, stocking hooks, a needle and thread, fabric glue.
How to make it: Cut the ribbon into equal pieces about 20 inches long. Tie a bow on each stocking cuff and stitch the center so it never slips. Hang the stockings evenly spaced along the mantel.
Line a Shelf With Felted Wool Figures
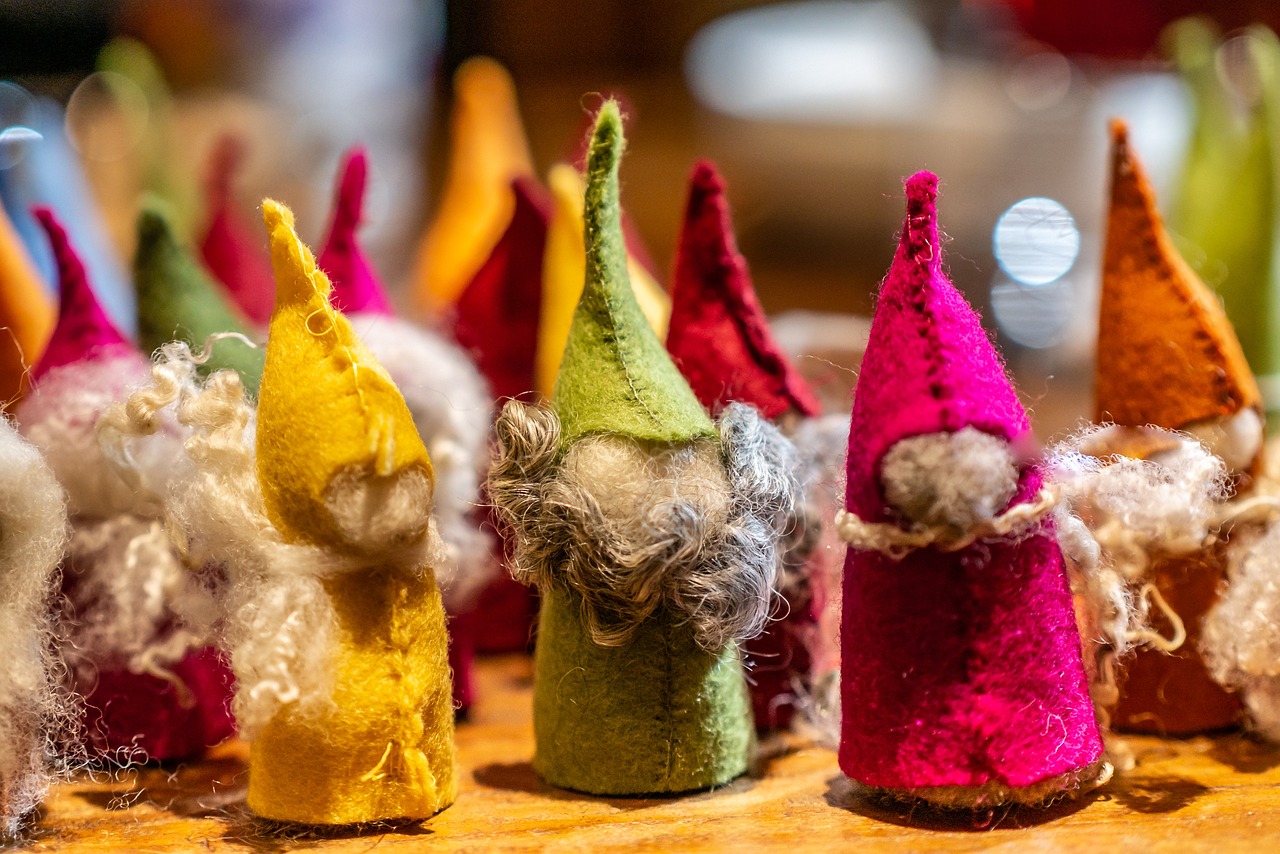
Linda made felted holiday figures for the house, and they are exactly the kind of handmade piece that becomes a family heirloom. Simple cone shaped gnomes are the easiest place to start. Roll a felt cone, add a wool roving beard and a wooden bead nose, and line them up on a shelf in a row of bright colors. More gnome ideas live in these DIY Christmas gnomes.
You will need: Wool felt sheets, wool roving, small wooden beads for noses, a hot glue gun, sharp scissors, a cardboard cone template.
How to make it: Cut a felt cone from the template and glue the seam. Fluff a tuft of roving and glue it under the hat as a beard, then add the bead nose. Stand the gnomes in a row on a shelf.
Needle Felt a Little Snowman Ornament
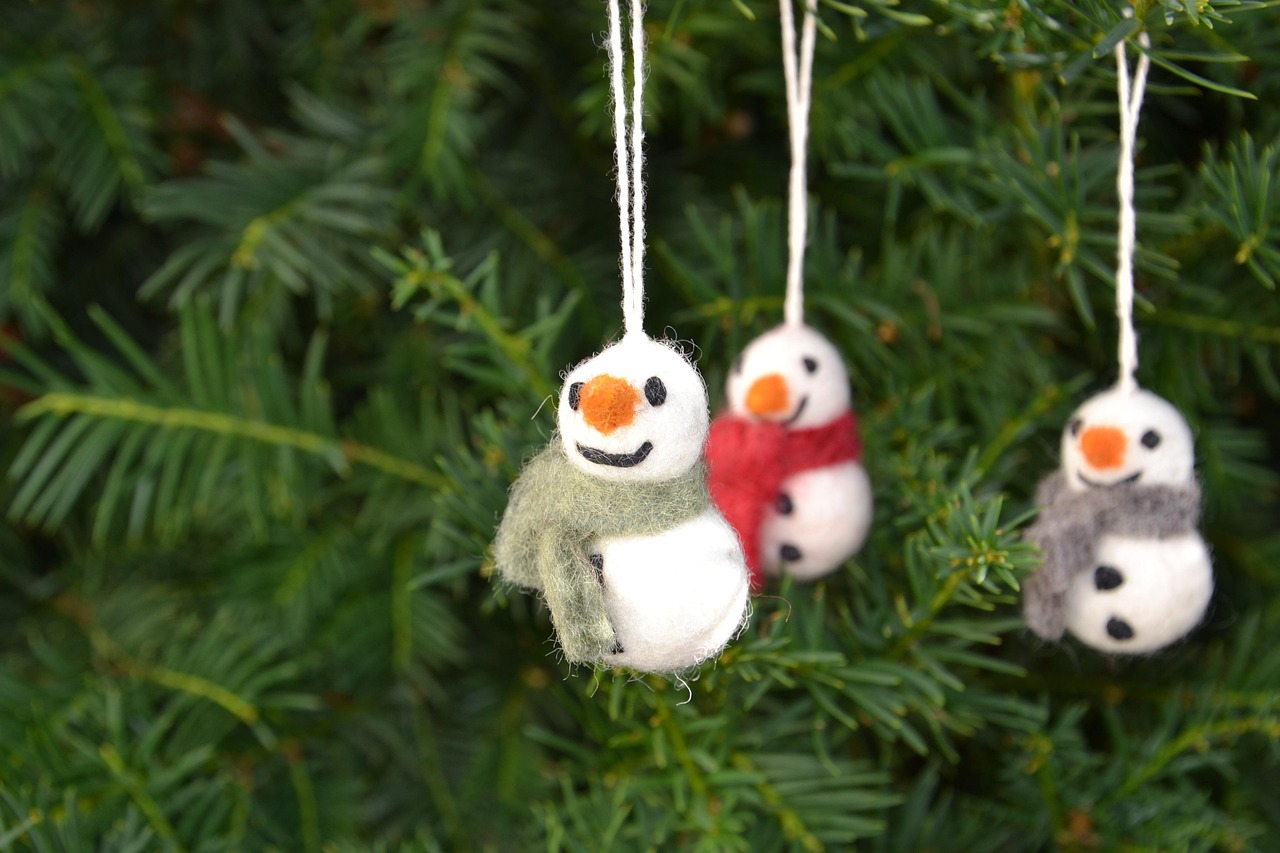
Needle felting sounds intimidating, but a snowman is just two round shapes stacked together. You poke loose wool with a barbed needle until it firms up, then add a carrot nose and a scarf. It is a quiet, cozy craft for the evenings after the tree goes up, and one snowman takes less than an hour. For more frosty projects, see these snowman decor ideas.
You will need: White wool roving, a little orange and black roving, a short piece of red or gray yarn, a felting needle, a foam pad, twine for the hanger.
How to make it: Roll white roving into two firm rounds, one larger, and poke each with the needle until dense. Felt them together, add an orange nose and black dots, tie on the yarn scarf and stitch twine through the top.
Stitch Embroidered Felt Hearts
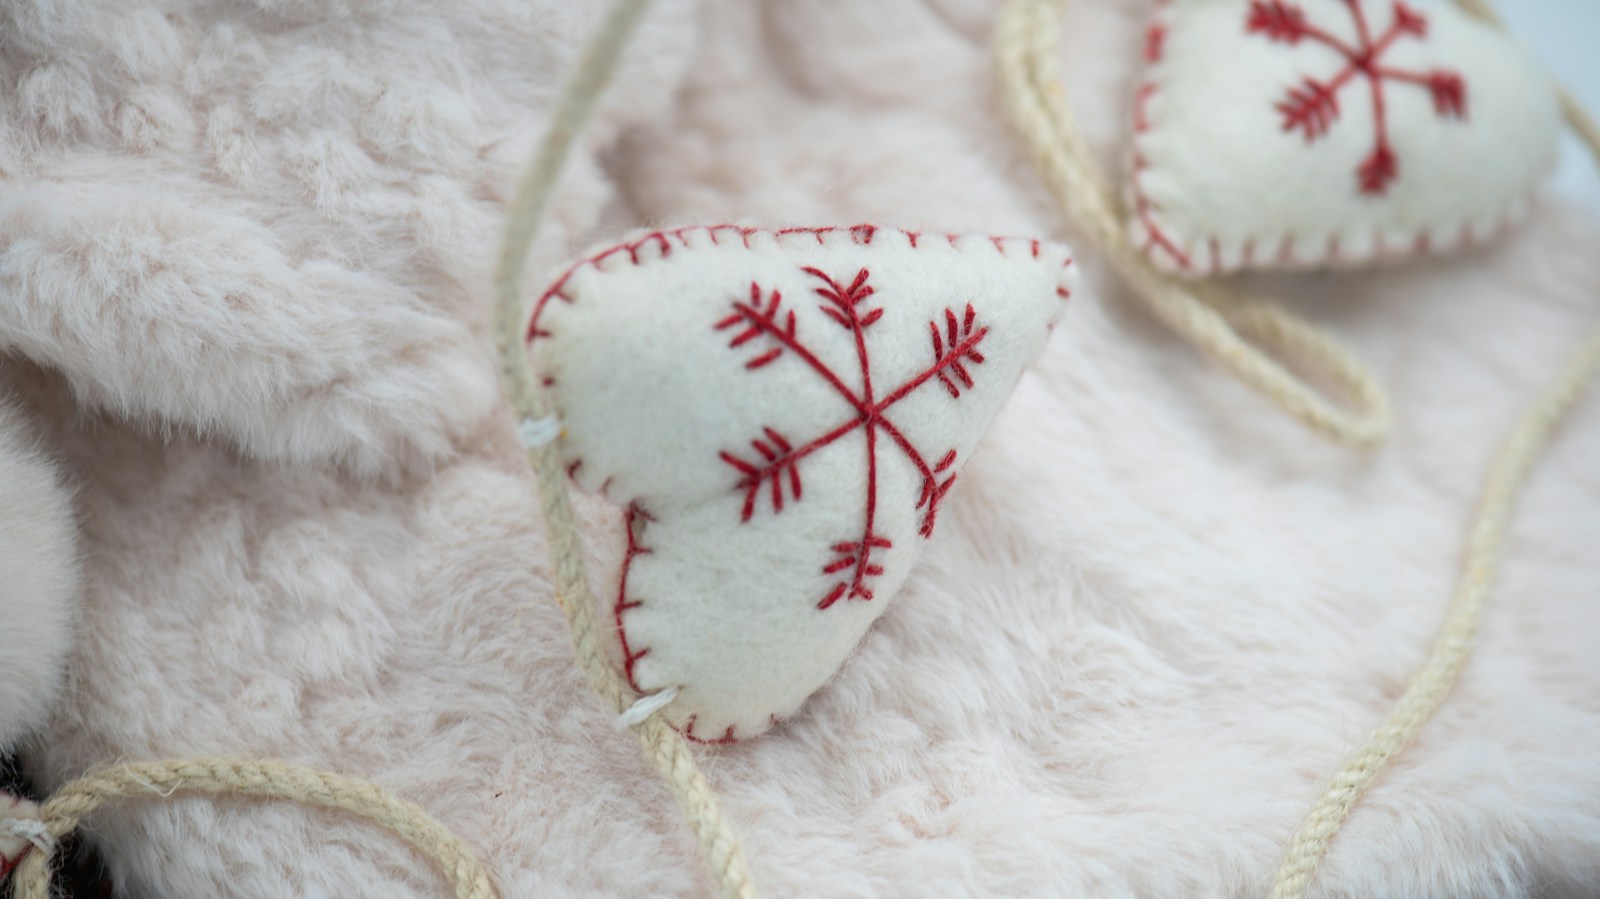
A lot of the ornaments in this home are handmade, and felt is the easiest material to start with. A plain heart with a red snowflake stitched in the middle looks like something from a Nordic shop. Cut two hearts, embroider one, then blanket stitch them together with a little stuffing inside. Find more soft projects in these felt Christmas crafts.
You will need: White wool felt, red embroidery floss, an embroidery needle, a little polyester stuffing, cream twine, a heart template.
How to make it: Trace and cut two hearts per ornament. Stitch a simple snowflake on one heart with straight stitches. Stack the hearts, blanket stitch around the edge, add stuffing before closing and stitch a twine loop at the top.
Mix Handmade and Store Bought Ornaments the Drew Scott Christmas Way

Drew said a lot of the ornaments throughout the house are handmade, and the trick is that they hang right next to bought pieces. Small wooden birdhouses, like these, are cheap at the craft store and become your own with paint, a ribbon bow and a sprig of greenery. Let everyone in the family decorate one. For more ideas, see these handmade Christmas ornaments.
You will need: Unfinished wooden birdhouse ornaments, white chalk paint, red ribbon, mini pine cones, faux berries, Mod Podge Matte, a hot glue gun.
How to make it: Paint each birdhouse white and let it dry. Seal with Mod Podge Matte, tie a red bow at the top and glue a pine cone and berries under the bow.
Paint Wood Slice Angel Ornaments
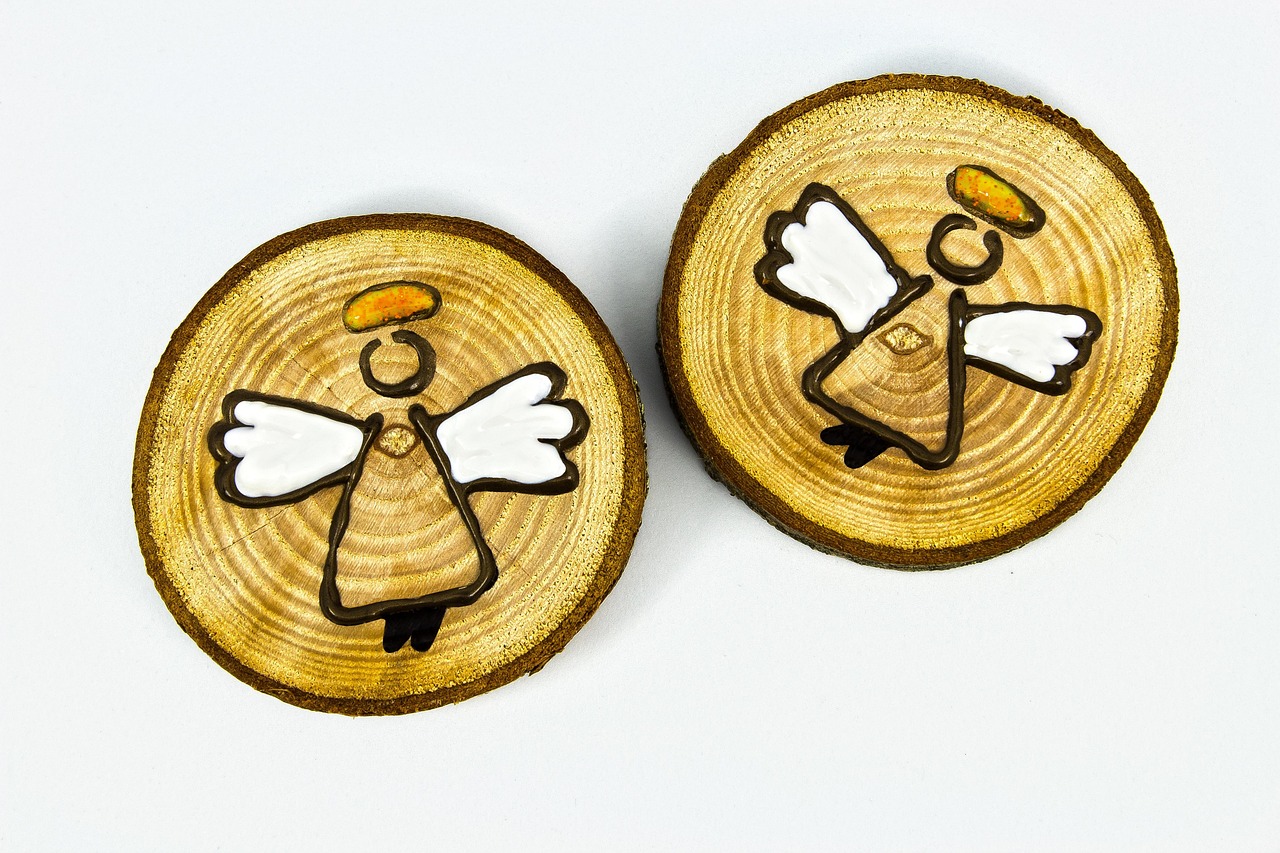
Wood slices are one of the cheapest blanks you can buy, and a simple painted angel makes them feel like a keepsake. Kids can handle the wings and halo, and an adult can add the outline with a paint pen. It fits the crafty, family made spirit of a Drew Scott Christmas perfectly. Find more slice projects in these wood slice Christmas crafts.
You will need: Wood slices about 3 inches wide, white and gold acrylic paint, a black paint pen, a small drill, twine, Mod Podge Gloss.
How to make it: Drill through each slice near the top edge. Paint white wings and a gold halo, then outline with the paint pen. Seal with Mod Podge Gloss and thread twine through for hanging.
Hang Cookie Cutters as Ornaments
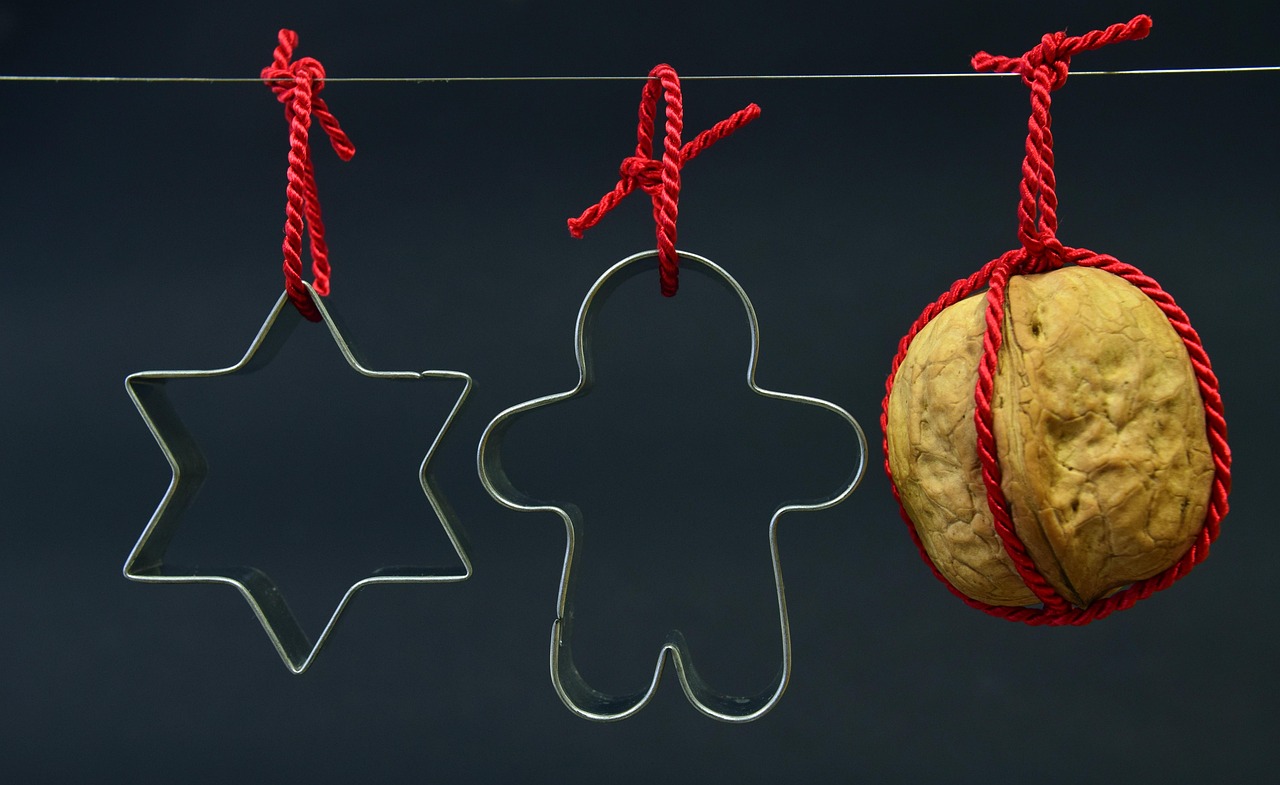
Cookie cutters make instant ornaments and they cost a dollar or two each. Tie a loop of red cord through the top and hang them on the tree or along a window. The open shapes look graphic against greenery, and they go right back to the kitchen drawer in January. It is the same make do spirit as the card garland. See more of these cookie cutter Christmas crafts.
You will need: Metal cookie cutters in holiday shapes, red cord, a walnut or small pine cone, a hot glue gun, sharp scissors.
How to make it: Thread an 8 inch piece of red cord through each cutter and knot it into a loop. Wrap cord around a walnut and glue it to make a matching ornament. Hang them in a row.
Build a Paper Christmas Train

Toy trains are part of the Drew Scott Christmas tradition, and if a real set is not in the budget, a paper train is a fun weekend project. Card stock engines and boxcars fold together from simple templates, and kids can fill each car with tiny wrapped gifts. Set it on a shelf or under the tree. For more paper projects, see these cardboard Christmas decorations.
You will need: Red, green and white card stock, a printable train template, a craft knife, a glue stick, Mod Podge Matte, bottle caps for wheels.
How to make it: Print and cut the template, score the fold lines and glue each car together. Glue bottle caps on as wheels. Brush with Mod Podge Matte to stiffen, then line the cars up.
Run a Drew Scott Christmas Train Around the Top of the Room
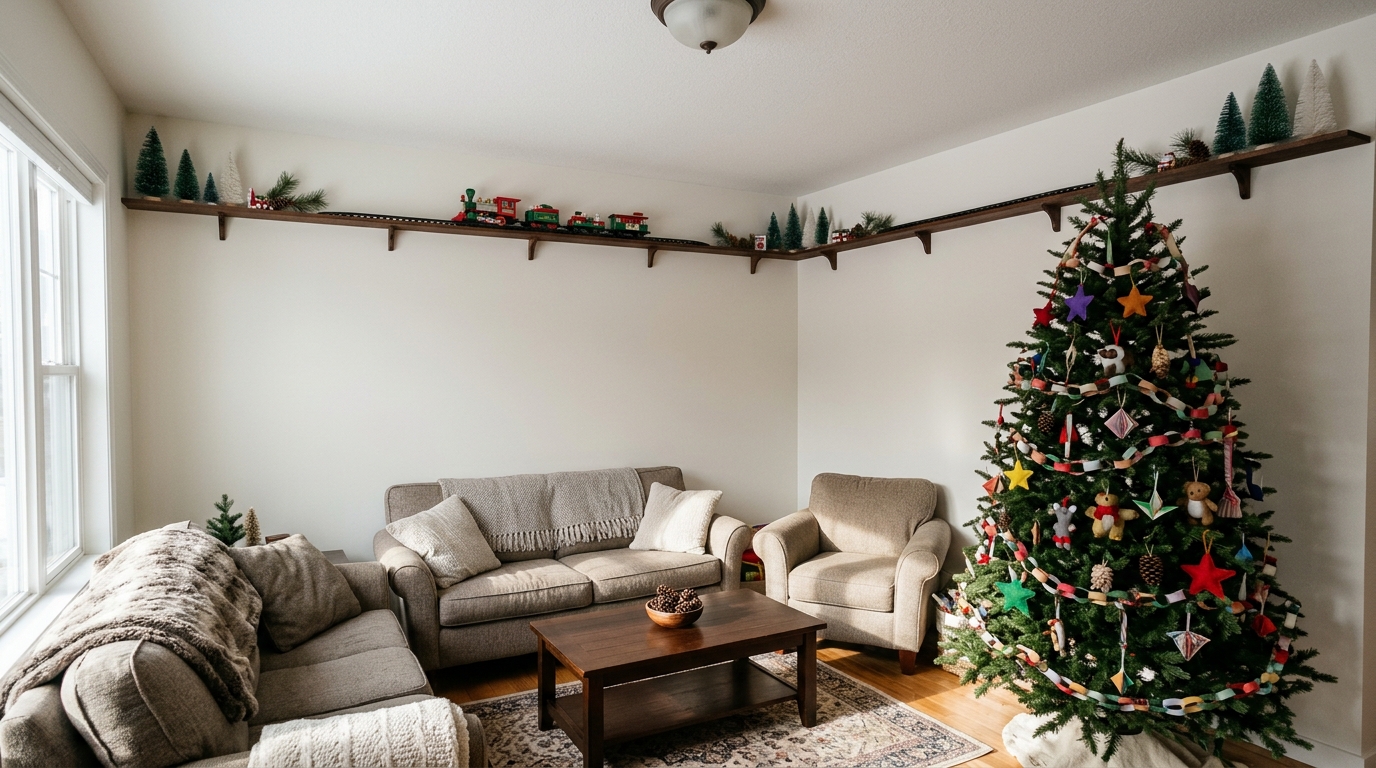
The most fun detail in the Drew Scott Christmas tour is the train that runs around the living room up near the ceiling, with two new cars added this year. You can get the look with a narrow ledge shelf mounted high on the wall and a basic train set on top. Add bottle brush trees along the way. For more ways to decorate with trains, see these Christmas train decor ideas.
You will need: Narrow picture ledge shelves, wall anchors and mounting hardware, a small battery train set, bottle brush trees, faux pine sprigs.
How to make it: Mount the ledges level about 12 inches below the ceiling. Lay the track on top and secure it with removable mounting putty. Place bottle brush trees along the ledge, leaving a clear path for the train.
String a Pompom Garland
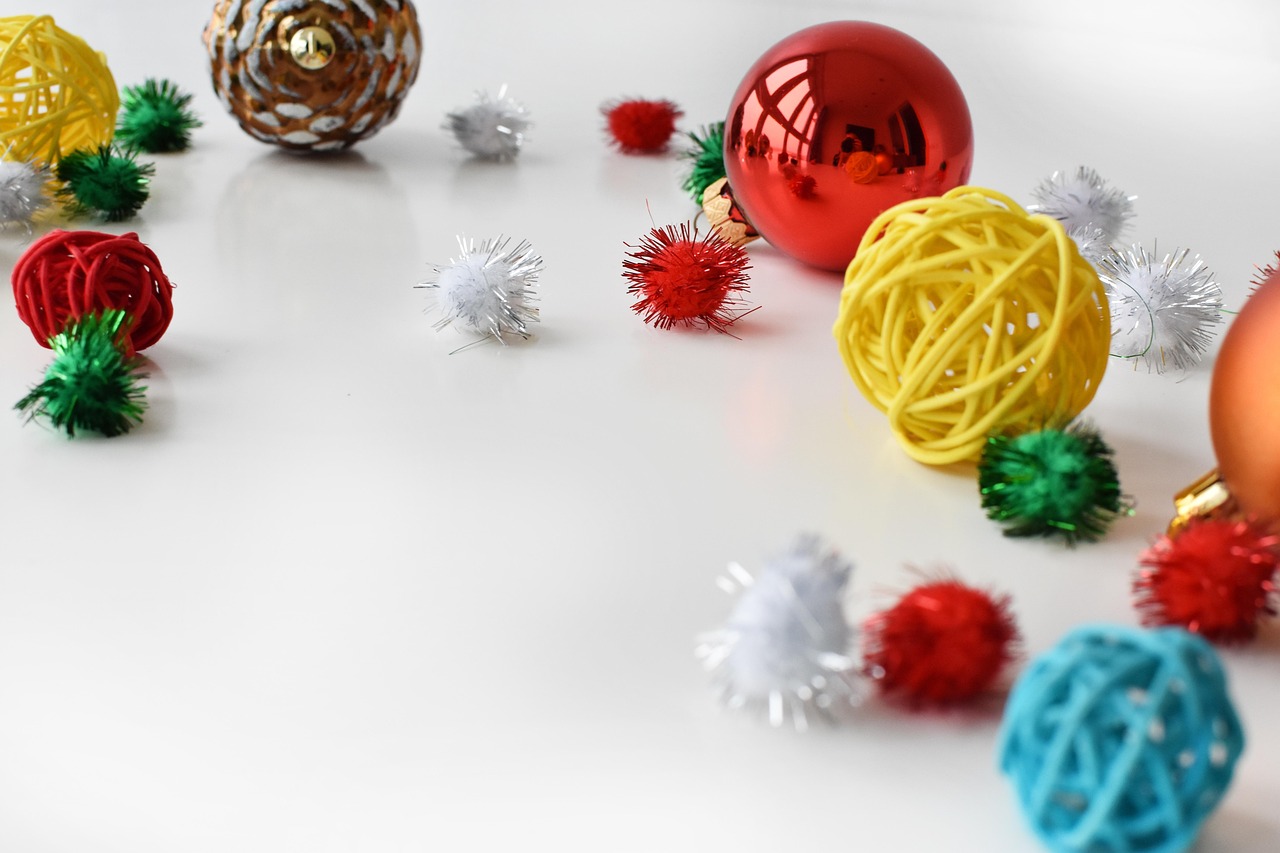
Pompoms were part of the leftover ribbon bows in the house tour, and a garland of them is a perfect craft for little hands. Mix glittery craft pompoms with small rattan spheres for texture, then thread them on fishing line. Hang the garland across a window or along a bookshelf where it can catch the light. For more family projects, try these Christmas crafts with grandkids.
You will need: A bag of glitter craft pompoms, small rattan spheres, clear fishing line, a large blunt needle, sharp scissors.
How to make it: Thread the needle with fishing line and push it through the center of each pompom. Add a rattan sphere every few pompoms. Knot each end into a loop and hang.
Make a Felted Wool Bead Garland
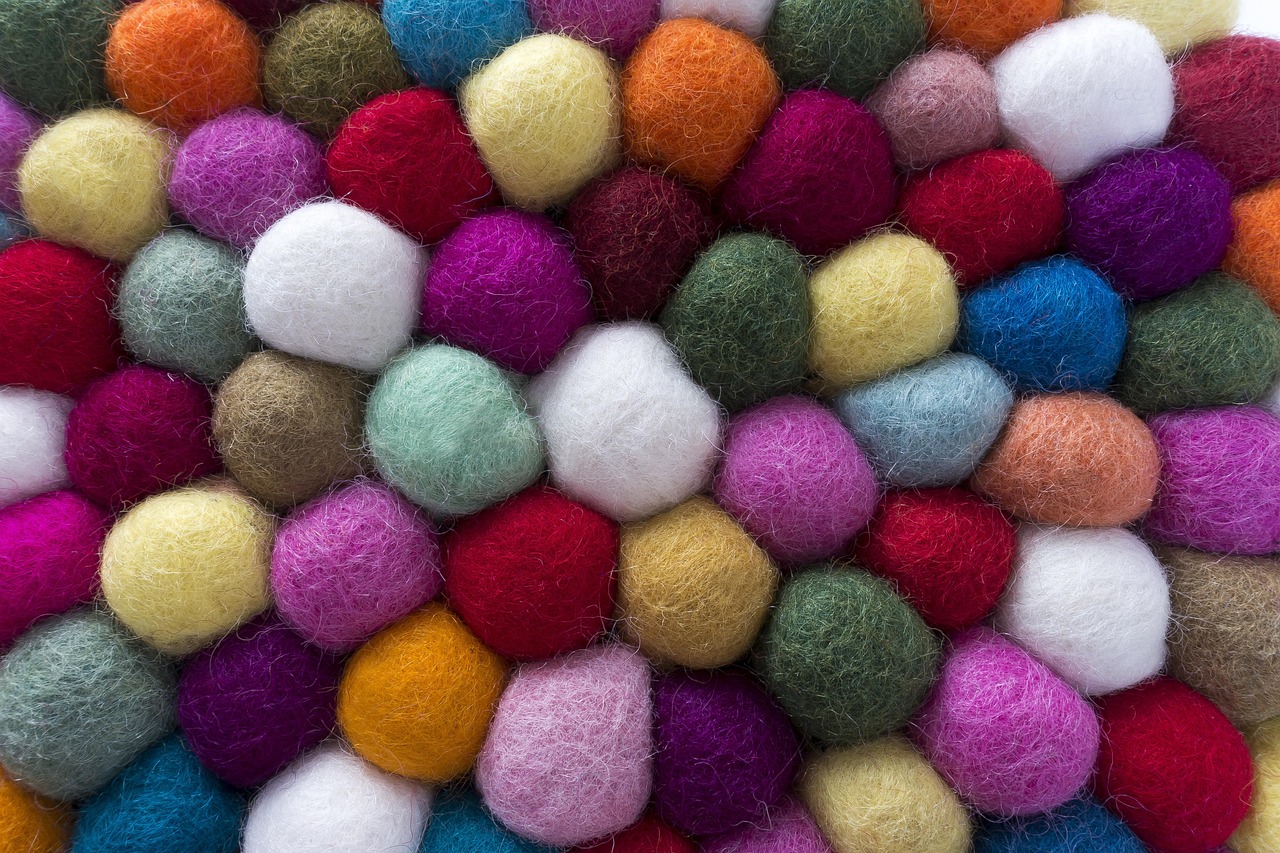
Felted wool beads come in every color and make a soft, cheerful garland that matches the felted figures in this house. Choose three or four holiday colors and thread them in a repeating pattern. The garland is light enough to drape on a tree, wrap around a wreath or swag across a mantel. More garland and mantel ideas are in these Christmas mantel ideas.
You will need: About 80 felted wool beads in three or four colors, a long tapestry needle, heavy cotton thread or thin twine.
How to make it: Thread the needle with a double strand of cotton thread. Push the needle through the center of each bead, following a color pattern. Leave 6 inches of thread at each end and tie loops for hanging.
Stack Ribbon Wrapped Boxes as Decor

Ribbon wrapped boxes stacked on a console or under the tree are an easy way to add color, and they reuse the same ribbon odds and ends as the bows. Wrap empty boxes in solid paper and tie each one with a different ribbon so the stack looks layered. They can sit out all season without anyone peeking. For better wrapping, see these gift wrapping tricks.
You will need: Empty boxes in three sizes, solid wrapping paper, satin ribbon in coordinating colors, double sided tape, Mod Podge Matte.
How to make it: Wrap each box neatly and seal the paper seams with a little Mod Podge Matte. Tie a different ribbon around each box and finish with a bow. Stack largest to smallest.
Sew Knit Gnomes From Old Sweaters
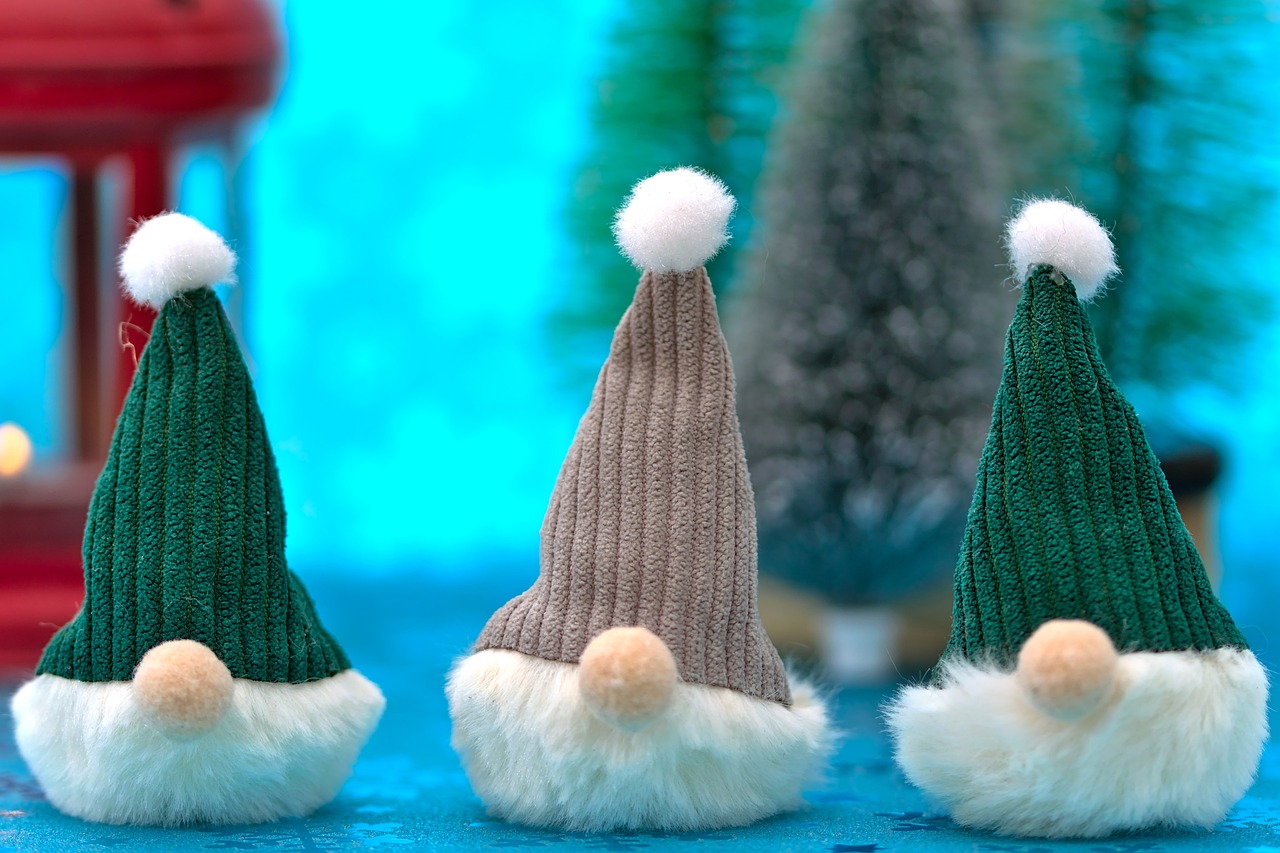
Linda reportedly curates the decor out of what the family can find around the house, and old sweaters fit that idea well. A sleeve becomes a knit hat, a piece of faux fur becomes a beard and a small pompom becomes a nose. Fill the body with rice so each gnome stands up on its own. If you want to make a batch, see these Christmas crafts to sell.
You will need: An old knit sweater, faux fur pieces, small pompoms, uncooked rice, a sock or small fabric bag, a hot glue gun, sharp scissors.
How to make it: Fill a sock with rice and tie it closed. Cut a sweater sleeve into a tall hat and glue it over the top. Glue a faux fur beard under the hat edge and add a pompom nose.
Set Up a Drew Scott Christmas Craft Table
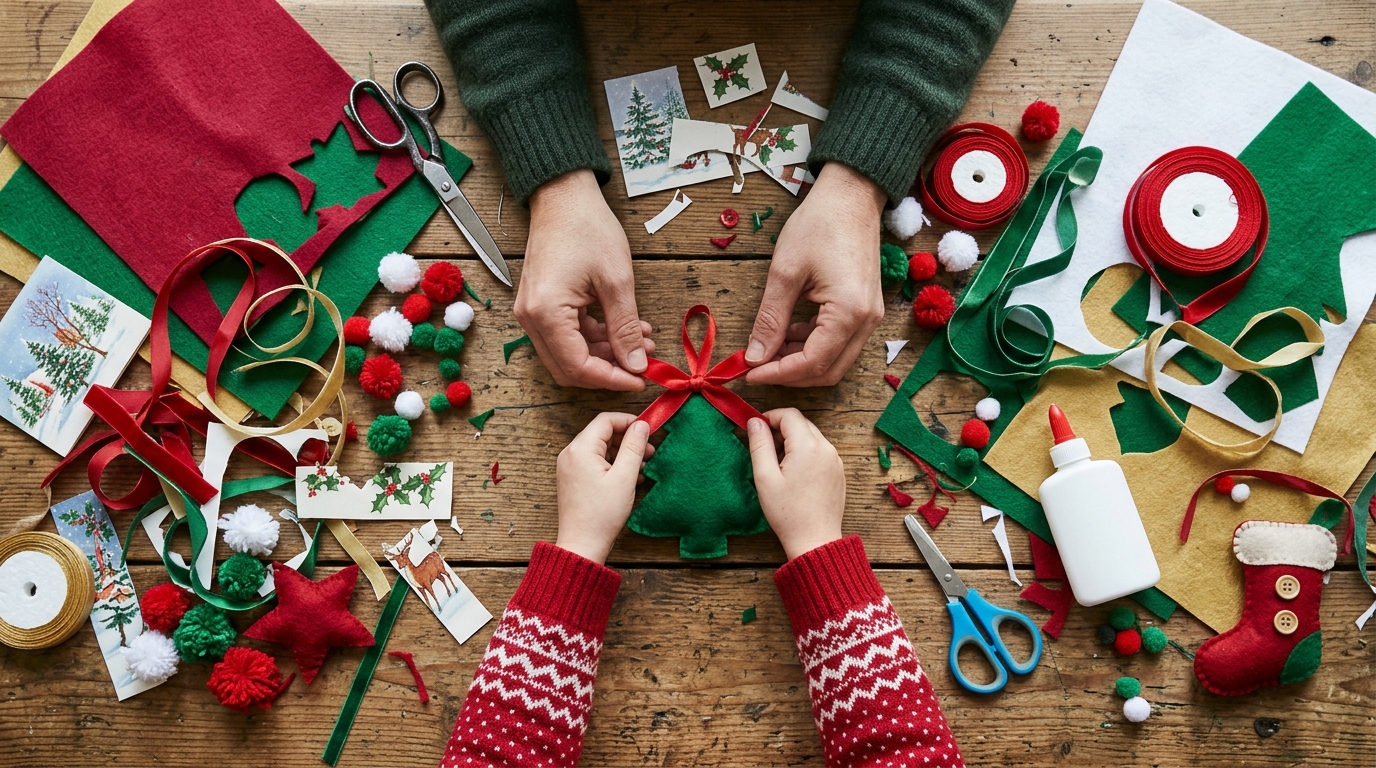
“We love crafting in this house!” is how Drew described his family holidays, and the easiest way to get there is a dedicated craft table. Put out felt, ribbon ends, card bands, pompoms and a pair of scissors for everyone, then let each person make one new ornament a year. That is how a Drew Scott Christmas tree slowly fills up with handmade pieces. For more ideas, see these craft night ideas.
You will need: A folding table, a washable cloth, felt sheets, ribbon ends, old card bands, pompoms, child safe scissors, Mod Podge and foam brushes.
How to make it: Cover the table with the cloth and sort supplies into bowls. Set out a few sample ornaments for ideas, then let everyone craft. Write the year on the back of each finished ornament.