DIY Front Door Signs: 13 Easy Ideas That Make Neighbors Stop and Look
DIY front door signs are one of the quickest ways to make your home feel warm and welcoming before anyone even knocks. A front door is the first thing neighbors, friends and delivery drivers see, and a handmade sign says that someone who cares lives here. The good news is that you do not need fancy tools or a big budget. Old pans, cutting boards, scrap pallets, wood slices and even an embroidery hoop can turn into signs that look straight out of a boutique. Some change with the seasons, some stay up all year, and a few are so easy the kids can help. Pick your favorite, grab some paint and get ready for neighbors who slow down to take a second look..
DIY Front Door Signs Start With a Round Welcome Sign
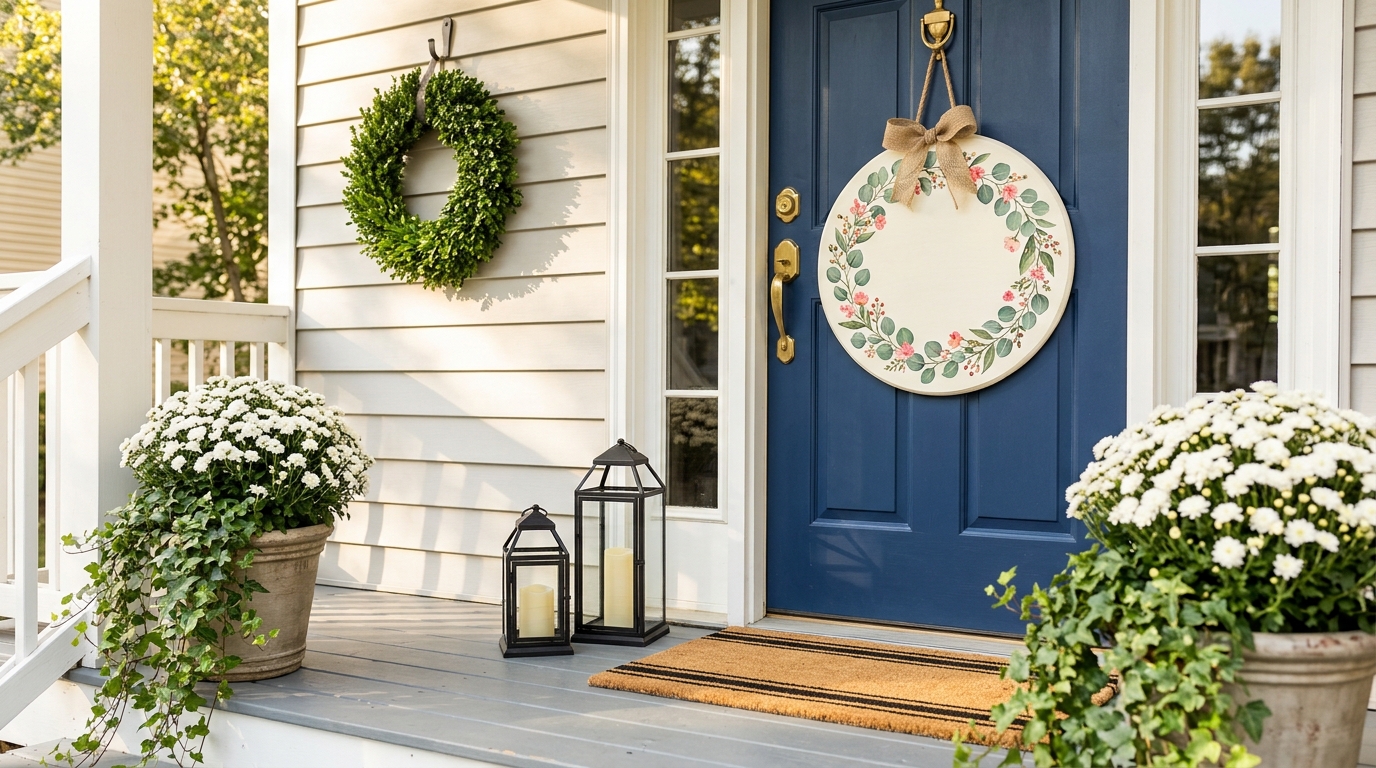
A round metal pizza pan from the dollar store is the secret behind one of the most popular DIY front door signs right now. Paint it creamy white, add a painted wreath of leaves and tiny flowers around the edge and finish with a jute bow. Leave the center plain or add a simple greeting with a stencil. If you love cheap finds turned fancy, our dollar store decor ideas are full of them. Ready to transform a plain pan..
You will need: 1 round metal pizza pan, white chalk paint, acrylic paints in green and pink, small brushes, jute ribbon and a strong adhesive hook.
How to make it: 1. Wipe the pan clean and paint it white. 2. Let it dry and add a second coat. 3. Paint leaves and small flowers in a ring. 4. Glue a jute bow at the top and hang it.
Pallet Wood Porch Leaner
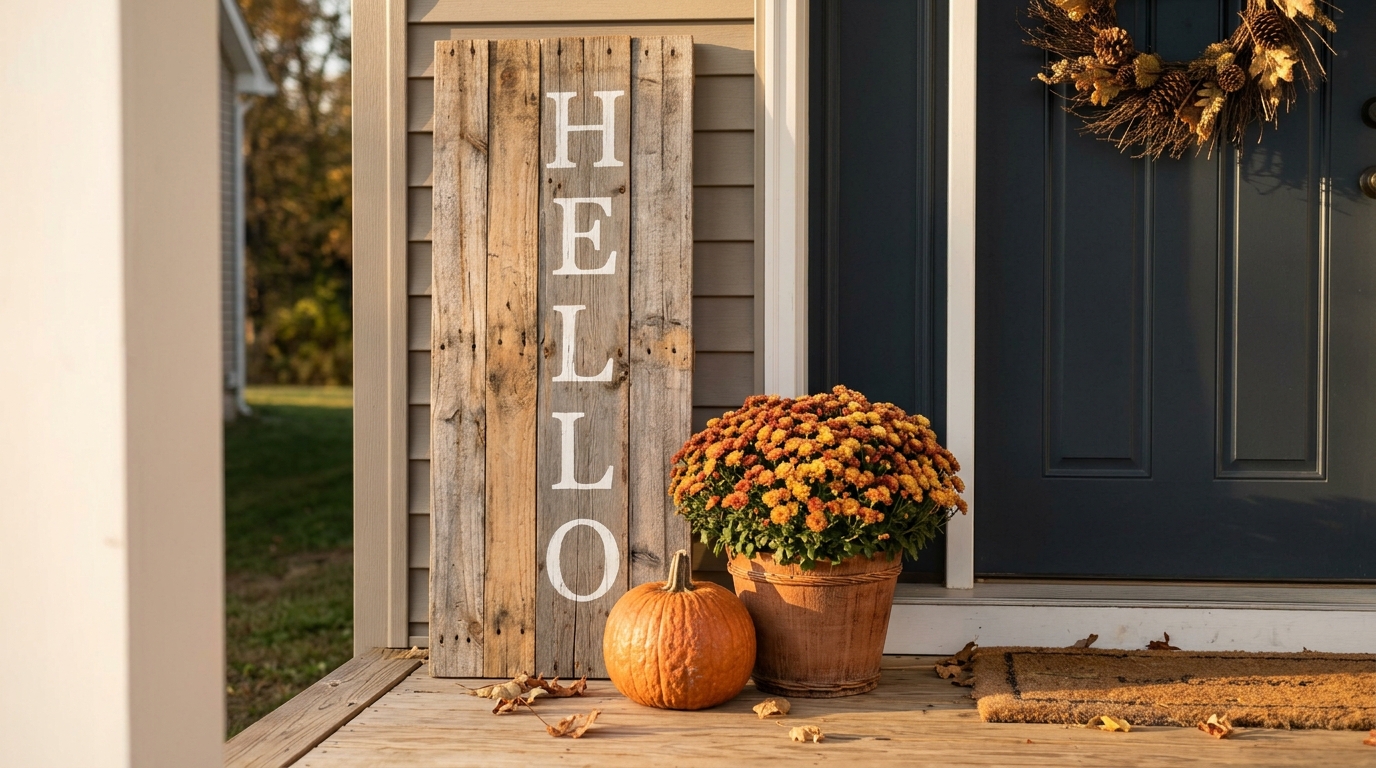
A tall leaner sign beside the door makes a big statement for very little money. Join two or three pallet boards with cross pieces on the back, then paint a short word like HELLO or a family name down the front. Because it leans on the wall, there is nothing to hang and nothing to drill. Ask an adult to handle the saw and sanding. Which word would you paint on yours?
You will need: 2 or 3 pallet boards, 2 short cross boards, screws, sandpaper, white paint, letter stencils and a sponge brush.
How to make it: 1. An adult cuts the boards to the same length. 2. Screw the cross boards on the back. 3. Sand the front smooth. 4. Stencil your word and seal it for outdoor use.
Interchangeable Door Hanger
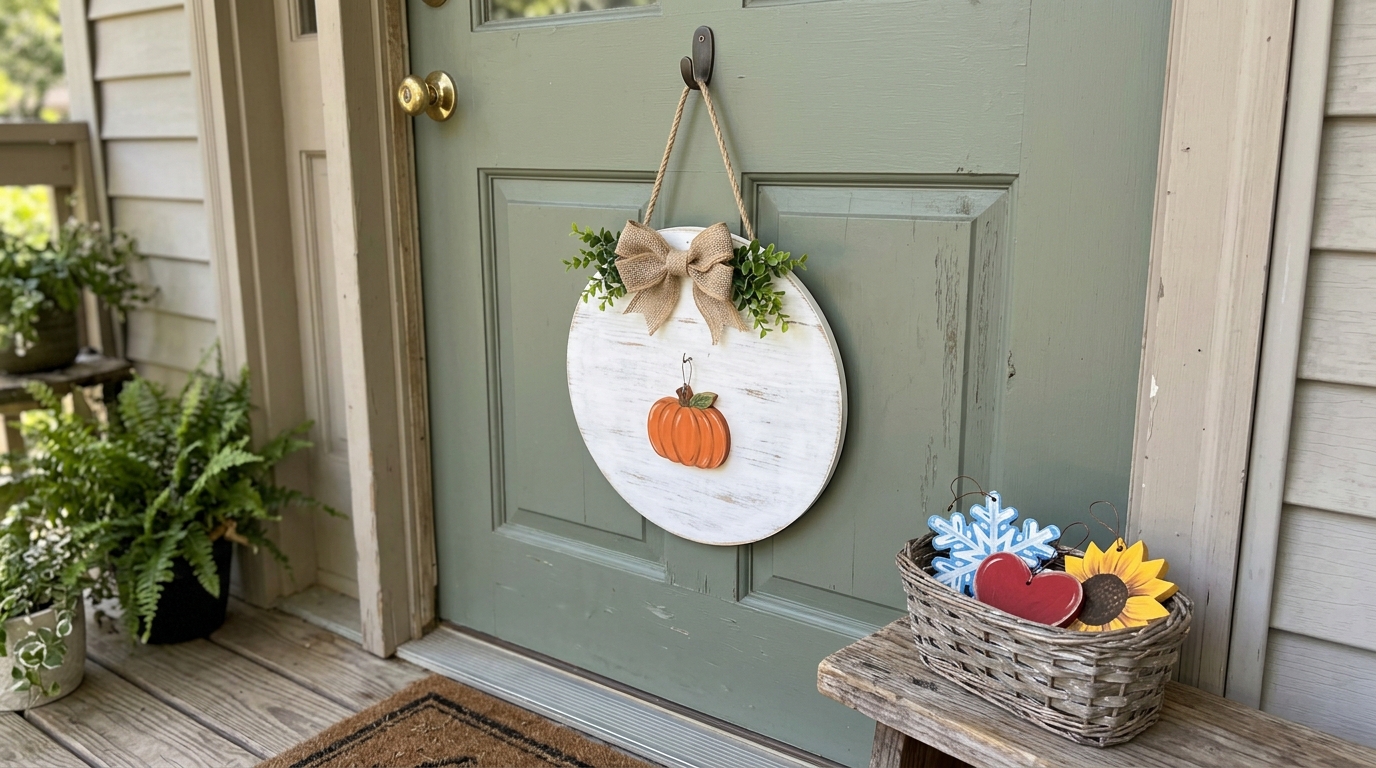
This clever sign changes with the seasons in seconds. Paint a round wooden base, add a small hook in the center and make little painted pieces for each holiday: a pumpkin, a snowflake, a heart, a sunflower. Swap them whenever the mood strikes. It saves storage space and keeps your door fresh all year long. Which piece would you hang first?
You will need: 1 round wooden plaque, small wood cutouts, acrylic paints, a small cup hook, ribbon and outdoor sealer.
How to make it: 1. Paint the round base and let it dry. 2. Screw a small cup hook into the center. 3. Paint each seasonal cutout and add a tiny loop on the back. 4. Hang the base and change the pieces as you like.
Chalkboard DIY Front Door Signs You Can Redraw
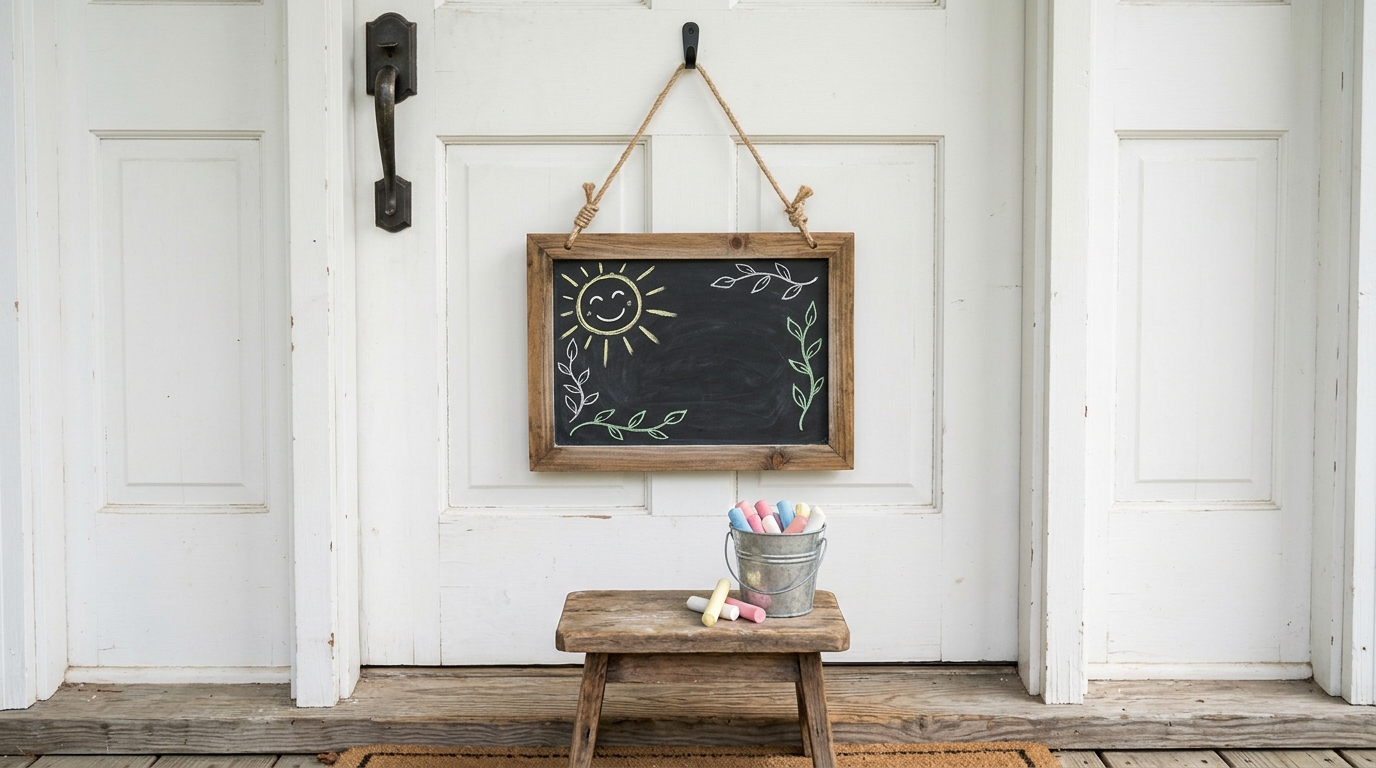
Chalkboard DIY front door signs are perfect for families who like to change their message often. Paint a small wood panel with chalkboard paint, frame it with thin strips of wood and add a twine hanger. Draw a sun, a pumpkin or a birthday greeting whenever you like. Kids will fight over whose turn it is to draw next. What would you draw today?
You will need: A small wood panel, chalkboard paint, thin wood trim, wood glue, twine and a box of colored chalk.
How to make it: 1. Paint the panel with two coats of chalkboard paint. 2. Glue wood trim around the edge as a frame. 3. Attach a twine hanger on the back. 4. Season the board by rubbing chalk over it and wiping it clean.
Cutting Board Door Sign
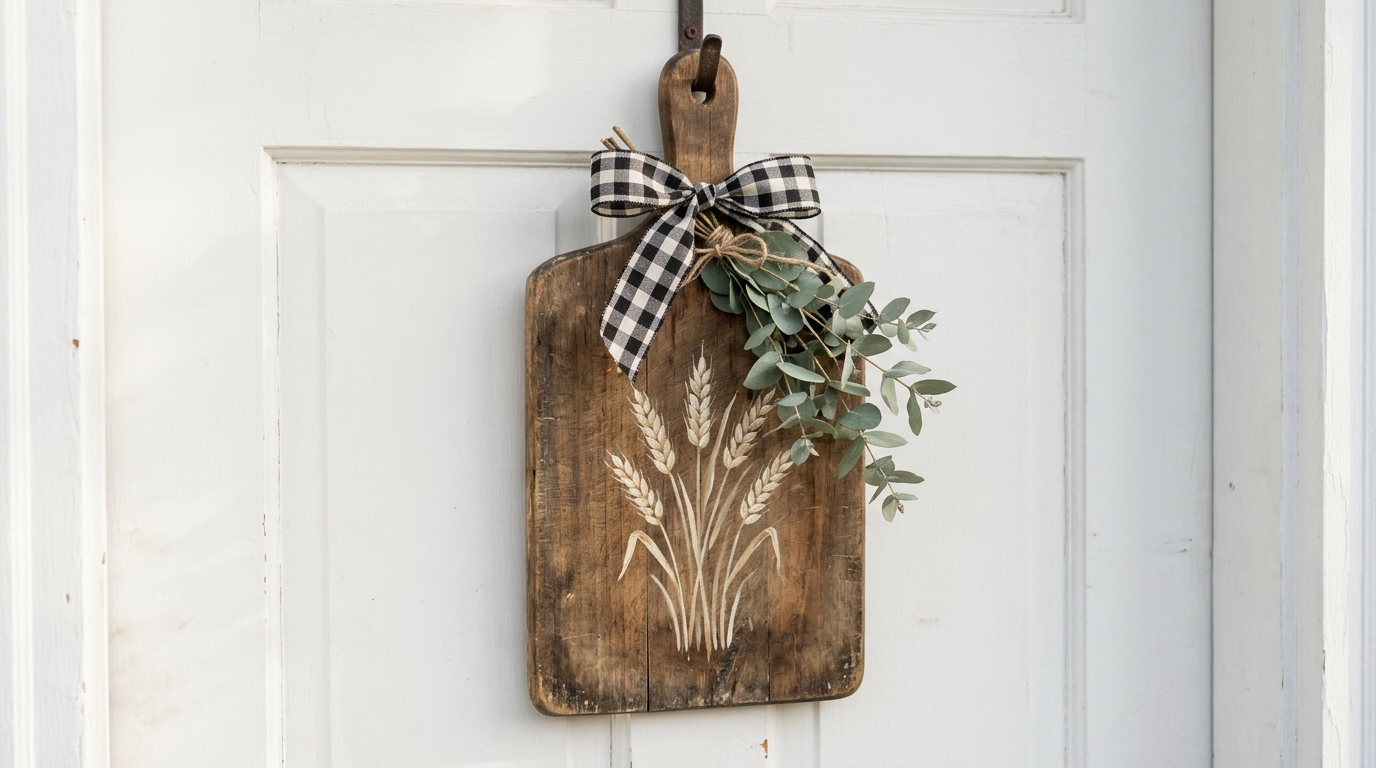
An old wooden cutting board with a handle already looks like a sign. Sand it lightly, paint a simple wheat stalk or leaf design, and tie a buffalo check ribbon through the handle. A small sprig of faux eucalyptus adds a soft farmhouse touch. Thrift stores often have these boards for a dollar or two. Isn’t it fun to give an old kitchen tool a new job?
You will need: 1 wooden cutting board with a handle, sandpaper, acrylic paint, a fine brush, ribbon, faux greenery and outdoor sealer.
How to make it: 1. Sand the board lightly. 2. Paint your design and let it dry. 3. Seal it for outdoor use. 4. Tie ribbon and greenery through the handle and hang it.
DIY Front Door Signs for Fall: A Give Thanks Pumpkin
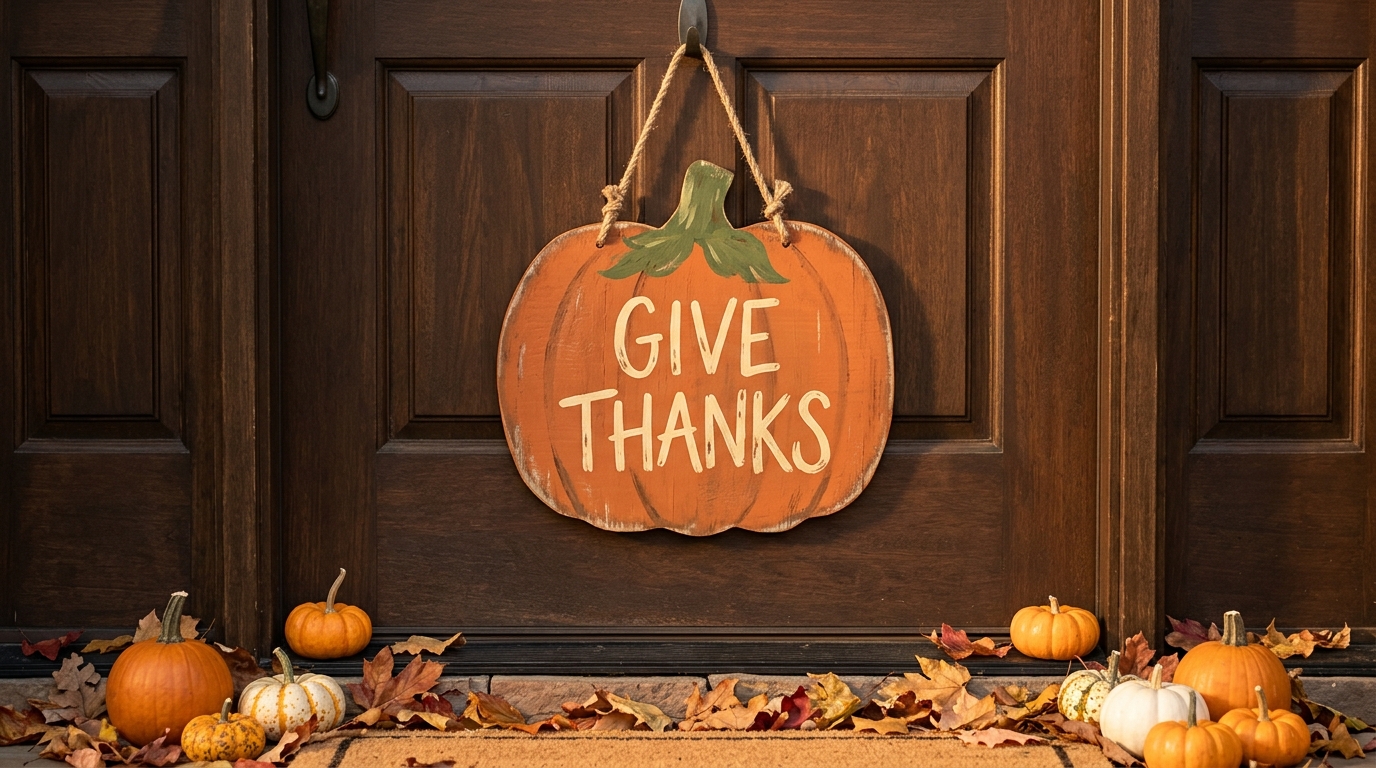
A pumpkin shaped sign is a cheerful way to welcome fall and Thanksgiving guests. Trace a pumpkin onto thin plywood, have an adult cut it out, then paint it orange with a green stem and a simple message like GIVE THANKS. Hang it with jute rope and add a few mini pumpkins on the step below. Will yours say Give Thanks or Happy Fall?
You will need: Thin plywood, a jigsaw (adults only), orange, green and cream paint, brushes, jute rope and outdoor sealer.
How to make it: 1. Draw a pumpkin shape on the plywood. 2. An adult cuts it out and sands the edges. 3. Paint the pumpkin and your message. 4. Seal it and attach a rope hanger.
Merry and Bright Wood Slice
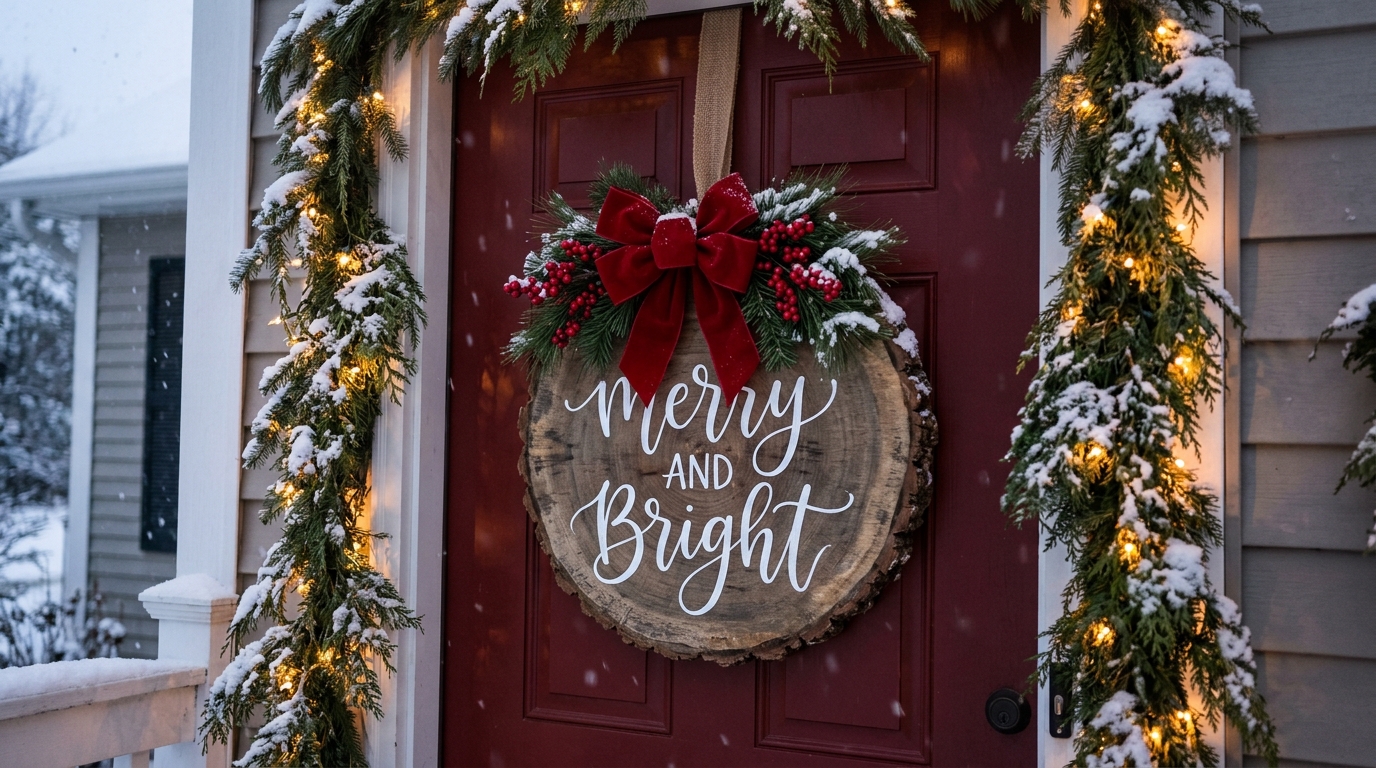
A big wood slice with bark still on the edge is made for a Christmas door. Hand paint MERRY AND BRIGHT in white script, then add a sprig of pine, a few berries and a red velvet bow. Battery fairy lights around the door frame make it glow at night without any cords or flames. It looks like it came from a holiday market. Who will be the first to notice it?
You will need: 1 large wood slice, white paint pen or paint, faux pine and berries, a red velvet bow, hot glue (adult help) and battery fairy lights.
How to make it: 1. Sketch the words lightly in pencil. 2. Paint over them in white. 3. An adult hot glues pine, berries and a bow at the top. 4. Hang it and add battery lights around the door.
Ribbon Wrapped Hoop Sign
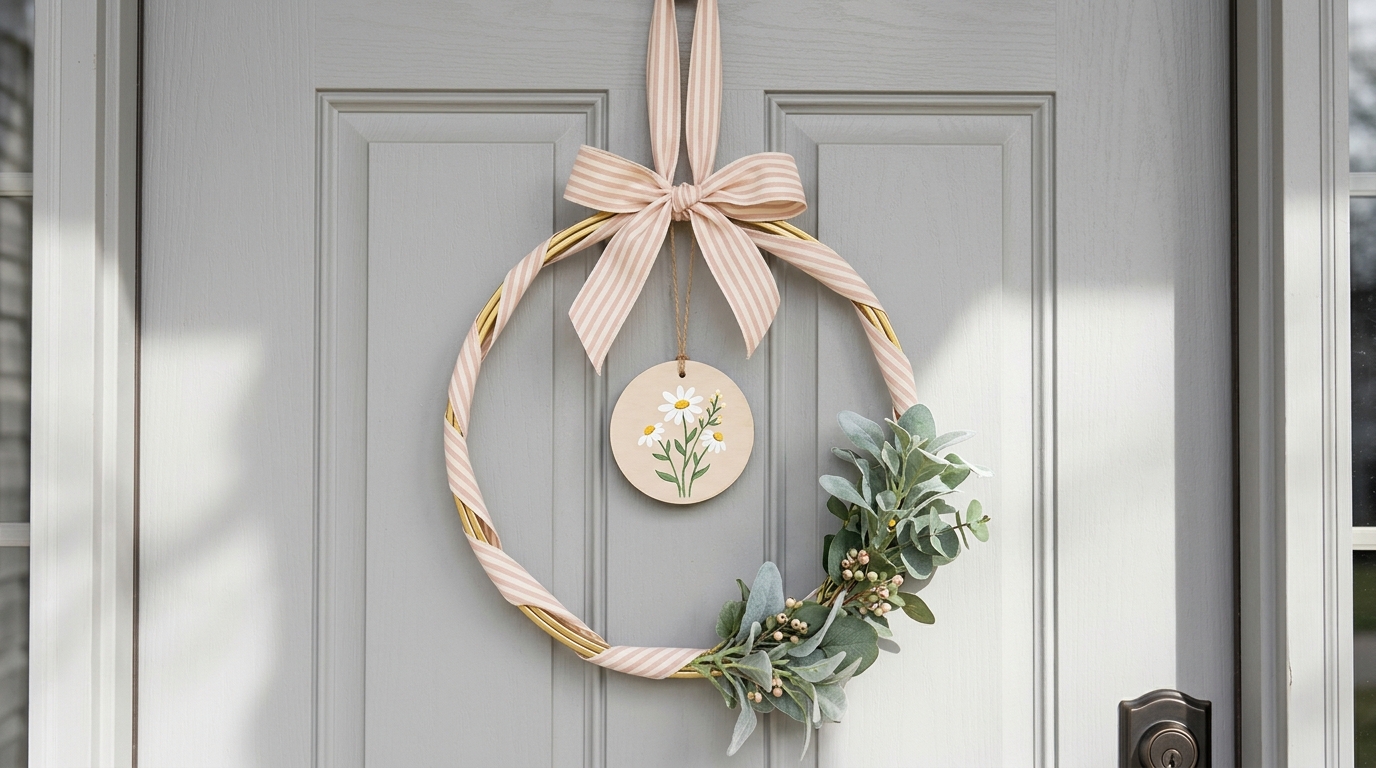
An embroidery hoop wrapped in striped ribbon makes a soft, pretty sign for spring and summer. Hang a small painted wooden circle in the middle and tuck faux greenery on one side. It is light, easy to hang and takes less than an hour. Make a few in different colors and switch them through the year. Which ribbon colors match your door?
You will need: 1 large wooden or metal hoop, wide ribbon, a small wood circle, acrylic paint, faux greenery and hot glue (adult help).
How to make it: 1. Wrap ribbon tightly around the hoop and glue the ends. 2. Paint a simple flower on the wood circle. 3. Hang the circle in the center with ribbon. 4. Glue greenery on one side.
Rope Hung Welcome Plank

Sometimes the simplest sign is the most charming. A single weathered board with WELCOME painted in bold letters, hung from thick rope, fits cabins, farmhouses and beach homes alike. Drill two holes, knot the rope through and you are done. Use a stencil if you are nervous about lettering. Where would this look best at your place?
You will need: 1 weathered board, a drill (adult help), thick rope, black paint, letter stencils and a sponge brush.
How to make it: 1. An adult drills a hole near each top corner. 2. Stencil WELCOME across the board. 3. Thread the rope through and knot it on the front. 4. Hang it on a sturdy hook.
Bright Folk Art DIY Front Door Signs
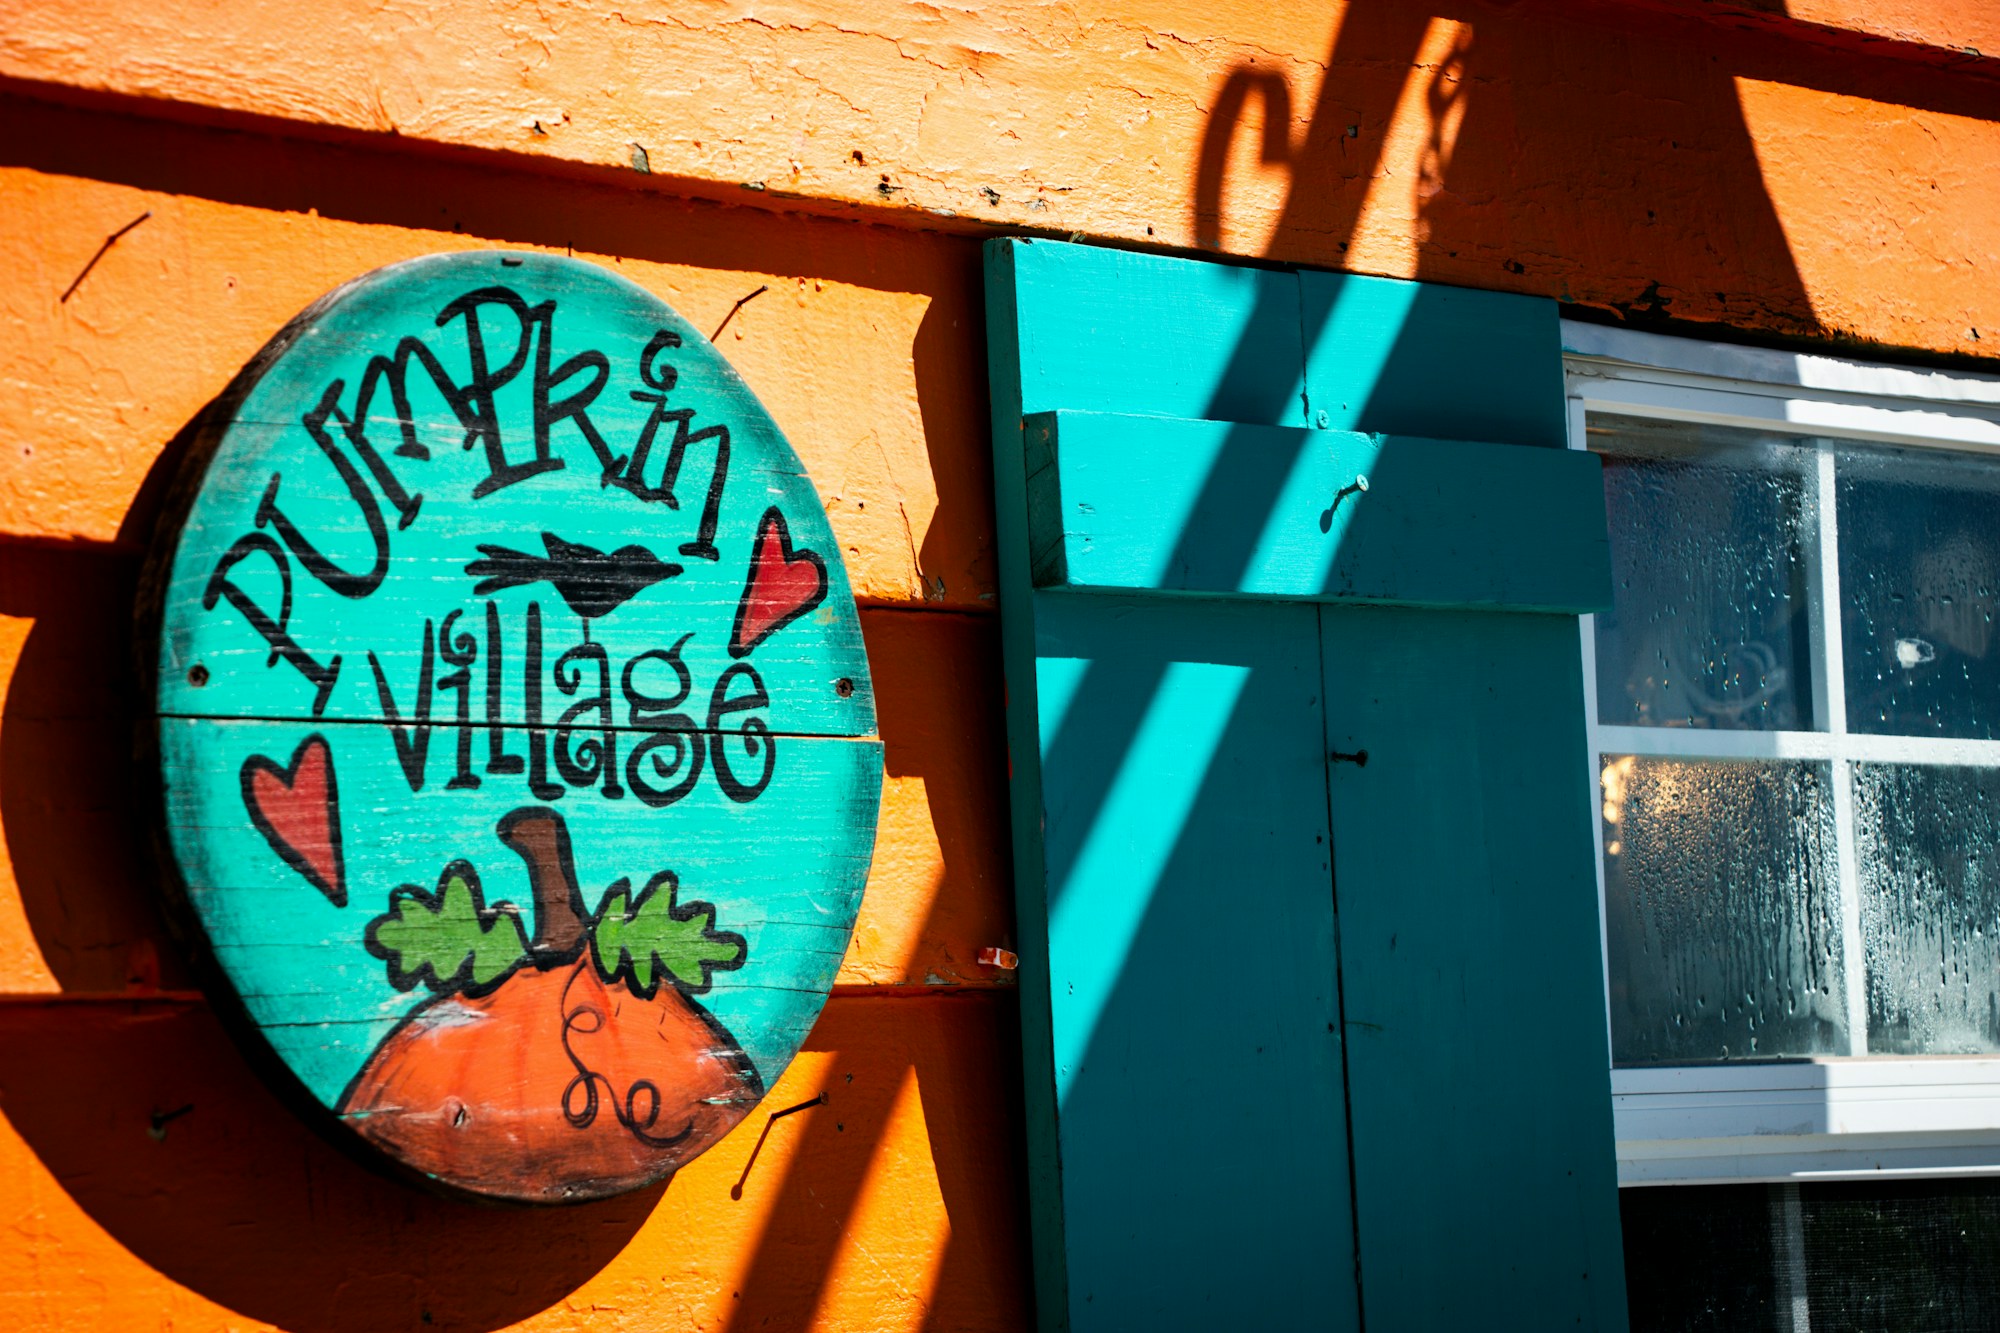
Bold colors and playful hand painting make folk art DIY front door signs stand out from the street. A round board painted turquoise with a cheerful pumpkin, hearts and a fun place name feels like it belongs on a storybook cottage. Do not worry about perfect lines, because wobbly letters add to the charm. Which colors would brighten your door?
You will need: A round wood board, bright acrylic paints, fine brushes, a pencil and outdoor sealer.
How to make it: 1. Paint the board a bright base color. 2. Sketch your design in pencil. 3. Paint the pictures and letters. 4. Seal it well for outdoor use.
Burlap and Twine Hanger
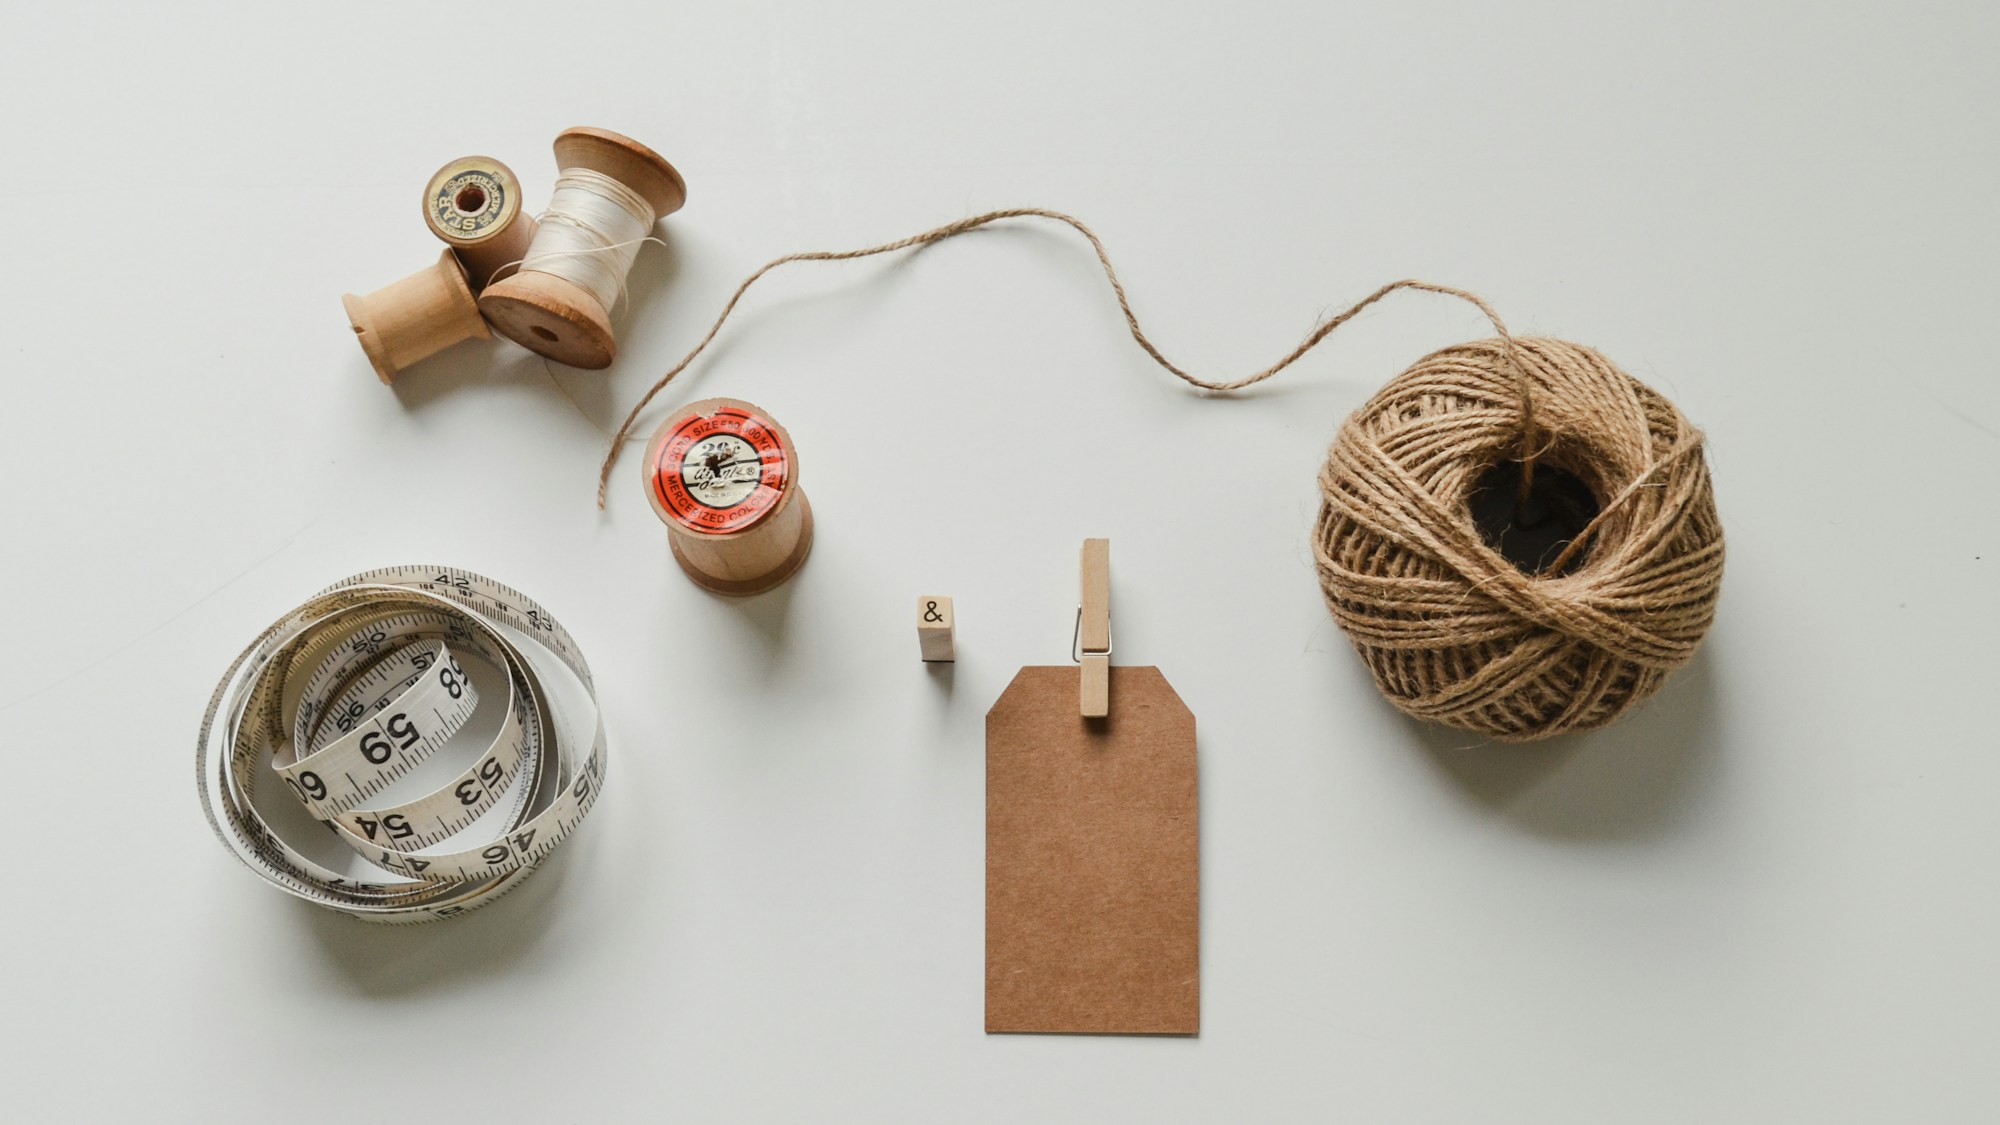
Burlap and twine give a soft, country look that works on any door. Cut a burlap rectangle, fray the edges, stencil a short word or a simple heart and glue it to a wooden dowel. Tie twine to both ends of the dowel and add a little tag with your family initial. This is a great project for beginners. Who would you make a matching one for?
You will need: Burlap, a wooden dowel, twine, a kraft paper tag, fabric paint, a stencil and fabric glue.
How to make it: 1. Cut the burlap and pull a few threads to fray the edges. 2. Stencil your design with fabric paint. 3. Glue the top edge around the dowel. 4. Tie twine to both ends and add the tag.
Painted Shutter Sign
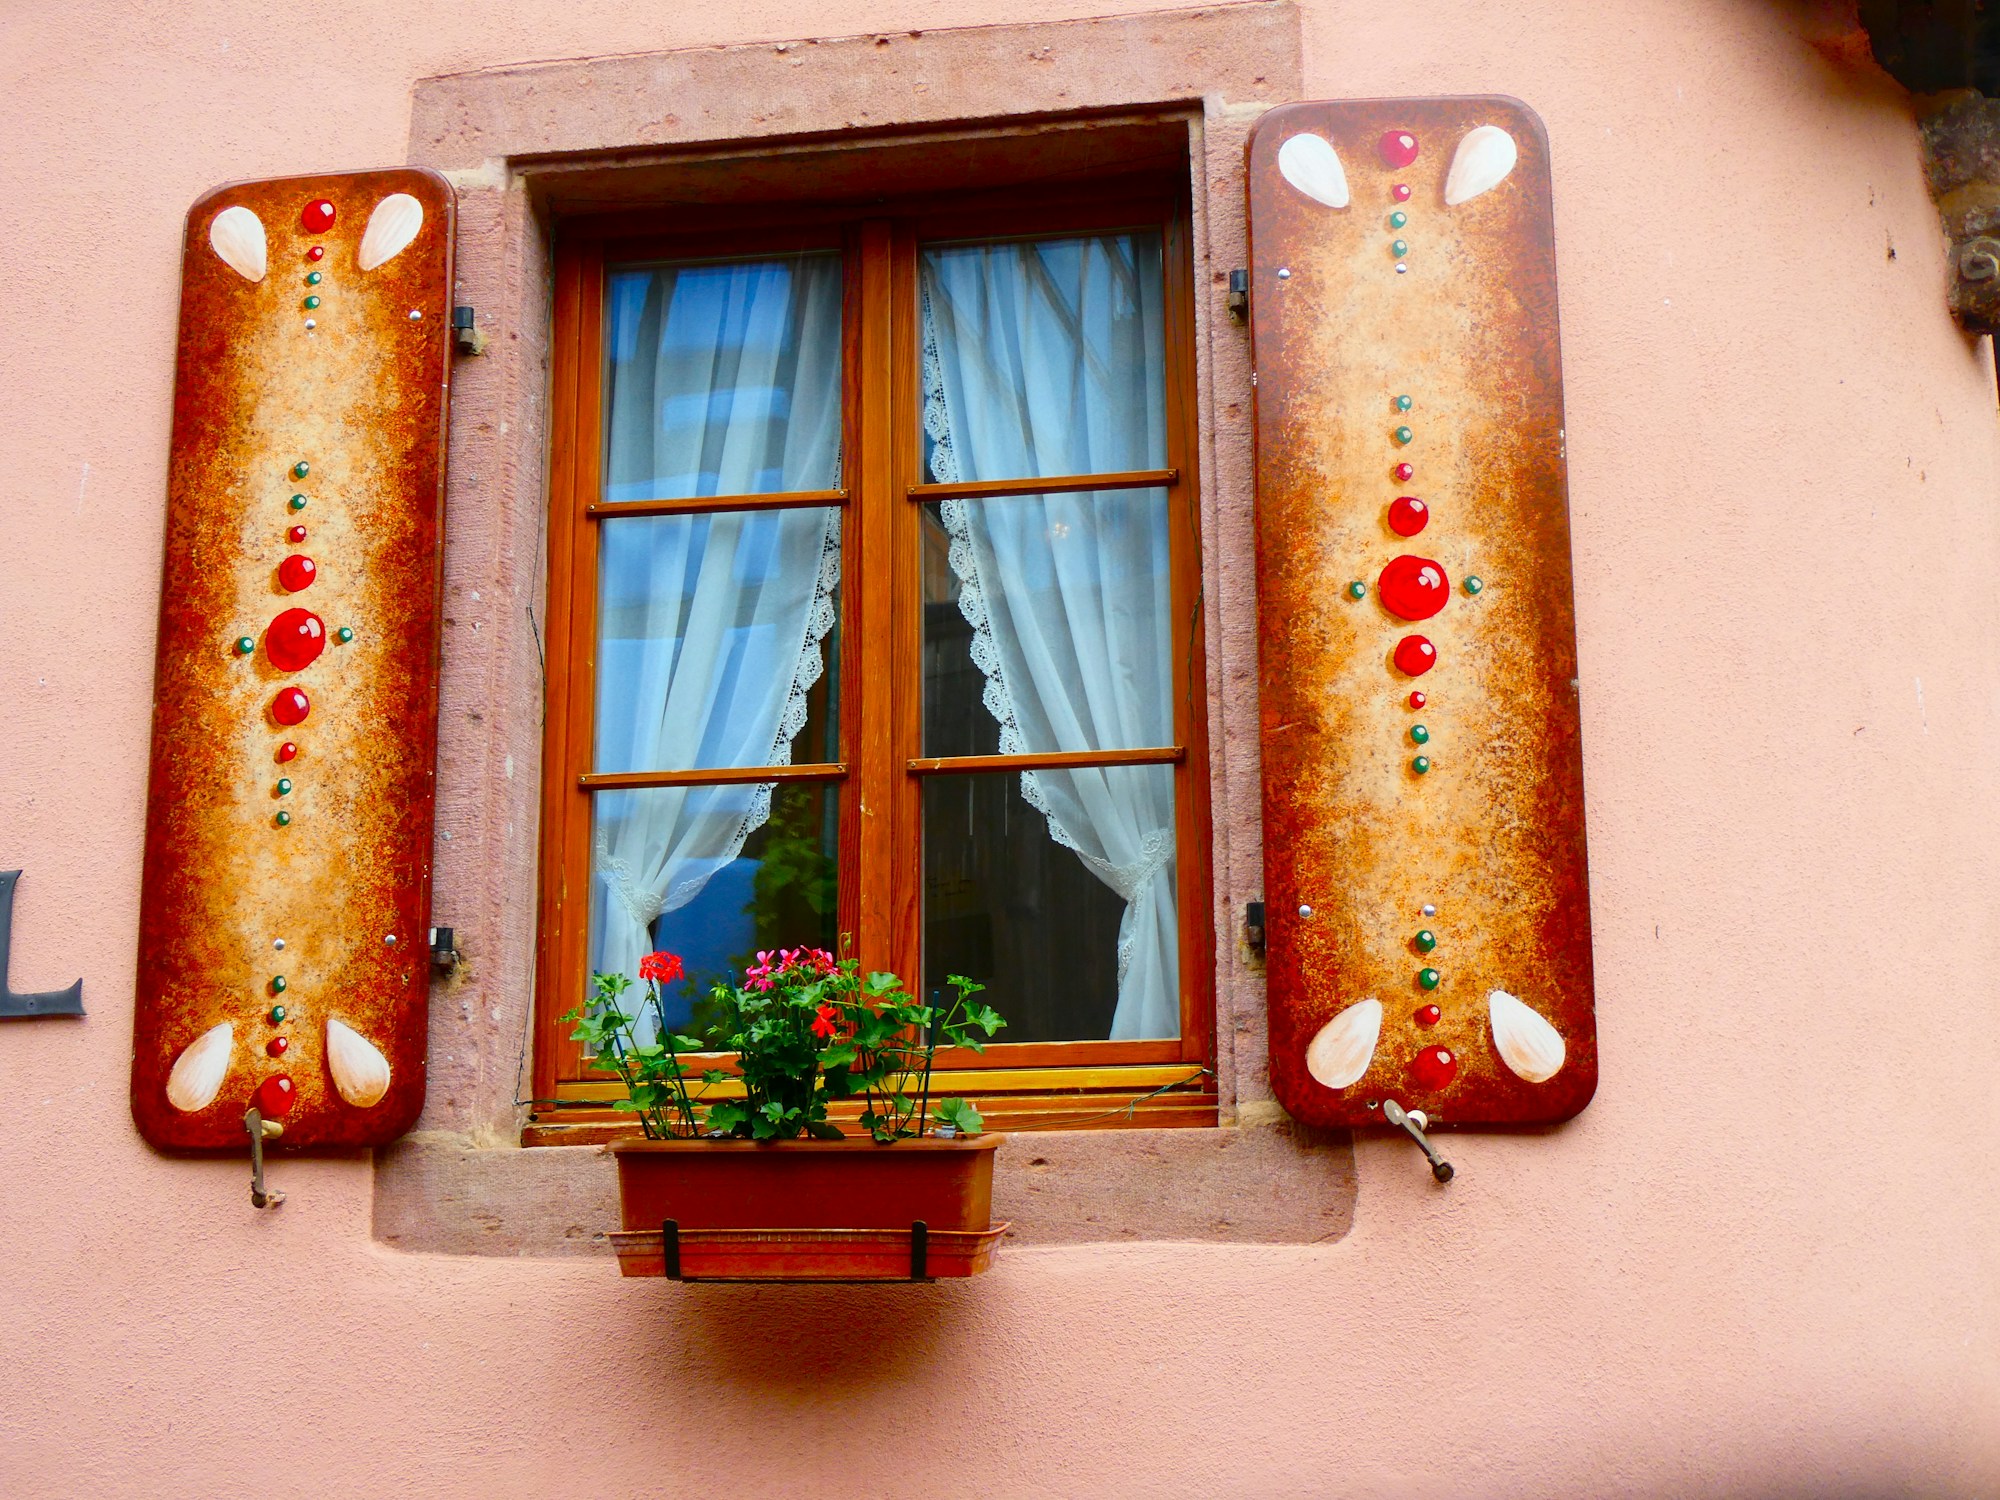
An old wooden shutter can become a tall, eye catching sign beside the door. Paint it a bold color, add a stenciled greeting or folk art flowers and hang a small wreath near the top. Shutters are often found at salvage yards and yard sales for a few dollars. Ask an adult to check for loose slats and sand any rough spots first. What color would you choose?
You will need: 1 old wooden shutter, sandpaper, outdoor paint, stencils, small brushes and a mini wreath.
How to make it: 1. An adult checks and sands the shutter. 2. Paint it with two coats of outdoor paint. 3. Stencil a greeting or paint flowers. 4. Lean or mount it next to the door.
Finish DIY Front Door Signs With a Wreath and Lanterns
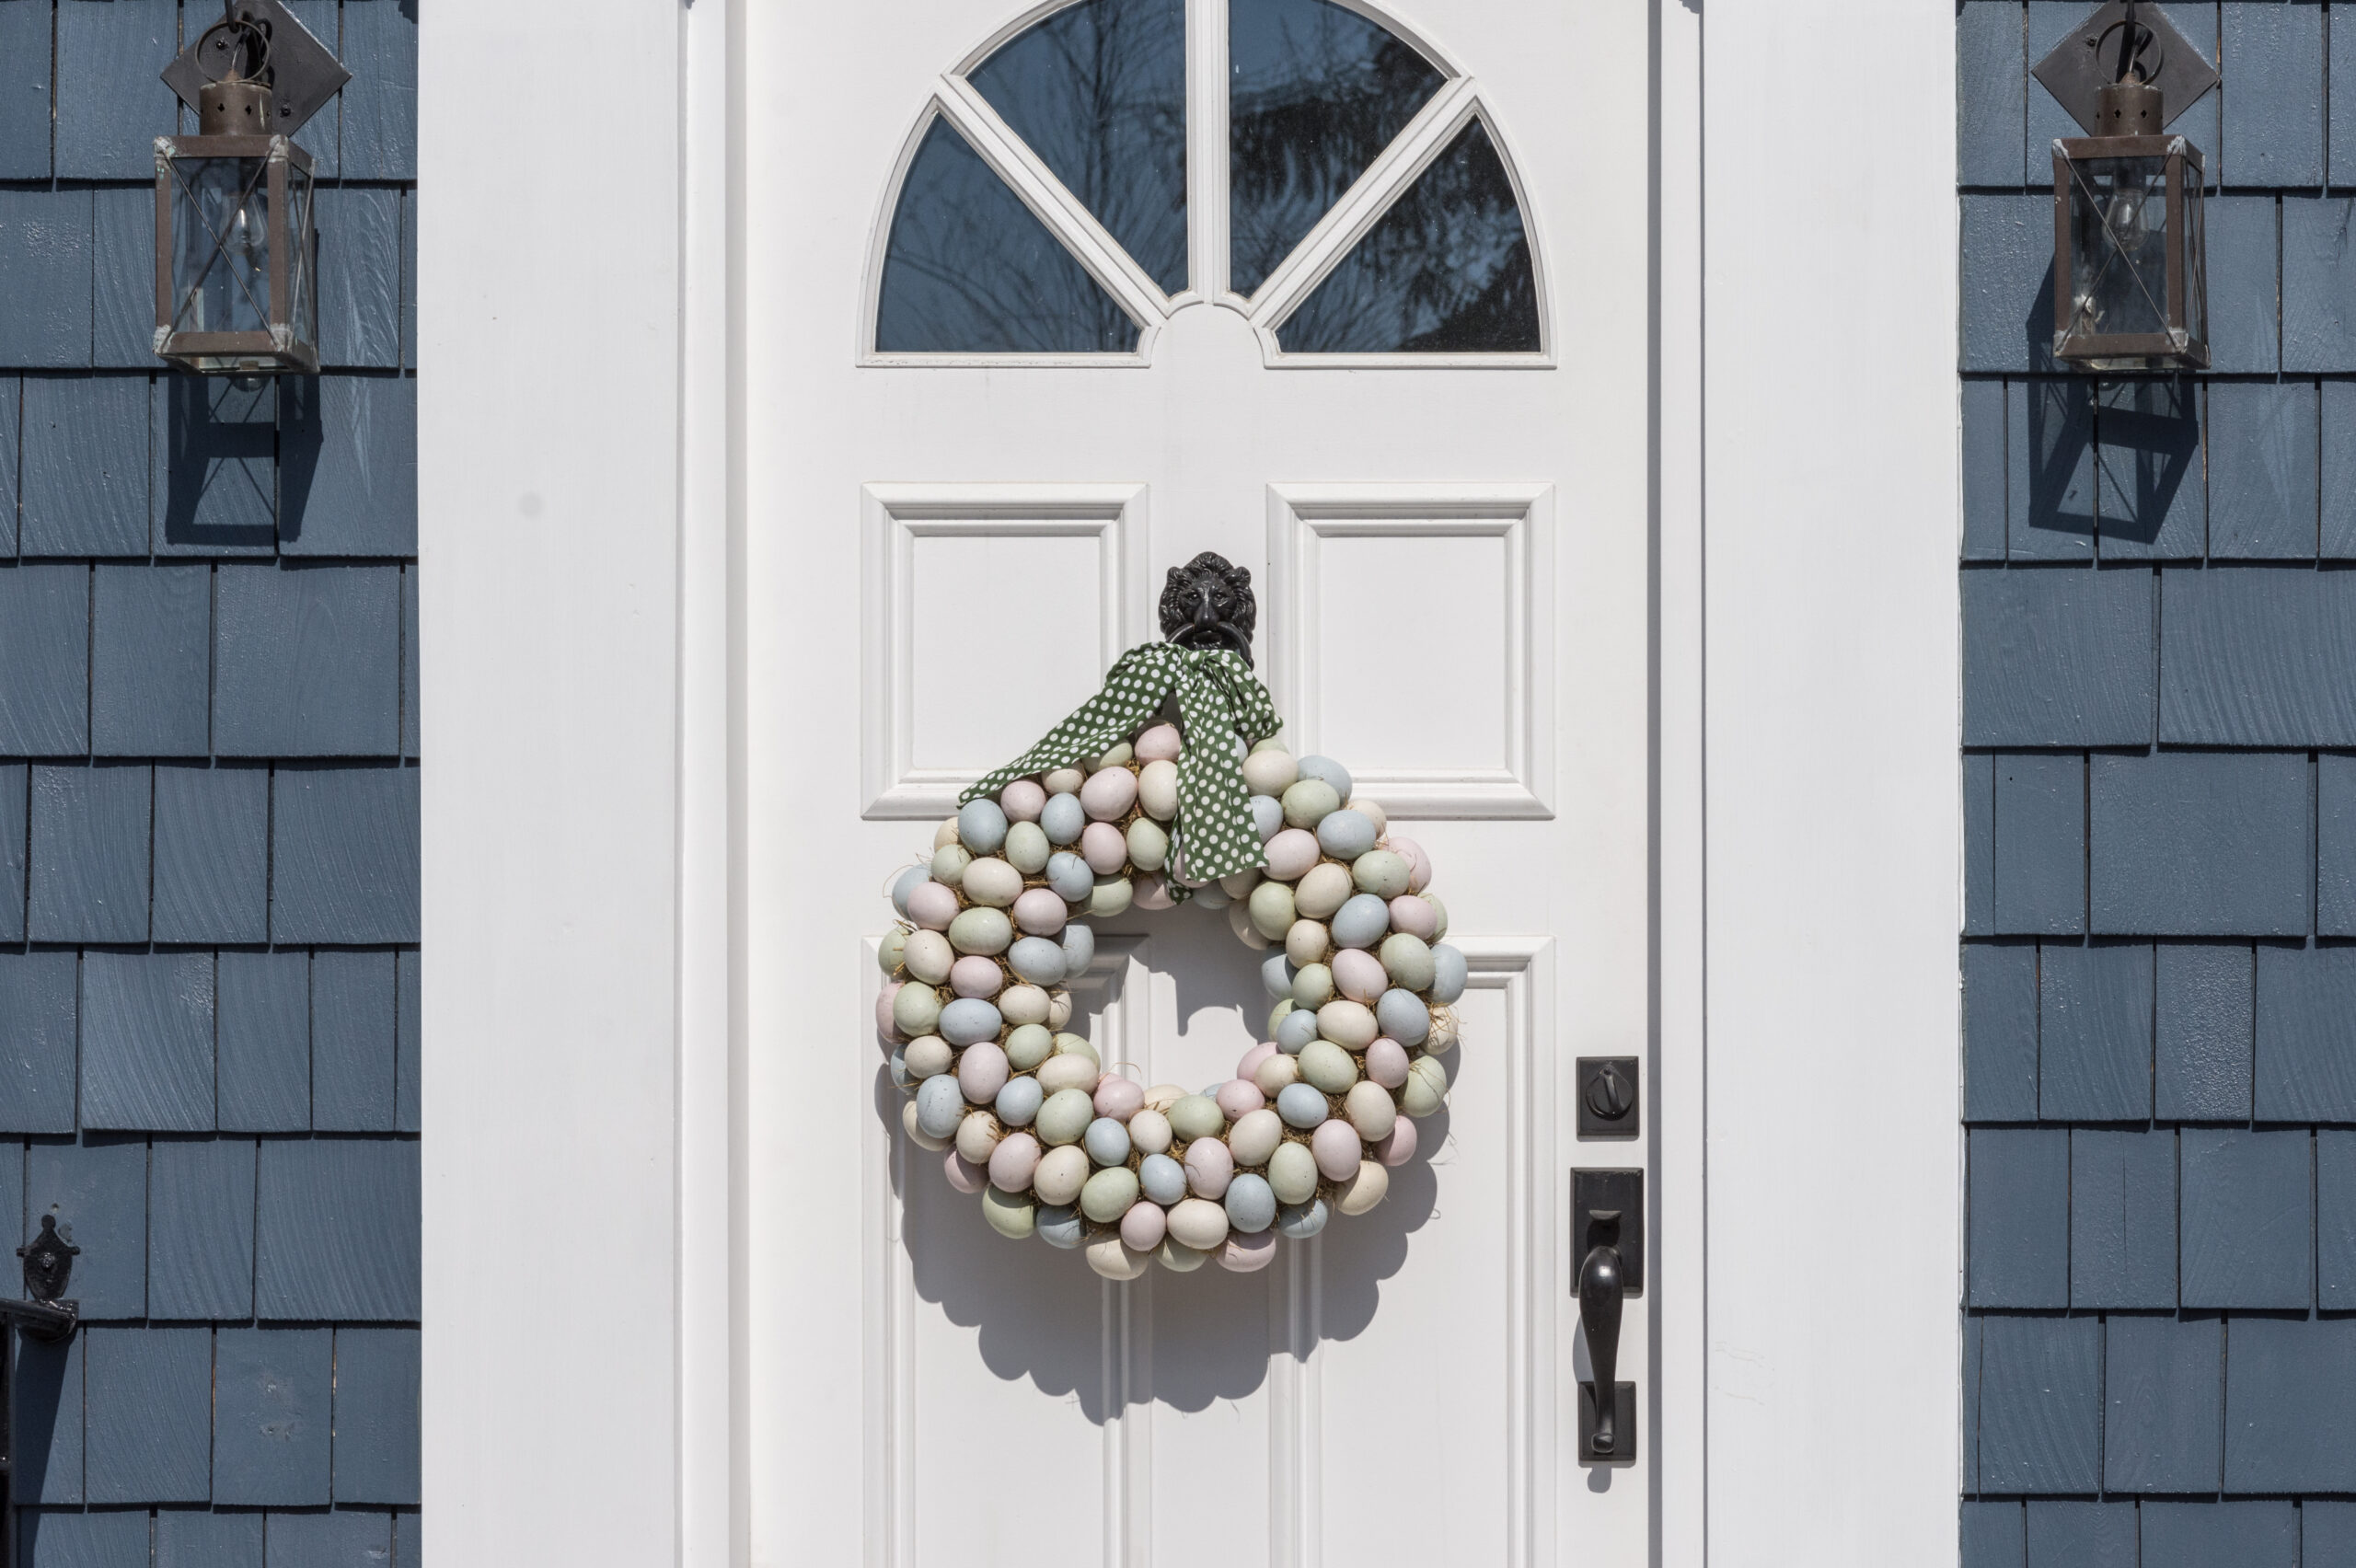
The best DIY front door signs look even better with a little styling around them. Add a pair of lanterns with battery candles, a simple wreath and a potted plant or two, and your porch suddenly feels finished. Searches for door sign ideas keep climbing on Google Trends every fall and winter, so you are in good company. Which sign will greet your guests first?
You will need: 2 lanterns, battery LED candles, a wreath, an over the door hanger and a potted plant.
How to make it: 1. Hang your sign at eye level. 2. Place a lantern on each side of the door. 3. Add battery candles for a soft glow. 4. Finish with a plant or a seasonal touch.