16 Genius Kitchen Fixes That Solve the Messes Everyone Hates
These genius kitchen fixes solve the little messes that make cooking feel like a chore, from sticky garlic skins to the pile of pot lids that crashes down every time you open the cabinet. None of them need special gadgets or harsh cleaners. Most use things you already own, like a jar, a rubber band, a wooden spoon or an empty cereal box. Millions of people have been watching and sharing these tricks online this month, and once you try them, you will wonder how you ever cooked without them. They save time, save money and save your patience on a busy weeknight. Pick one to try tonight and see how much calmer your kitchen feels..
Genius Kitchen Fixes Start With Shaking Garlic in a Jar
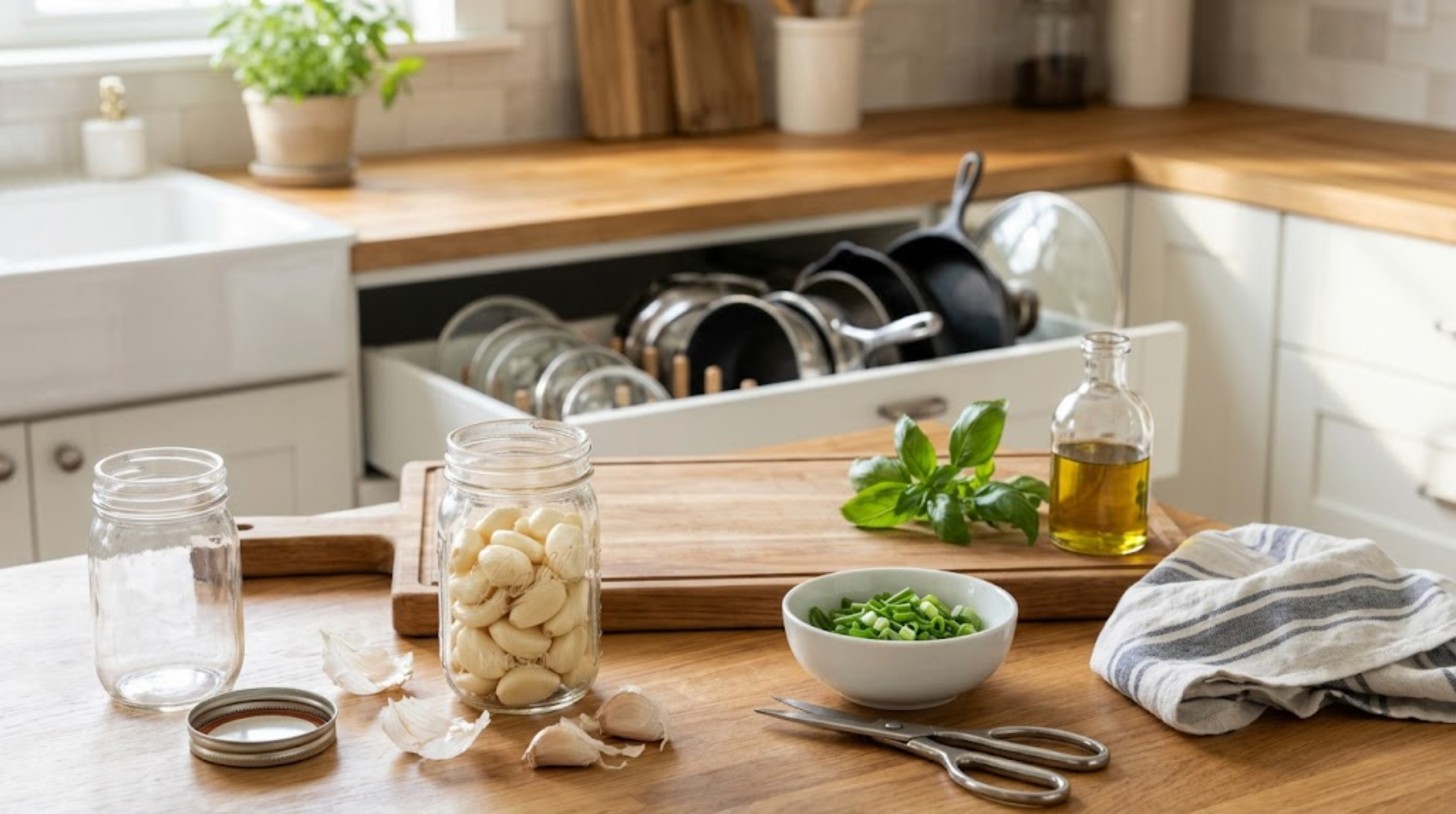
If peeling garlic makes your fingers sticky and your patience thin, this trick will feel like magic. Break a head of garlic into cloves, drop them into a jar, put the lid on and shake hard for about 20 seconds. The skins slip right off and the cloves come out clean. A garlic peeling video showing this was liked by millions of people, and it is easy to see why. It works best with a glass jar that has a little room to spare. Ready to never pick at garlic skin again..
You will need: 1 head of garlic, a glass jar with a tight lid, a little elbow grease.
How to make it: 1. Press down on the garlic head to break it into cloves. 2. Drop the cloves into the jar and close the lid tightly. 3. Shake hard for 20 to 30 seconds. 4. Pour out the cloves and pick off any skins that are left.
Snip Green Onions With Kitchen Scissors
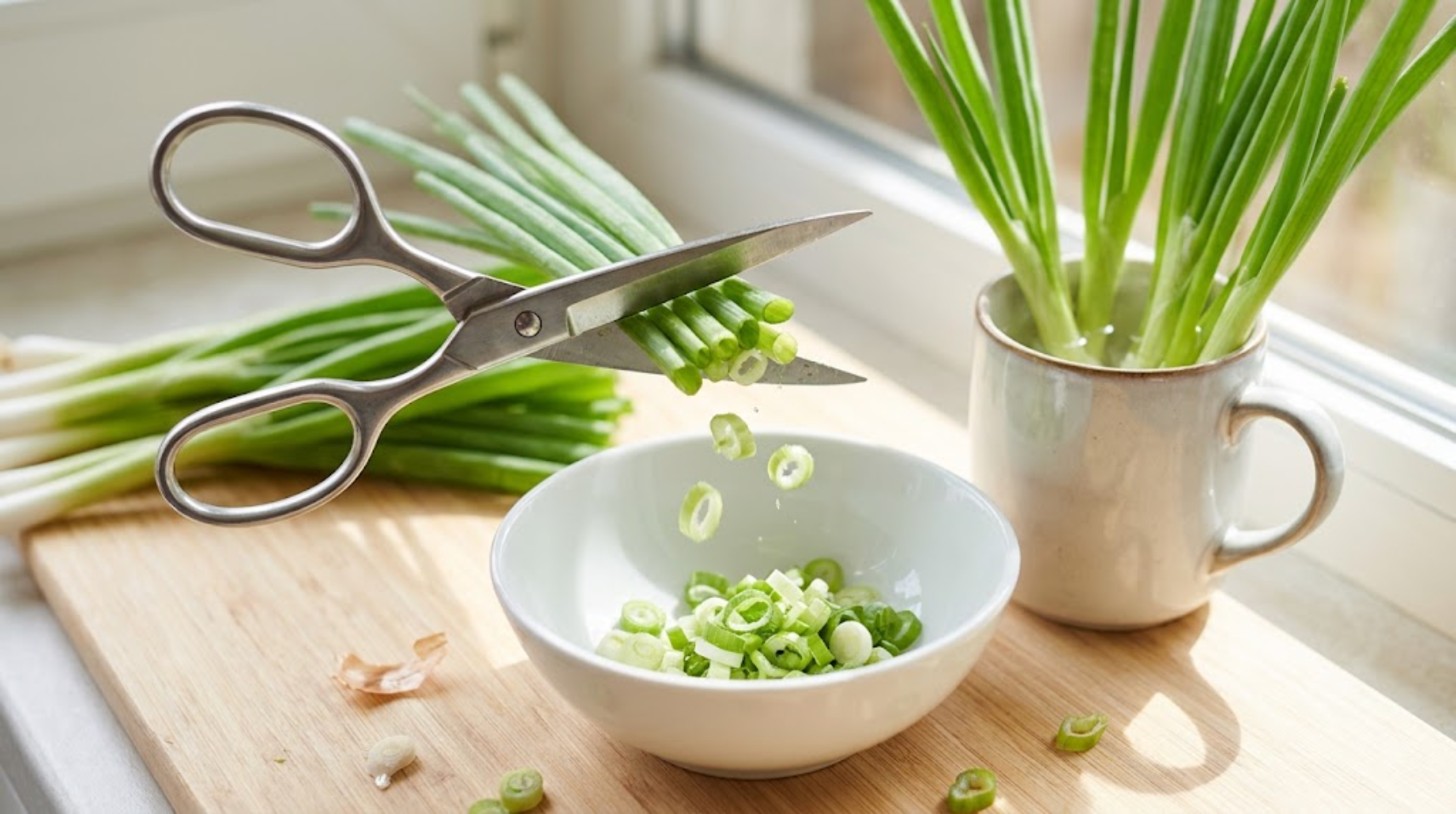
Chopping green onions on a board takes time and they roll all over the place. Kitchen scissors fix that in seconds. Hold the bunch over your bowl or pan and snip little rings right where you need them. There is no board to wash, and it is a safe job for kids who want to help cook. This simple tip got more than 100 thousand likes on Instagram this week. Bonus: stand the white ends in a glass of water on a sunny sill and they grow back. Will you try it on your next taco night?
You will need: A bunch of green onions, clean kitchen scissors, a bowl, a glass of water for regrowing.
How to make it: 1. Rinse and dry the green onions. 2. Hold the bunch over a bowl and snip into thin rings. 3. Keep about an inch of the white root ends. 4. Stand the root ends in water and change the water every two days.
Genius Kitchen Fixes for Pot Lids: A File Sorter Rack
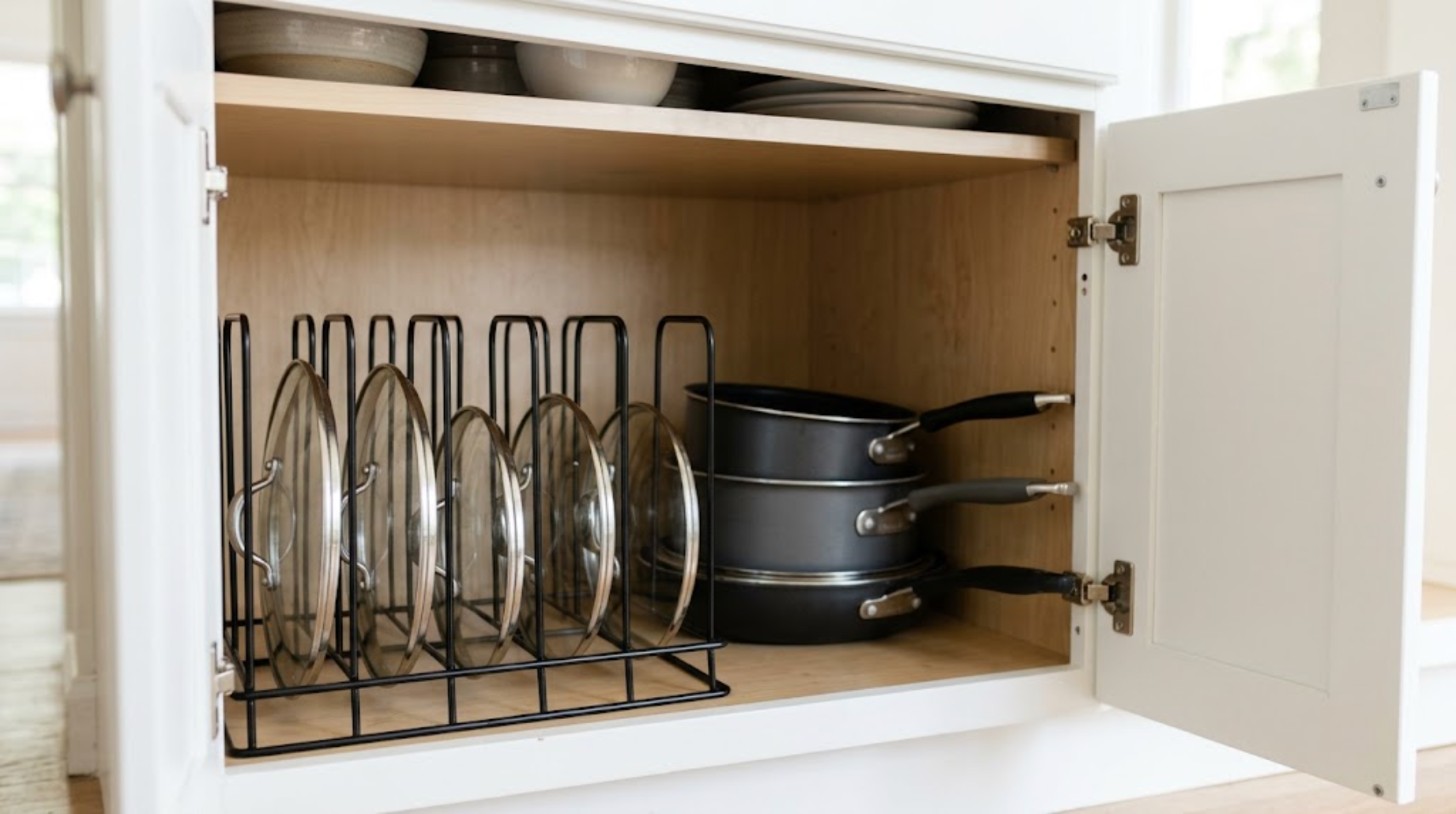
Pot lids are the worst. They slide, stack badly and crash every time you reach for one. A simple metal desk file sorter, the kind made for folders, solves it. Set it on a cabinet shelf or in a deep drawer and stand each lid upright in its own slot. Now you can see every lid at a glance and grab the right one without a clatter. Office supply aisles and thrift stores often have them for a few dollars. Which cabinet in your kitchen needs this most?
You will need: A metal desk file sorter with upright slots, a tape measure, felt pads (optional).
How to make it: 1. Measure your shelf or drawer so the sorter fits. 2. Stick felt pads under the sorter so it does not scratch. 3. Place the sorter in the cabinet. 4. Stand lids upright, biggest at the back.
Hang Spray Bottles on a Tension Rod Under the Sink
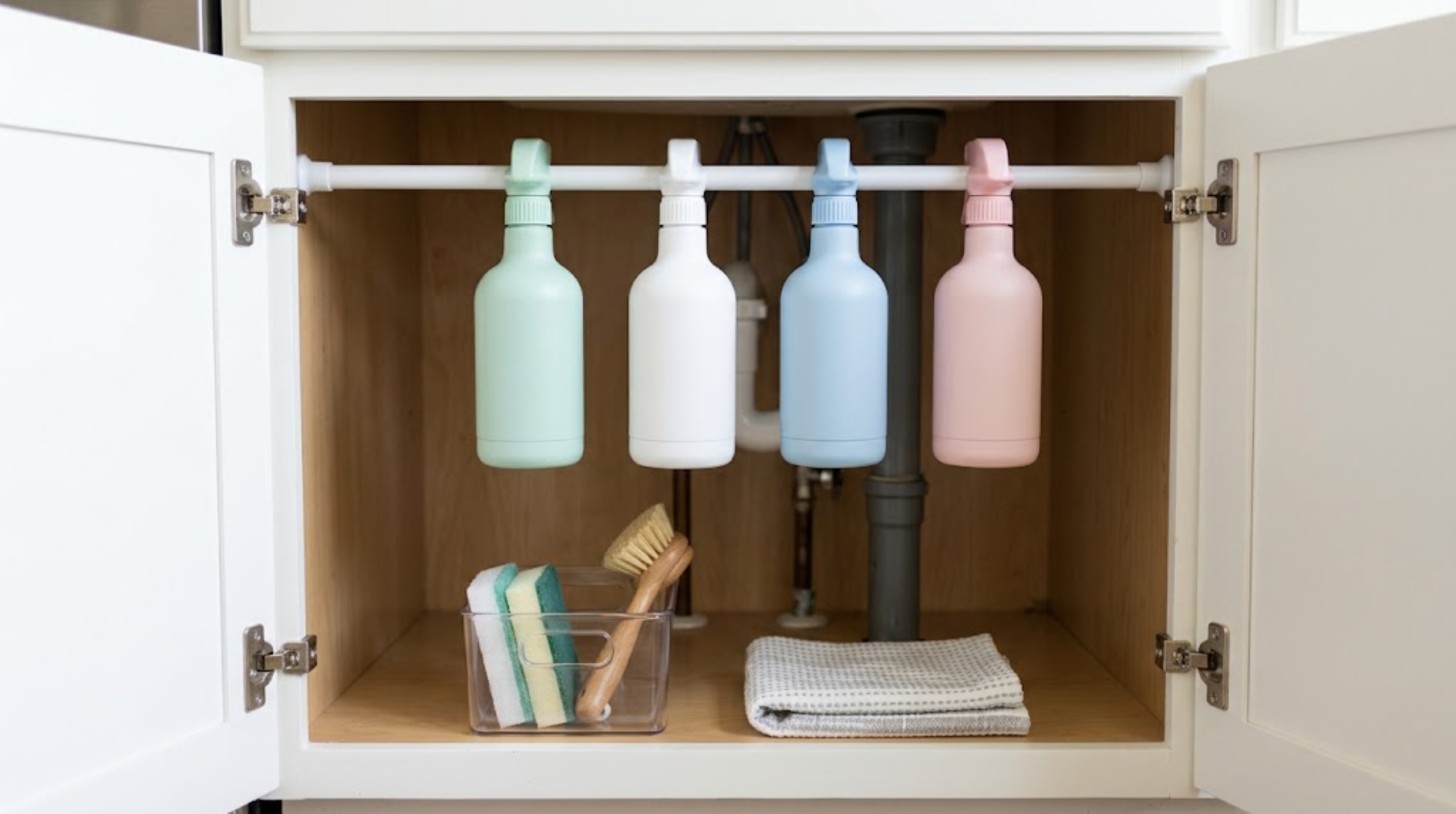
The space under the kitchen sink is usually a jumble of bottles knocked over in the dark. A tension rod, the same kind used for shower curtains, makes it neat in five minutes. Twist it in place across the cabinet and hang your spray bottles by their triggers. Suddenly the floor of the cabinet is free for bins and sponges. No drilling, no tools, and it comes out easily if you move. It is one of the cheapest genius kitchen fixes you can make. What will you do with all that new space?
You will need: A small tension rod, a tape measure, spray bottles, a small bin for sponges.
How to make it: 1. Measure the inside width of the cabinet. 2. Twist the tension rod until it fits snugly near the top. 3. Hang each spray bottle by its trigger. 4. Use the open floor for a bin of sponges and brushes.
Use a Rubber Band to Open a Stuck Jar Lid
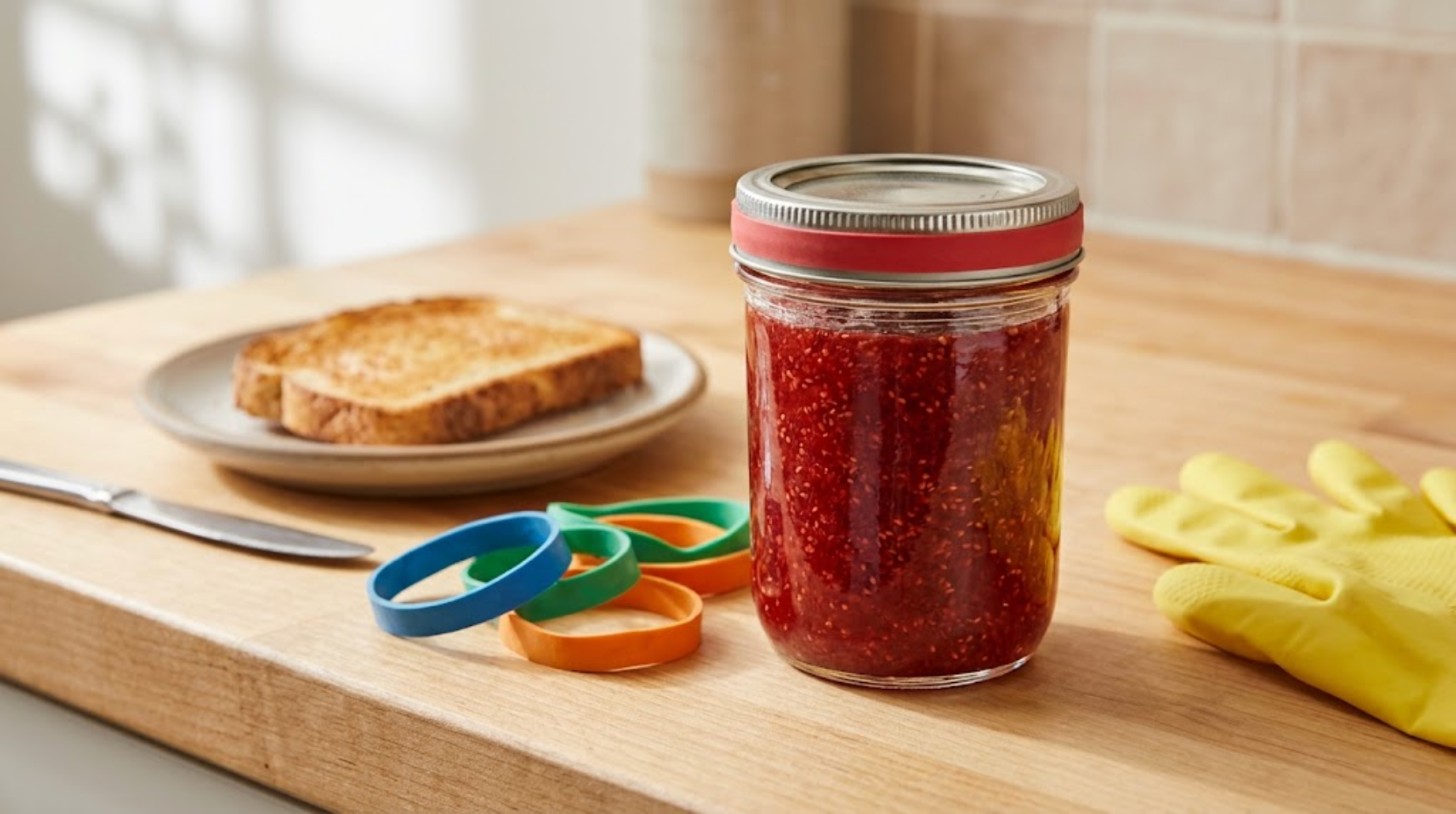
We have all stood there twisting a jar lid until our hand hurts. Next time, grab a thick rubber band. Wrap it around the edge of the lid and twist again. The rubber gives your hand a strong grip, and the lid usually pops open on the first try. A dry dish glove works the same way. Keep a couple of wide rubber bands in your junk drawer just for this. It is a tiny trick, but it saves so much frustration. Who in your house always gets asked to open the jars?
You will need: A wide rubber band or a dry rubber dish glove, the stubborn jar.
How to make it: 1. Dry your hands and the lid. 2. Stretch the rubber band around the outer edge of the lid. 3. Hold the jar firmly and twist the lid. 4. If it is still stuck, add a second band on the jar itself.
Lay a Wooden Spoon Across the Pot
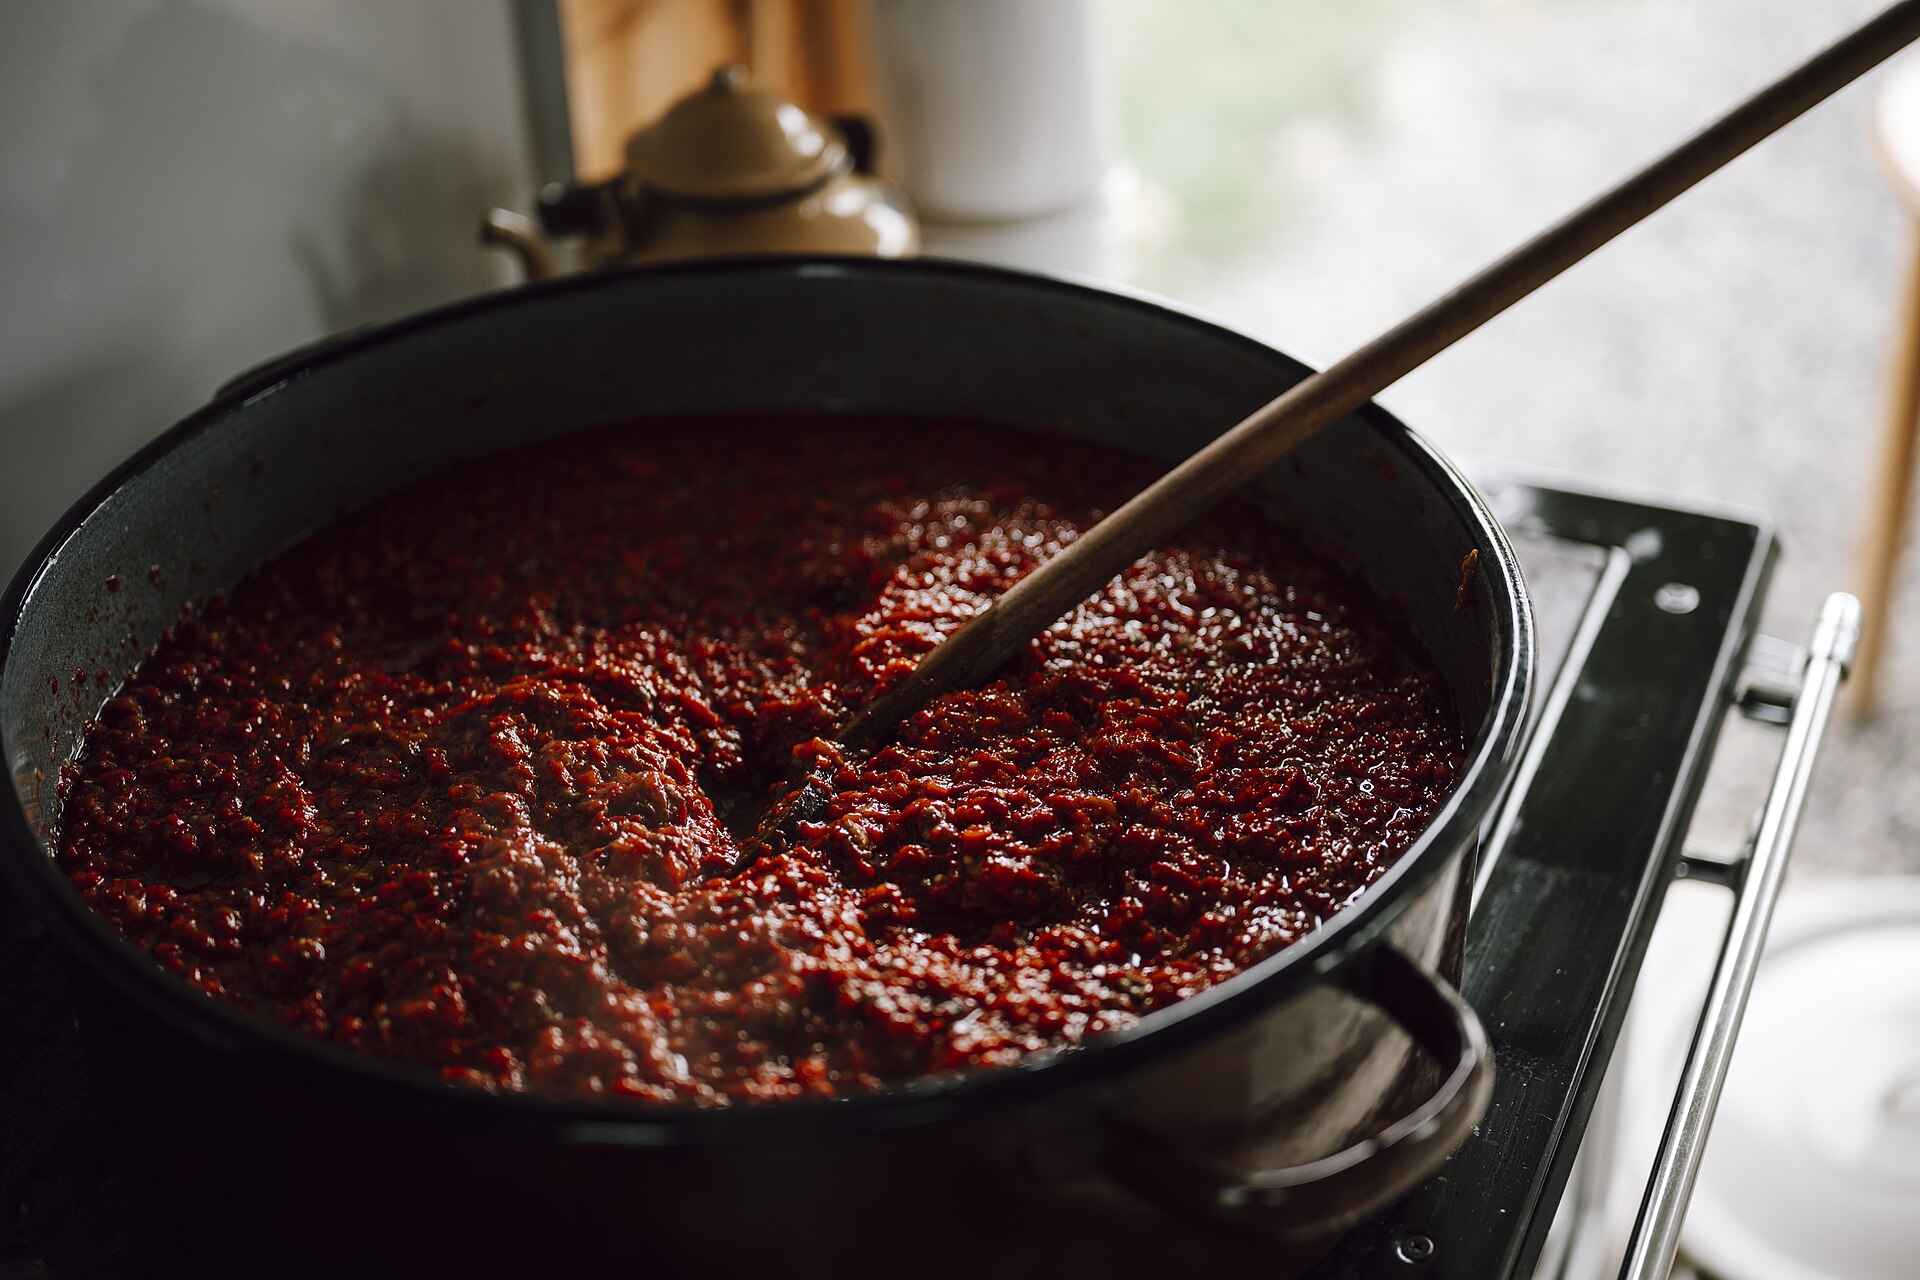
Pasta and potatoes love to foam up and boil over the second you turn around. An old kitchen trick helps: lay a wooden spoon across the top of the pot. The dry wood helps break the bubbles as they rise, giving you a few extra seconds to turn down the heat. It is not magic, so stay close to the stove, but it really does cut down on messy spills. Just make sure the handle is not over another burner. Have you tried this trick yet?
You will need: A long wooden spoon, a pot of water, a watchful eye.
How to make it: 1. Bring the pot to a boil as usual. 2. Lay the dry wooden spoon flat across the top of the pot. 3. Turn the heat down to a steady simmer. 4. Keep the spoon handle away from other hot burners.
Genius Kitchen Fixes for Herbs: Freeze Them in Olive Oil
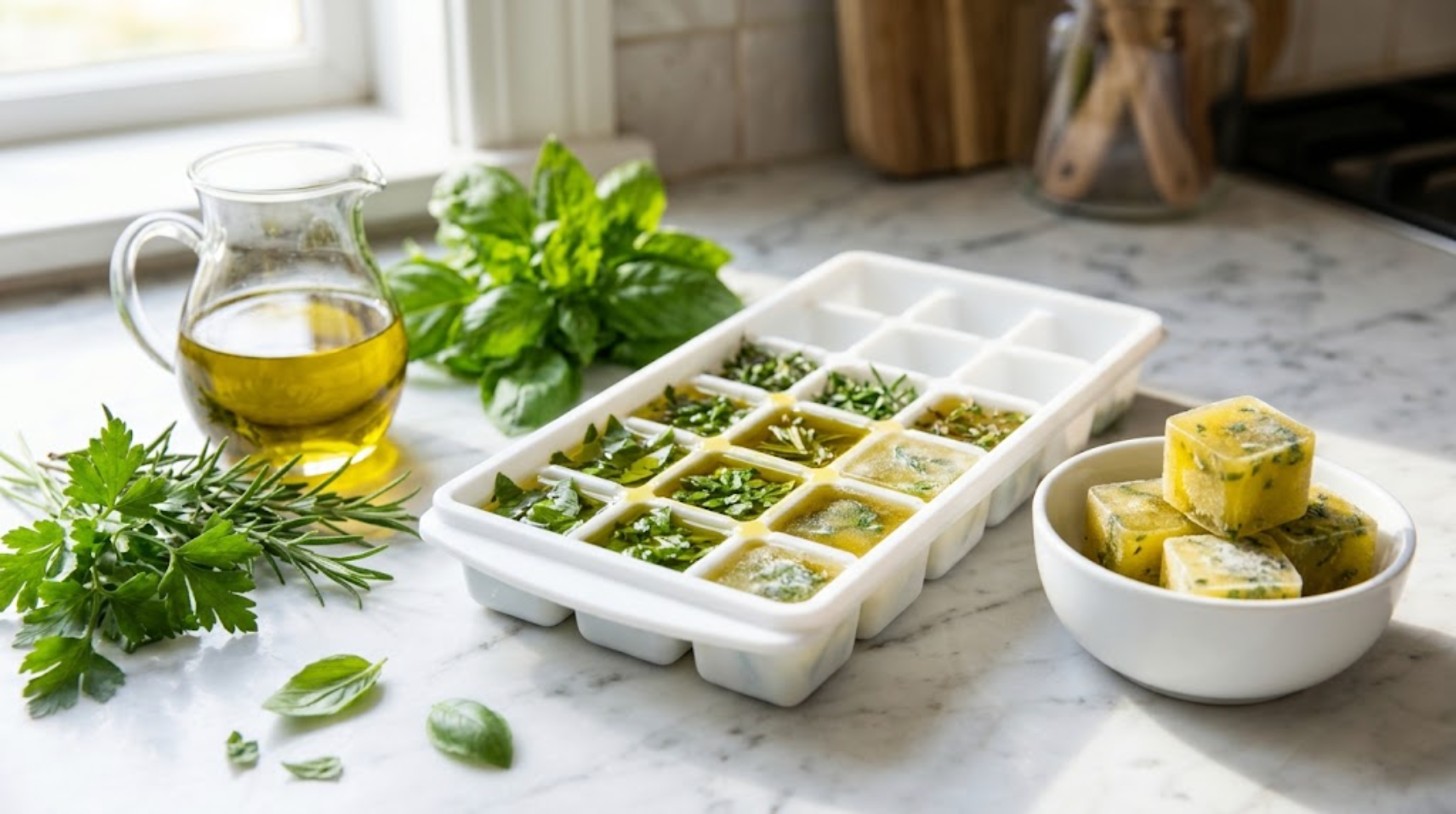
Fresh herbs always seem to wilt before you use them all. Instead of tossing them, chop them up, pack them into an ice cube tray and cover them with olive oil. Freeze, and you have ready to cook flavor bombs. Drop one straight into a hot pan for soup, pasta or roasted vegetables. Basil, rosemary, thyme and parsley all work well. These little cubes are one of the smartest genius kitchen fixes for cutting food waste. Which herb would you freeze first?
You will need: Fresh herbs, olive oil, an ice cube tray, a freezer bag, a marker.
How to make it: 1. Wash and dry the herbs, then chop them. 2. Fill each cube about two thirds full with herbs. 3. Pour olive oil over the top and freeze overnight. 4. Pop the cubes into a labeled freezer bag.
Put a Lazy Susan in the Corner Cabinet
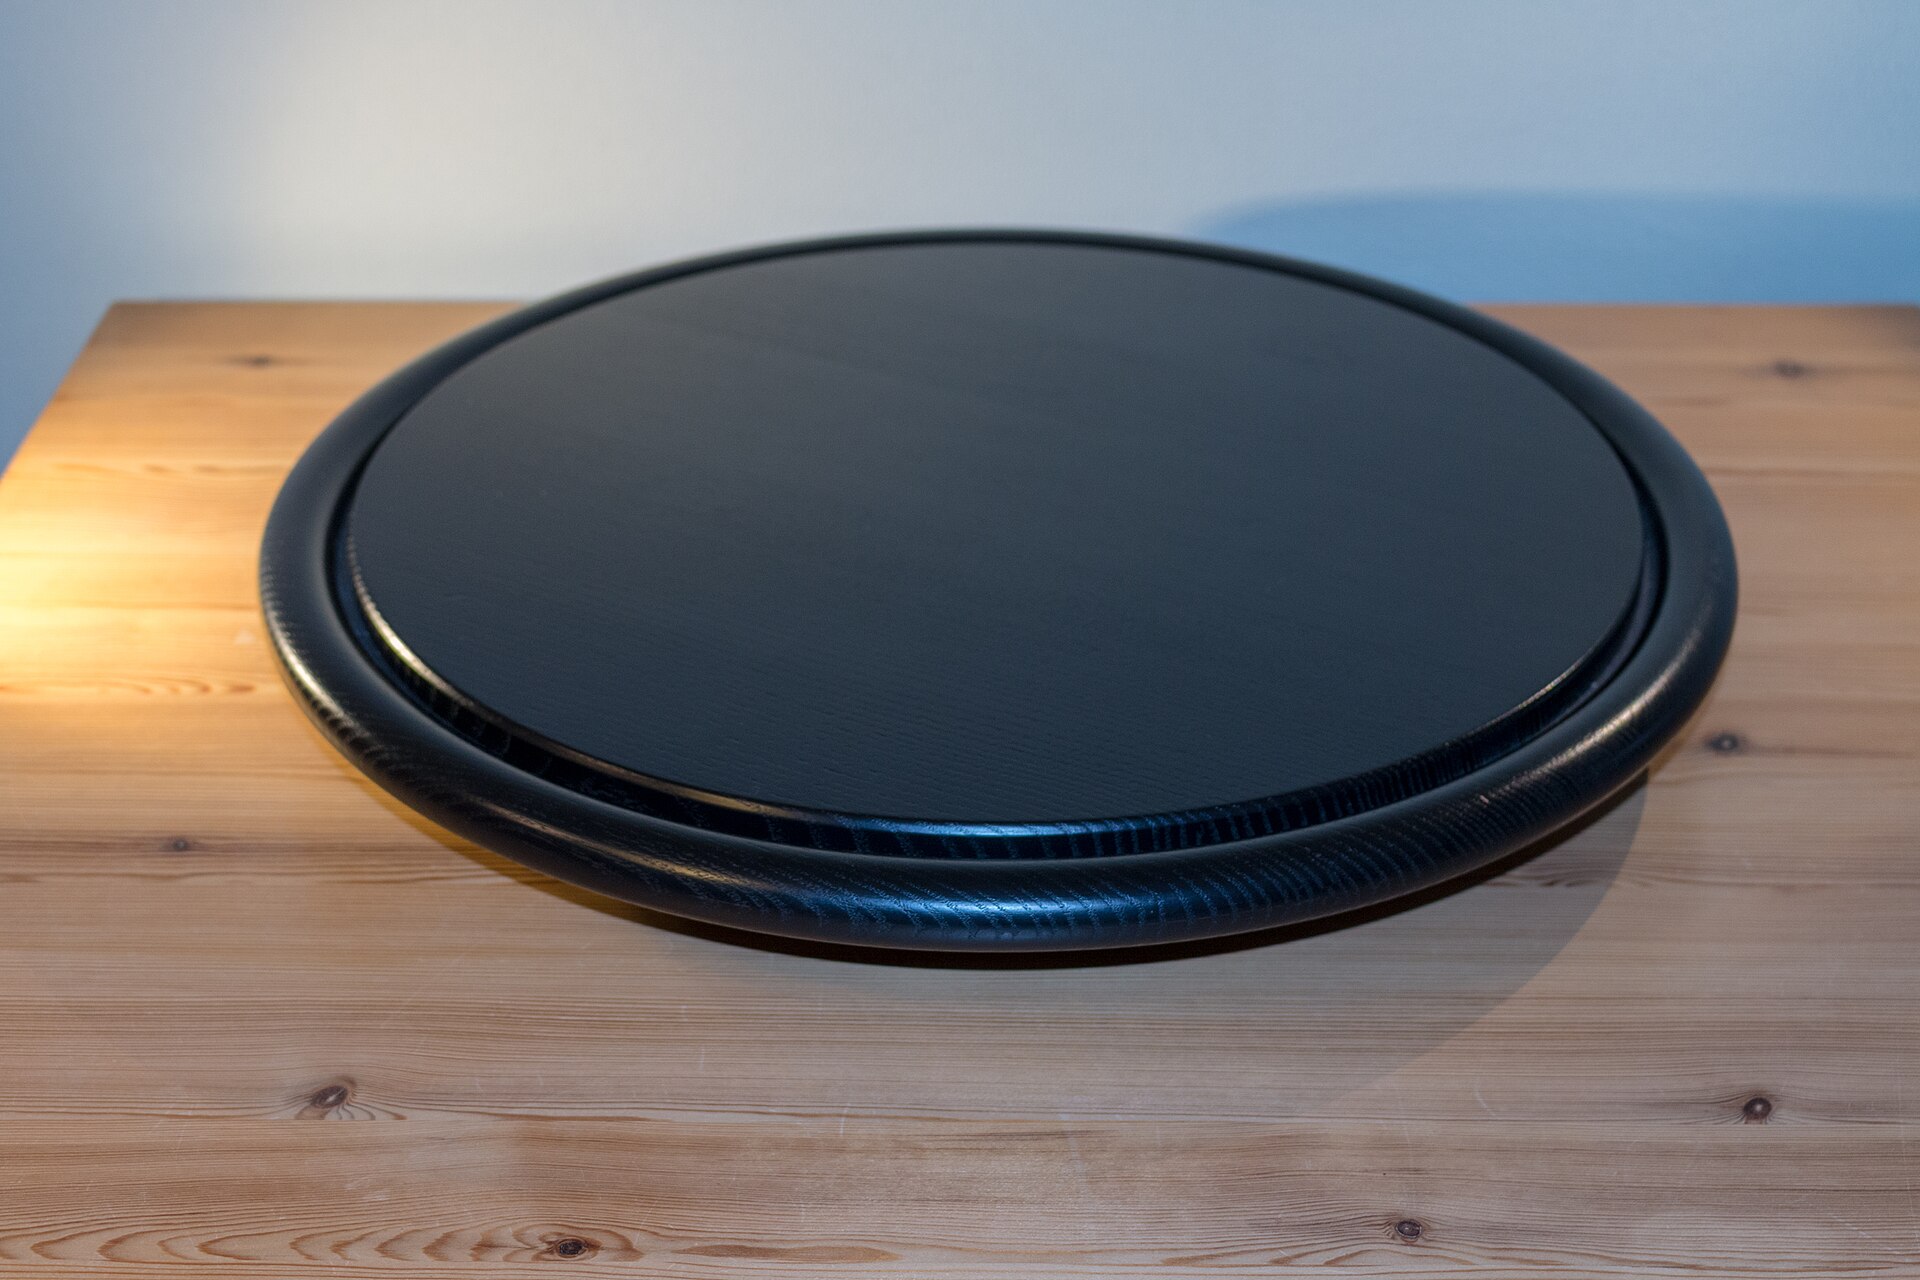
Corner cabinets are where spices and cans go to disappear. A simple turntable, often called a lazy Susan, brings everything back into view. Set it on the shelf, load it with oils, sauces or spice jars, and give it a spin to find what you need. No more knocking things over to reach the back. Turntables also work great in the fridge and under the sink. You can find them at any home store for a few dollars. Which messy corner will you fix first?
You will need: A round turntable that fits the cabinet, a tape measure, non-slip shelf liner.
How to make it: 1. Measure the depth of the corner cabinet. 2. Lay a piece of non-slip liner on the shelf. 3. Set the turntable on top. 4. Load it with the items you use most, tallest in the center.
Hang Measuring Cups on Adhesive Hooks
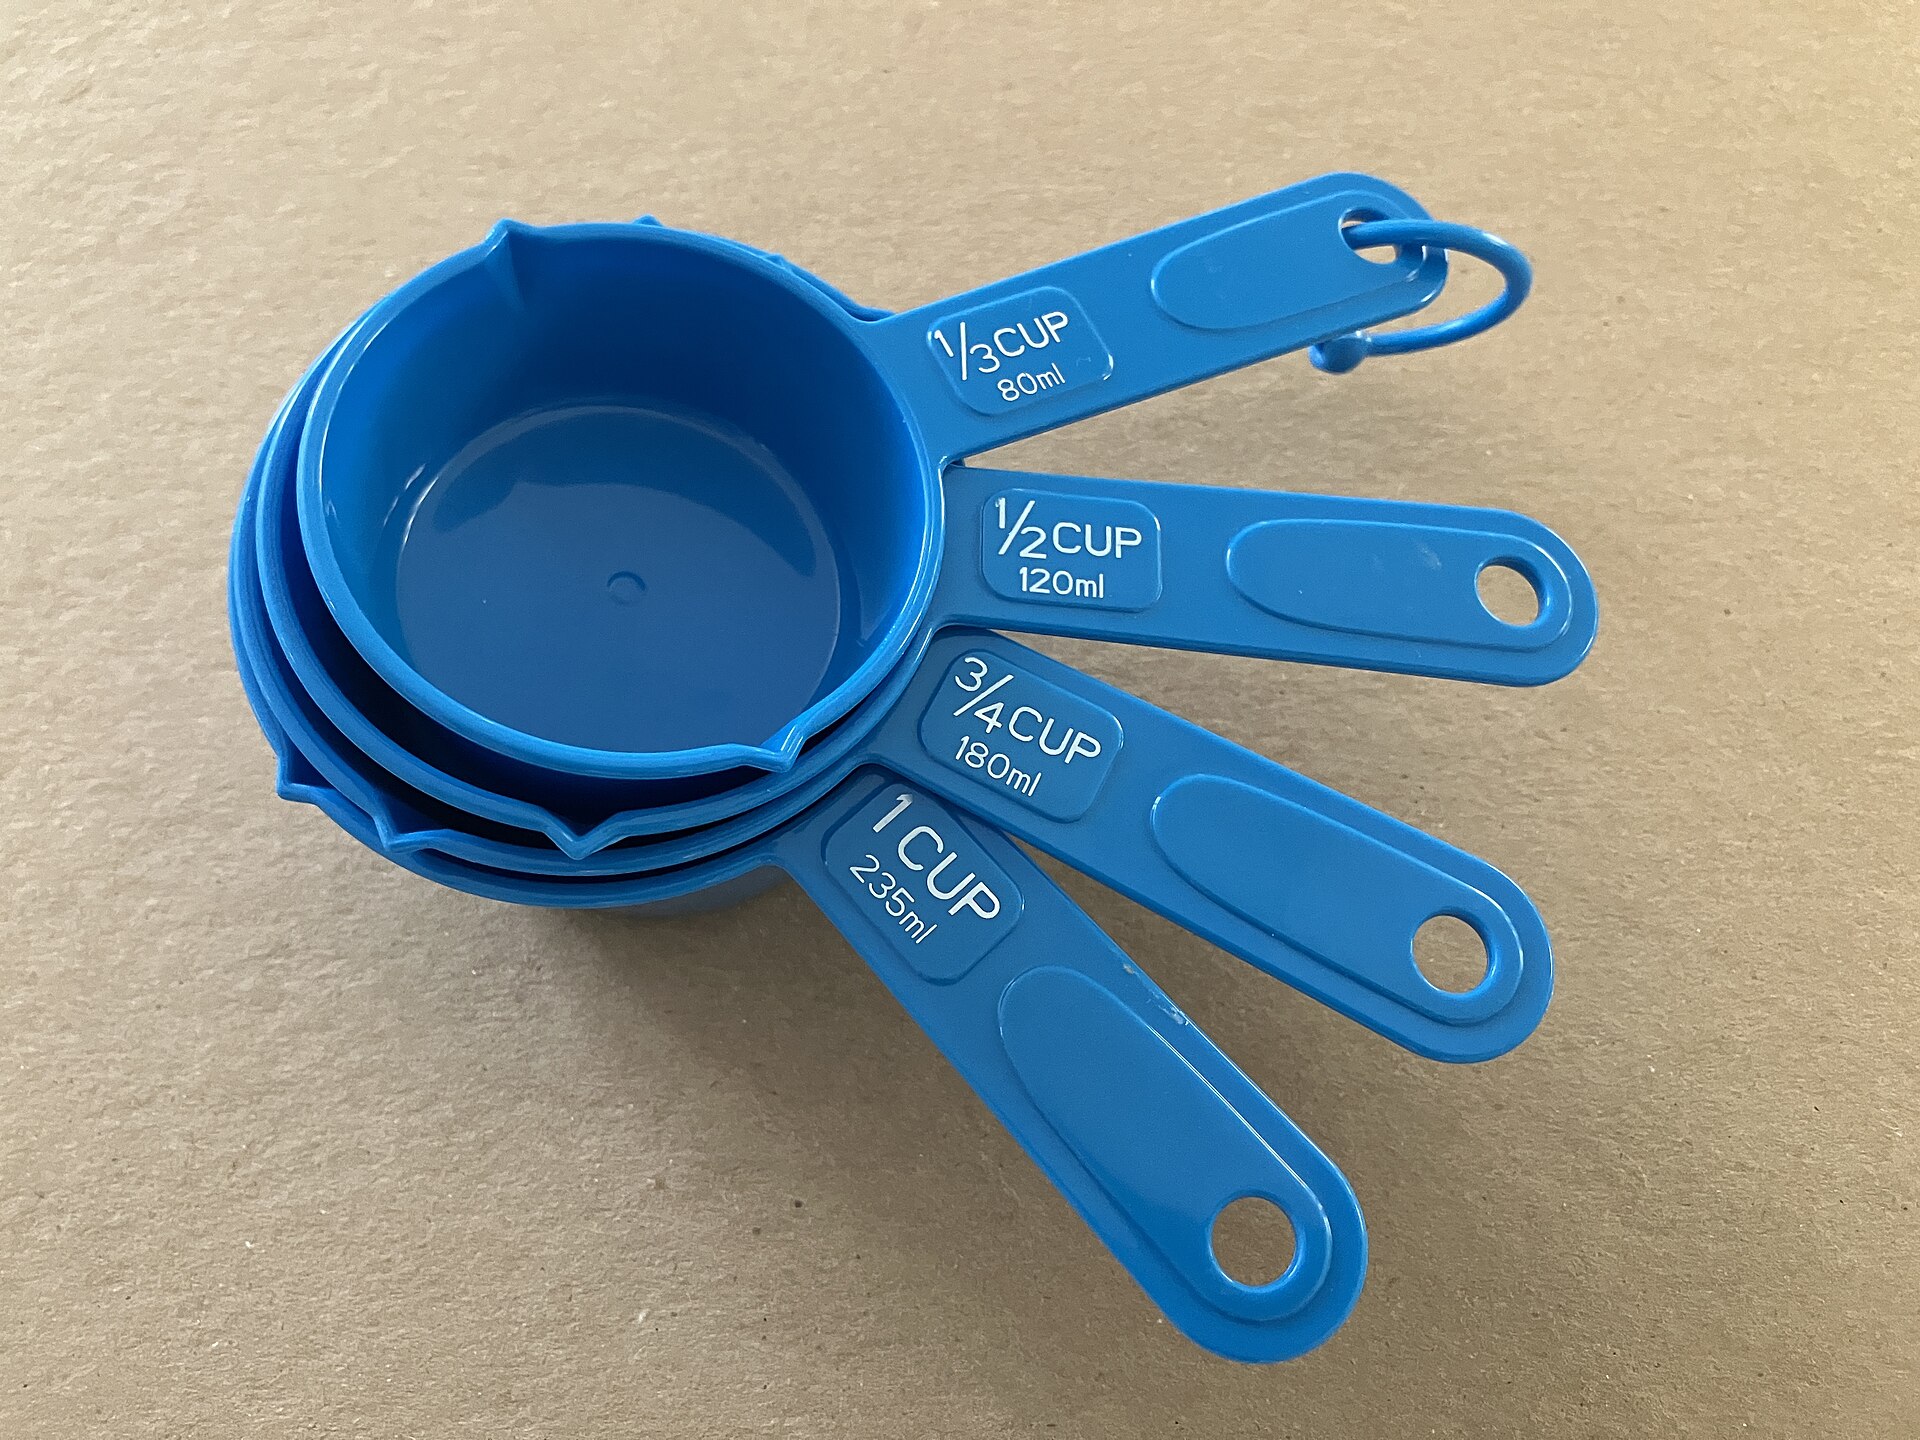
Measuring cups never stay together in a drawer. One is always missing right when you need it. Stick a row of small adhesive hooks inside a cabinet door and hang your cups by their handles. They are easy to see, easy to grab, and they stay in order. Add another row for measuring spoons. Clear hooks are almost invisible and peel off cleanly later. It is one of those genius kitchen fixes that takes ten minutes and saves a little hassle every single day. Which door will you use?
You will need: Small adhesive hooks, rubbing alcohol or a damp cloth, measuring cups and spoons.
How to make it: 1. Wipe the inside of the cabinet door clean and let it dry. 2. Lay out the cups to plan the spacing. 3. Press each hook in place and wait an hour. 4. Hang the cups from largest to smallest.
A Magazine Holder Stores Foil and Wrap
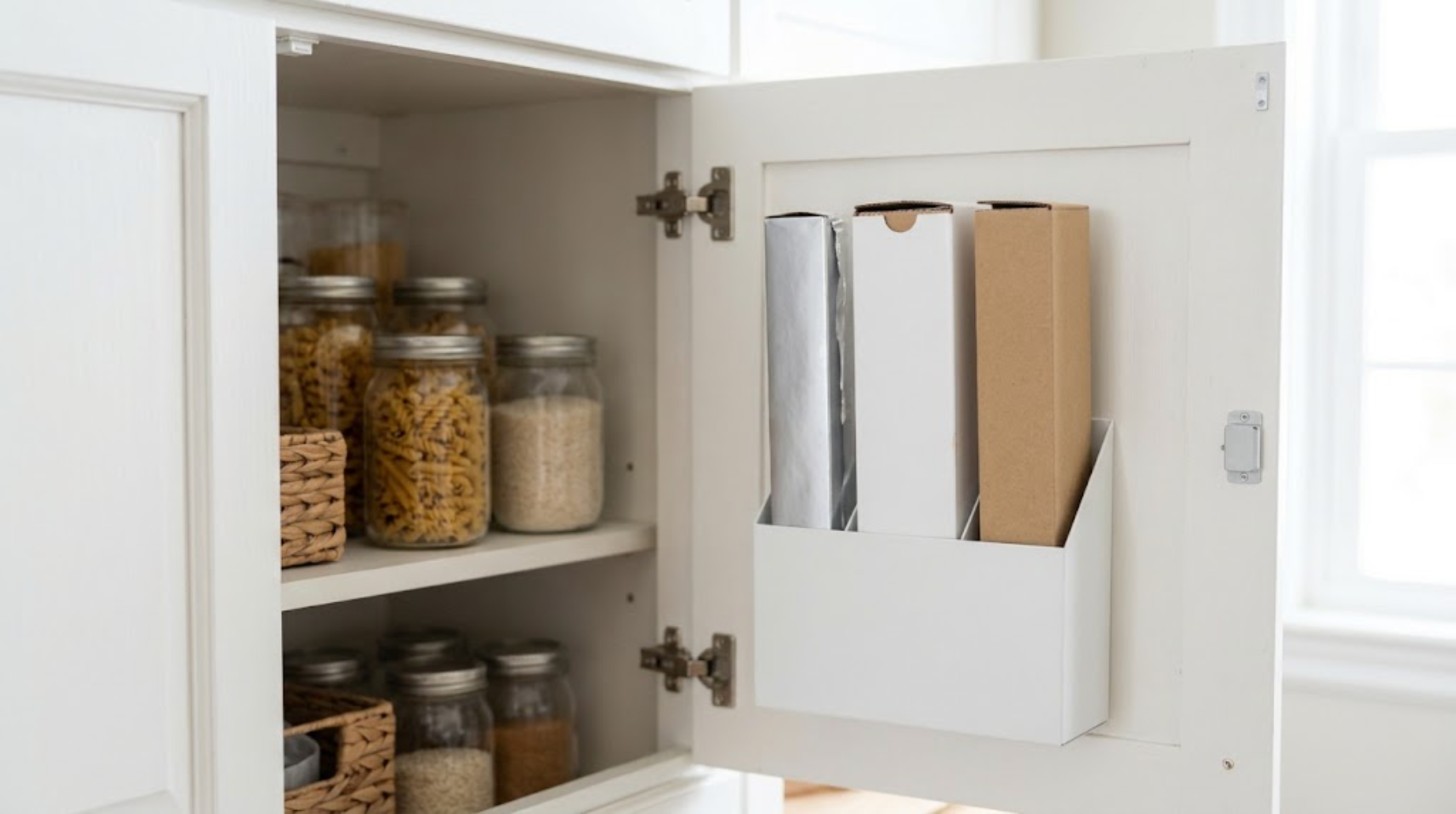
Rolls of foil, plastic wrap and parchment paper take up a whole drawer and still end up in a tangle. A simple magazine holder fixes that. Stand it inside a cabinet or attach it to the inside of a door with small screws or strong mounting strips, then slide the boxes in upright. Everything stands in a neat row and you can grab what you need with one hand. Pick one in a color that matches your kitchen. Want to free up a whole drawer today?
You will need: A sturdy magazine holder, strong mounting strips or small screws (adult job), boxes of foil and wrap.
How to make it: 1. Choose a cabinet door or shelf with enough height. 2. Adult help: mount the holder with screws or strips. 3. Stand the boxes upright inside. 4. Put the one you use most at the front.
Make Drawer Dividers From Cereal Boxes
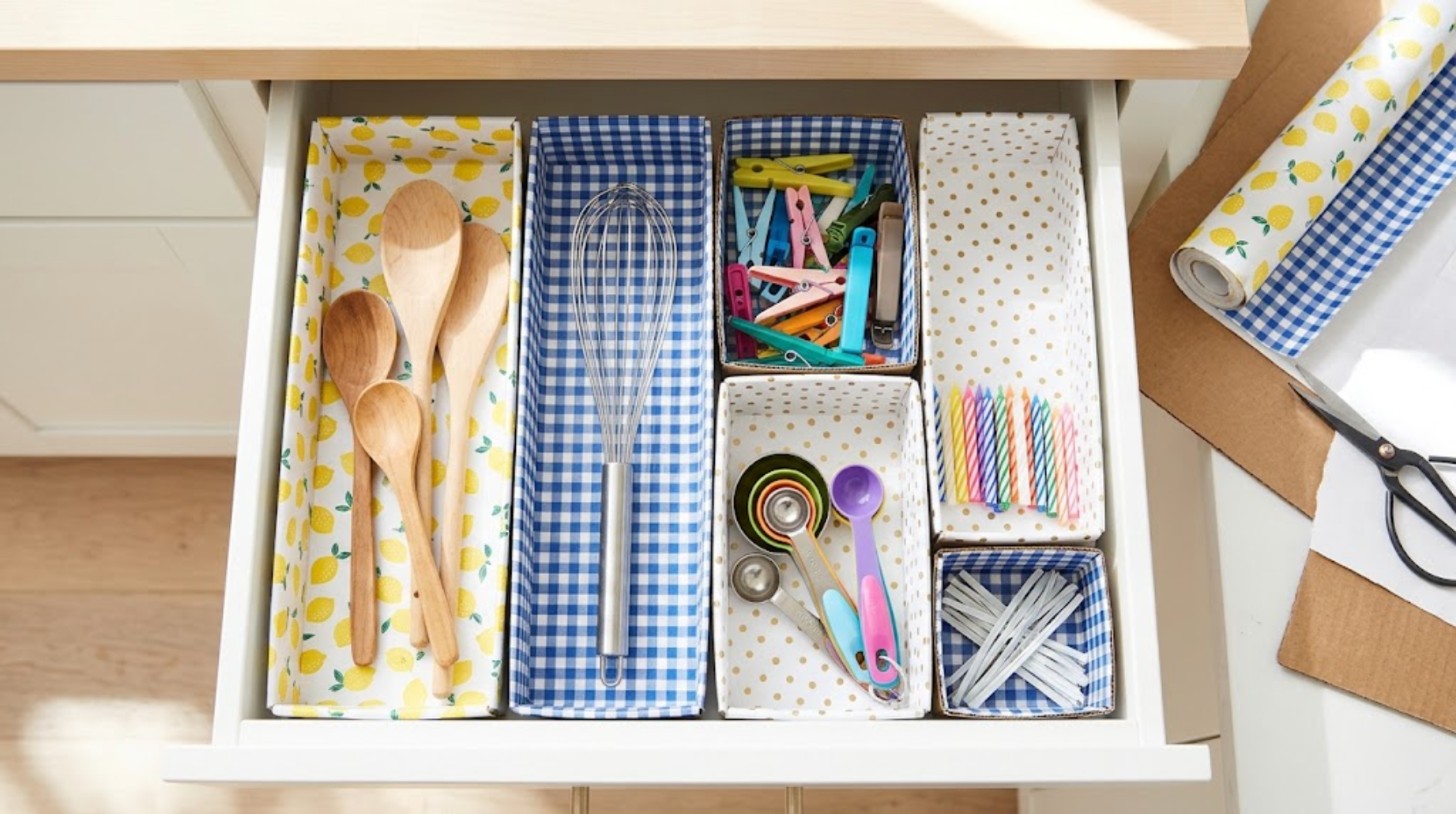
Before you recycle that empty cereal box, look at your messiest drawer. Cut the box into strips and boxes, wrap them in pretty contact paper, and you have free drawer dividers. They hold utensils, chip clips, birthday candles and all the little things that roll around. Make them any size you want so they fit perfectly. Kids can help pick the paper and fill the sections. It is a free fix that looks surprisingly nice. Which drawer in your kitchen needs this the most?
You will need: Empty cereal boxes, scissors, a ruler, clear tape, contact paper or wrapping paper.
How to make it: 1. Measure the drawer and plan your sections. 2. Cut the boxes into open trays of the right size. 3. Wrap each tray in contact paper. 4. Fit them into the drawer and fill them up.
Label Cords With Bread Clips
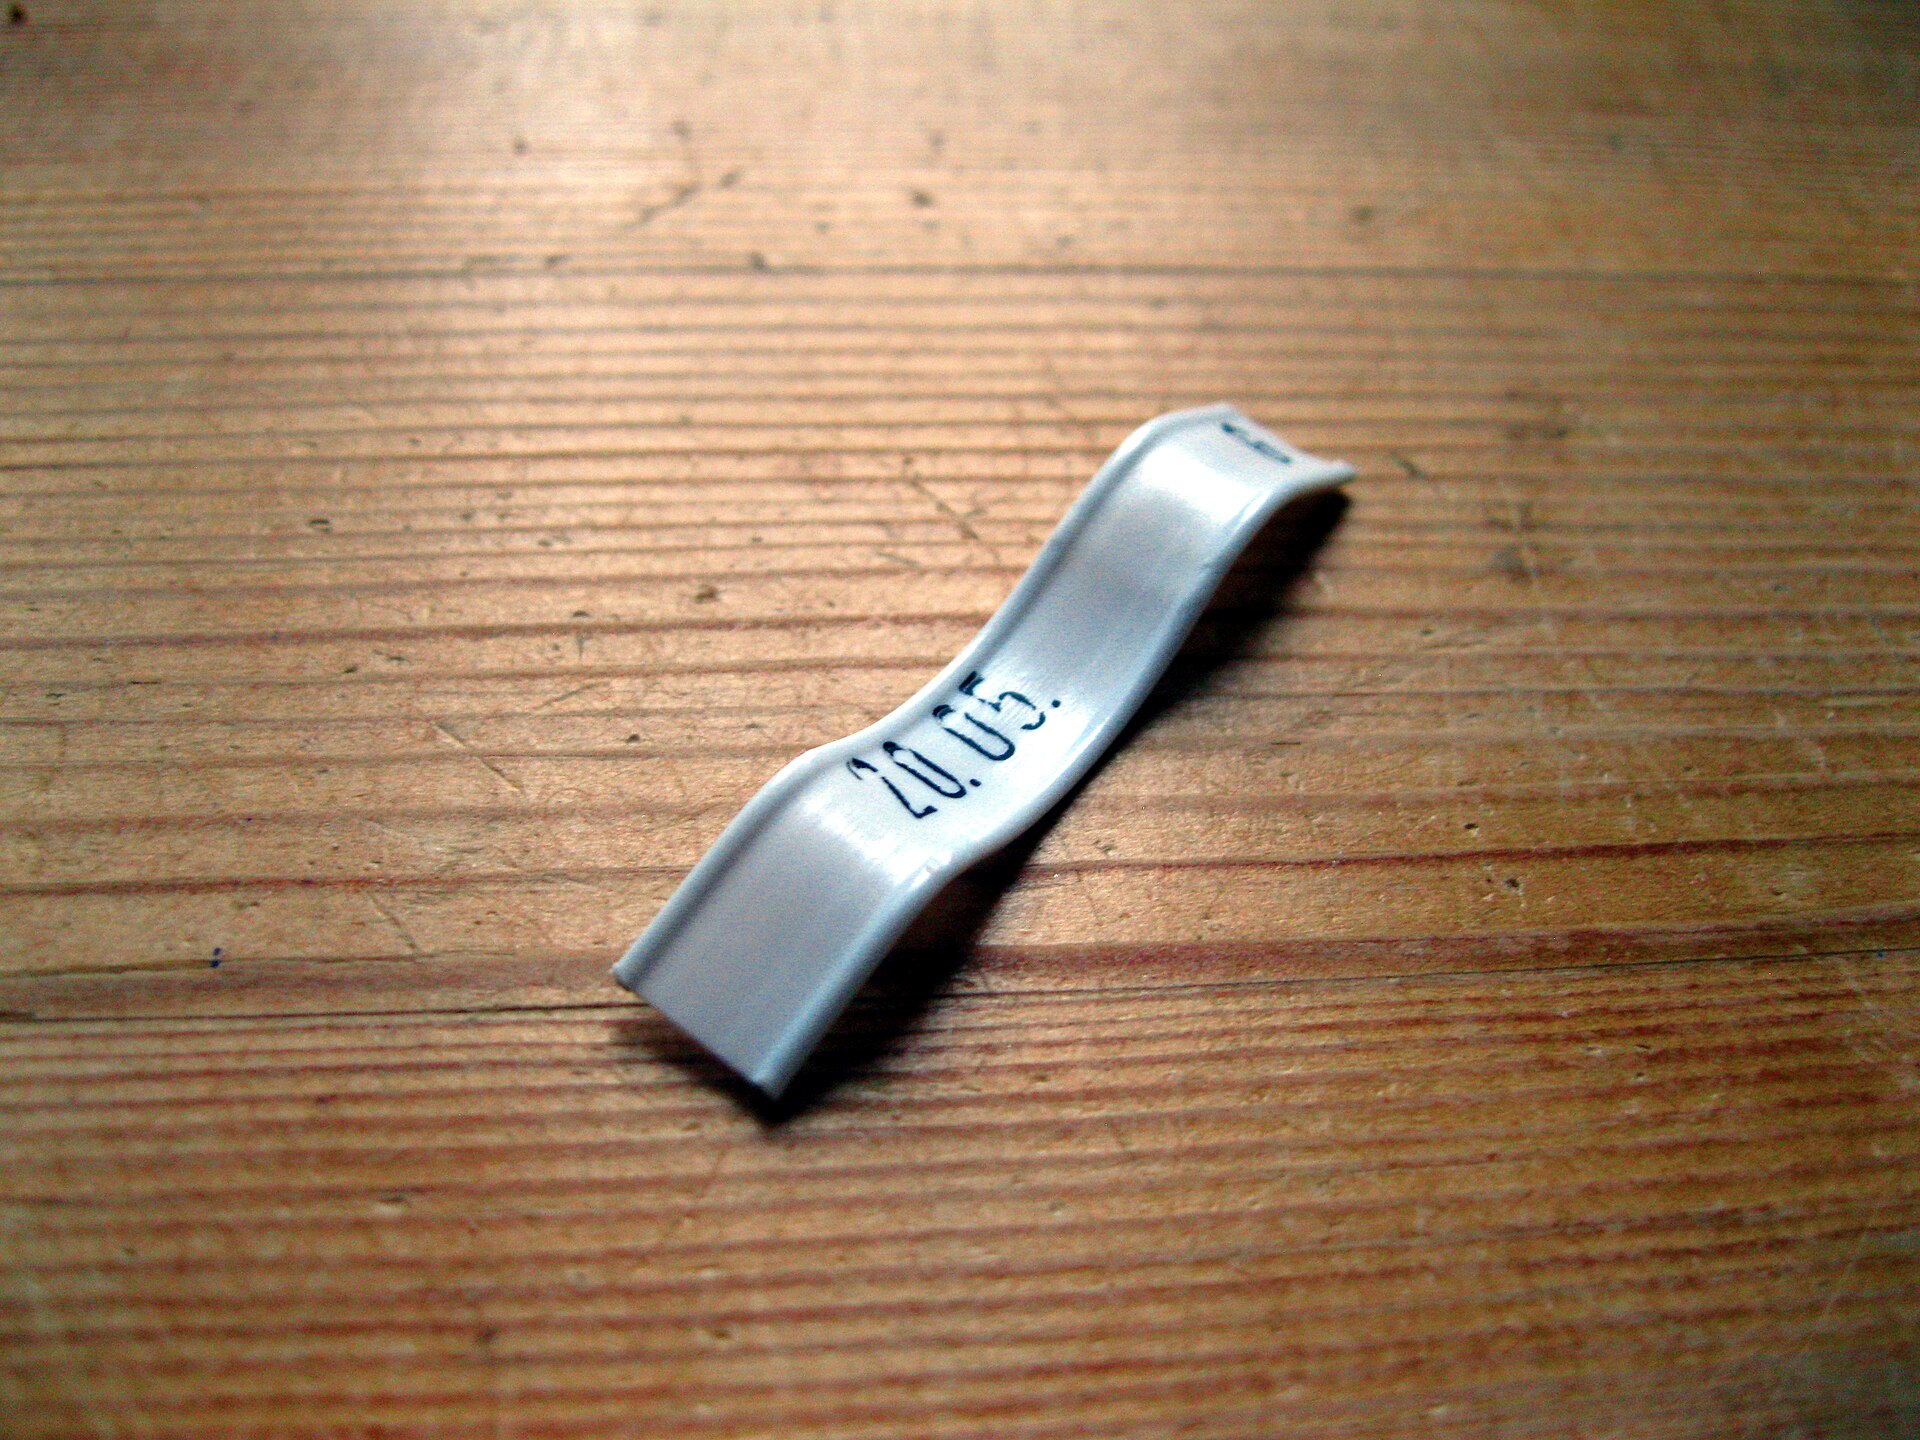
The toaster, the mixer and the coffee maker all plug into the same spot, and every cord looks the same. Those little plastic bread clips make perfect cord labels. Write the name of each appliance on a clip with a fine marker and clip it near the plug. Now you know exactly which one to unplug. It costs nothing and keeps clips out of the trash. Save a handful in a small jar so you always have some ready. How many cords are hiding behind your counter?
You will need: Plastic bread clips, a fine permanent marker, a small jar to store extras.
How to make it: 1. Wash and dry the bread clips. 2. Write each appliance name on a clip. 3. Clip it to the cord close to the plug. 4. Store spare clips in a jar in your junk drawer.
Genius Kitchen Fixes for Safer Chopping: The Damp Towel Trick
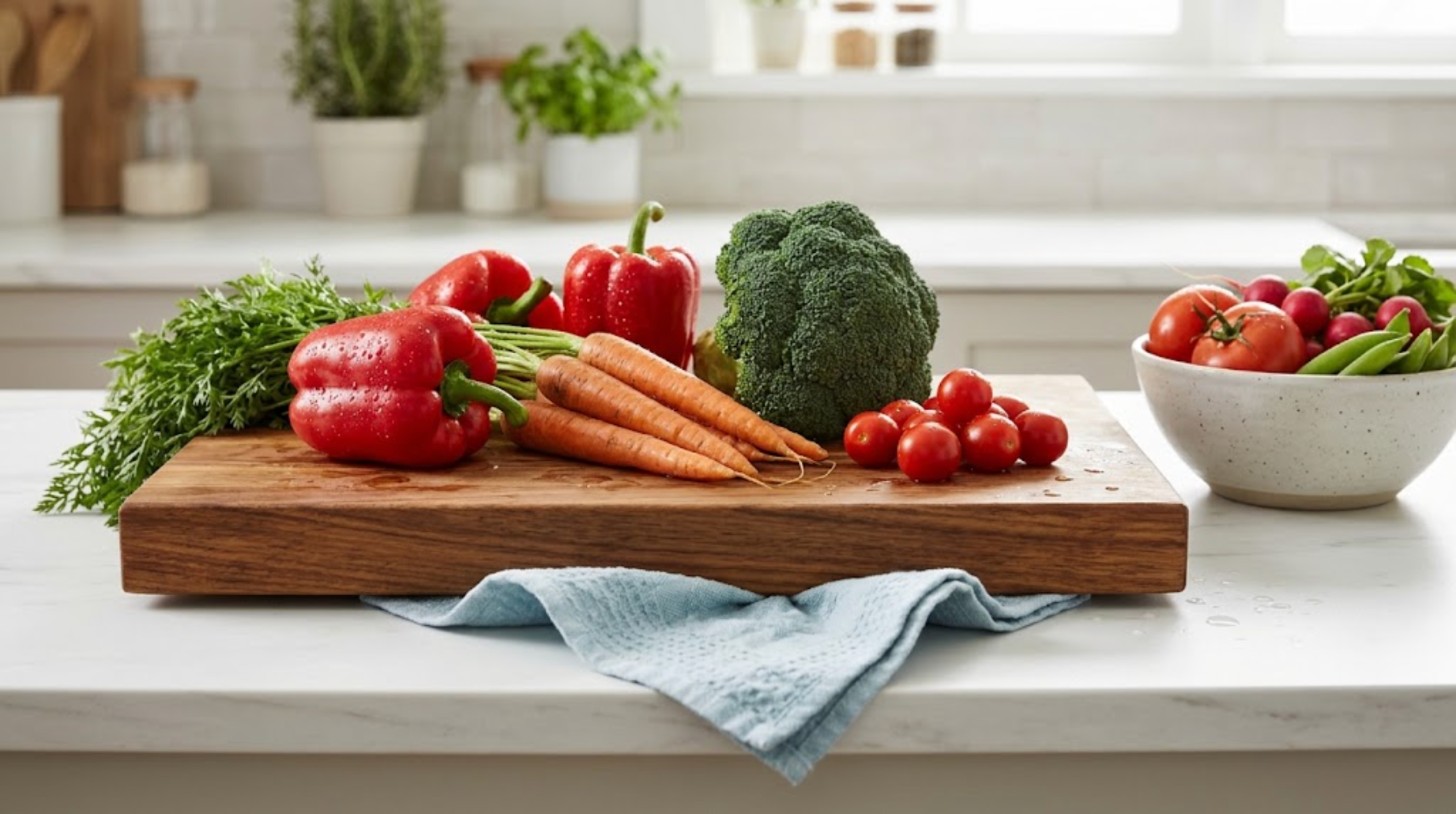
A cutting board that slides around is annoying and not very safe. Here is the easy fix chefs use: wet a paper towel or thin kitchen towel, wring it out and lay it flat under the board. The damp cloth grips the counter and holds the board still while you work. It takes ten seconds and costs nothing. A silicone mat or a bit of non-slip shelf liner works too. Small genius kitchen fixes like this make cooking calmer and steadier. Why not try it at dinner tonight?
You will need: A paper towel or thin kitchen towel, water, your cutting board.
How to make it: 1. Wet the towel and wring it out well. 2. Lay it flat on the counter. 3. Set the cutting board on top and press down. 4. Wash and dry the towel after cooking.
Genius Kitchen Fixes for Wilted Greens: An Ice Water Bath
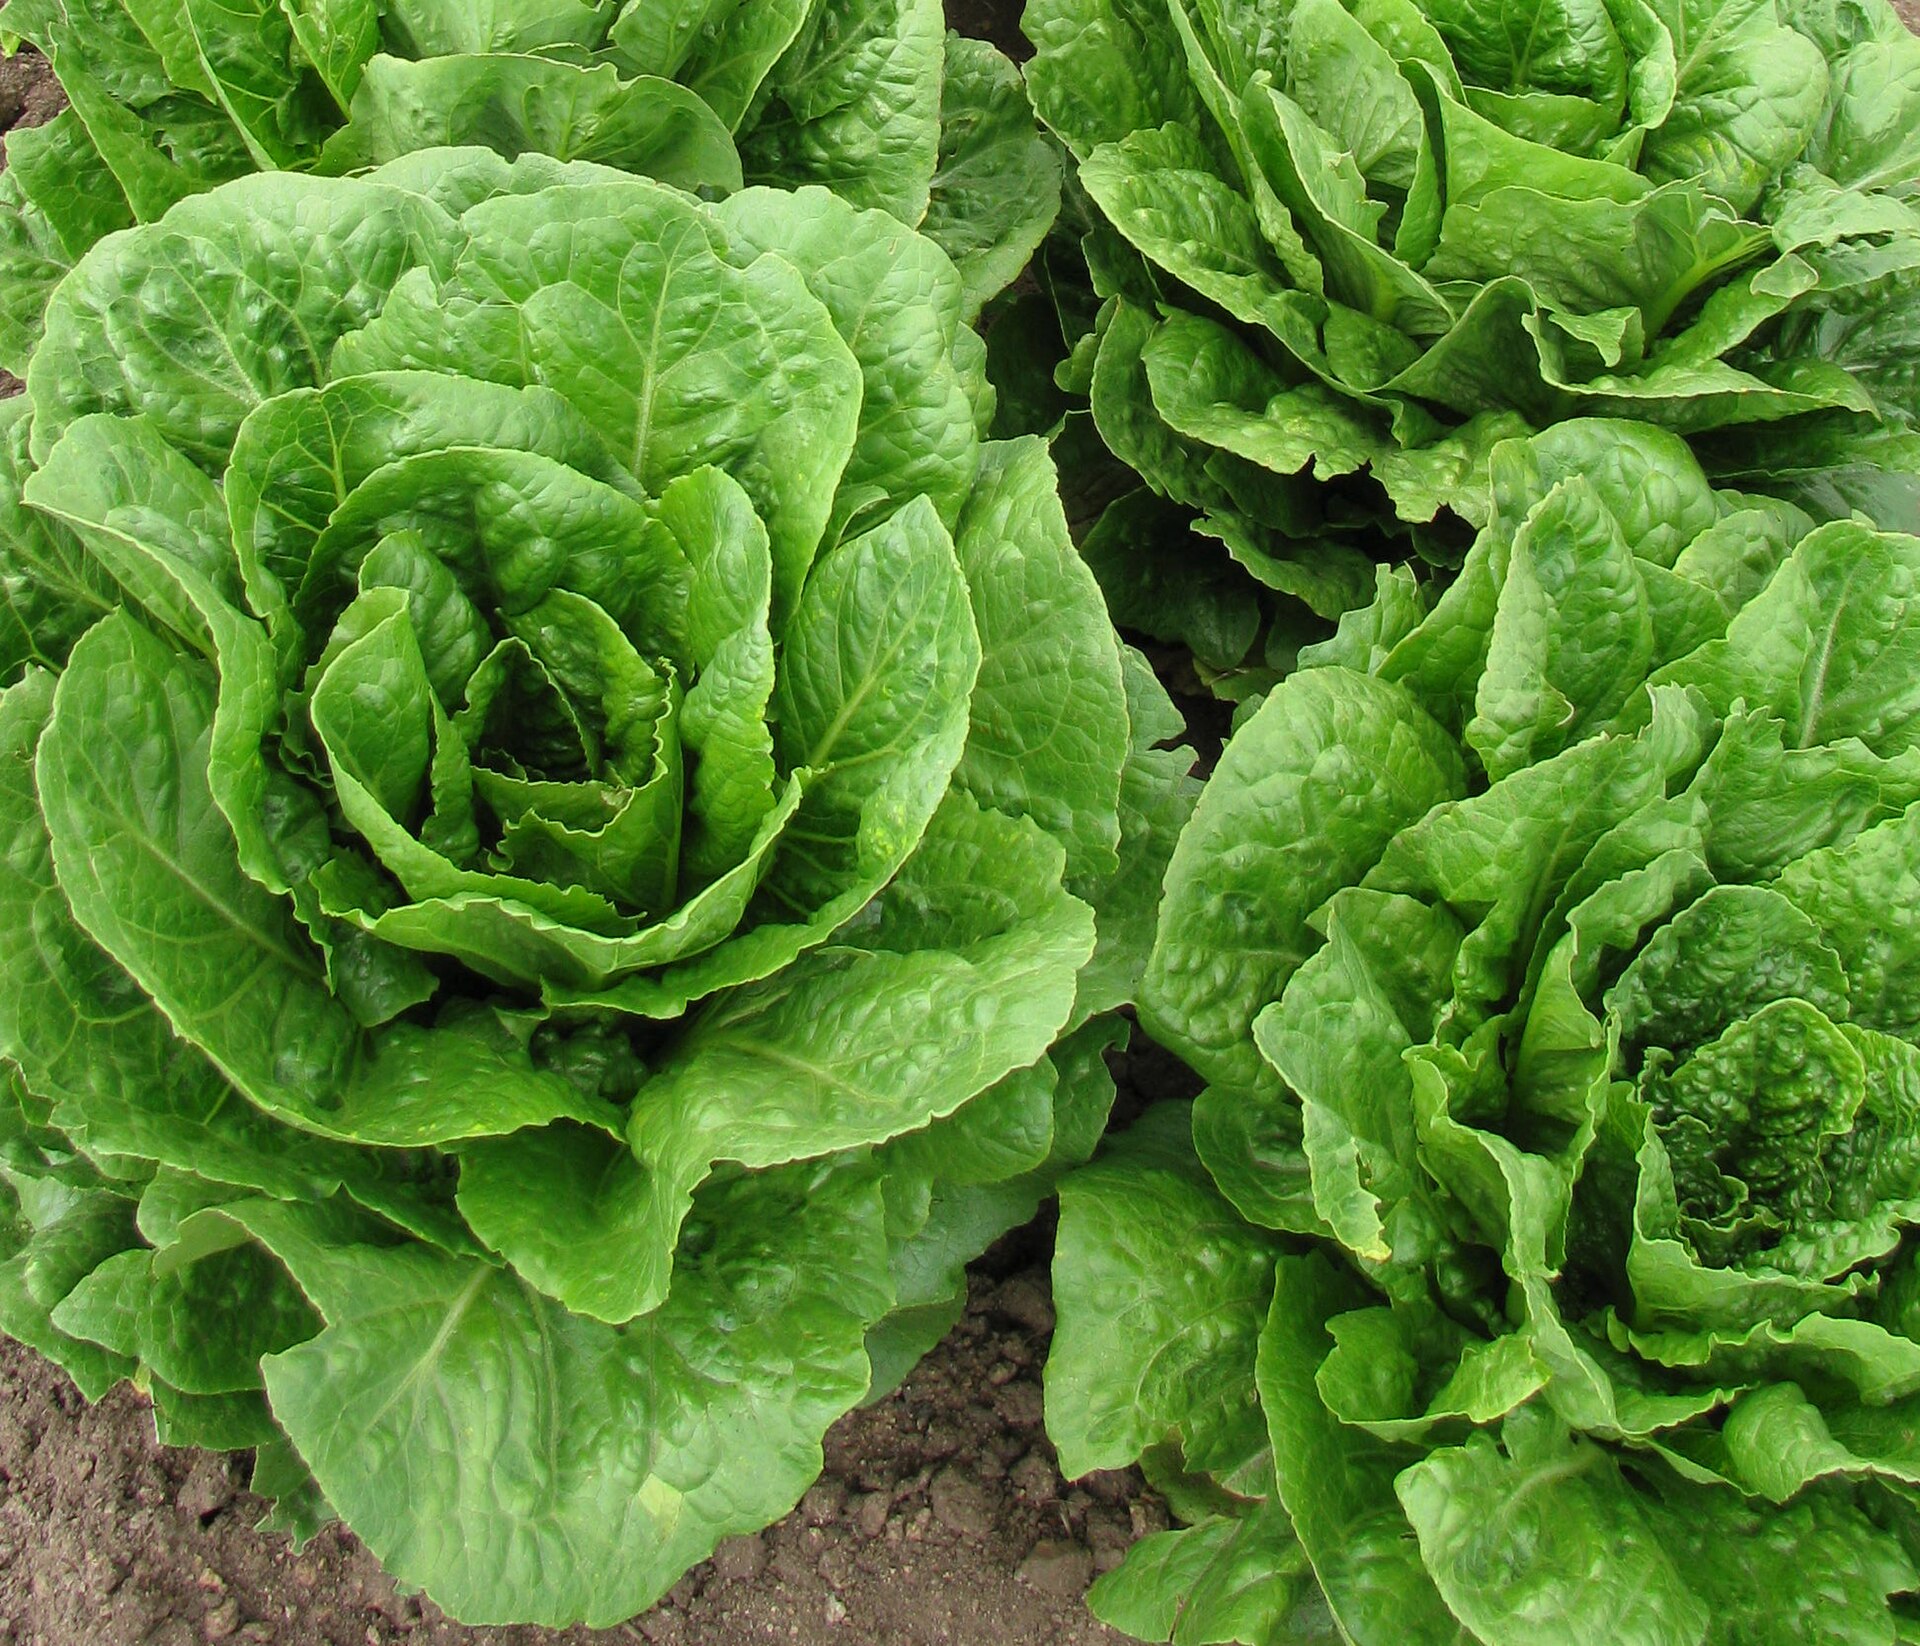
Do not throw out that sad, droopy lettuce yet. Greens lose water as they sit in the fridge, and you can put it right back. Trim the ends, drop the leaves into a big bowl of ice water and wait about 15 minutes. They come out crisp and crunchy again, ready for salads and sandwiches. It works on romaine, celery, herbs and even limp carrots. Dry them well in a towel or salad spinner before storing. How much money could this save you every month?
You will need: Wilted lettuce or greens, a large bowl, ice cubes, cold water, a clean towel or salad spinner.
How to make it: 1. Trim the cut ends of the greens. 2. Fill a bowl with ice and cold water. 3. Soak the greens for 15 to 30 minutes. 4. Dry well and store in a container lined with a paper towel.
Oil the Spoon Before You Measure Honey
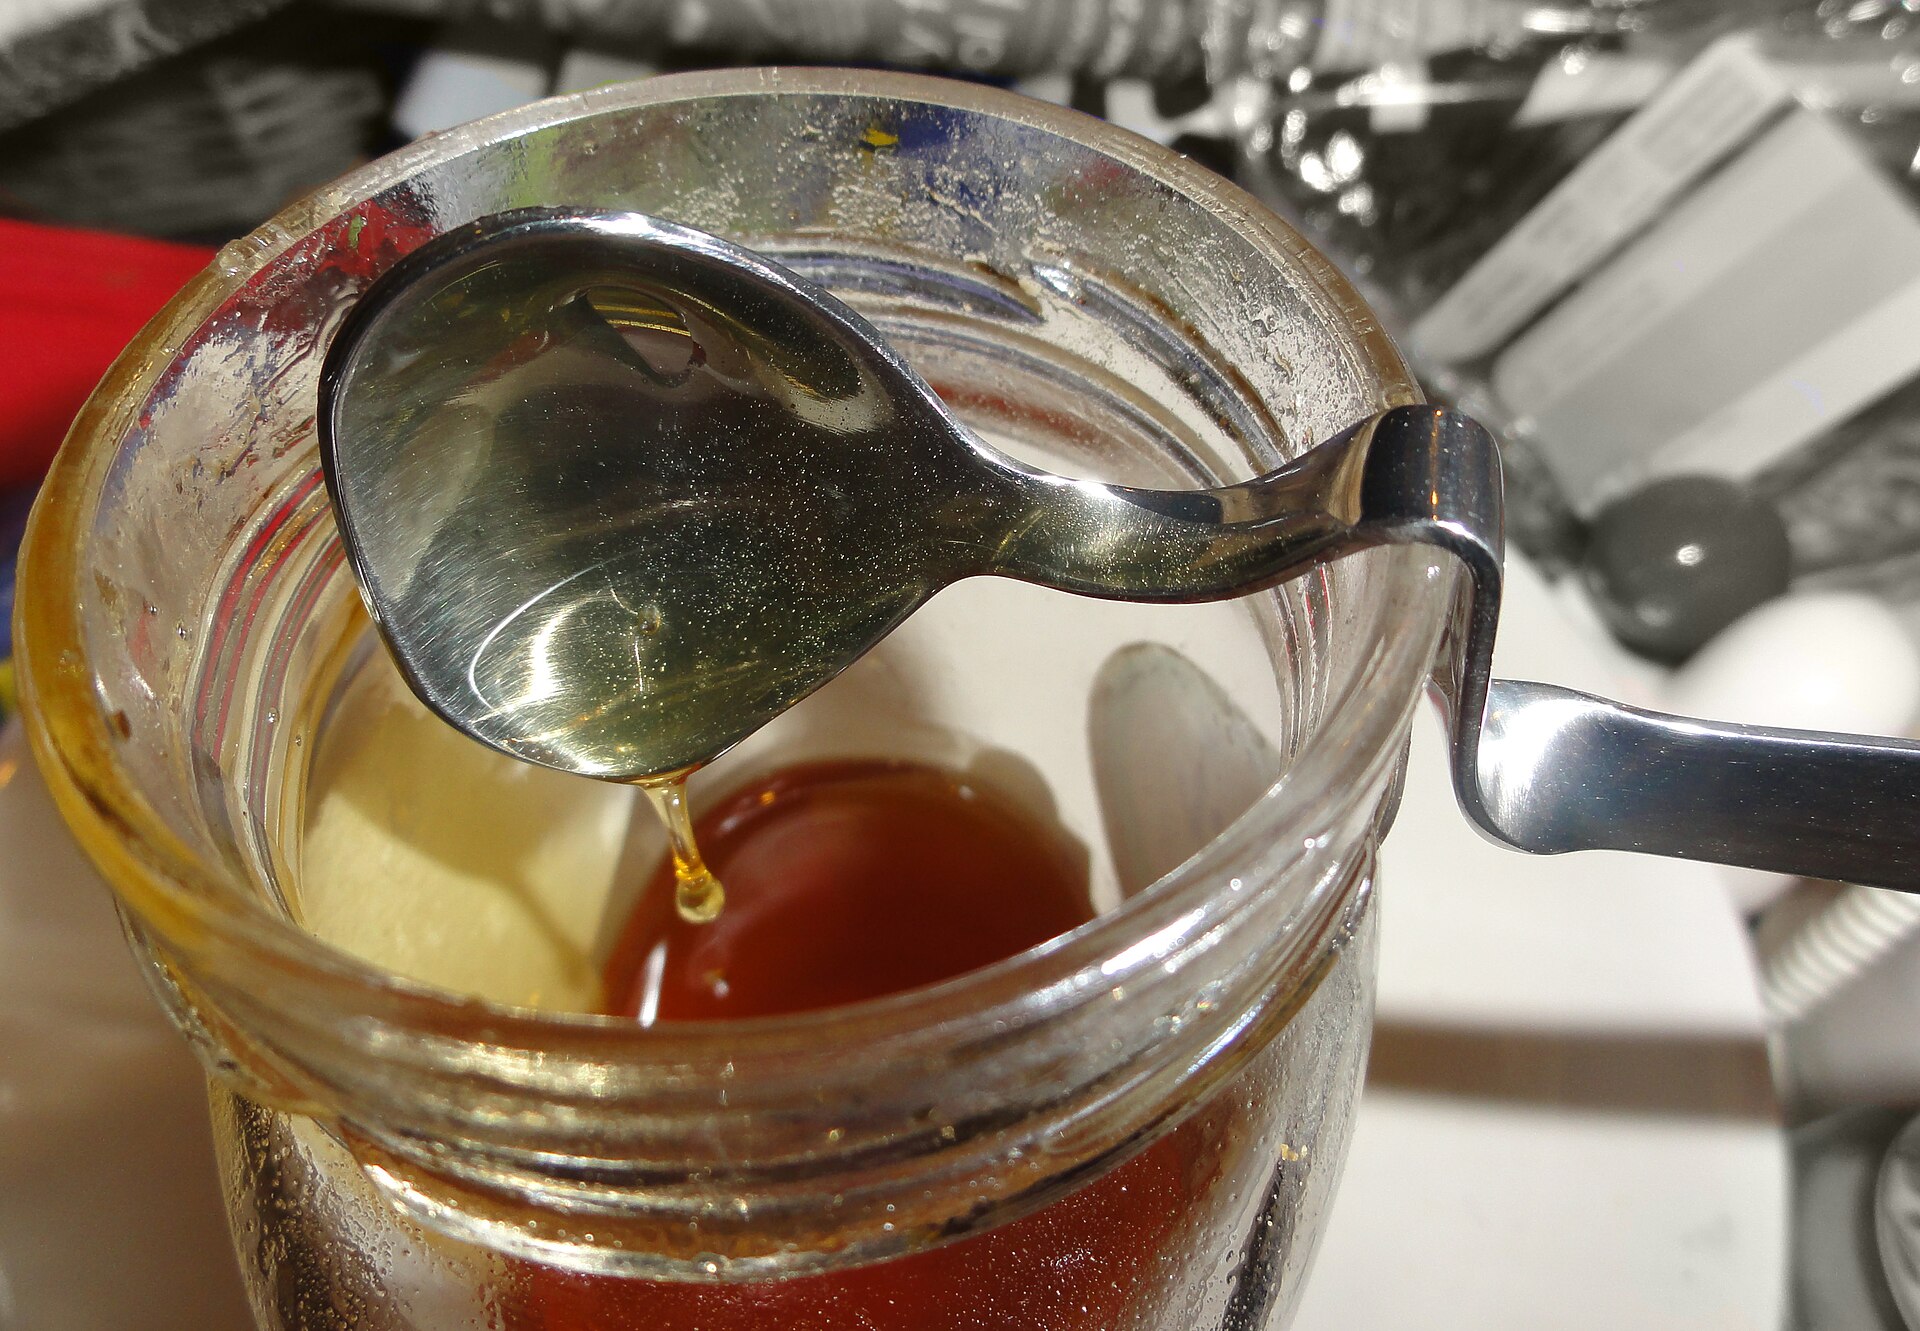
Honey and syrup cling to measuring spoons and never all come out, so your recipe ends up short and your spoon ends up sticky. A tiny bit of oil fixes it. Rub or spray a thin coat of cooking oil on the spoon first, then measure. The honey slides right off, every drop goes into the bowl, and cleanup is quick. The same trick works for peanut butter and molasses. Want more clever ideas like this? Watch this kitchen hacks short that has millions of views. Which sticky ingredient bugs you most?
You will need: Measuring spoon or cup, a little cooking oil or spray, honey or syrup.
How to make it: 1. Rub a few drops of oil over the spoon with a paper towel. 2. Measure the honey as usual. 3. Tip it into your bowl and watch it slide off. 4. Wash the spoon with warm soapy water.
Shape Burger Patties With a Jar Lid
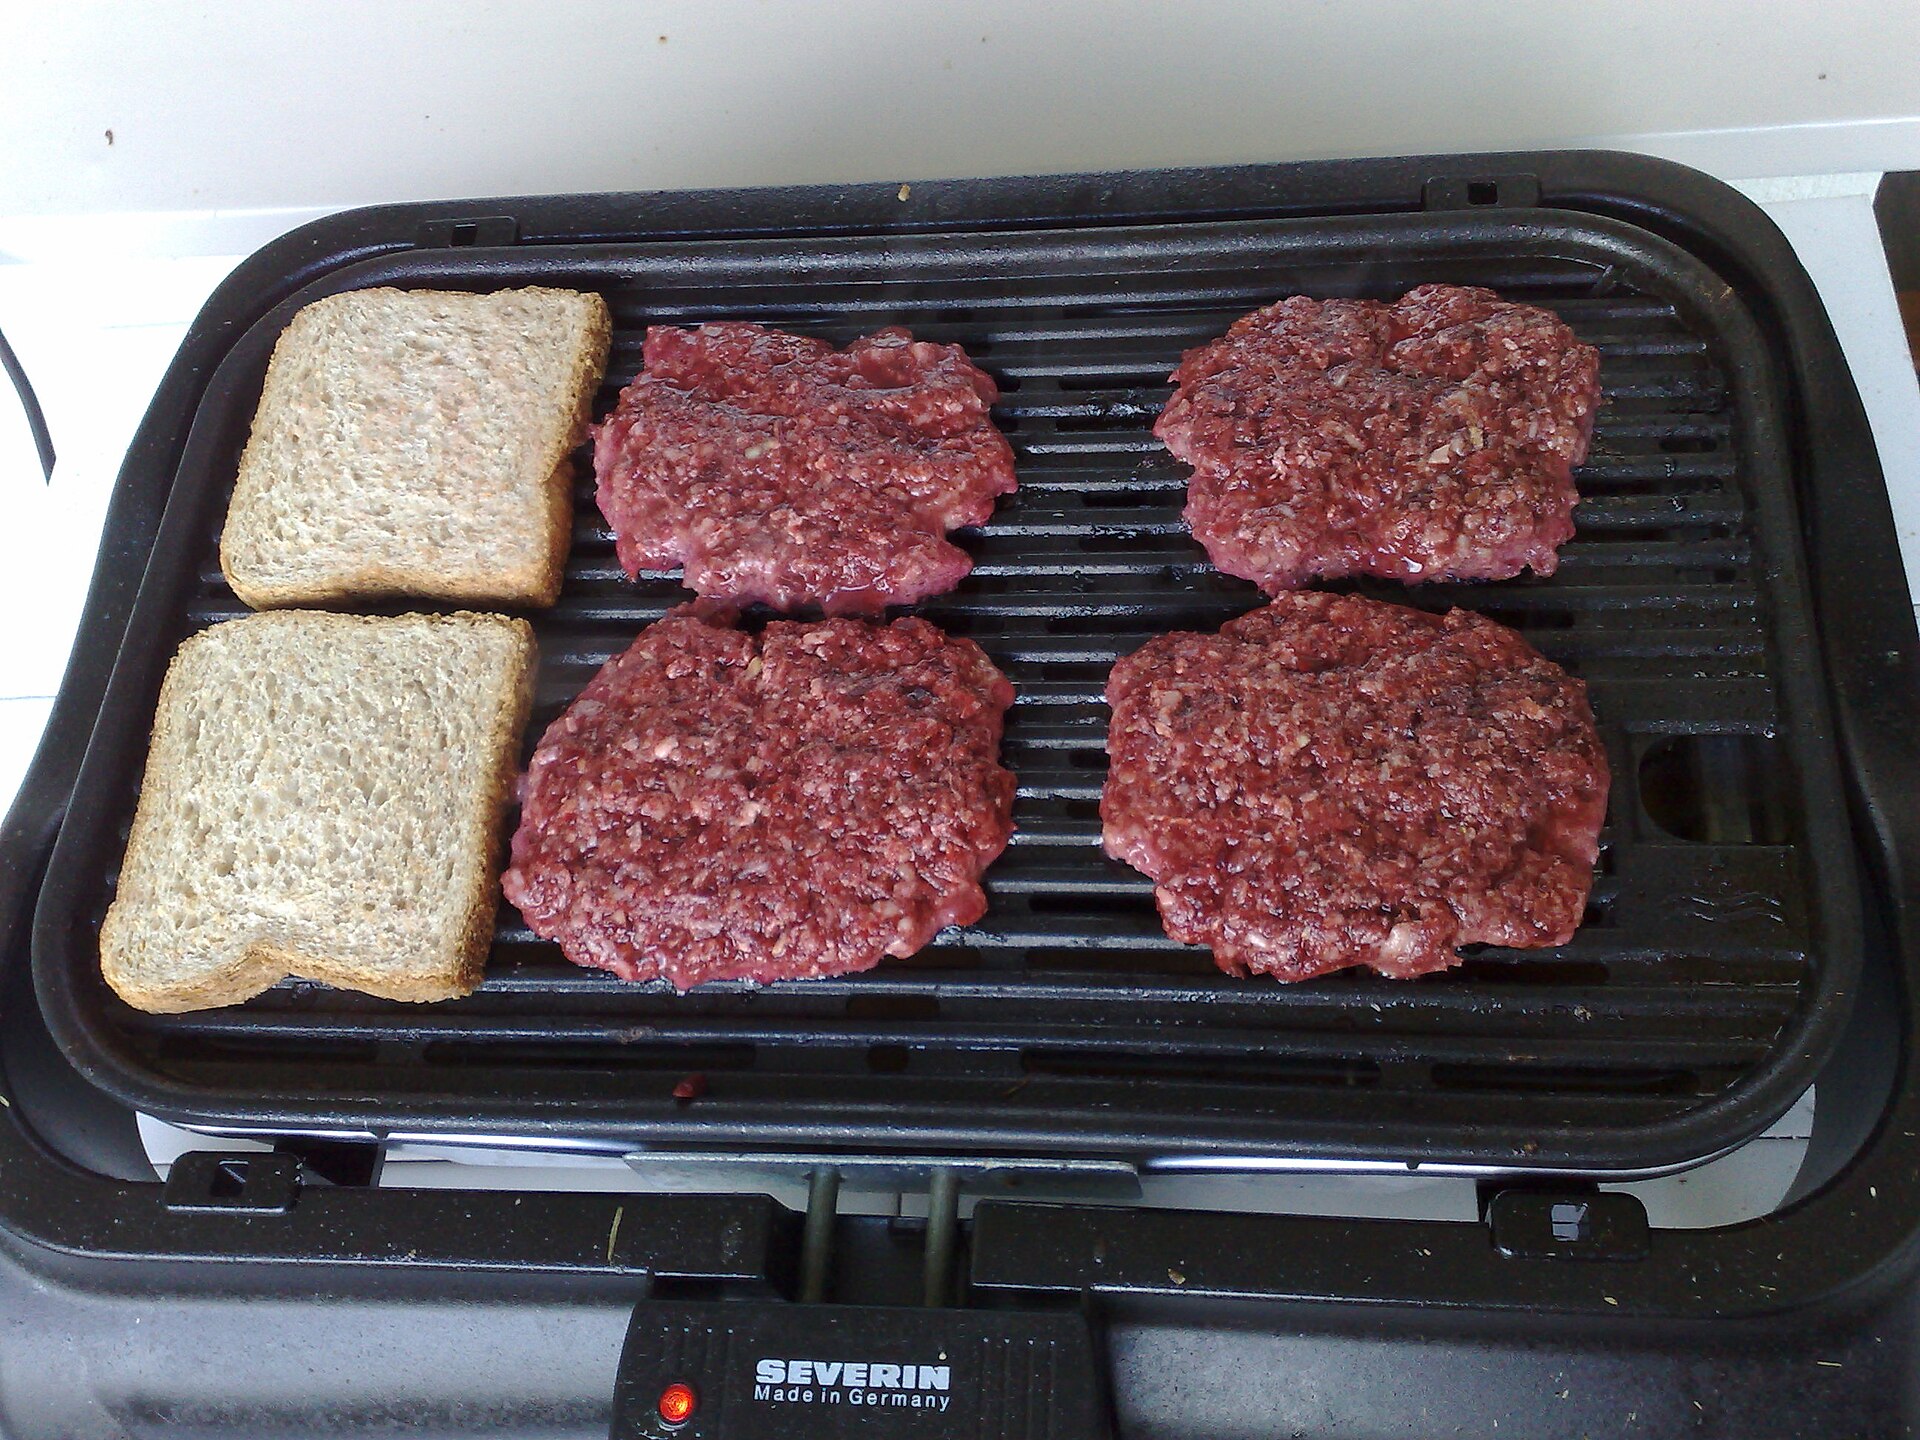
Homemade burgers taste great, but uneven patties cook unevenly. A wide jar lid makes every patty the same size. Line the lid with a square of plastic wrap, press in a ball of meat, smooth the top and lift it out by the wrap. Perfect rounds every time, and your hands stay cleaner. It is great for meal prep too, since the patties stack and freeze neatly. If you love simple, clever jar ideas, our mason jar crafts are full of them. How many patties will you make this weekend?
You will need: A wide jar lid, plastic wrap, ground meat, parchment squares for stacking.
How to make it: 1. Line the jar lid with plastic wrap. 2. Press a ball of meat into the lid and smooth the top. 3. Lift the patty out using the wrap. 4. Stack patties between parchment squares and chill or freeze.