Empty Food Containers: 14 Genius Ways to Reuse Them Instead of Tossing
Empty Food Containers pile up fast, and tossing them always feels a little wasteful. That grated cheese shaker, the coffee can, the oatmeal canister and the laundry jug are sturdy, free and already sitting in your kitchen. With a quick wash and a little imagination, they can become organizers, gift boxes, garden helpers and craft tools that look surprisingly cute. Reuse videos are taking off right now, from clever cheese shaker hacks to plastic container makeovers with tens of thousands of reactions. We rounded up the smartest ideas that are simple enough for a weekend and safe for the whole family. Before you start, wash every container in hot soapy water, peel off the labels and let everything dry completely. Then grab some paint, twine and fabric scraps and give your recycling bin a second chance..
Empty Food Containers Can Become a Whole Kitchen Set
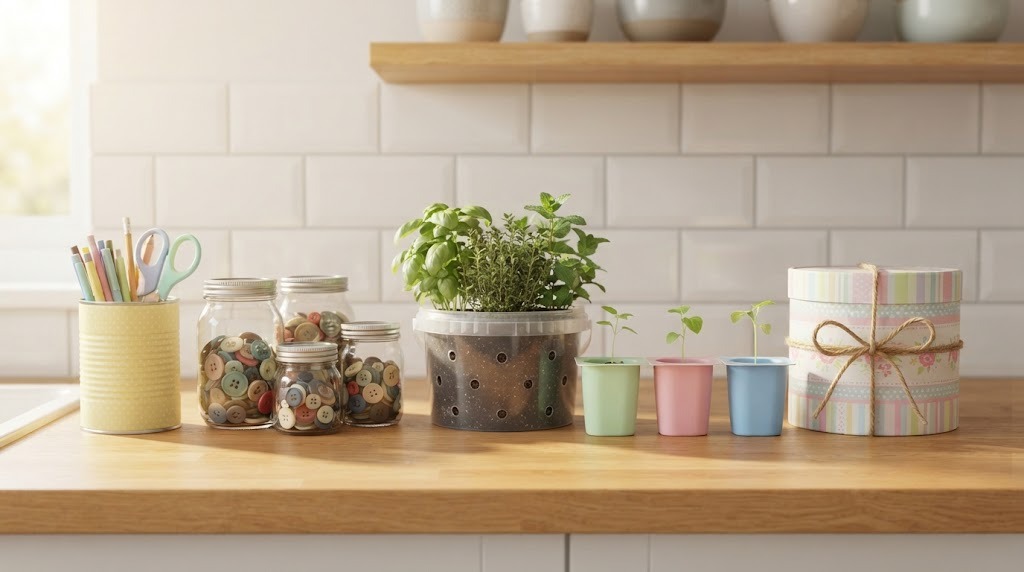
Once you start looking, you will see potential in every jar, tin and tub. A matching set of painted cans, jars and tubs can tidy a counter better than anything from the store, and it costs nothing at all. Pick a simple color palette, like soft mint, coral and cream, so everything looks planned instead of thrown together. Add twine, ribbon or fabric scraps for a farmhouse feel. Start with the containers you collect the most, because you will always have more on the way..
You will need: Washed food containers, acrylic or chalk paint, twine, ribbon or fabric scraps, a paintbrush.
How to make it: 1. Wash, dry and remove the labels from your containers. 2. Paint them in two or three matching colors. 3. Add twine or ribbon and group them on your counter.
A Cheese Shaker Glitter Dispenser
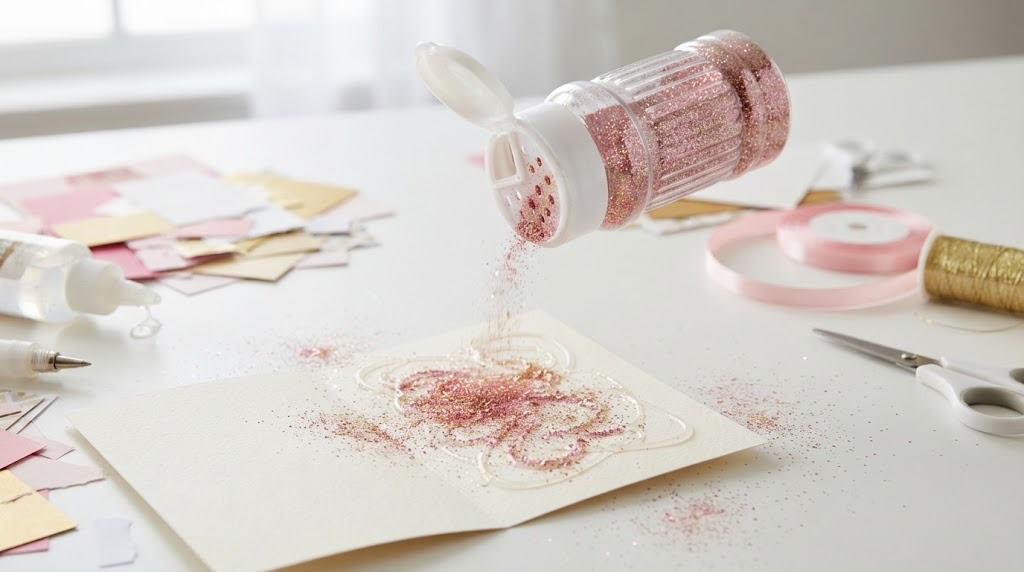
This is the hack that got thousands of people rethinking empty food containers. A grated cheese shaker has a flip lid with holes that are just right for glitter, sprinkles or craft sand. Pour in glitter, snap the lid and shake it over glue for a neat, even coat with far less mess. A video of clever cheese container hacks on MSN drew hundreds of likes, and it is easy to see why. Kids can handle it on their own too. Which craft would you sprinkle first?
You will need: An empty grated cheese shaker, craft glitter, a small funnel, glue, card stock.
How to make it: 1. Wash and fully dry the shaker. 2. Funnel the glitter inside and close the lid. 3. Shake gently over wet glue and tap off the extra.
Turn the Shaker Into a Seed Sower
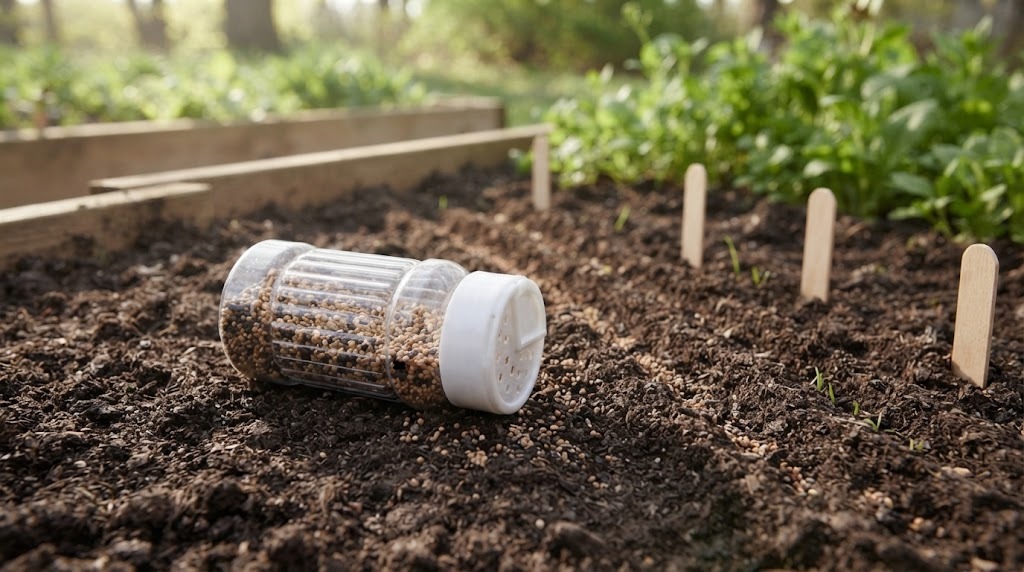
Tiny seeds like carrots, lettuce and poppies are hard to spread evenly with your fingers. Pour them into an empty shaker, choose the smallest holes and gently shake along your garden row. The seeds fall a few at a time, so you waste less and thin less later. Mix very small seeds with a spoon of dry sand to make them easier to see on the soil. Label the shaker with the seed type and store it with your garden tools. What will you plant first next spring?
You will need: An empty plastic shaker bottle, small garden seeds, dry sand, a marker.
How to make it: 1. Pour seeds and a little sand into the clean shaker. 2. Choose the smallest holes on the lid. 3. Shake gently along your row and cover with a thin layer of soil.
Painted Coffee Cans for Your Desk
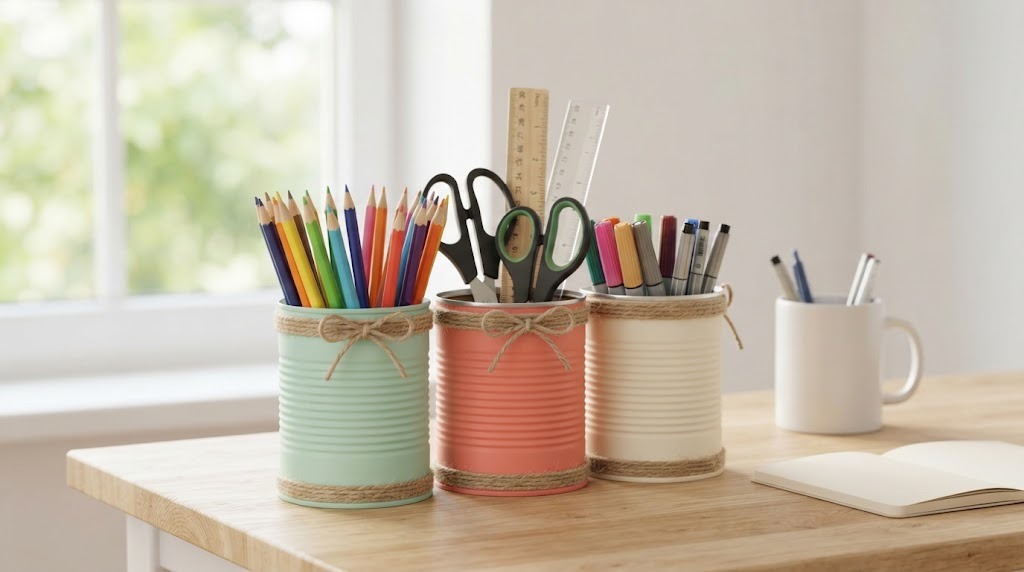
Metal coffee cans are tall, strong and the perfect size for pencils, scissors and rulers. Give them a coat of chalk paint or spray paint in a soft color, wrap the rim with twine, and your desk instantly looks calmer. Cover any sharp inner edge with washi or duct tape first, so little fingers stay safe. Group three cans of different heights together for a cute display. Empty food containers like these make great teacher gifts too. Which room needs a little organizing help?
You will need: Clean metal coffee cans, chalk or spray paint, duct or washi tape, twine, a hot glue gun with adult help.
How to make it: 1. Tape over the inside rim to cover any sharp edge. 2. Paint the outside and let it dry. 3. Have an adult hot glue twine around the top and bottom.
An Oatmeal Canister Gift Box
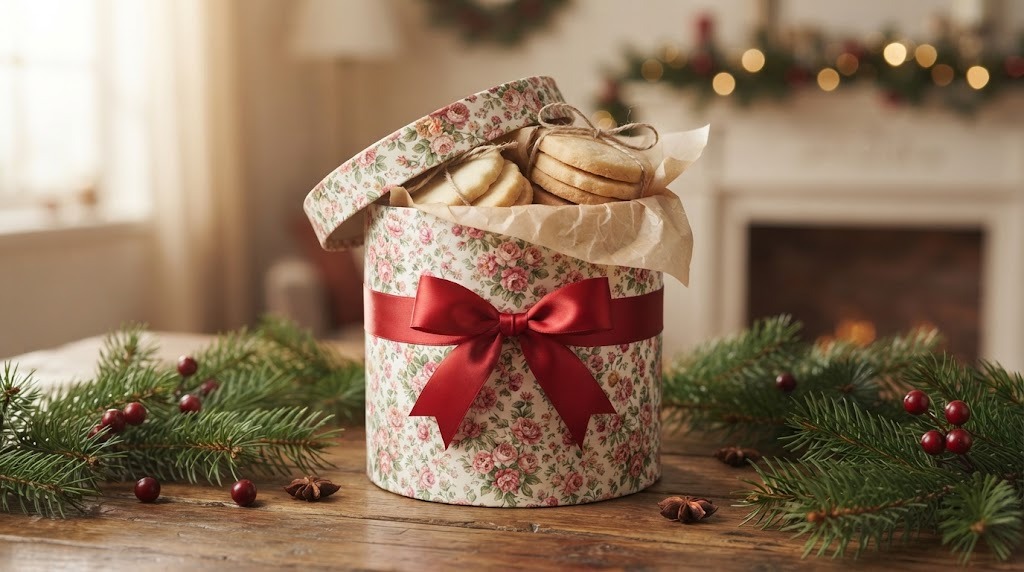
Round cardboard oatmeal canisters make sweet gift boxes for homemade cookies, fudge or bath treats. Cover the outside and the lid with pretty wrapping paper or fabric, line the inside with parchment, and tie a ribbon around it. It looks like something from a fancy shop, and the sturdy sides protect cookies far better than a bag. Empty food containers like this are a great way to use up leftover holiday paper too. Who on your list would love a canister full of treats?
You will need: An empty oatmeal canister with lid, wrapping paper or fabric, a glue stick or double sided tape, parchment paper, ribbon.
How to make it: 1. Measure and cut paper to wrap around the canister and lid. 2. Glue it smoothly in place. 3. Line with parchment, fill with treats and tie on a ribbon.
A Chip Tube Spaghetti Keeper
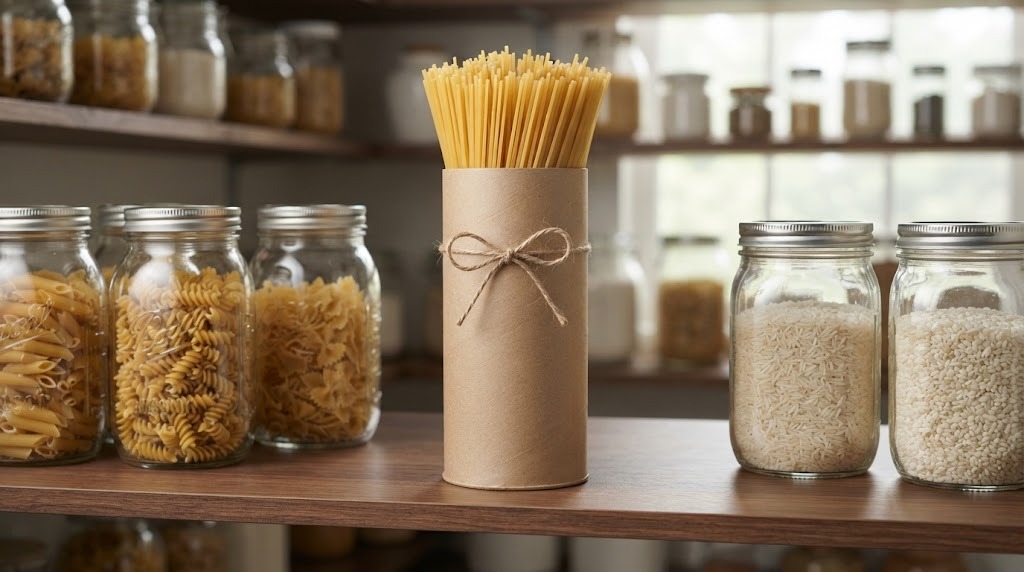
Tall snack chip tubes are almost exactly the length of dry spaghetti. Wipe them clean, wrap them in kraft paper or contact paper, and you have a neat pasta keeper that stands up in the pantry. The snap lid keeps the noodles together, and you can write the cooking time right on the side. They also hold breadsticks, straws, kebab skewers or pencils. Have you ever really looked at the shape of a chip tube before?
You will need: An empty snack chip tube with lid, kraft or contact paper, twine, a marker.
How to make it: 1. Wipe the tube clean and let it dry. 2. Wrap it in paper and tie on a twine bow. 3. Fill with spaghetti and label the outside.
A Laundry Jug Watering Can
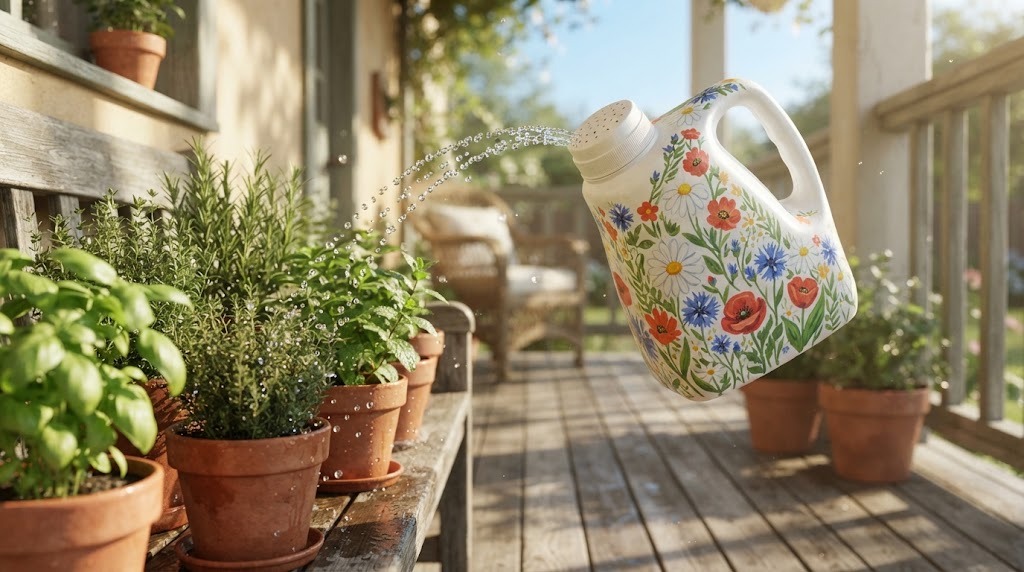
Plastic laundry jugs have a handle, a spout and a screw cap, which makes them almost a watering can already. Rinse the jug many times until no soap is left, then have an adult poke small holes in the cap. Fill it with water and you get a gentle shower for herbs and flowers. Paint flowers on the side with outdoor paint to make it pretty enough for the porch. Kids love having their own watering can. Would you paint yours with flowers or polka dots?
You will need: An empty plastic laundry jug with cap, a small nail or awl, outdoor acrylic paint, brushes.
How to make it: 1. Rinse the jug and cap well until no soap remains. 2. Have an adult poke several small holes in the cap. 3. Paint the outside, let it dry, then fill it and water your plants.
A Mint Tin Travel Sewing Kit
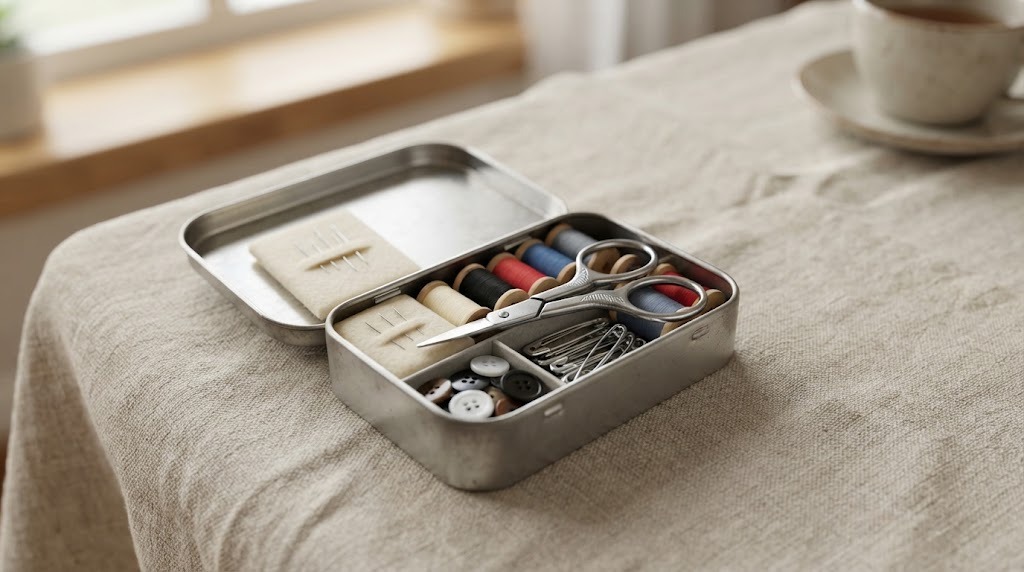
Little metal mint tins are perfect for tiny things you always lose. Tuck in a few mini thread spools, a felt square for needles, safety pins, spare buttons and small scissors, and you have a travel sewing kit that fits in a purse or glove box. Glue a scrap of fabric on the lid to make it look custom. It is a handy gift for college students and travelers too. What would you keep in yours?
You will need: An empty mint tin, mini thread spools, a felt scrap, needles, safety pins, buttons, small scissors.
How to make it: 1. Wash and dry the tin. 2. Cut felt to fit inside the lid and tuck your needles into it. 3. Fill the tin with thread, pins and buttons.
Turn Empty Food Containers Into Button Jars
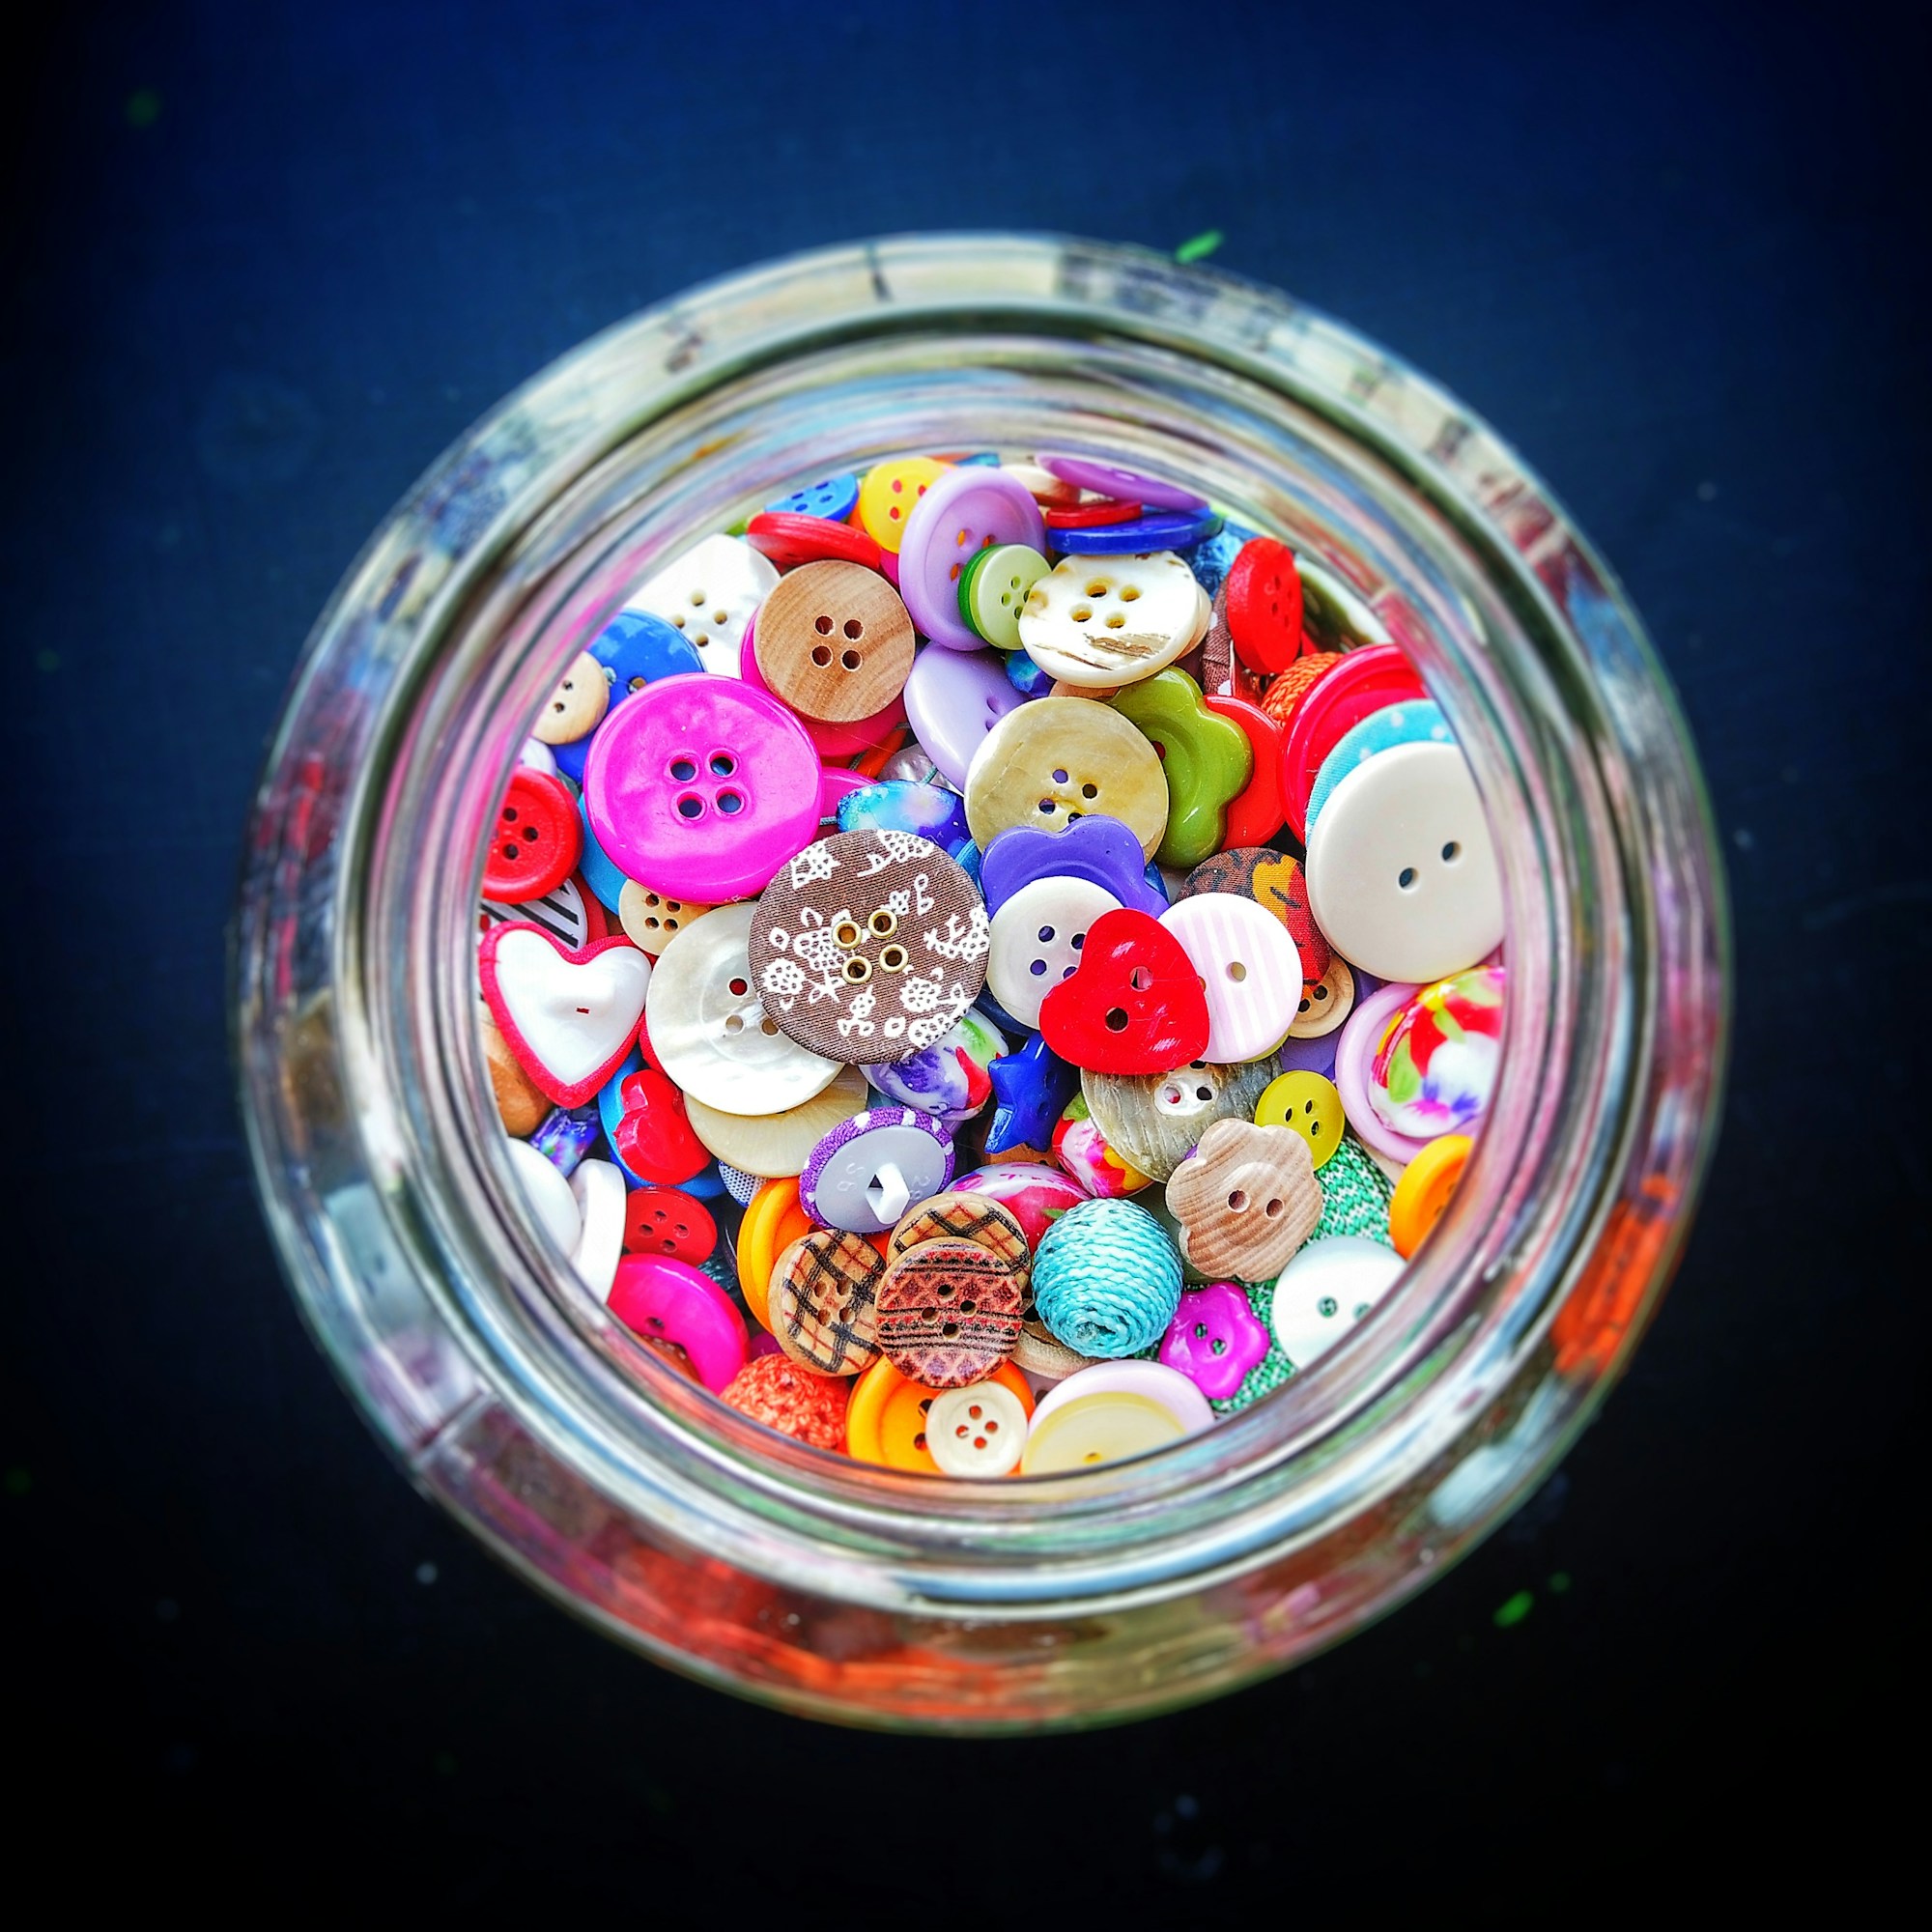
Small glass jars from spices, jam and baby food are made for crafters. Fill them with buttons, beads, sequins or tiny jewelry findings so you can see every color at a glance. Line them up in a drawer or on a shelf and your craft corner looks like a little shop. Soak the jars in warm water to remove labels and old smells first. This is one of the easiest ways to reuse empty food containers in a craft room. How many jars would your button stash fill?
You will need: Empty small glass jars, warm soapy water, labels or a marker, buttons and beads.
How to make it: 1. Soak the jars to remove labels and smells. 2. Dry them completely. 3. Fill them by color or type and label the lids.
A Hanging Can Garden
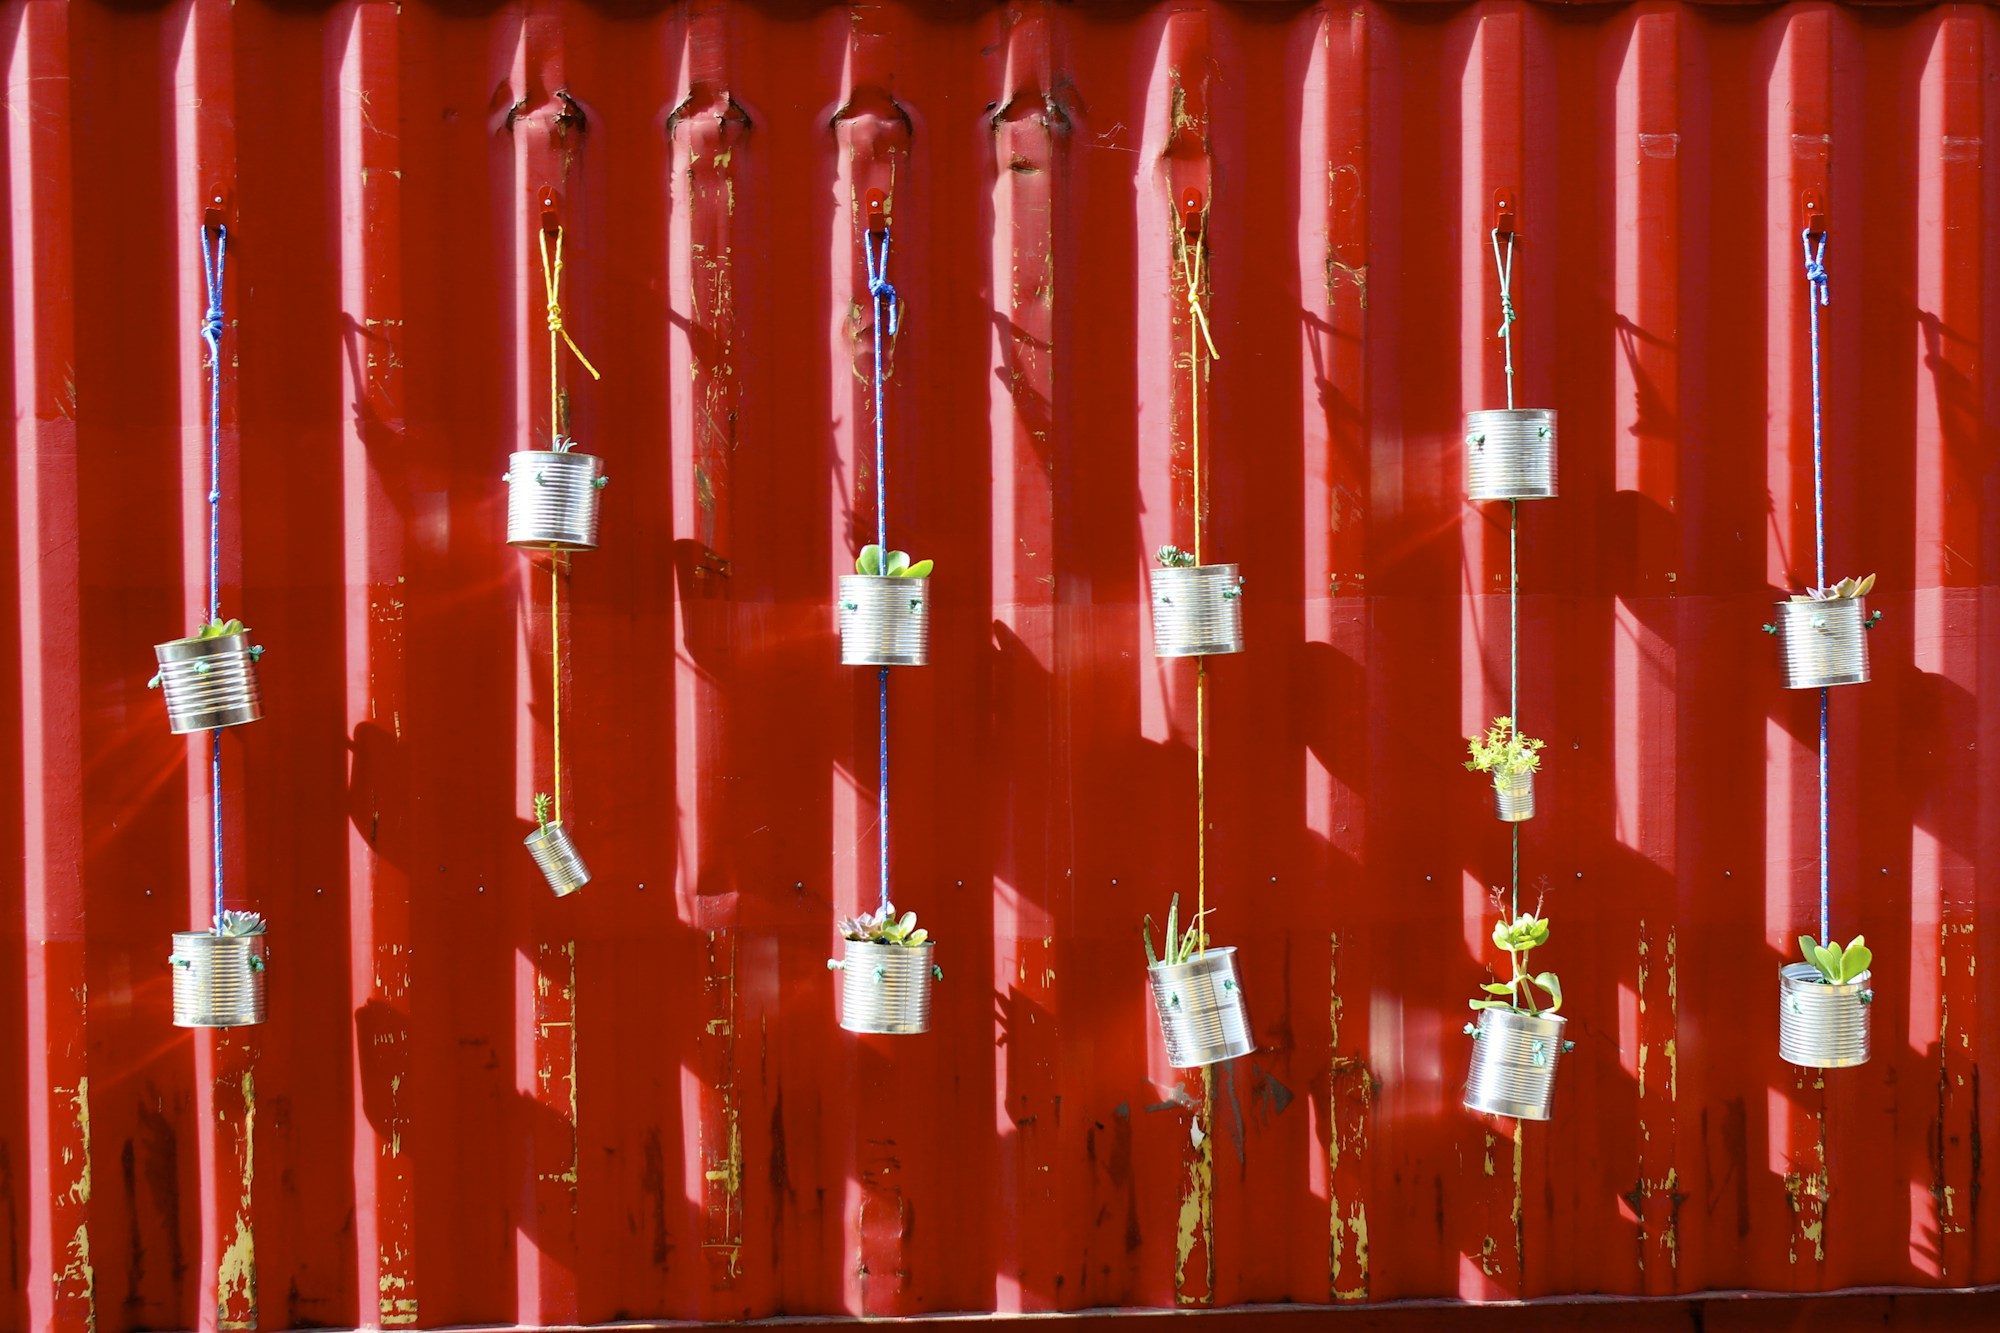
Tin cans make charming little planters, and hanging them on a wall or fence turns a bare spot into a garden. Have an adult punch drainage holes in the bottom and two holes near the rim for wire. Paint them bright colors, fill with soil and plant herbs, succulents or trailing flowers. A row of cans on a sunny wall looks cheerful all year long. Empty food containers have never looked so happy. Which wall at your home could use some green?
You will need: Clean tin cans, a hammer and nail, outdoor paint, wire, potting soil, small plants.
How to make it: 1. Have an adult punch drainage holes and two hanging holes in each can. 2. Paint the cans and let them dry. 3. Add soil and plants, then hang them with wire.
An Egg Carton Paint Palette
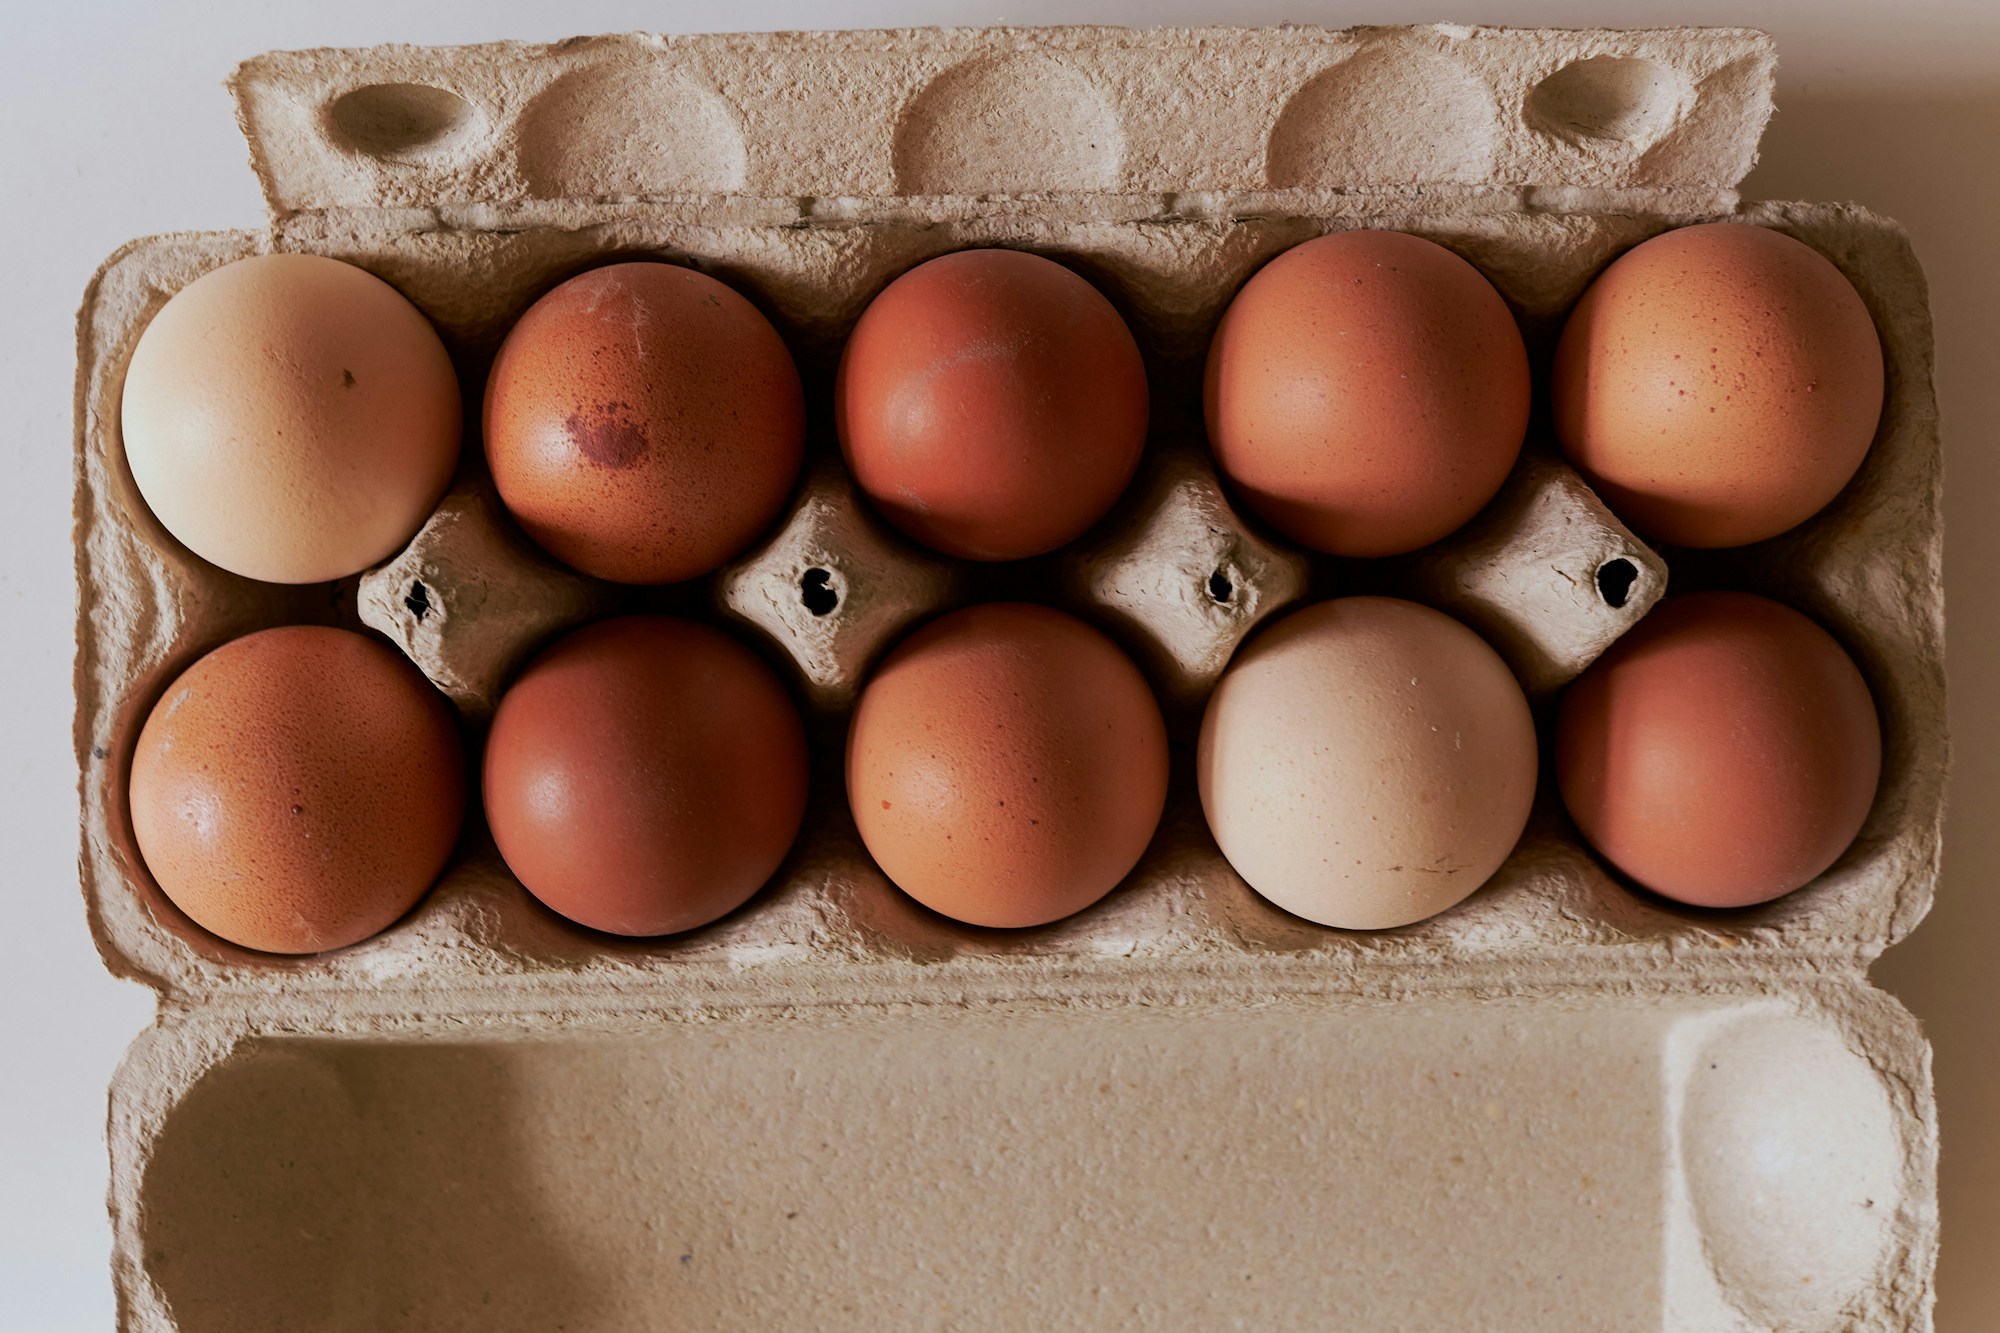
Once the eggs are gone, the carton becomes a perfect paint palette. Each cup holds a different color, so kids can paint without the colors running together. When the project is done, a cardboard carton can go straight into the recycling or compost. Plastic ones can be washed and used again. Egg cartons also sort beads, screws and small game pieces beautifully. What colors would your little artist pick first?
You will need: An empty egg carton, washable paints, brushes, a cup of water, paper towels.
How to make it: 1. Wipe out the carton and let it air dry. 2. Squeeze a different paint color into each cup. 3. Close the lid to keep the paint fresh between sessions.
Pretty Jars for Bathroom Storage
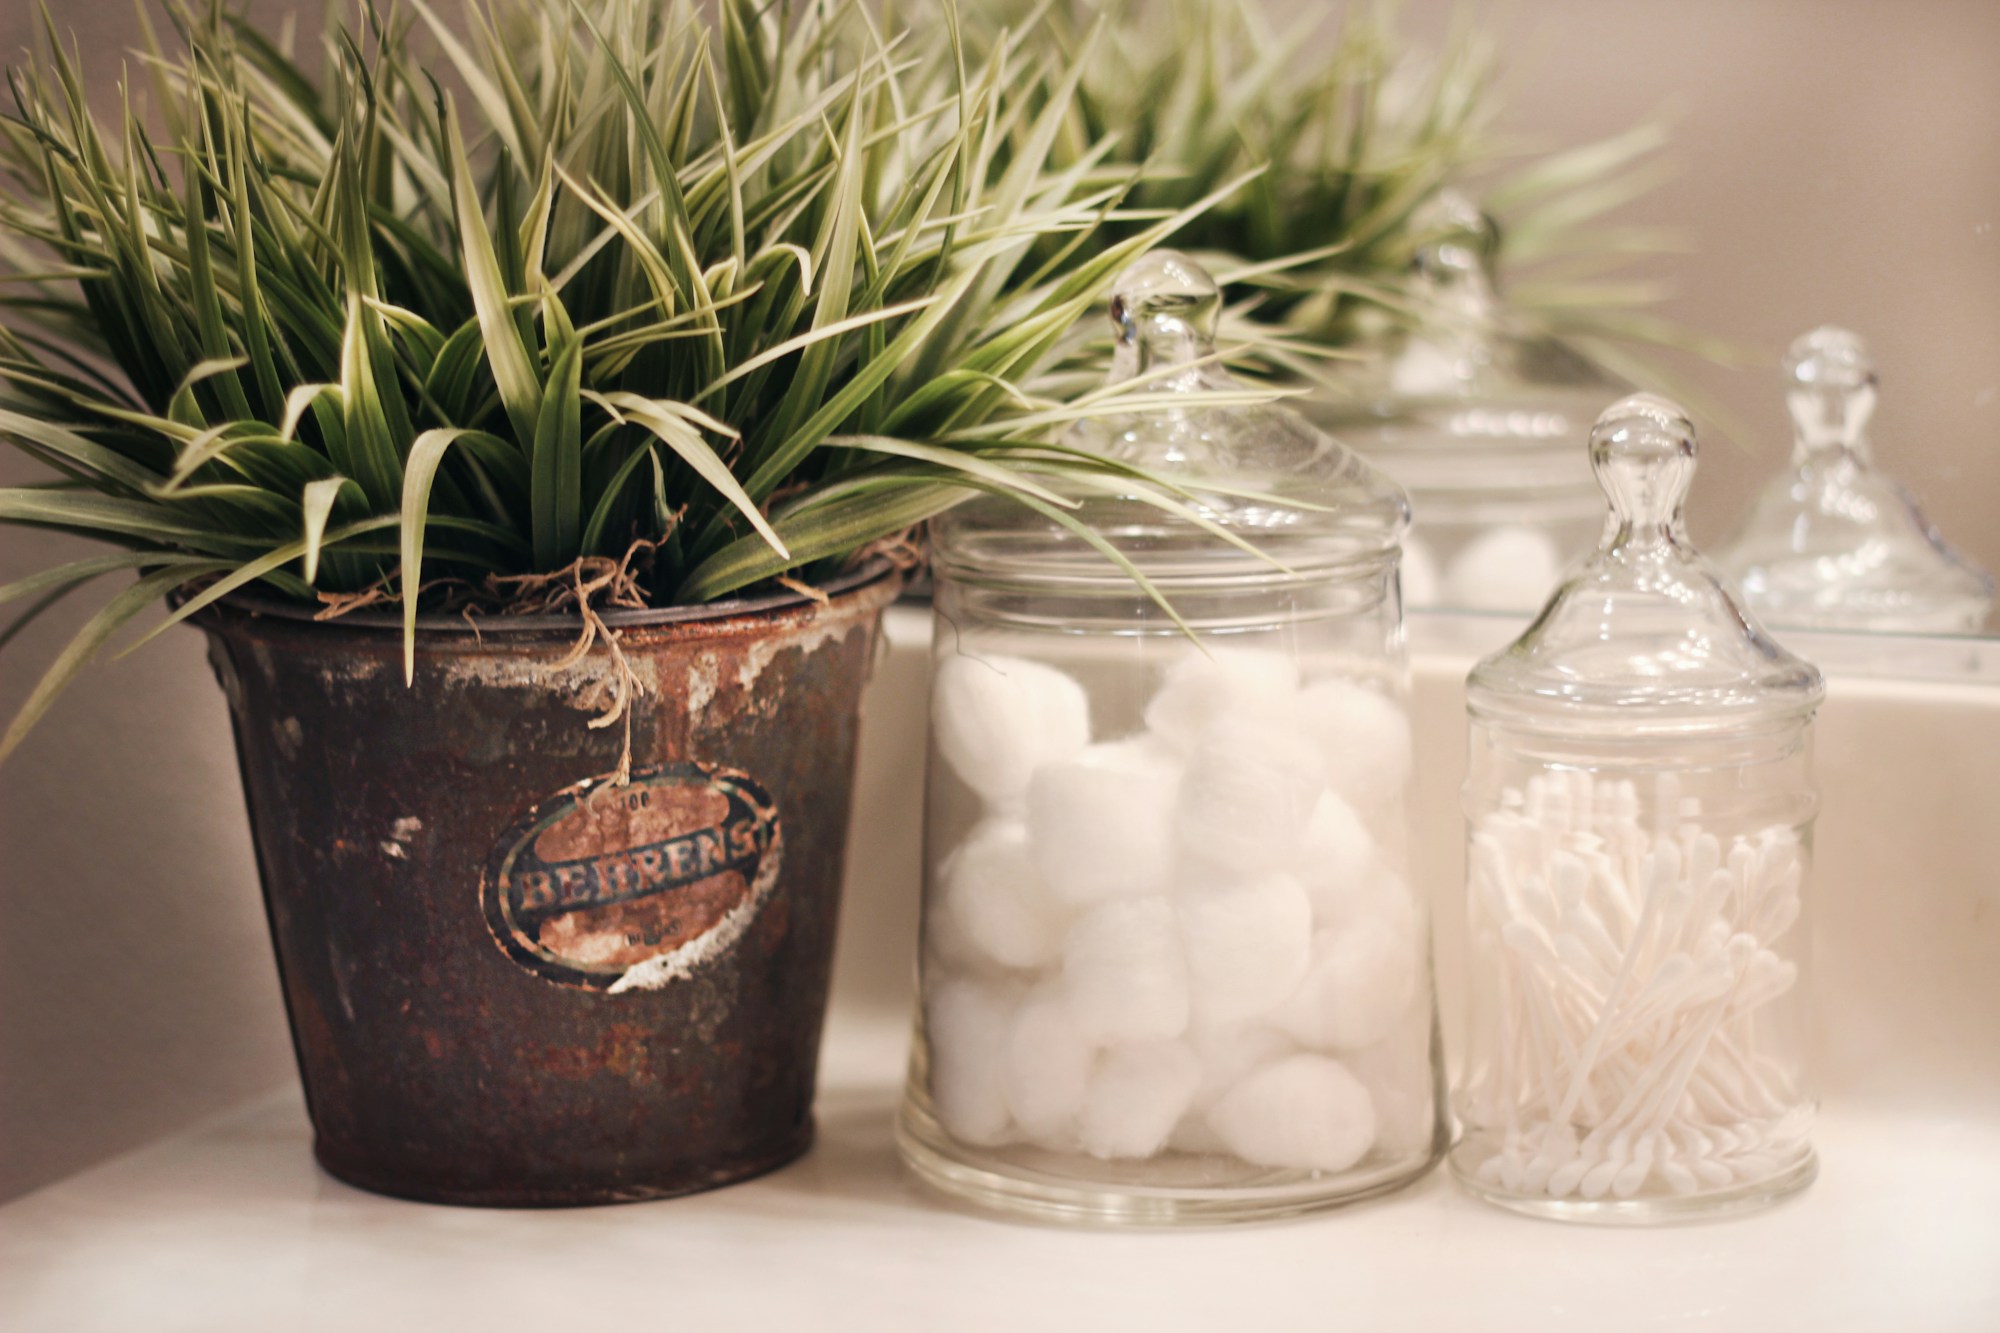
Wide glass jars from peanut butter, pickles or pasta sauce make lovely bathroom canisters. Once the labels are off, they look just like pricey apothecary jars. Fill them with cotton balls, cotton swabs, bath salts or hair ties, and line them up on a shelf next to a little plant. Spray paint the lids gold, black or white so they match. Want more ideas for calming the chaos? Try these brilliant organizing ideas that make clutter disappear.
You will need: Wide glass jars with lids, warm soapy water, spray paint for the lids, cotton balls and swabs.
How to make it: 1. Soak the jars to remove labels and sticky glue. 2. Paint the lids outdoors and let them dry. 3. Fill the jars and arrange them on a shelf or tray.
Empty Food Containers for Easy Meal Prep
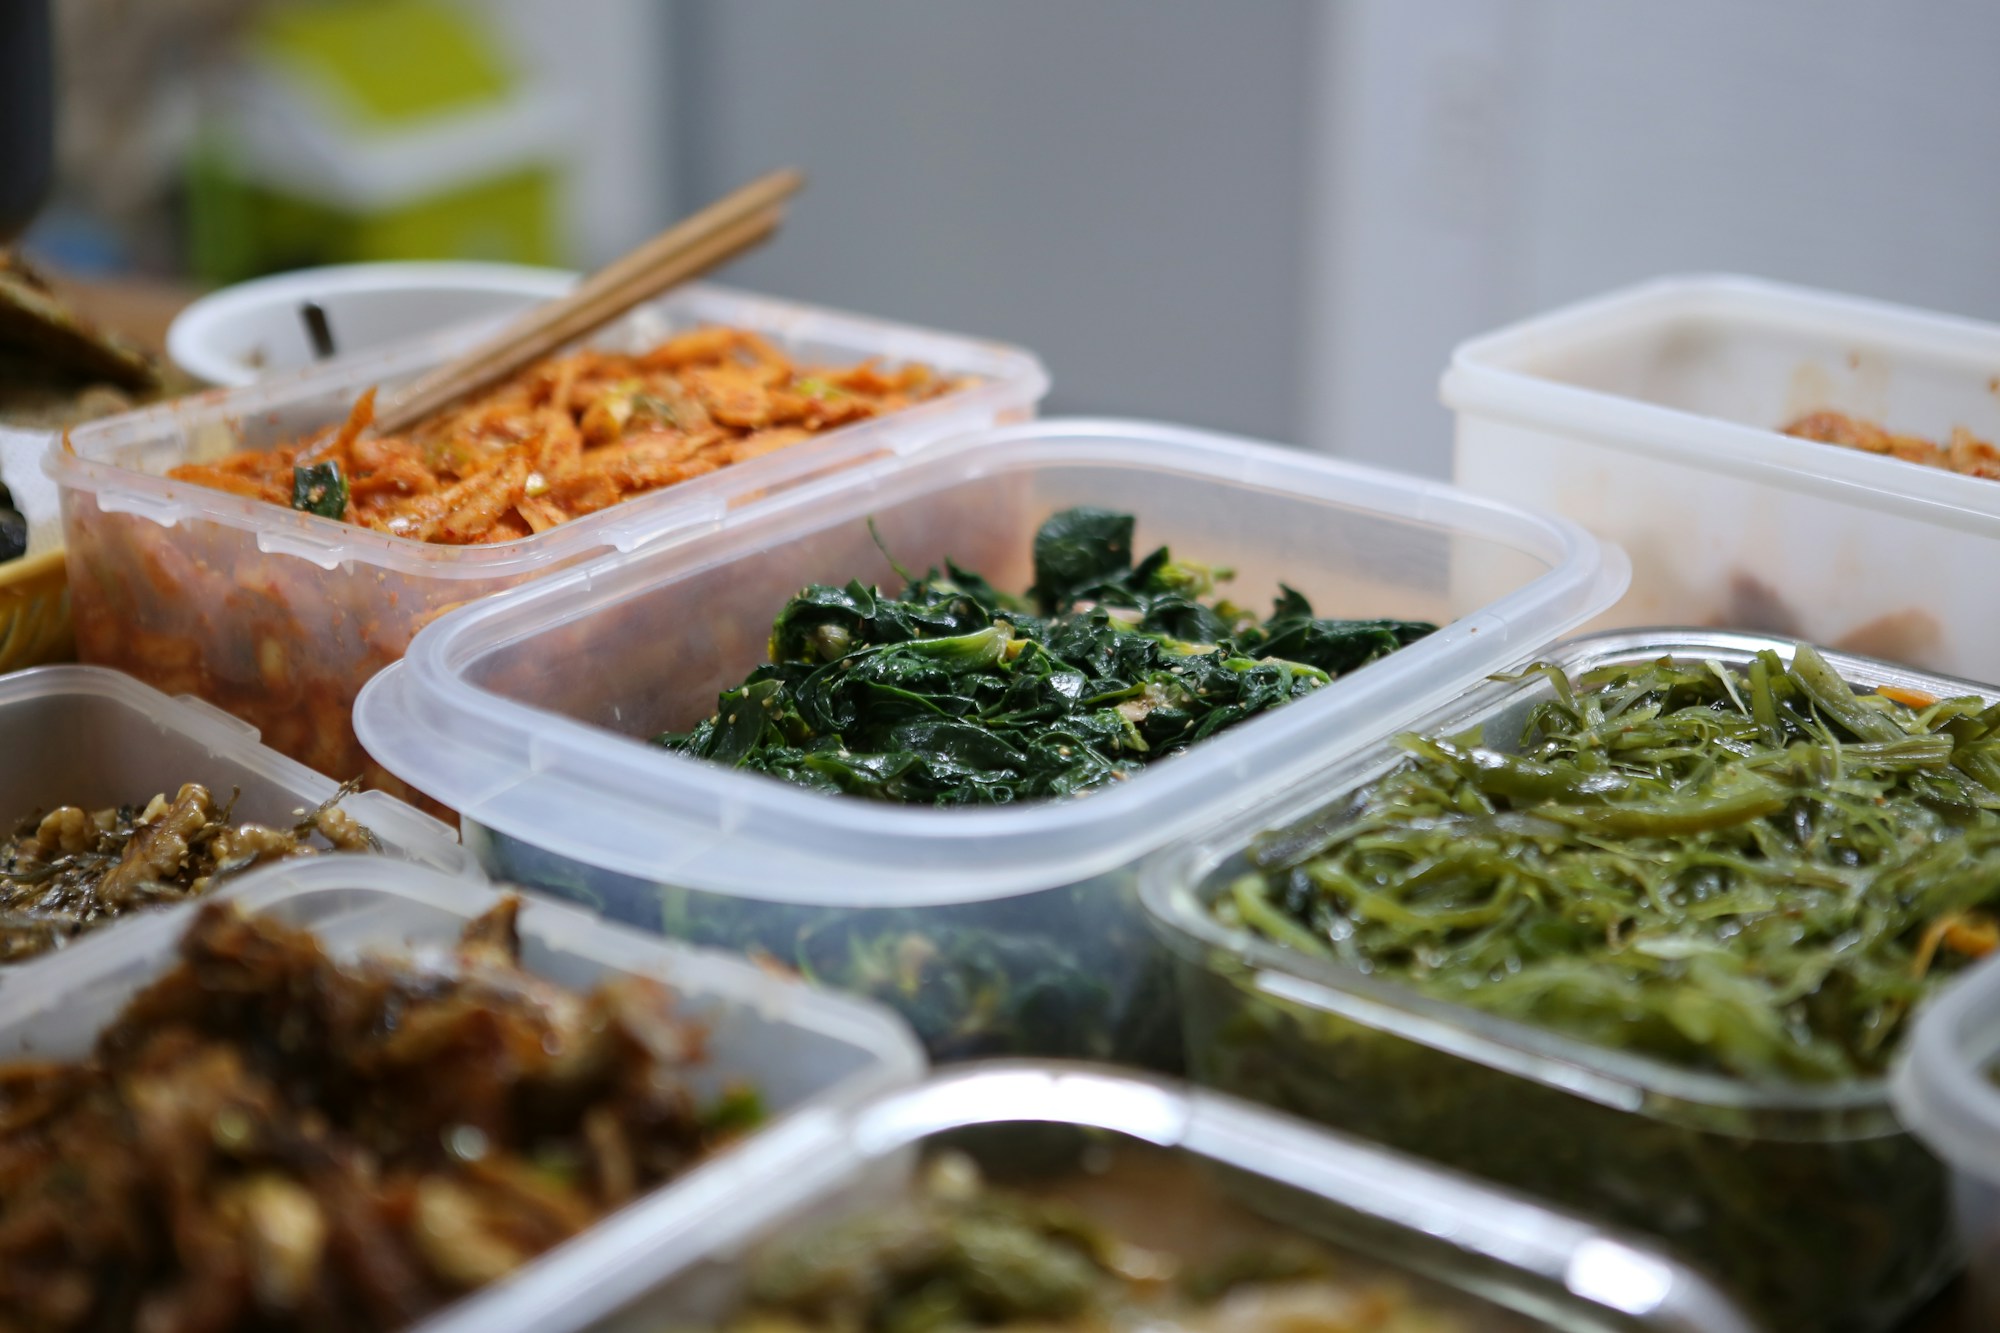
Sturdy plastic takeout containers with tight lids are great for meal prep and fridge organizing. Wash them well and use them for chopped vegetables, snacks or leftovers so you can see everything at a glance. Only reuse empty food containers that are thick, clean and free of cracks, and never heat food in thin single use plastic. Stack them by size and keep the lids in a separate bin. It is an easy way to keep your fridge tidy all week. What would you prep first?
You will need: Clean, sturdy takeout containers with lids, labels, a marker.
How to make it: 1. Wash the containers and check for cracks or stains. 2. Fill them with chopped veggies, snacks or grab and go lunches. 3. Label and stack them by size in the fridge.
Empty Food Containers Make Great Shelf Bins
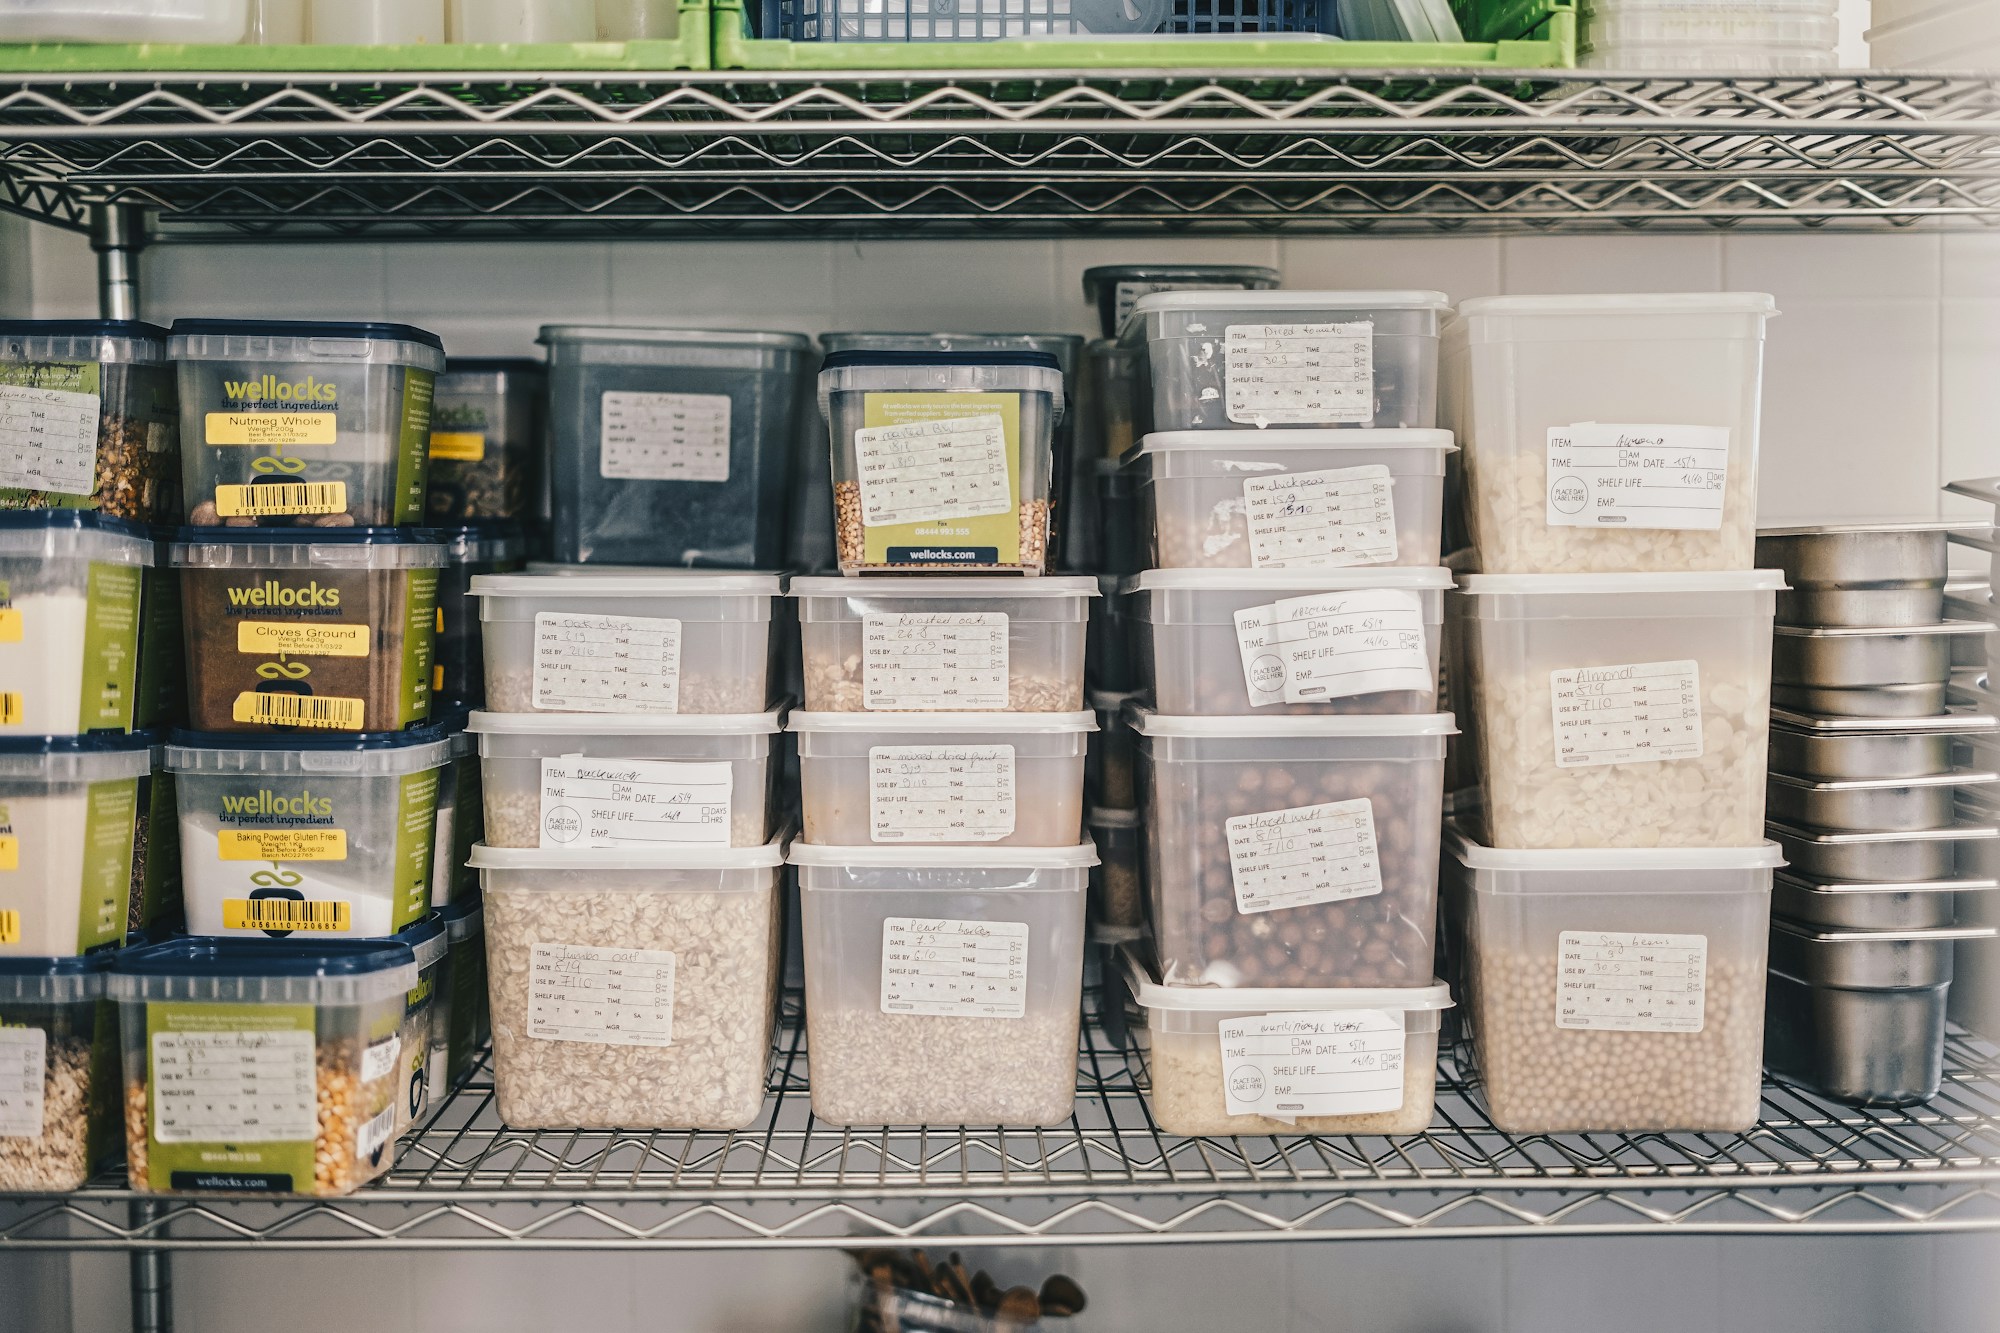
Large yogurt, ice cream and deli tubs make handy shelf bins for the garage, pantry or craft room. Line them up on a shelf and fill each one with a single kind of thing: batteries, seed packets, cookie cutters or crayons. Add a label to the front, and you will never dig through a messy drawer again. They are light, washable and free. Reusing empty food containers this way can save real money on storage. Which shelf will you tackle first?
You will need: Large clean plastic tubs, labels, a marker, a shelf.
How to make it: 1. Wash and dry the tubs and remove the labels. 2. Sort your items into one tub each. 3. Label the front and line them up on the shelf.