15 Mason Jar Crafts So Easy and Pretty You Will Want to Make Them All Weekend
Do you save empty jars because they seem too nice to throw away? You are not alone, and now you finally have a reason to keep them. These mason jar crafts take simple glass jars and turn them into lamps, vases, gifts, storage and cozy decor for every room. Most need only twine, paint, glue or a few flowers, and many take less than an hour. They are perfect for a rainy weekend, a craft night with friends or a fun afternoon with the grandkids. Grab a jar and see which one you want to make first..
Twine and Lace Wrapped Jar Vase
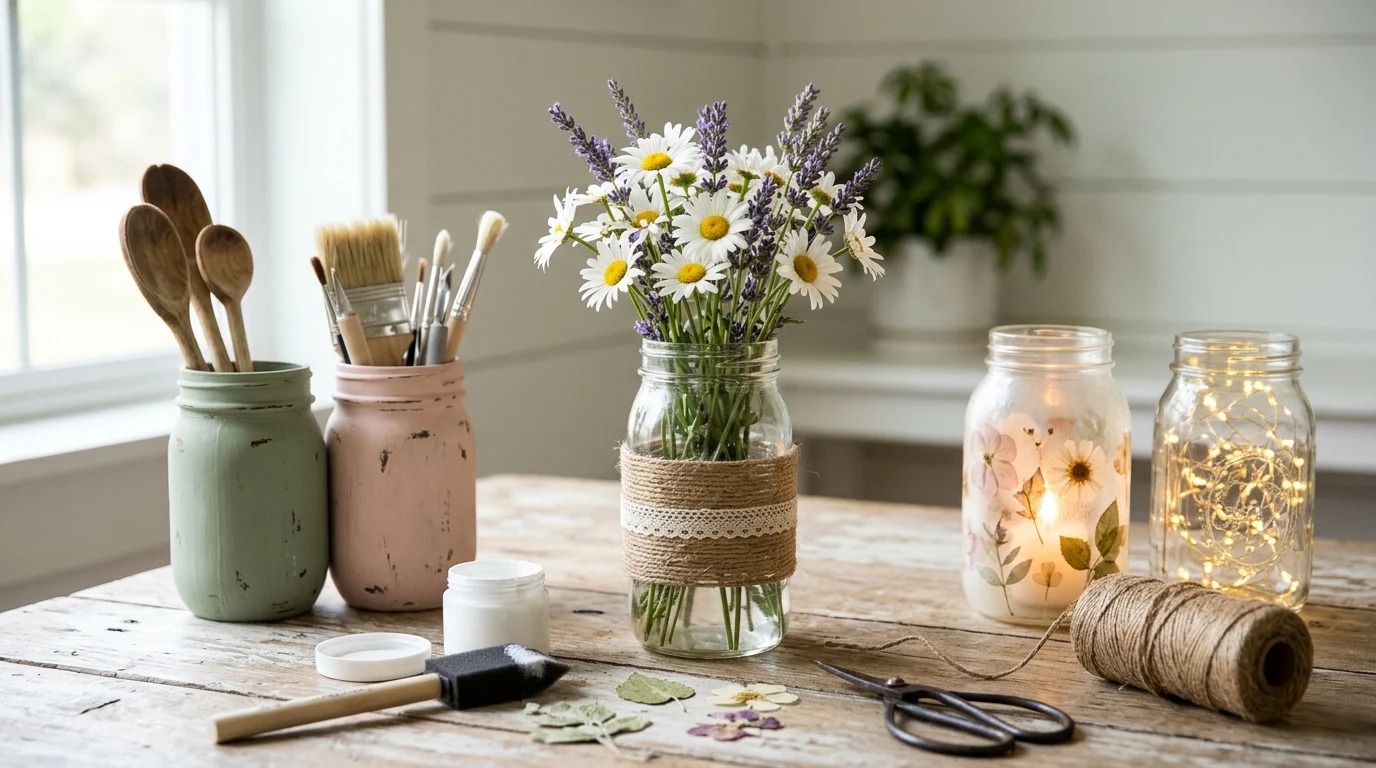
Do you have a few empty jars hiding under your sink right now? Then you already own the start of a beautiful home. This twine and lace vase is the easiest place to begin. It costs almost nothing, takes about 20 minutes, and looks like something you would pay $25 for at a farmhouse shop. Fill it with grocery store daisies or a few stems of lavender and it brightens any kitchen table, nightstand or bathroom shelf. Make three and line them down the middle of your dinner table for an instant centerpiece. Pick a room for it and let us get crafting..
You will need: 1 clean mason jar, jute twine, a strip of lace ribbon, hot glue gun, scissors, fresh or faux flowers.
How to make it: Put a dot of hot glue near the bottom of the jar and press the end of the twine into it. Wrap the twine tightly around the jar, adding a small dot of glue every few rounds, until you cover about 3 inches. Glue the lace band around the middle of the twine and trim the ends. Add water and flowers and you are done.
Painted Letter Jars That Spell HOME
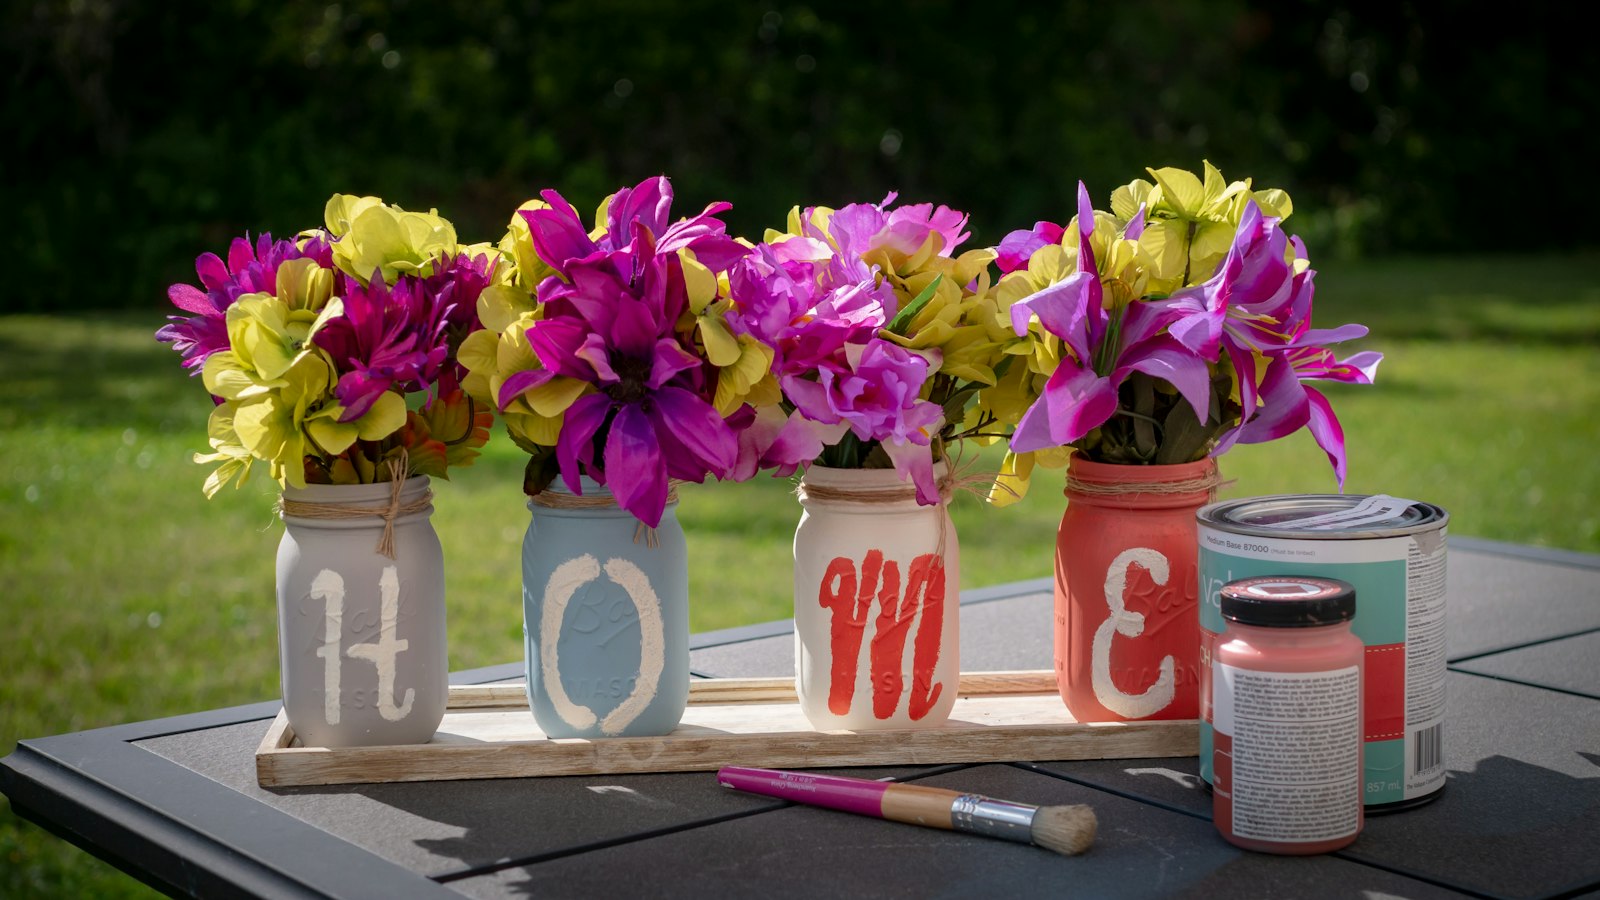
This one makes people stop and smile the moment they walk in. Four painted jars, one letter on each, and a handful of bright flowers. Together they spell HOME, but you could spell LOVE, EAT, your family name or even a little word for a wedding table. Chalk style paint gives a soft, matte finish that hides any brush marks, so you do not need to be an artist. Set them on a wooden board and you have a front porch or mantel display that feels personal and warm. What word would you spell on your jars?
You will need: 4 mason jars, chalk style paint in 2 or 3 colors, white paint pen or letter stencils, foam brush, sandpaper, a wooden board (optional), flowers.
How to make it: Paint the outside of each jar with 2 thin coats, letting each coat dry for 30 minutes. Lightly sand the edges for a worn look. Add one large letter to each jar with a paint pen or stencil. Let dry overnight, then add water and flowers to each jar.
Rope Net Coastal Jar Lanterns
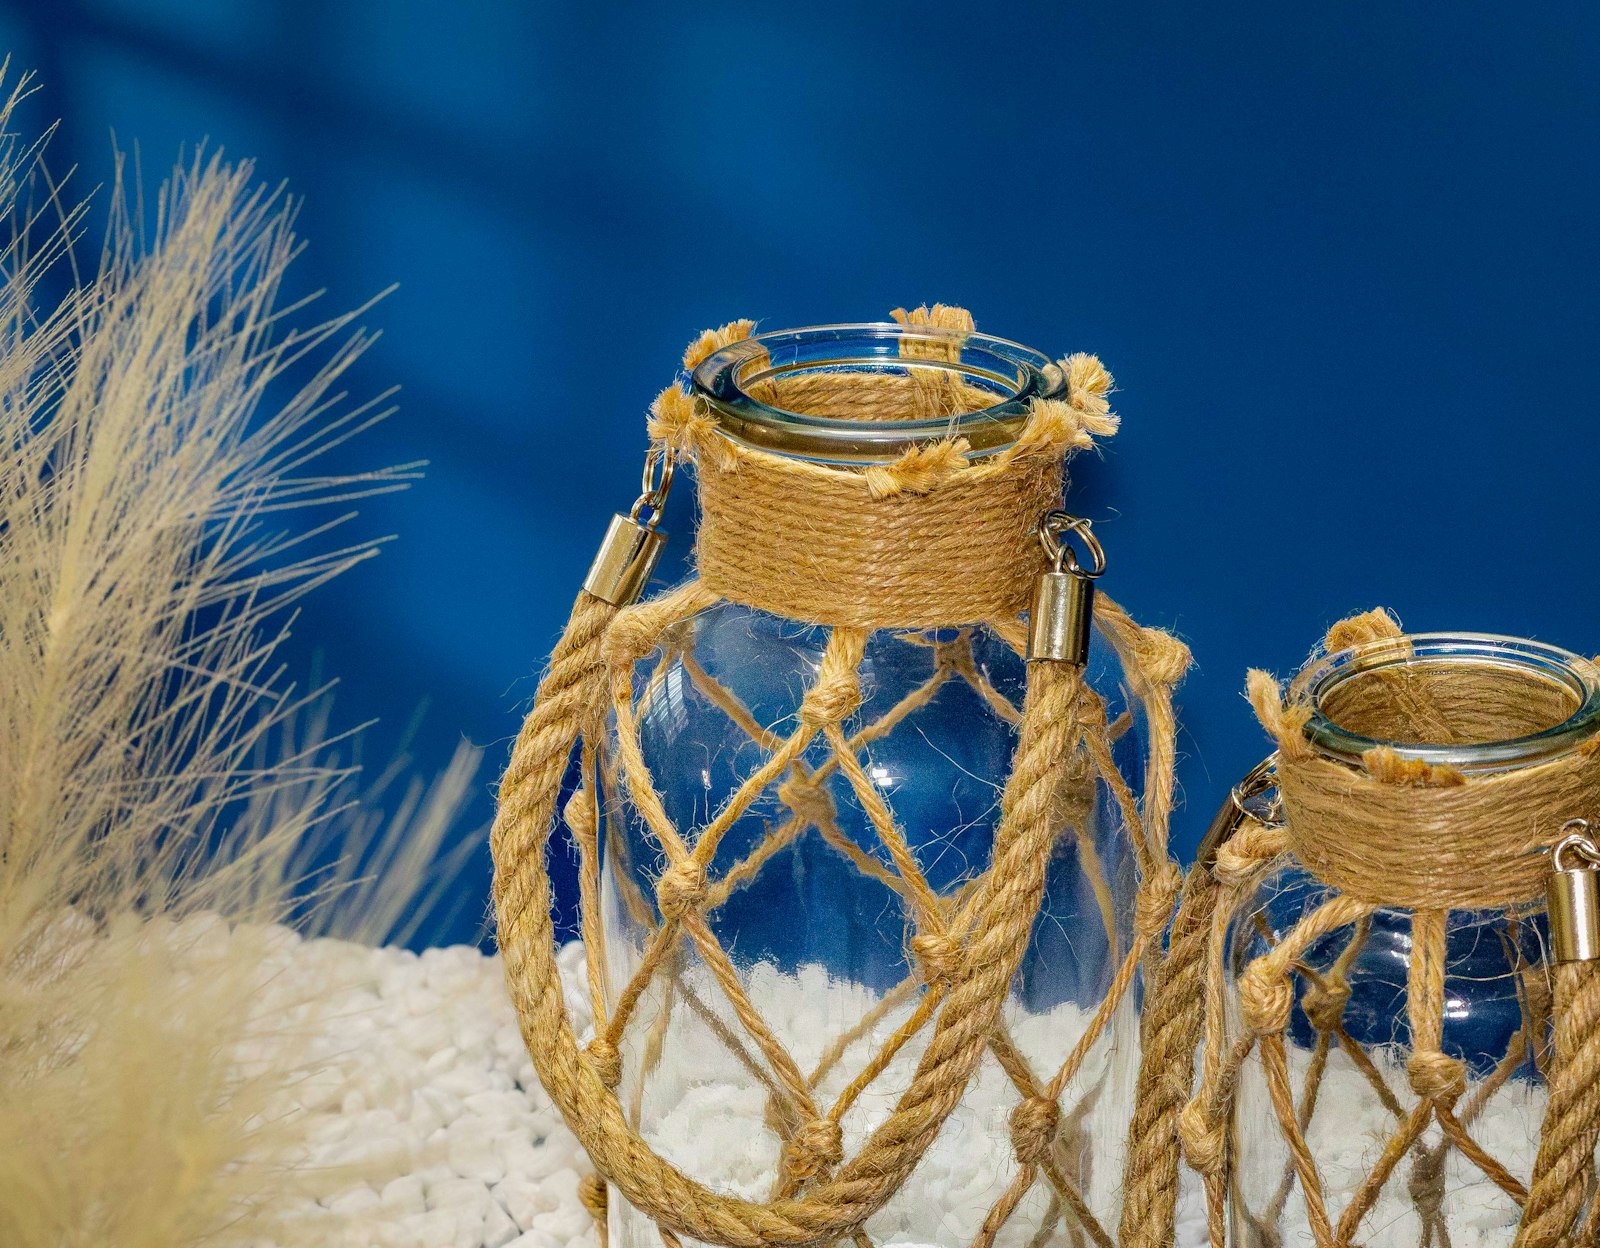
If you love a beach house look, these rope net jars will make your heart happy. The knotted jute netting turns a plain jar into something that looks like it washed up from an old fishing boat. They are perfect for a patio table, a bathroom with a sea theme or a summer party. Drop in a tea light and they glow at night, or fill them with sand and shells you collected on vacation. This craft feels fancy, but the knots are just simple square knots you can learn in five minutes. Beach lover or mountain lover?
You will need: 2 jars, jute rope or thick twine, scissors, hot glue, tea lights or sand and shells.
How to make it: Cut 8 pieces of rope, each about 3 times the height of the jar. Tie them to a rope ring around the jar neck. Take two neighboring strands and tie a knot about 1 inch down. Keep pairing and knotting strands in rows until you reach the bottom. Glue the ends under the jar and trim.
Hanging Mason Jar Pendant Lights
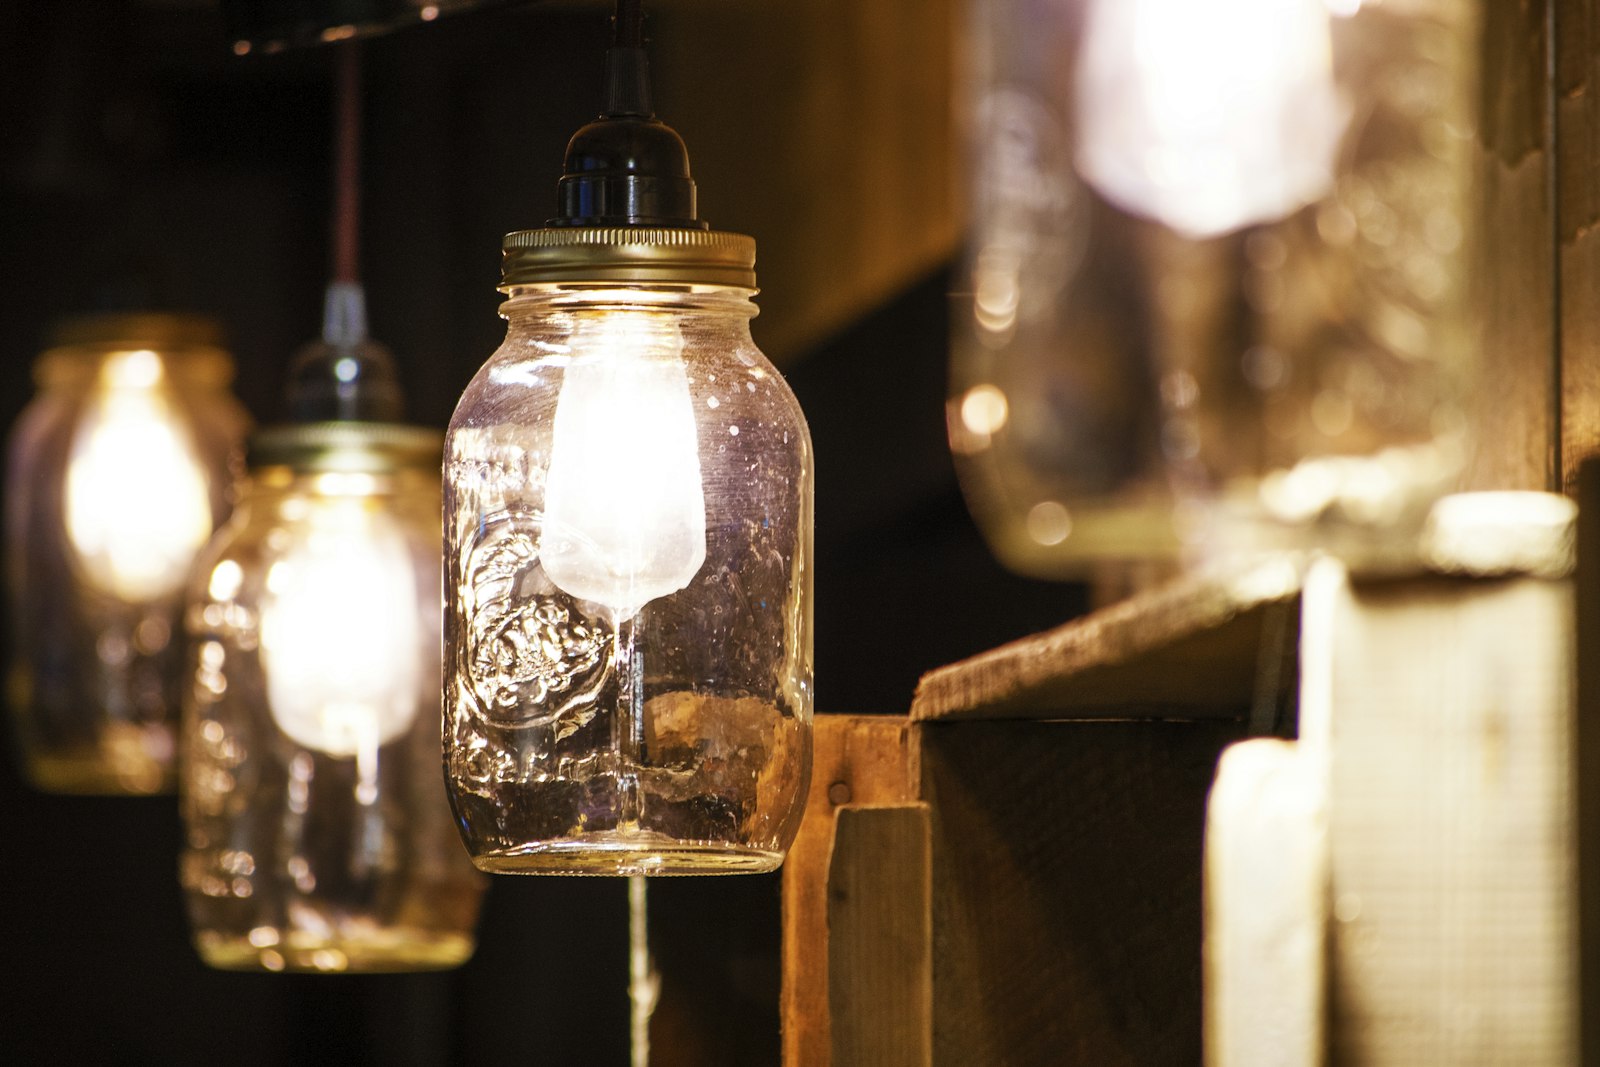
This is the craft that makes guests ask where you bought your lights. Mason jar pendants give a kitchen island or dining nook a warm, rustic glow that feels like a cozy country cafe. The best part is that pendant light kits do most of the hard work for you. You only need to make a hole in the jar lid and screw everything together. Hang one alone over a reading chair or group three at different heights for a big impact. Would you hang these in your kitchen or on your porch?
You will need: Wide mouth mason jars with metal lids, plug in pendant light kits, LED bulbs, drill with a step bit, marker.
How to make it: Trace the light socket in the center of each lid and drill the hole slowly with a step bit. Push the socket through the lid and tighten the ring that comes with the kit. Screw in an LED bulb, which stays cool, then screw the jar onto the lid. Hang the cord from a ceiling hook and plug it in.
Edison Bulb Mason Jar Lamp
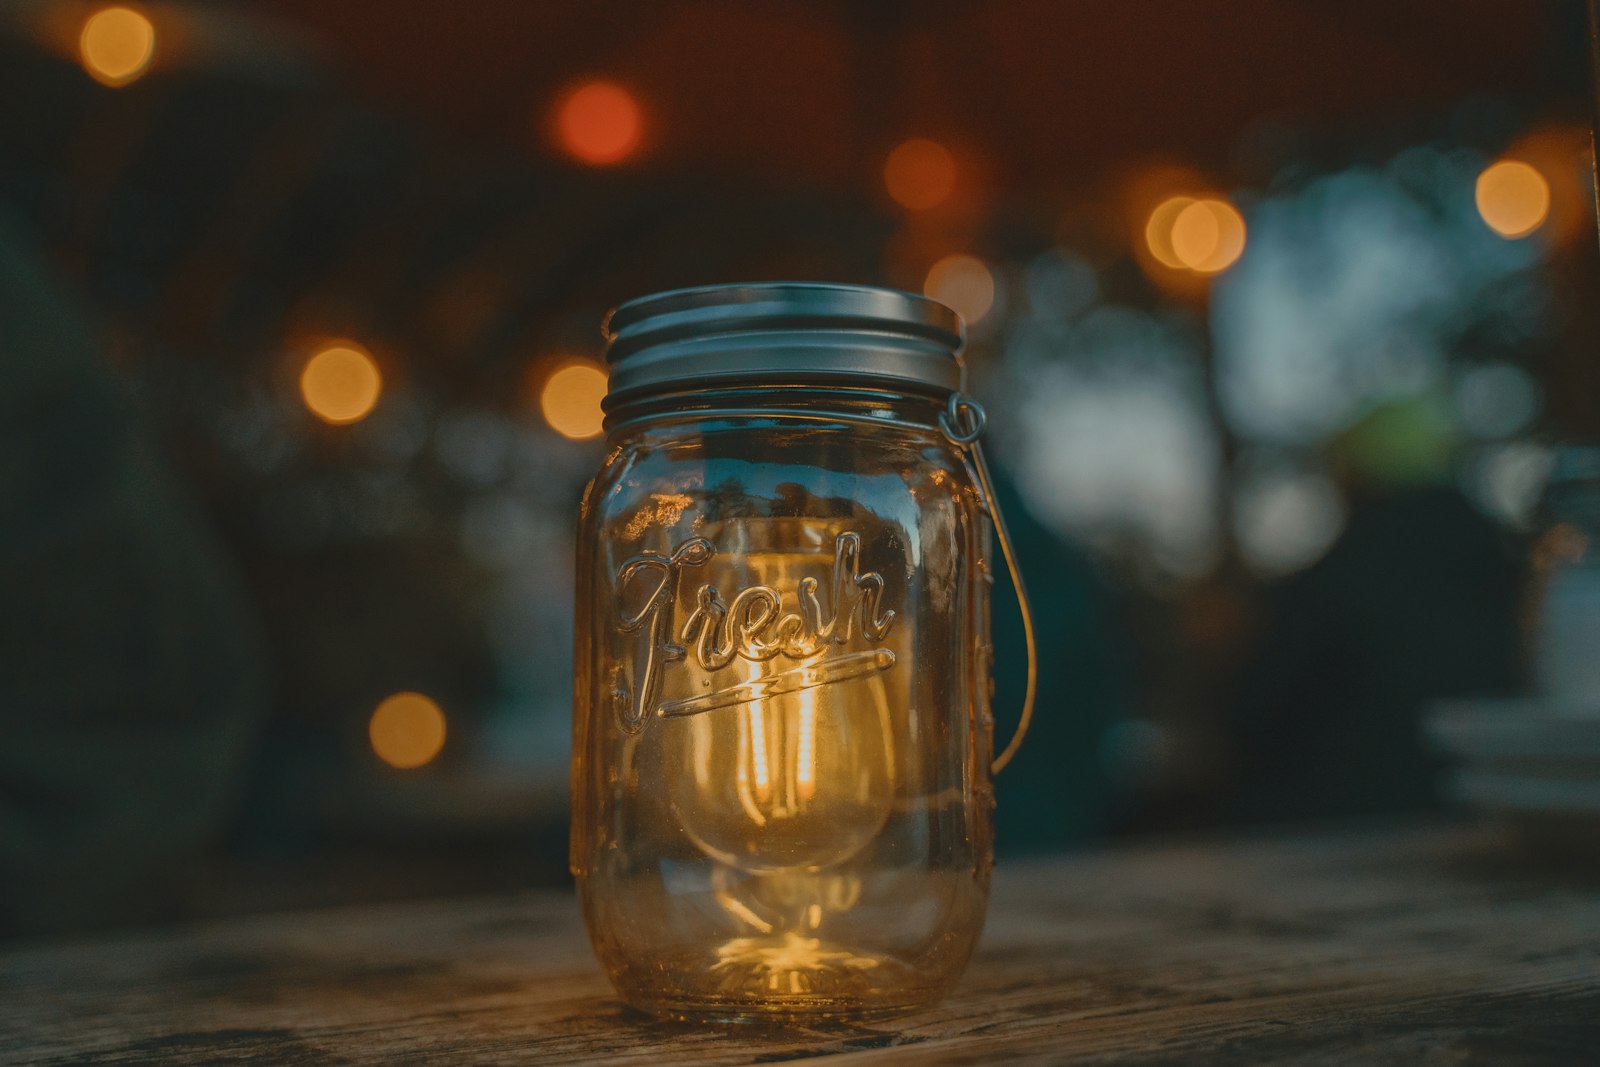
Not ready to hang lights from the ceiling? Make a little table lamp instead. An Edison style bulb inside a clear jar looks warm and old fashioned, like something from a vintage general store. It is the perfect night light for a bedroom, a soft glow for a bookshelf or a thoughtful gift for a friend who loves farmhouse style. Battery powered bulbs make this craft even easier because there are no cords at all. You can be finished in less time than it takes to watch one TV episode. Who would you make this for?
You will need: 1 quart mason jar with lid, battery operated Edison style LED bulb with base, a little twine or burlap for decoration.
How to make it: Set the battery bulb base on a flat surface and test that it lights. Place the jar upside down over it, or set the bulb inside and close the lid if your bulb has a hook. Wrap twine or burlap around the neck of the jar and tie a bow. Turn it on at night and enjoy the glow.
Cozy Candle Jars With Fairy Lights
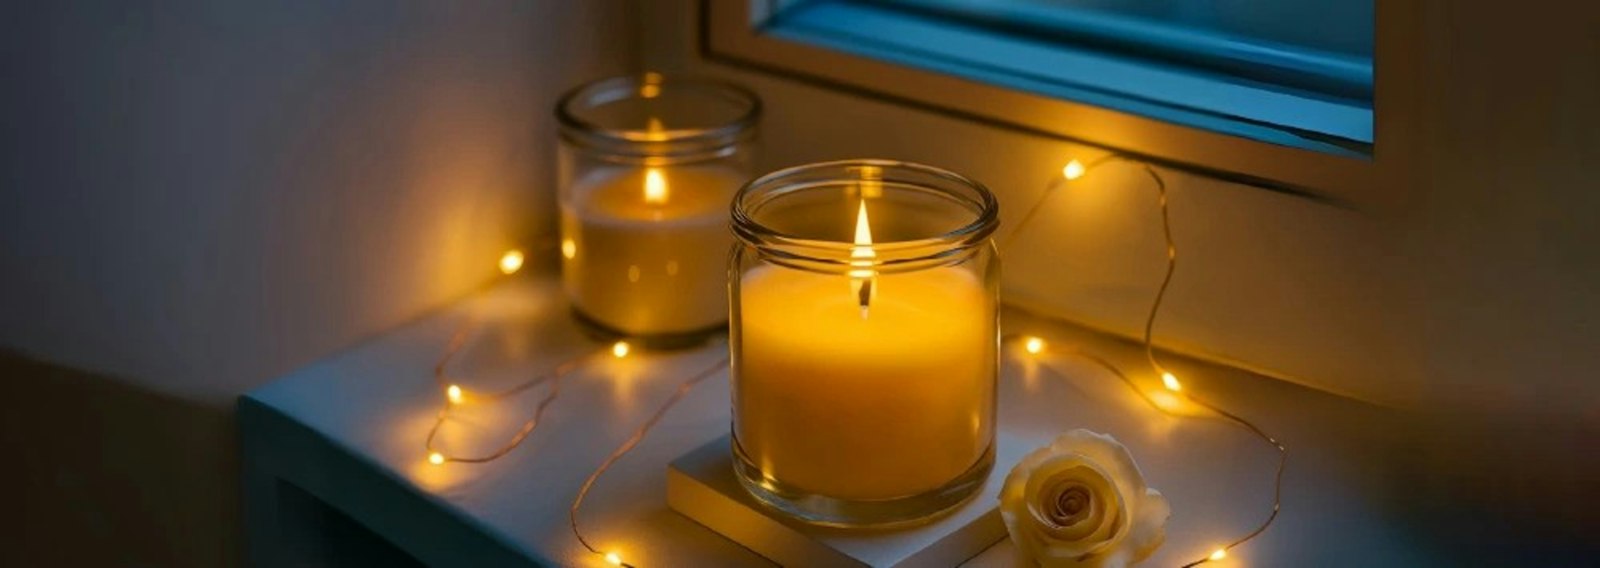
Making your own candles in jars sounds hard, but it is one of the most relaxing crafts you can try. You melt the wax, add a little scent, pour and wait. That is it. Homemade candles in small jars look lovely on a coffee table, and when you add a strand of fairy lights around them, your whole living room feels like a cozy cabin. They also make sweet gifts for teachers, neighbors and hosts. Pick scents like vanilla, cinnamon or lavender to match the season. What scent would your candle be?
You will need: Small glass jars, 2 cups soy wax flakes, candle wicks with metal tabs, 30 drops essential oil or candle fragrance, clothespins, a pot and a heat safe pitcher.
How to make it: Glue a wick to the bottom center of each jar. Melt the wax in the pitcher set inside a pot of simmering water. Take it off the heat, stir in the scent and pour slowly into the jars. Hold the wicks straight with clothespins. Let them set for 24 hours, then trim the wicks to 1/4 inch.
Succulent Jar Tied With Twine
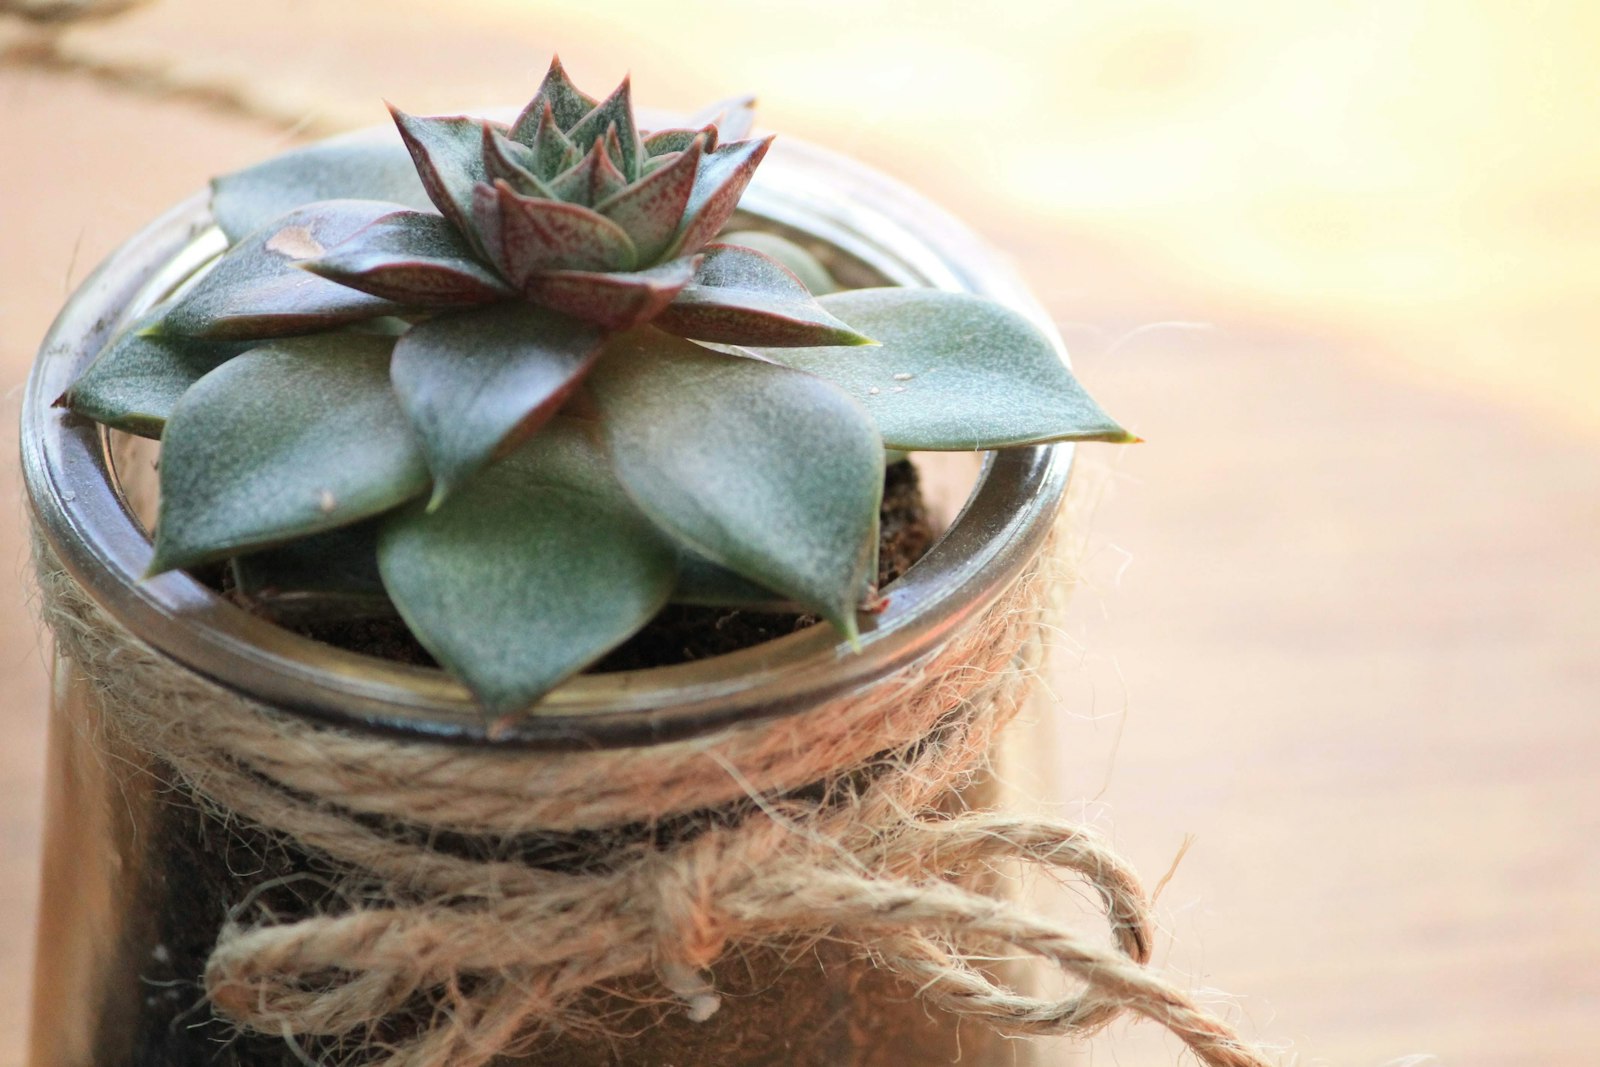
Even if you think you have a brown thumb, you can keep a succulent alive. These little plants need very little water, and they look adorable growing out of a short mason jar. The twine bow adds a handmade touch that makes it perfect for a desk, a windowsill or a party favor. Make a row of them for a bridal shower or baby shower and let each guest take one home. The secret is a layer of rocks at the bottom so the roots never sit in water. Do you have a sunny windowsill waiting for one?
You will need: Short wide mouth jar, small pebbles, cactus and succulent soil, 1 small succulent, jute twine.
How to make it: Add 1 inch of pebbles to the bottom of the jar. Fill it about halfway with cactus soil. Gently place the succulent in the center and press soil around it. Wrap twine around the jar rim 3 times and tie a bow. Water lightly every 2 to 3 weeks and keep it in bright light.
Mini Jar Terrarium
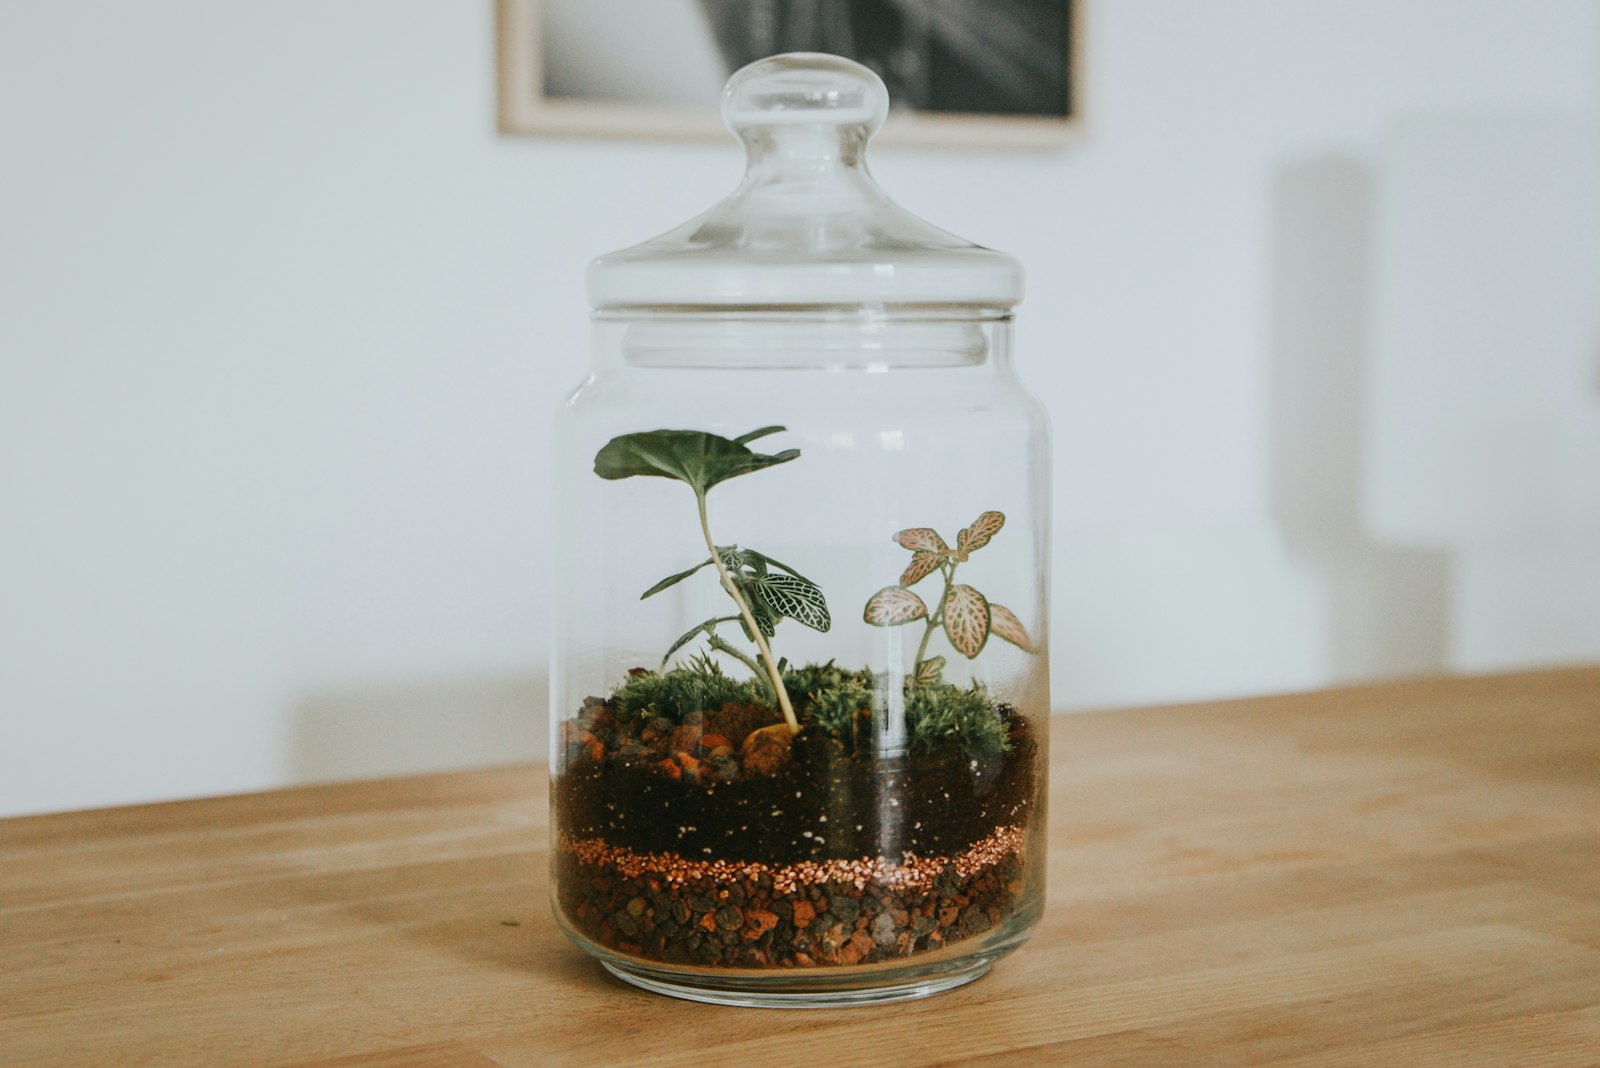
A terrarium is a tiny garden that lives inside a jar, and kids and grown ups both love making them. Once you close the lid, the plants water themselves by making their own little rain cycle. It feels like magic every time you see the water drops on the glass. A terrarium is a great weekend project to do with grandkids, and it teaches them a little science too. Add a tiny figure, like a deer or a little house, to make your own small world. What would you put inside your mini garden?
You will need: Large jar with lid, small pebbles, 2 tbsp activated charcoal, moss, potting soil, 2 or 3 small plants like fittonia or baby tears, a long spoon.
How to make it: Layer 1 inch of pebbles, then a thin layer of charcoal, then a layer of moss. Add 2 inches of potting soil. Use a spoon to make holes and set in the plants. Press the soil around them. Mist lightly, close the lid and keep it in bright, indirect light.
Kitchen Herb and Spice Jars
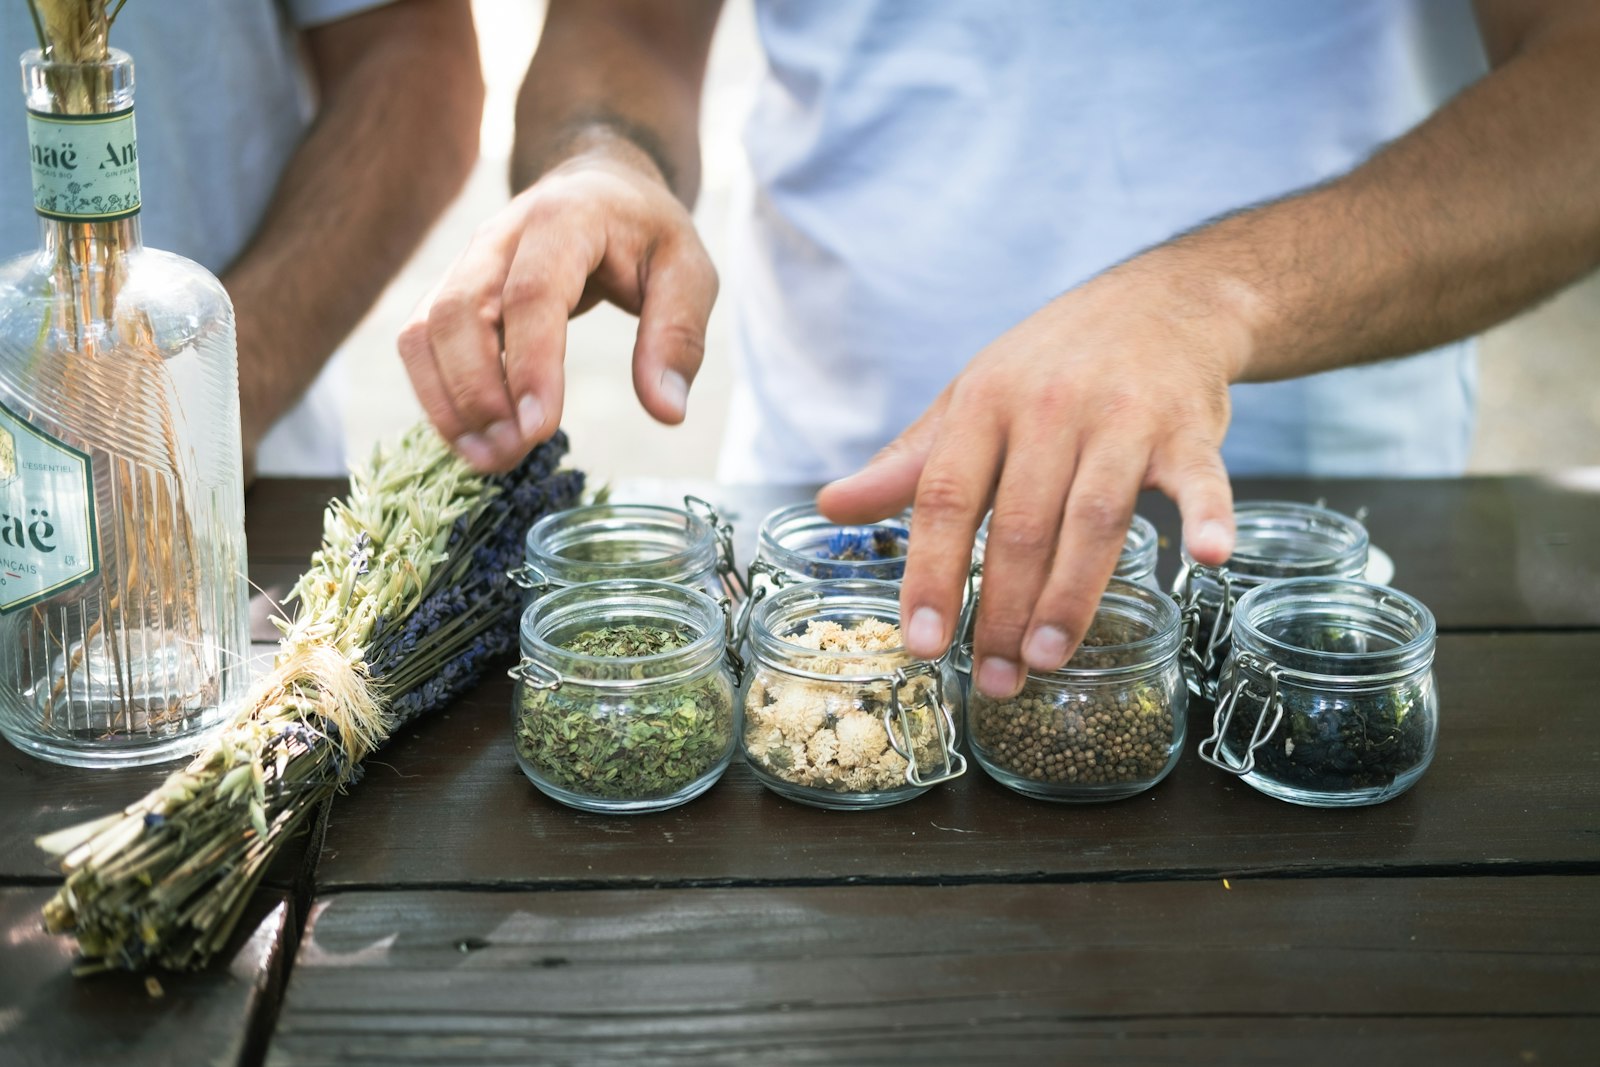
Messy spice cabinet? Small jars fix that in one afternoon. Dried herbs and spices look so much prettier in clear glass than in mismatched store bottles, and you can see exactly how much is left. Buying spices in bulk and refilling your own jars also saves real money. Add simple labels to the lids, line them up on a little shelf near the stove, and your kitchen suddenly looks like a cooking show set. You can even dry herbs from your own garden and store them here. Which spice do you use the most?
You will need: Small 4 oz jars with lids, dried herbs and spices, a small funnel, chalkboard labels or printed labels, a chalk marker.
How to make it: Wash and fully dry each jar. Use a small funnel to fill the jars with herbs and spices. Write each name on a label and stick it to the lid or the front of the jar. Line them up in a drawer or on a shelf. Keep them out of direct sun so the flavor lasts longer.
Pretty Bathroom Storage Jars
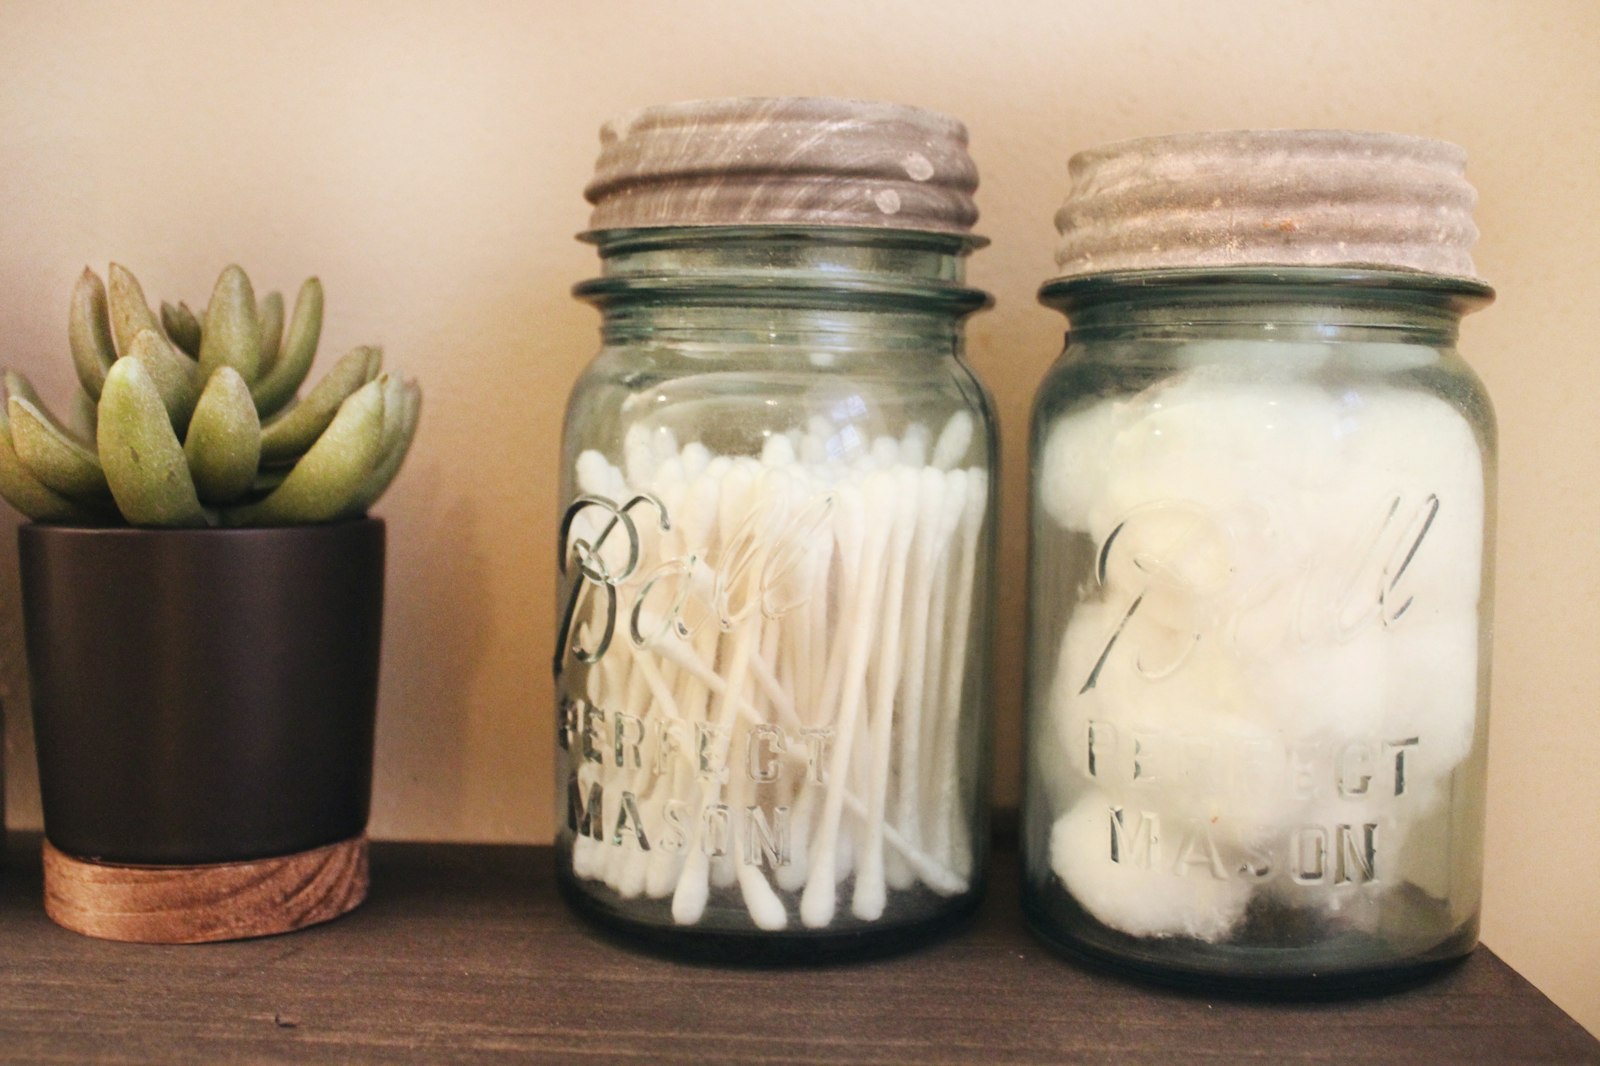
Here is a craft that looks great and makes life easier every single morning. Cotton swabs, cotton balls, hair ties and bath salts all look neater in matching jars. Paint the lids in one soft color, like blush or sage, and your bathroom counter looks like a spa. This is one of the fastest projects on the list, and it is a great way to use up odd jars you have saved. Add a small plant next to them to make it feel fresh. What clutter would you hide in a jar first?
You will need: 3 pint mason jars, spray paint or chalk paint for the lids, cotton balls, cotton swabs, bath salts, a small plant (optional).
How to make it: Take the lids off and spray paint them outside in thin coats. Let them dry for 1 hour. Wash and dry the jars. Fill each jar with one item, screw on the painted lids and line them up on the counter or a small tray.
Mason Jar Soap Dispenser
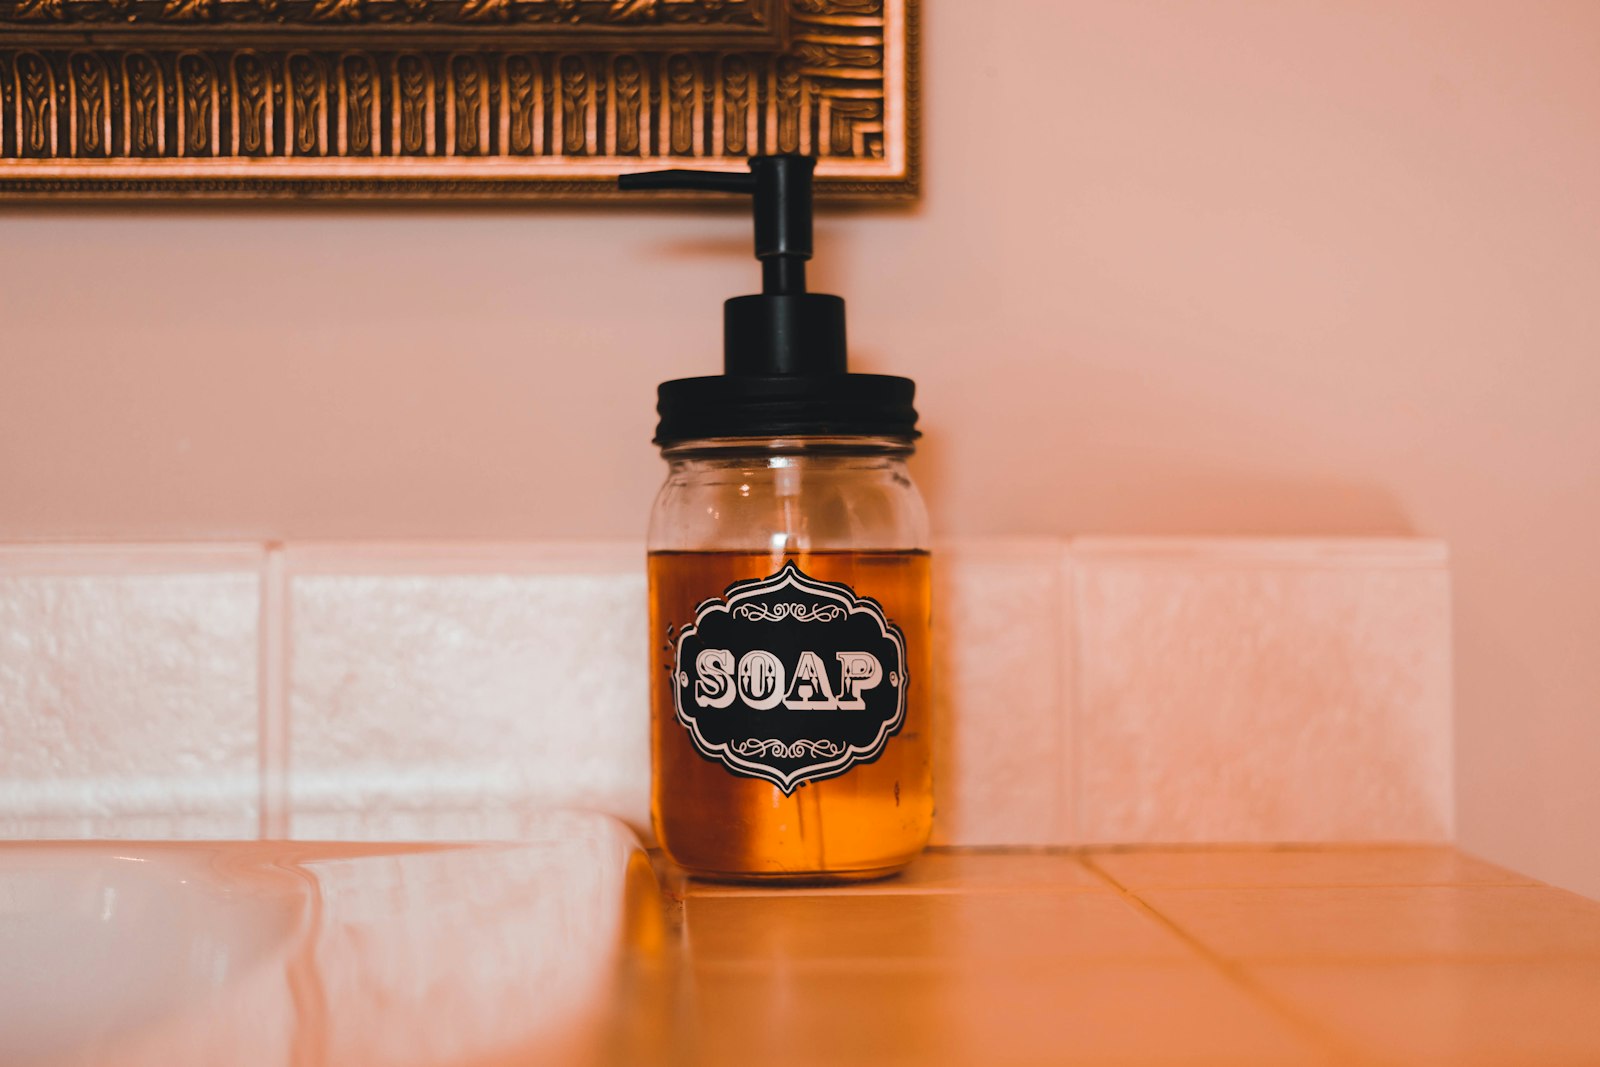
Store bought soap dispensers can cost $20 or more, but you can make a cute one for about $5. All you need is a pint jar and a pump top. They look great at the kitchen sink with dish soap or in the bathroom with hand soap. Use amber or clear jars, or paint your own for a custom color that matches your towels. These also make great housewarming gifts when you fill them with a nice scented soap. Would you put yours in the kitchen or the bathroom?
You will need: 1 pint mason jar, a soap pump lid made for mason jars, liquid soap, a label (optional).
How to make it: Wash and dry the jar. Trim the pump straw so it just touches the bottom of the jar. Fill the jar with soap, leaving 1 inch at the top. Screw on the pump lid and press a few times to get the soap flowing. Add a label if you like.
Desk Pencil and Craft Holder
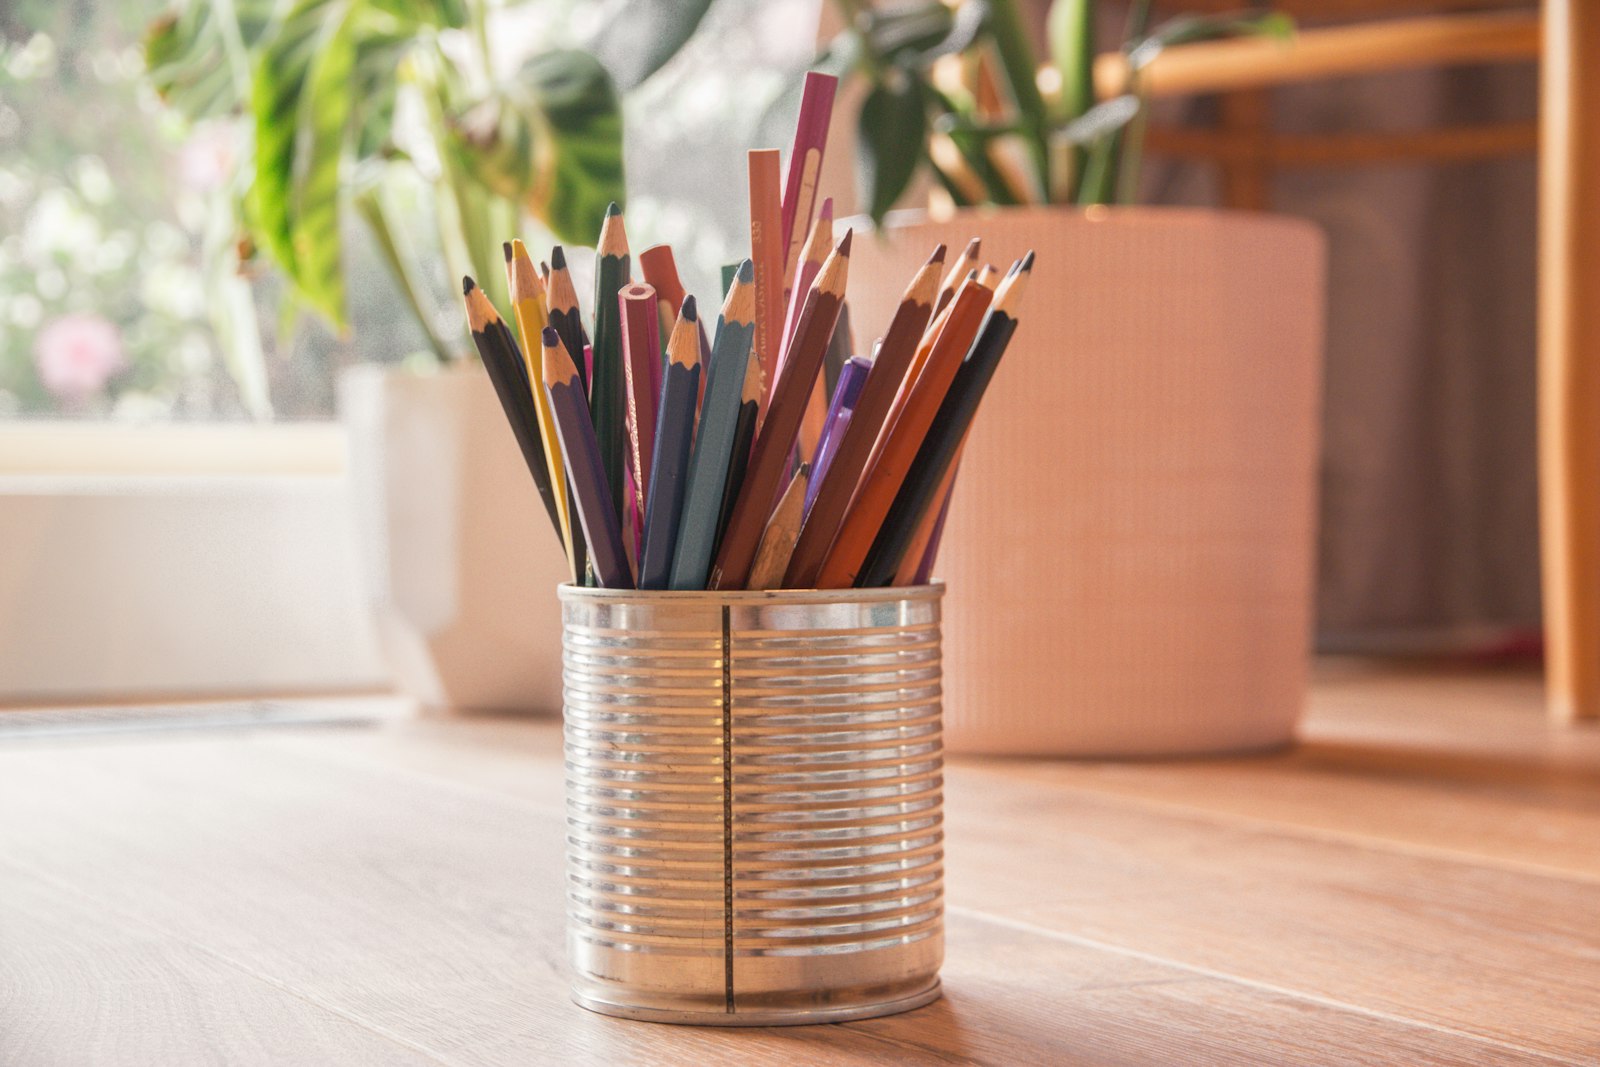
Every craft room, home office and homework table needs a place for pencils. A mason jar is the simplest answer. Fill one with colored pencils, another with paintbrushes and another with scissors and markers, and your messy desk becomes neat in minutes. Kids love decorating their own jars with stickers, washi tape or paint. Let them make one for school supplies and they might even keep it tidy. You can also glue three jars to a wooden board to make a desk caddy. How many pencil cups are hiding in your house right now?
You will need: 3 jars of different sizes, washi tape or stickers, a small wood board (optional), strong craft glue.
How to make it: Wash and dry the jars. Decorate the outside with washi tape stripes, stickers or paint. If you want a caddy, glue the jars side by side on a wood board and let it dry for 24 hours. Fill with pencils, brushes and markers.
Savings Goal Jar

This little jar has helped many families save for something big. Write your goal on the front, like Vacation Fund, House Fund or Christmas Fund, and drop in your spare change and small bills. Seeing the money grow in clear glass keeps you motivated. It is also a wonderful way to teach kids about saving. Give each child their own jar with a goal they choose, like a new bike. Cut a slot in the lid so nobody sneaks a dollar out. What would your savings jar be for?
You will need: 1 quart mason jar with a 2 piece lid, a label or paint pen, a utility knife, a file or sandpaper.
How to make it: Draw a 1 1/2 inch slot in the middle of the flat lid. Carefully cut it with a utility knife (an adult job) and smooth the edges with a file. Write your goal on a label and stick it to the jar. Put the lid back on and start saving.
Baby’s Breath Wedding Centerpiece
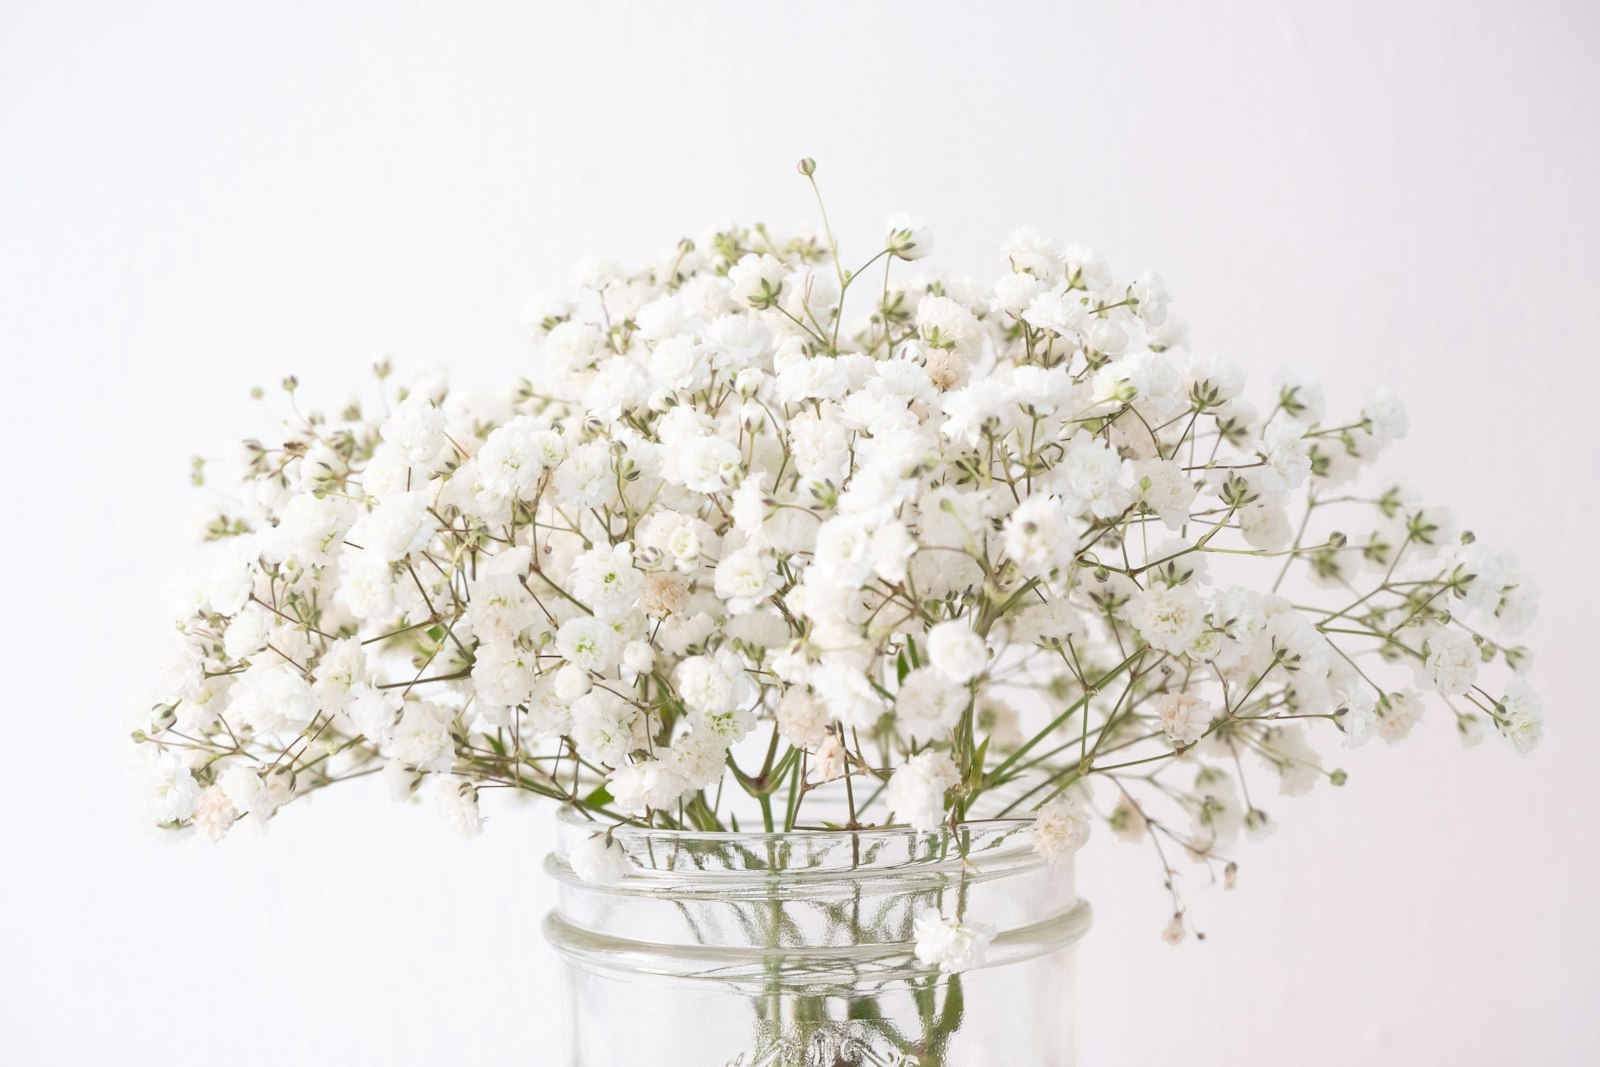
Planning a wedding, shower or birthday on a budget? Baby’s breath in mason jars is one of the prettiest and cheapest centerpieces you can make. One bunch of baby’s breath can fill 3 or 4 jars, and it looks like soft white clouds on the table. Tie a ribbon in your party color around the neck, or add a little name tag. These can be made the day before and they last for days. Many brides say these jars were their favorite detail. Simple and sweet or big and bold, which is your style?
You will need: Quart mason jars, 1 bunch baby’s breath for every 3 to 4 jars, ribbon or lace, water.
How to make it: Fill each jar halfway with cool water. Cut the baby’s breath stems at an angle and pull them apart into small bunches. Fluff them into each jar until it looks full and round. Tie ribbon around the neck. Keep them in a cool spot until party time.
Vintage Button Jar
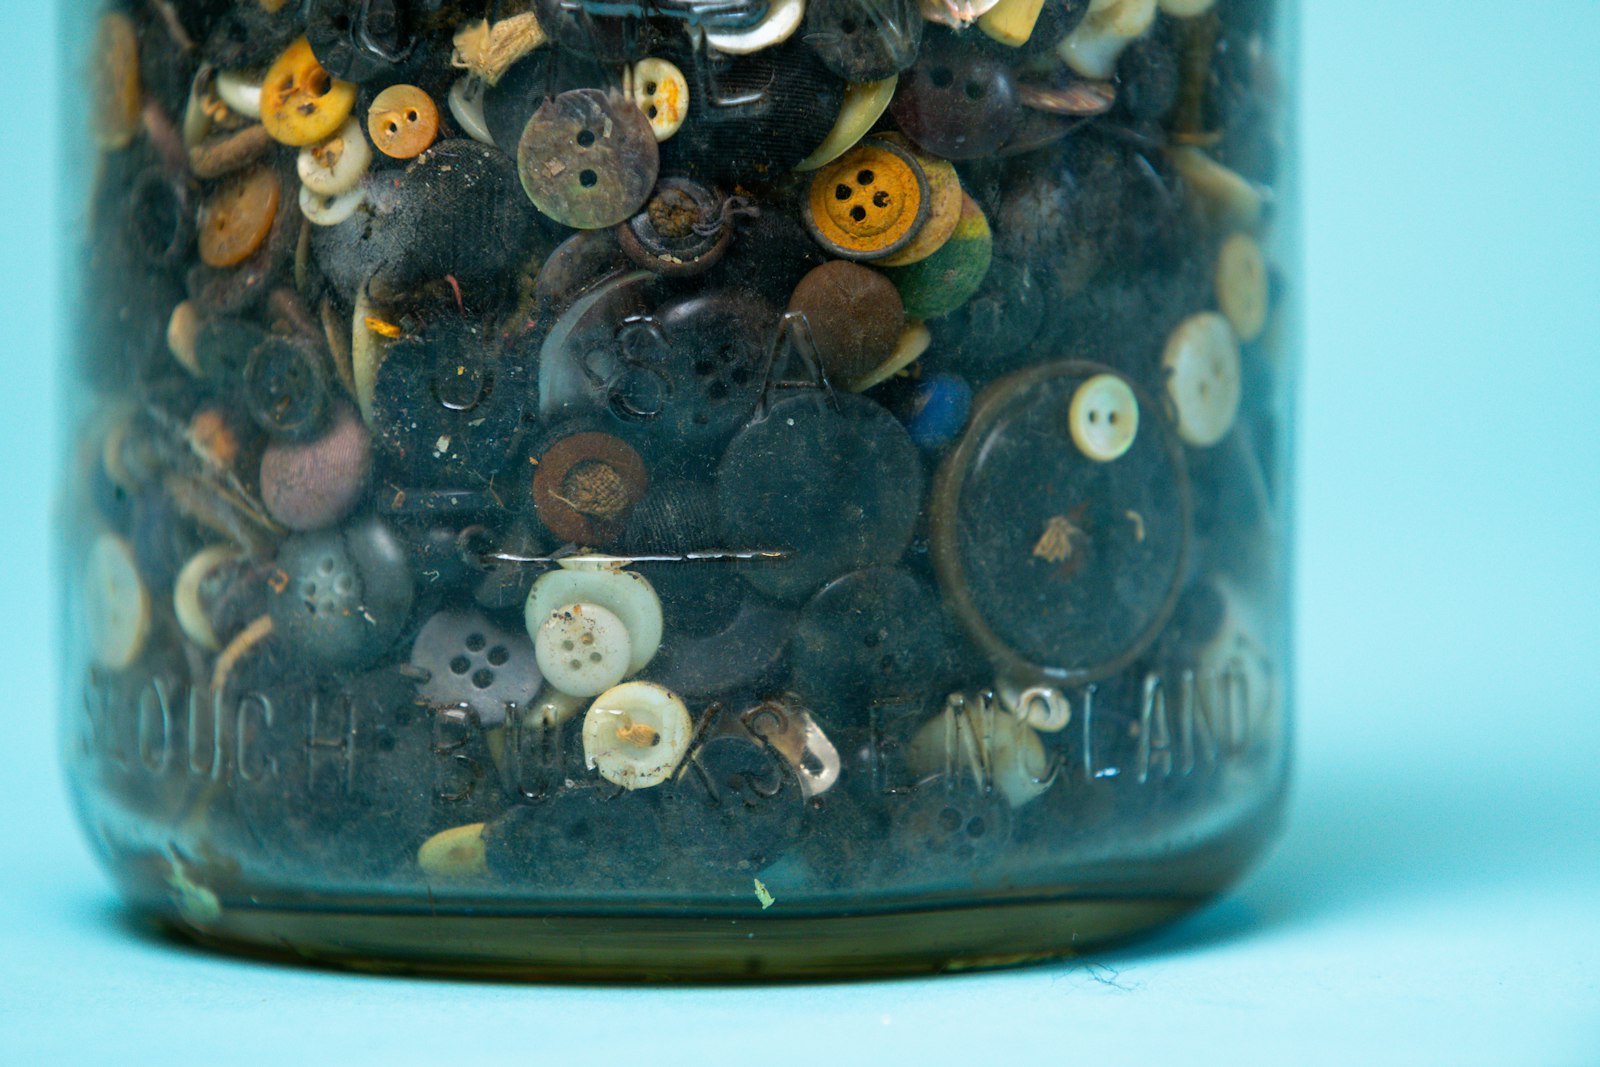
Did your grandmother keep a jar full of buttons? So many of us remember digging through one as a child. A button jar is both useful and full of memories. Sort your loose buttons into a clear jar and it becomes a colorful display for your sewing room or craft shelf. It is also a ready supply for kids’ crafts, button art and quick repairs. Add a fabric topper to the lid and it makes a lovely gift for anyone who sews. Which of these mason jar crafts will you make first? See more easy projects in our DIY and crafts galleries.
You will need: 1 mason jar, loose buttons, a 7 inch circle of fabric, a rubber band, ribbon.
How to make it: Pour your buttons into the jar and give it a gentle shake so the colors mix. Lay the fabric circle over the lid, hold it with a rubber band and cover the band with a ribbon bow. Set it on a sunny shelf where the colors can shine.