No Glue Paper Crafts: 13 Clever Folds That Look Like Real Gifts
No glue paper crafts are exploding on short video right now, and it is easy to see why. A ring folded from one candy wrapper passed about 14 million views in three weeks, a birthday gift box folded with no glue and no scissors reached about 7.6 million, and a simple no glue gift idea hit 5.8 million in just two weeks. These little folds are cheap, quiet and mess free, which makes them perfect for kids, grandparents and anyone who needs a calm hobby before the holidays. Here are 13 clever projects that look like real gifts, each made from plain paper and a few careful creases..
No Glue Paper Crafts That Look Like Real Gifts
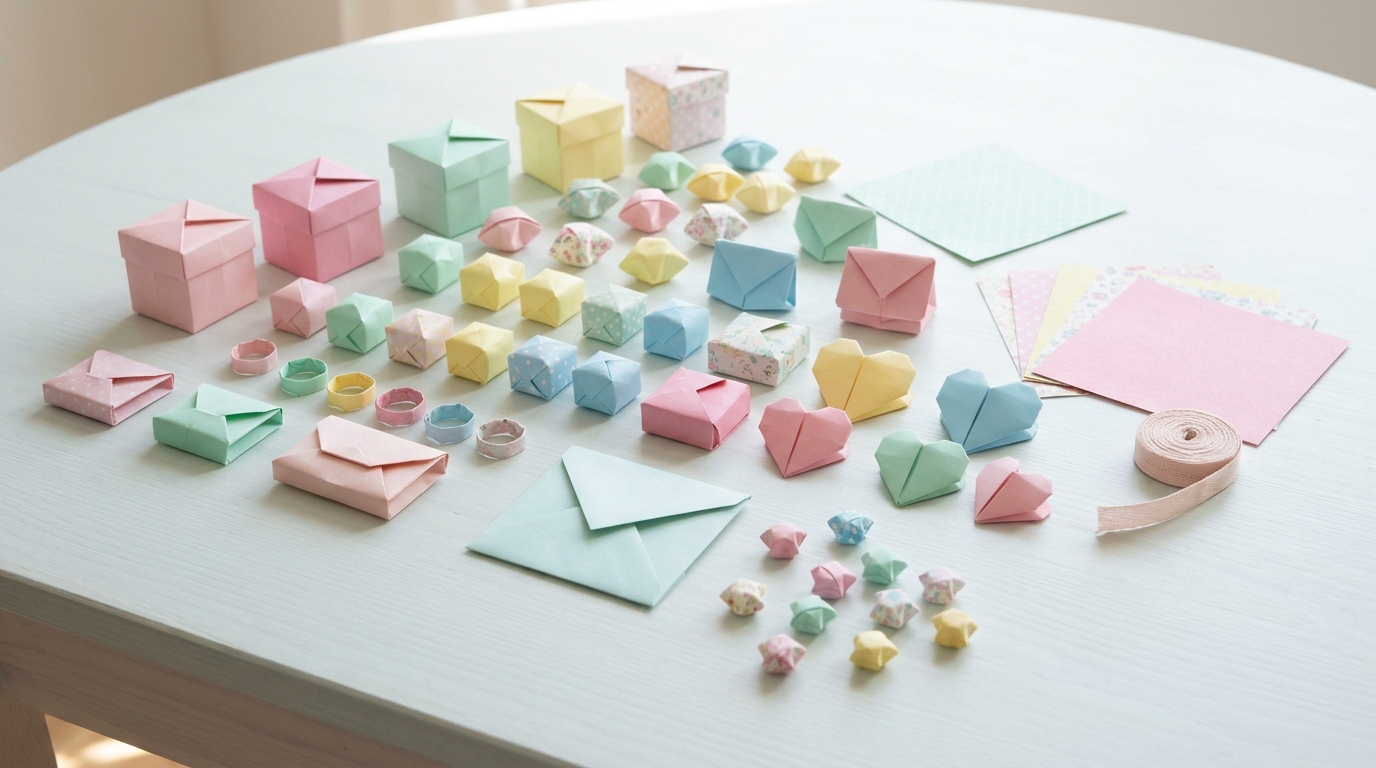
Remember folding paper fortune tellers at school and passing them around the classroom? That same simple joy is back, only now the folds turn into gift boxes, purses and even rings. All you need is a square of paper and a bit of patience. There is no glue to spill, no drying time and almost no cleanup, which makes these perfect for a rainy afternoon with the kids or a quiet evening on your own. The art is based on origami, the old craft of folding paper into shapes. Ready to fold your first one..
You will need: Square sheets of paper in a few colors and patterns, a flat table and a ruler or bone folder for sharp creases.
How to make it: 1. Start with a perfect square. 2. Fold slowly and line up the corners. 3. Press every crease firmly. 4. Practice each project once on plain paper before using your favorite sheet.
A Gift Box With a Locking Lid
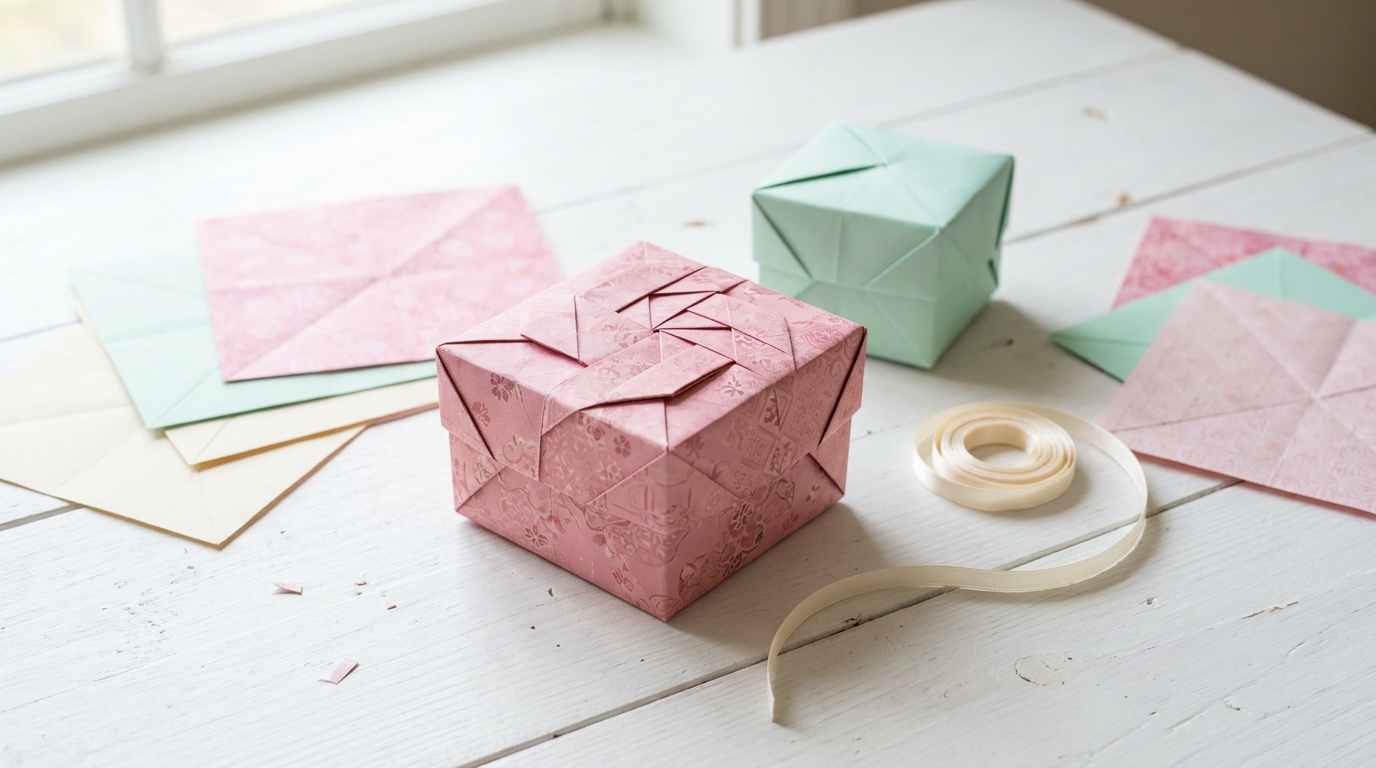
One short video of a birthday gift box folded with no glue and no scissors passed about 7.6 million views in three weeks. The secret is a lid that folds in and locks itself shut. Make the bottom from one square and the lid from a square that is just a little bigger. Put a pair of earrings, a few chocolates or a folded note inside and you have a gift that feels truly personal. Use wrapping paper scraps for a festive look. Who would you surprise with a tiny box?
You will need: Two squares of sturdy paper, one about a quarter inch bigger than the other, and a ribbon.
How to make it: 1. Fold the first square into a box base with four walls. 2. Fold the bigger square the same way for the lid. 3. Tuck the flaps so they lock. 4. Slide the lid on and tie a ribbon.
A Ring Folded From a Candy Wrapper
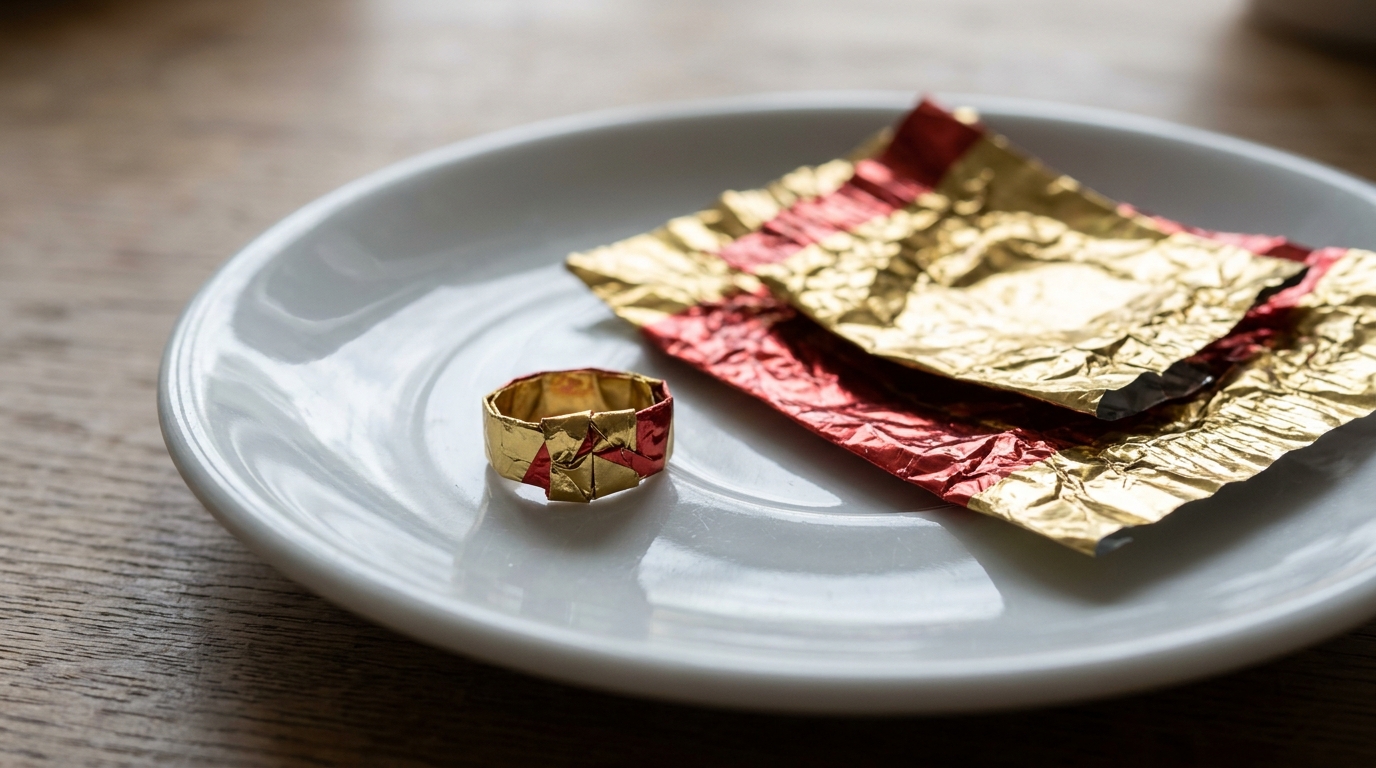
This is the clip that made everyone grab the candy jar. A ring folded from a single foil wrapper passed about 14 million views in three weeks. Smooth the wrapper flat, fold it into a thin strip, then wrap and tuck the ends so the shiny side shows. Kids love wearing them and making them for friends. It is a sweet way to turn trash into a tiny treasure, and of all the no glue paper crafts here, it is the fastest. What color wrapper would you pick?
You will need: A clean foil candy wrapper and your fingers.
How to make it: 1. Smooth the wrapper flat with your nail. 2. Fold it in half lengthwise again and again into a thin strip. 3. Wrap it around your finger. 4. Tuck one end inside the other and pinch it closed.
A Tiny Paper Purse
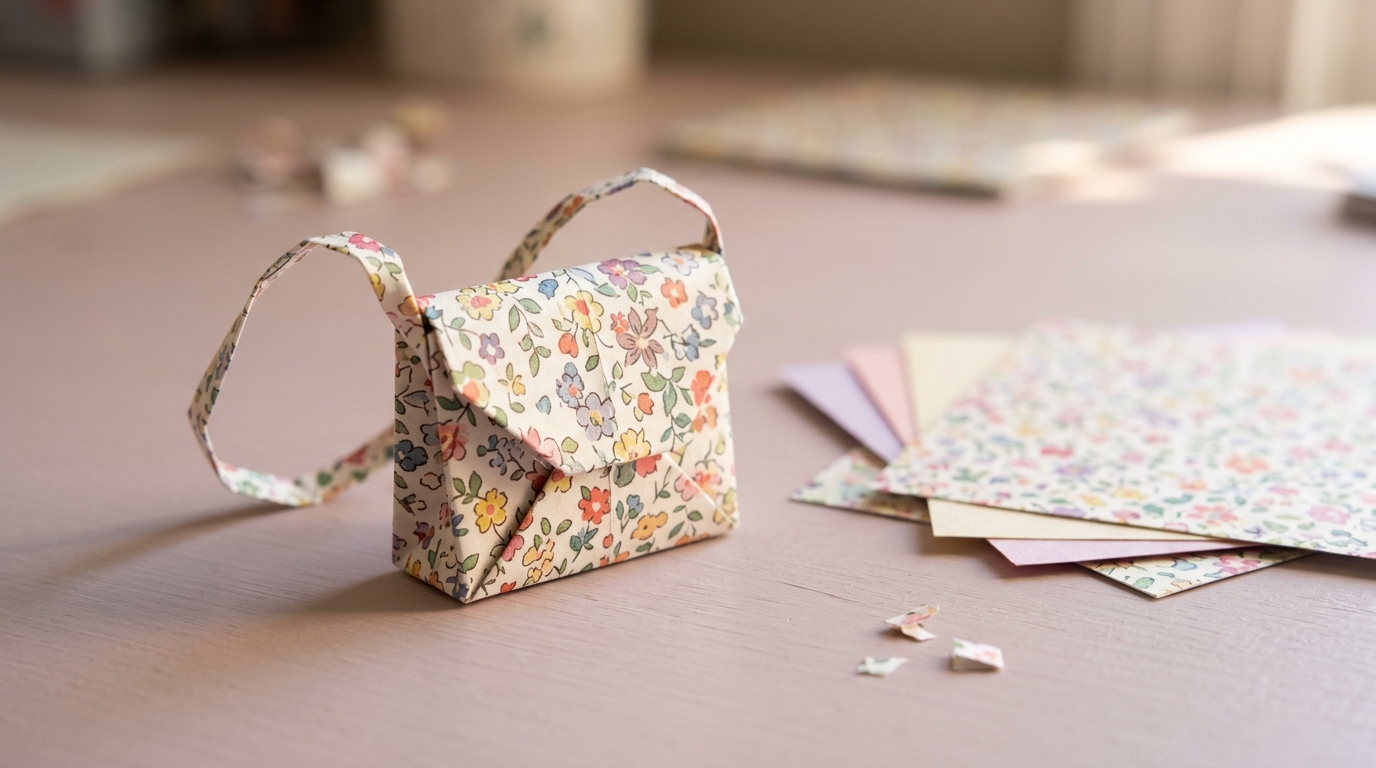
A folded paper purse with a flap and a little strap reached about 1.5 million views, and kids keep asking for more. It is just the right size to hold a gift card, a few coins or a note. Floral paper makes it look like a vintage handbag, while plain kraft paper looks neat and modern. Make a set of mini purses as party favors or use one as a gift card holder this Christmas. Which pattern would your purse be?
You will need: One square of patterned paper and a thin strip of matching paper for the strap.
How to make it: 1. Fold the square in half to make a crease. 2. Fold the sides in to form the body. 3. Fold the top down as a flap and tuck it in. 4. Slip the strap ends into the side pockets.
No Glue Paper Crafts for Jewelry: A Drawer Box
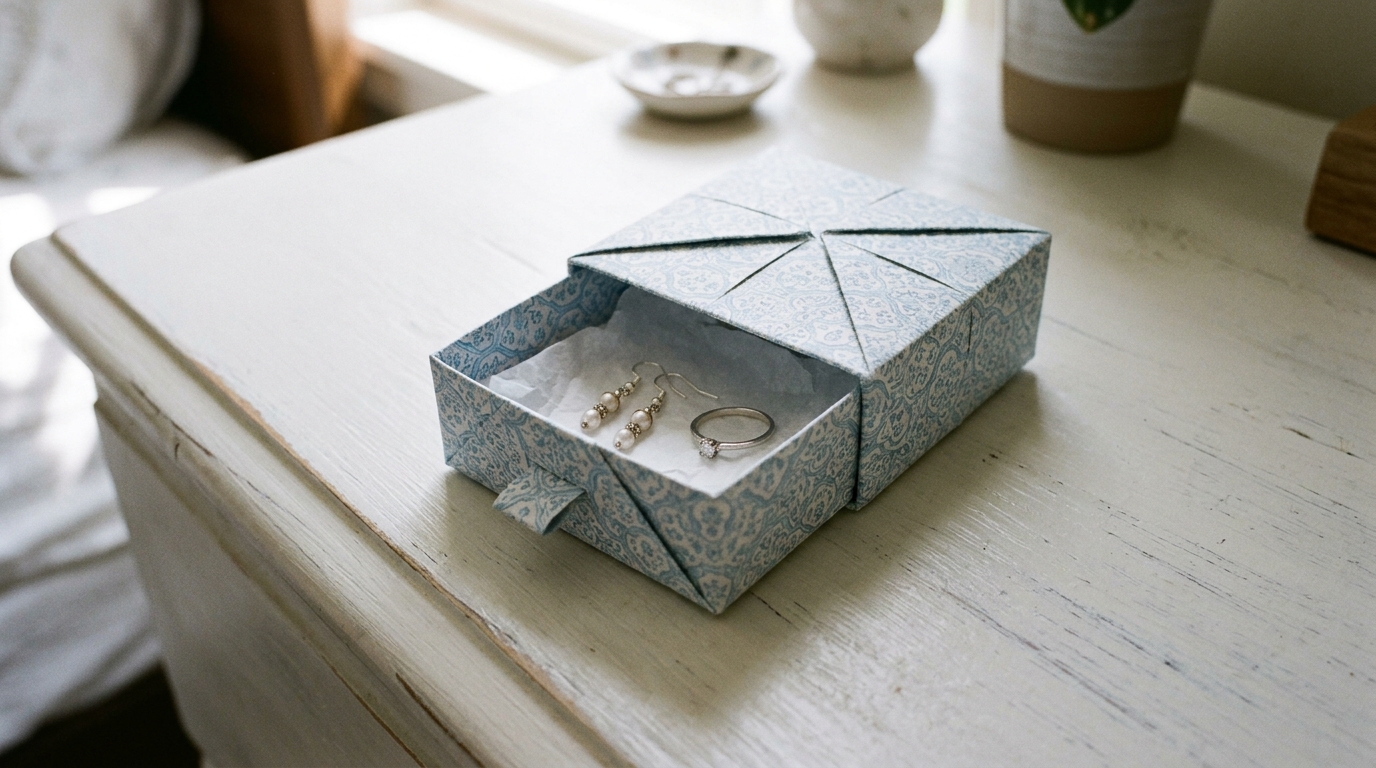
This little box has a sleeve and a drawer that slides out, just like a matchbox. It is perfect for rings, earrings or tiny keepsakes, and it looks lovely on a dresser. You need two squares: one folded into a tray and one folded into a sleeve around it. Once you get the hang of it, you can stack several and make a mini chest of drawers. These are the kind of no glue paper crafts that people keep for years. What would you store in yours?
You will need: Two squares of sturdy paper in matching colors.
How to make it: 1. Fold one square into an open tray. 2. Fold the second square into a flat tube that fits around the tray. 3. Tuck the tube ends together. 4. Slide the tray in as the drawer.
A Star Box for Small Treats
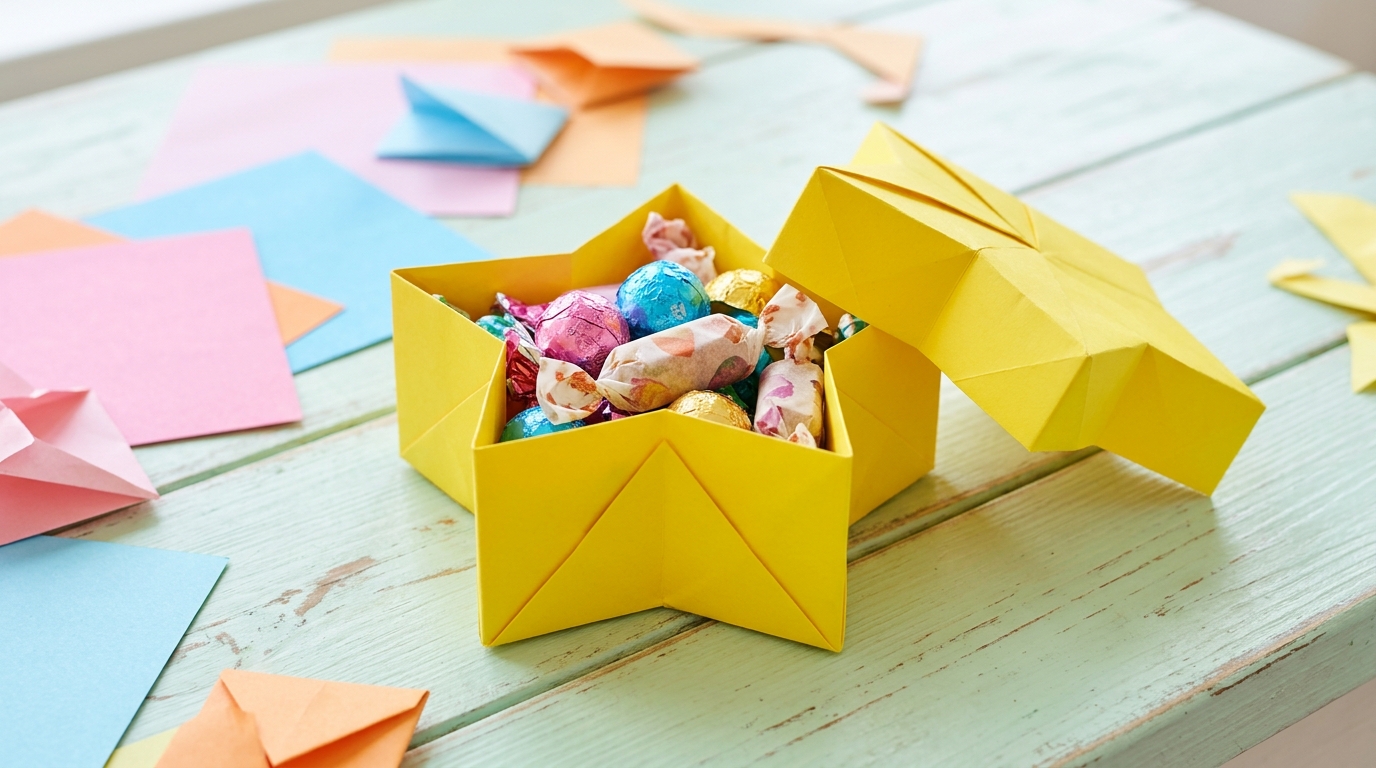
A star shaped box feels magical, and it is easier than it looks. The base and lid are folded the same way and fit together neatly. Fill it with candies, tiny cookies or a handwritten wish, and it makes the cutest party favor or advent surprise. Yellow and gold look bright and festive, while silver is perfect for winter, and like all no glue paper crafts it costs almost nothing. If you love paper stars, try our paper Christmas stars too. How many stars could you fill this season?
You will need: Two squares of yellow or gold paper and a few small treats.
How to make it: 1. Fold the first square into a star base following the creases. 2. Push the points out to form the box. 3. Fold a second square the same way for the lid. 4. Fill it and close it.
No Glue Paper Crafts With Heart: A Folded Note
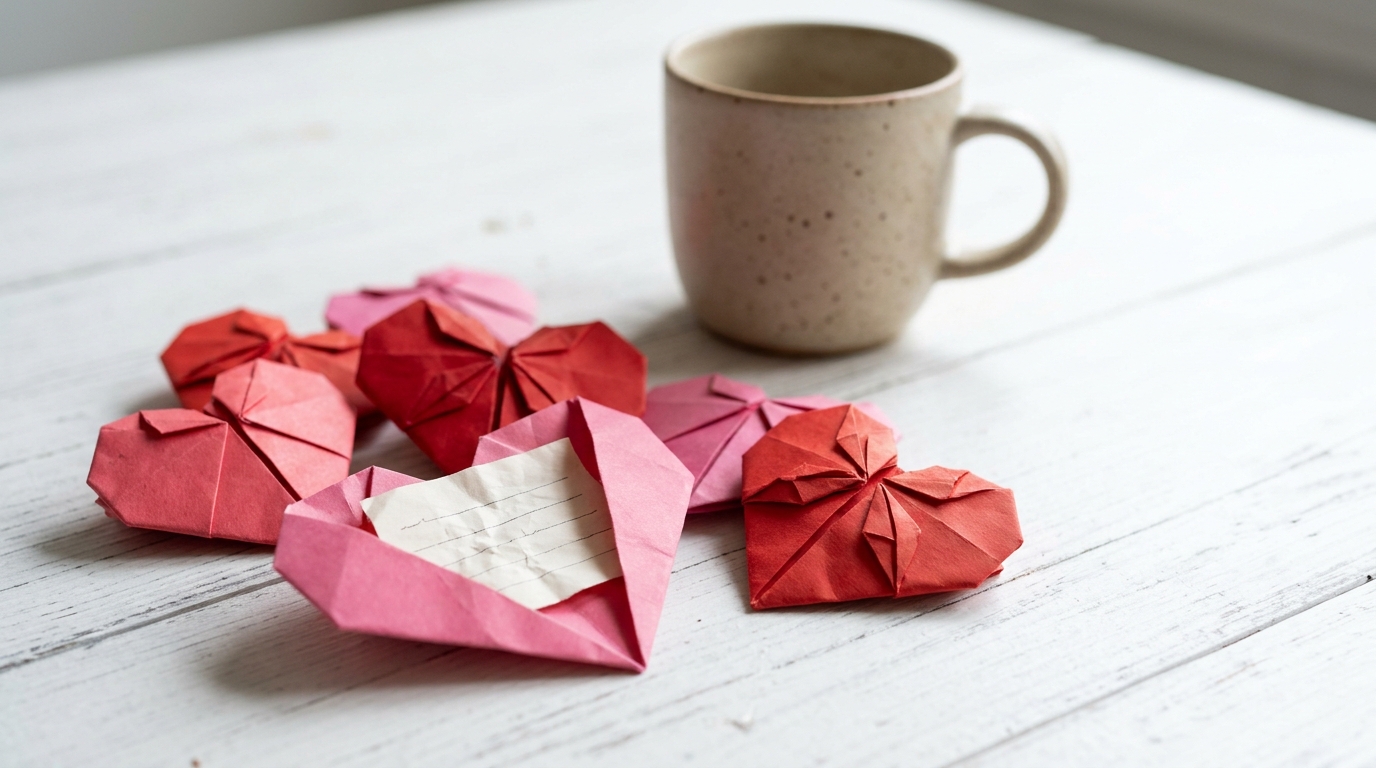
A folded paper heart that hides a note inside is one of the sweetest no glue paper crafts you can make. Write your message on the paper first, then fold it into a heart so the words are tucked away. Slip one into a lunch box, a coat pocket or under a pillow. Kids love making them for grandparents, and they are lovely for anniversaries too. Red and pink are classic, but any color works. Who would you write a secret note to?
You will need: Square sheets of red or pink paper and a pen.
How to make it: 1. Write a short note on the white side. 2. Fold the square in half both ways to make creases. 3. Fold the bottom point up and the sides in to shape the heart. 4. Fold the top corners down to round it.
No Glue Paper Crafts for Mail: An Envelope
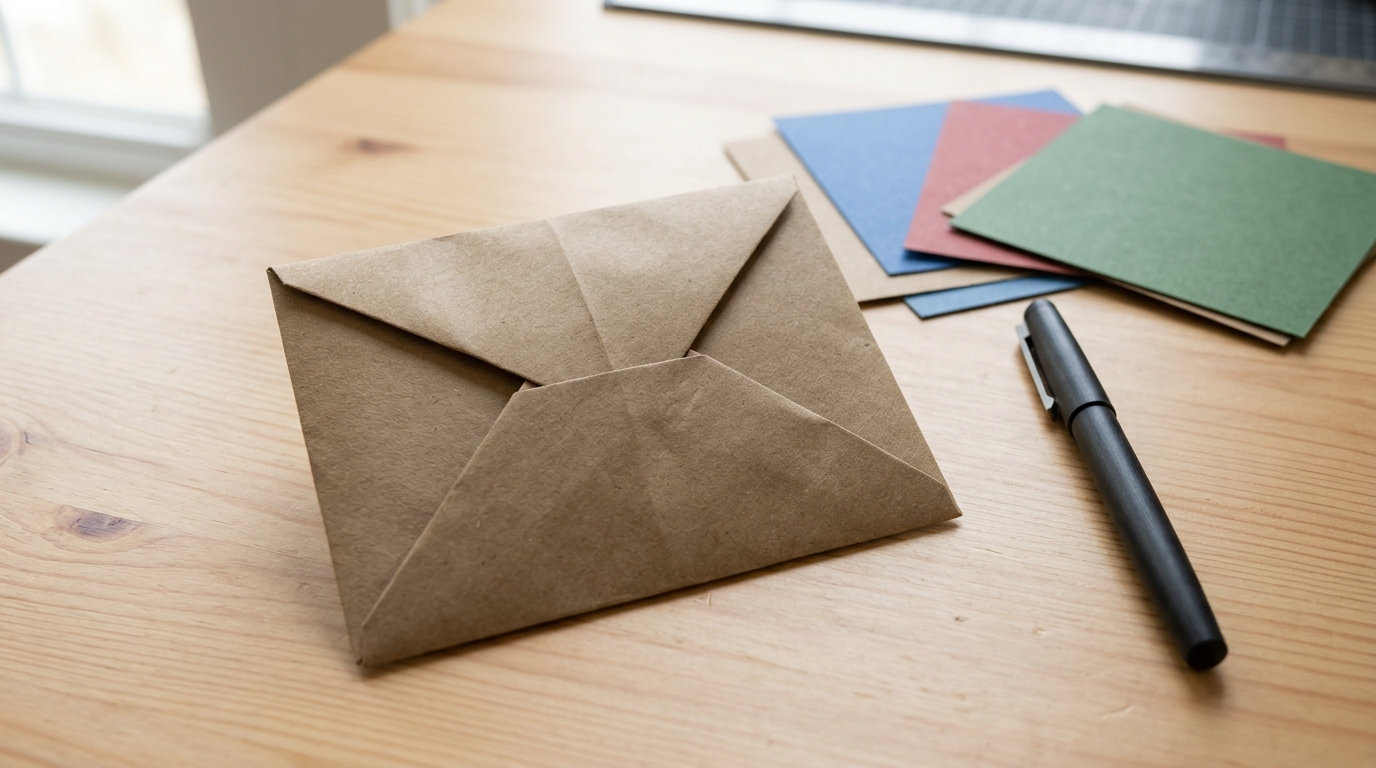
Ran out of envelopes? Fold one from a single square of paper in about a minute. The flaps tuck into each other, so it stays closed with no glue or tape. Kraft paper looks rustic and pretty, while patterned paper makes a fun gift card holder. Make a stack for holiday cards or thank you notes. It is one of the handiest no glue paper crafts, and it saves a trip to the store. What will you send in yours?
You will need: A square of paper slightly bigger than your card.
How to make it: 1. Turn the square so it looks like a diamond. 2. Fold the left and right points to the middle. 3. Fold the bottom point up. 4. Fold the top point down and tuck it into the pocket.
Monster Corner Bookmarks
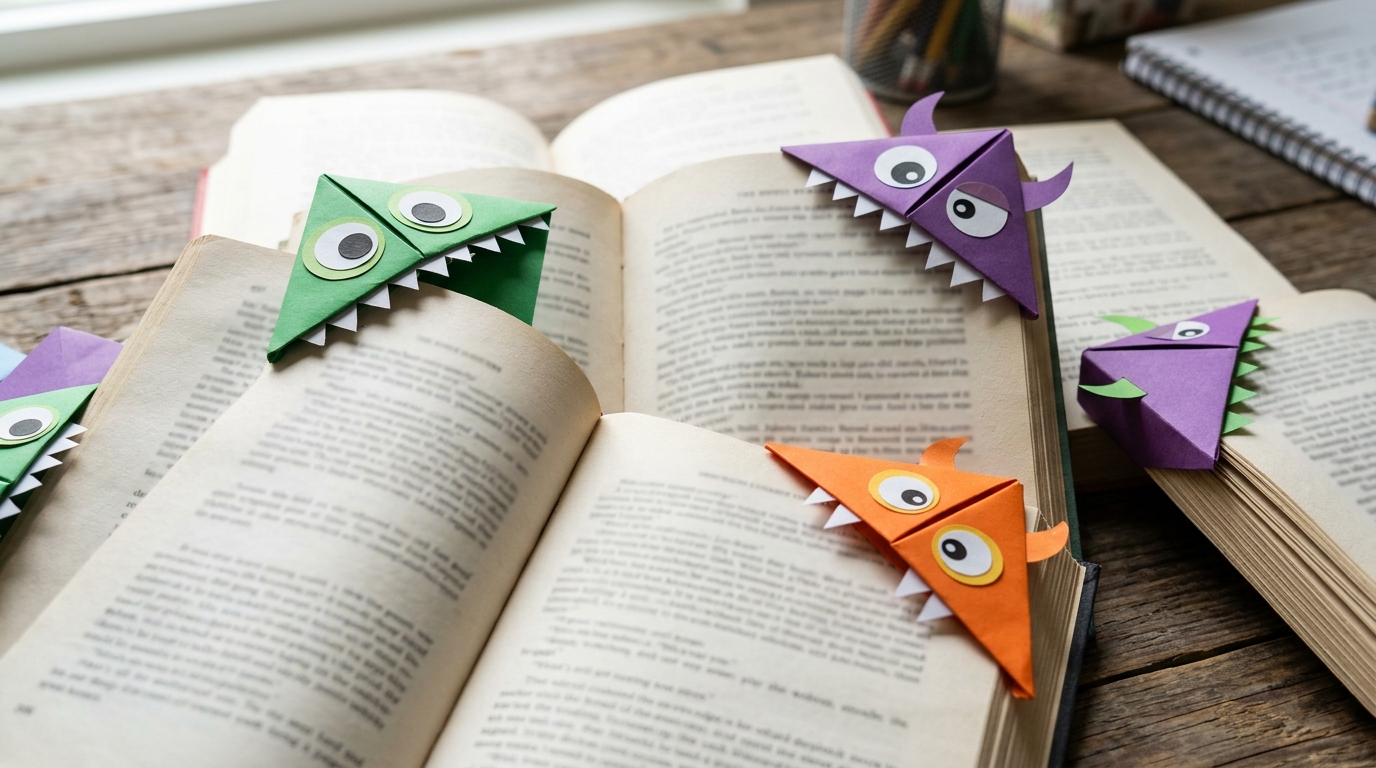
Corner bookmarks shaped like little monsters make kids want to open their books, which every parent loves. The bookmark is a small folded pocket that slips over the corner of a page. Add paper eyes and teeth cut from scraps, or draw them on with a marker. Make one in every color and let each child pick a favorite. They also make cute classroom gifts. Which monster color would your reader choose?
You will need: Square paper in bright colors, white paper scraps, safety scissors and a marker.
How to make it: 1. Fold a square in half into a triangle. 2. Fold the side corners up to the top to make a square. 3. Fold the front flap down and tuck the side flaps into the pocket. 4. Add eyes and teeth.
A Tiny Paper Shirt Money Fold
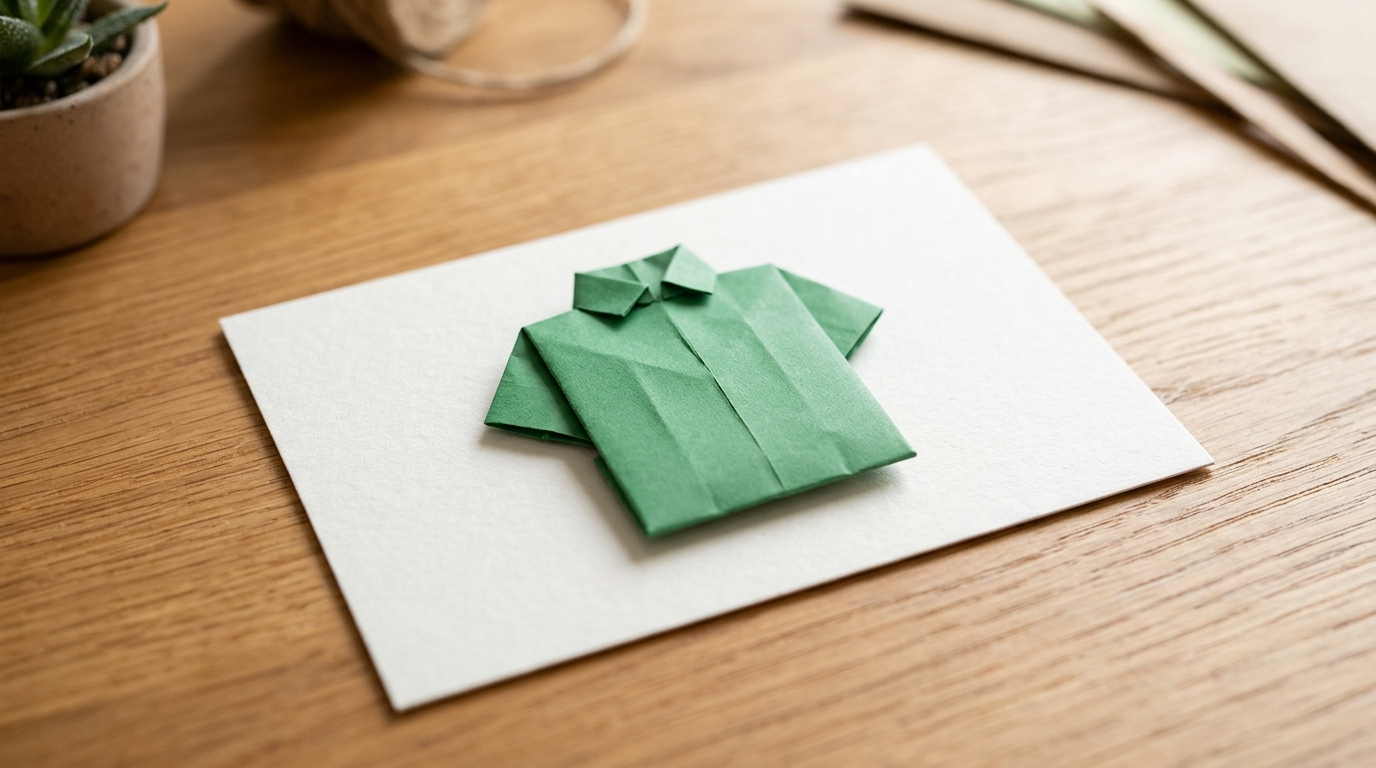
If you plan to give cash this Christmas, fold it into a tiny shirt with a collar. It turns a plain gift into something fun to open, and the person will smile before they even count it. Practice first with a strip of plain paper the same size as a bill. Tuck it into a card or gift box. Dads and grandpas especially love this one. Who on your list would get a little paper shirt?
You will need: A crisp bill or a strip of paper the same size, and a greeting card.
How to make it: 1. Fold the strip in half lengthwise and open it. 2. Fold the edges to the middle. 3. Fold the top back to form the collar. 4. Fold the sides into sleeves and fold the bottom up under the collar.
A Folded Christmas Tree Card
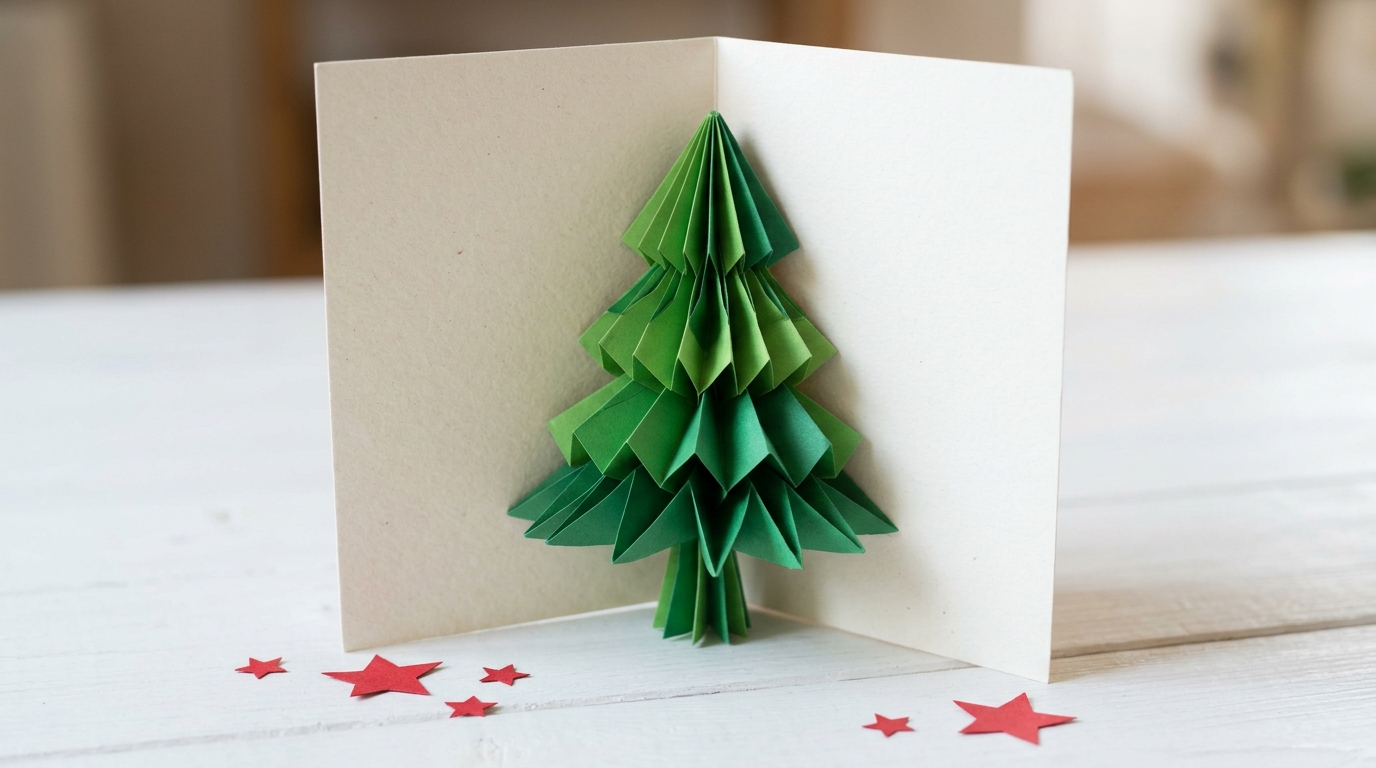
A card with a folded tree inside feels special the moment it opens. The tree is made from a strip of green paper folded back and forth like a fan, then pinched in the middle and tucked into slits in the card. No glue needed. Add a few small paper stars around it for extra cheer. Kids can make a whole stack for teachers and grandparents. These are no glue paper crafts that people keep on the shelf all season. Who will get your first card?
You will need: A folded card, green paper, a few small paper stars and safety scissors.
How to make it: 1. Fan fold a strip of green paper. 2. Fold it in half to form a tree shape. 3. Cut two small slits in the card fold. 4. Tuck the tree ends into the slits so it pops up.
The Surprise Fold That Opens Like Magic
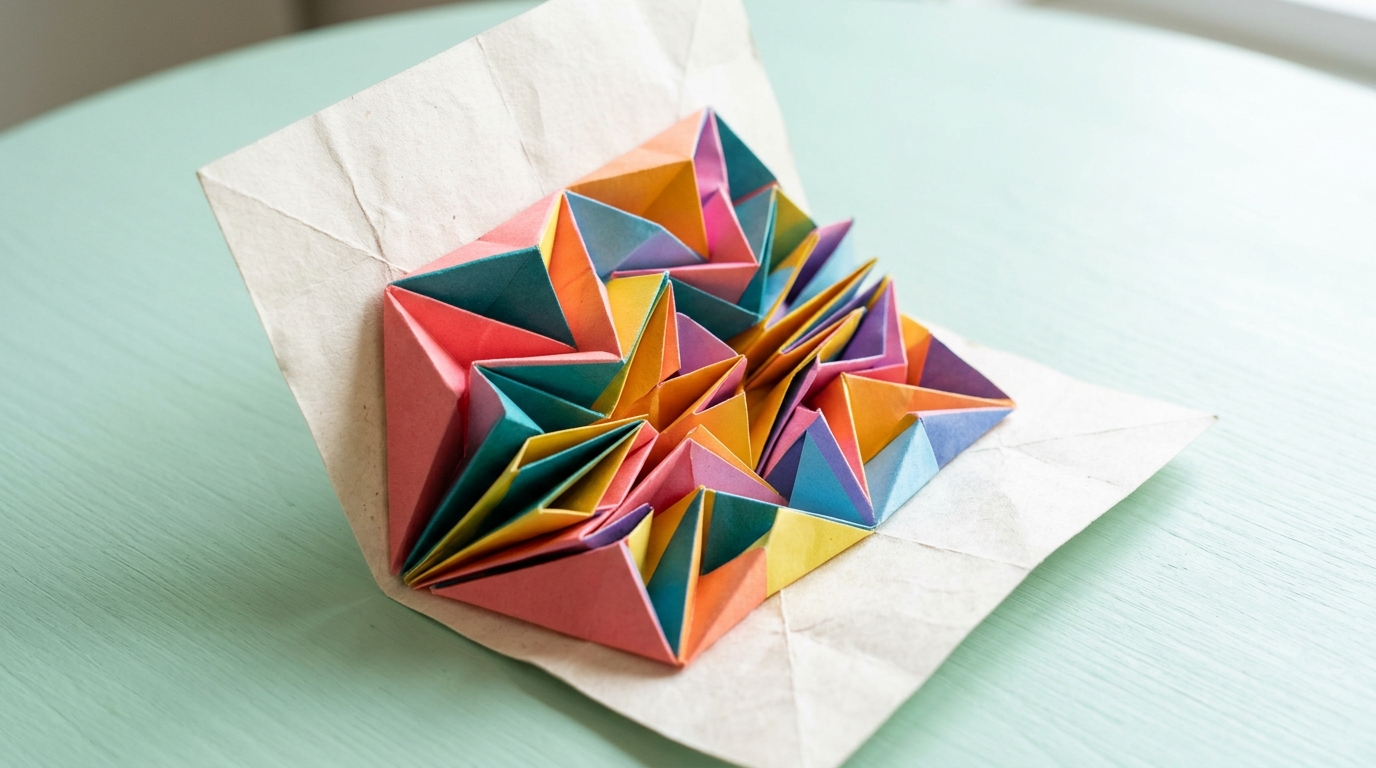
One origami surprise fold, where a plain square opens into a burst of color, passed about 10 million views in three weeks. People watch it again and again because it feels like a magic trick. The trick is to color the inside before you fold, so the pattern only shows when it opens. Write a message in the middle for a birthday or holiday surprise. It is a lovely way to make someone gasp. What would your hidden message say?
You will need: Square paper, markers or colored pencils and a ruler.
How to make it: 1. Color the inside of the square in bright triangles. 2. Fold it in half both ways and diagonally. 3. Collapse it along the creases into a small square. 4. Write a message on the outside and let them pull it open.
Party Ready No Glue Paper Crafts: Treat Cones
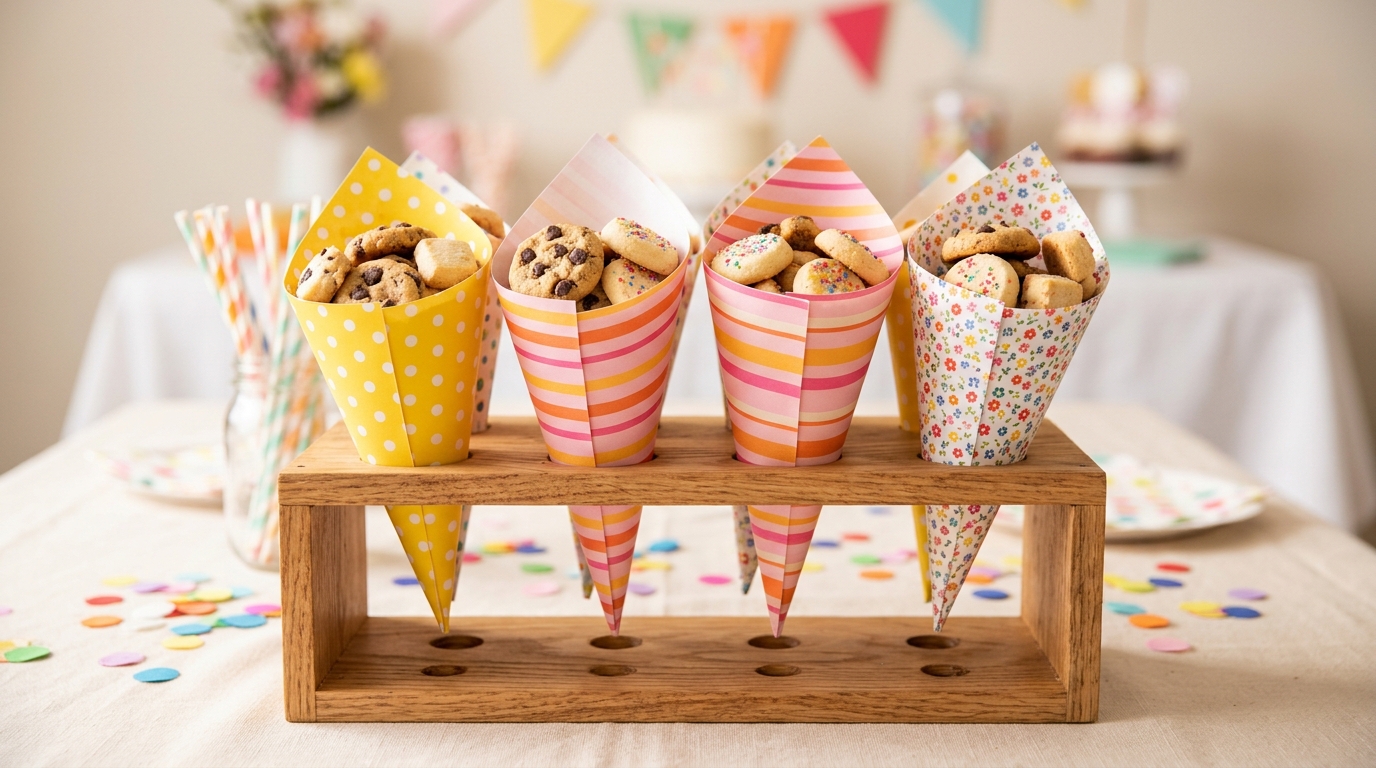
Paper cones are the easiest party trick in this list. Roll a square into a cone and tuck the corner inside so it holds its shape. Fill it with cookies, popcorn or candy and line them up on a party table. They also make a cute way to share holiday treats with neighbors. Choose festive paper and you are done in seconds. It is a perfect finish to your no glue paper crafts weekend. What will you fill your cones with?
You will need: Square sheets of patterned paper and treats to fill them.
How to make it: 1. Hold the square like a diamond. 2. Roll one side across into a cone. 3. Tuck the end point inside the cone. 4. Fill it right away so it stays tight.