Lifelike Paper Sculptures: 17 Ideas Inspired by the Artist Who Stunned 15 Million Viewers
Lifelike paper sculptures sound impossible until you see one move. Picture a white bust that looks like carved marble, and then someone gently pulls the head and it stretches across the room like a paper slinky. That is the magic of Chinese artist Li Hongbo, and a short video of his work left more than 15 million viewers stunned. He builds his pieces from thousands of sheets of plain paper and glue, using a trick borrowed from the honeycomb lanterns of folk art. Below, we explain how he does it, and then share easy honeycomb and accordion paper projects you can try at home with simple supplies..
Lifelike Paper Sculptures That Stretch Like Magic
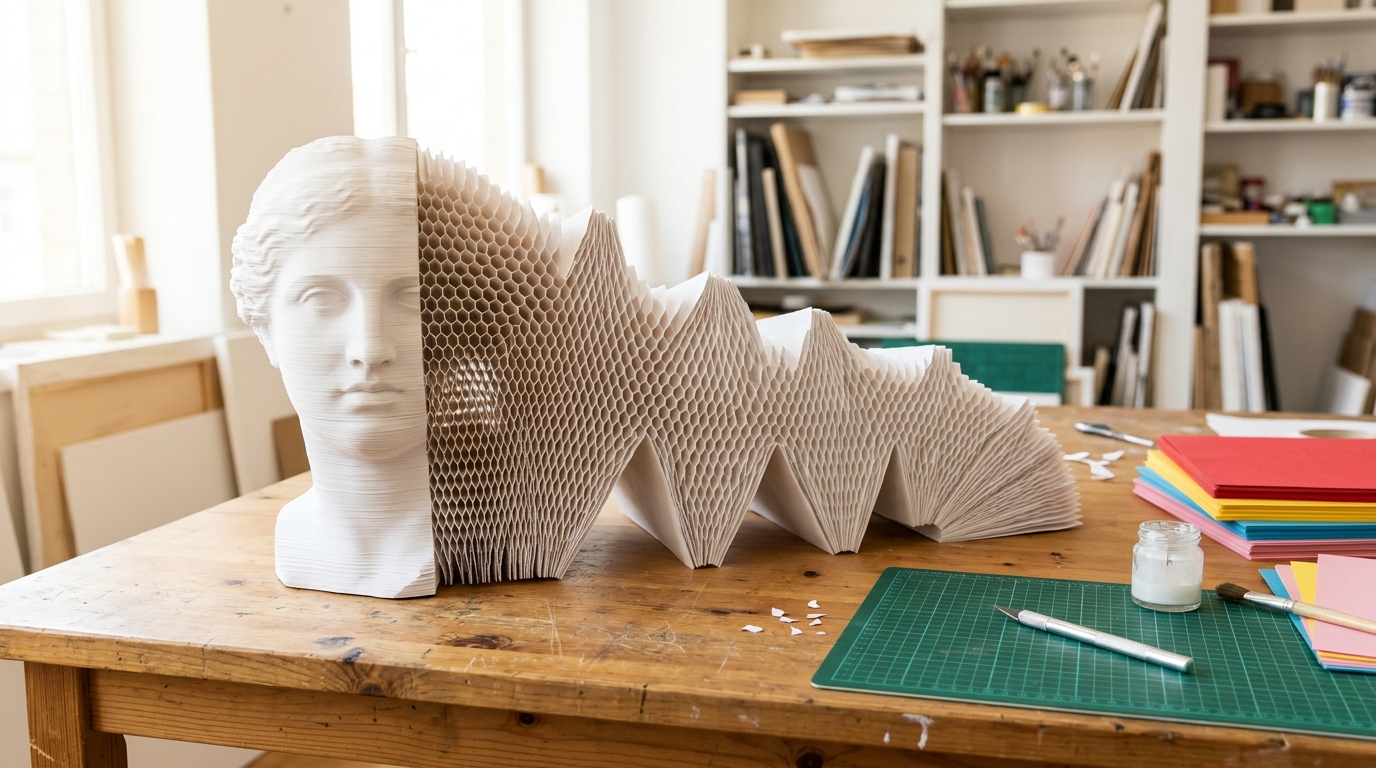
This is the moment that makes people gasp: a smooth white bust that suddenly stretches sideways into a long zigzag of paper. The Insider video Paper Sculptures Look Like Statues showed Li Hongbo’s work to the world and passed 15 million views. Our picture is an AI image of the technique, not one of his real artworks, but it shows the idea. It looks solid, yet it moves like an accordion. Would you have guessed it was made of paper..
You will need: Just curiosity for now, plus plain white paper and glue if you want to try the small projects later in this gallery.
How to make it: 1. Watch how the sculpture looks solid from the front. 2. Notice how it opens into honeycomb cells when stretched. 3. Keep scrolling to learn the trick and try it on a small scale.
Who Li Hongbo Is
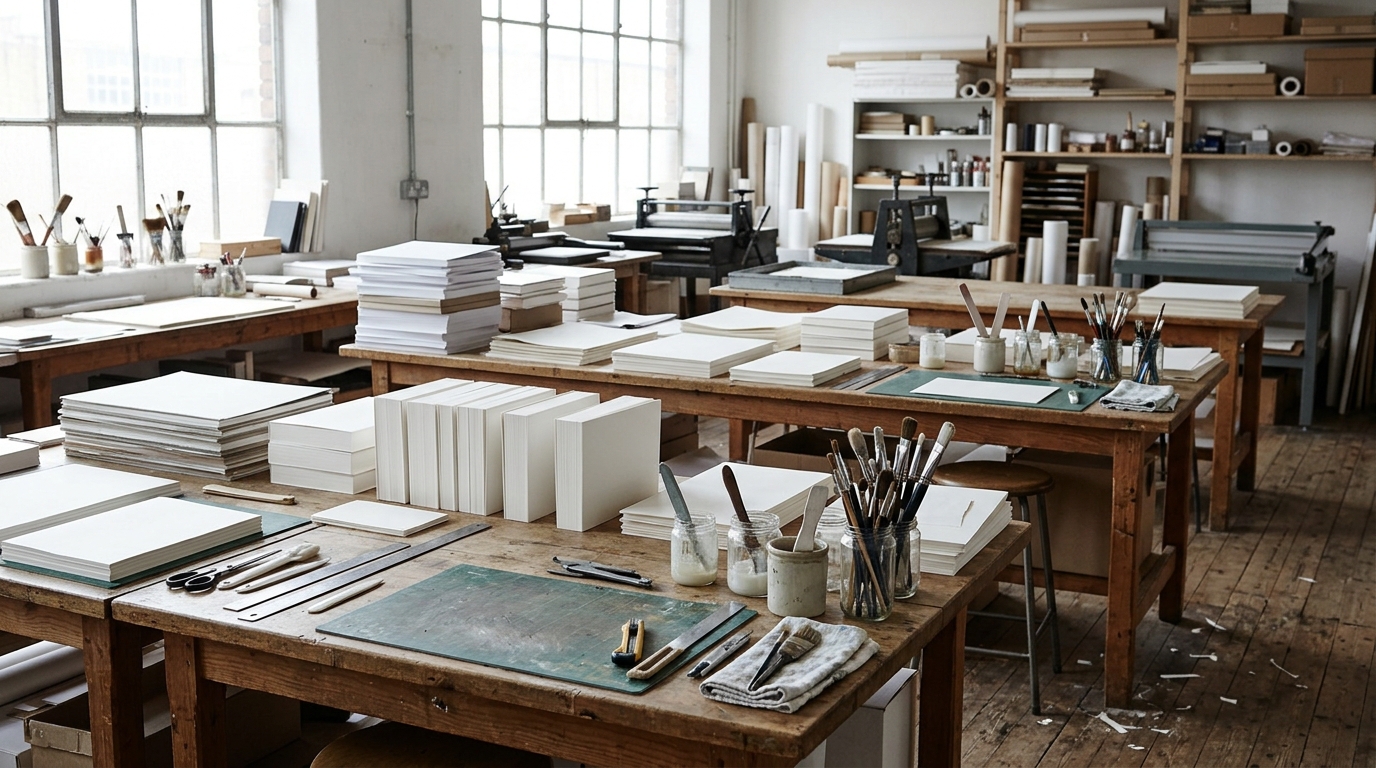
Li Hongbo was born in Jilin, China, in 1974. According to his biography, he studied fine art and later earned master’s degrees in folk art and experimental art at the Central Academy of Fine Arts in Beijing. He works with only two materials, paper and glue. He lives and works in Beijing, and his lifelike paper sculptures have been shown in museums and galleries around the world. Have you ever seen art that made you look twice?
You will need: A notebook to sketch ideas and a stack of plain printer paper to experiment with.
How to make it: 1. Read a little about paper art traditions. 2. Sketch a simple shape you would like to try. 3. Gather paper and glue so you are ready for the projects below.
Inspired by Folk Art Roots
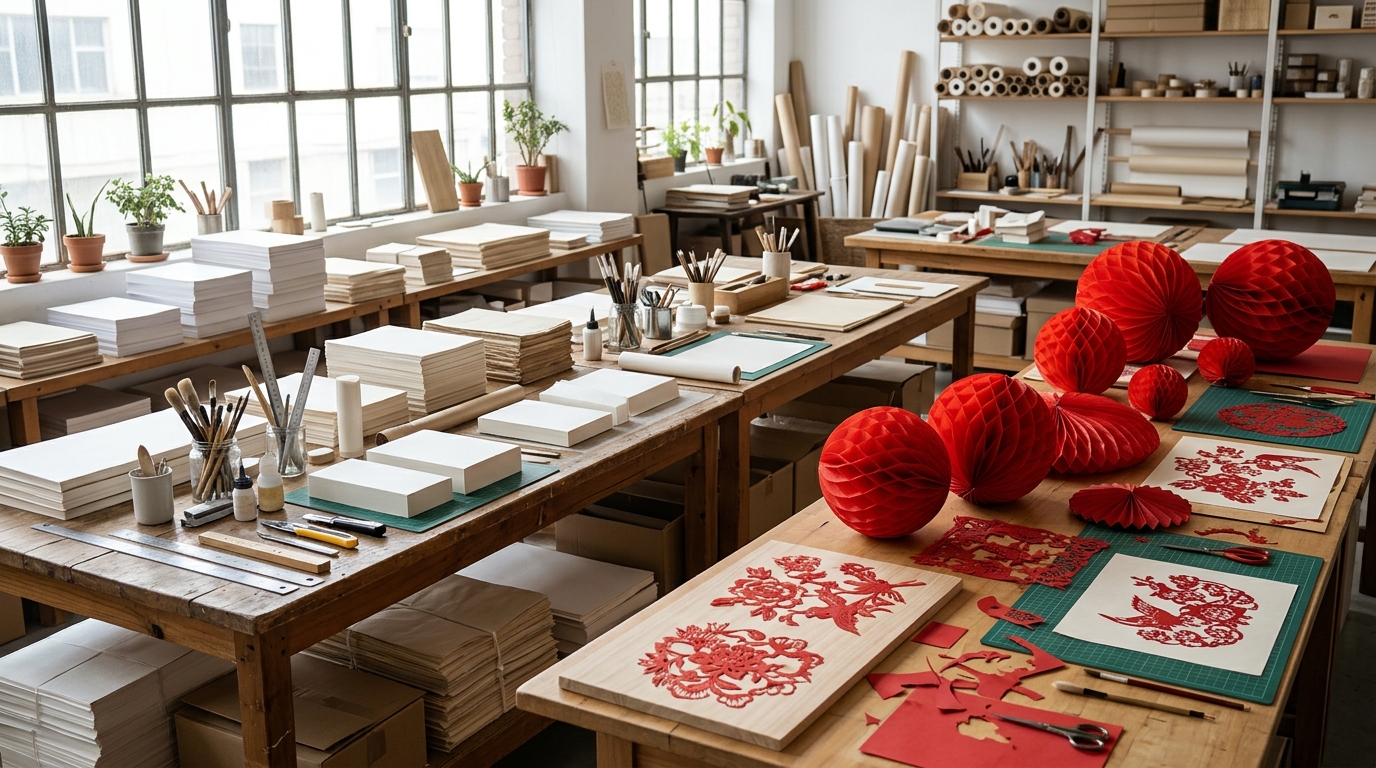
Li Hongbo’s big idea came from something many families already know: the red honeycomb paper decorations used for festivals and celebrations. These lanterns and balls fold flat, then open into round shapes full of tiny cells. He studied folk art and saw that the same trick could turn a solid looking sculpture into something that bends and flows. It is a beautiful mix of old tradition and modern art. Do you have honeycomb decorations at home?
You will need: Red tissue paper or a store bought honeycomb decoration to study, and a pair of scissors.
How to make it: 1. Open a honeycomb decoration and look at the glue lines. 2. Notice how each layer is glued in alternating spots. 3. Fold it flat again to see how it hides the pattern.
The Honeycomb Trick Behind Lifelike Paper Sculptures
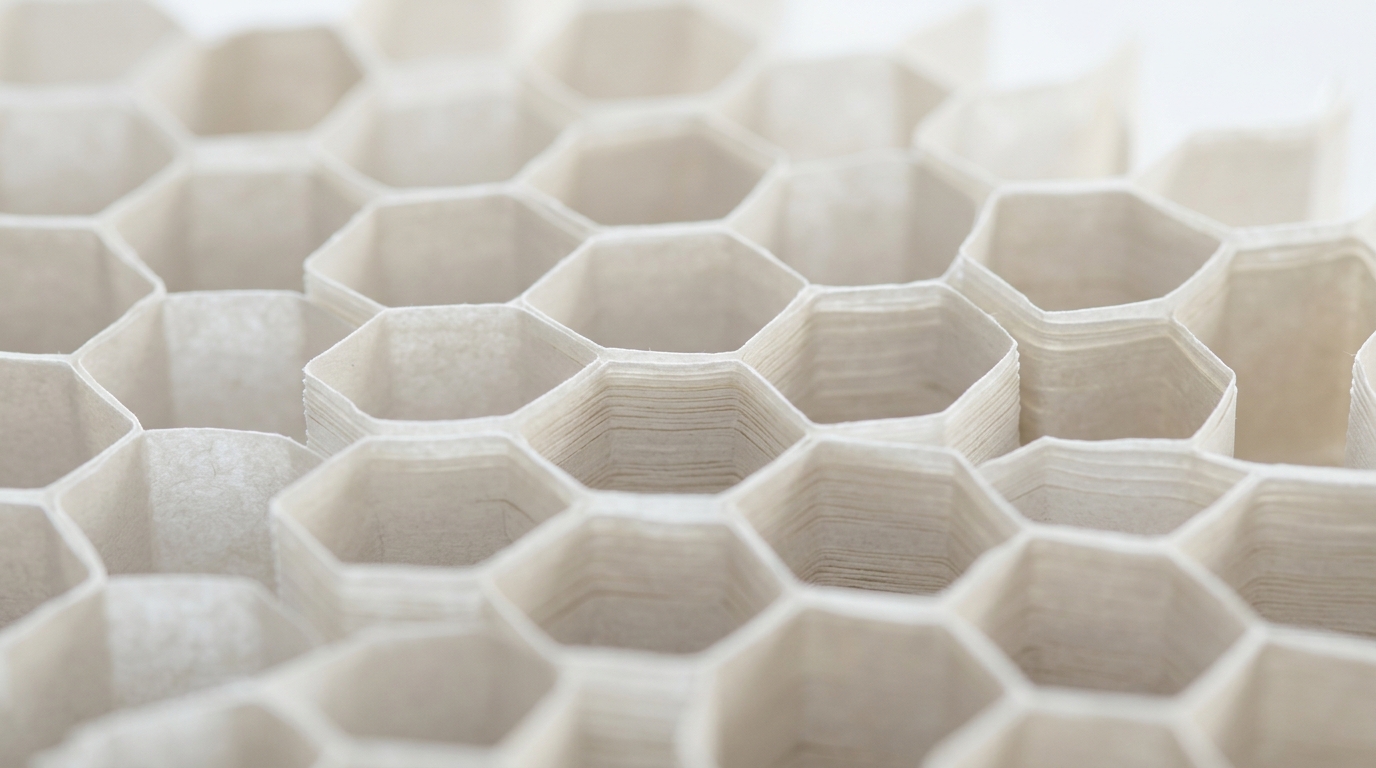
Here is the secret. Each sheet of paper is glued to the next only in thin stripes, and the stripes switch position on every layer. When the stack is closed, it looks like a solid block. When it is pulled, the unglued parts open into hexagon cells, just like a beehive. That honeycomb structure is what makes lifelike paper sculptures both strong and flexible at the same time. Isn’t it amazing that plain paper can do this?
You will need: Ten sheets of tissue paper, a glue stick, a ruler and a pencil.
How to make it: 1. Draw glue stripes about one inch apart on the first sheet and lay the next sheet on top. 2. Draw new stripes halfway between the old ones and add another sheet. 3. Repeat, let it dry, then gently pull it open.
Gluing Thousands of Sheets
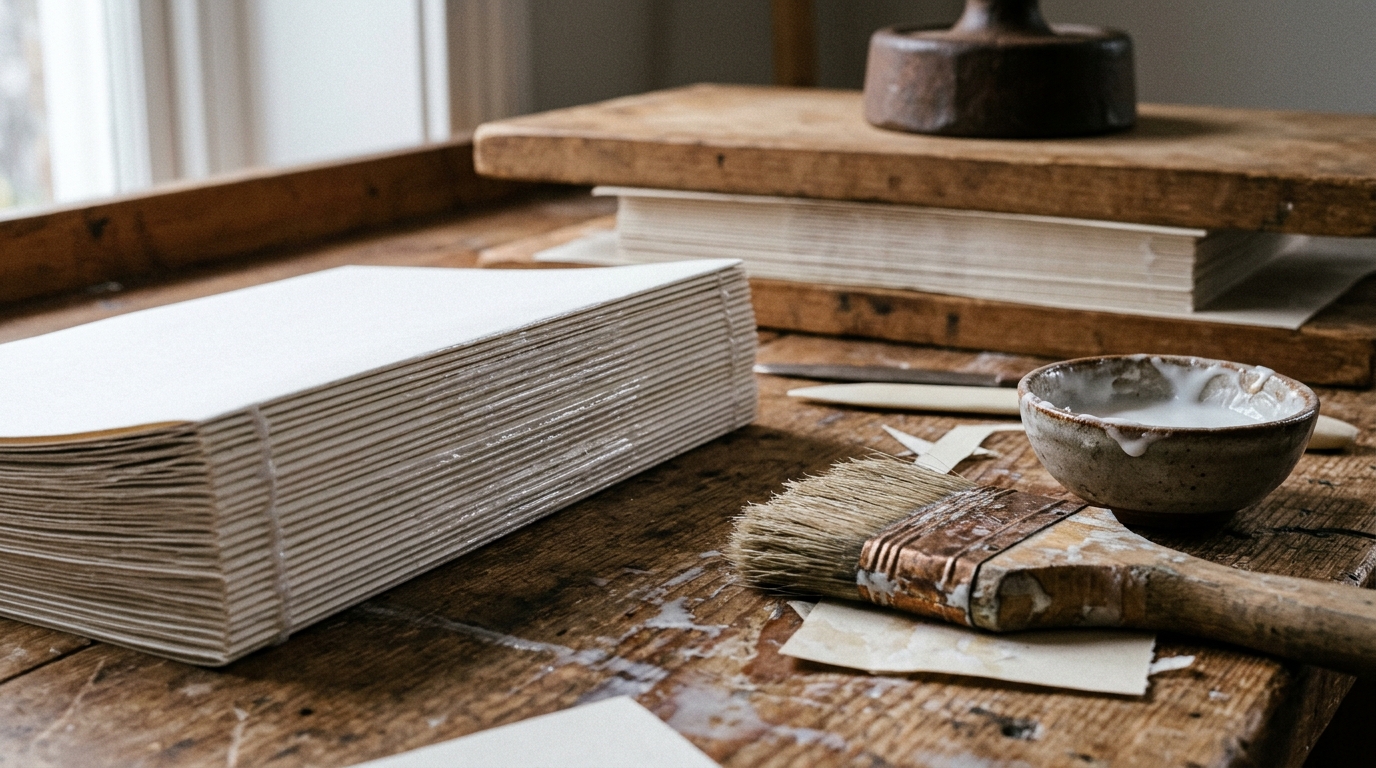
According to his biography, each bust is made from roughly 7,000 to 26,000 sheets of paper glued together by hand. Imagine the patience lifelike paper sculptures like these take. The stack is pressed and left to dry until it becomes a heavy block that feels almost like wood. Every glue line must be in exactly the right place, or the honeycomb will not open properly later. It is slow, careful work that pays off in the final reveal. How many sheets do you think you could glue in a day?
You will need: A ream of thin paper, white glue, a wide brush and heavy books to press the stack.
How to make it: 1. Brush thin glue stripes on a sheet and add the next sheet on top. 2. Alternate the stripe positions on each layer. 3. Press the stack under heavy books overnight to dry flat.
Carving Lifelike Paper Sculptures Like Stone
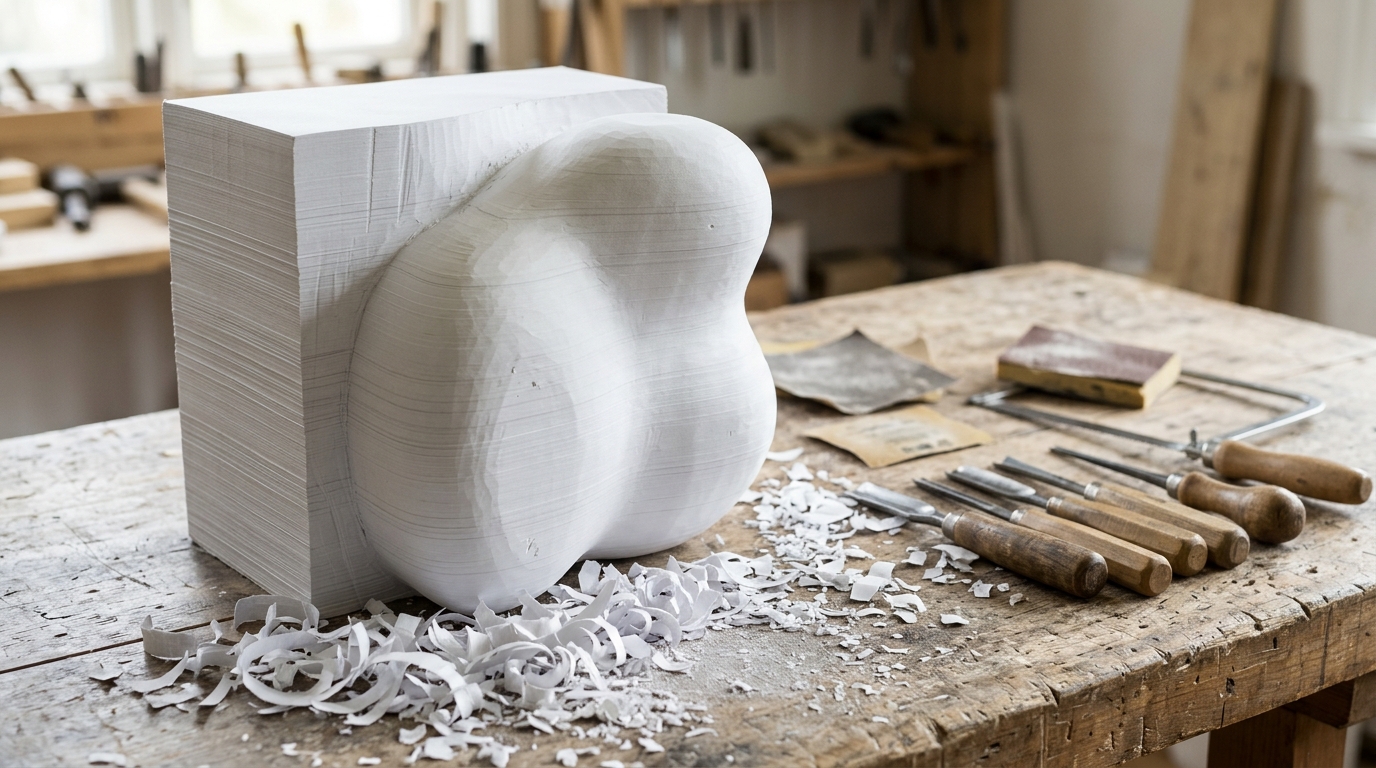
Once the paper block is dry, it is carved and sanded just like a block of stone or wood. Slowly a face, a bust or an animal appears. Because the block is solid when closed, it can be shaped with fine detail. This is where his lifelike paper sculptures get their smooth, marble look. A grown-up should handle any sharp tools or saws. Would you carve a person, an animal or a flower?
You will need: A small dried paper block, sandpaper in a few grits, a craft knife for adults only and a dust mask.
How to make it: 1. Draw your shape on the block with a pencil. 2. An adult trims away the corners carefully with a craft knife. 3. Sand the surface smooth to reveal the rounded shape.
The Stretch Reveal
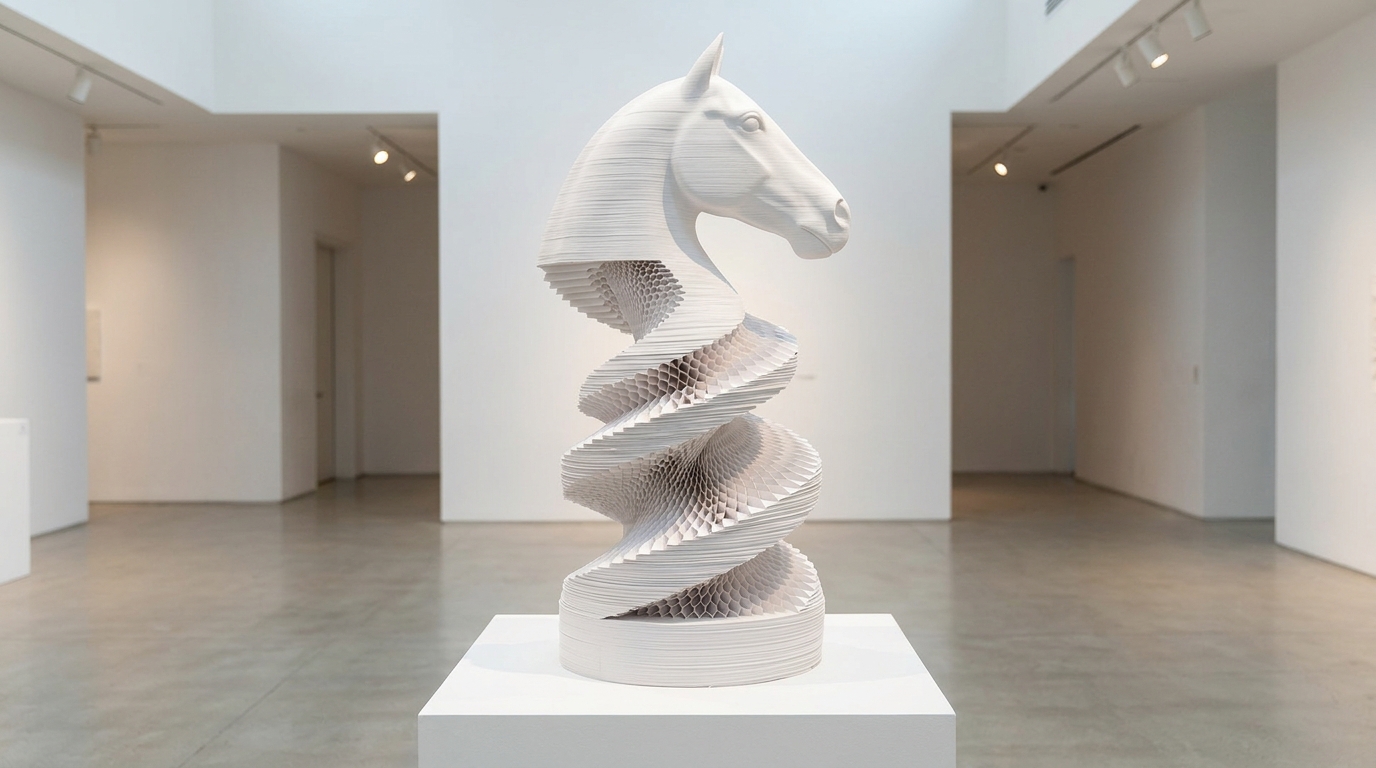
The best part comes last. When the finished sculpture is lifted or twisted, the hidden honeycomb opens and the shape stretches into spirals, waves and long ribbons. A face can turn into a tall tower or a long zigzag across a table. Then it folds back together into the original shape. That surprise is why videos of his work spread so fast online. Which shape would you love to see stretch?
You will need: Your small honeycomb test piece from earlier and a little patience.
How to make it: 1. Hold both ends of your dried honeycomb piece. 2. Pull gently and slowly so the cells open evenly. 3. Twist slightly to see it spiral, then let it fold back.
Lifelike Paper Sculptures at Exhibitions Around the World
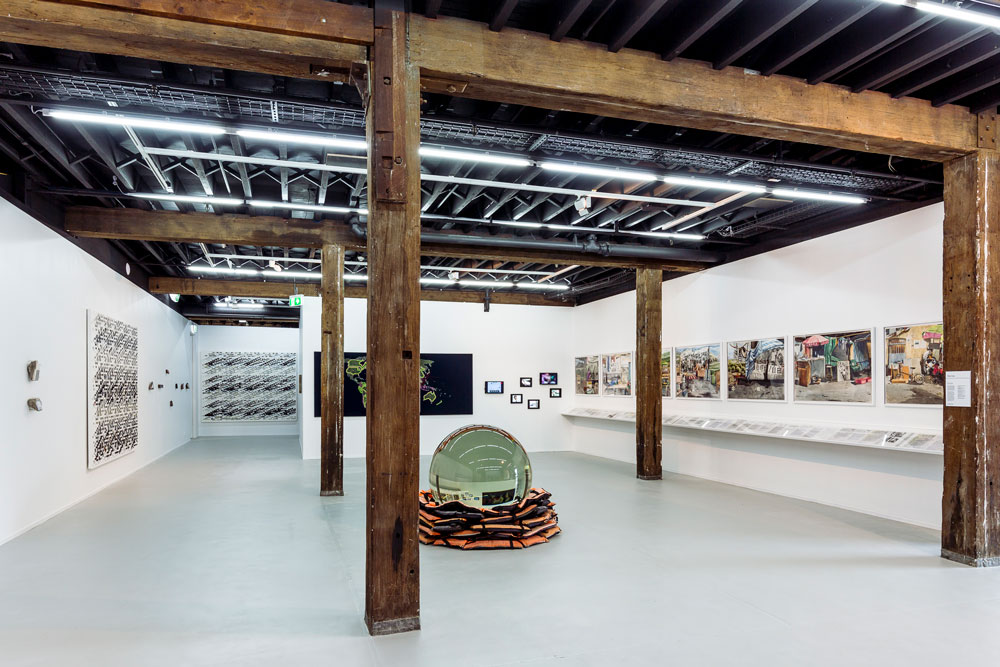
Li Hongbo’s work has traveled far beyond China. His biography lists the 18th Biennale of Sydney in Australia in 2012, a solo show in Ludwigsburg, Germany, and a well known solo exhibition called Tools of Study at a gallery in New York. Visitors are often invited to watch the pieces being stretched, which makes his lifelike paper sculptures feel like a live magic trick. Would you travel to see paper art in person?
You will need: A museum or gallery map and a list of paper art shows near you.
How to make it: 1. Search for paper art or sculpture exhibitions in your area. 2. Check if any offer family workshops. 3. Bring a sketchbook to draw what inspires you.
Try It: Accordion Paper Pumpkins
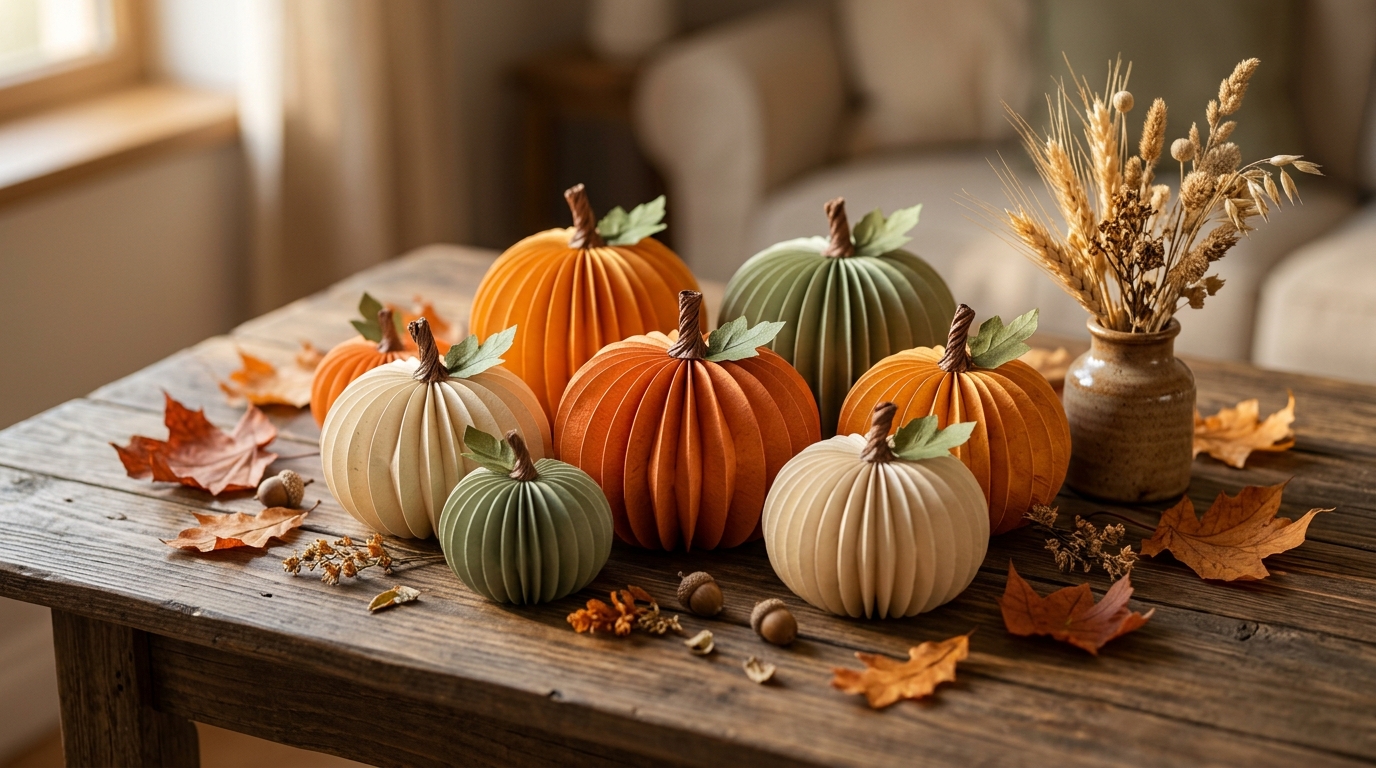
Now for the fun part at home. Accordion folded paper uses the same idea as lifelike paper sculptures, on a small, friendly scale, and turns into the cutest round pumpkins for fall. Fold paper strips back and forth, cut them into a half circle shape, and glue the ends together so they fan out into a ball. Add a brown paper stem and a leaf. Mix orange, cream and sage green for a modern farmhouse look. They are light, cheap and lovely on a table. How many will you make for your mantel?
You will need: Orange, cream and green card stock, scissors, glue, a brown paper strip for stems and a ruler.
How to make it: 1. Fold a long paper strip into an accordion. 2. Cut the folded stack into a rounded half circle. 3. Open it and glue the two ends together, then add a stem and leaf.
Layered 3D Paper Apples
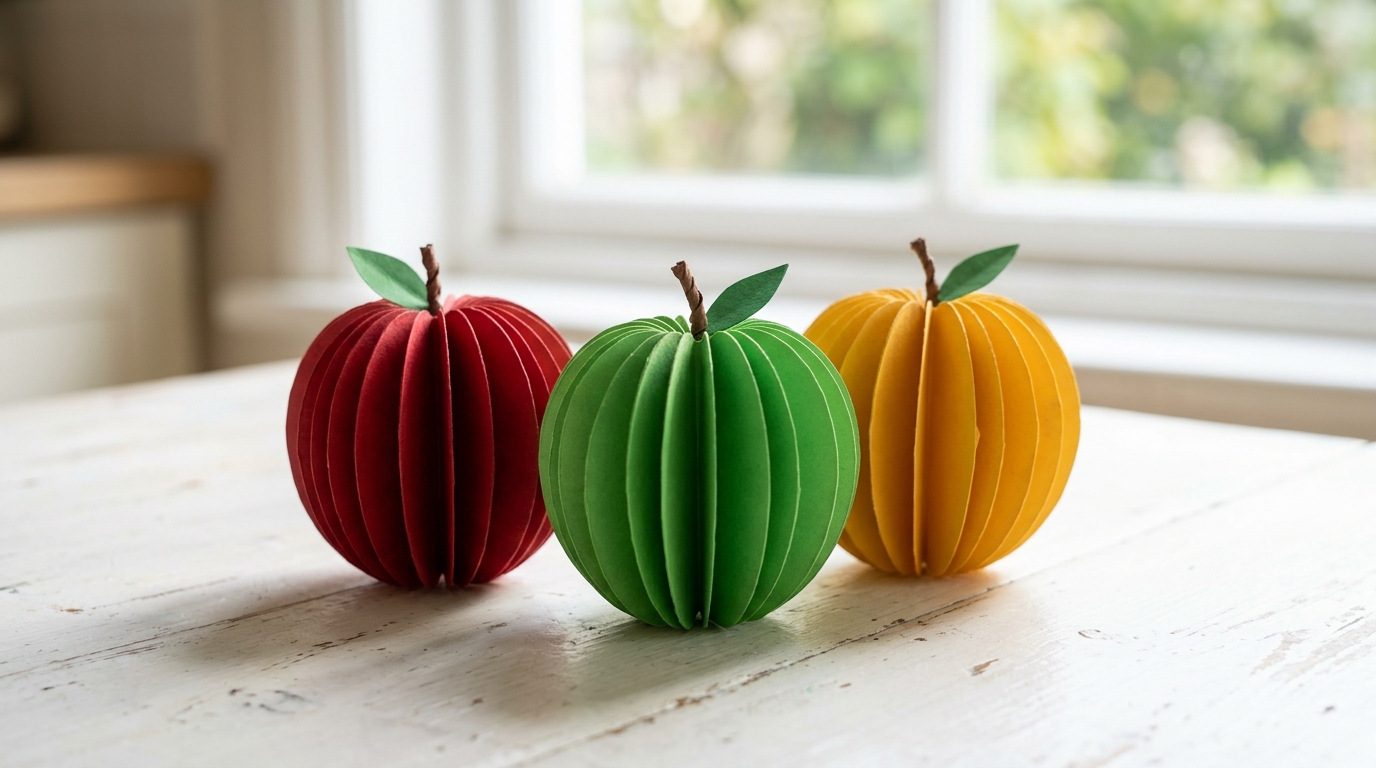
These bright paper apples use a simple layering trick. Cut many identical apple shapes, fold each one in half, and glue the halves back to back. As you add more pieces, a round 3D apple appears. They make a sweet teacher gift or a cheerful kitchen decoration. Older kids can trace and cut on their own. Will you make red, green or golden apples?
You will need: Card stock in red, green and yellow, an apple template, scissors, a glue stick and a brown paper stem.
How to make it: 1. Trace and cut eight identical apple shapes. 2. Fold each in half and glue one half to the half of the next. 3. Glue the last to the first to close the ball and tuck in a stem.
Honeycomb Christmas Ornaments
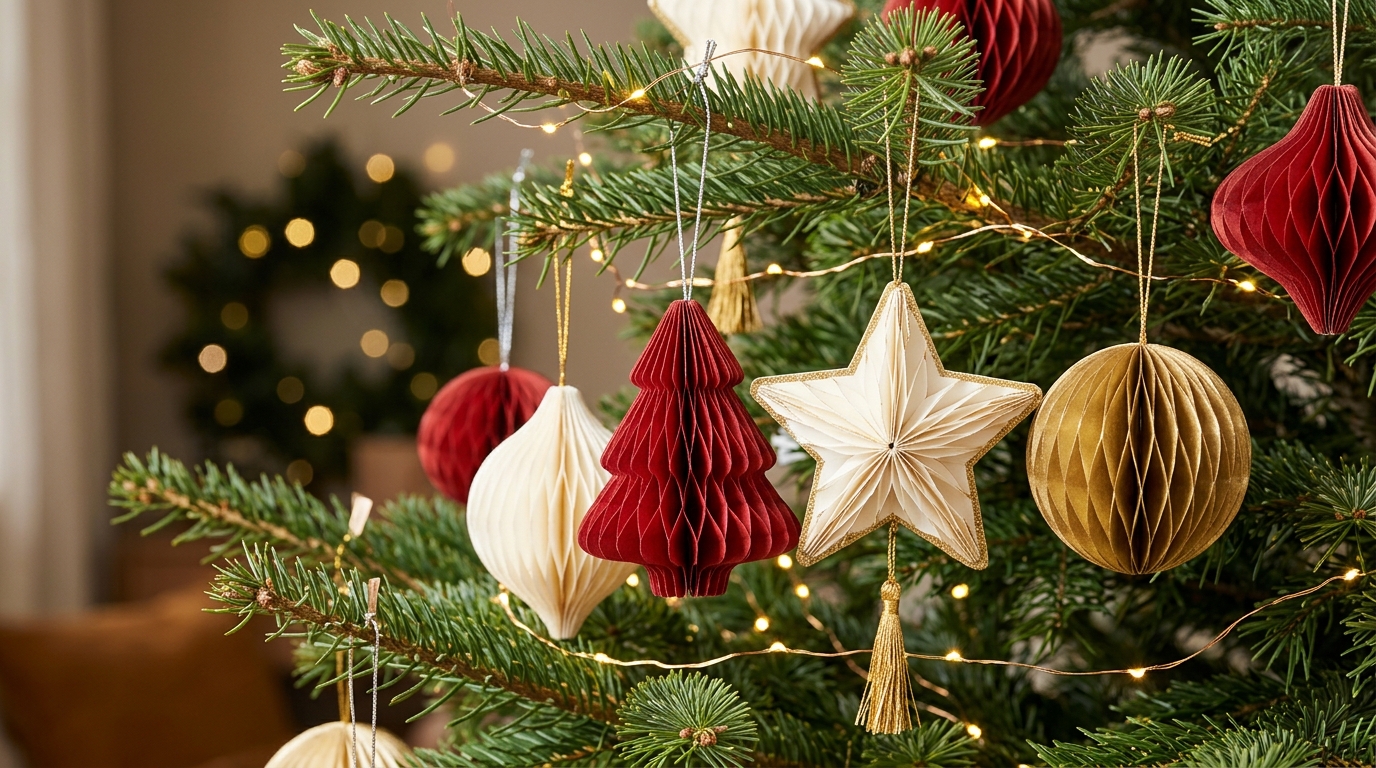
Honeycomb ornaments in red, white and gold make your tree look like it came from a fancy shop. Use the same honeycomb gluing method with tissue paper, then cut it into balls, trees or stars. They fold flat for storage and open again each year. Hang them with ribbon near battery fairy lights for a soft glow. Which shape would you hang first?
You will need: Tissue paper in holiday colors, glue stick, scissors, card stock for covers and thin ribbon.
How to make it: 1. Make a small honeycomb stack with alternating glue stripes. 2. Cut it into a tree, star or circle shape. 3. Glue card covers on both sides, add a ribbon loop and open it up.
Stacked Paper Ring Bowl
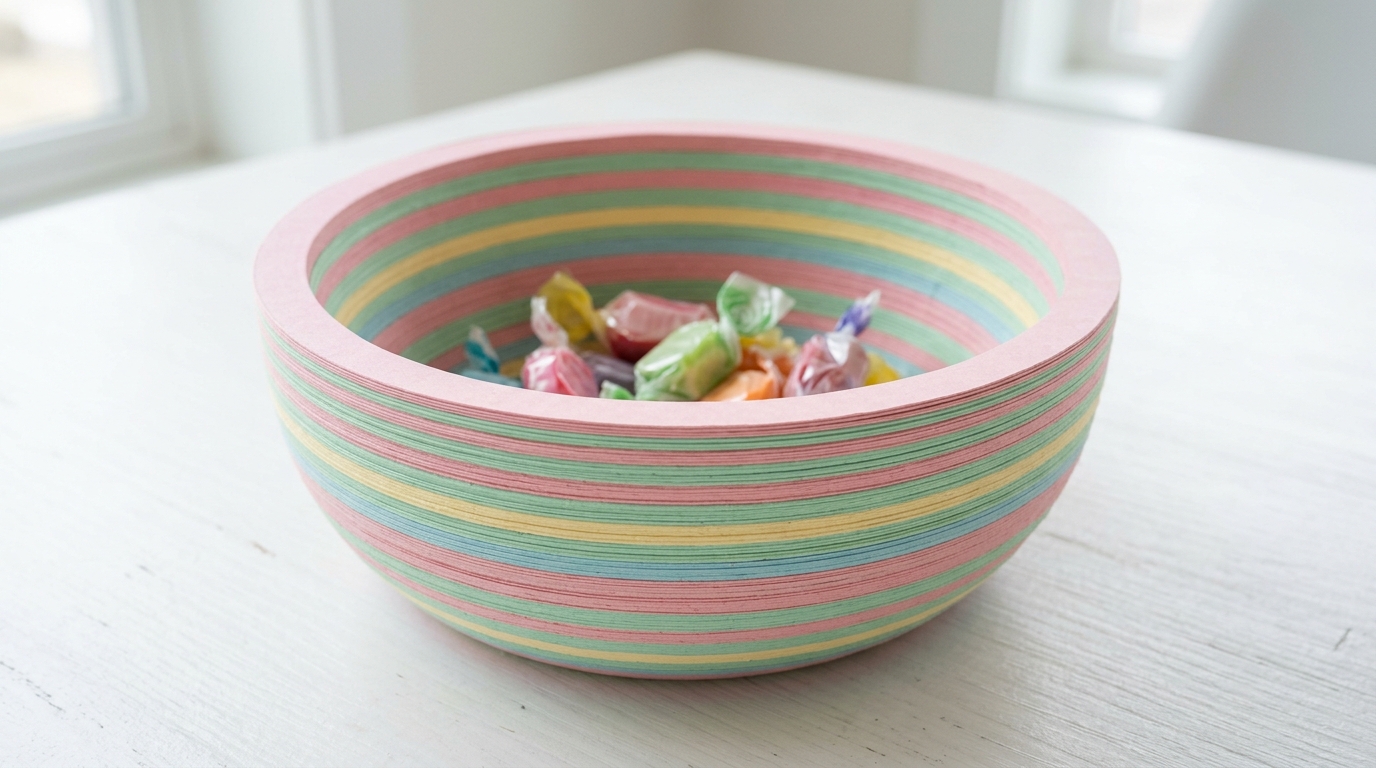
A bowl made from stacked paper rings shows off gorgeous striped edges, a bit like the layers inside the sculptures. Cut circles of paper in slowly changing sizes, glue them in a stack and shape them into a bowl. Pastel colors look dreamy and modern. It is perfect for keys, sweets or jewelry. Which color pattern would you stack?
You will need: Card stock in pastel colors, a compass or round objects to trace, scissors, glue and a small bowl as a guide.
How to make it: 1. Cut paper rings, starting small and getting bigger. 2. Glue them on top of each other in order, smallest at the bottom. 3. Shape it gently over a bowl and let it dry.
Accordion Paper Lantern
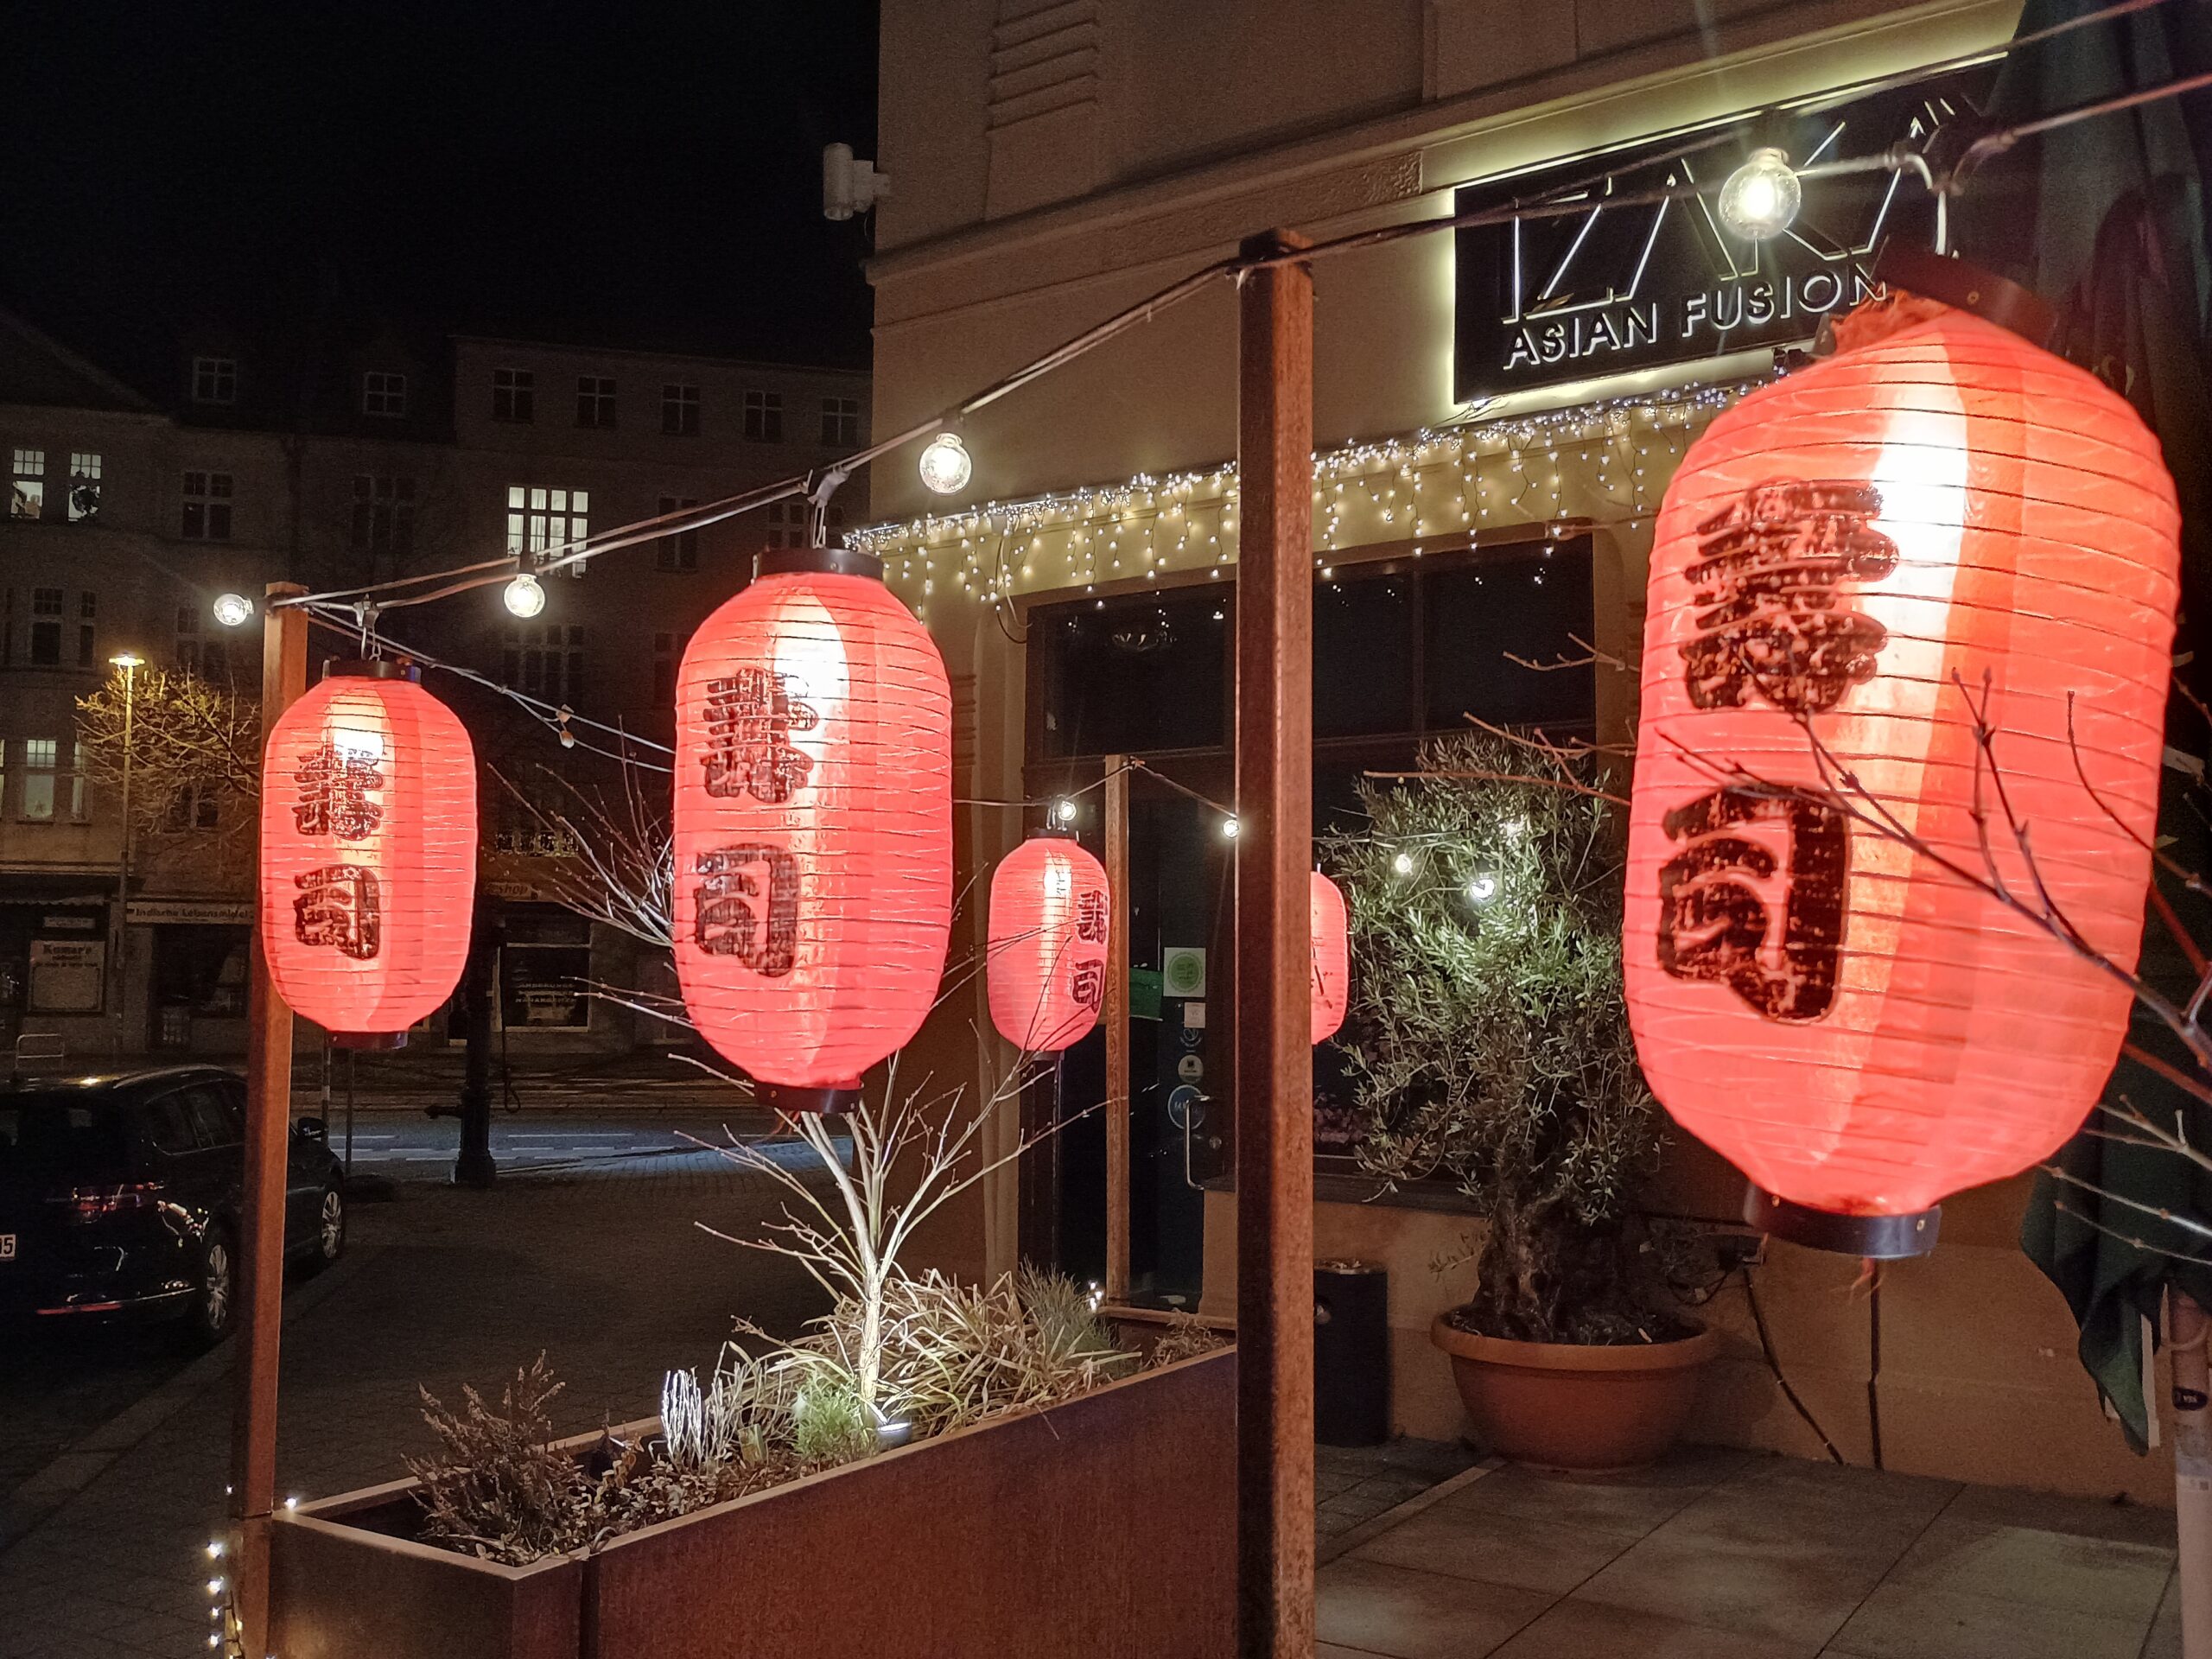
Paper lanterns are a simple way to bring the folk art spirit into your home. A sheet of paper folded like an accordion and cut with slits opens into a glowing round lantern. Hang a few together for a party or a cozy corner. Use only battery LED lights inside, never candles. Would you hang yours in a bedroom or on a porch?
You will need: Colored paper, scissors, a ruler, glue, string and battery LED fairy lights.
How to make it: 1. Fold the paper in half lengthwise and cut slits from the fold, stopping before the edge. 2. Open it, roll it into a tube and glue the ends. 3. Add a paper handle and slip in a battery light.
Paper Butterfly Wall
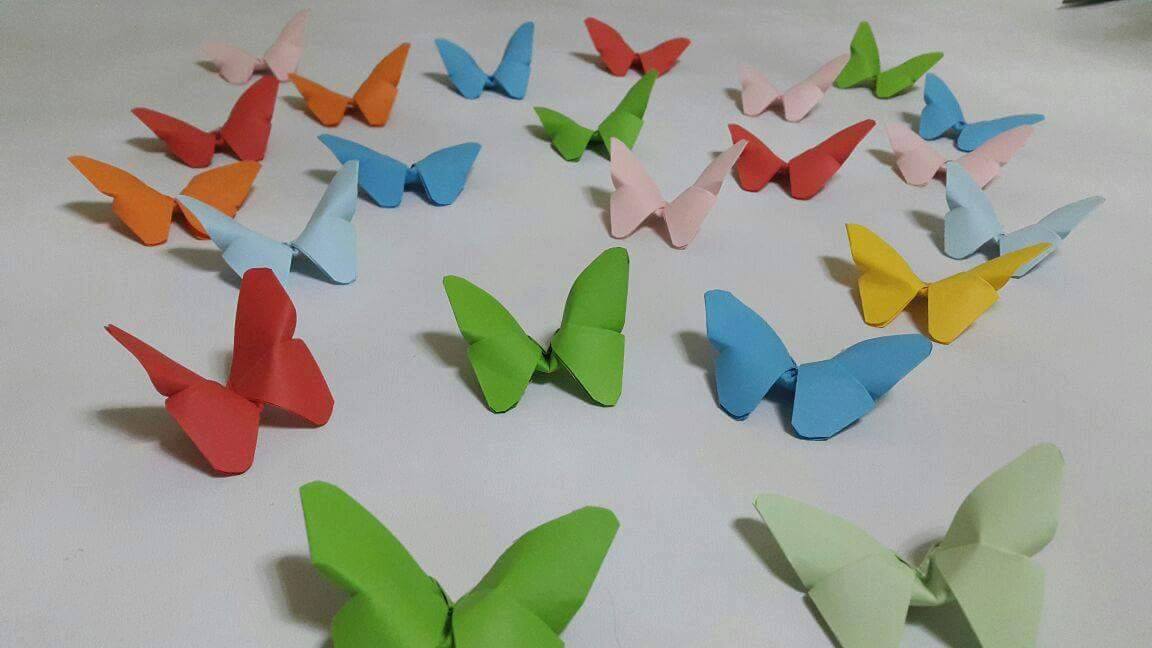
A wall of folded paper butterflies looks like a flutter of color frozen in time. Cut butterflies in different sizes, fold the wings up slightly so they look like they are about to fly, and arrange them in a swirl or heart shape. This project is easy, cheap and makes a dramatic backdrop for a party or a kid’s room. Which colors will your butterflies be?
You will need: Card stock in several colors, a butterfly template, scissors and removable mounting putty.
How to make it: 1. Trace and cut butterflies in three sizes. 2. Fold each one gently down the middle so the wings lift. 3. Stick them to the wall with putty in a flowing pattern.
Folded Paper Flower Wall Hanging
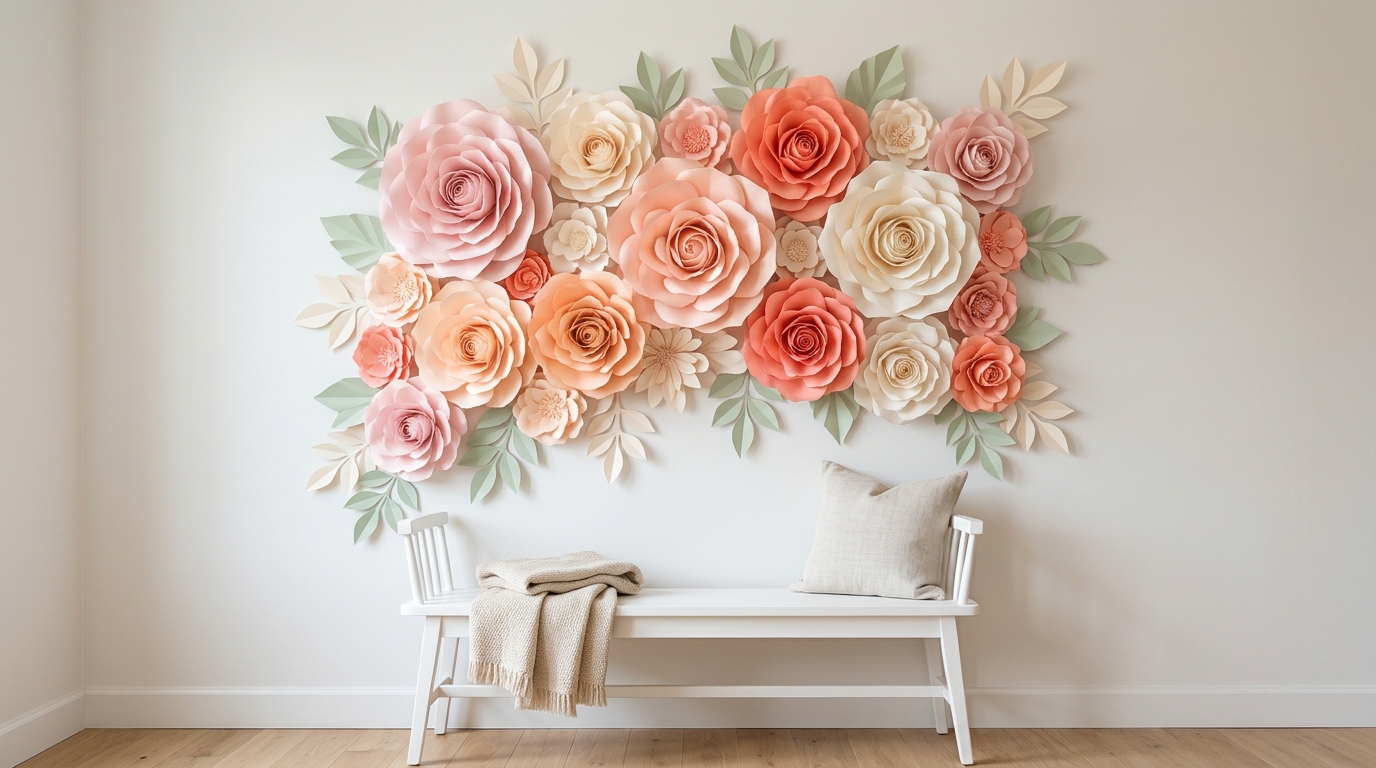
Large folded paper flowers in blush, peach and cream make a soft, romantic wall display. Each flower is made from layered petals cut from card stock and curled with a pencil. They are perfect for a baby shower, wedding or just a pretty bedroom wall. If you love art that fools the eye, you will also enjoy these realistic clay crafts. Which room would you bloom first?
You will need: Card stock in soft colors, petal templates, scissors, a pencil for curling and a glue gun for adults.
How to make it: 1. Cut petals in three sizes. 2. Curl the tips around a pencil. 3. Glue the petals in layers from large to small, with an adult handling hot glue.
Paper Snake Toy Inspired by Lifelike Paper Sculptures
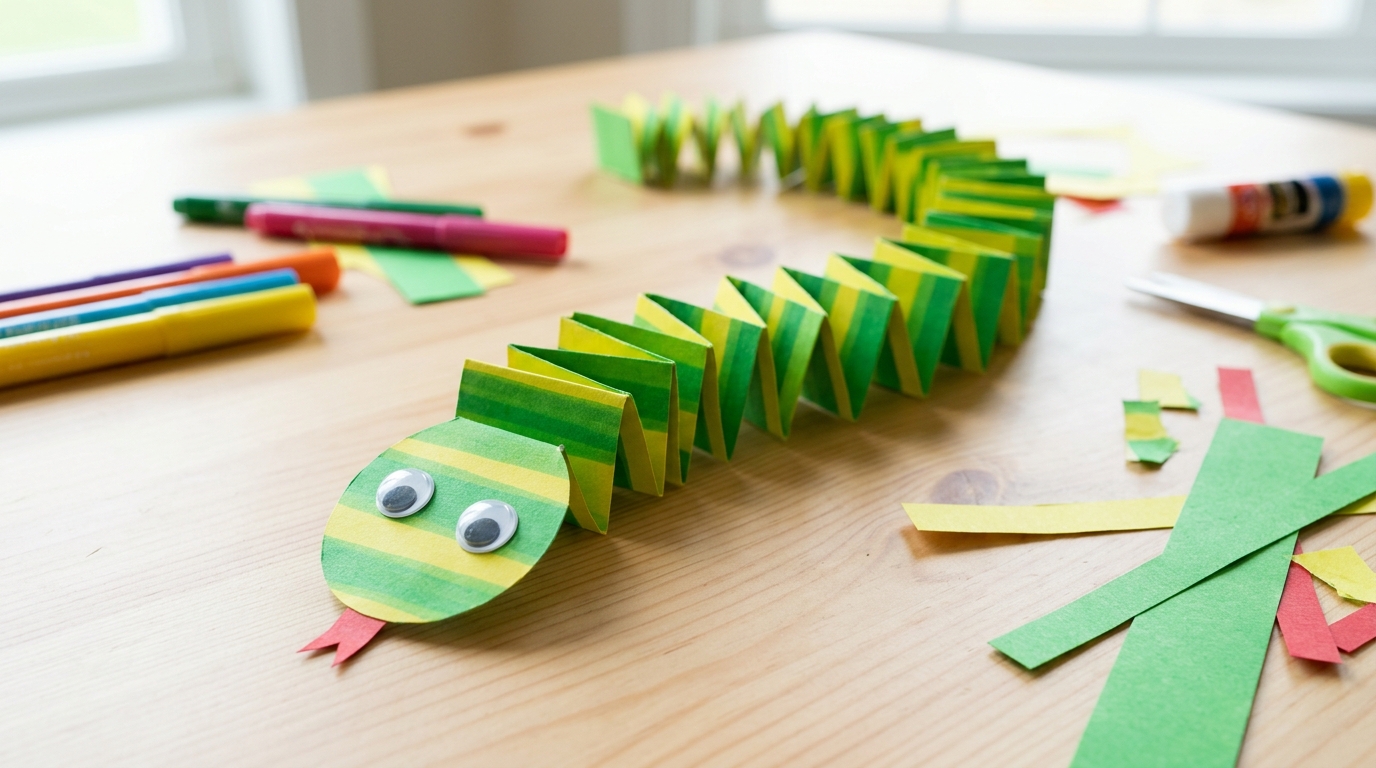
This wiggly paper snake is a favorite with kids, and it uses the same accordion folding idea as the bigger projects. Fold two long paper strips over each other to make a springy chain, then add a head with googly eyes and a red tongue. It bounces and stretches just like a tiny version of lifelike paper sculptures. How long can your snake get before you run out of paper?
You will need: Two long strips of colored paper, glue, a paper circle for the head, googly eyes and a red paper tongue.
How to make it: 1. Glue the ends of two strips at a right angle. 2. Fold one strip over the other again and again until you reach the end. 3. Glue the ends, then add the head, eyes and tongue.
Pop-Up Honeycomb Card
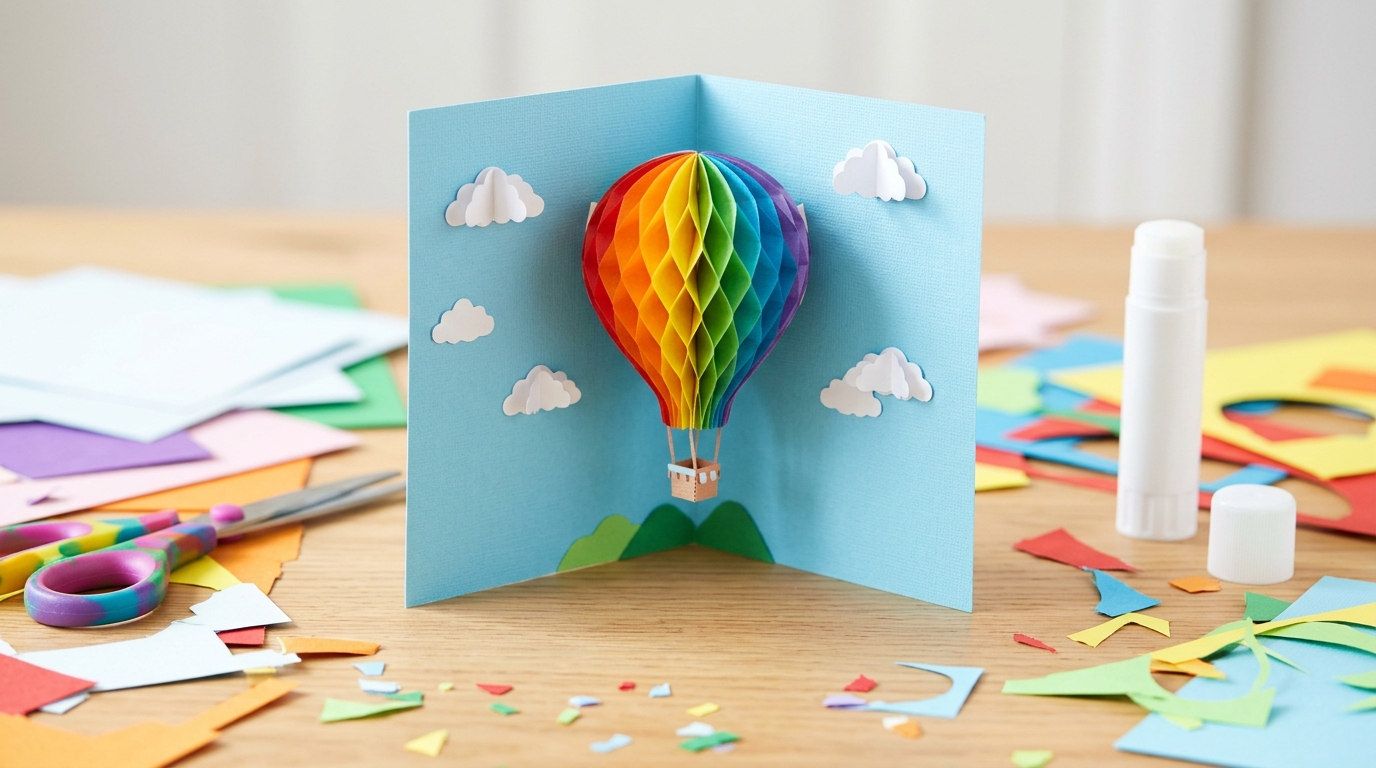
End your paper adventure with a pop-up card that makes anyone smile. A small honeycomb shape, like a hot air balloon, is glued inside the fold so it opens into a 3D surprise. It is a fun way to share the honeycomb trick behind lifelike paper sculptures with friends and family. Older kids can make one from start to finish. Who will get your first pop-up card?
You will need: Card stock for the card, a small honeycomb stack made from tissue paper, scissors, glue and markers.
How to make it: 1. Cut your honeycomb stack into a half balloon shape. 2. Glue one flat side to the left inside of the card and the other to the right, lined up with the fold. 3. Close the card, press, then open to watch it pop.