Pop Up Card Ideas: 16 Handmade Cards That Make People Gasp When They Open Them
Pop up card ideas are everywhere right now, and one tiny video shows why. On October 17, a craft page shared a simple paper card that you cut, fold and open to reveal a hidden heart. In about ten days it collected around 200,000 reactions and 12,000 shares. People are tired of cards that get a quick look and land in a drawer. A pop up card makes someone stop, smile and say wow. It costs almost nothing, and you probably have everything you need already: paper, scissors and glue. Below are 16 handmade designs, from Christmas trees and snowflakes to birthday cakes and a whole winter village. Each one comes with easy steps, so even a first timer can make one tonight. Get your paper ready..
Pop Up Card Ideas Start With One Simple Heart
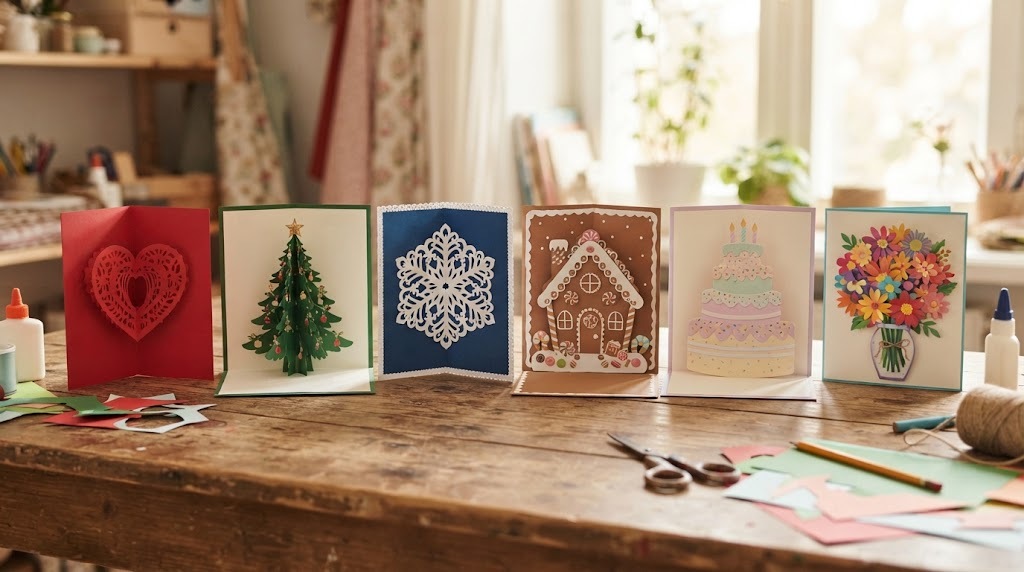
The card that started this wave is beautifully simple. You fold one sheet of paper, make two small cuts, and a heart pops forward when the card opens. When a simple paper pop up card video was shared on October 17, it gathered about 200,000 reactions in roughly ten days. The trick works because it feels like magic but takes five minutes. Once you learn this one fold, every other card in this list gets easy. Make a practice one first, then make the real one for someone you love..
You will need: One sheet of red or pink card stock, a white card base, scissors, a pencil, a ruler and a glue stick.
How to make it: 1. Fold the red paper in half and cut two short parallel slits into the fold. 2. Open it and push the cut piece forward to make a little step. 3. Glue a paper heart to the front of the step and glue the red paper inside the white card.
Pop Up Card Ideas for Christmas: The Paper Tree
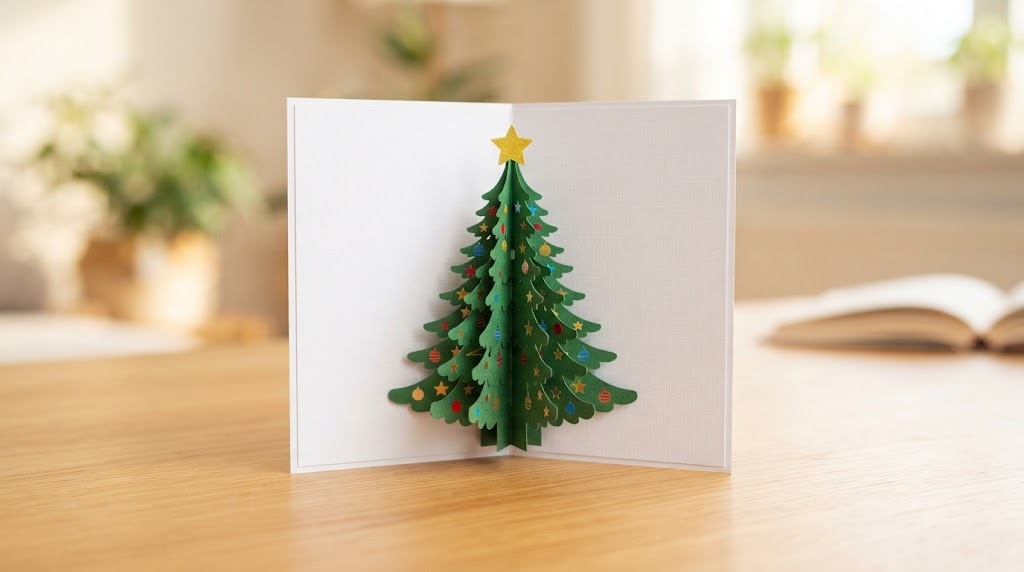
A Christmas tree that rises out of a card is one of the most loved pop up card ideas for the holidays. Layers of green paper stack up like real branches, and tiny paper ornaments make it sparkle. Make a few at once and you have a full set of handmade holiday cards for family and neighbors. Who on your list would love a tree they can keep on the shelf all December?
You will need: Green card stock in two shades, a white card base, a small yellow star, scissors, glue and a gold gel pen.
How to make it: 1. Cut three tree shapes in falling sizes from the green paper. 2. Fold each one in half and glue them together along the fold. 3. Glue the tree into the center fold of the card, add the star and draw on tiny ornaments.
A Lacy Snowflake That Springs Open
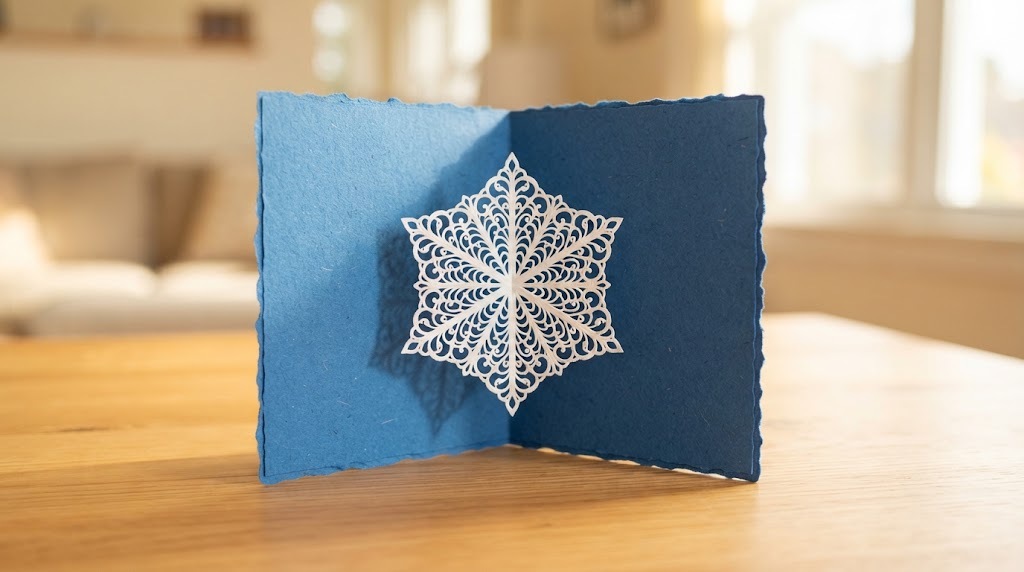
A paper snowflake looks lovely on a window, but it looks even better standing up inside a card. When the card opens, the flake unfolds into a lacy star that throws little shadows. It is a calm, wintry card that works for Christmas, New Year or just a cozy hello. If you have made paper snowflakes before, you already know half the steps. Ready to cut your first flake?
You will need: White printer paper, a blue card base, small sharp scissors, a pencil and a glue stick.
How to make it: 1. Fold a square of white paper into a narrow triangle and cut small shapes along the edges. 2. Unfold it and fold the snowflake in half. 3. Glue each half to the inside of the card so it opens flat and stands up.
A Gingerbread House With Paper Icing
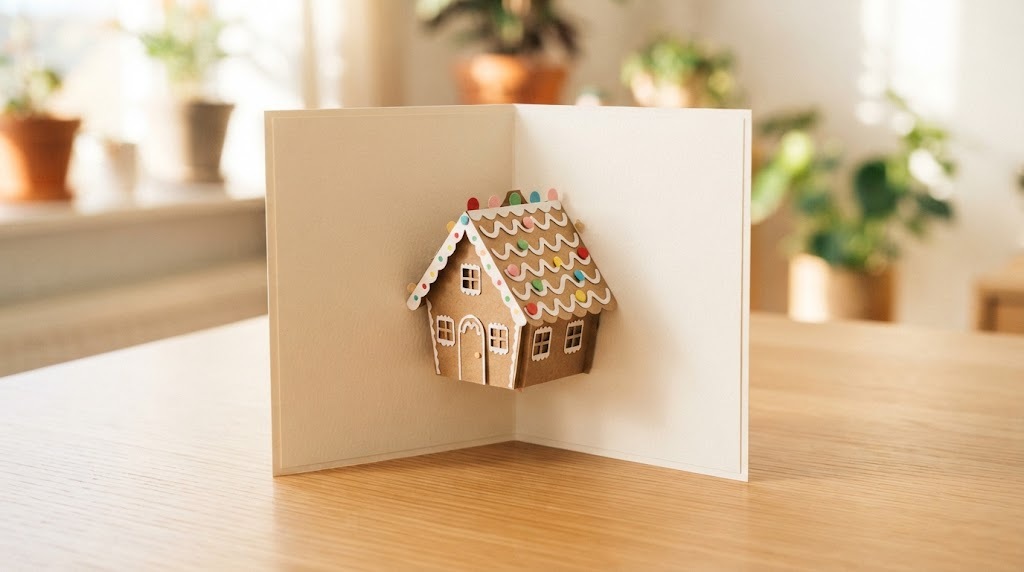
This little gingerbread house looks good enough to eat. Brown card stock makes the walls, and white paper strips become the icing on the roof. A tiny door and window add charm, and you can glue on paper candies for color. Kids love helping with the decorating part. Send it to a grandparent, or prop it on the mantel as part of your Christmas decor. Which candies would you add?
You will need: Brown card stock, white paper, small scraps of red and green paper, a white card base, scissors and glue.
How to make it: 1. Cut a step in the card fold like the heart card. 2. Cut a house shape with a pointed roof from brown paper. 3. Add white wavy roof strips and paper candies, then glue the house to the step.
A Three Layer Birthday Cake in Paper
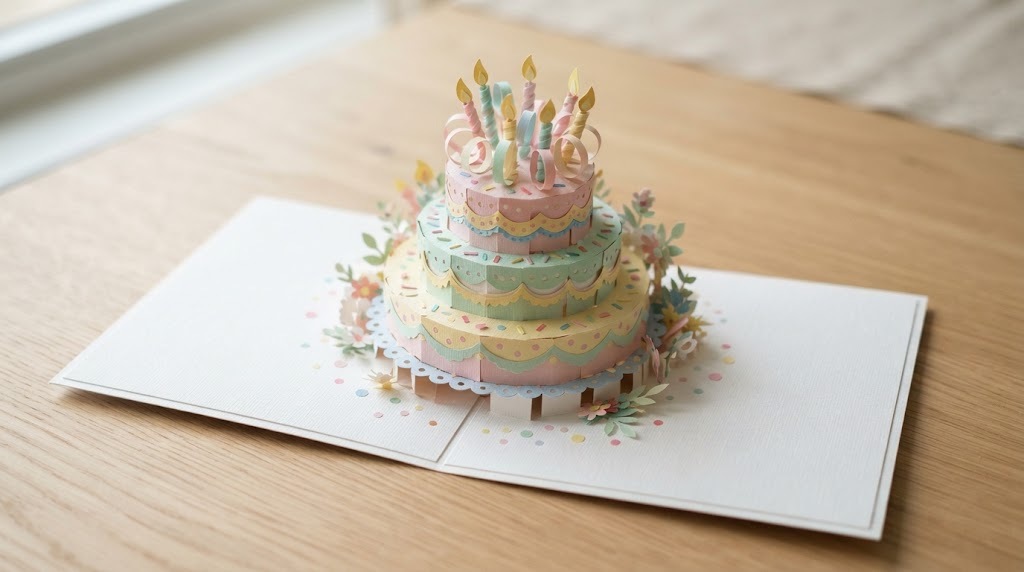
Birthday cards with a pop up cake feel like a party in an envelope, and they are some of the most fun pop up card ideas to make with kids. Three steps of different widths become three cake layers. Paper flames on top keep it safe, and a few paper sprinkles make it bright. Write the age on the top layer and watch the birthday person grin. Whose birthday is coming up next?
You will need: Card stock in pastel colors, a white card base, scissors, a ruler, glue and markers.
How to make it: 1. Cut three slits of different lengths into the card fold to make three steps. 2. Glue a cake layer strip on each step, smallest at the top. 3. Add paper candles with paper flames and decorate with markers.
A Flower Bouquet That Never Wilts
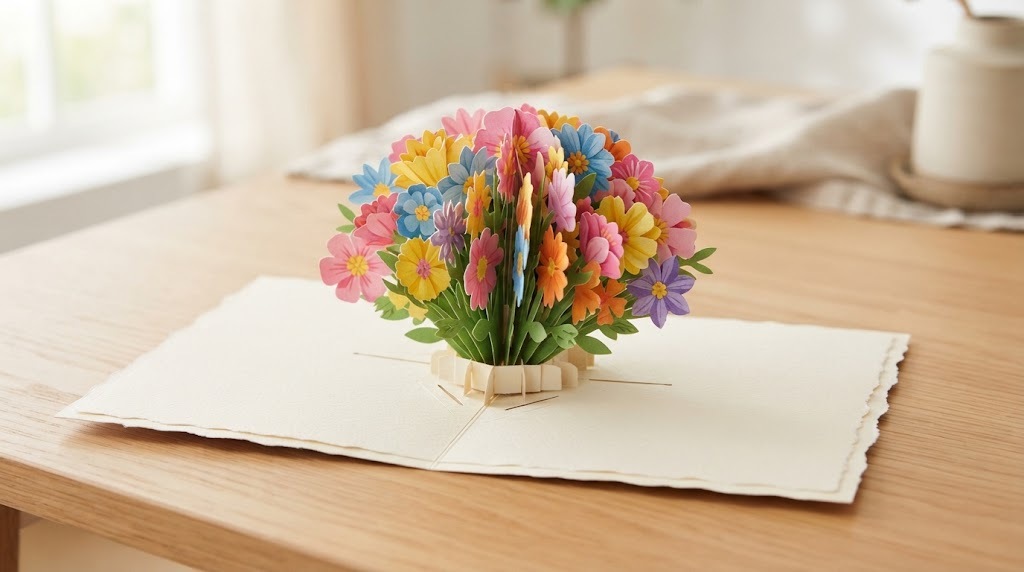
A bouquet that never wilts is one of the prettiest pop up card ideas and a sweet way to say thank you, happy birthday or I miss you. Paper flowers on thin paper stems spread out like a fan when the card opens. You can use scrap paper in any color, so no two bouquets are ever the same. It is also a lovely way to use up the leftover bits in your craft drawer. What colors would you pick?
You will need: Scrap card stock in bright colors, green paper for stems and leaves, a card base, scissors and glue.
How to make it: 1. Cut five or six small flowers and long green stems. 2. Glue the stems into a fan shape onto a folded paper triangle. 3. Glue the triangle into the card fold so the bouquet rises as it opens.
A Thank You for Thanksgiving Hosts
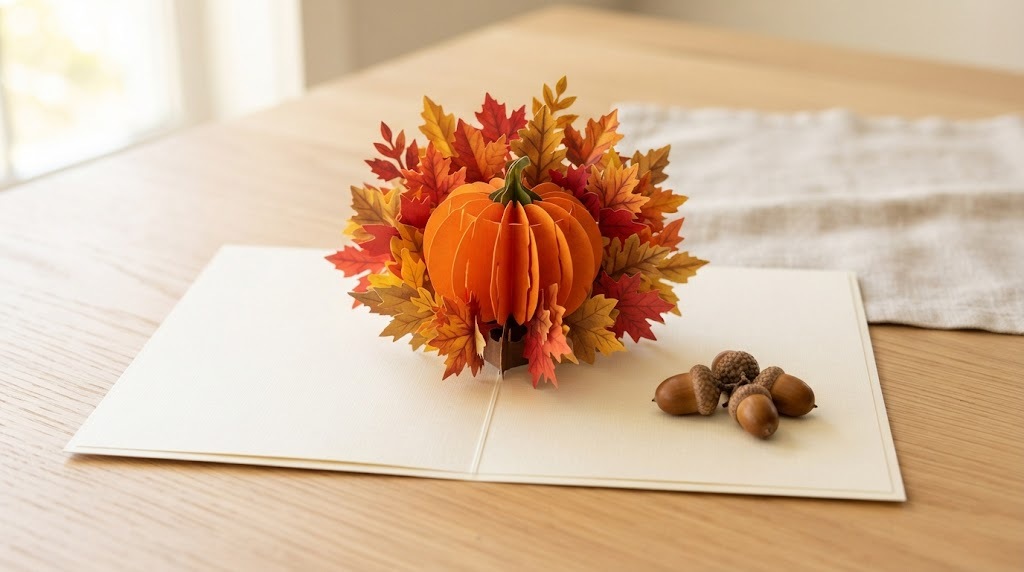
Thanksgiving is on November 26 this year, and a handmade card is a warm thank you for whoever cooks the big meal. Paper leaves in red, orange and gold stand up around a little pumpkin. Leave it by their plate or hand it over at the door. It says thank you in a way that sticks around long after the leftovers are gone. Who will you thank this year?
You will need: Card stock in fall colors, a cream card base, a leaf template or punch, scissors and glue.
How to make it: 1. Cut a wide step in the card fold. 2. Cut a pumpkin and a handful of leaves. 3. Glue the pumpkin to the step and tuck the leaves around it so they peek over the edge.
A Friendly Reindeer With a Red Nose
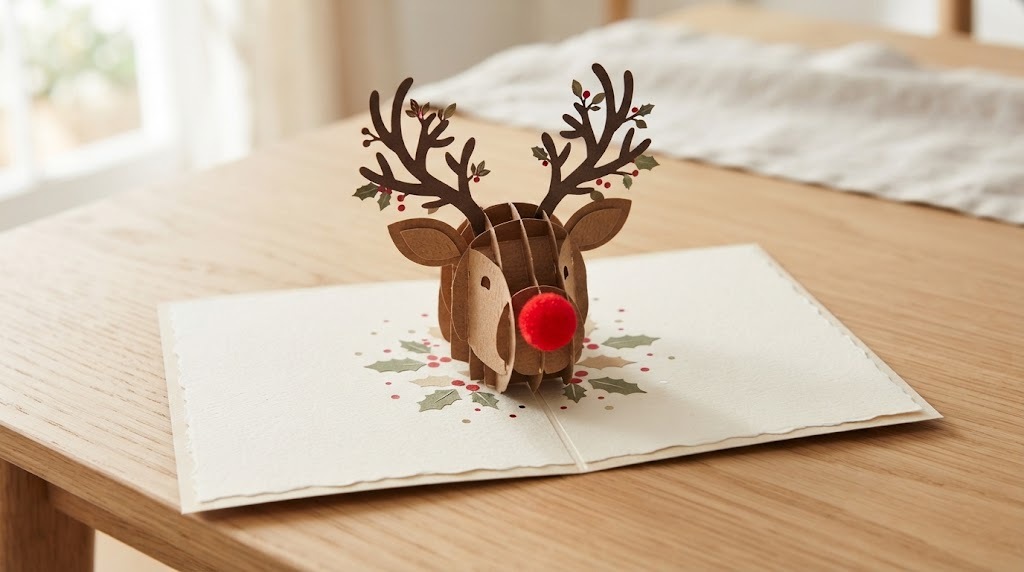
This friendly reindeer stands up to greet whoever opens the card. Its body sits on a single pop up step, and the antlers are cut from a darker brown paper. A red pom pom or paper circle makes a perfect shiny nose. It is a quick card for school friends or teachers, and kids can cut most of it themselves. Will yours have a red nose or a gold one?
You will need: Light and dark brown card stock, a red pom pom or red paper, googly eyes, a card base, scissors and glue.
How to make it: 1. Cut a step into the card fold. 2. Cut a reindeer face and antlers and glue them together. 3. Glue the face to the step and add eyes and a red nose.
Pop Up Card Ideas With a Twist: The Spiral Card
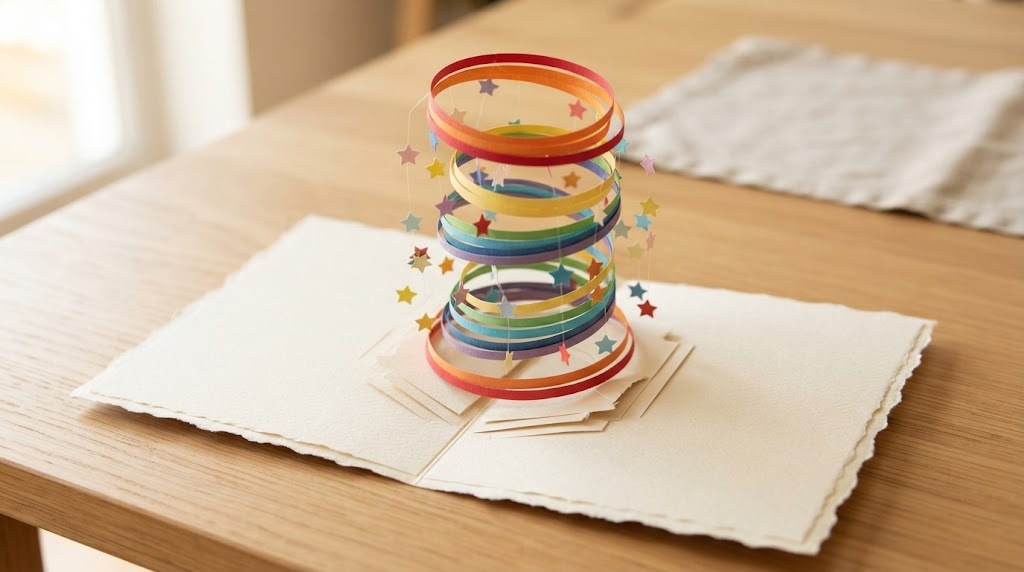
This one always gets a gasp. When the card opens, a paper spiral twists up from the fold like a spring. Rainbow paper makes it feel joyful, and you can hang tiny paper stars from the end for extra fun. It looks tricky, but it is just one circle cut into a spiral. Try it in plain white first so you can see how it moves. Are you ready for the wow moment?
You will need: Bright card stock, a card base, a compass or a round lid to trace, scissors and glue.
How to make it: 1. Trace a circle and cut it into a spiral from the edge to the center. 2. Glue the center of the spiral to one side of the card fold. 3. Glue the outer end to the other side so it stretches up as the card opens.
A Photo Frame on a Little Paper Shelf
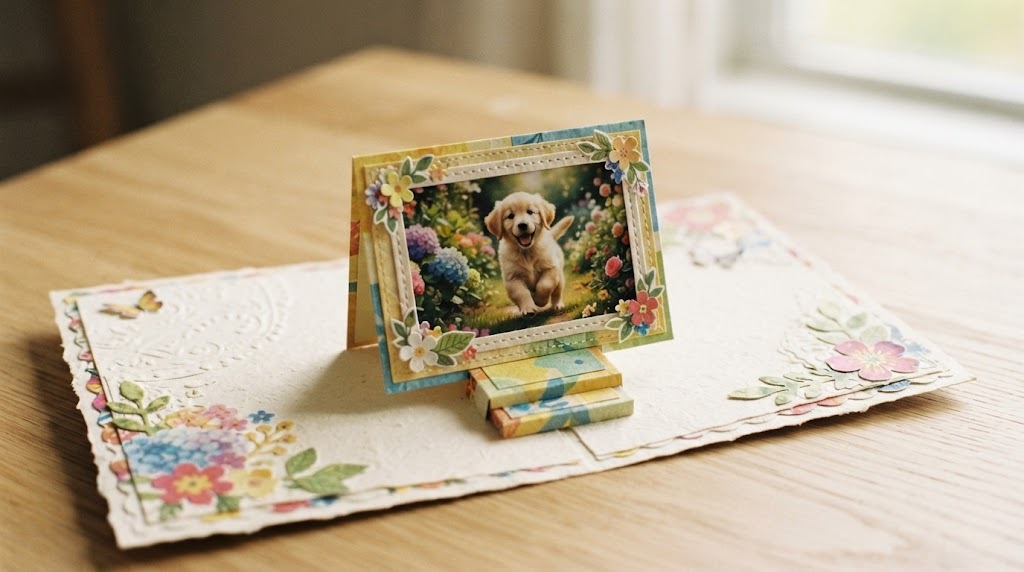
Of all the pop up card ideas here, the photo frame card might be the most personal. It turns one favorite picture into a gift. The frame stands up on a step, so the photo looks like it is sitting on a little shelf. It is perfect for grandparents, long distance friends and anyone who loves memories more than things. Use a small printed photo, or draw a picture yourself if you like. Which photo would make someone tear up a little?
You will need: A small printed photo, card stock for the frame, a card base, scissors, a ruler and glue.
How to make it: 1. Cut a wide step into the card fold. 2. Cut a paper frame slightly bigger than the photo and glue the photo behind it. 3. Glue the framed photo onto the front of the step.
Pop Up Card Ideas for Winter: Snowy Mountain Scene
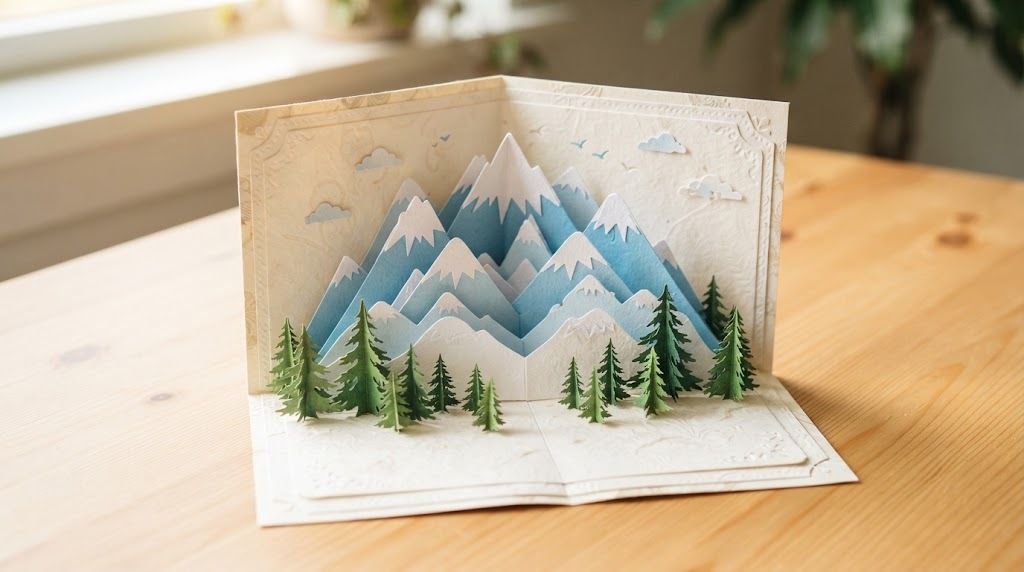
Layers of white and blue paper turn a plain card into a snowy mountain view. Each layer stands at a different depth, so the scene looks deep and real when it opens. Small paper pine trees at the bottom finish the look. This is one of the calmest pop up card ideas, perfect for winter birthdays or a simple seasons greetings card. Would you add a tiny cabin too?
You will need: White, light blue and dark green card stock, a card base, scissors, a pencil and glue.
How to make it: 1. Cut three steps of different depths into the card fold. 2. Cut mountain shapes and pine trees from the paper. 3. Glue the tallest mountain to the back step and the trees to the front.
A Tiny Gift Box With a Hidden Note
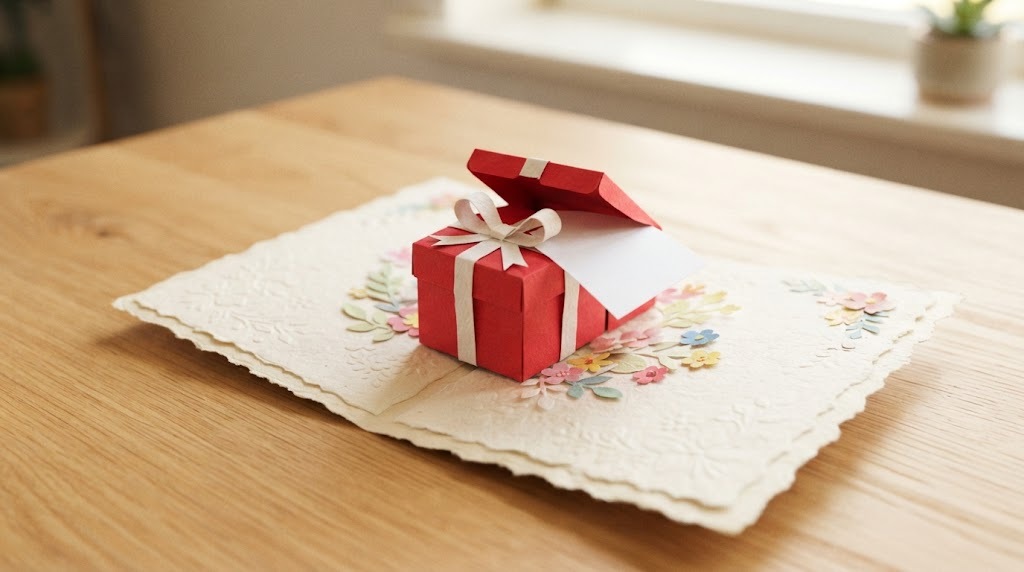
This card has a surprise inside a surprise. A small paper gift box pops up, and inside the box is a folded note. Write a memory, a joke or a coupon for a hug. It is a lovely idea for anniversaries and for kids who want to give something special. The box is made from one folded square, so it is simpler than it looks. What would your secret note say?
You will need: Red and white card stock, ribbon or paper strips, a small piece of plain paper for the note, a card base, scissors and glue.
How to make it: 1. Cut a step into the card fold. 2. Fold a small open box from a paper square and glue a ribbon on the front. 3. Glue the box to the step and tuck the folded note inside.
A Jumping Frog for Kids to Make
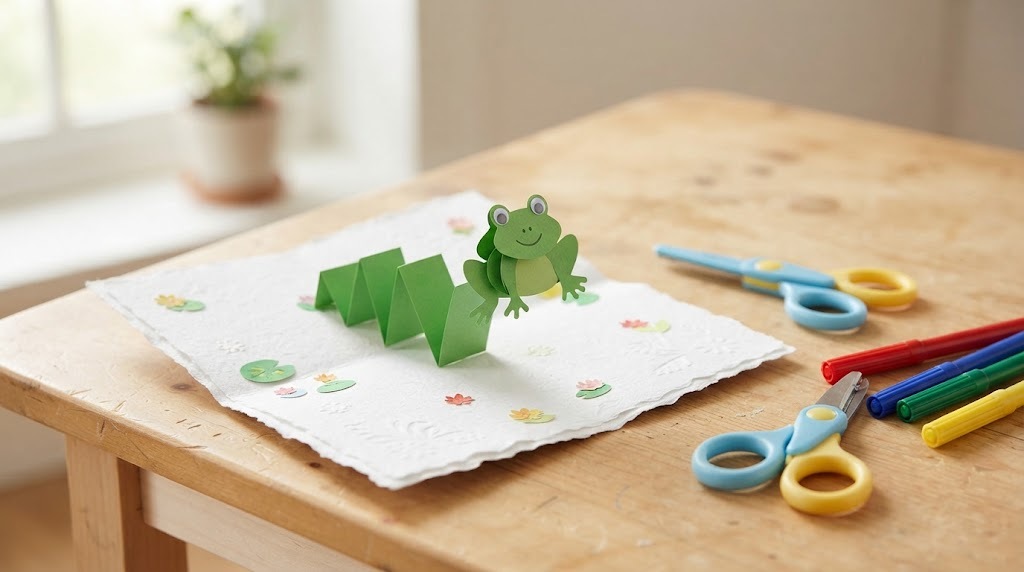
Kids love this one of all the pop up card ideas because the frog seems to jump right out at you. The frog sits on a folded paper spring, so it bounces a little each time the card opens. Little hands can cut the frog and draw the face while a grown up helps with the folds. It is a great rainy day craft that ends with a card for a friend. What animal would your kids make jump next?
You will need: Green card stock, a strip of paper for the spring, a white card base, child safe scissors, markers and glue.
How to make it: 1. Fold a paper strip back and forth into a small zigzag spring. 2. Cut a frog shape and draw a happy face. 3. Glue one end of the spring inside the card and the frog on the other end.
A Famous Landmark in Folded Paper
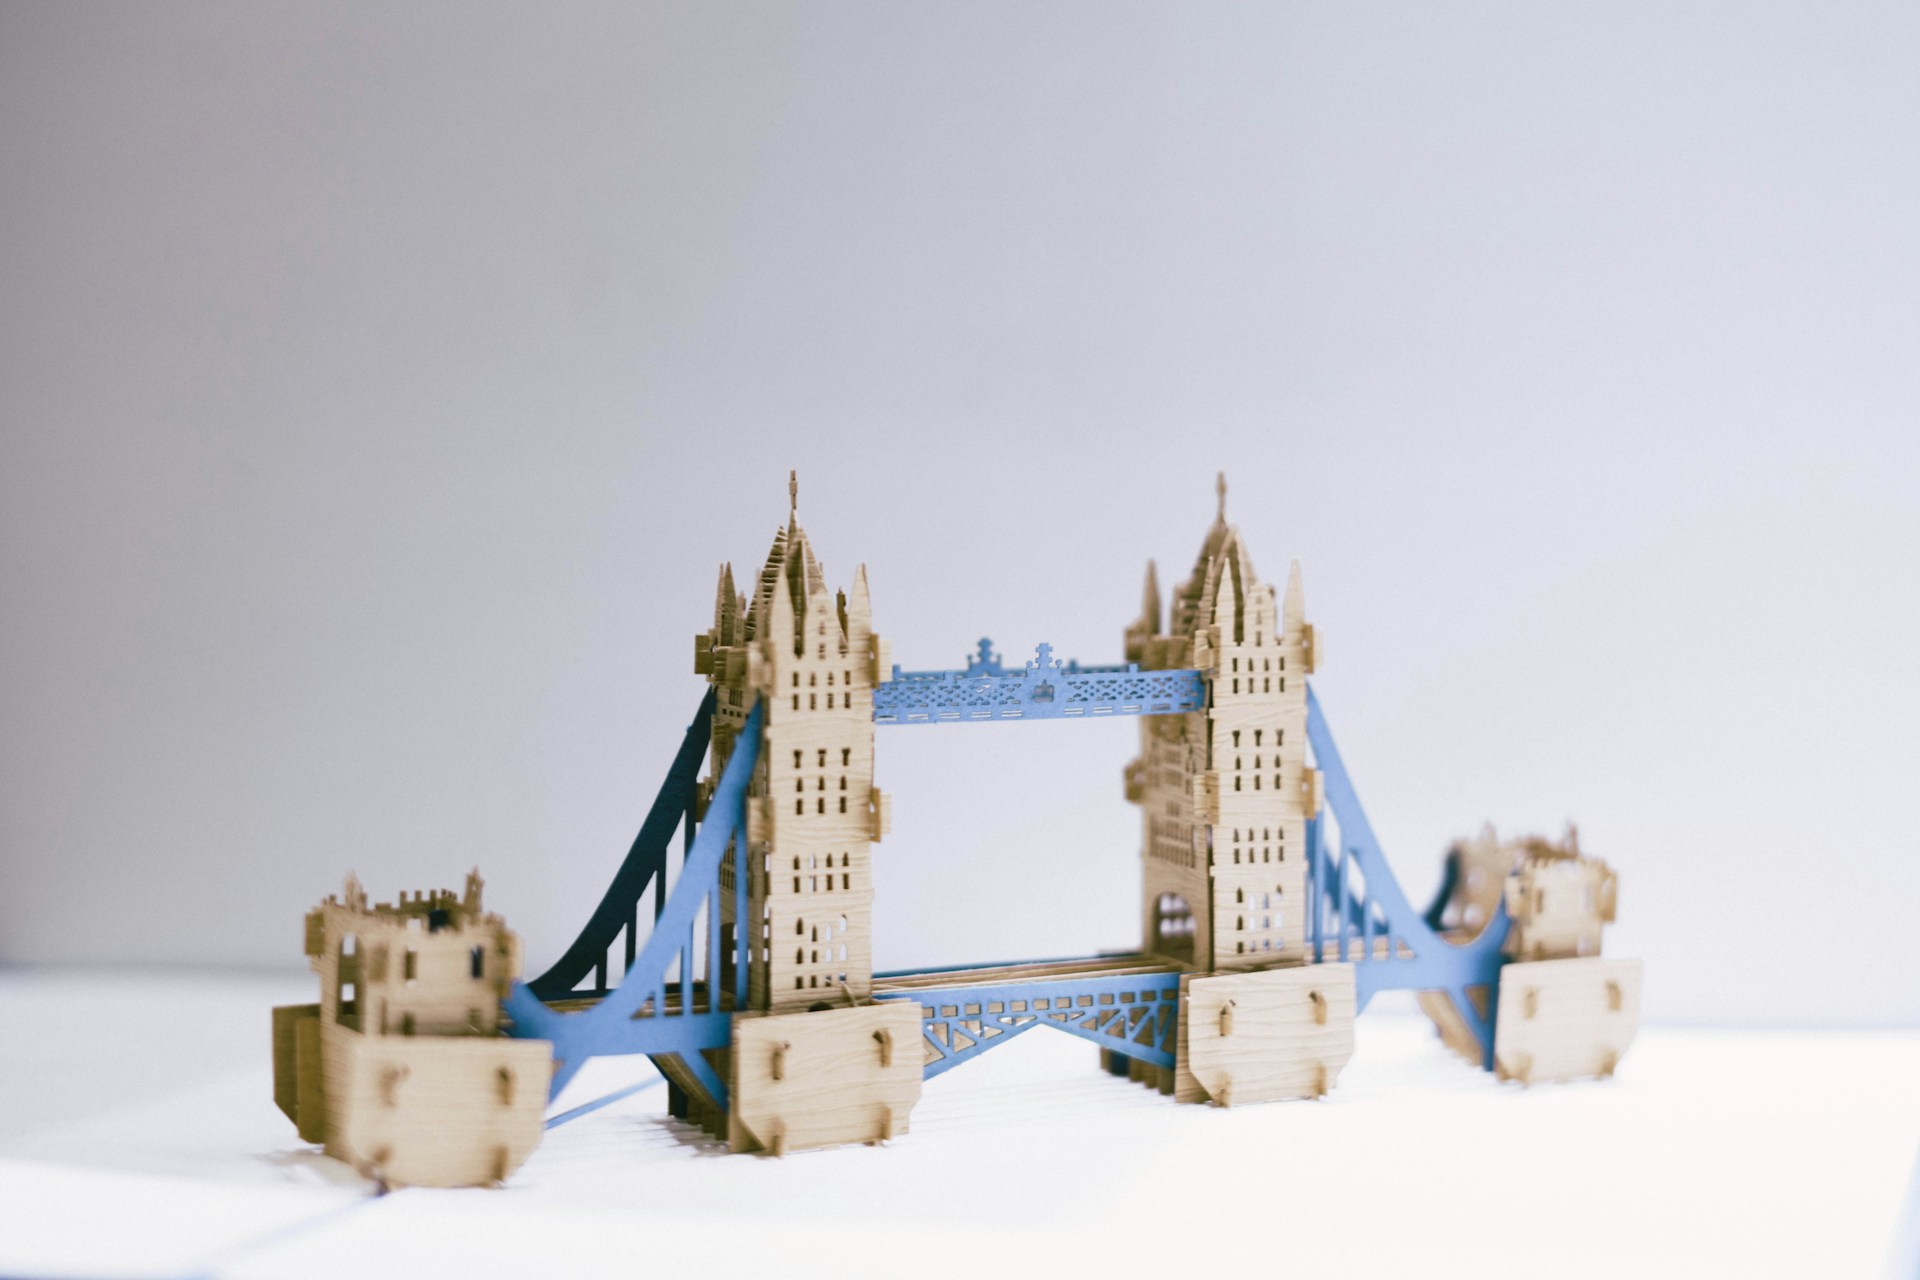
Some paper artists cut whole landmarks that unfold from a card, like this famous bridge with towers, walkways and tiny windows. These cards are a favorite souvenir for travelers, and they make people lean in close to see every detail. You can start with a simpler version of your own town hall, a lighthouse or a favorite bridge. Draw the outline, cut a few windows and let it stand on a step. Which building would you pick?
You will need: Thick white or cream card stock, a printed outline of a building, a cutting mat, a craft knife used by an adult, a ruler and glue.
How to make it: 1. Trace the building outline on card stock. 2. Have an adult cut out the windows and edges. 3. Fold a base step in the card fold and glue the building to its front.
A Detailed Kirigami Scene
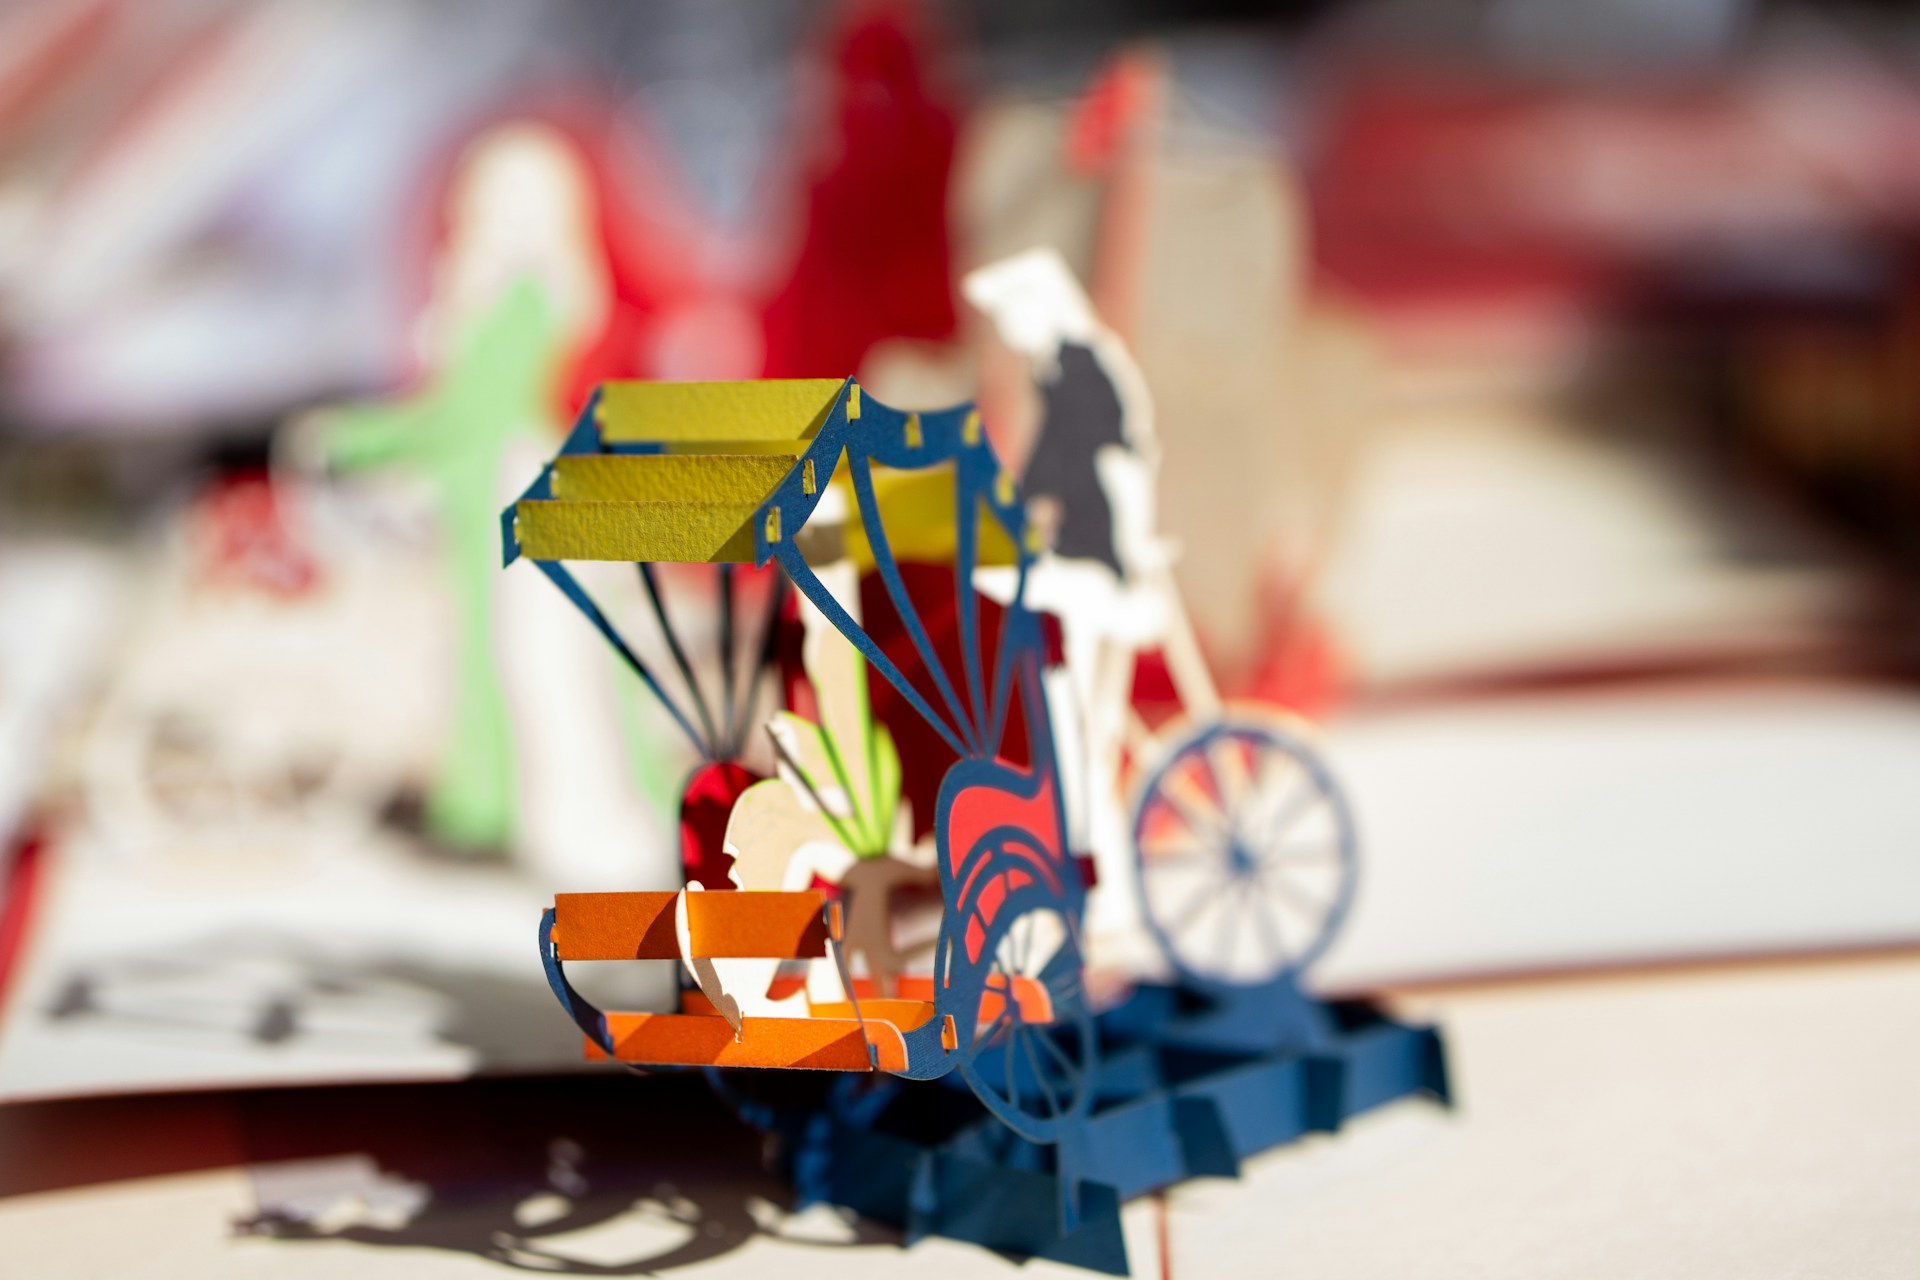
Kirigami is the art of cutting and folding paper, and the best pop up cards look like little worlds. In this one, a colorful bicycle cart rolls out with layers of flowers, wheels and shadows behind it. It takes patience, but the result is a keepsake people never throw away. If you are new, try one small object first, like a wheel or a flower, and add one layer at a time. Could you see yourself trying this?
You will need: Colored card stock, a cutting mat, a craft knife used by an adult, a fine pencil, a ruler, glue dots and tweezers.
How to make it: 1. Sketch a simple scene on paper and split it into front, middle and back layers. 2. Have an adult cut each layer carefully. 3. Glue each layer onto its own step in the card fold, back layer first.
Pop Up Card Ideas Finale: Layered Winter Village
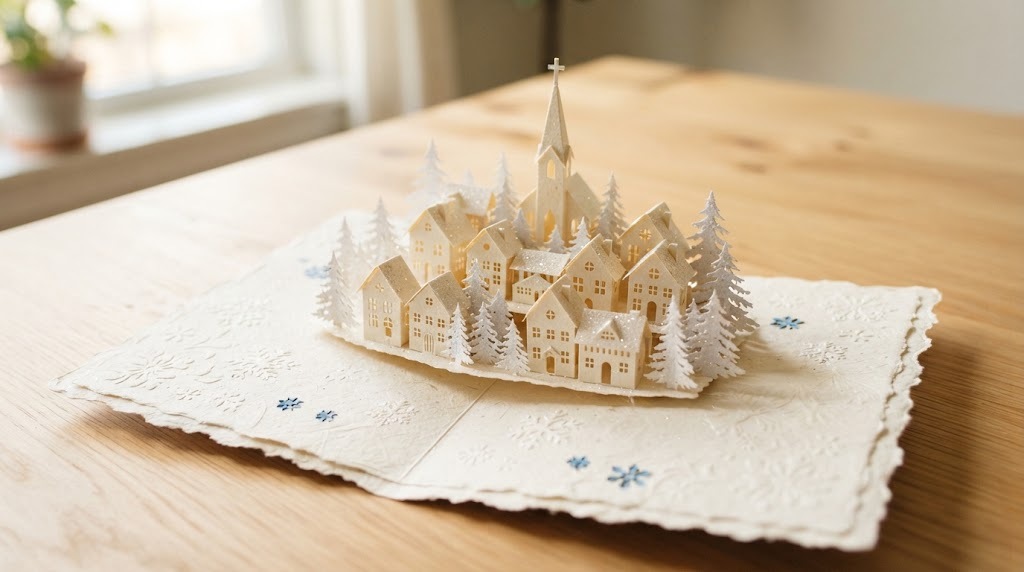
Save the most dazzling of these pop up card ideas for last. A whole winter village rises in layers, with little houses, snowy trees and a church steeple in the back. It takes more time, but it becomes a keepsake that people bring out every year. Add a bit of glitter to the roofs for snow. If you enjoyed this, you will also love our paper Christmas stars. Will you make one to keep for yourself?
You will need: White and cream card stock, small colored paper scraps, a card base, a pencil, scissors, glue and fine glitter.
How to make it: 1. Cut three steps of different depths into the card fold. 2. Cut rows of small houses and trees for each layer. 3. Glue the tallest row to the back step, the shortest to the front, then add glitter to the roofs.