16 Realistic Clay Crafts So Lifelike People Try to Eat Them
Realistic clay crafts have a funny way of fooling everyone who walks past the kitchen table. You set out a bowl of grapes, apples and strawberries, and somebody always reaches for one before they notice it is made of clay. That little moment of surprise is why these projects are blowing up online, with short clay fruit videos pulling in hundreds of millions of views. The best part is that you do not need fancy skills. Air dry or polymer clay, a few cheap tools, some paint and a bit of patience will get you there. Below you will find lifelike fruit, flowers, tiny houses and sweet gifts you can make in an afternoon. Just keep the fake fruit out of reach of toddlers and pets, since none of it is food safe. Pick your favorite and let’s get our hands a little messy..
Realistic Clay Crafts Fruit Bowl Centerpiece
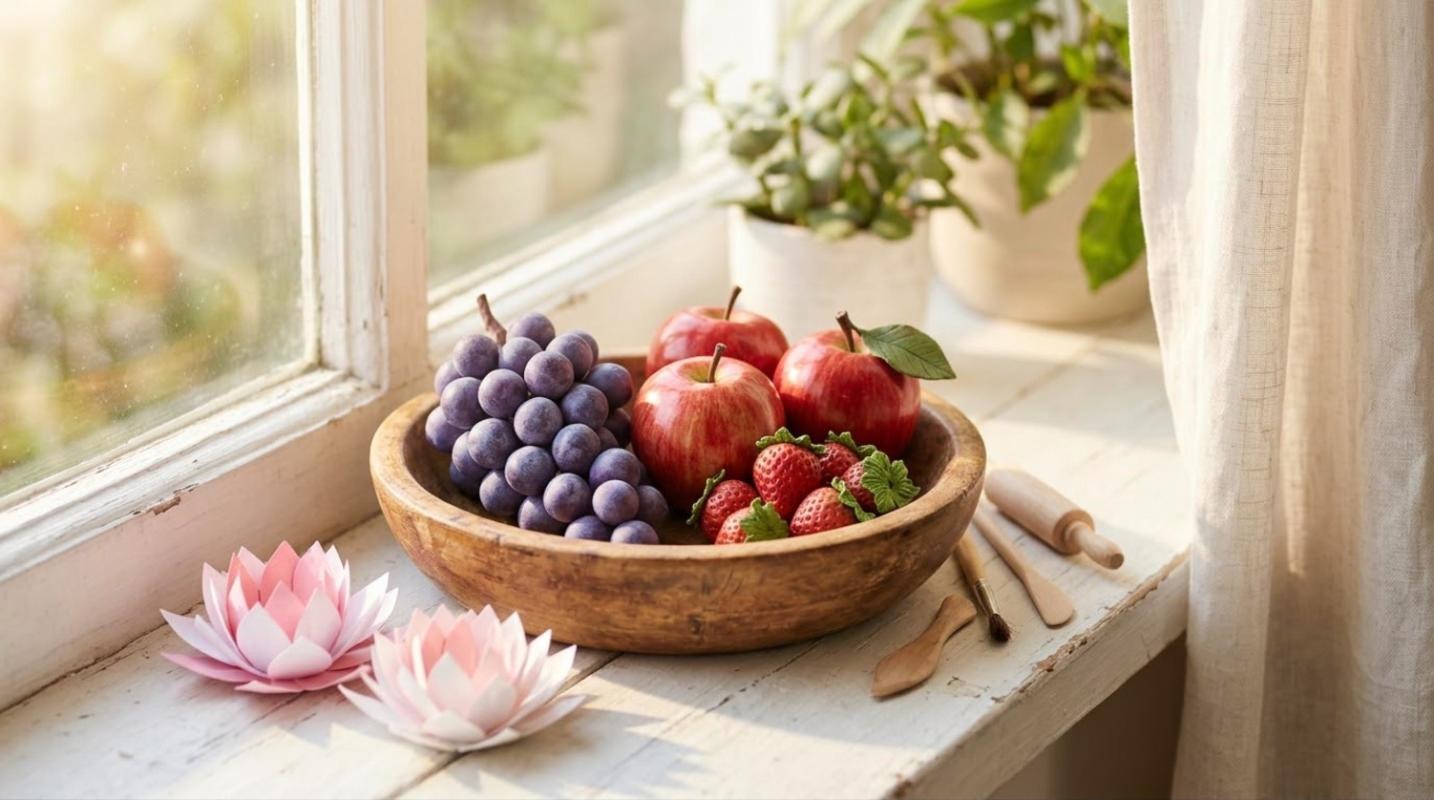
Start with the showpiece. A wooden bowl filled with clay grapes, glossy apples and bright strawberries looks like a fresh farm market haul, and it never spoils. Set it on a sunny windowsill or in the middle of the dining table and watch your guests do a double take. You can build it slowly, adding a new piece of fruit each week as your skills grow. Pair it with a couple of paper lotus flowers for a soft pop of pink, and you have decor that feels warm, homey and a little bit magical..
You will need: a wooden bowl, air dry or polymer clay in red, purple, green and white, acrylic paints, gloss varnish and basic clay tools.
How to make it: 1. Make a few pieces of each fruit using the slides below. 2. Let everything dry or bake fully, then add paint details and a coat of varnish to the apples and strawberries. 3. Place the biggest fruit first, drape the grapes over the edge and fill the gaps with small pieces.
Realistic Clay Grape Bunch
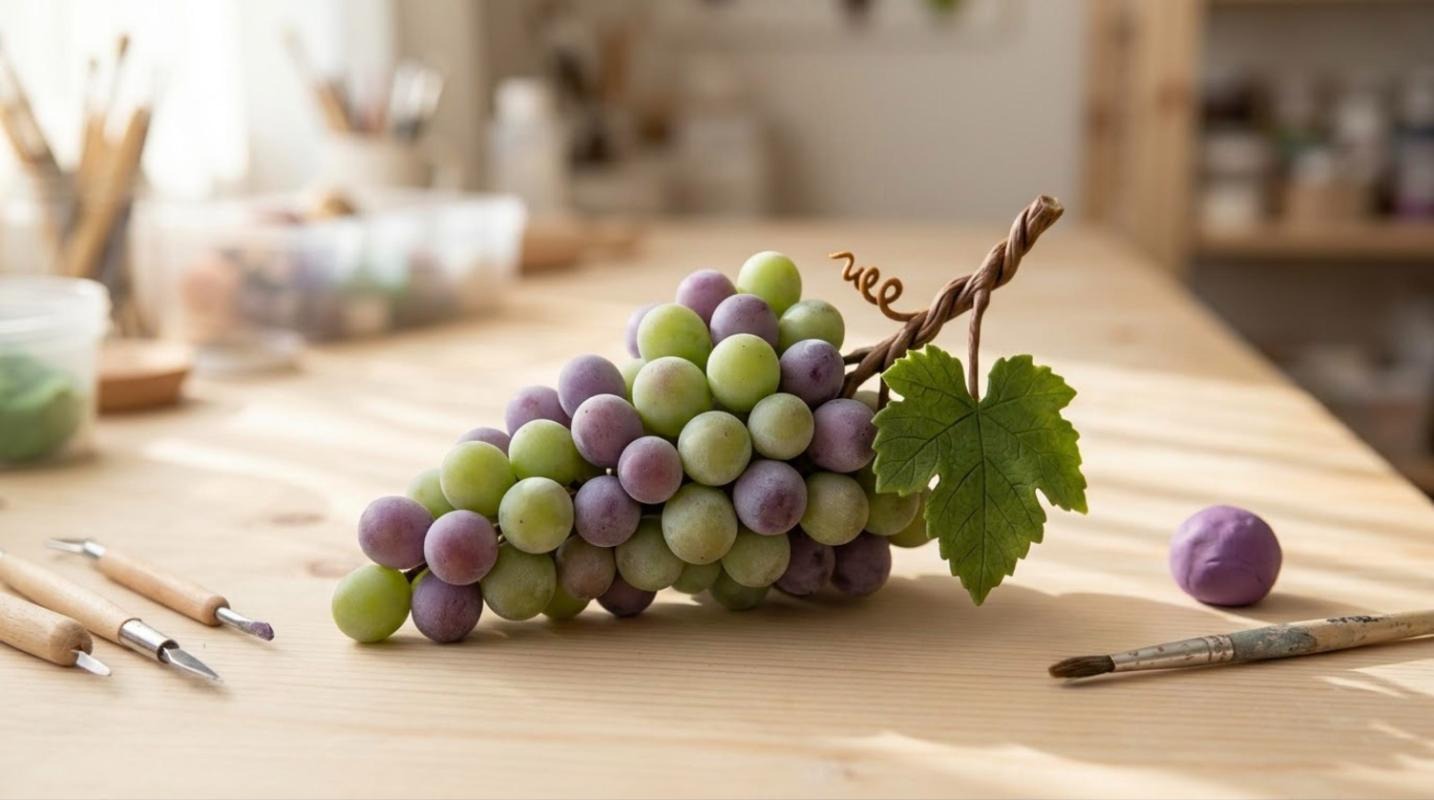
This is the craft that kicked off the whole trend. One short clay grape video from a small craft channel has been watched more than 276 million times in just a few months. The secret is the soft, dusty finish on each grape, which makes them look freshly picked. Mixing a few green and purple grapes in the same bunch adds even more realism. Once you roll the first ten, you will find it oddly relaxing. Which color will your bunch be?
You will need: purple and green clay, brown clay for the stem, floral wire, matte varnish and a little white chalk pastel.
How to make it: 1. Roll 30 to 40 small balls in slightly different sizes. 2. Twist a brown clay stem around floral wire and press the grapes on, starting with the biggest at the top. 3. Add a veined clay leaf, let it dry, then brush on a light dusting of chalk for that natural bloom.
Realistic Clay Apples With a Glossy Shine
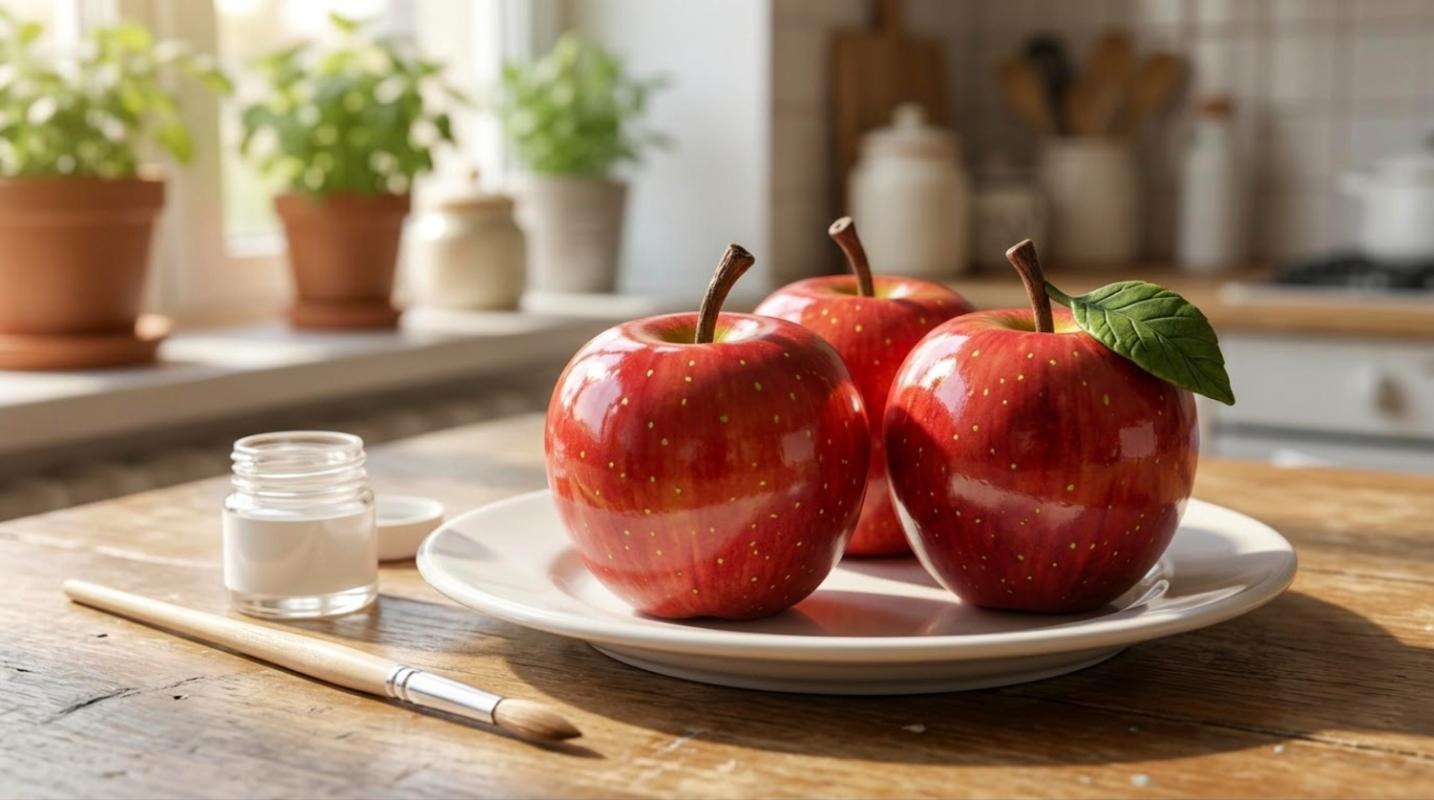
Among all the realistic clay crafts online, apples went viral right alongside the grapes, and it is easy to see why. A glossy red apple with a tiny brown stem looks good enough to pack in a lunch box. The trick is layering two shades of red and adding a few tiny speckles, just like real fruit. A coat of gloss varnish gives that just washed shine. Make three for a bowl, or one big apple as a gift for a favorite teacher. Who in your life would love a forever apple?
You will need: red and yellow clay, a brown clay scrap, green clay for the leaf, a toothpick, acrylic paint and gloss varnish.
How to make it: 1. Blend a little yellow into red clay, roll a ball and press a dent in the top and bottom. 2. Add a rolled brown stem and a small leaf with toothpick veins. 3. Once dry, dab on darker red blush and tiny yellow dots, then seal with gloss varnish.
Realistic Clay Strawberries That Look Freshly Picked
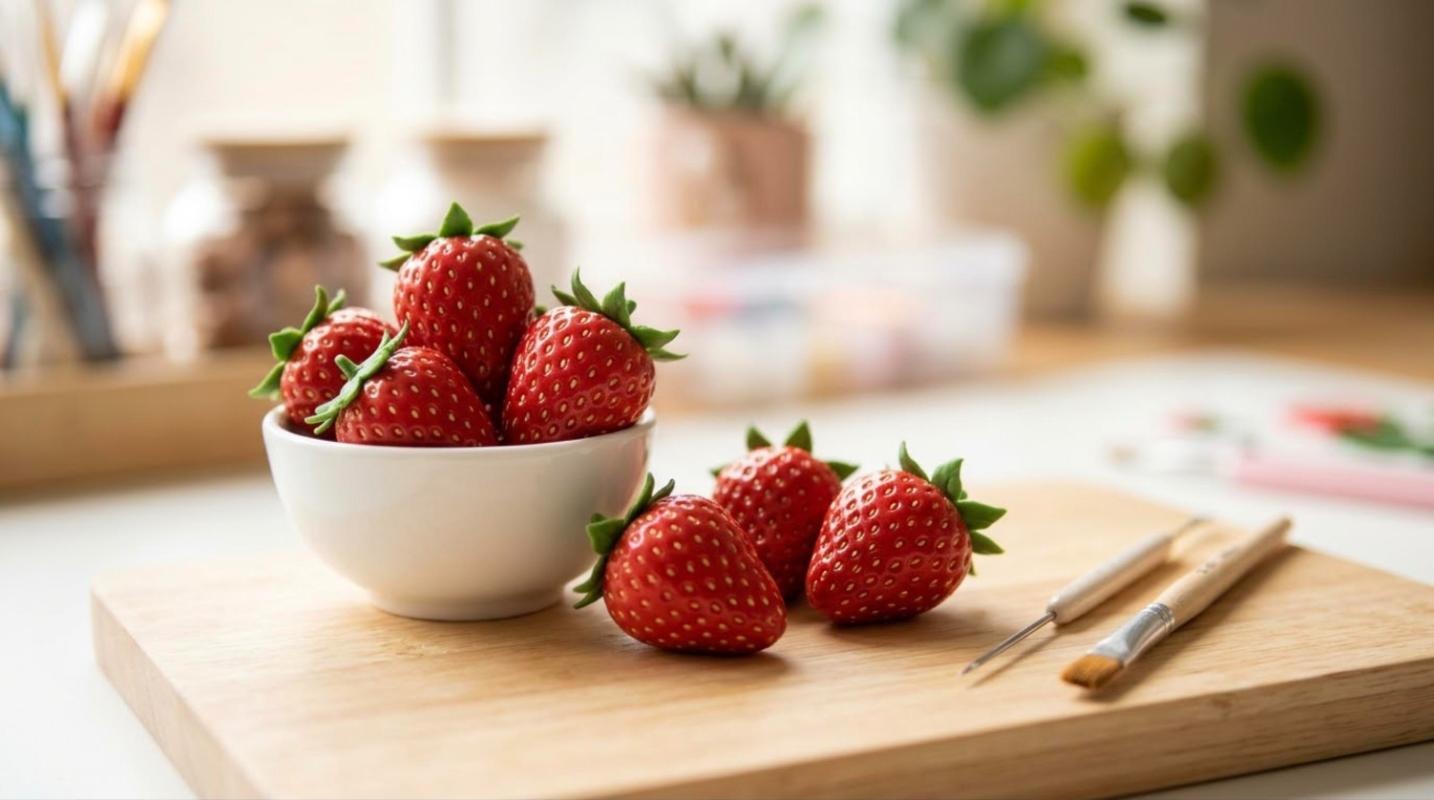
Tiny clay strawberries might be the most satisfying of all realistic clay crafts. Each one takes only a few minutes, and the little seed dimples make them look surprisingly real. Pile them in a small bowl, tuck them into your fruit centerpiece or turn them into charms for a key ring. Kids love helping with the seeds, so this is a sweet project to share with grandkids at the kitchen table. Want to make a whole basket?
You will need: red clay, green clay, a ballpoint pen tip or needle tool, pale yellow paint and gloss varnish.
How to make it: 1. Roll red clay into a ball, then gently shape one end into a soft point. 2. Poke small dimples all over with the needle tool and add a flat star of green clay on top. 3. When dry, dot pale yellow paint into each dimple and finish with gloss varnish.
Realistic Clay Lemon Slices
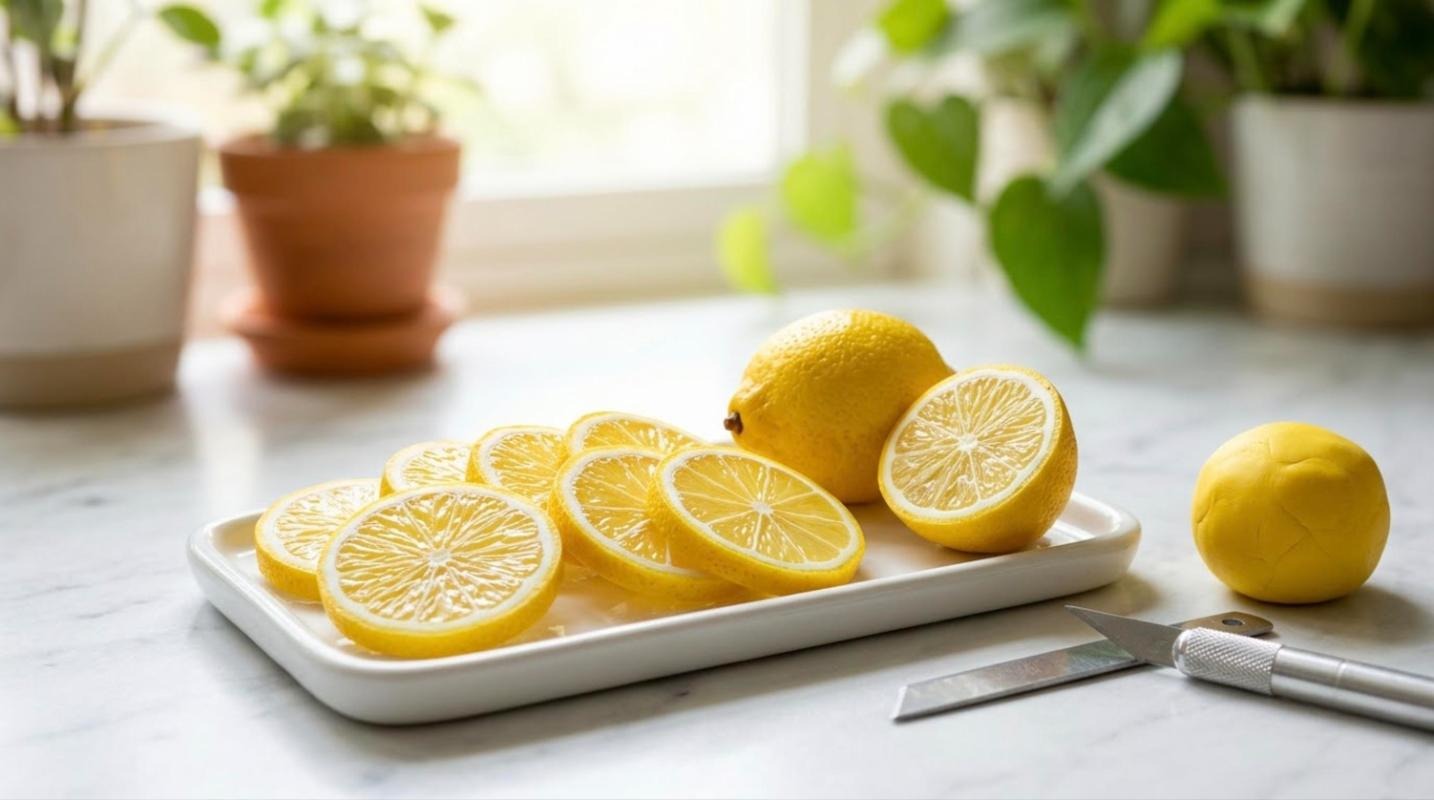
Clay lemon slices are bright, realistic clay crafts that bring instant sunshine to any shelf. When you cut a cane of layered clay, every slice shows bright little segments that look wet and juicy. They are lovely on a tray, glued onto a picture frame or scattered around a summer table setting. You can use the same method for oranges and limes, so one afternoon can give you a whole citrus collection. Which fruit would you slice first?
You will need: yellow, white and translucent clay, a clay blade, gloss varnish and a little fine sand or salt for texture.
How to make it: 1. Shape translucent yellow wedges, wrap each in a thin white sheet and arrange them in a circle. 2. Wrap the circle in white and then yellow clay to make the peel, and roll it into a long cane. 3. Ask an adult to cut slices with the blade, texture the inside, dry and add a glossy finish.
Glossy Clay Cherries
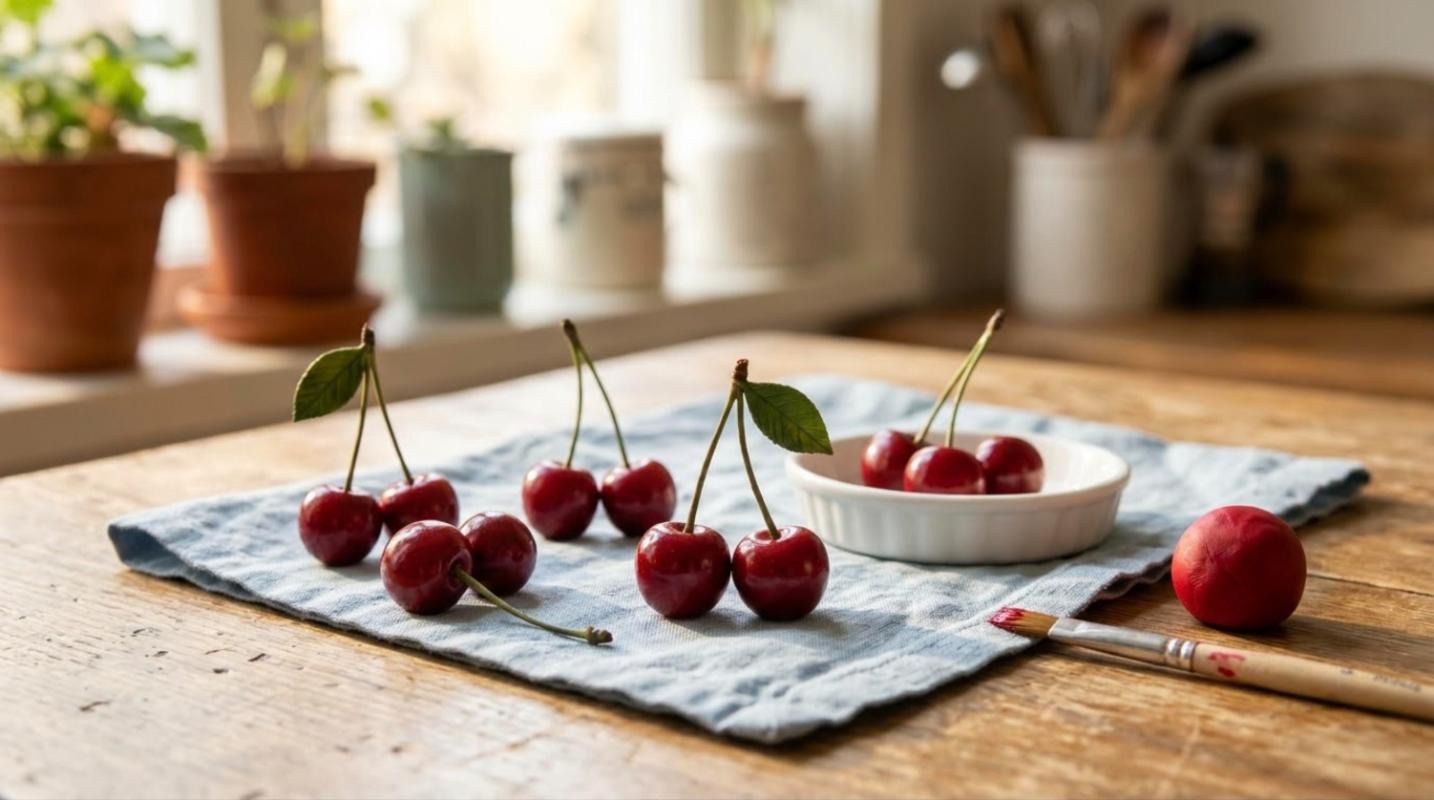
A pair of shiny clay cherries joined at the stem is one of the cutest things you can make with a pinch of clay. They take almost no time, which makes them perfect for beginners or for a quick craft break. Hang a pair on a mini jar, add them to a hair clip or drop a few into your fruit bowl to fill the gaps. A deep red with a little shine makes them look ready to pick. Would you keep them or gift them?
You will need: deep red clay, a little brown clay, thin floral wire, green clay for the leaf and gloss varnish.
How to make it: 1. Roll two small red balls and press a tiny dent in the top of each. 2. Cover a bent piece of wire with brown clay and push one end into each cherry. 3. Add a small leaf where the stems meet, let it dry and brush on a glossy coat.
Clay Mini Pumpkins Trio
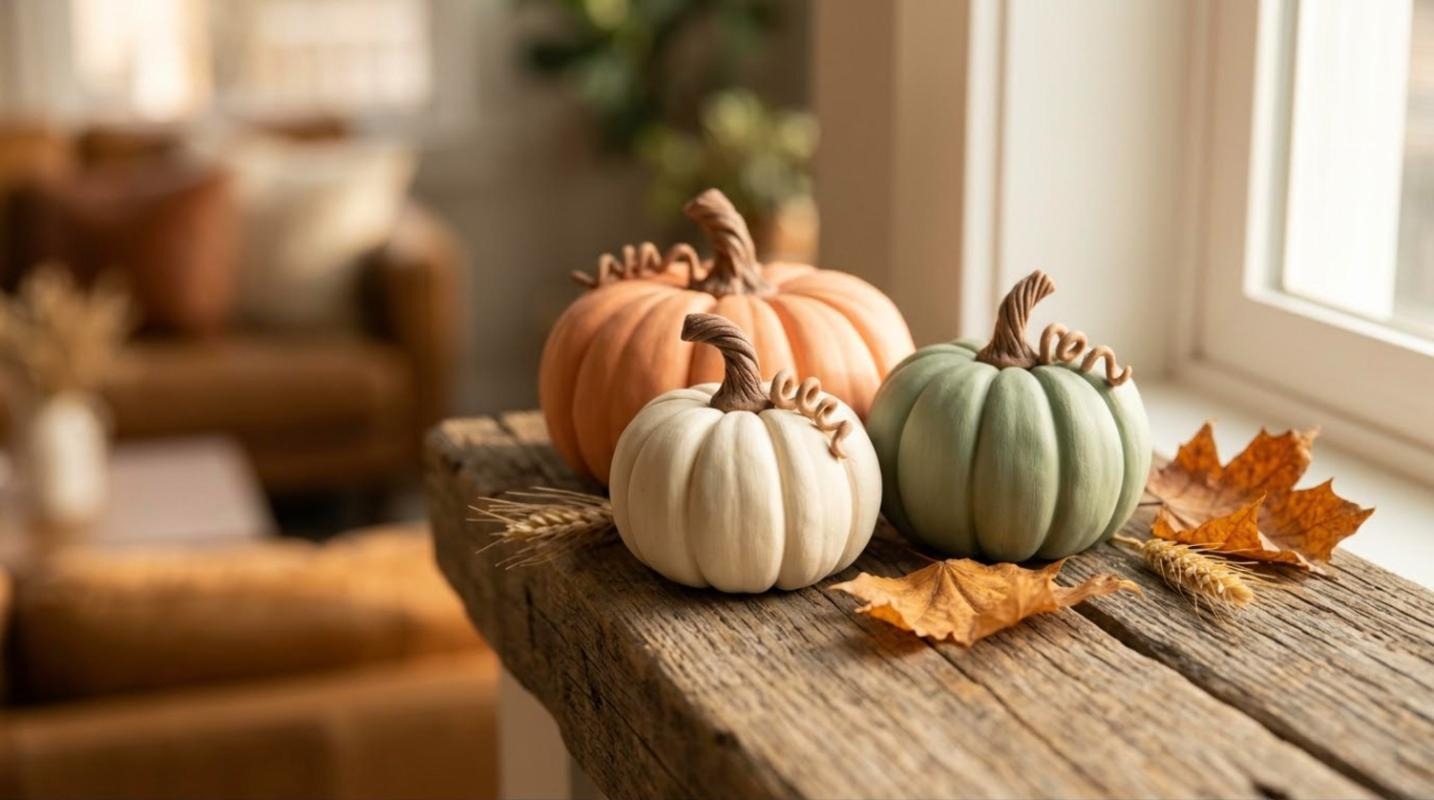
Fall is the perfect time for realistic clay crafts like this trio of mini pumpkins. Their soft ribs and curly vines look just like the little pumpkins at the farm stand, but these last year after year. Make one orange, one cream and one sage green for a calm, cozy look on your mantel or entry table. Kids can roll the basic balls while you add the fine details. Where would your little pumpkin family sit this season?
You will need: orange, cream and sage clay, a little brown clay, a toothpick, a pencil and matte varnish.
How to make it: 1. Roll each pumpkin into a slightly flat ball and press lines from top to bottom with the toothpick. 2. Push a small brown stem into the center and wrap a thin rope of clay around a pencil to make a curly vine. 3. Let them dry and seal with matte varnish for a natural finish.
Realistic Clay Succulents in a Mini Pot
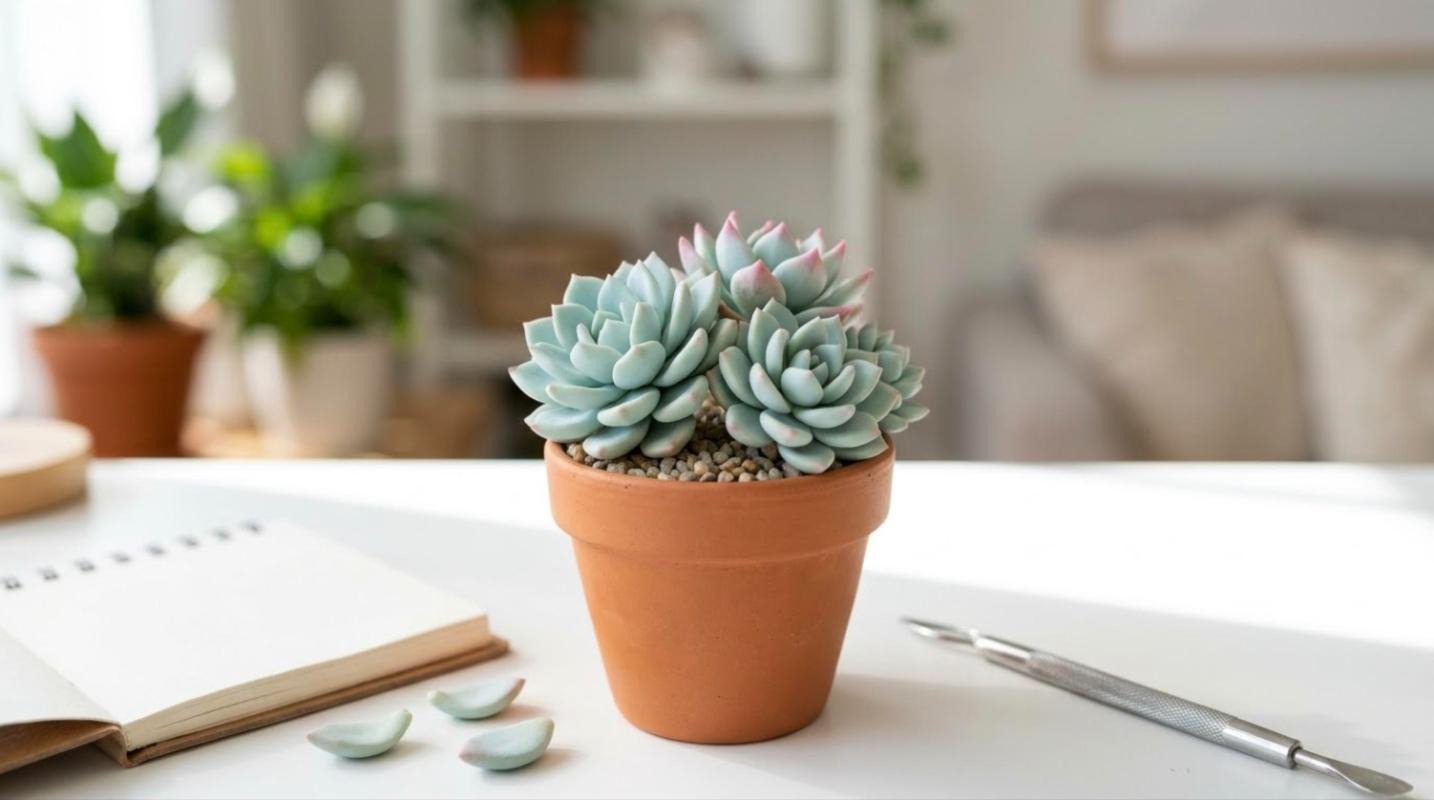
If you cannot keep real plants alive, clay succulents are your new best friend. They never need water, they never drop leaves and they still look fresh on a sunny desk. Shape the leaves one by one, then build them into a little rosette that looks like it is still growing. A tiny terracotta pot or a painted bottle cap makes the perfect home. They are some of the easiest realistic clay crafts for beginners, too. They also make lovely little gifts for coworkers. Who on your list needs a plant that never dies?
You will need: green clay in two shades, a little pink clay, a small pot, a scrap of foam and some fine gravel or sand.
How to make it: 1. Shape small teardrop leaves and gently curve each one. 2. Press the leaves in rings around a small clay center, adding a soft pink tip to a few. 3. Fill the pot with foam, top with gravel and set the dry succulent in place.
Realistic Clay Mushroom Figurines
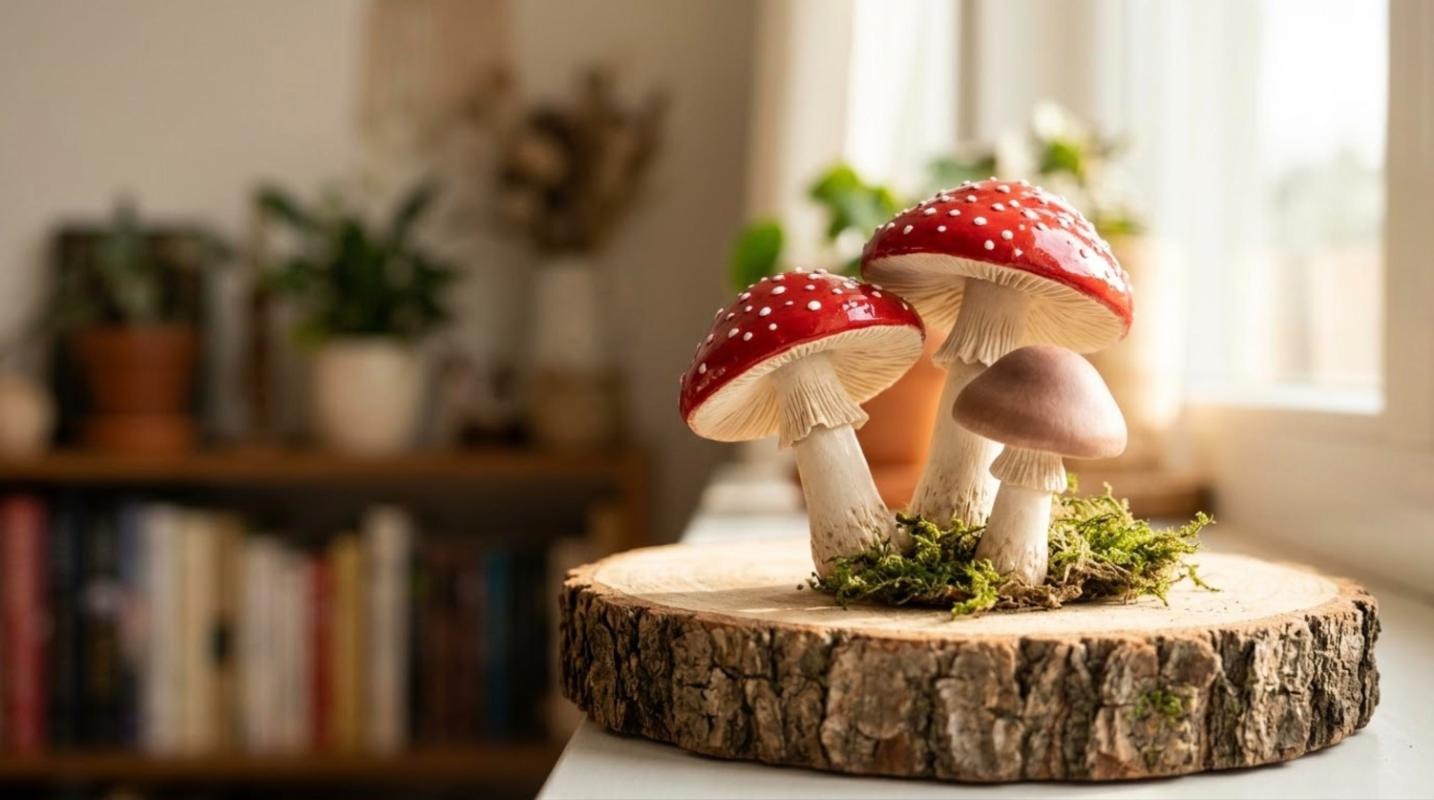
Little clay mushrooms add a fairy tale feel to bookshelves and plant pots. Red caps with white dots are the classic, but soft brown and cream ones look just as sweet and even more real. Group them in threes on a slice of wood, or tuck them into a houseplant for a fun surprise. Like most realistic clay crafts, this is a great way to use up clay scraps. How many different mushrooms can you make from one small block?
You will need: red, white and brown clay, a toothpick, acrylic paint and matte varnish.
How to make it: 1. Roll a thick white stem and flatten the bottom so it stands up. 2. Shape a dome cap, press lines underneath with the toothpick and set it on the stem. 3. Once dry, paint white dots on red caps and seal everything with matte varnish.
Folded Paper Lotus Flowers
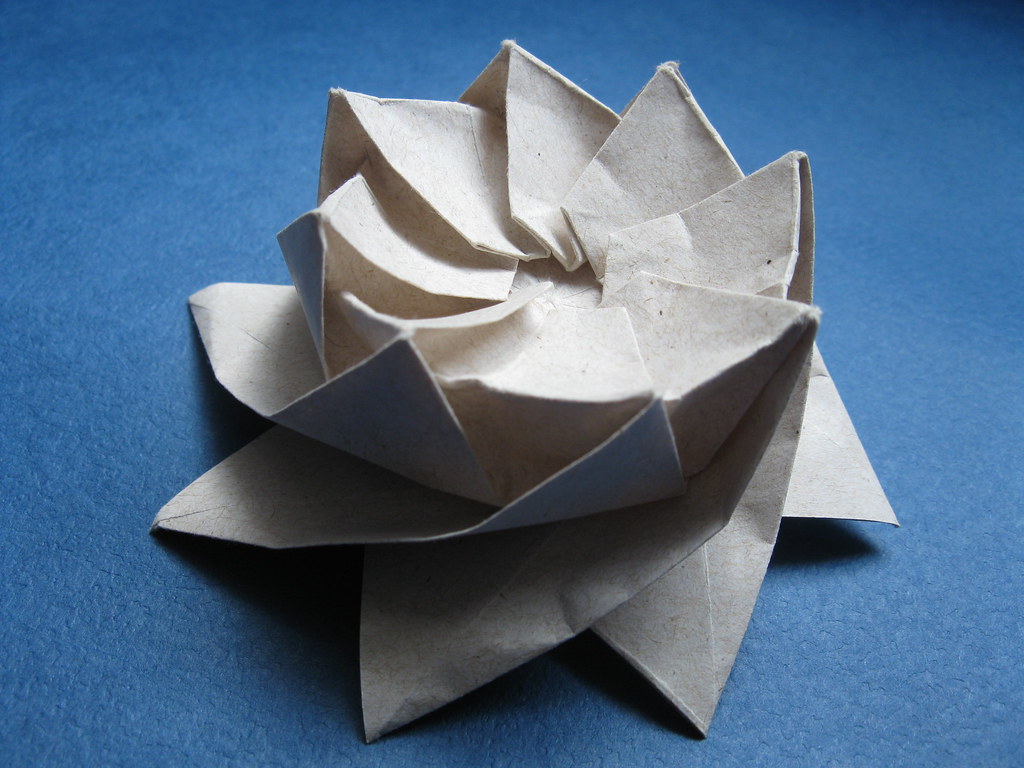
Not every lifelike craft needs clay. A folded paper lotus has layers of pointed petals that open just like the real flower. Place one next to your clay fruit bowl for a soft splash of color, or set it on top of a battery LED tea light for a gentle glow. If you love cozy lighting ideas, you will also enjoy these mason jar crafts that turn simple jars into lamps. Ready to try your first fold?
You will need: square sheets of pink and white paper, a ruler, a bone folder or spoon and a little glue.
How to make it: 1. Fold all four corners of a square to the center, then repeat two more times. 2. Flip it over, fold the corners in once more and press every crease firmly. 3. Gently pull each petal layer out from underneath, working from the bottom up.
Easy Ribbon Roses
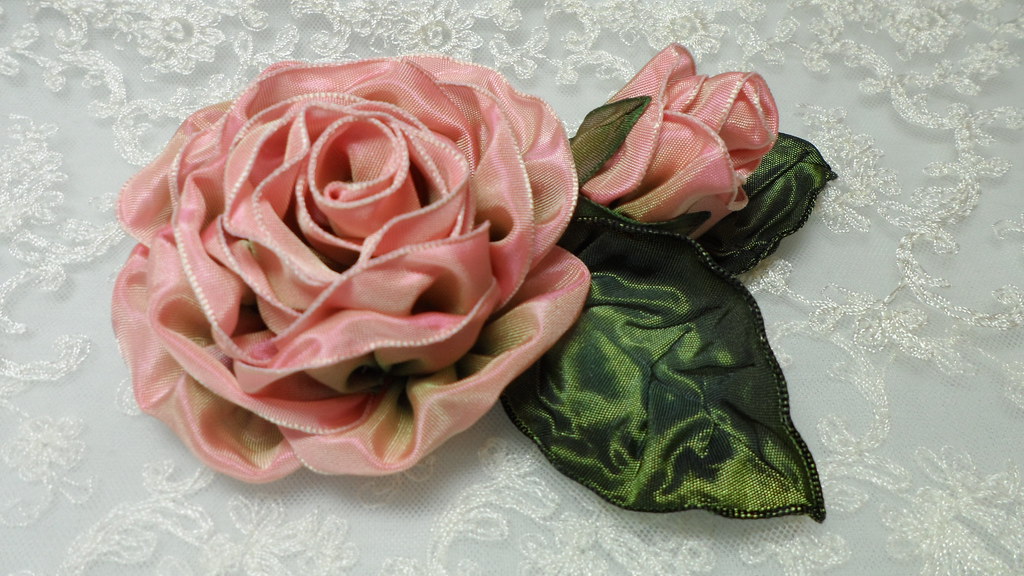
Ribbon roses look so soft and real that people often lean in to smell them. They are made by folding and turning a single strip of satin or wired ribbon, so there is no clay to dry at all. Use them on gift boxes, hair clips, wreaths or a little bouquet that lasts forever. Once you learn the twist and fold, you can make a dozen in an evening while watching TV. What color would you choose for your first rose?
You will need: satin or wired ribbon, a needle and thread, scissors and green ribbon for the leaves.
How to make it: 1. Roll one end of the ribbon a few turns to make a tight center and stitch it in place. 2. Fold the ribbon back at an angle and wrap it around the center, stitching every few turns. 3. Finish with a few green ribbon leaves at the base.
Clay Mini Village House
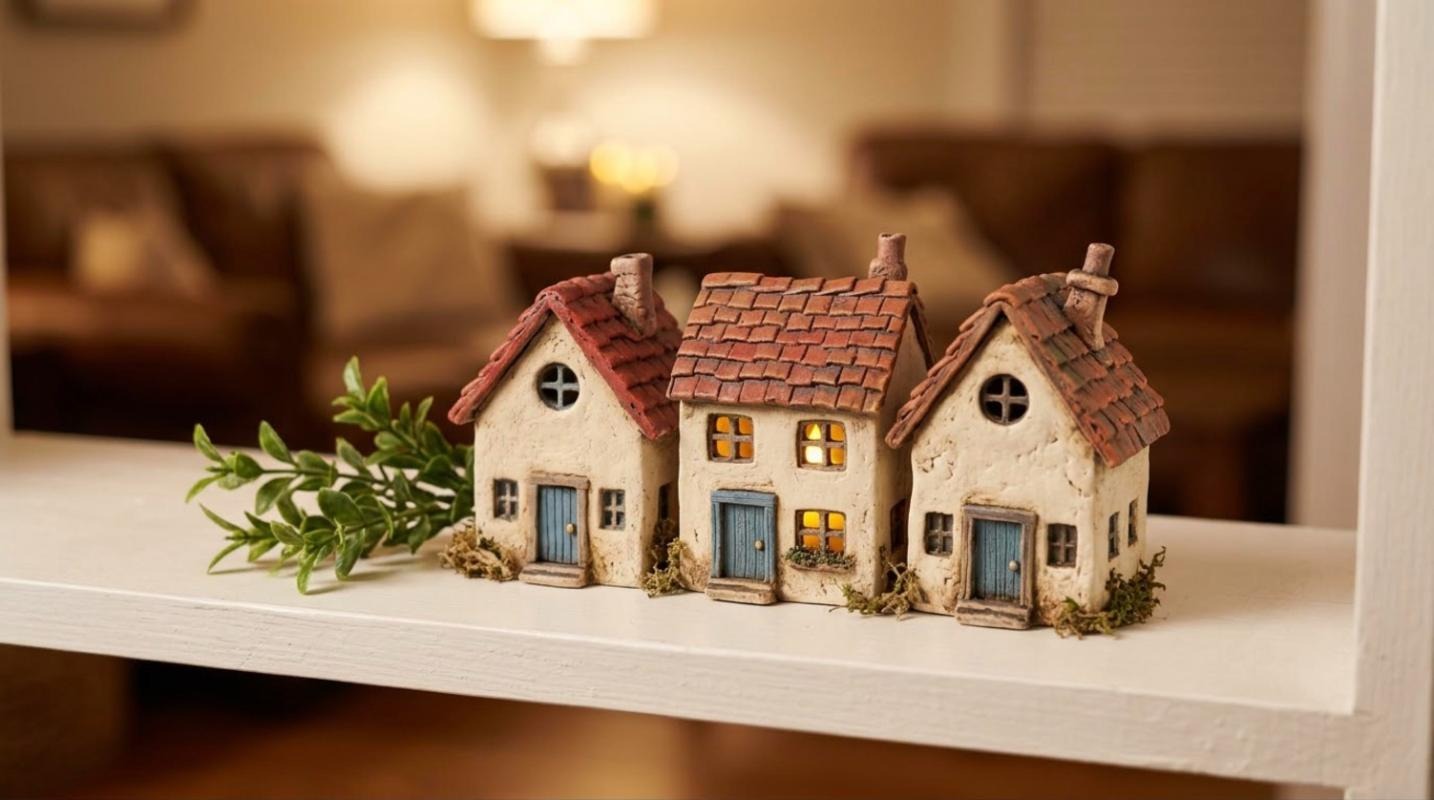
Realistic clay crafts do not have to be food. A tiny clay house with a red roof and little round windows feels like something out of a storybook. Make one, then make another, and soon you have a whole village lined up on a shelf. Leave a small opening at the back and you can set a battery LED tea light inside for a warm glow on cozy evenings. Each house can have its own door color and roof shape, which makes them fun to collect. What would you name your little town?
You will need: white or cream clay, terracotta clay for the roof, a clay blade, a straw for windows, acrylic paint and a battery LED tea light.
How to make it: 1. Shape a solid block for the house and press a door and windows with the straw and blade, with an adult helping on the cutting. 2. Add a pointed roof with pressed tile lines and a tiny chimney. 3. Let it dry, paint the details and place the LED light behind it.
Clay Tic Tac Toe Board
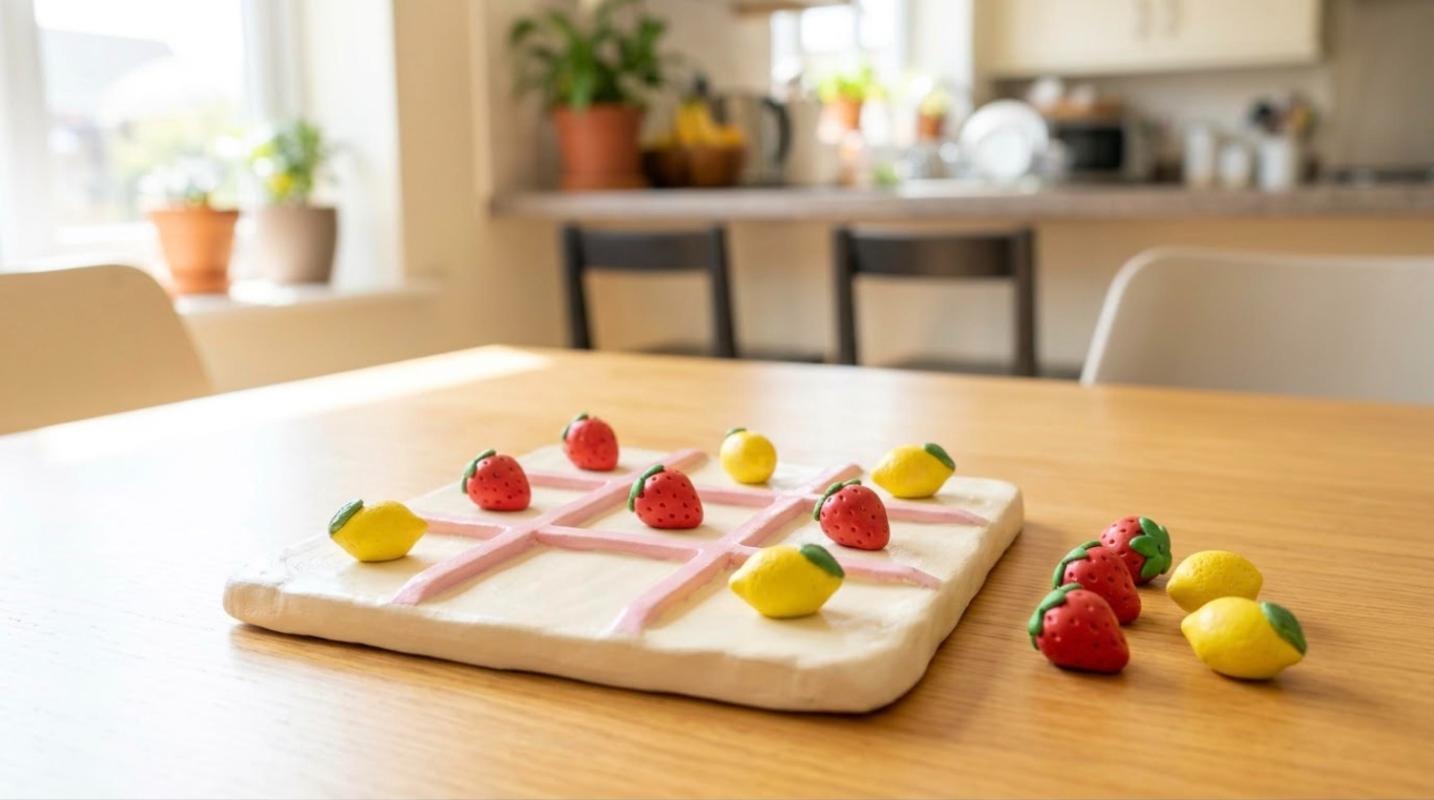
Clay tic tac toe sets have become a huge hit online, with one short video pulling in about 200 million views. It is easy to see the appeal. You get a cute handmade game that kids actually want to play, and the pieces can be anything you like, from tiny bees and flowers to strawberries and lemons. It also makes a sweet rainy day gift for grandkids. What shapes would you use for your X and O pieces?
You will need: air dry clay, a ruler, a butter knife, acrylic paints and a little matte varnish.
How to make it: 1. Roll a thick square slab and press a three by three grid with the ruler. 2. Shape five pieces of one design and five of another, keeping each piece bigger than a coin. 3. Let it all dry, paint the board and pieces and seal with varnish.
Clay Trinket Dish
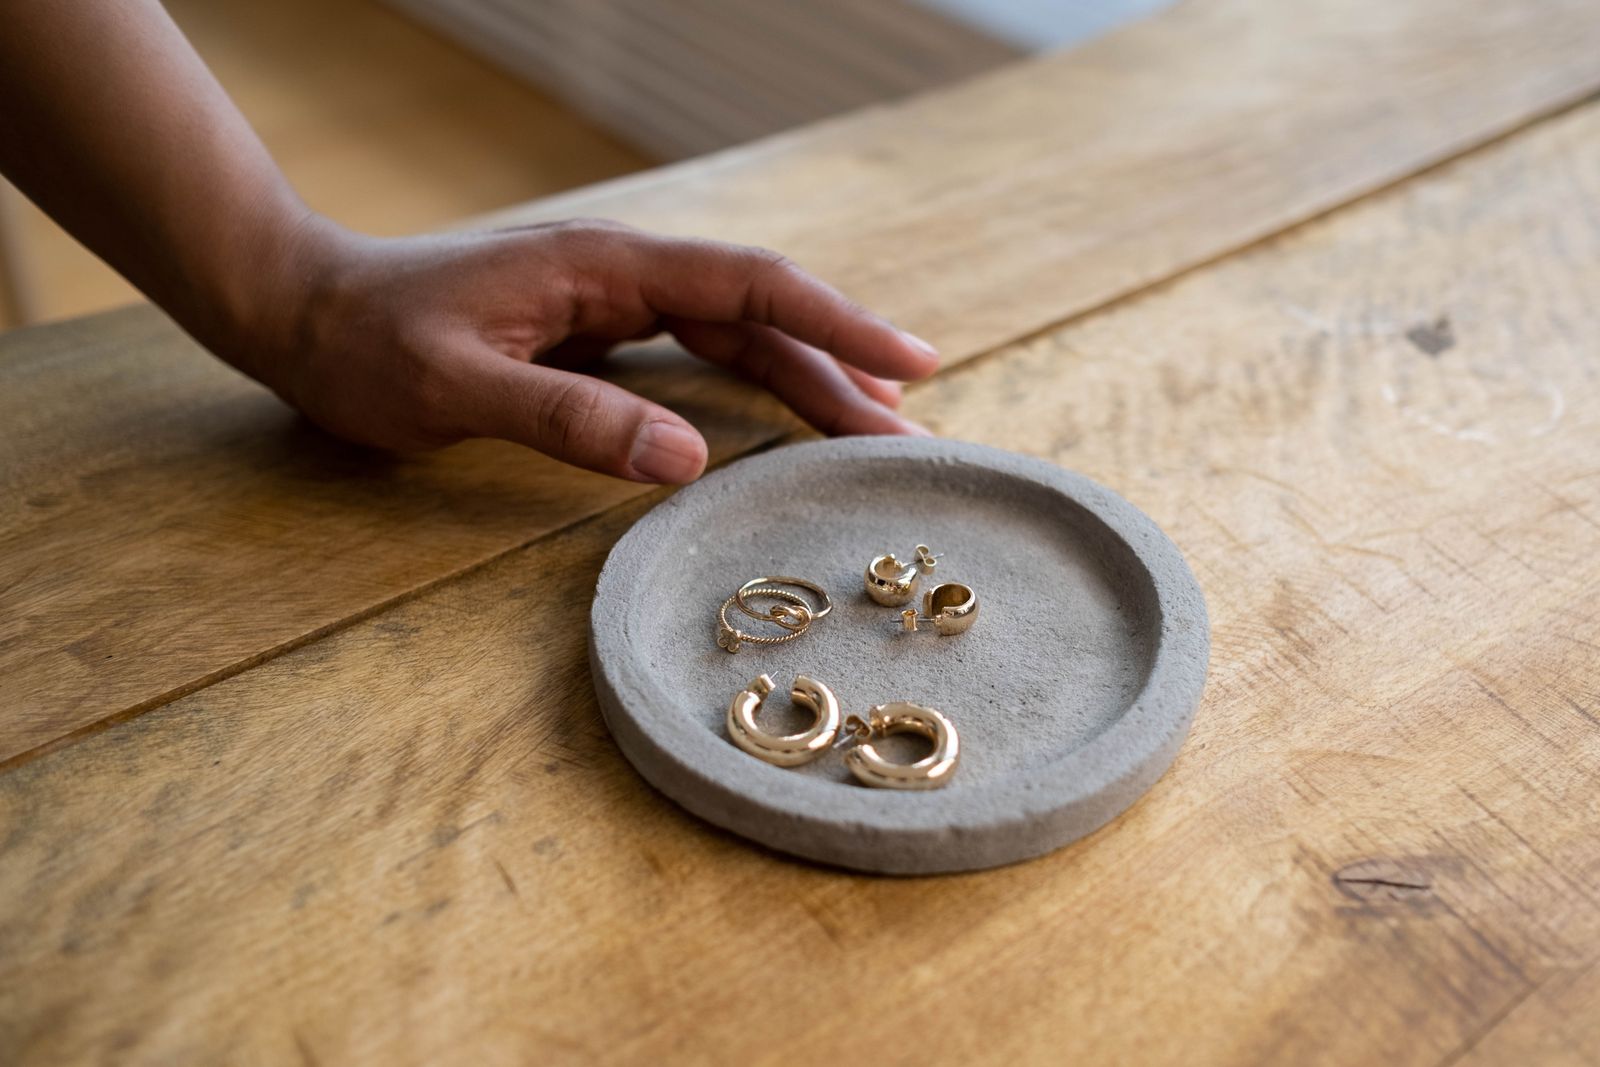
Searches for clay trinket dishes keep climbing, and they might be the most useful of all the realistic clay crafts here. A small dish by the sink or on your nightstand keeps rings, earrings and keys in one safe spot. Press a leaf, a lace scrap or a stamp into the clay for a pretty texture, then paint the edge gold for a fancy finish. They make a thoughtful handmade gift for birthdays, too. Who would you make the first one for?
You will need: air dry clay, a rolling pin, a small bowl to use as a mold, a lace scrap or leaf, gold paint and gloss varnish.
How to make it: 1. Roll the clay flat, press in your texture and cut a circle around a small plate. 2. Set the circle inside the bowl so it takes a curved shape and let it dry fully. 3. Sand the edge smooth, paint the rim gold and seal with gloss varnish.
Colorful Clay Bead Bracelets
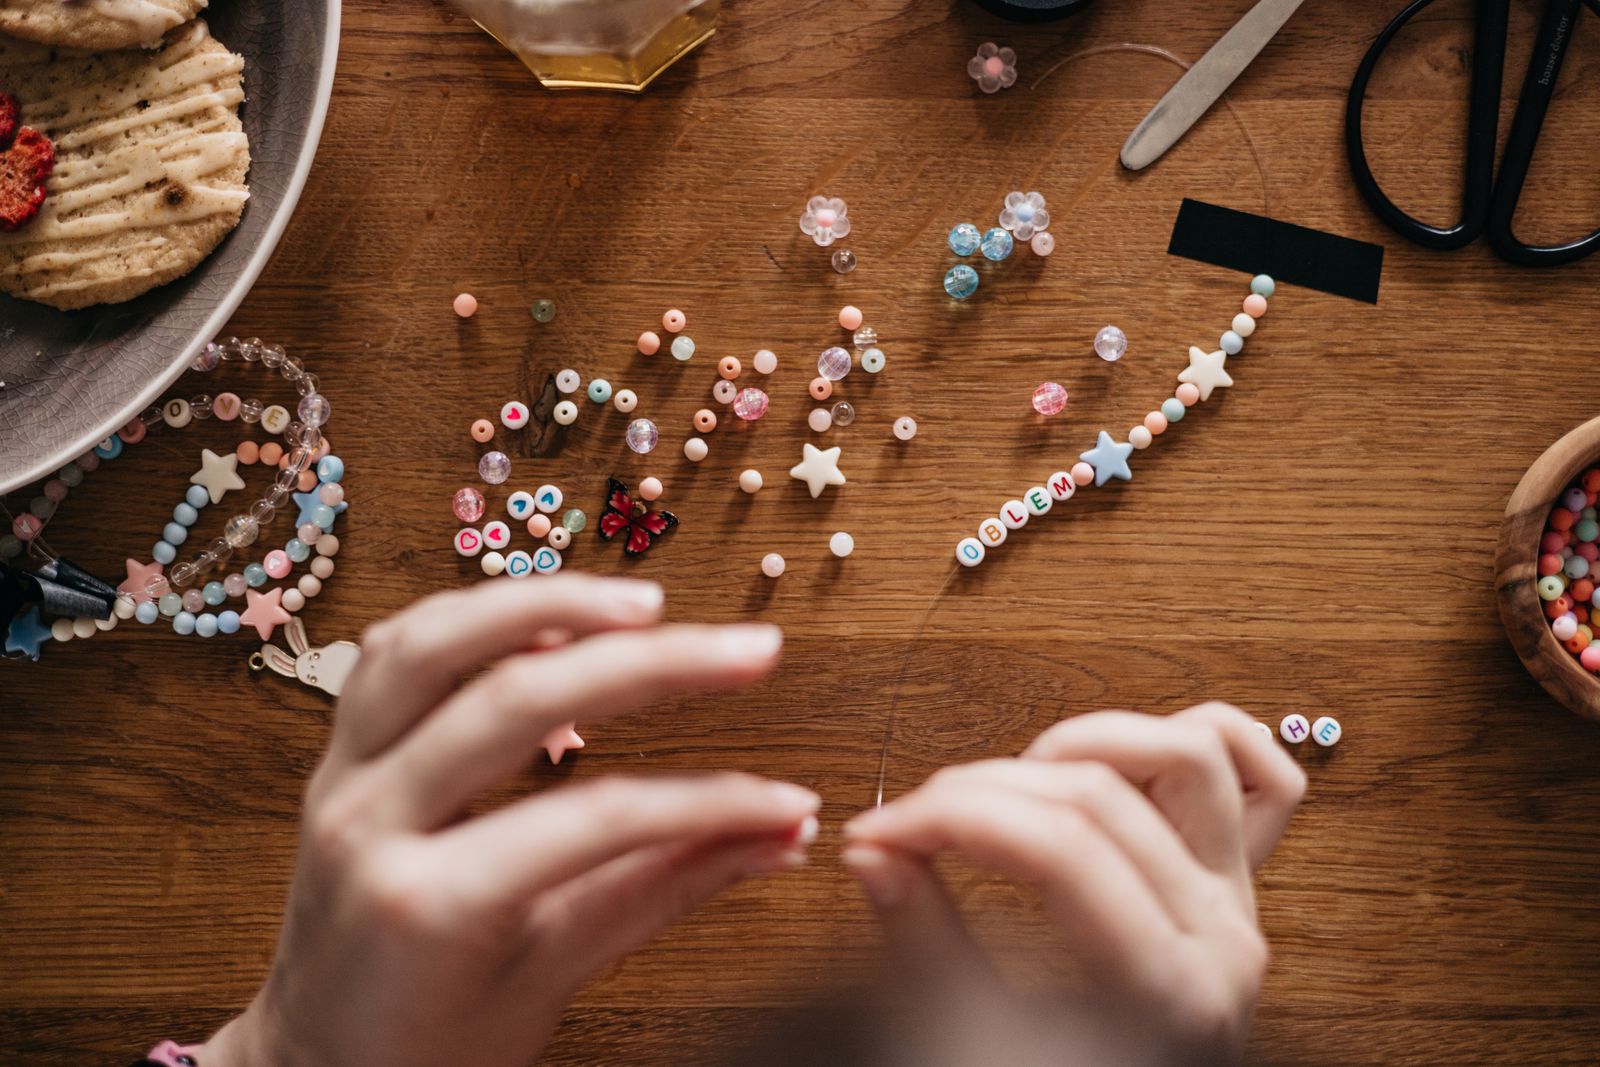
Clay bead bracelets are everywhere right now, from school hallways to summer concerts. Flat round clay beads come in every color you can imagine, and mixing them with a few letter or gold beads makes each bracelet feel personal. This is a wonderful project for a family craft night, since everyone can design their own. Just keep the little beads away from toddlers, since they are small enough to swallow. What word would you spell on yours?
You will need: flat clay beads in many colors, stretchy bead cord, a few gold spacer beads, letter beads and scissors.
How to make it: 1. Cut a piece of stretchy cord a few inches longer than your wrist. 2. Thread your beads in a pattern you like, adding letter beads in the middle. 3. Tie a tight double knot, trim the ends and tuck the knot inside a bead.
Clay Mini Cake Slice Magnets
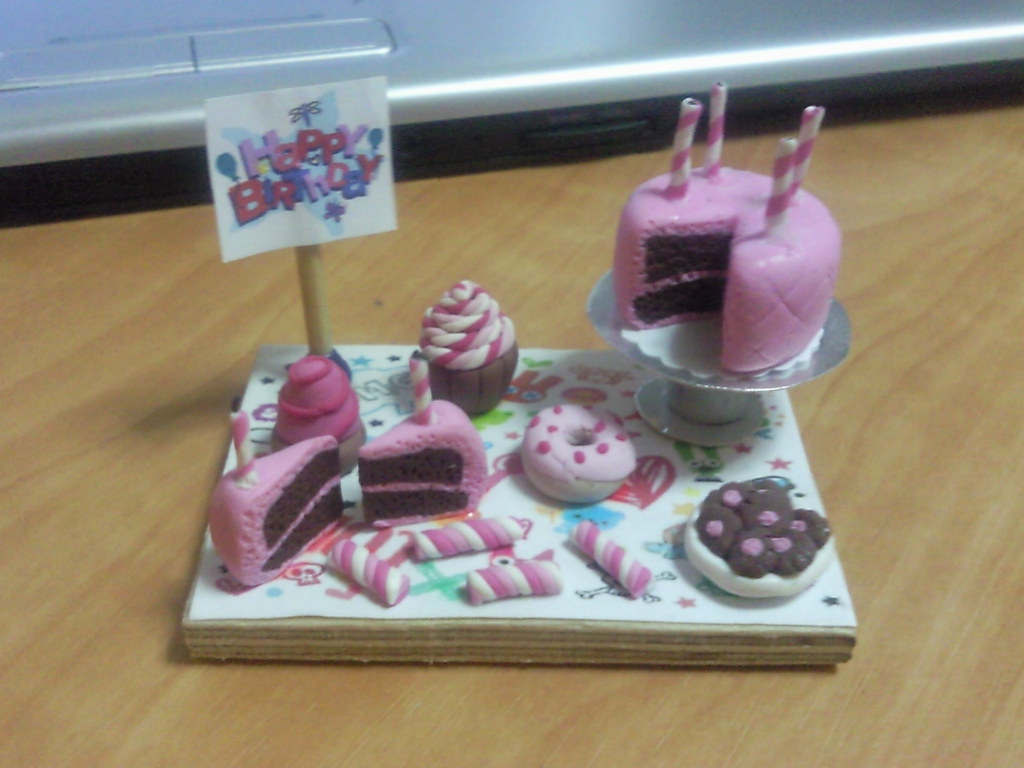
Finish your realistic clay crafts collection with something sweet that has zero calories. Tiny clay cake slices with layers of frosting and a little berry on top look like they came straight from a bakery window. Glue a small magnet to the back and your fridge turns into a mini dessert shop. They are fun to make in matching sets for friends who love to bake. Keep these up high, since small magnets should never be near little kids. Which flavor will you make first?
You will need: white, pink and brown clay, a clay blade, a toothpick, strong craft glue and small round magnets.
How to make it: 1. Stack thin layers of colored clay, press them together and have an adult cut a triangle slice. 2. Add a frosting swirl on top with a toothpick and a tiny clay berry. 3. Let it dry or bake as the package says, then glue a magnet to the back.