17 Clever Cardboard Box Crafts That Look Way Too Good to Be Free
Cardboard box crafts might be the best kept secret in every home right now. Think about it. A box shows up on your doorstep almost every week, and most of them go straight to the recycling bin. But with a little glue, some rope and an afternoon of fun, those plain brown boxes can become baskets, organizers, toys and holiday decor that look like they came from a fancy shop. One simple cardboard craft on Instagram this month pulled in more than 3 million likes, and people cannot stop copying it. The best part is that you already have most of the supplies. Kids can help with the painting and gluing while an adult handles the cutting. Save your next delivery box, because by the end of this list you will want ten more..
Cardboard Box Crafts Start With a Rope-Wrapped Basket
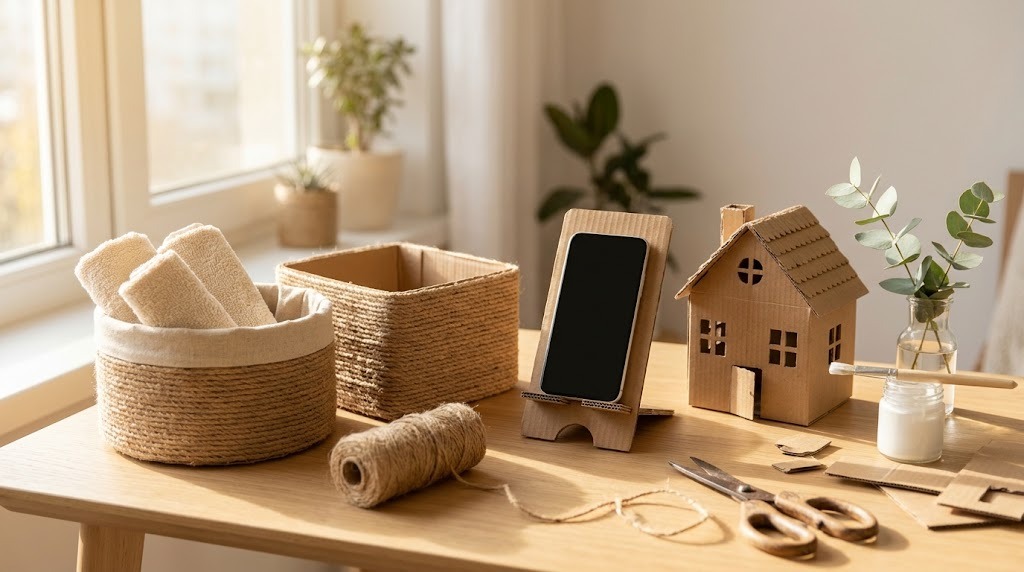
This is the project that makes people ask where you bought your basket. A plain shoebox wrapped in jute rope turns into a warm, textured storage bin that looks right at home on any shelf. It is one of the most popular cardboard box crafts online because it costs almost nothing and looks so expensive. Use it for blankets, toys, mail or bathroom towels. A smaller box makes a cute catch-all for keys by the door. Once you make one, you will be tempted to make a matching set..
You will need: A sturdy cardboard box, jute rope, a hot glue gun (adult use), scissors, a strip of fabric for the inside if you like.
How to make it: 1. Trim the box to the height you want. 2. Starting at the bottom, glue the rope end and wrap it tightly around the box, adding glue every few inches. 3. Keep wrapping until you reach the top edge. 4. Fold rope over the rim or glue fabric inside for a clean finish.
Fold a Simple Cardboard Phone Stand
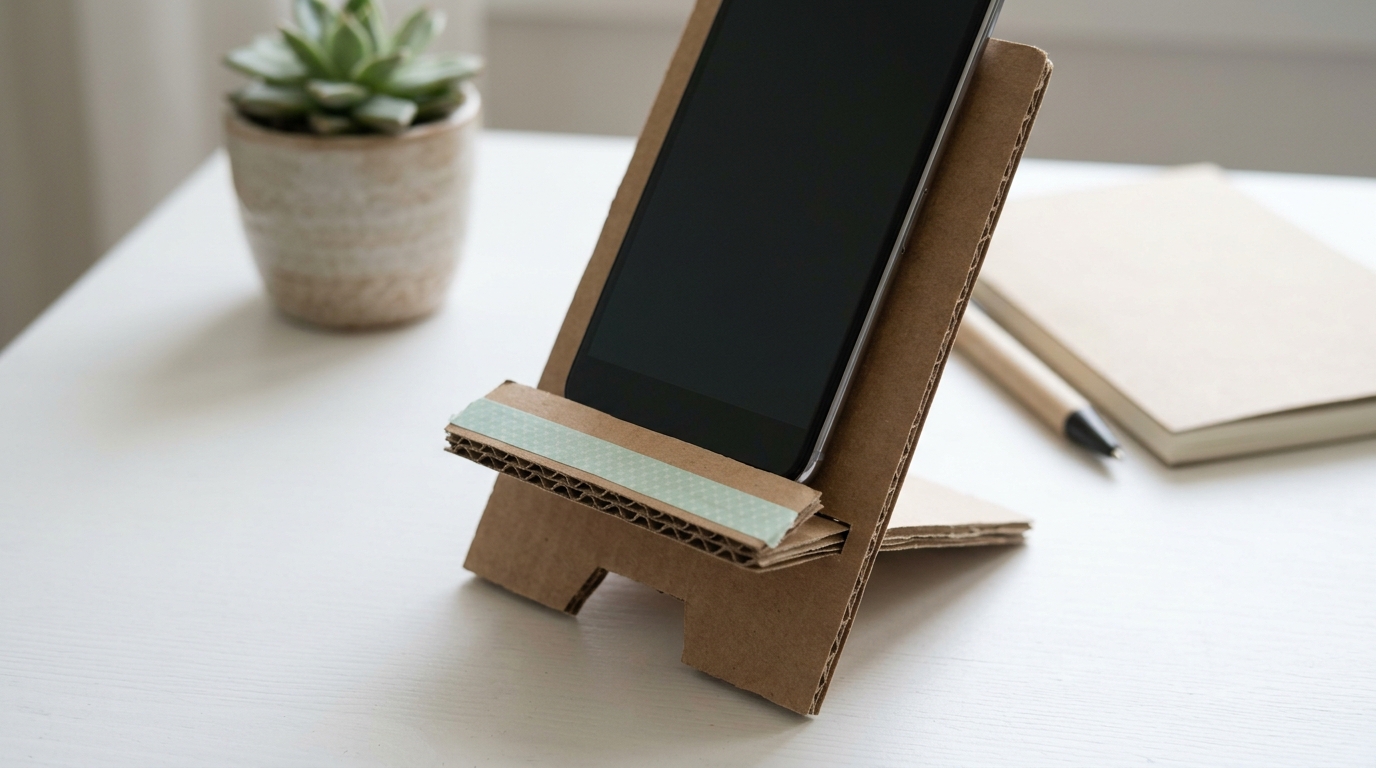
Watching recipes, video calling grandma or following a craft tutorial is so much easier when your phone stands up on its own. A cardboard phone stand takes about ten minutes and uses one small scrap. Cut two matching side pieces with a notch for the phone, slot them together with a cross piece and you are done. Paint it, wrap it in washi tape or leave it plain and rustic. A phone stand video like this was liked more than 200 thousand times this month. Which room will get the first one?
You will need: A piece of thick cardboard, a ruler, a pencil, a craft knife (adult use), paint or washi tape.
How to make it: 1. Draw two identical side shapes with a slanted back and a front lip. 2. Cut them out with adult help. 3. Cut a short cross piece and make slots so it locks the sides together. 4. Slot it together, test with your phone and decorate.
Make a Jewelry Organizer From a Box Lid
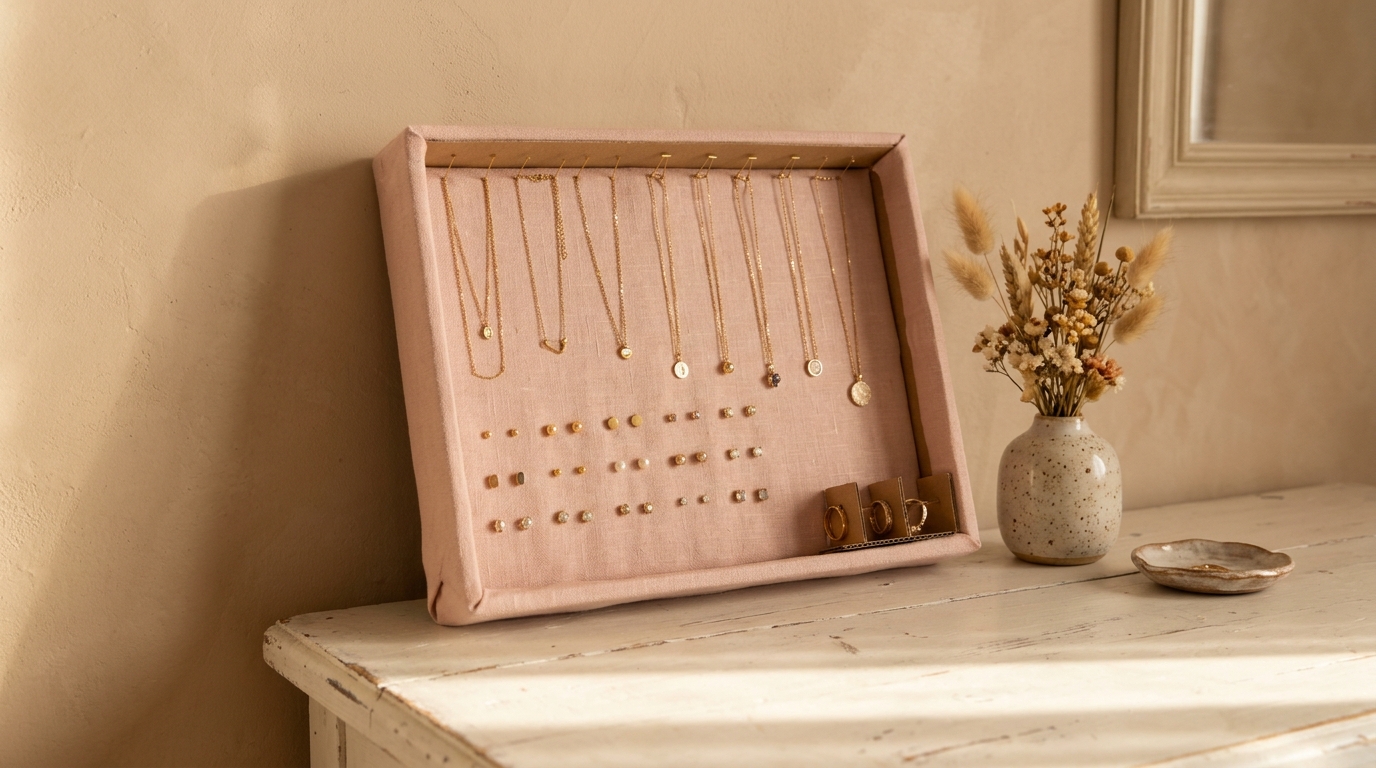
Tangled necklaces and missing earrings are a daily frustration, and cardboard box crafts can fix that too. A shallow box lid wrapped in pretty fabric turns into a jewelry board that keeps everything easy to see. Poke small holes for stud earrings, push in a few pins for necklaces and glue tiny dividers inside for rings. Hang it on the wall or lean it on your dresser. It makes a sweet handmade gift for a teen or a best friend. How many necklaces are knotted in your drawer right now?
You will need: A shallow box lid, fabric scraps, glue, sewing pins or small push pins, a skewer for poking holes.
How to make it: 1. Wrap the lid in fabric and glue it on the back. 2. Poke rows of small holes for stud earrings with a skewer. 3. Push pins in a line along the top for necklaces. 4. Glue thin cardboard strips inside a corner to hold rings.
Build a Shadow Box Aquarium for Kids
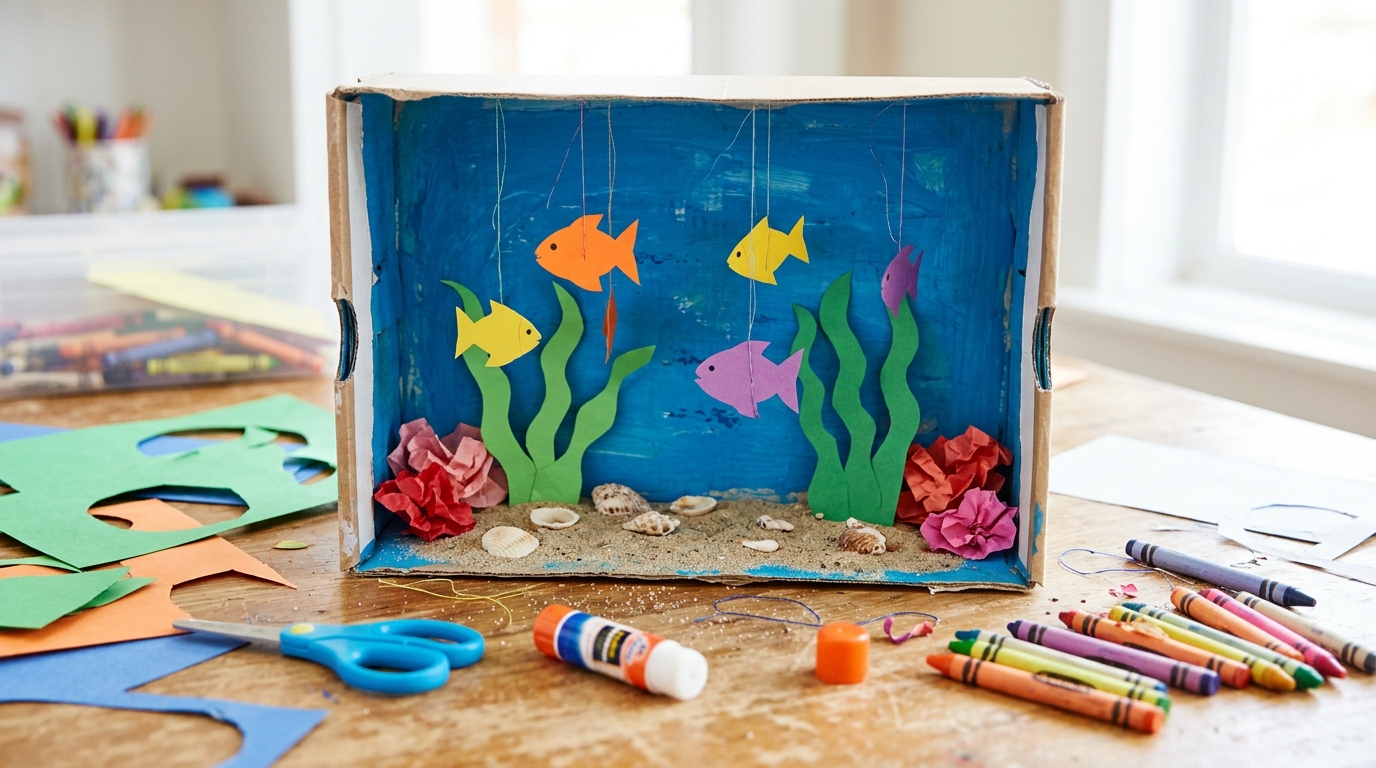
Kids who dream of a fish tank will love this one, and there is no water to spill. A shoebox turned on its side becomes an ocean scene with painted blue walls, paper seaweed and colorful fish that dangle on threads and swing when you tilt the box. It is a classic school project that never gets old. Add sand glued to the bottom and a few shells from your last beach trip. Perfect for a rainy afternoon. Which sea creatures will live in your ocean?
You will need: A shoebox, blue and green paint, colored paper, thread, tape, glue, sand or small shells (optional).
How to make it: 1. Paint the inside of the box blue and let it dry. 2. Cut seaweed and coral from paper and glue them to the back and sides. 3. Draw and cut out fish. 4. Tape threads to the fish and hang them from the top of the box.
Cardboard Box Crafts for Walls: Fluted Art

That wavy layer hidden inside every shipping box is pure design gold for cardboard box crafts. Peel off one paper side and you reveal neat ridges that catch the light beautifully. Arrange strips in arches, circles or stripes on a canvas, then paint it all one soft color. The result looks like expensive textured art from a home decor store. It is a clever trick for big blank walls on a tiny budget. What shape would you make for your living room?
You will need: Corrugated cardboard, a canvas or flat board, a craft knife (adult use), white glue, chalky paint, a wide brush.
How to make it: 1. Soak one side of the cardboard lightly and peel off the top paper to show the ridges. 2. Cut it into strips. 3. Glue the strips onto the canvas in a pattern. 4. Paint everything one color and let it dry.
Cut Custom Drawer Dividers
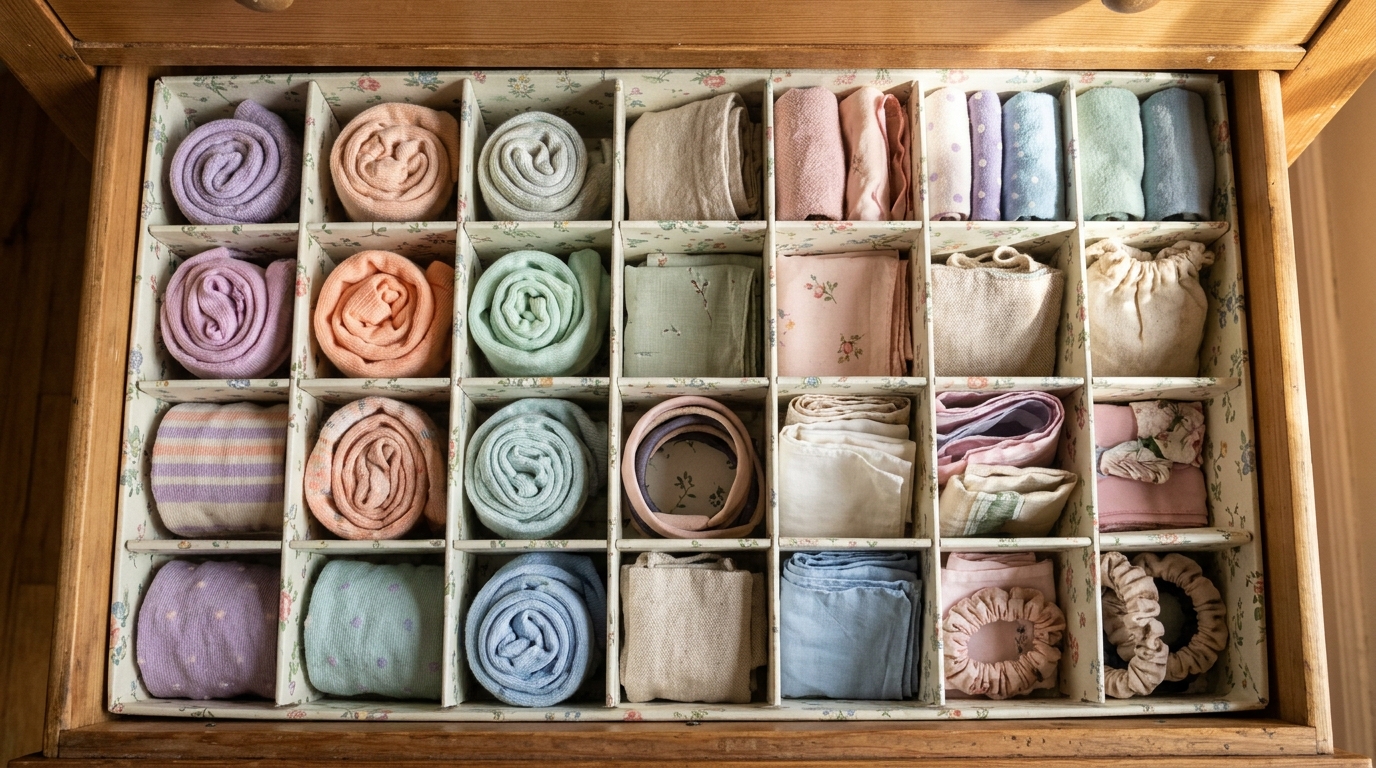
Store-bought drawer organizers never seem to fit your drawer exactly. Cardboard dividers do, because you cut them to size. Measure the drawer, cut strips with notches halfway down and slide them together like a grid. Suddenly socks, utensils, office supplies and makeup all have their own little home. Cover them in pretty paper if you want a polished look. It is the kind of small win that makes mornings smoother. Which messy drawer will you tackle first?
You will need: Cardboard from a large box, a ruler, a pencil, scissors or a craft knife (adult use), patterned paper and glue (optional).
How to make it: 1. Measure the length, width and depth of your drawer. 2. Cut long and short strips to match. 3. Cut slots halfway into each strip where they will cross. 4. Slide the strips together and set the grid in the drawer.
Organize Your Desk With Cardboard Box Crafts
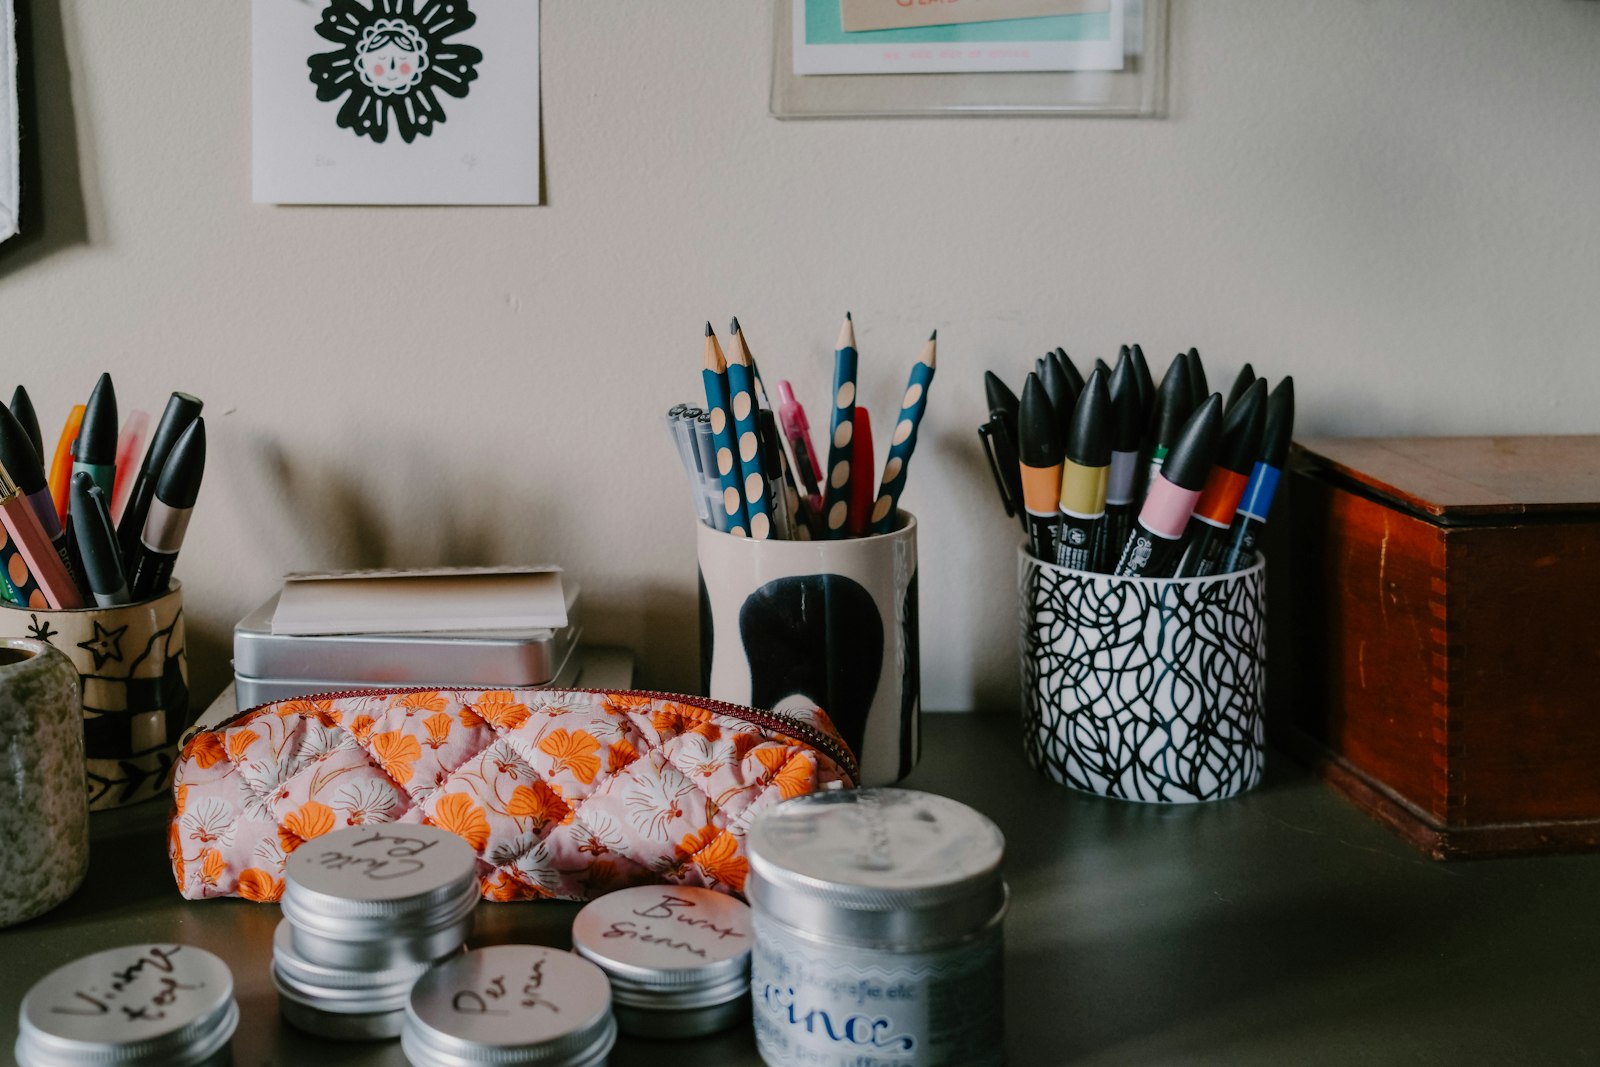
A cluttered desk makes homework and work calls feel harder. Small boxes and paper towel tubes, glued together and painted, make a desk organizer with spots for pens, sticky notes, scissors and your phone. This is one of those cardboard box crafts that kids love to design themselves. Let them choose the colors and add their name on the front. You can even make one for every child in the family. What color would yours be?
You will need: Small boxes, paper towel tubes, a cereal box, glue, paint or wrapping paper, scissors.
How to make it: 1. Cut tubes to different heights for pens and markers. 2. Cut a small box low for sticky notes and clips. 3. Glue all the pieces onto a cardboard base. 4. Paint or wrap the organizer and let it dry.
Build a Kids Play Kitchen From a Big Box
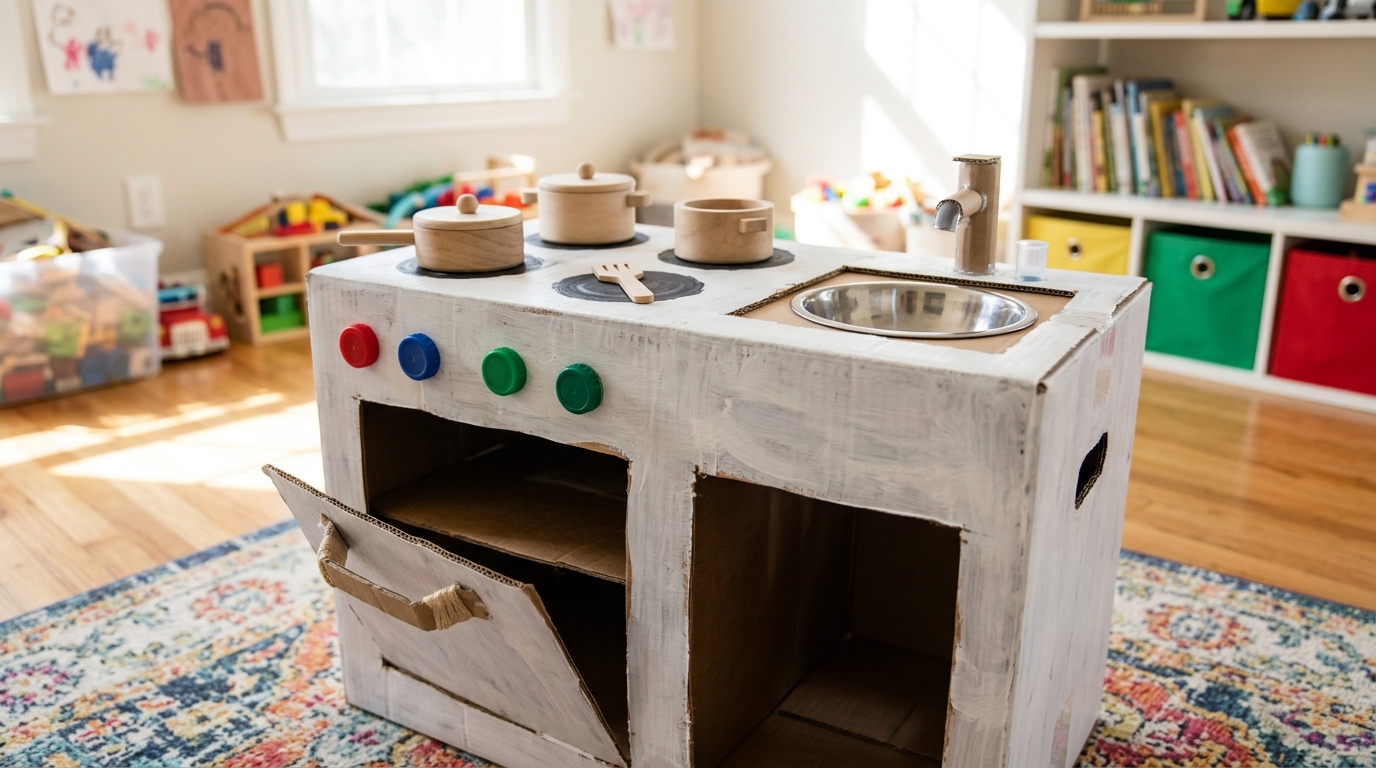
A play kitchen from a toy store can cost a lot, but a big appliance box makes one for free. Paint on burners, add bottle caps for knobs, cut an oven door that opens with a flap and glue on a paper plate sink. Kids will cook pretend pancakes for hours. Of all the cardboard box crafts here, this one gets the most giggles. It is one of the happiest weekend projects you can do as a family. When they outgrow it, it simply goes to recycling. Who is the little chef in your home?
You will need: A large sturdy box, paint, bottle caps, a paper plate or plastic bowl for the sink, hot glue (adult use), a craft knife (adult use).
How to make it: 1. Tape the box closed and stand it upright. 2. Have an adult cut a three-sided oven door so it opens like a flap. 3. Paint the box and draw burners on top. 4. Glue on bottle cap knobs and a bowl sink.
Turn a Big Box Into a Gingerbread Playhouse
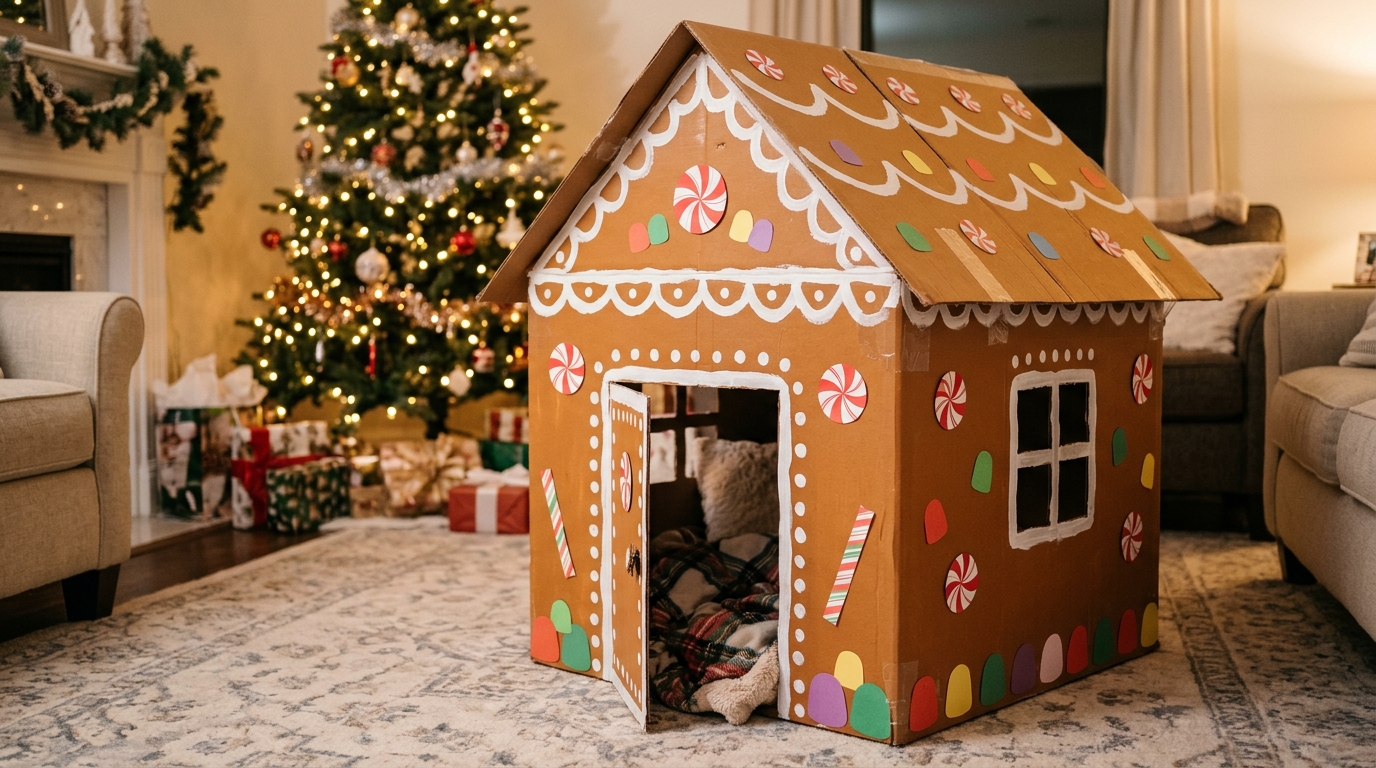
This might be the most joyful thing you can do with a giant delivery box. Paint it brown like gingerbread, add white icing lines along the roof and windows, then glue on paper candies and peppermints. Cut a door and a window so little ones can crawl inside. Kids will turn it into a holiday hideout, a reading nook and a cookie shop all in one week. It makes the best background for family photos too. Ready to build the sweetest house on the block?
You will need: A large appliance box, brown and white paint, colored paper, glue, a craft knife (adult use), wide tape.
How to make it: 1. Tape the box shut and fold extra cardboard into a peaked roof. 2. Have an adult cut a door and window. 3. Paint the house brown and let it dry. 4. Paint white icing lines and glue on paper candy decorations.
Make a Magazine Holder From a Cereal Box
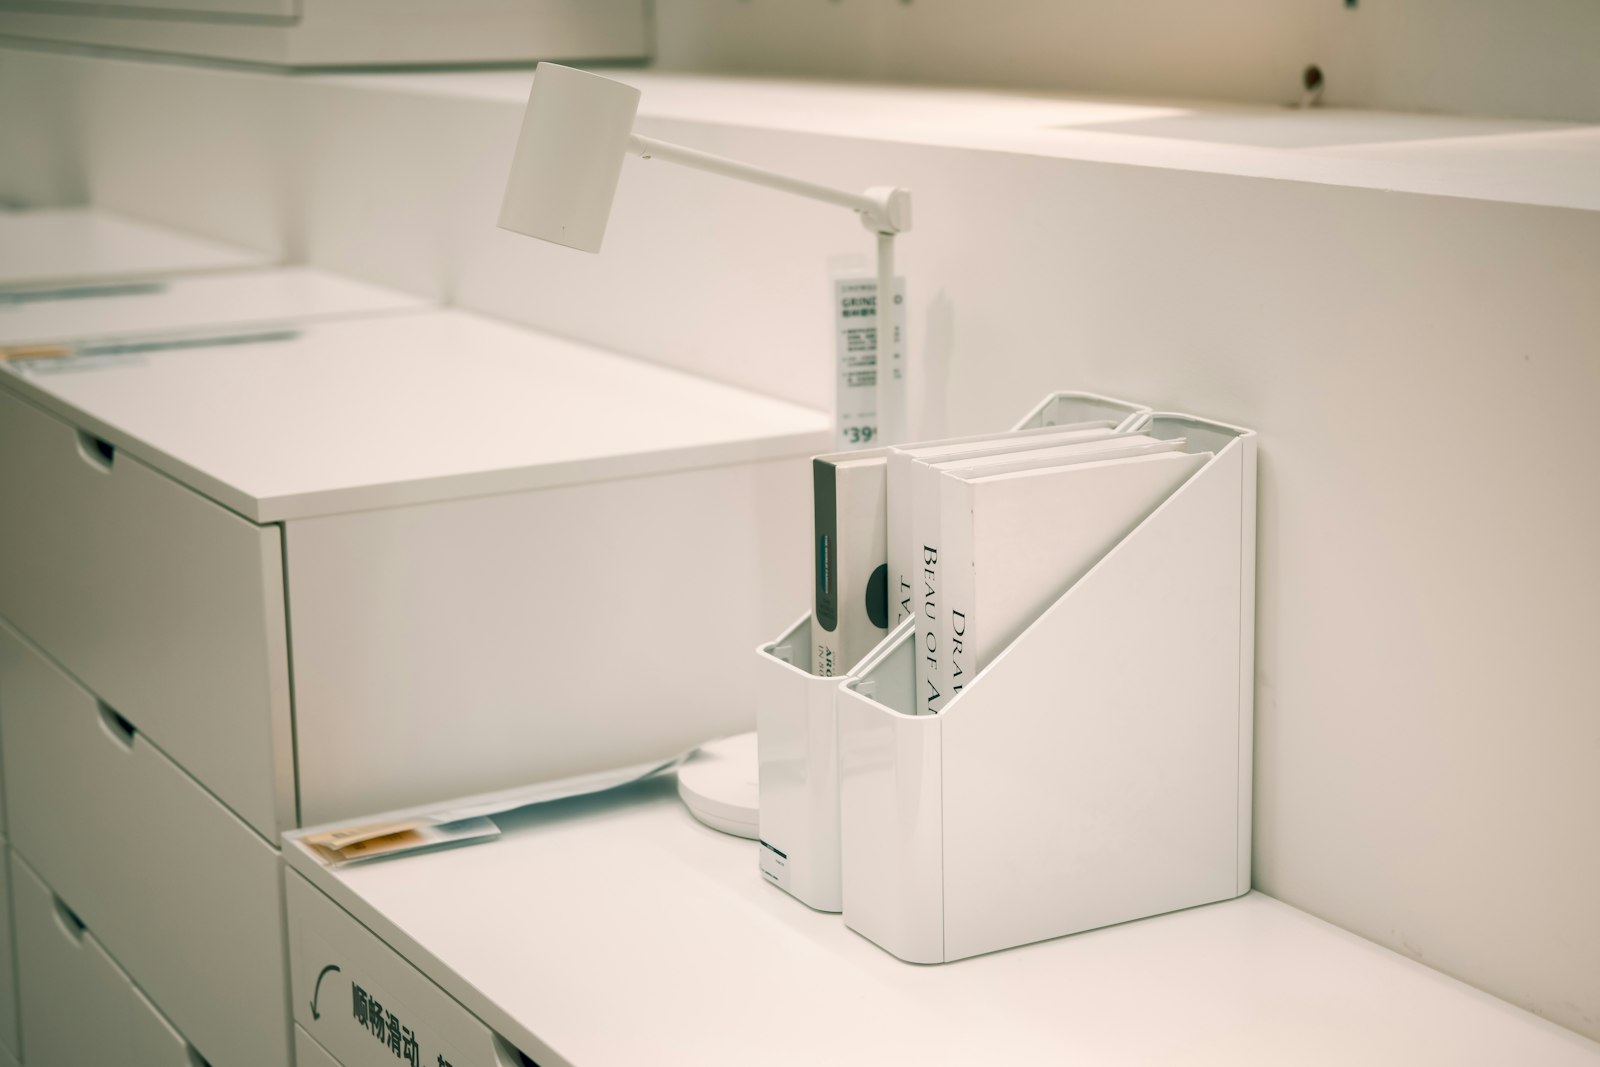
Cereal boxes are perfect for cardboard box crafts because they already have the shape of a magazine file. Cut the top at an angle, cover the box in patterned paper or fabric and you have a stylish holder for magazines, coloring books, folders or recipe printouts. Make a row of them in matching paper for a neat shelf. They also work great in kids rooms for keeping art pads together. You will never look at an empty cereal box the same way again. Which shelf in your home needs this?
You will need: Empty cereal boxes, patterned paper or fabric, glue stick or decoupage glue, scissors, a ruler.
How to make it: 1. Draw a slanted line from the top of one side down to the middle of the other. 2. Cut along the line on both sides and the front. 3. Cover the box with paper or fabric. 4. Smooth out bubbles and let it dry.
Cardboard Box Crafts for Kids: A Wall Marble Run
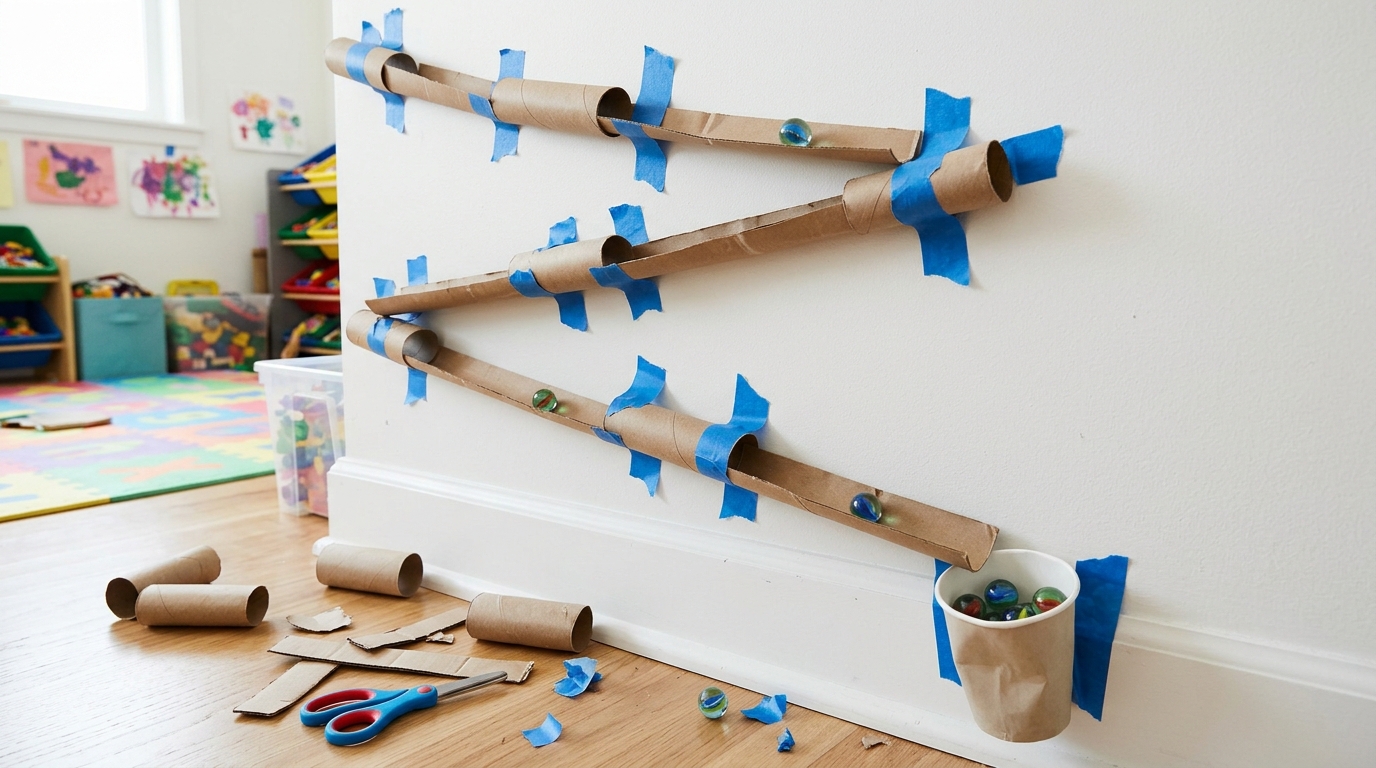
Few toys keep kids busy like a homemade marble run. Cut paper towel tubes and box strips into ramps and chutes, then tape them on a wall or a big piece of cardboard in a zigzag. Drop a marble at the top and watch it race to the bottom. Kids can rebuild the course again and again, which makes it a sneaky little science lesson. Keep marbles away from toddlers. How long can you make your marble ride last?
You will need: Paper towel and toilet paper tubes, cardboard strips, painter’s tape, scissors, marbles, a cup to catch them.
How to make it: 1. Cut tubes in half lengthwise to make open chutes. 2. Tape the first chute high on the wall at a slant. 3. Add more chutes below, each turning the other way. 4. Put a cup at the bottom and test with a marble.
Frame a Mirror With a Cardboard Arch
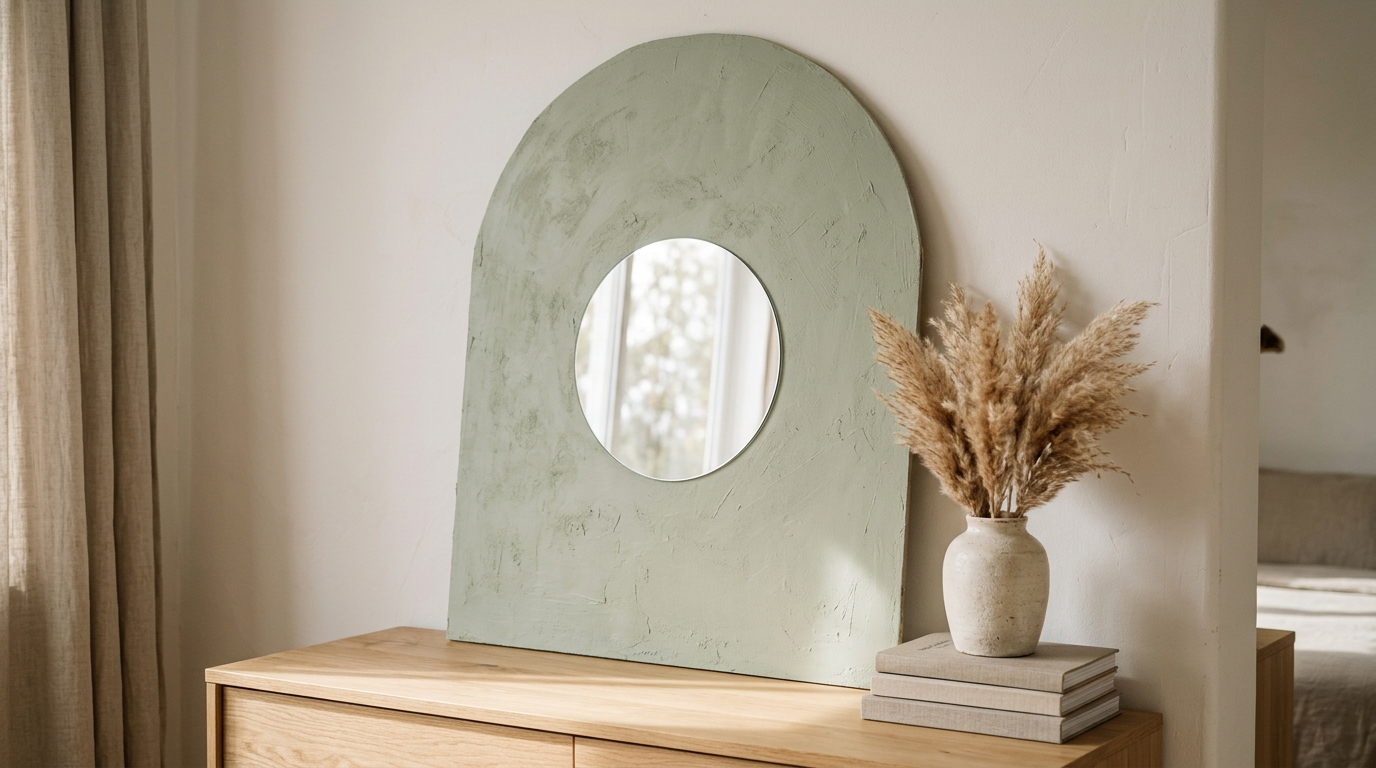
Arched mirrors are everywhere in home decor right now, and they can be pricey. This is one of the cardboard box crafts that looks the most expensive. A thick cardboard arch painted in a soft color, with a small round mirror glued in the middle, gives you the same look for a fraction of the cost. Add texture with paint mixed with a little baking soda for a plaster feel. Lean it on a dresser or hang it with picture strips. Friends will never guess it started as a shipping box. Where would yours hang?
You will need: Thick cardboard, a small lightweight round mirror, a pencil and string for drawing the arch, a craft knife (adult use), paint, baking soda, strong glue.
How to make it: 1. Draw a tall arch on the cardboard using a string and pencil for the curve. 2. Have an adult cut it out. 3. Mix paint with a spoon of baking soda and paint the arch. 4. Glue the mirror in the center and let it dry flat.
Shape a Faux Stone Vase
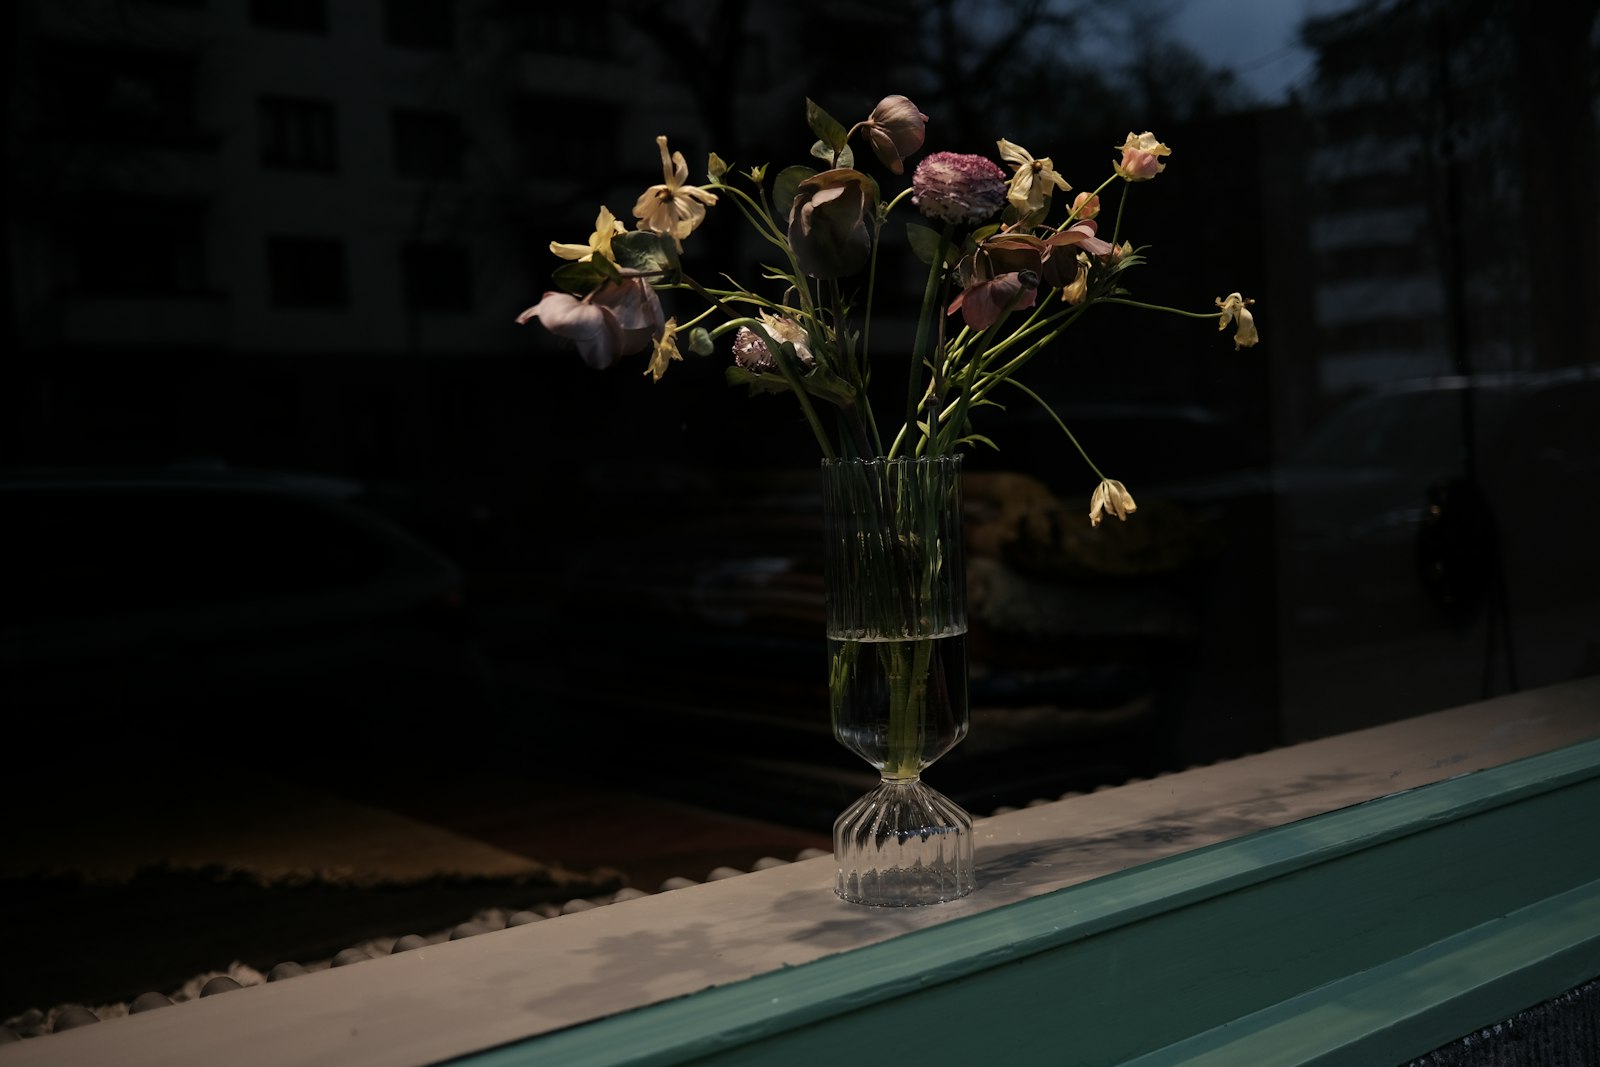
Those chunky stone vases you see in decor shops can cost a small fortune. A cardboard tube or a small box, wrapped and textured with paint and baking soda, looks almost exactly the same. Use it only for dried flowers, pampas grass or faux stems, since cardboard and water do not mix. Choose sand, cream or terracotta colors for a modern earthy look. It is amazing how real it looks on a shelf. Which dried stems would you put in yours?
You will need: A sturdy cardboard tube or small box, a cardboard circle for the base, tape, paint, baking soda, a sponge, dried flowers.
How to make it: 1. Tape a cardboard circle to the bottom of the tube. 2. Mix paint with baking soda until thick. 3. Dab it all over the tube with a sponge for a stone texture. 4. Let it dry and fill it with dried stems.
Stack a Toy Shelf From Boxes
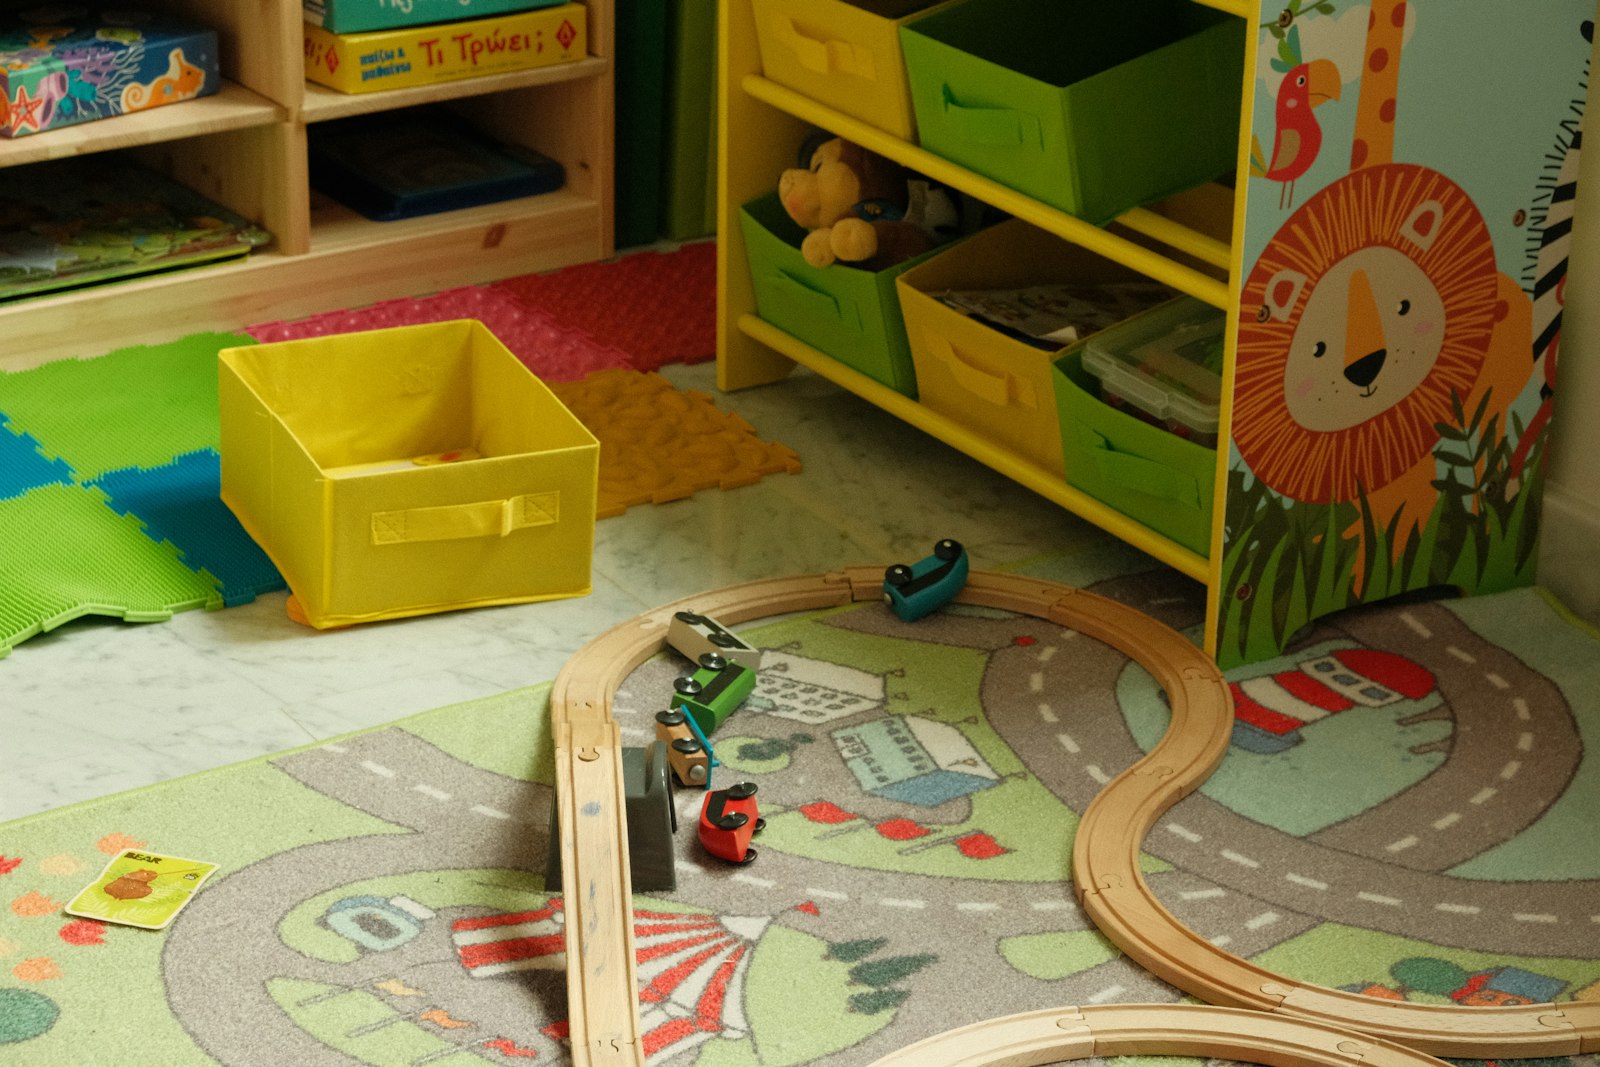
If toys are taking over your floor, cardboard box crafts can help. A stack of same-sized boxes makes a free cubby shelf. Glue them together side by side, paint the outsides in bright colors and slide them along a wall. Kids can sort toys, books and art supplies into their own cubbies. For extra strength, double the cardboard on the bottom row. It is best for light toys and plush animals. Cleanup time just got a little more fun. How many cubbies would your playroom need?
You will need: Four to nine boxes of the same size, strong glue or hot glue (adult use), paint, wide tape, extra cardboard for the base.
How to make it: 1. Tape each box shut, then cut the front flap off so it opens like a cubby. 2. Glue the boxes into rows and stack the rows. 3. Glue an extra layer of cardboard under the bottom row. 4. Paint the outside and let it dry.
Cardboard Box Crafts for Christmas: Glowing Lantern Houses
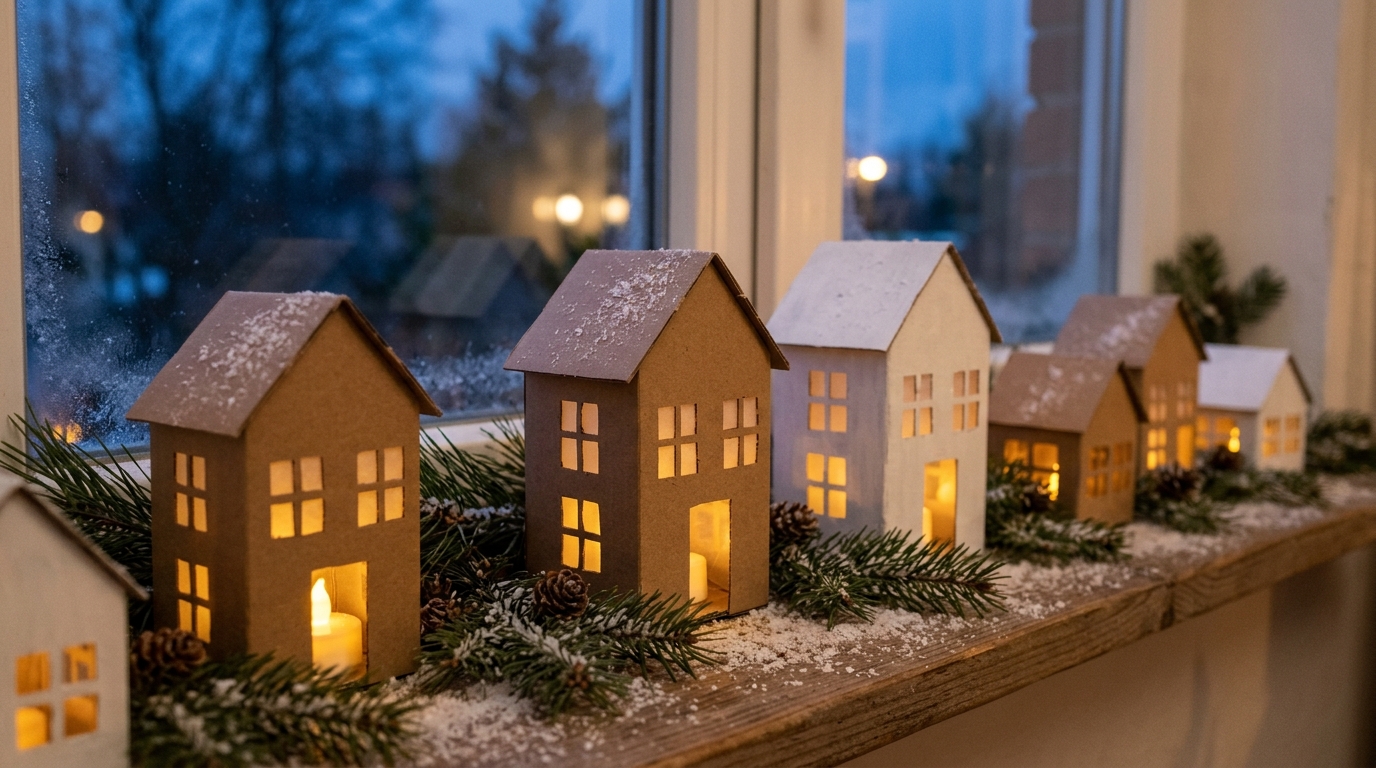
A row of little glowing houses on a windowsill turns any home into a cozy winter village. Cut simple house shapes from cereal boxes or shipping boxes, snip out windows and doors, and back them with vellum or parchment paper so the light glows softly. Paint them white, leave them kraft brown or dust the roofs with a little glitter snow. Always use battery tea lights inside, never real candles, since paper and cardboard can catch fire. Which window in your home needs a little village?
You will need: Cereal boxes or thin cardboard, a pencil, a ruler, a craft knife (adult use), vellum or parchment paper, glue, white paint, battery tea lights.
How to make it: 1. Draw a house shape with four walls and a peaked roof on the cardboard. 2. Have an adult cut it out and cut small windows and a door. 3. Glue vellum behind the openings, then fold and glue the house together. 4. Paint it and set a battery tea light inside.
Slot Together a Tabletop Christmas Tree
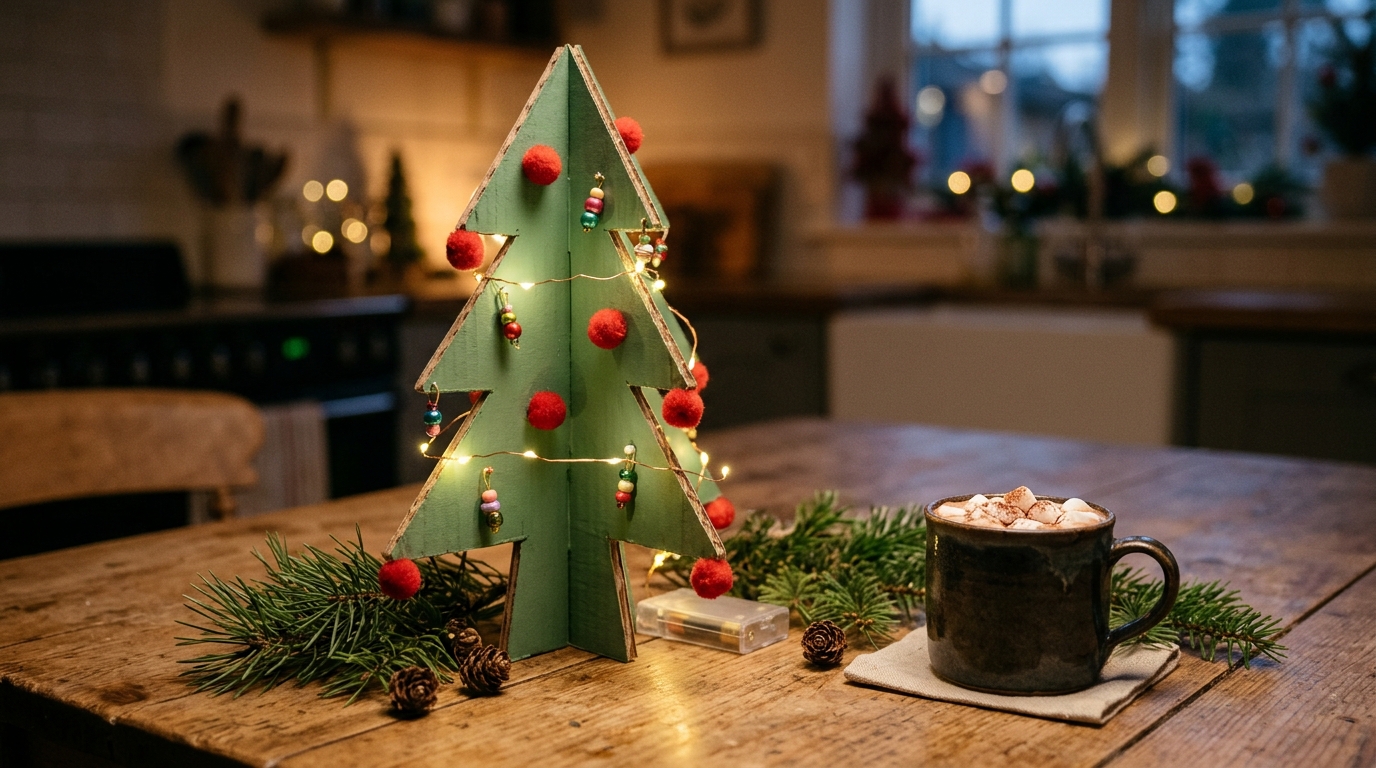
Not everyone has room for a full size tree, and some of us want a little extra holiday magic on the kitchen table. Cut two matching tree shapes from cardboard, slit one from the top and one from the bottom, then slide them together into a standing 3D tree. Paint it green or leave it natural, then hang tiny ornaments or wrap it in mini battery lights. Kids love decorating their own, and it is one of the easiest cardboard box crafts for the holidays. For more fun projects to make with little ones, check out these kids crafts. Where will your tree stand?
You will need: Thick cardboard, a pencil, a craft knife (adult use), paint, mini ornaments or pom poms, battery string lights (optional).
How to make it: 1. Draw a tree shape and trace it twice. 2. Have an adult cut both trees out. 3. Cut a slit from the top halfway down on one and from the bottom halfway up on the other. 4. Slide them together, paint and decorate.
Cardboard Box Crafts for Your Shelf: Sturdy Bookends
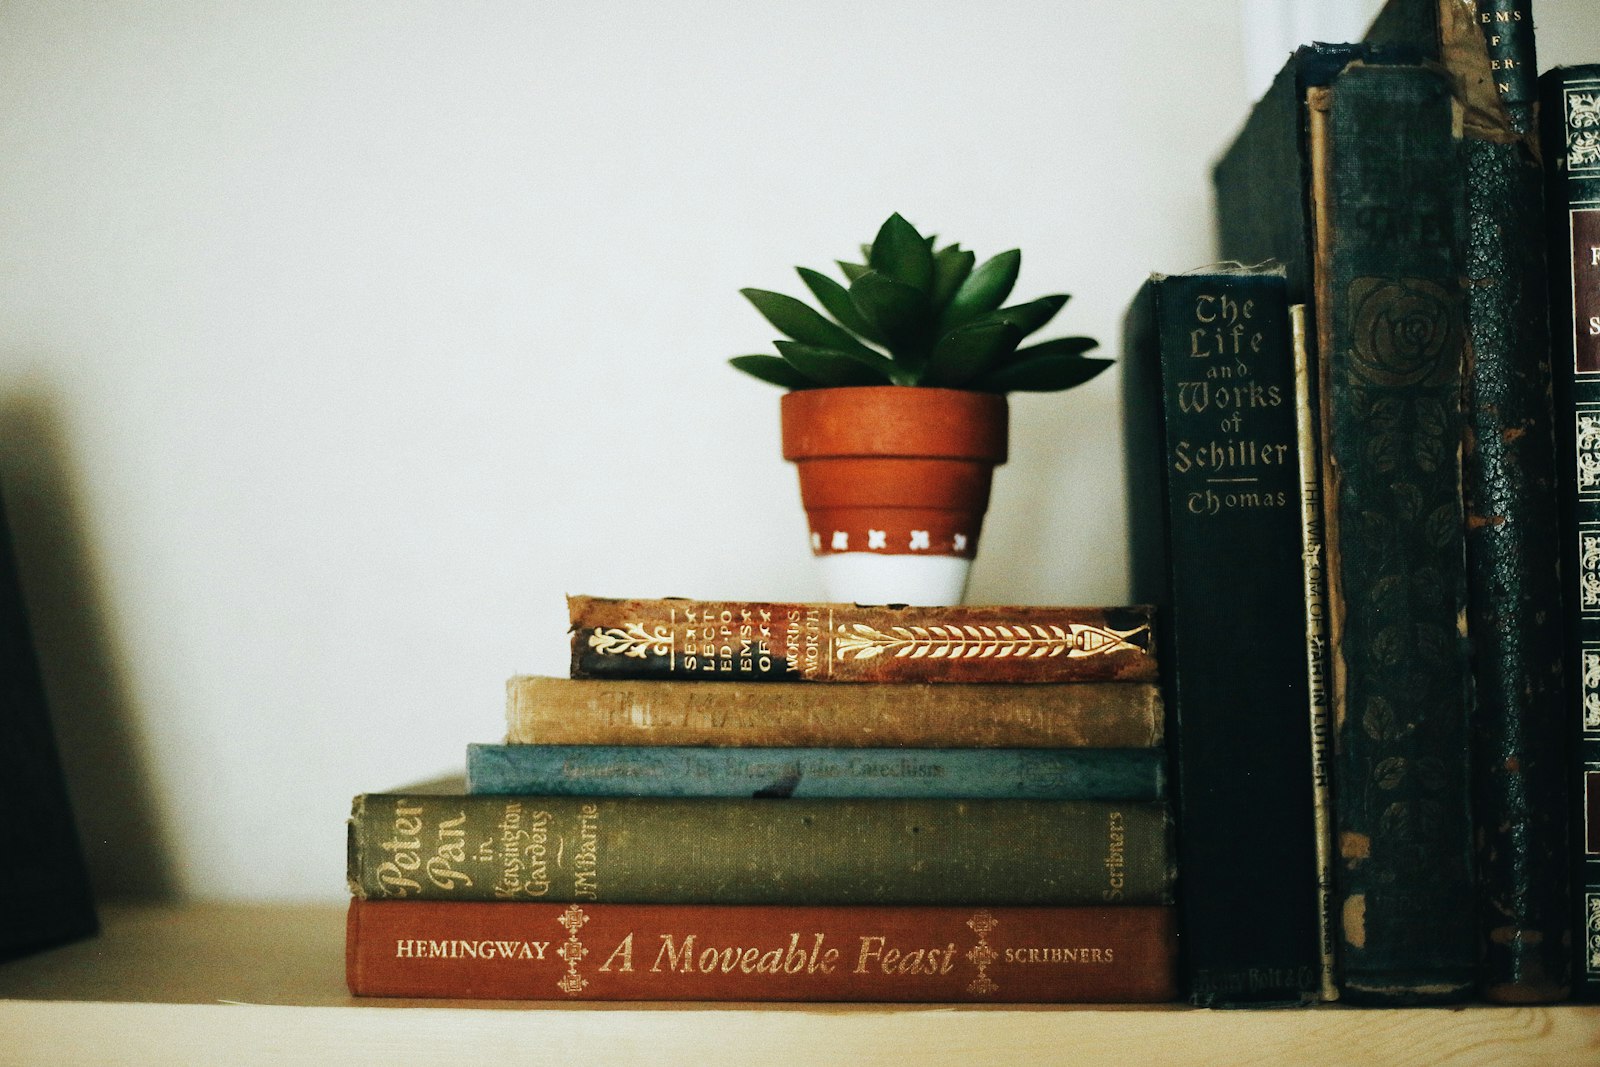
Books that keep tipping over are a small but constant annoyance. Two small boxes filled with sand, rice or old magazines become heavy bookends that hold everything upright. Wrap them in kraft paper, fabric or paint them to match your room. Add a big initial, a doodle or a pressed flower on the front. Among all these cardboard box crafts, this one might be the most useful. They also make a sweet gift for a book lover. Which shelf needs a little support?
You will need: Two small sturdy boxes, sand or rice in a zip bag, tape, paint, fabric or kraft paper, glue.
How to make it: 1. Fill a zip bag with sand or rice and seal it well. 2. Put it inside the box and tape the box closed. 3. Paint or wrap the box. 4. Add a decoration on the front and set the pair on each end of your books.