Retro 70s Decor: 14 Groovy DIYs That Are Suddenly Cool Again
Retro 70s decor is back, and it feels warmer and more fun than ever. Think macrame hanging in a sunny window, shaggy pillows in burnt orange, string art on the wall and plants everywhere. If you grew up in that decade, these ideas will bring back happy memories of your parents’ living room. If you did not, you will see why people loved it so much. The best part is that most of these looks are easy and cheap to make yourself with yarn, paint, thrift finds and a free afternoon. Pick one project, put on your favorite old record and enjoy a little groovy time travel..
Retro 70s Decor Starts With a Macrame Plant Hanger
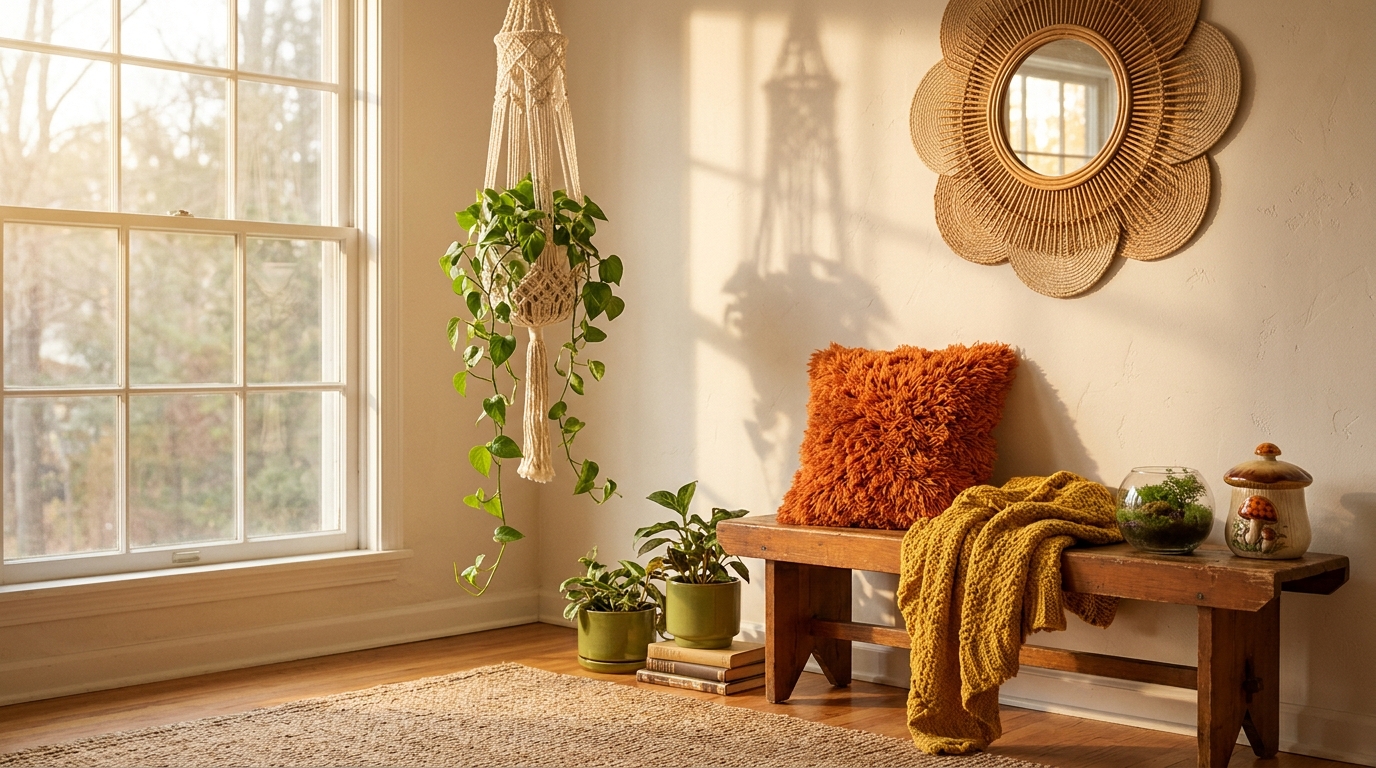
Nothing says the seventies quite like a macrame plant hanger swaying in a sunny window. It is the perfect first project because you only need cotton cord, a wooden ring and a few simple knots. Fill it with a trailing pothos or spider plant and your room instantly feels relaxed and alive. Many people are digging out everyday things from the 70s and finding they are popular again. Which plant would you hang in yours..
You will need: Cotton macrame cord, a wooden ring, scissors, a tape measure and a small potted plant.
How to make it: 1. Cut eight long pieces of cord and fold them through the ring. 2. Tie square knots down each group, then join neighboring cords lower down to form a basket. 3. Gather the ends in a wrap knot and slide your pot inside.
Sunset String Art
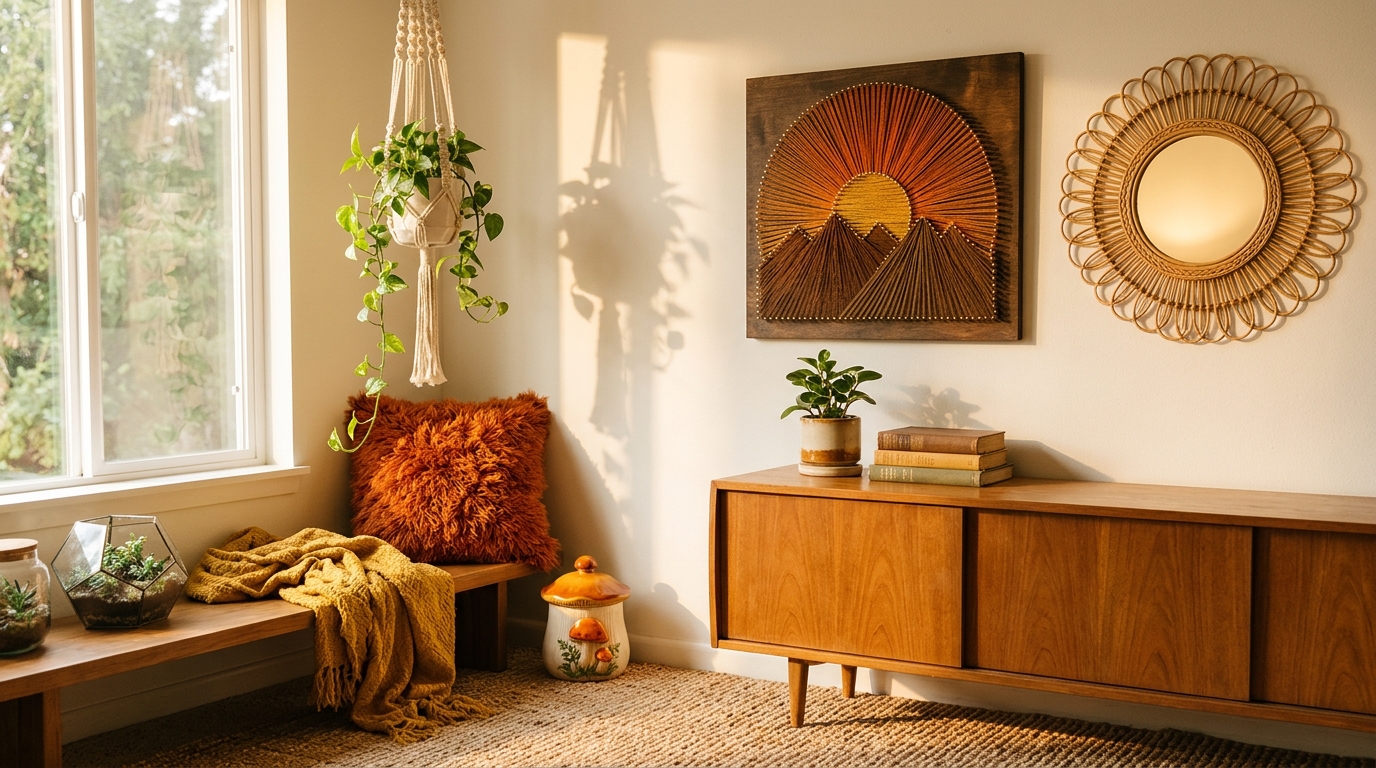
String art was everywhere in the seventies, and it is surprisingly relaxing to make. Small nails hammered into a stained board create the outline, then thread is wrapped back and forth to fill in the design. A sunset over mountains in orange, gold and brown feels just right for retro 70s decor. Older kids can help wrap the thread while an adult handles the hammer. What design would you choose?
You will need: A wooden board, wood stain, small nails, a hammer, embroidery thread in warm colors and a paper pattern.
How to make it: 1. Stain the board and let it dry. 2. Tape the paper pattern on and hammer nails along the lines, then tear the paper away. 3. Tie thread to a nail and wrap it back and forth to fill each shape.
Rattan Placemat Mirror for Retro 70s Decor
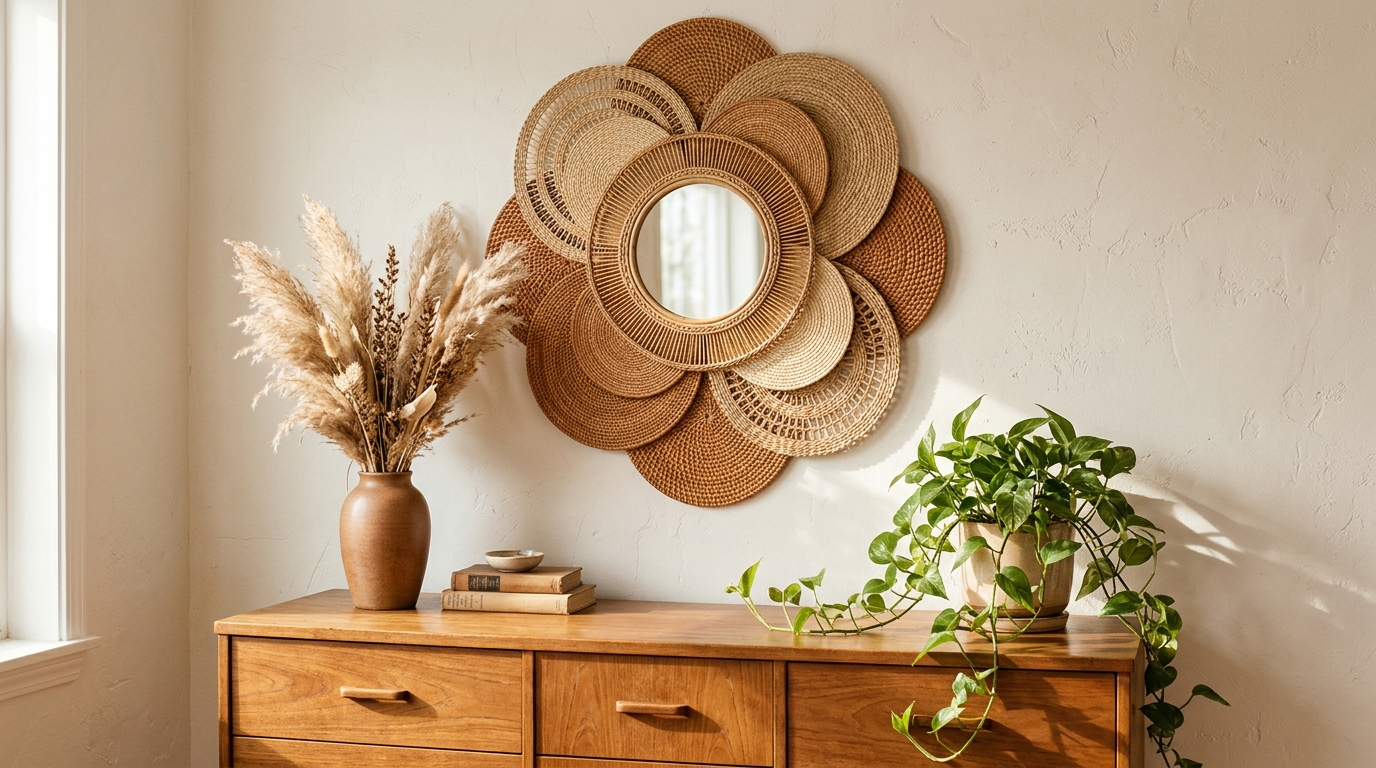
Round rattan placemats make a gorgeous sunburst mirror that looks like a vintage find. Layer a few placemats behind a small round mirror and you get that boho, sun-soaked look that was so popular in the seventies. It costs a fraction of a store bought version and adds instant warmth to a hallway or bedroom. Would you hang it above a dresser or by the front door?
You will need: Three to five round rattan placemats, a small round mirror, strong craft glue or a hot glue gun for adults, and a picture hanger.
How to make it: 1. Arrange the placemats in a flower shape, overlapping the edges. 2. Glue them together, with an adult handling hot glue. 3. Glue the mirror in the center and attach a sturdy hanger on the back.
Tufted Shag Pillow
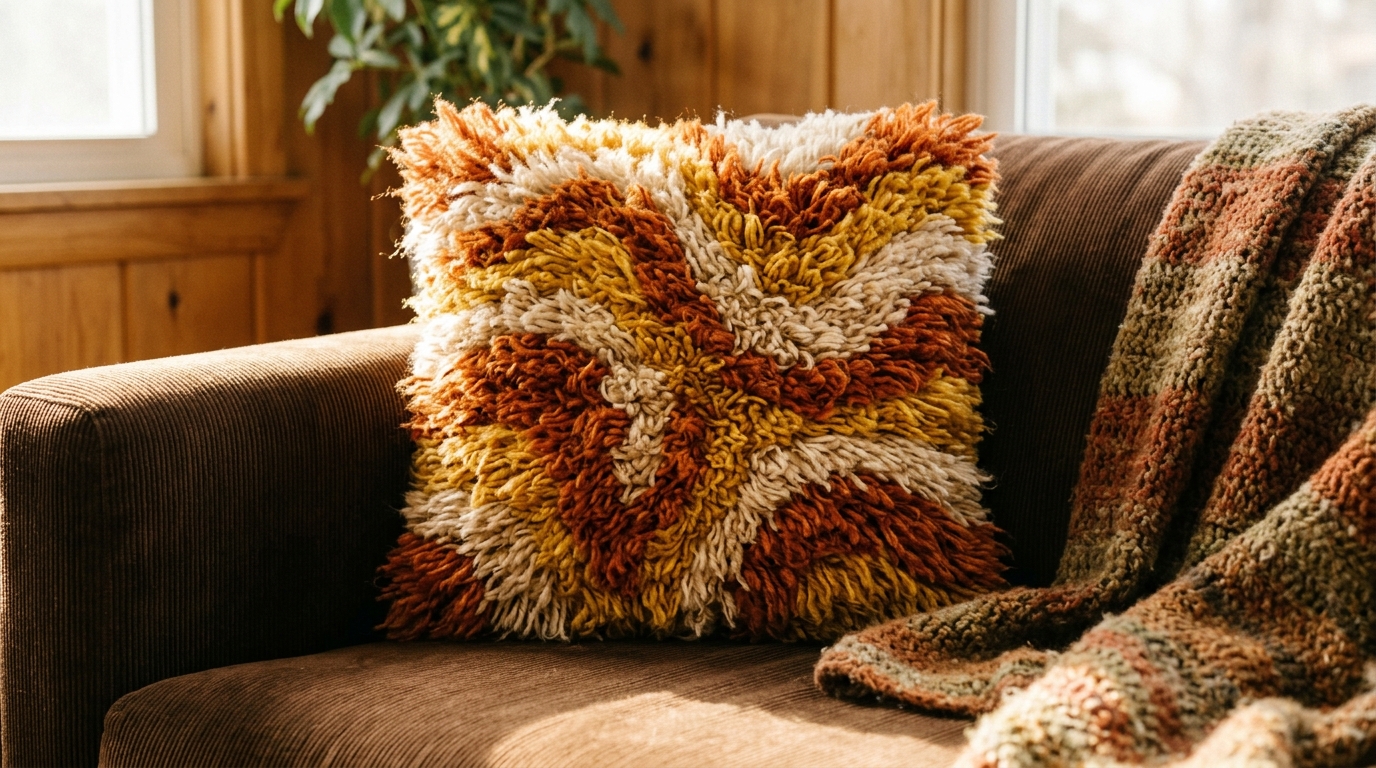
Shag was the texture of the decade, and a fluffy tufted pillow brings it back in the best way. Using a simple punch needle or by knotting yarn through a rug canvas, you can create a soft wavy pattern in burnt orange and mustard. It is cozy, fun to touch and makes any sofa an instant piece of retro 70s decor. Which colors would you mix on yours?
You will need: Rug canvas or monk’s cloth, a punch needle or latch hook, thick yarn in warm colors, a pillow form and backing fabric.
How to make it: 1. Draw a wavy design on the canvas. 2. Punch or hook yarn loops along each color section until it is filled. 3. Trim the loops for a shaggy look and sew the front to the backing around the pillow form.
Retro 70s Decor Favorite: The Glass Terrarium
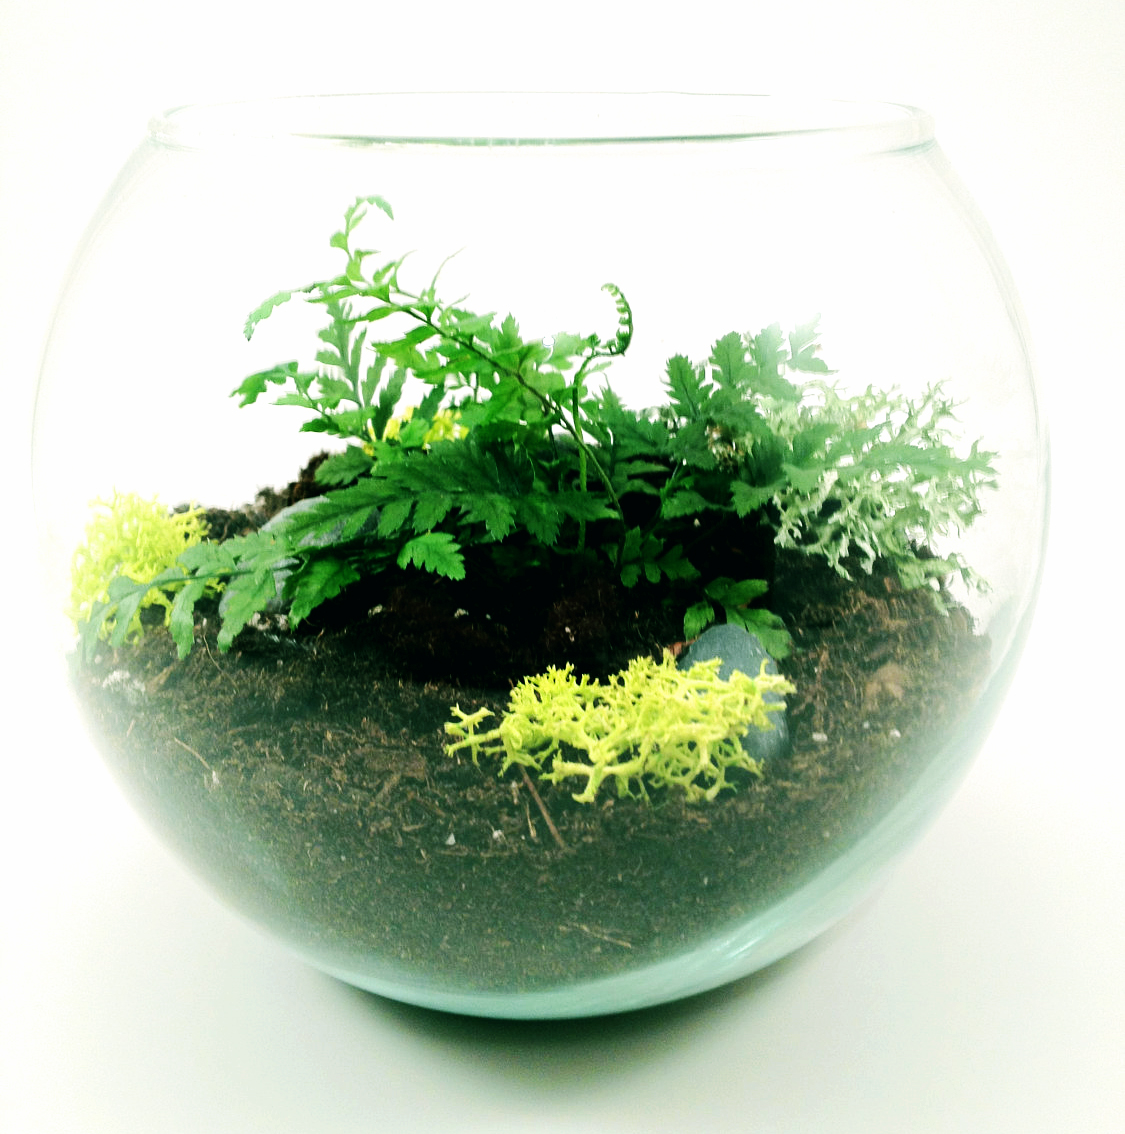
Glass terrariums filled with moss and ferns were a living room favorite in the seventies, and they are just as charming now. A little world under glass feels calm and magical, and it needs very little care. Layer pebbles, soil and small plants that like humidity. Set it near bright but indirect light. Have you ever made a tiny garden in a jar?
You will need: A glass globe or large jar, small pebbles, potting soil, moss and small ferns or other humidity loving plants.
How to make it: 1. Add a layer of pebbles for drainage. 2. Add soil and press in the small plants. 3. Tuck moss around them, mist lightly and place in bright, indirect light.
Mushroom Painted Canisters
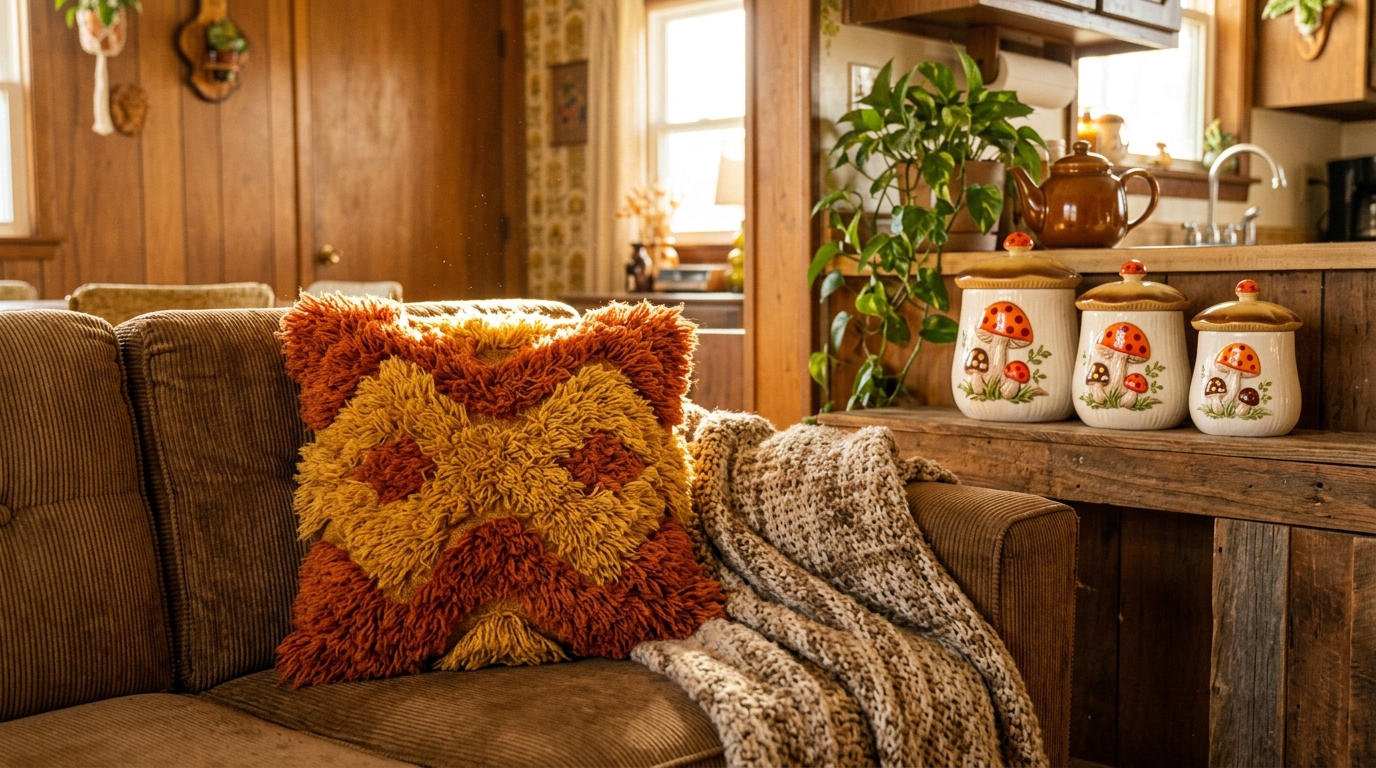
Cute spotted mushrooms were a huge motif in seventies kitchens, from canisters to tea towels. You can paint your own on plain ceramic or metal canisters with a few pots of craft paint. Red and orange caps with white dots, little brown stems and green leaves look adorable lined up on the counter. Would you keep cookies, flour or tea bags inside yours?
You will need: Plain cream canisters, acrylic or ceramic paint in red, orange, brown, white and green, small brushes and clear sealer.
How to make it: 1. Lightly sketch mushroom shapes with a pencil. 2. Paint the caps and stems, then add white dots and green leaves once dry. 3. Seal the outside with a clear coat suitable for the surface.
Big Round Floor Cushions
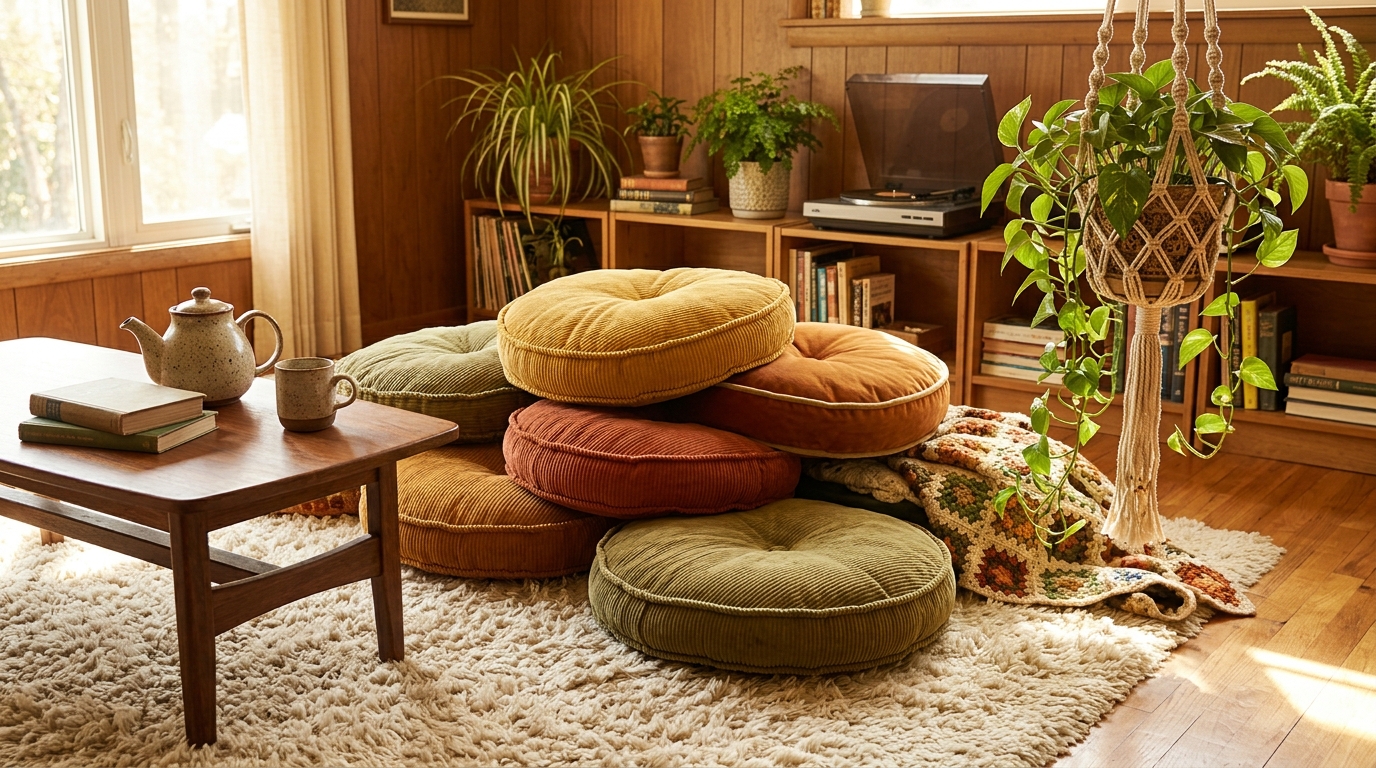
Sitting low on piles of big floor cushions was the height of cool in the seventies. They are perfect for a reading corner, a kids’ room or extra seating on movie night. Sew simple round cushions in corduroy or velvet in mustard, rust and olive, then pile them up. Of all the retro 70s decor ideas here, these are the ones everyone ends up wanting to sit on. Who in your family would claim the comfiest one first?
You will need: Corduroy or velvet fabric, a large plate or string to mark circles, fabric scissors, a sewing machine and stuffing.
How to make it: 1. Cut two large circles and a long side strip for each cushion. 2. Sew the strip around one circle, then attach the second circle, leaving a gap. 3. Turn right side out, stuff firmly and sew the gap closed.
Granny Square Throw
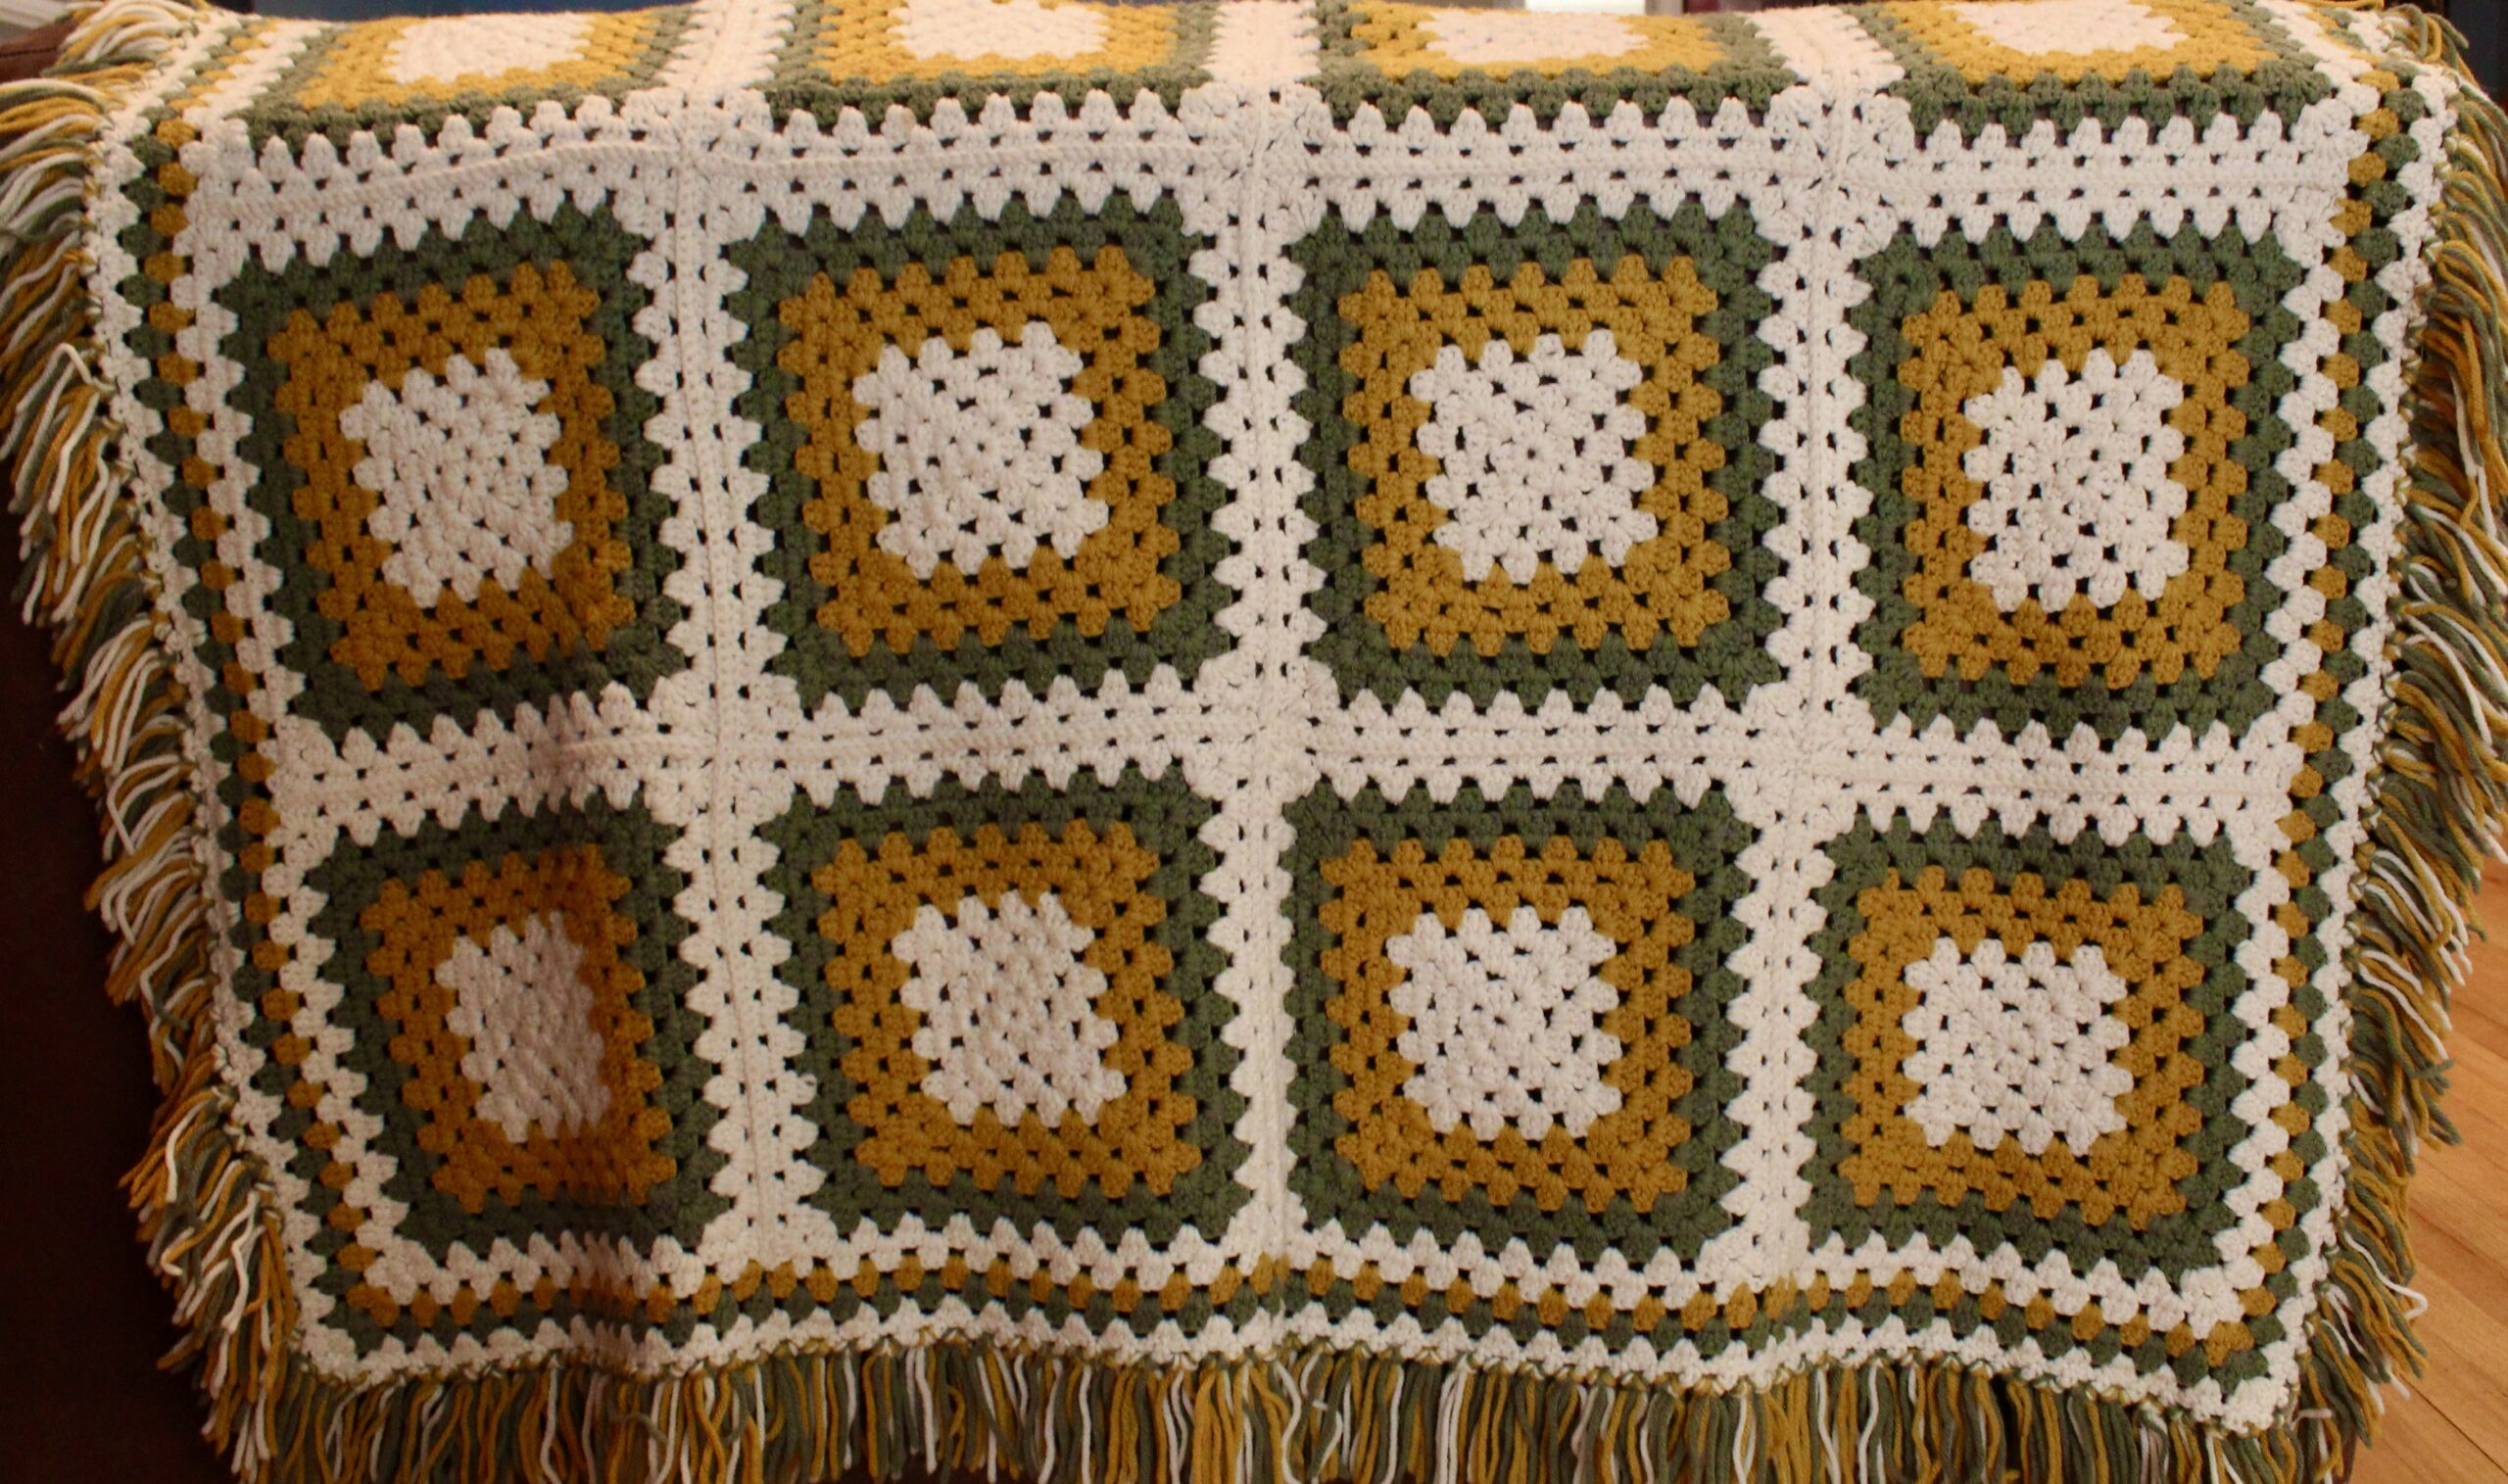
A crochet granny square blanket in warm browns, oranges and gold is pure seventies comfort. Each square is small and quick, so it is a great project to carry around and work on bit by bit. Join them together and you have an heirloom throw for the sofa. Even if you are new to crochet, the granny square is one of the easiest patterns to learn. Will you go for classic retro colors or something brighter?
You will need: Worsted weight yarn in several warm colors, a crochet hook, scissors and a yarn needle.
How to make it: 1. Crochet a stack of granny squares, changing colors every round. 2. Lay them out to plan the color pattern. 3. Join the squares together and add a simple border all around.
Retro 70s Decor Classic: Lava Look Vase
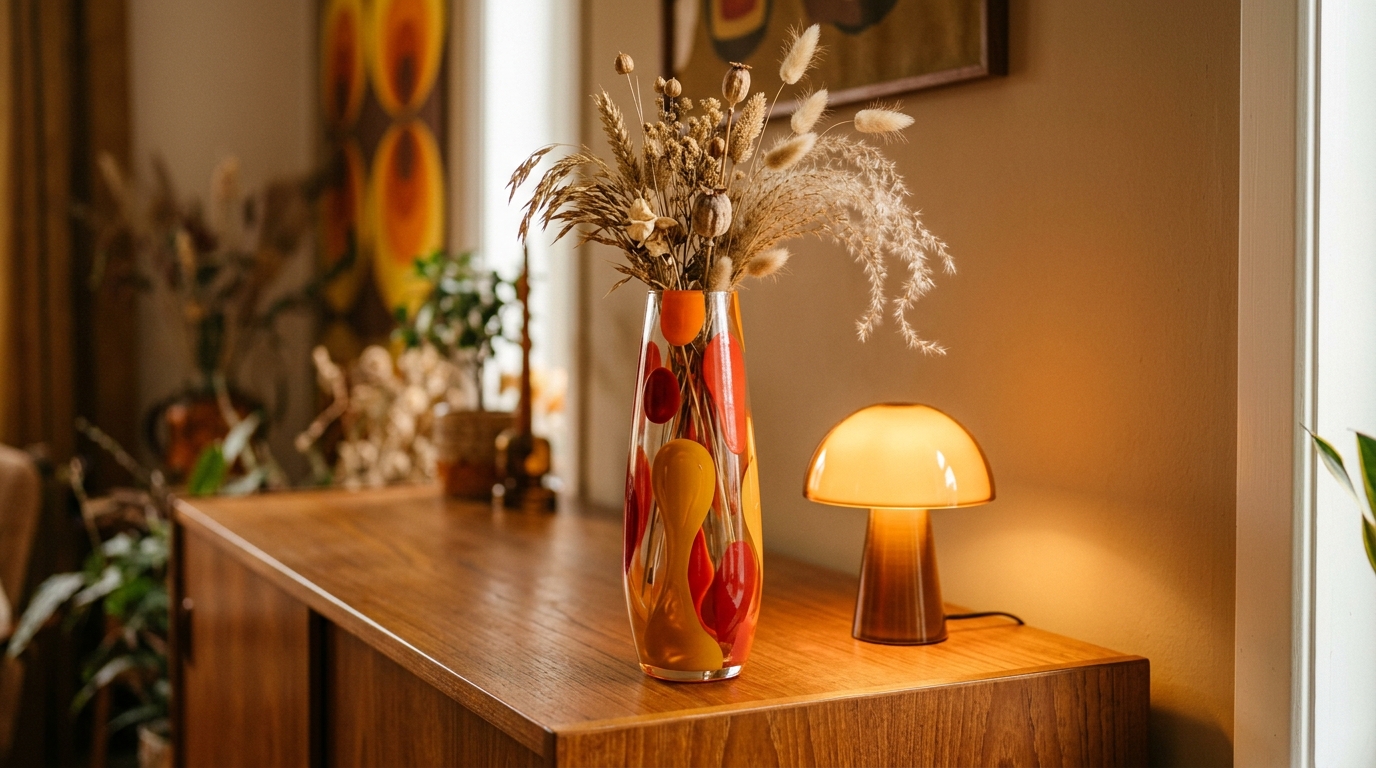
The lava lamp is one of the most famous symbols of the era. You can capture that groovy look in a vase by pouring blobs of orange, red and yellow paint inside clear glass and letting them swirl. Add a few dried flowers and set it beside a small battery LED lamp for a warm glow. It is a fun, colorful project for a rainy day. What colors would make your lava vase?
You will need: A clear glass vase, acrylic paints in warm colors, a paper cup for mixing and dried flowers.
How to make it: 1. Pour a little thinned paint inside the vase and tilt it slowly to make blobs. 2. Add the next color and keep tilting until you like the pattern. 3. Turn it upside down on paper to drain and dry for a day before adding dried flowers.
Fringe Lampshade Makeover
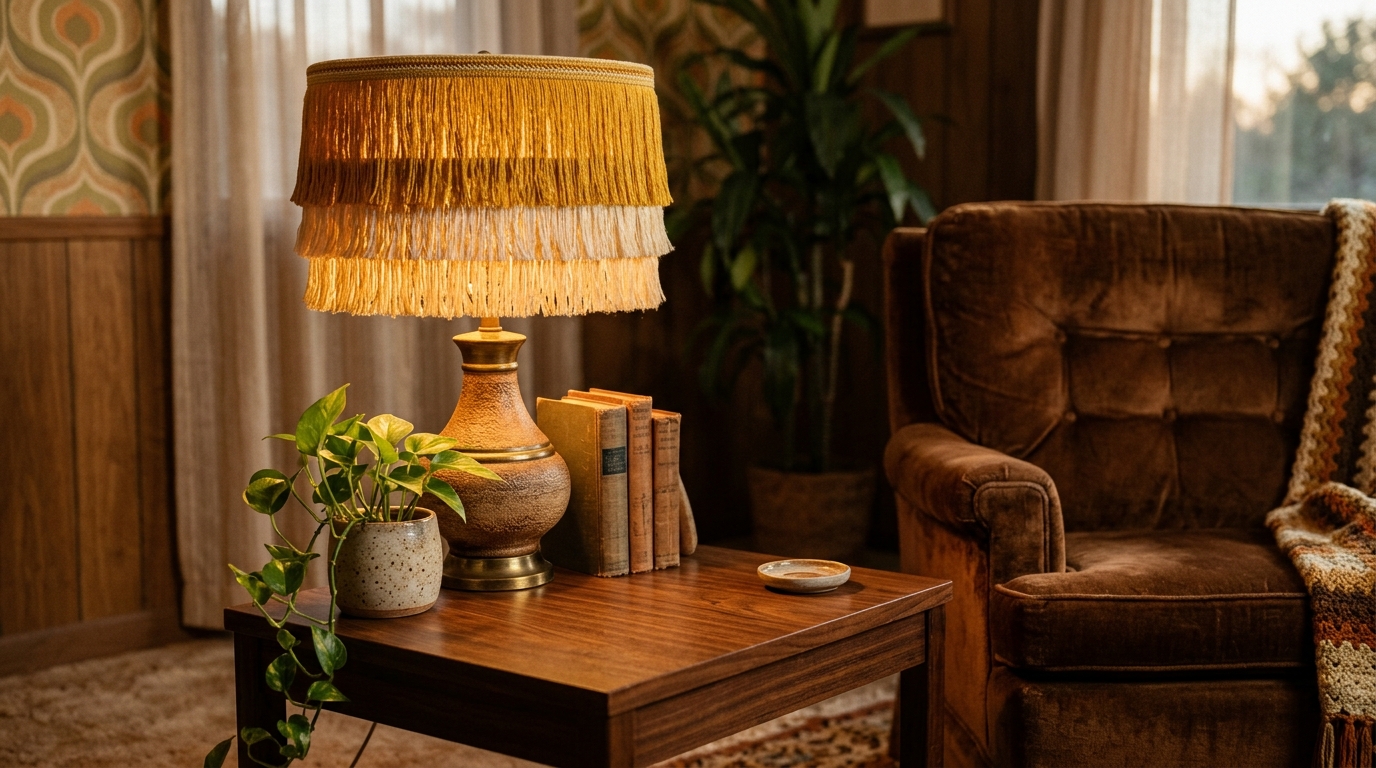
A plain drum lampshade turns into a seventies showpiece with a few rows of fringe trim. Mustard, cream or rust fringe gives a soft, warm glow when the lamp is on. This is a great retro 70s decor trick to update a thrift store lamp for very little money. Use an LED bulb so the shade stays cool. Which room needs this cozy glow the most?
You will need: A plain drum lampshade, fringe trim, fabric glue, clothespins and an LED bulb.
How to make it: 1. Measure around the bottom of the shade. 2. Glue the fringe on in rows, holding it with clothespins while it dries. 3. Let it dry fully before turning the lamp on.
Paint Stirrer Sunburst Clock
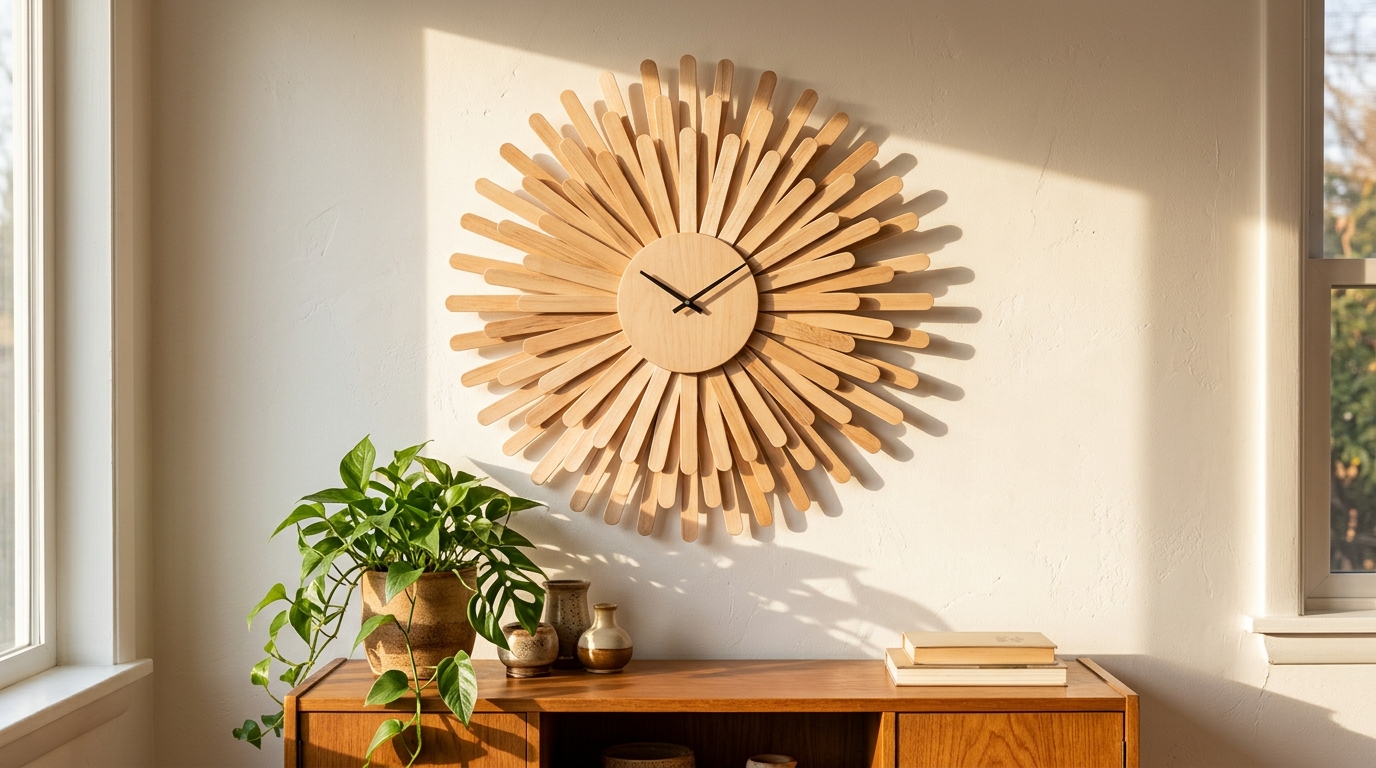
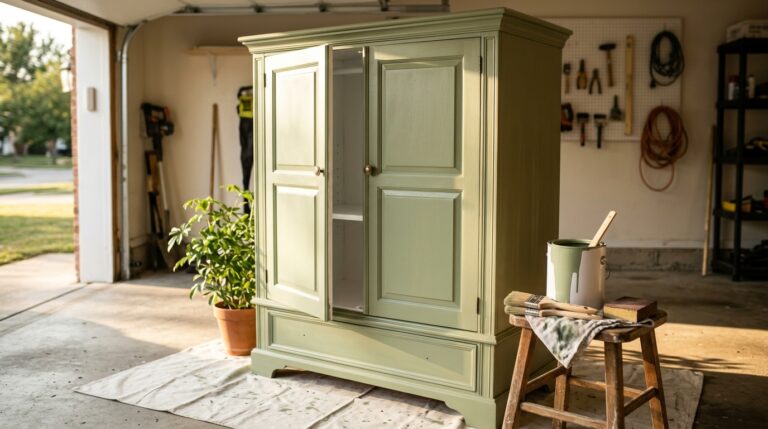
Wooden paint stirrer sticks make a dramatic sunburst clock that looks like it came straight out of a seventies catalog. Arrange the sticks around a simple clock kit in a circle and glue them to a round base. Leave them natural or stain them in warm tones. It is a retro 70s decor showstopper on a plain wall and costs very little. For more ideas on reviving old pieces, see these furniture flips. Where would you hang yours?
You will need: About 24 wooden paint stirrer sticks, a round wood or cardboard base, a clock kit, wood glue and stain if you like.
How to make it: 1. Stain the sticks if you like and let them dry. 2. Glue them evenly around the base like sun rays. 3. Fit the clock kit through the center and hang it on the wall.
Mod Daisy Stool
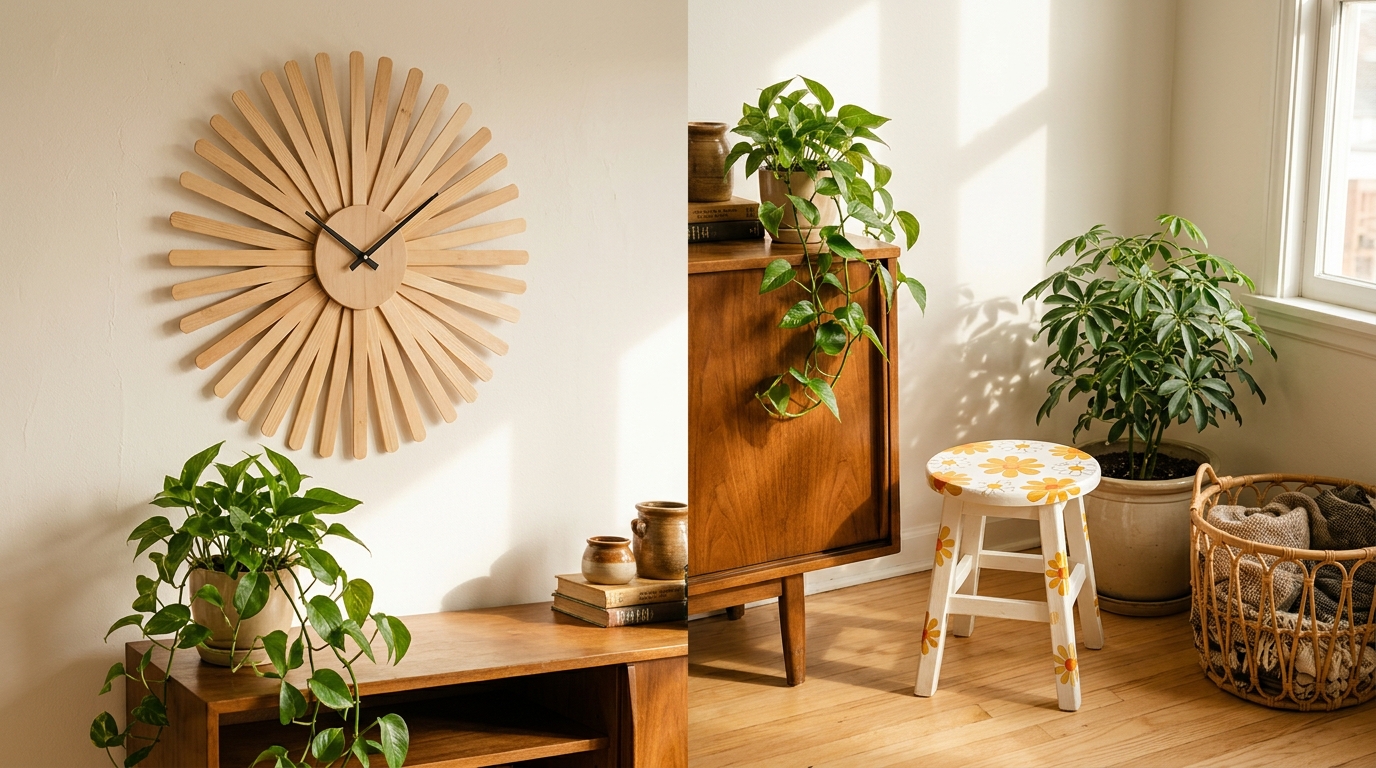
Big cheerful daisies were the flower of the seventies, and they can turn a plain wooden stool into a happy little accent piece. Paint the stool white, then add oversized daisies in yellow, orange and white. It is a great project for using leftover paint, and it brightens up a bathroom, kids’ room or plant corner. Which room needs a little flower power?
You will need: A small wooden stool, sandpaper, white paint, acrylic paints in yellow, orange and white, brushes and clear sealer.
How to make it: 1. Sand the stool lightly and paint it white. 2. Sketch big daisies on the seat and legs, then paint the petals and centers. 3. Finish with a clear sealer to protect the design.
Wooden Bead Curtain
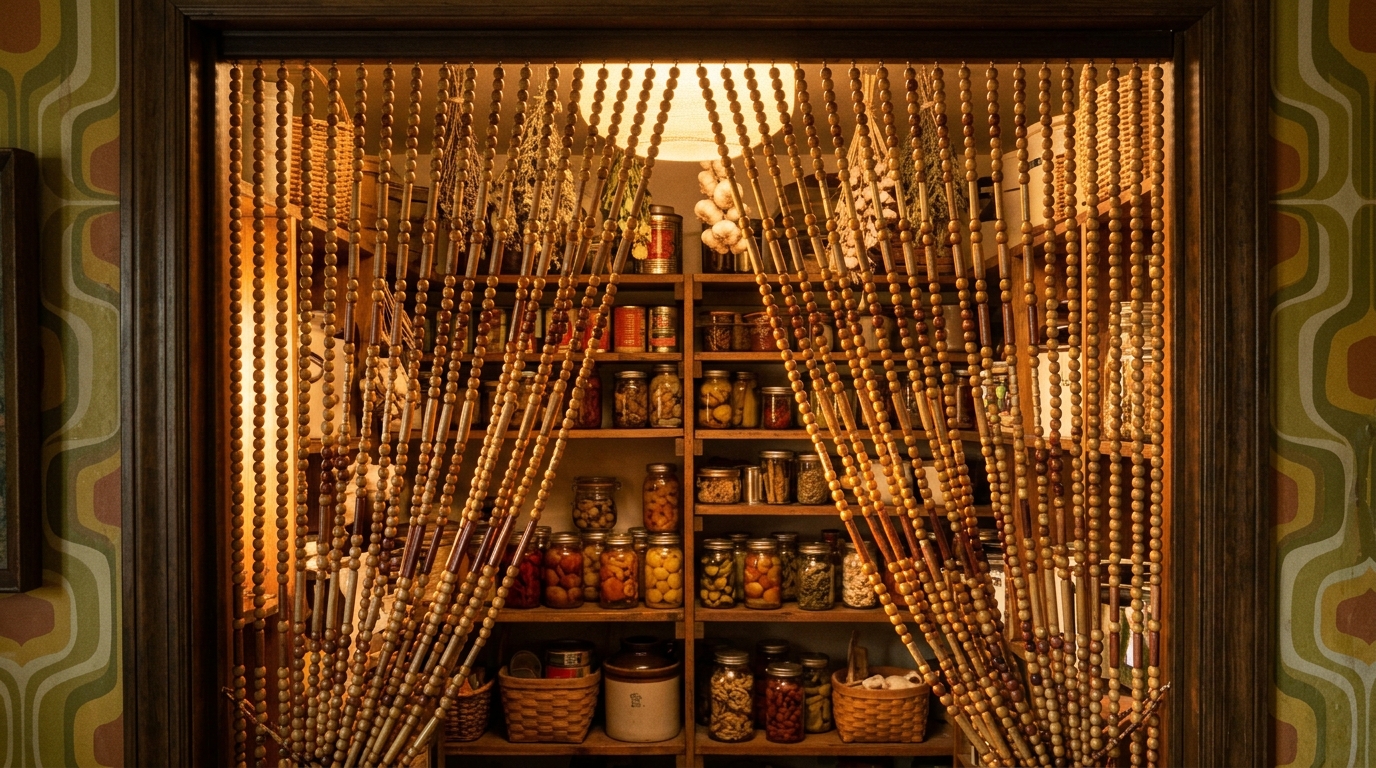
A beaded doorway curtain was a must in many seventies homes, and it still adds fun and movement to a closet or pantry door. Thread wooden beads onto strong cord and hang them from a tension rod. The soft clacking sound as you walk through brings back memories for so many people. Keep beads out of reach of little children. Would you go for natural wood or bright colors?
You will need: Wooden beads, strong cord or fishing line, a tension rod, scissors and small crimp beads or knots.
How to make it: 1. Cut cords a little longer than the doorway. 2. Thread beads onto each cord, knotting the bottom so they stay put. 3. Tie each strand to the tension rod, spacing them evenly.
Dowel Woven Wall Hanging
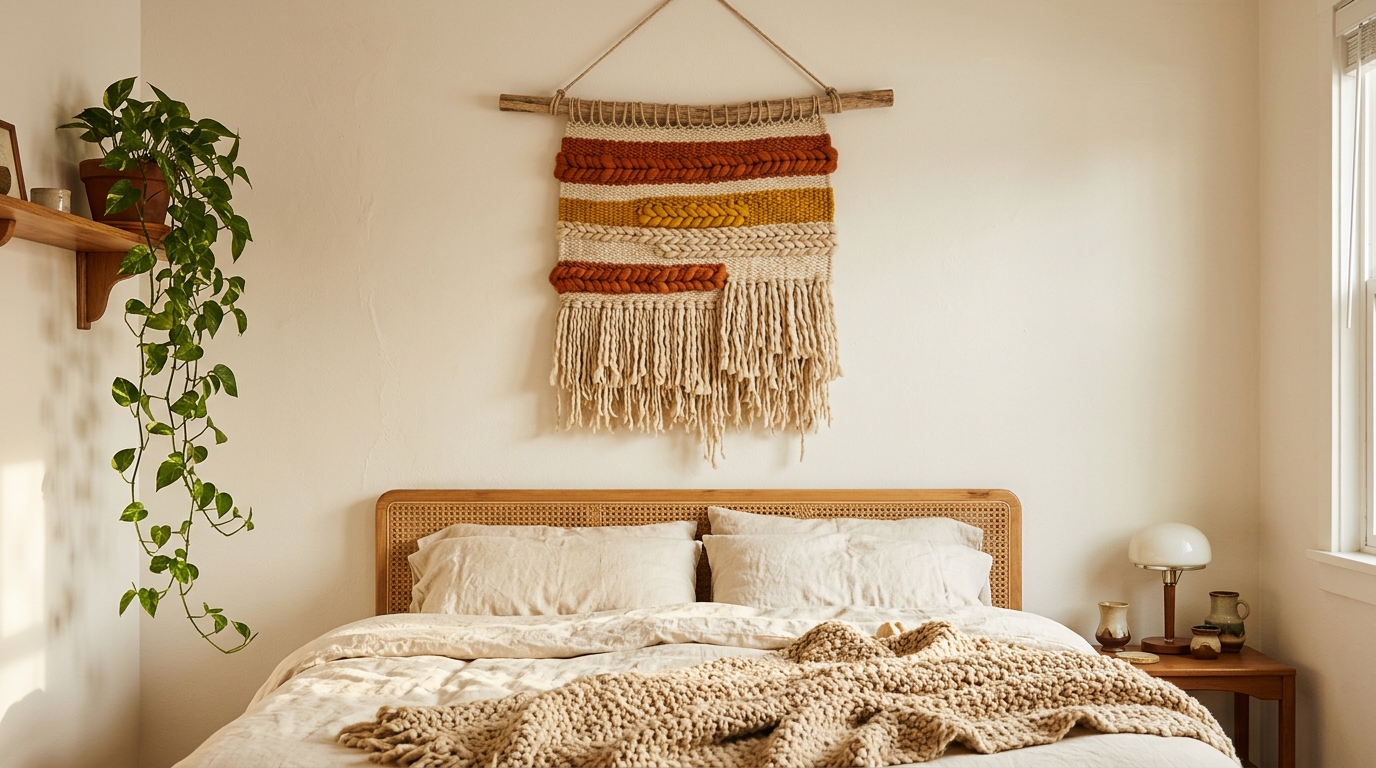
Woven wall hangings with chunky yarn and fringe were everywhere in the seventies, and they are easy to make on a simple cardboard loom. Weave stripes of rust, cream and mustard yarn, then hang it from a wooden dowel. Add long fringe at the bottom for that perfect retro finish. It is the easiest way to finish your retro 70s decor, calming to make and looks beautiful above a bed or sofa. What colors would you weave into yours?
You will need: A piece of sturdy cardboard, chunky yarn in three or four colors, a large yarn needle, scissors and a wooden dowel.
How to make it: 1. Cut notches along the top and bottom of the cardboard and wrap yarn around it to make the warp. 2. Weave colored yarn over and under in rows. 3. Slide the weaving off, tie it to the dowel and add fringe at the bottom.