Ceramic Christmas Tree: 13 Grandma Style Ideas That Bring Back the Glow for Less
A ceramic Christmas tree is the glowing little treasure that sat on grandma’s table every December, and it is back in a big way. Searches for these vintage trees climb every holiday season, and stores are racing to keep up. Even Aldi brought back its nostalgic light up tree, with the mid size version priced just under $10, as Southern Living reported this month. Why do we love them so much? One look at those tiny colored bulbs and you feel like a kid again. Here are 13 ceramic Christmas tree ideas to find, fix, paint and style one without spending a fortune..
Grandma’s Classic Green Ceramic Christmas Tree
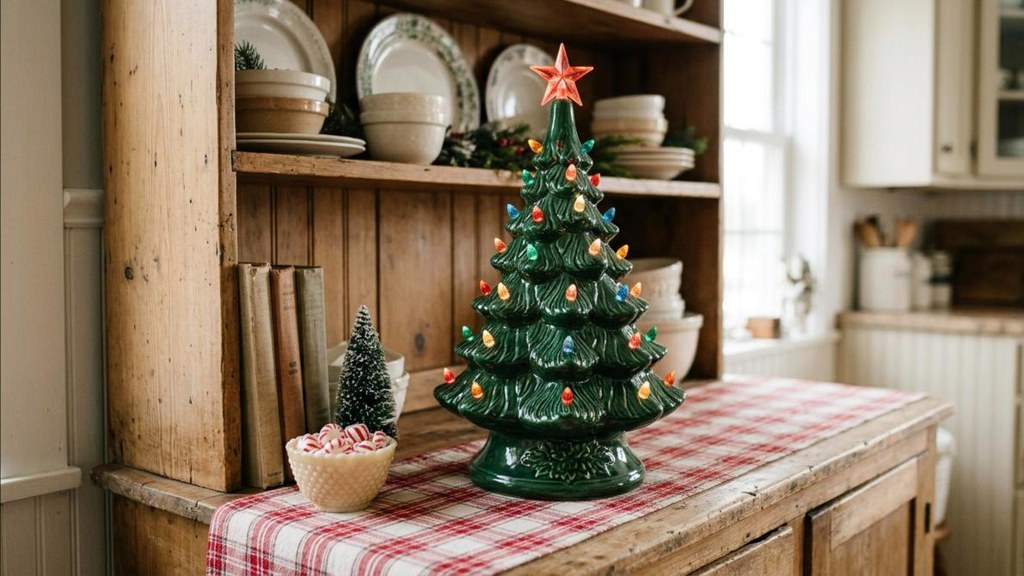
The classic ceramic Christmas tree was born in the 1960s and 1970s, when ceramics classes were a huge hobby across America. People poured liquid clay into molds, fired the trees in a kiln, glazed them a deep green and pressed tiny plastic bulbs into the holes. One small bulb inside the base made every little light glow. Many families still have the one grandma made by hand, often with her name and the year scratched under the base. Today these trees are one of the most searched vintage decorations of the season. You can find an original at an estate sale, buy a new one, or paint your own. Set it on a table near a window so the colors bounce off the glass at night. Do you remember the first one you saw glowing..
You will need: a ceramic tree with its base, a new UL listed light kit, plastic twist bulbs, a star topper, a small doily or runner.
How to make it: 1. Set the base on a flat, dry surface. 2. Fit the tree on the base and press each little bulb into its hole. 3. Add the star, plug it in and enjoy that soft glow.
Give a Thrift Store Tree a Fresh Start
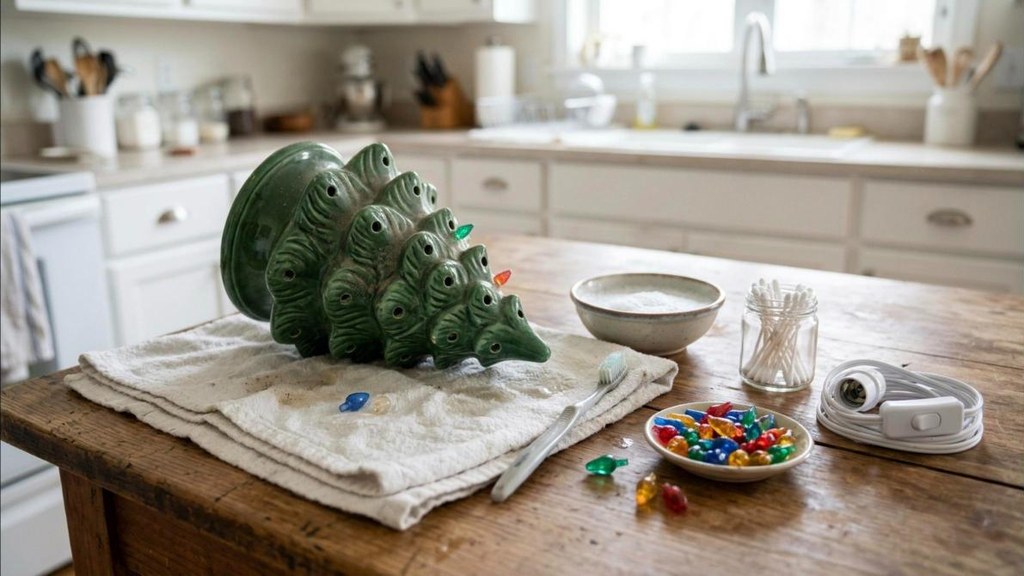
Thrift stores, yard sales and Facebook Marketplace are full of ceramic trees that just need a little love, and many cost less than $20. Look for a tree with no deep cracks and a base that sits level. Small chips on the back are fine because they will face the wall. At home, wipe the tree with a soft cloth and warm, mildly soapy water, then use cotton swabs to clean the dust out of each bulb hole. Let it dry overnight. Old cords can be brittle, so never trust the original wiring. Swap in a brand new UL listed light kit made for ceramic trees, which costs only a few dollars online or at craft stores. Now you have a safe tree that looks just like grandma’s. Isn’t it nice when a bargain gets a second life?
You will need: mild dish soap, warm water, a soft cloth, a soft toothbrush, cotton swabs, a new UL listed ceramic tree light kit.
How to make it: 1. Remove the old bulbs and set the old cord aside to throw away. 2. Wash, swab every hole and let the tree dry overnight. 3. Fit the new light kit into the base and replace the bulbs.
Replace the Missing Bulbs and Star
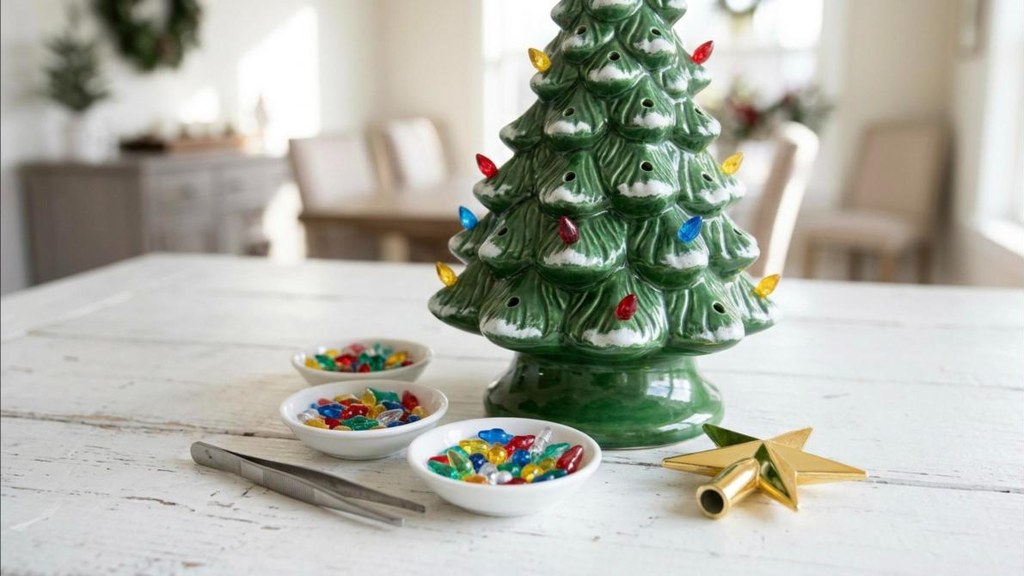
Missing bulbs are the number one reason people pass on a vintage tree, but they are easy and cheap to replace. Search online for ceramic tree replacement bulbs and you will find packs of 100 or more twist bulbs in classic multicolor, clear, or even bird and star shapes for a few dollars. Craft stores like Michaels and Hobby Lobby often carry them in the ceramics aisle each fall. Measure a hole first, since most trees take small bulbs but some older ones use larger sizes. A pair of tweezers makes it easy to twist each one in snug. Lost the topper? A new star is just as easy to find. Mix shapes for a playful look, or keep one color for a calm, modern feel. Which colors will you pick?
You will need: a pack of plastic replacement bulbs, a star topper, tweezers, a small ruler, a dish to hold the bulbs.
How to make it: 1. Measure one bulb hole and order the matching bulb size. 2. Twist each new bulb in with tweezers. 3. Push the new star firmly into the top hole.
Paint Your Own Ceramic Christmas Tree
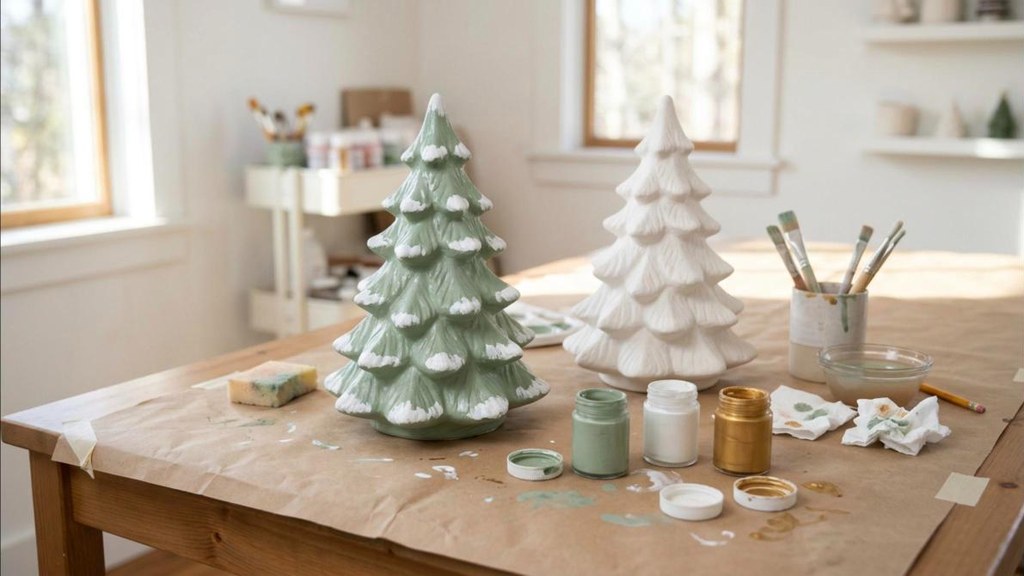
Want a ceramic Christmas tree that matches your home exactly? Paint one yourself. Many paint your own pottery studios offer bisque trees every fall, and you can also buy plain unpainted trees online. At a studio, you pick the glazes and they fire the tree for you, so it comes back glossy. At home, use acrylic craft paint in two or three thin coats, then finish with a clear spray sealer for shine. Try a deep emerald with gold tips, a snowy white with a dry brushed silver edge, or a soft sage green that looks very current. Dab a little white paint on the branch tips for a snowy effect. It makes a lovely gift too, especially with the year painted under the base. Who on your list would love one?
You will need: an unpainted bisque ceramic tree, acrylic craft paint, soft brushes, a small sponge, clear gloss spray sealer.
How to make it: 1. Wipe the bisque tree clean and paint two or three thin base coats. 2. Sponge white or gold on the branch tips. 3. Seal it outdoors with clear spray and let it cure for a day.
An All White Ceramic Christmas Tree for a Modern Home
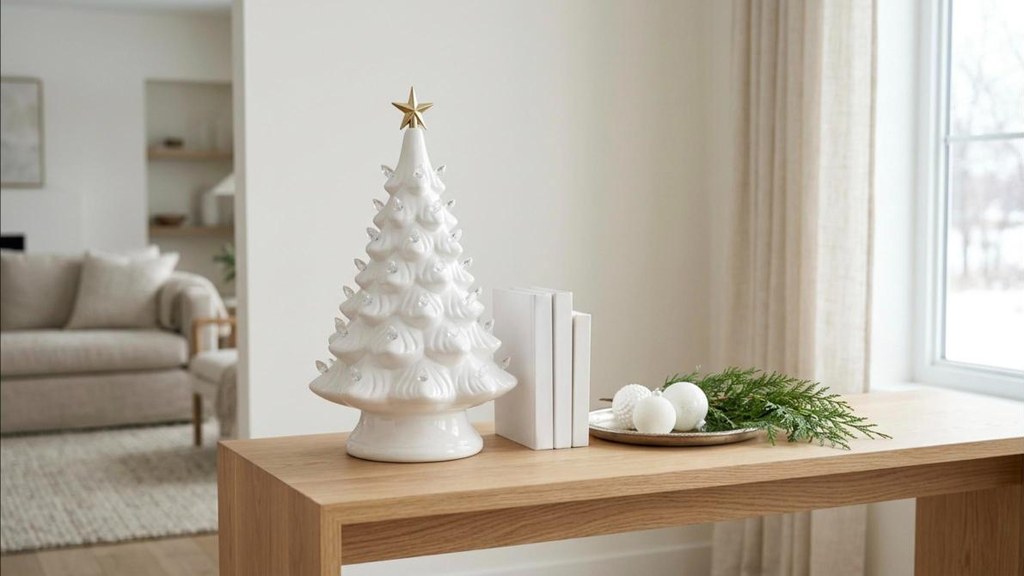
An all white ceramic Christmas tree fits almost any room, from farmhouse to modern. White glaze looks like fresh snow and lets clear or gold bulbs sparkle without fighting the rest of your decor. If you already have a green tree, you can paint it white with a primer made for glossy surfaces and two coats of satin acrylic paint. Pop the bulbs out first and put them back once it is dry. Style it on a console with a stack of white books, a silver tray and a little greenery. Add a gold star and it looks like a pricey boutique piece. Clear bulbs give a crisp, icy look, while gold bulbs warm it up. Would you go icy or warm in your home?
You will need: a white ceramic tree or a green one plus bonding primer and white satin paint, clear or gold bulbs, a gold star.
How to make it: 1. Remove the bulbs and prime the tree if it is not already white. 2. Paint two thin coats of white and let it dry. 3. Add clear or gold bulbs and a gold star.
A Pink and Pastel Ceramic Tree
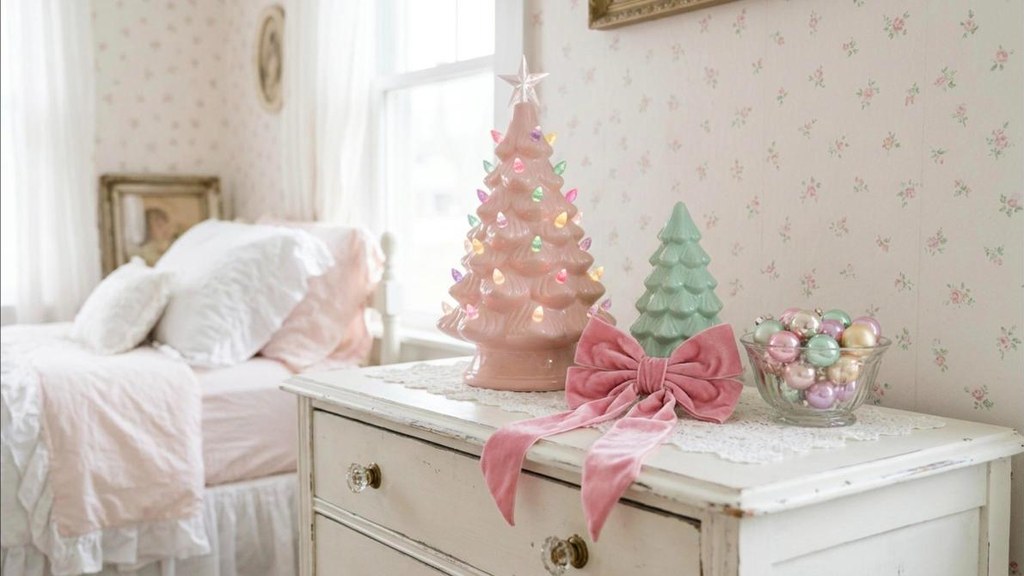
Pink Christmas decor keeps growing every year, and a pink ceramic tree is the sweetest way to try it. Vintage pink trees are rare and pricey, but newer ones in blush, mint and baby blue are easy to find. You can also paint a white tree pink with a soft satin finish. Swap the bulbs for pastel or clear ones so the look stays gentle. Set it on a dresser or a bar cart with a pink velvet bow, a few glass ornaments in a bowl and a little silver tinsel. It looks charming in a bedroom, a powder room or an office, and grown ups love it just as much as kids do. Pair a pink tree with a mint one for a candy shop feel. Isn’t it fun to break from red and green for once?
You will need: a pink ceramic tree or a white one plus pink satin paint, pastel bulbs, pink velvet ribbon, a few glass ornaments.
How to make it: 1. Paint a white tree pink if needed and let it dry fully. 2. Fill the holes with pastel or clear bulbs. 3. Style it with a velvet bow and a bowl of ornaments.
A Ceramic Christmas Tree Kitchen Display
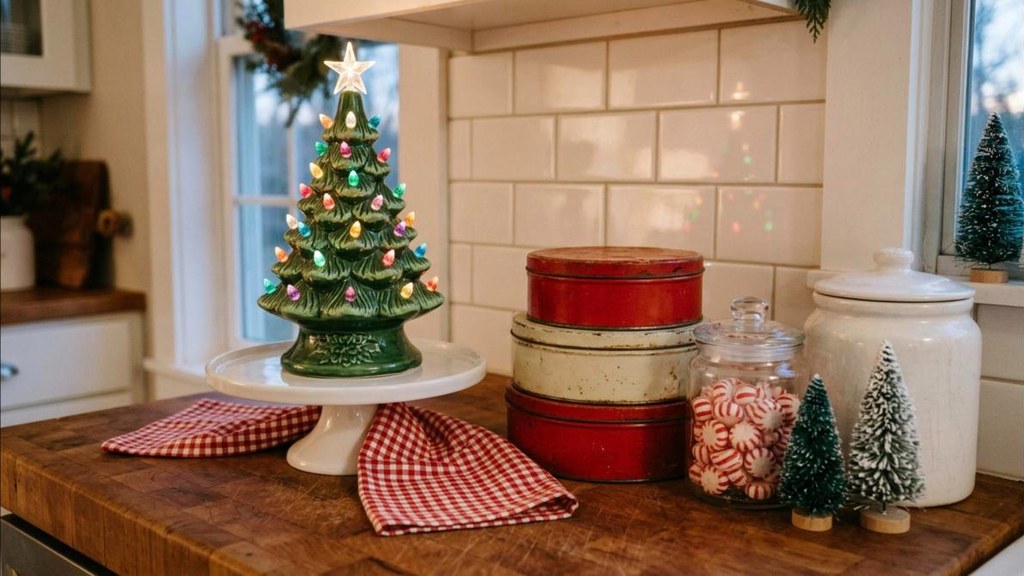
The kitchen was where grandma’s ceramic Christmas tree usually lived, glowing on the counter while the cookies cooled. Bring that feeling back by building a little display around your tree. Set it on a wooden board or a cake stand to give it some height. Add a vintage cookie jar, a stack of old tins, a glass jar of peppermints and a small bottle brush tree or two. A red and white checked tea towel folded under the board ties it all together. Keep it at the back of the counter or on an open shelf so it stays safe from splashes. At night, turn off the main lights and let the tree be your night light. Who else thinks a glowing kitchen counter feels like a hug?
You will need: a ceramic tree, a wooden board or cake stand, vintage tins, a cookie jar, a jar of peppermints, a checked tea towel.
How to make it: 1. Place the tree on a raised board at the back of the counter. 2. Group the tins, jar and cookie jar around it in odd numbers. 3. Tuck the folded tea towel under the board.
Build a Little Village Around the Tree
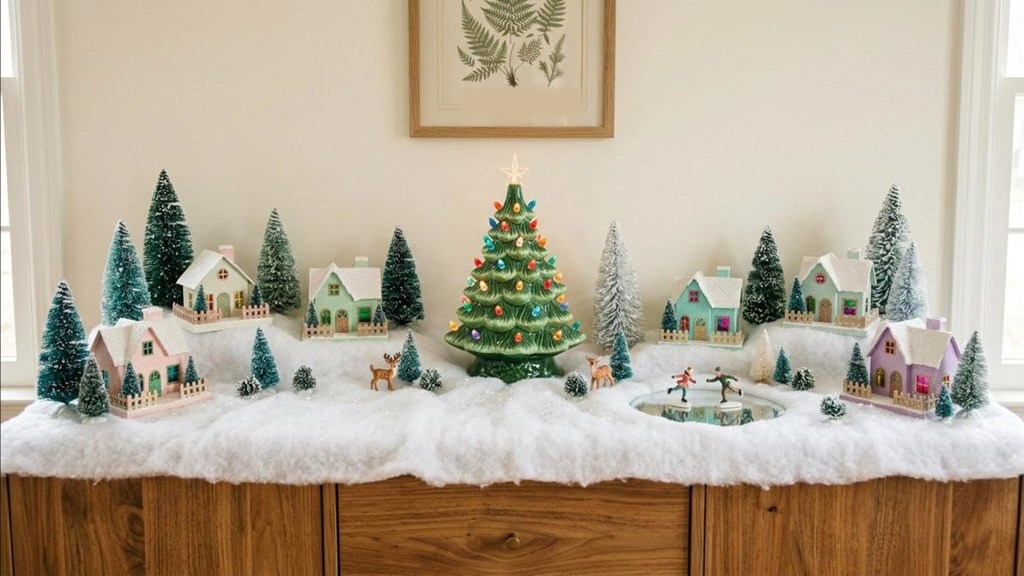
Put your tree at the center of a small Christmas village and it becomes the star of the whole scene. Lay a soft batting snow blanket on a sideboard or a deep shelf. Set the ceramic tree in the middle like a town square. Around it, place little putz houses, which are those vintage style cardboard houses with glitter roofs, plus bottle brush trees in a few sizes. Sprinkle a light layer of faux snow and add a few tiny figures, like skaters on a little mirror pond. Dollar stores sell many of these pieces each fall, so the whole scene can come together for very little money. Tuck books under the snow blanket for a rolling hill look. Which little scene would you build first?
You will need: a ceramic tree, a batting snow blanket, putz style houses, bottle brush trees, faux snow, a small mirror, tiny figures.
How to make it: 1. Spread the snow blanket over books to make hills. 2. Set the tree in the center and arrange houses around it. 3. Add bottle brush trees, a mirror pond and a dusting of snow.
Start a Mini Ceramic Tree Collection
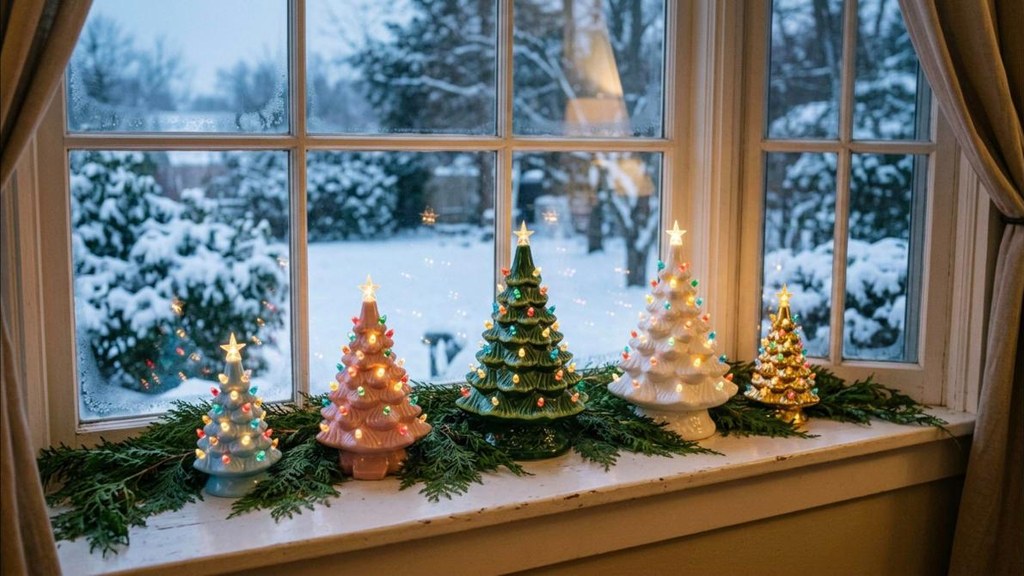
One big tree is lovely, but a group of mini ceramic trees has its own charm. Many shops now sell small ceramic trees from 4 to 8 inches tall, often for under $15 each, and lots of them run on batteries, so you do not need an outlet. Collect three to five in different colors, like green, white, pink and gold, and line them up on a windowsill, a bookshelf or a mantel. Vary the heights and keep odd numbers for a natural look. A strip of greenery or a fabric runner under them pulls the group together. Set them on a timer so they switch on at dusk and greet you every evening. A collection like this is easy to add to year after year. How many would fit on your windowsill?
You will need: three to five mini ceramic trees, batteries, a short greenery garland or fabric runner.
How to make it: 1. Pick trees in different heights and colors. 2. Lay a runner or garland along the sill or shelf. 3. Space the trees from tallest to shortest and switch them on.
Clay Ceramic Tree Ornaments and Shelf Sitters
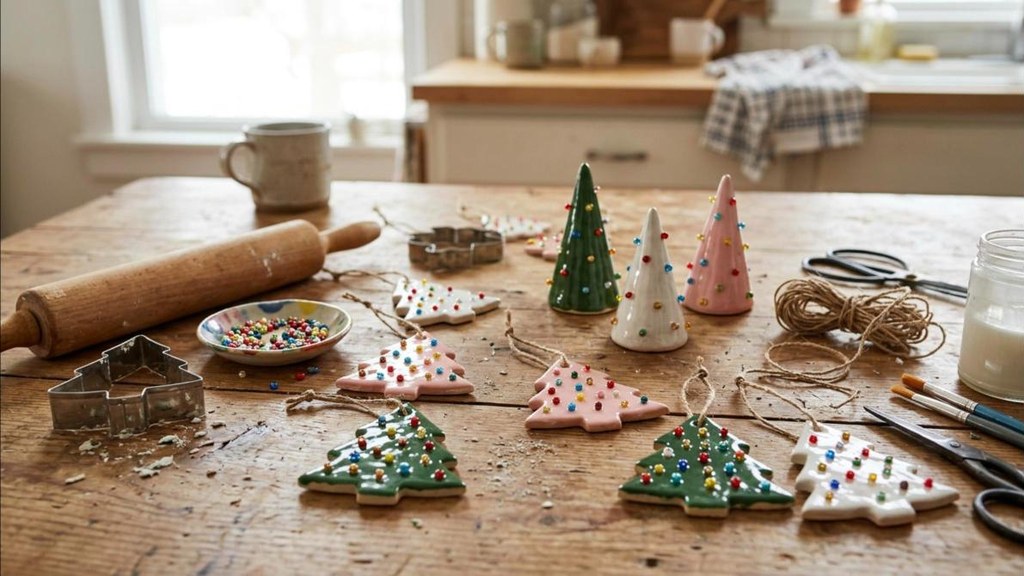
Love the look but want something for the big tree too? Make little ceramic style tree ornaments from air dry clay. Roll the clay about a quarter inch thick and cut tree shapes with a cookie cutter. Press tiny colorful beads into the clay to look like the bulbs, then poke a hole at the top for twine. Let them dry for a day or two and paint them green, white or pink around the beads. A coat of gloss varnish makes them look like real glazed ceramic. For shelf sitters, shape the clay into a cone over a ball of foil so it stands up on its own. These make sweet gift toppers and are perfect for an ornament exchange. They also sell nicely at craft fairs. Could you make a batch in one afternoon?
You will need: air dry clay, a rolling pin, a tree cookie cutter, small colorful beads, acrylic paint, gloss varnish, twine, foil.
How to make it: 1. Roll the clay, cut trees and press in the beads. 2. Poke a hanging hole and let them dry for one to two days. 3. Paint, varnish and tie on twine loops.
Ceramic Tree Party Platters and Deviled Egg Plates

The ceramic tree has moved from the shelf to the party table. One of the fastest rising searches this fall is the ceramic tree deviled egg holder, a serving plate shaped like the tree with a little well for each egg. You will also find cookie platters, snack trays, mugs and even cake stands with that bumpy tree look at HomeGoods, TJ Maxx, craft stores and online shops. Hosting on a budget? Arrange cheese cubes and grape tomatoes in a tree shape on a plain white platter, using fresh rosemary for branches and bright cherry tomatoes as the bulbs. Guests will smile the second they see it. Use one statement dish per table so it feels special, not overdone. Which dish would your guests love most?
You will need: a tree shaped deviled egg plate or a plain white platter, cheese cubes, cherry tomatoes, fresh rosemary sprigs.
How to make it: 1. Pick one tree shaped serving piece as the star of the table. 2. For a budget version, lay rosemary in a tree outline on a platter. 3. Fill it with cheese cubes and dot it with cherry tomato bulbs.
Budget Ceramic Christmas Tree Lookalikes That Give the Same Glow
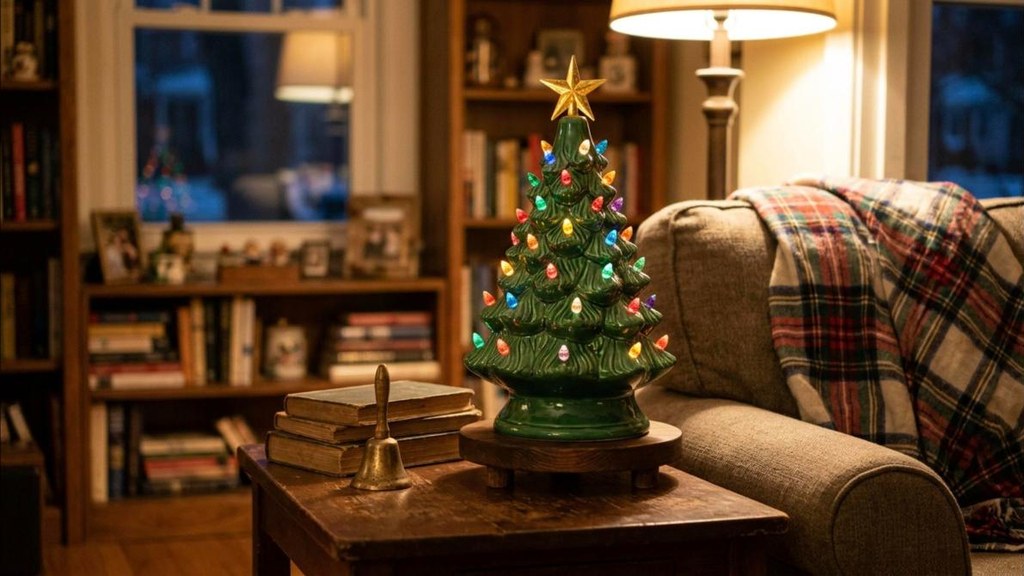
You do not have to pay vintage prices to get that cozy glow. Southern Living recently reported that Aldi’s Merry Moments nostalgic tree is back, with a mid size version just under $10 and a large one for about $19. Michaels, Hobby Lobby, Target and Walmart also carry lookalike trees each season, and dollar stores often stock small battery ones. Many are made of resin instead of real ceramic, but from across the room no one can tell. To make a cheap ceramic Christmas tree look richer, set it on a wooden riser, swap in brighter bulbs and add a vintage style star. Shop early, since these trees sell out fast once December arrives. Wouldn’t it be nice to have the look for the price of lunch?
You will need: a budget lookalike tree, a small wooden riser or cutting board, extra bulbs, a vintage style star.
How to make it: 1. Buy early and test the lights at home. 2. Swap any dull bulbs for brighter ones. 3. Raise the tree on a wooden riser and add a nicer star.
What an Old Ceramic Christmas Tree Is Worth
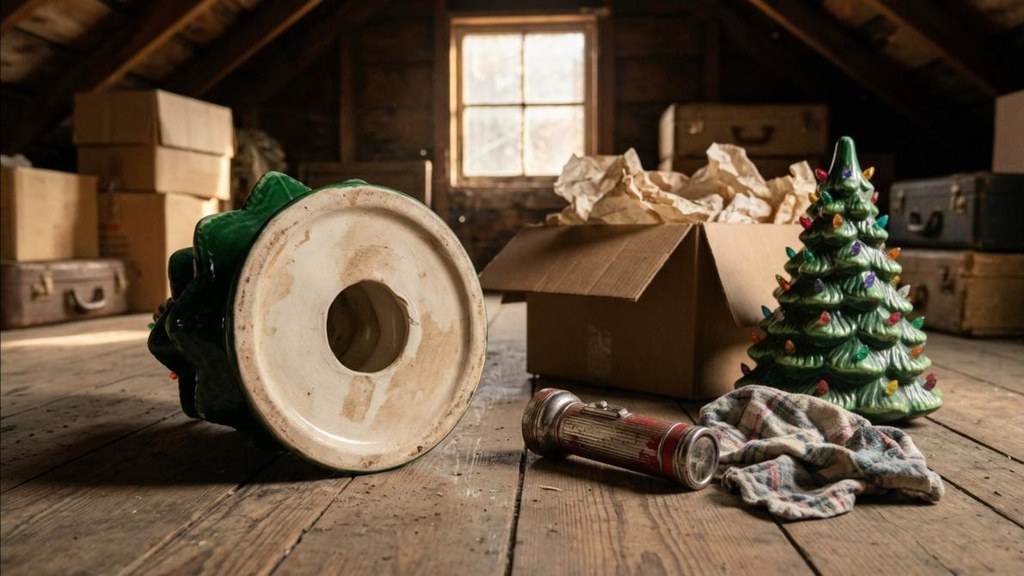
Before you donate grandma’s old ceramic Christmas tree, take a closer look, because some are worth real money. Flip it over and check the base for mold maker names like Atlantic Mold, Holland Mold or Duncan, plus the year and the name of the person who made it. Trees with all their original bulbs, rare colors like pink or blue, a music box or extra tall sizes are the most wanted. Use a flashlight to look for cracks, and wipe off dust with a soft cloth before you take photos. Many common green trees sell for under $100, while rare colors and big sizes can bring a few hundred dollars. Check sold listings on eBay or Etsy to price yours fairly. Is there one hiding in your attic right now?
You will need: a flashlight, a soft cloth, a phone camera, a measuring tape.
How to make it: 1. Turn the tree over and read every mark on the base. 2. Measure it and check for cracks with a flashlight. 3. Compare sold listings, then photograph it in daylight to sell.