Christmas Tree Hacks: 13 Easy Tricks That Make Your Tree Look Professionally Decorated
Christmas tree hacks are the little secrets that turn an ordinary tree into the one everybody wants to take a picture with. Have you ever seen a tree in a hotel lobby or a store window and wondered why yours never looks that full? It is not about spending more money. Designers simply use a few clever tricks with lights, ribbon, fillers and placement. Once you know them, you will see the difference right away. Every idea below works on a real or artificial tree, big or small, and most use things you already have in your holiday bins. Some take five minutes and others take an evening with a cup of cocoa and your favorite music. Let’s make this the year your tree looks like a designer decorated it..
Christmas Tree Hacks Start With a Ribbon Waterfall
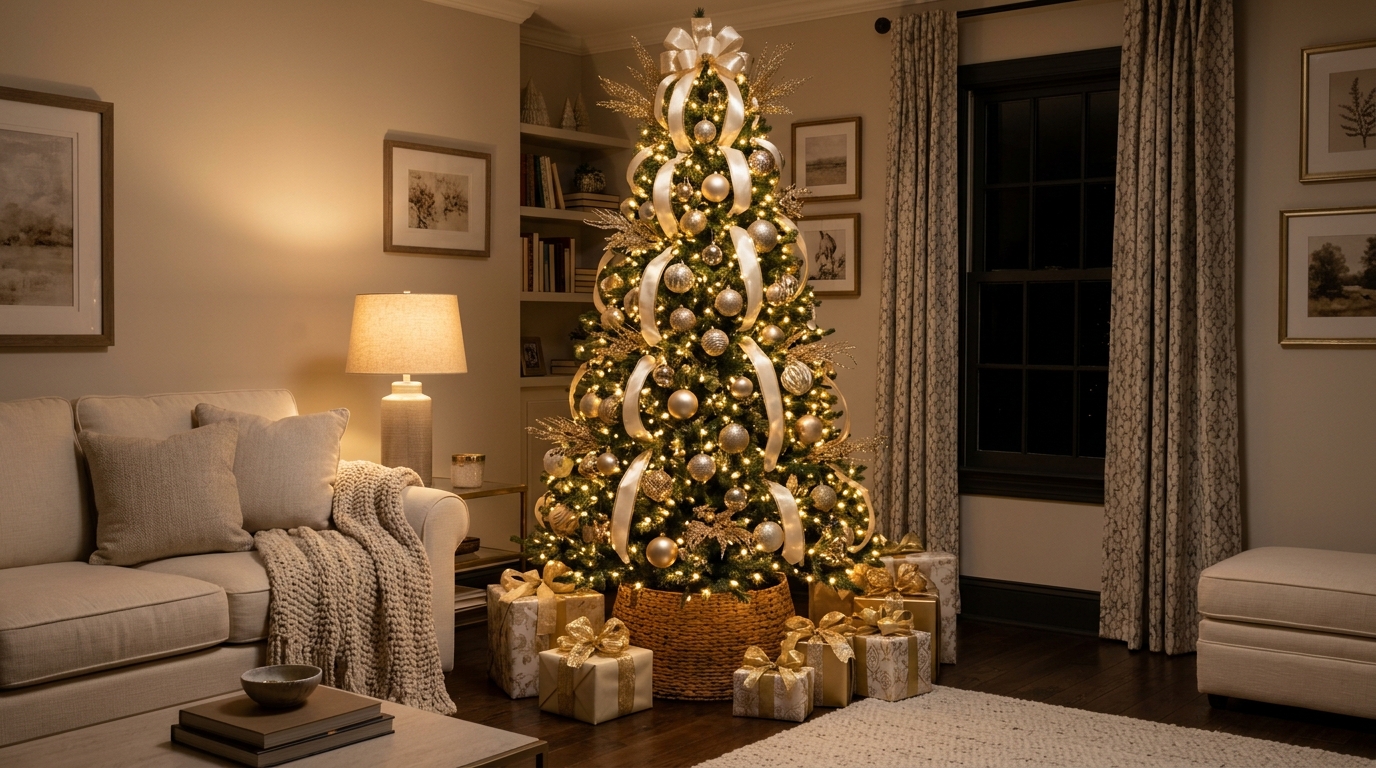
The ribbon waterfall is the trick that makes people gasp. Instead of wrapping ribbon around the tree like a belt, you let it fall from the top in long loose streams, tucking it into the branches every foot or so. It looks like the ribbon is flowing down the tree. Wide wired ribbon works best because it holds a soft wave. Two colors, like champagne and cream, add depth. Start with three or four streams, step back and add more until it feels full..
You will need: Two or three rolls of wide wired ribbon (2.5 to 4 inches), scissors, floral wire or pipe cleaners.
How to make it: 1. Secure the end of each ribbon near the top of the tree with floral wire. 2. Let the ribbon fall down a few inches, then tuck it into the branches. 3. Pull out a soft wave and tuck again, working your way down. 4. Repeat with more streams spaced evenly around the tree.
Christmas Tree Hacks for Lights: Wrap Every Branch
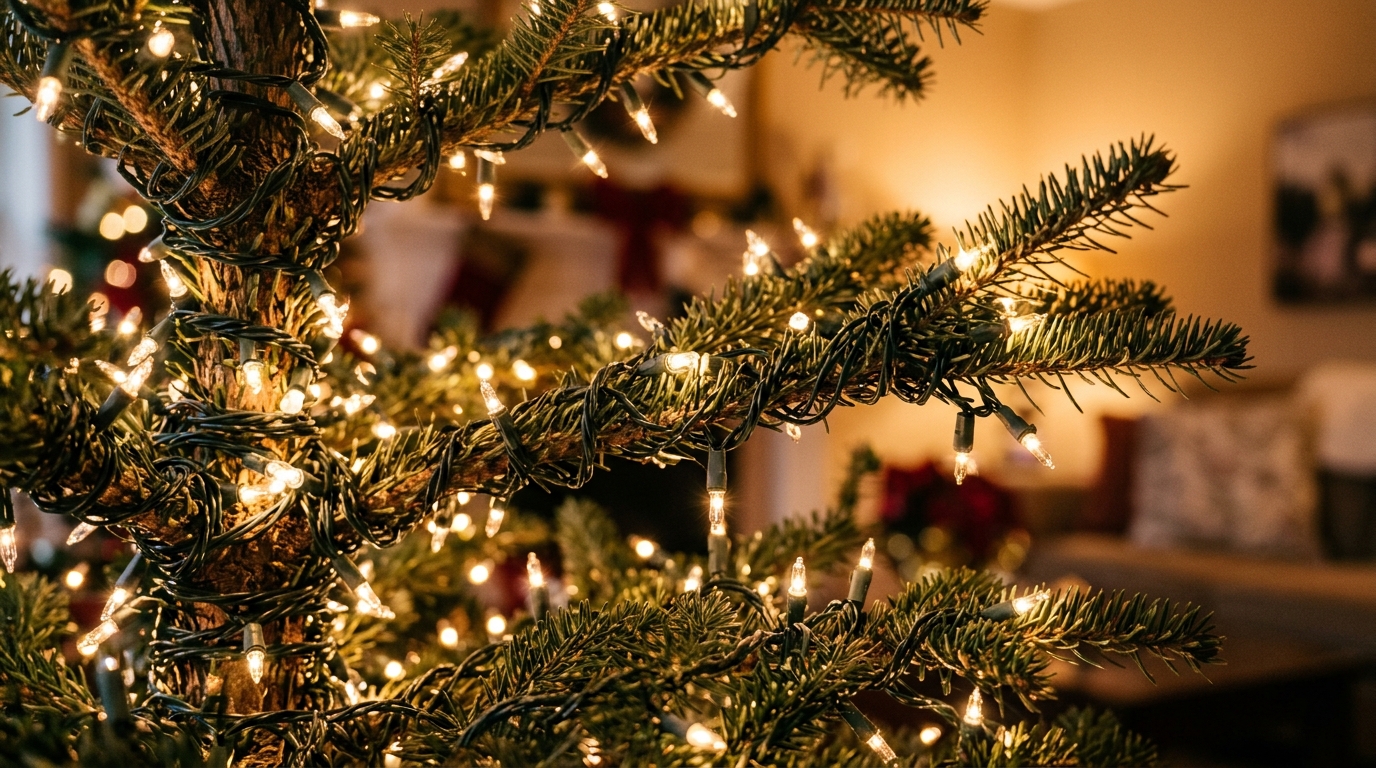
This is one of the best Christmas tree hacks, and it is the secret behind trees that glow from deep inside. Instead of circling the outside of the tree, you run the lights from the trunk out to the tip of each big branch and back again. It takes longer, but the tree looks rich and full, not like it has lights sitting on top. Plan on about 100 lights per foot of tree for that designer look. Use LED strands, and never connect more strands end to end than the box says is safe. Ready for an evening project?
You will need: LED mini light strands (about 100 lights per foot of tree), a power strip with a switch, extension cord rated for indoor use.
How to make it: 1. Plug in the lights before you start to make sure they work. 2. Starting at the bottom near the trunk, run the strand along a branch to the tip and back. 3. Move to the next branch and repeat, working up the tree. 4. Check the box for how many strands can be safely connected and use a power strip.
Hang Lights Vertically for an Even Glow
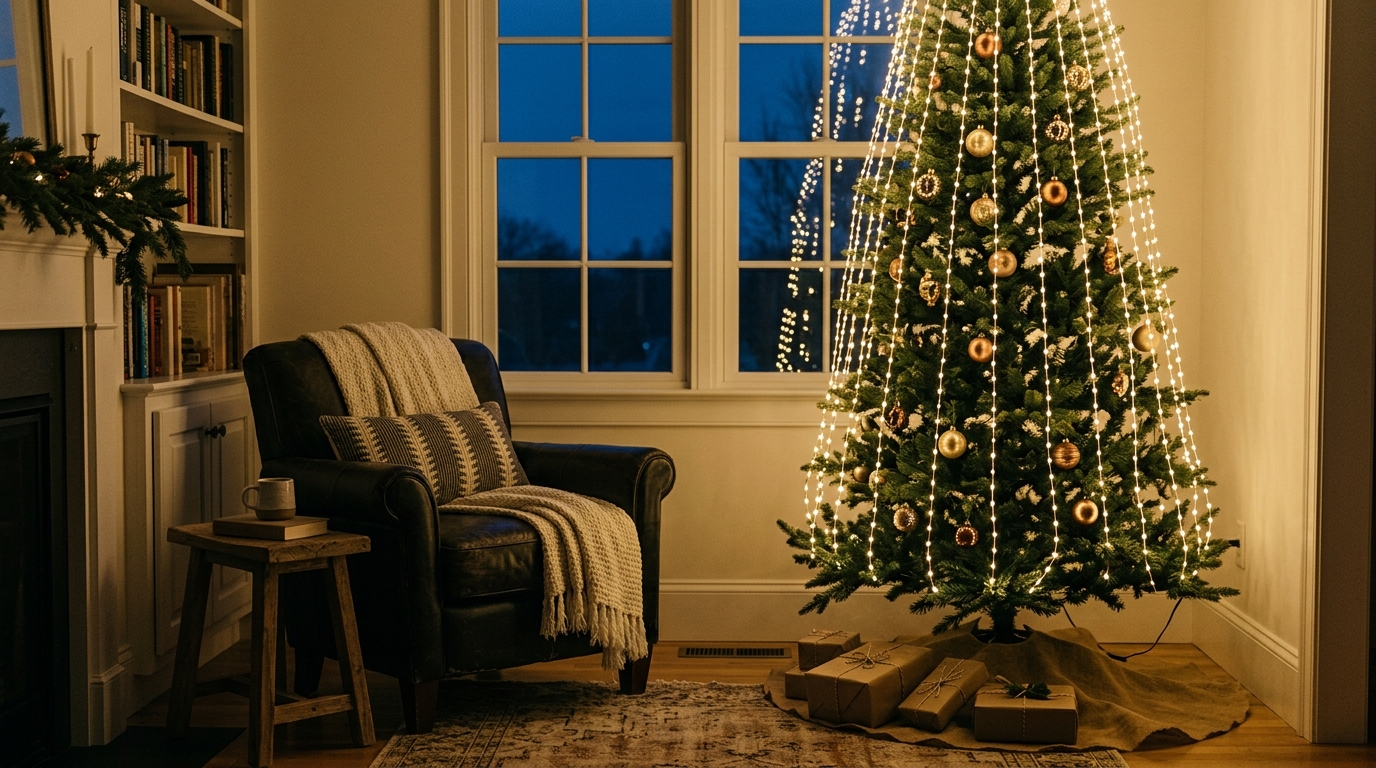
Here is one of the Christmas tree hacks that went viral online with millions of views. Instead of wrapping lights around and around, you hang them in straight lines from the top of the tree down to the bottom. It is faster, it uses fewer strands and taking them down in January is a breeze. The light spreads evenly from top to bottom, with no dark spots. It works especially well on slim trees. Could this save you an hour of tangled cords this year?
You will need: LED light strands, small clips or twist ties.
How to make it: 1. Start at the top of the tree with the plug end at the back. 2. Drop the strand straight down to the bottom. 3. Loop it back up a few inches over, like a zigzag. 4. Clip the strand to branches here and there so it stays in place.
Fluffing, the Christmas Tree Hacks Step Everyone Skips
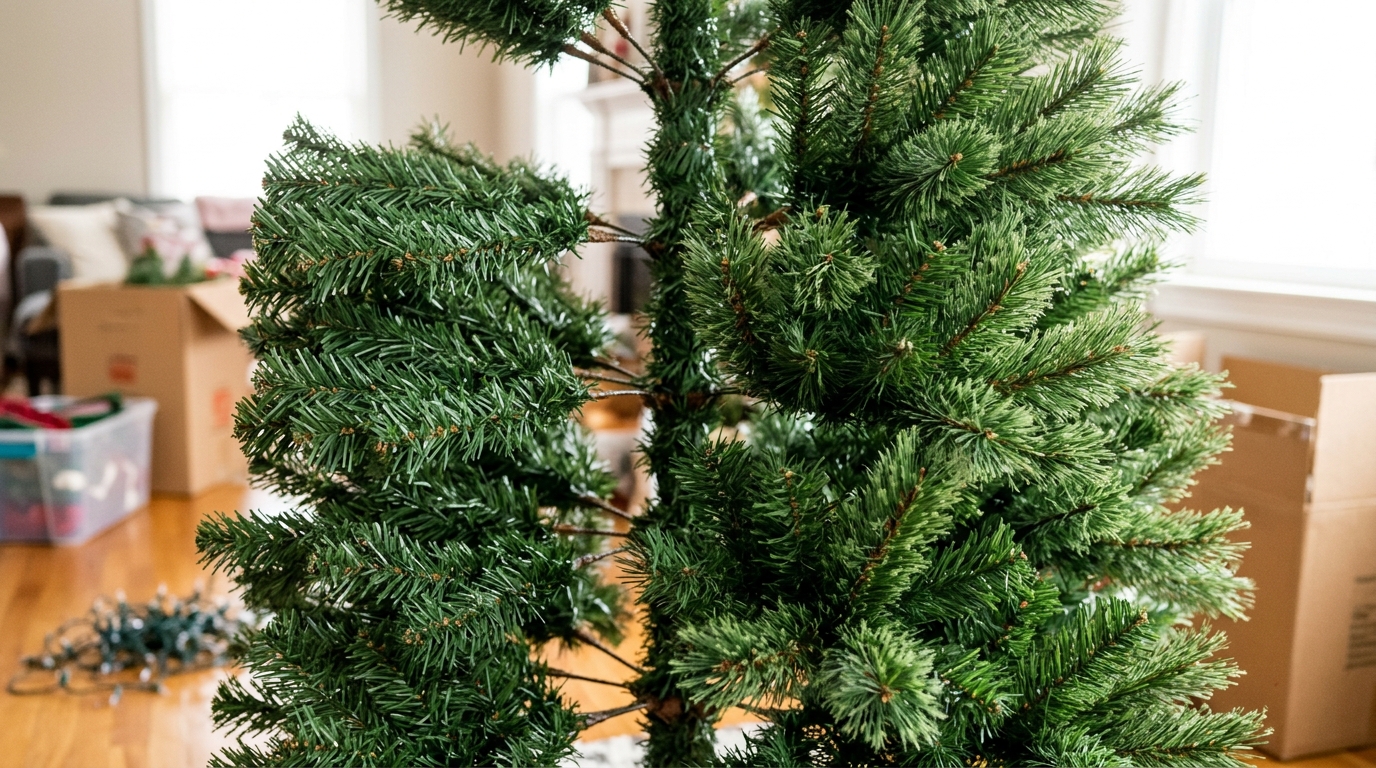
Artificial trees come out of the box looking flat and sad. The fix is fluffing, and of all Christmas tree hacks it is the one people skip most, and it makes a bigger difference than any ornament. Separate every little tip on each branch and bend them up and out in a fan shape, like an open hand. Start at the bottom and work up, one section at a time. Some tips should point up, some to the side and a few down. It takes about an hour for a big tree, so put on a movie. Have you ever skipped this step?
You will need: Artificial tree, garden gloves to protect your hands, a step stool.
How to make it: 1. Start with the bottom row of branches nearest the trunk. 2. Separate each tip and bend it up and out like a fan. 3. Work your way out to the end of each branch. 4. Move up row by row until you reach the top.
Fill the Gaps With Floral Picks
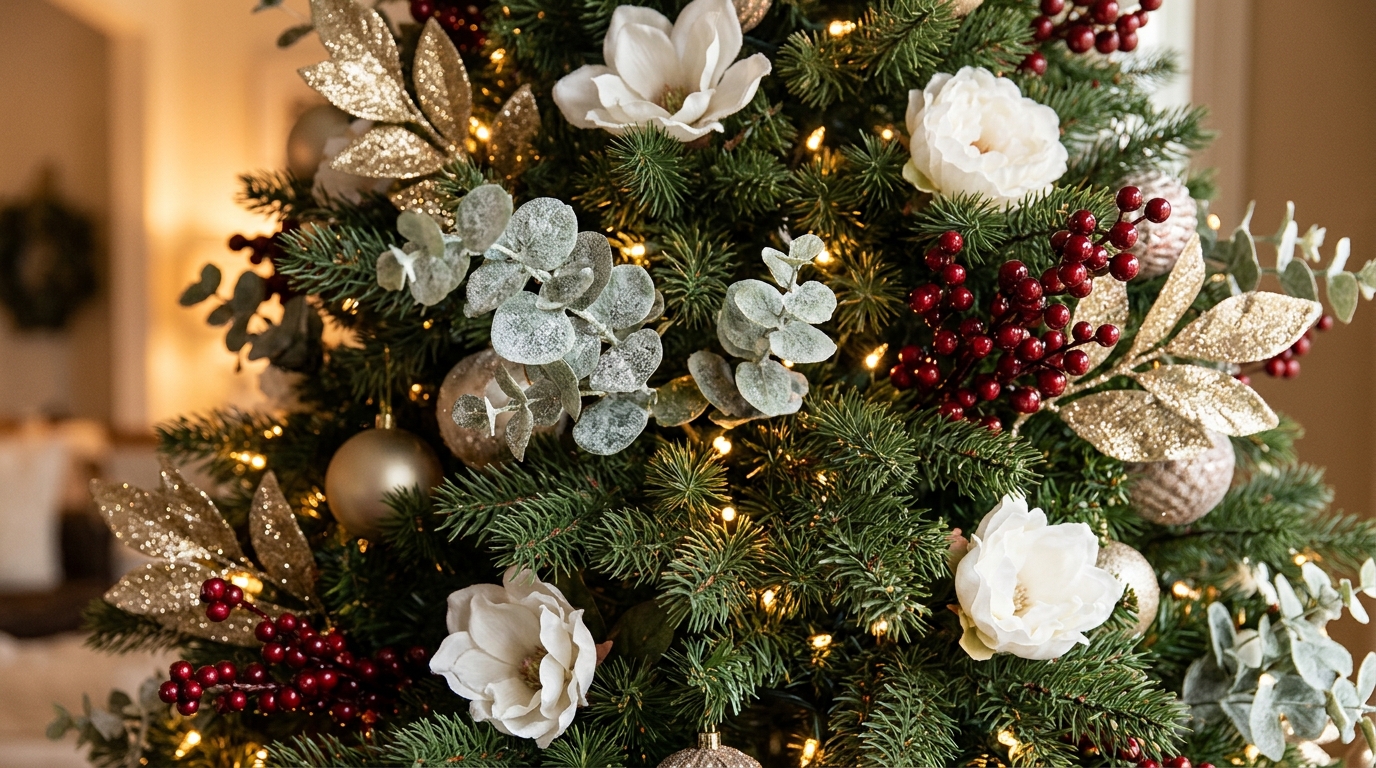
Every tree has bare spots, and floral picks hide them beautifully. Frosted eucalyptus, red berries, glittery leaves and white faux flowers all poke into gaps and add texture. Designers use them by the dozen, and they are among the most powerful Christmas tree hacks for making a tree look expensive. Group picks in threes and repeat the same kinds around the tree so it looks planned. Dollar stores often sell them cheap, so check our dollar store decor ideas too. Which picks would you choose?
You will need: Floral picks in two or three styles (berries, eucalyptus, glitter leaves, faux flowers), wire cutters.
How to make it: 1. Trim long picks with wire cutters so they fit. 2. Step back and find the bare spots on the tree. 3. Tuck picks deep into the gaps, in groups of three. 4. Repeat the same styles evenly around the tree.
Christmas Tree Hacks for Ornaments: Go Deep Inside
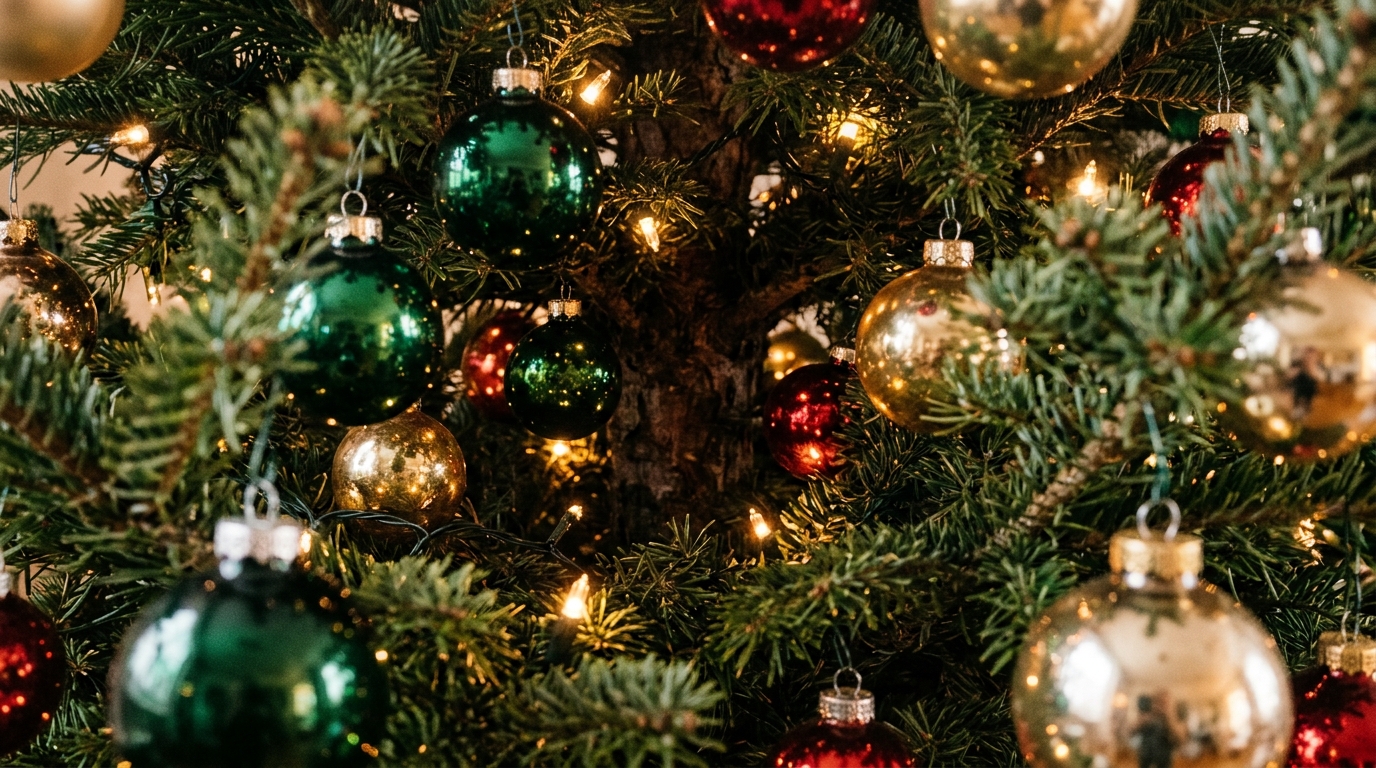
Most of us hang every ornament on the tips of the branches. Designers use Christmas tree hacks like this one instead. They hang some ornaments deep inside, close to the trunk, which makes the tree look full and layered. Use plain shiny balls in your main colors for the inside layer, because they reflect the lights and glow. Then put your special ornaments on the outside where everyone can see them. It is a tiny change with a big effect. Will you try the inside-out method this year?
You will need: Shatterproof ball ornaments in your main colors, ornament hooks or florist wire.
How to make it: 1. Hang plain shiny balls deep inside near the trunk, all around the tree. 2. Add a middle layer about halfway out along the branches. 3. Hang your favorite and special ornaments on the outer tips. 4. Step back and fill any empty spots.
Pick a Simple Color Story
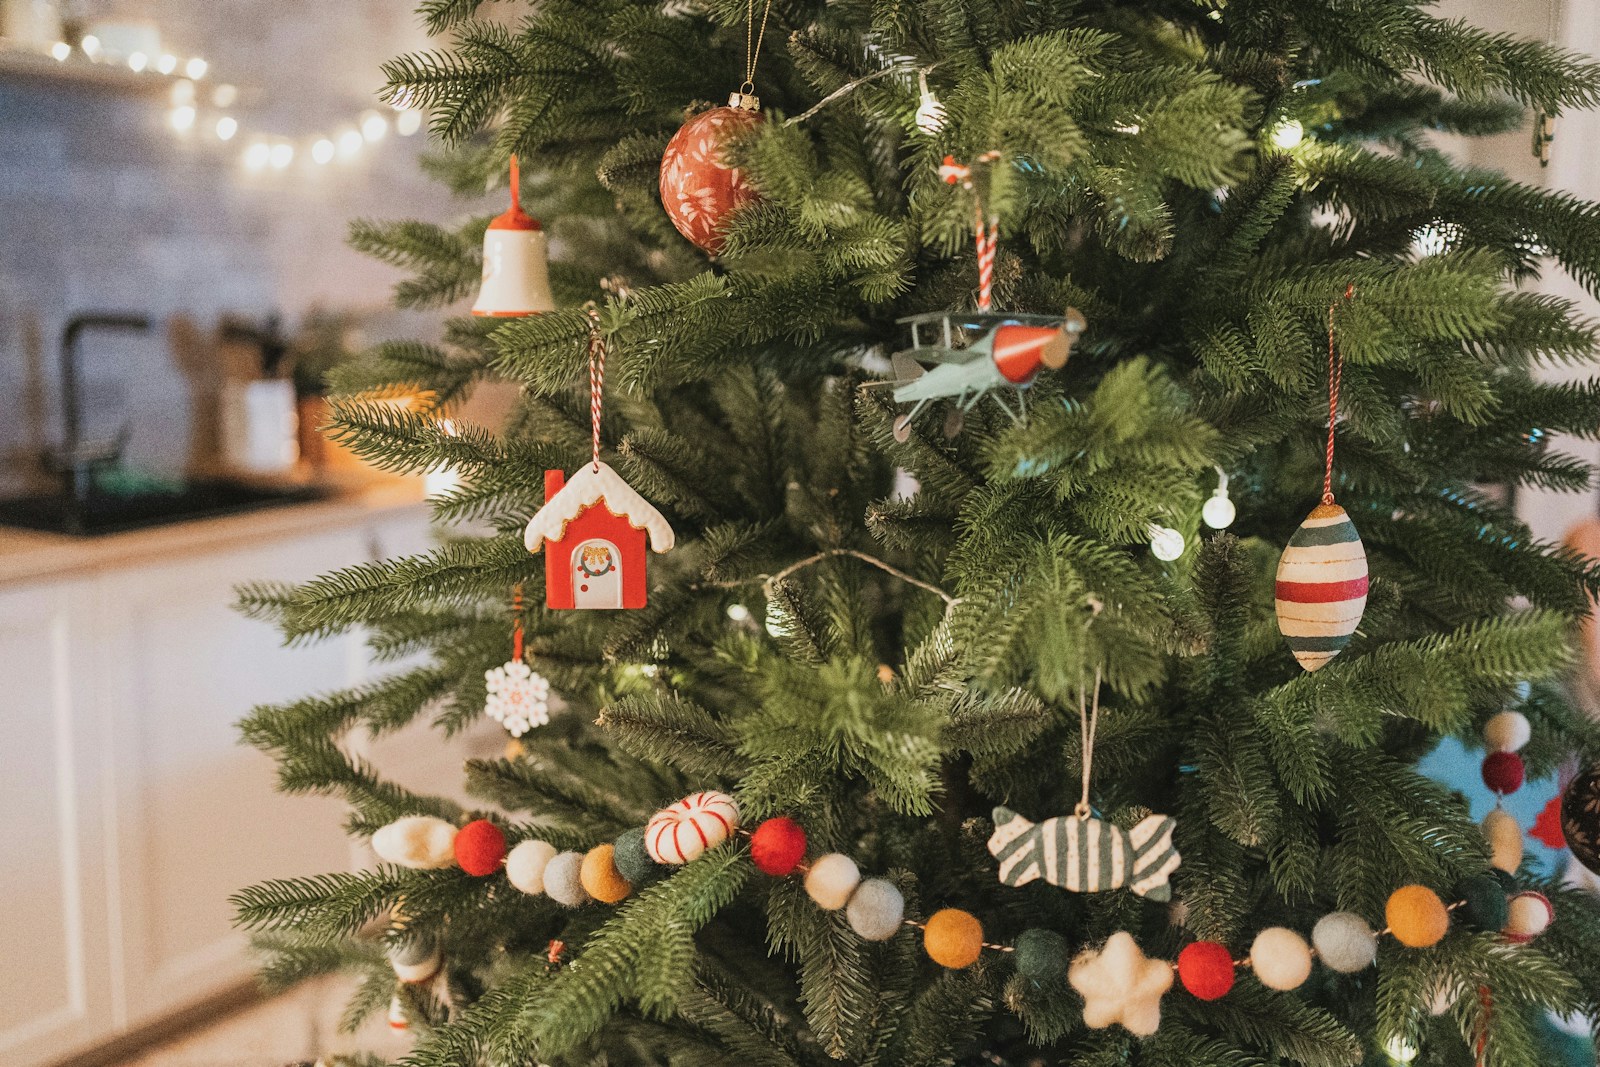
Trees that look professional almost always stick to two or three colors. Red and white feels classic and cozy. Gold and cream feels elegant. Blue and silver feels frosty. Pick your colors, then group ornaments in little clusters of the same color instead of spreading them out one by one. Handmade ornaments still fit right in when they match the palette. This is one of those Christmas tree hacks that costs nothing, because you are simply sorting what you already own. What colors feel like home to you?
You will need: Your ornament collection sorted by color, small bowls or bins for sorting.
How to make it: 1. Choose two or three main colors. 2. Sort your ornaments into bowls by color. 3. Hang them in small clusters of three, spacing the clusters around the tree. 4. Set aside anything that does not fit and use it on a wreath or mantel instead.
Drape Garland in Soft Swags
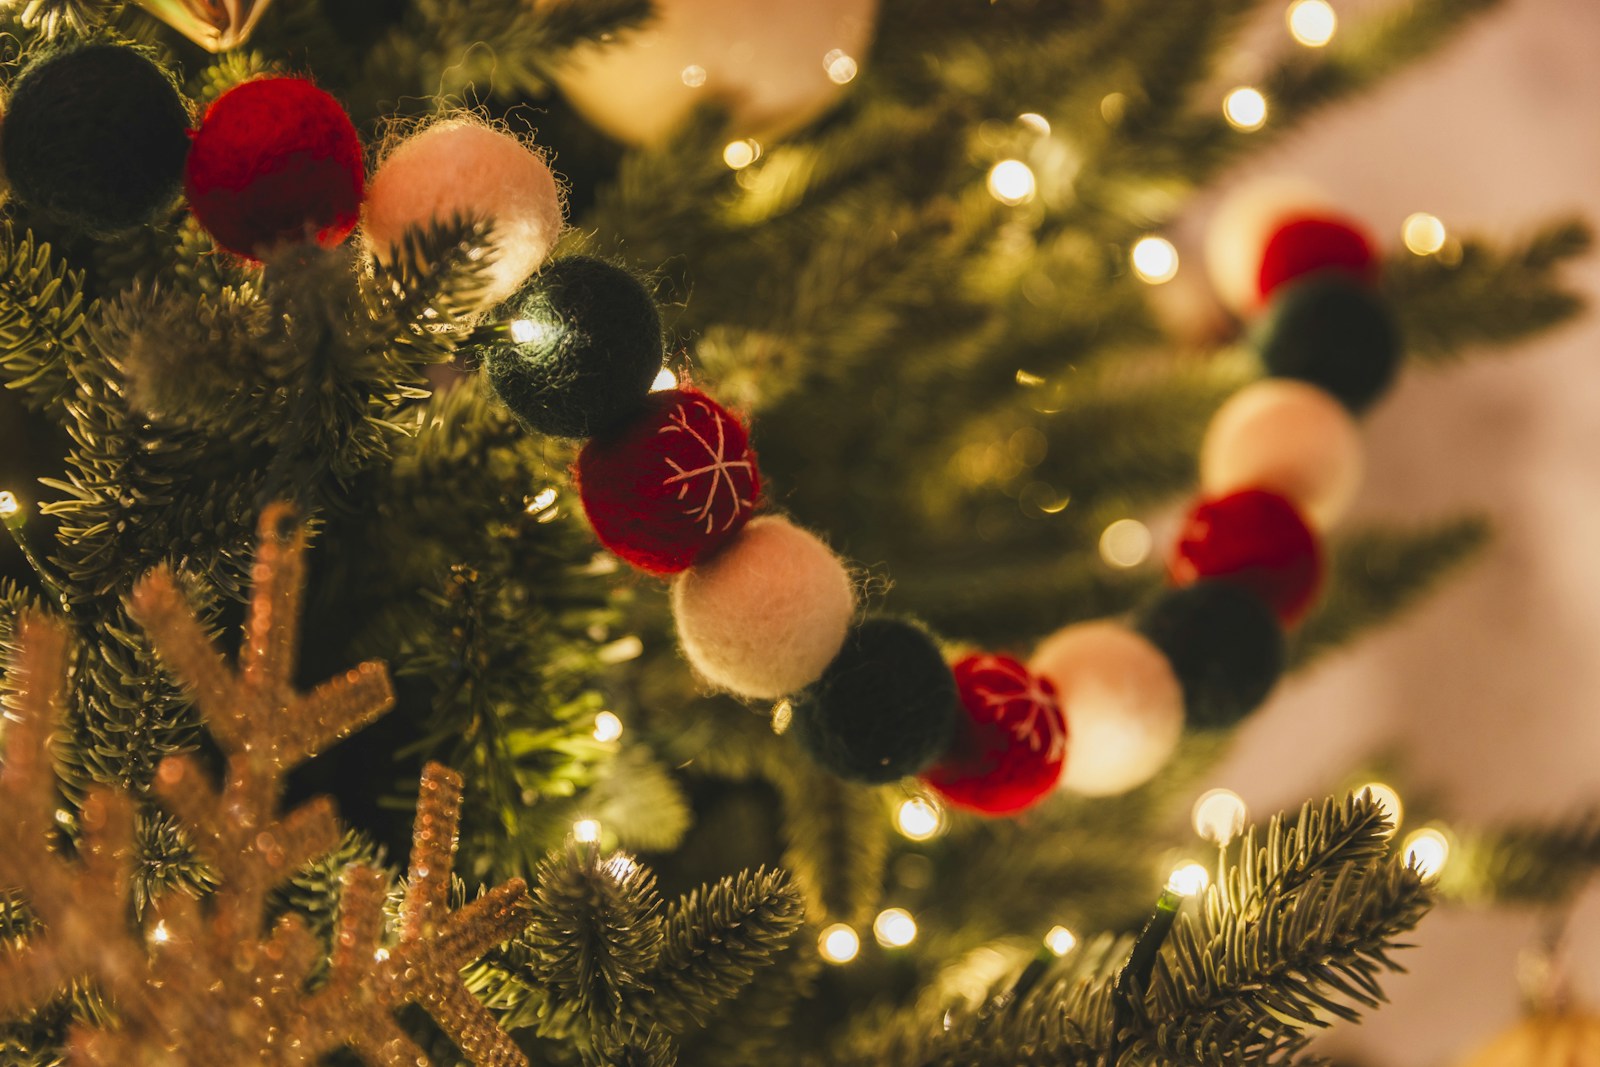
Garland wrapped tightly around a tree can look stiff, so try one of the easiest Christmas tree hacks. Use soft swags instead. Drape felt ball, wood bead or popcorn style garland in gentle curves from branch to branch, letting it dip between each point. The swoops make the tree look relaxed and cozy, like something from a magazine. Felt ball garland is easy to make at home with a needle and strong thread. Kids love helping string the balls. Would you rather buy a garland or make one?
You will need: Felt ball or wood bead garland, or felt balls with a large needle and strong thread to make your own.
How to make it: 1. If making your own, thread felt balls onto strong thread with a large needle. 2. Start at the top and tuck one end into a branch. 3. Let the garland dip down a few inches, then catch it on the next branch. 4. Keep swagging around and down the tree.
Natural Dried Orange Slices
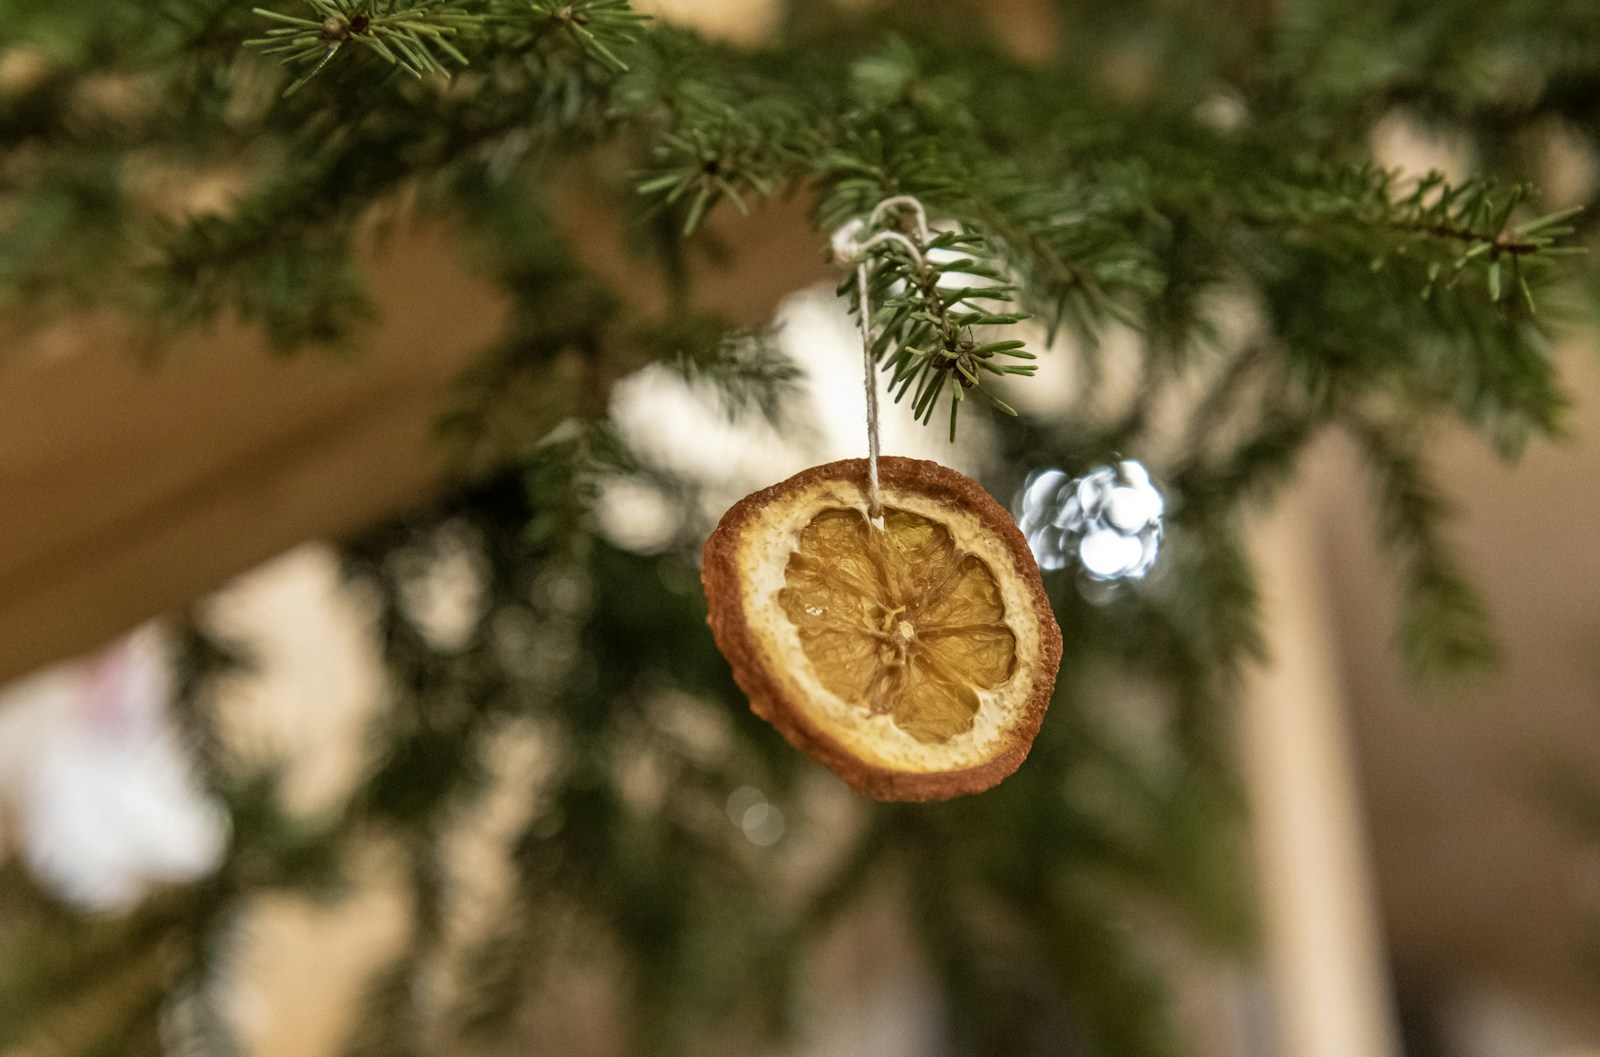
Dried orange slices glow like little stained glass windows when the tree lights shine through them. They are cheap, they smell lovely and they bring an old fashioned feel to any tree. Bringing evergreens and fruit indoors is a winter tradition that goes back centuries, as you can read in the history of the Christmas tree. Slice oranges thin, dry them slowly and hang them with twine. Ask an adult to handle the knife and the oven. Doesn’t your kitchen smell like Christmas already?
You will need: Oranges, a sharp knife (adult use), paper towels, baking sheet with parchment, oven (adult use), twine, a skewer.
How to make it: 1. An adult slices the oranges about 1/4 inch thick. 2. Pat the slices dry with paper towels. 3. An adult dries them on the lowest oven setting for a few hours, flipping once, until fully dry. 4. Poke a hole near the top with a skewer and tie on a twine loop.
A Big Bow Tree Topper
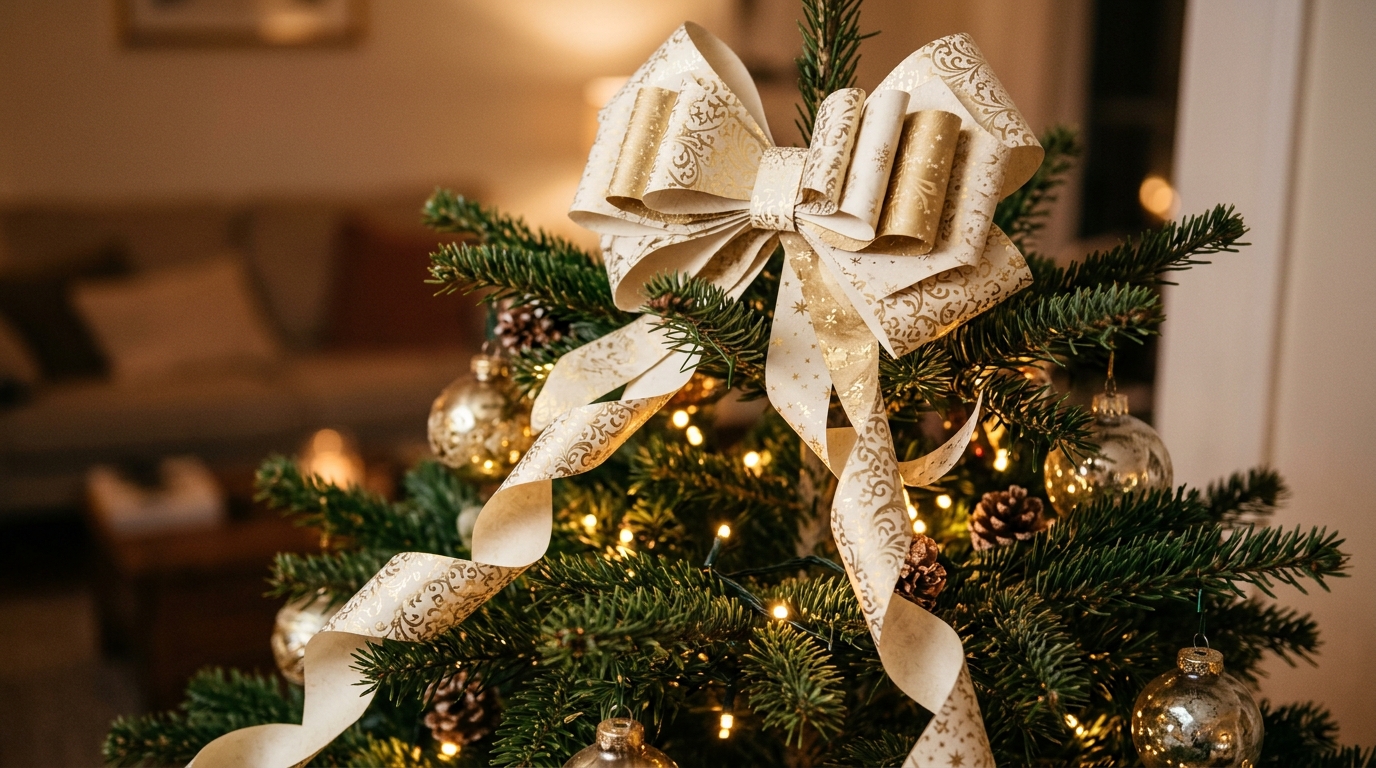
Not every tree needs a star. A giant bow with long tails is one of the prettiest Christmas tree hacks, and you can make it from ribbon or folded paper. Make a big loopy bow, attach it to the top with wire and let the tails hang down the tree. If you already did the ribbon waterfall, use the same ribbon so everything ties together. A bow topper is also lighter than most stars, so it will not make the top branch droop. Star or bow, which team are you?
You will need: Wide wired ribbon or sturdy decorative paper, floral wire, scissors, a pipe cleaner.
How to make it: 1. Make six to eight big loops of ribbon, pinching them together in the center. 2. Wrap the center tightly with floral wire. 3. Add two long ribbon tails to the back. 4. Wire the bow to the top of the tree and drape the tails down.
Family Photo Ornaments
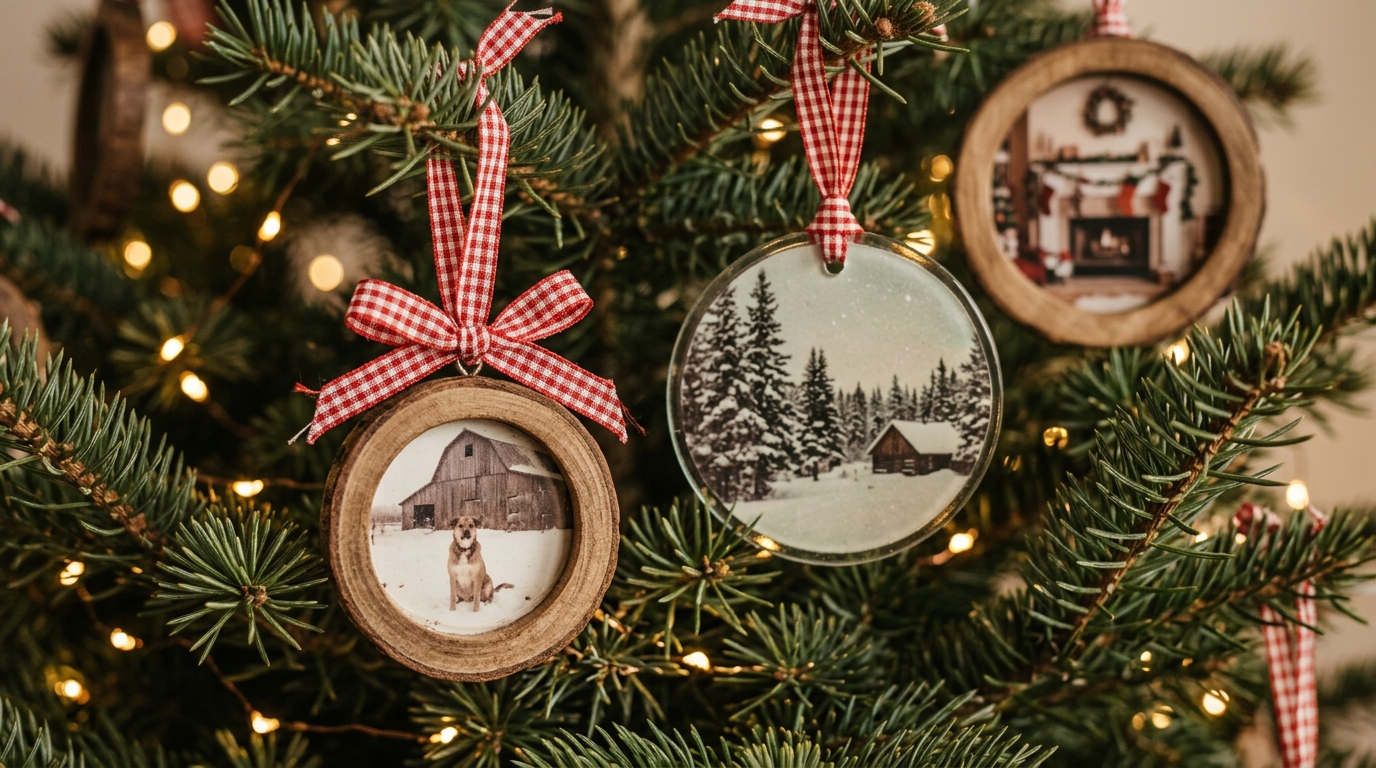
Christmas tree hacks are not only about looks. The ornaments people love most are the ones that tell a story. Print small photos of your family, your pets, your home or favorite places, and slip them into tiny wooden frames or clear ornaments. Tie them with gingham ribbon for a cozy country look. They make the tree feel personal, and they make great gifts for grandparents too. Hang them at eye level so guests can see them up close. Which memories would you put on your tree this year?
You will need: Small printed photos, mini wooden frames or clear flat ornaments, scissors, glue stick, gingham ribbon.
How to make it: 1. Print photos a little bigger than the frame opening. 2. Trim them to fit and glue them into the frames. 3. Tie a gingham ribbon loop through the top of each frame. 4. Hang them at eye level around the tree.
Christmas Tree Hacks for the Base: A Basket Collar
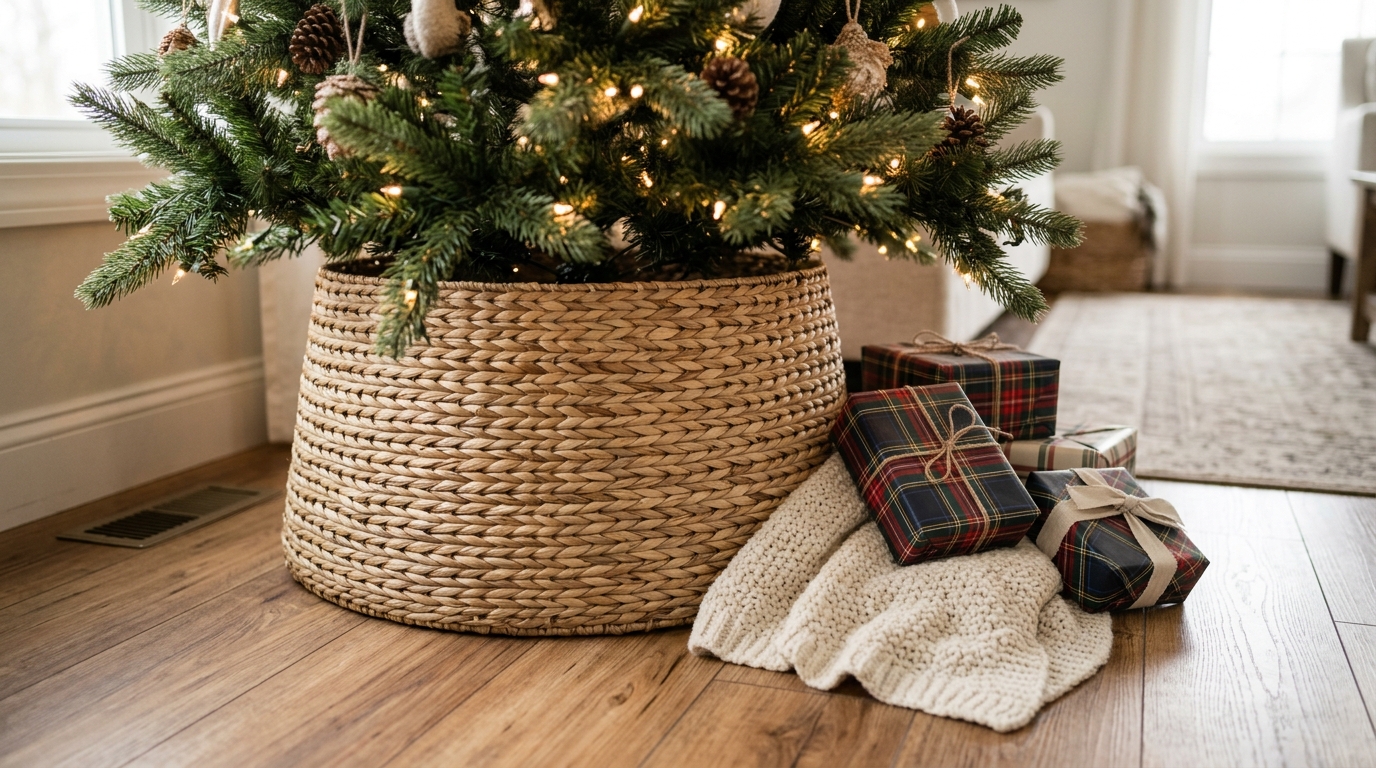
Tree collars are one of the most popular Christmas tree hacks right now, and a big woven basket makes a perfect one. Set the tree stand inside a large round basket, or cut a basket in half and wrap it around the stand. It hides the stand neatly and gives the tree a clean, tailored base. Wrapped gifts look extra pretty stacked beside it. A metal bucket or a wooden crate box works too. Which look fits your home best?
You will need: A large round woven basket, metal bucket or wooden crate, old towel or blanket, a few bricks or books (optional, for height).
How to make it: 1. Measure the width of your tree stand. 2. Set the stand inside the basket, raising it with bricks if needed. 3. Tuck an old towel or blanket around the stand to fill the space. 4. Fluff the bottom branches out over the rim.
A Mini Tree Cluster for Small Spaces

No room for a big tree? Group three small ones together on a tray instead. Different heights and textures, like a ceramic tree, a glass tree and a little white one, look charming side by side. Wrap a wood bead garland around the tray to tie it together. It fits on a side table, a kitchen counter or an apartment windowsill. Kids also love having a mini tree in their own room to decorate. Of all these Christmas tree hacks, this one is perfect for small homes. Where would your cluster go?
You will need: Three small decorative trees in different heights, a tray or cake stand, wood bead garland, a bit of faux snow or felt.
How to make it: 1. Place the tallest tree at the back of the tray. 2. Add the two smaller trees in front and to the side. 3. Wrap the bead garland loosely around the base. 4. Sprinkle a little faux snow or lay felt underneath for a finished look.