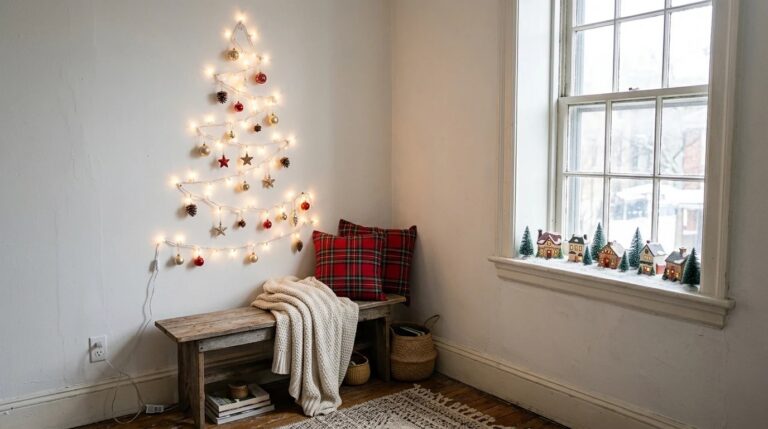
Christmas Blow Molds: 18 Vintage Yard Ideas That Bring Back Grandma’s Porch
Christmas blow molds are the glowing plastic Santas, snowmen and candy canes that lit up so many front yards when we were kids. If you close your eyes, you can probably still see the one on your grandparents’ porch, a little faded, a little crooked, and shining like a nightlight in the snow. Those figures are back in a big way. Google searches for blow molds jumped to a high point this October, and a simple video on how to repair holiday blow molds has passed 51,000 views. Collectors hunt them at estate sales, and families pull old ones out of the attic to give them a second life. Below you will find easy ways to find them, fix them, light them safely with LED bulbs and display them so your porch feels like grandma’s again..
Christmas Blow Molds That Bring Back Grandma’s Porch
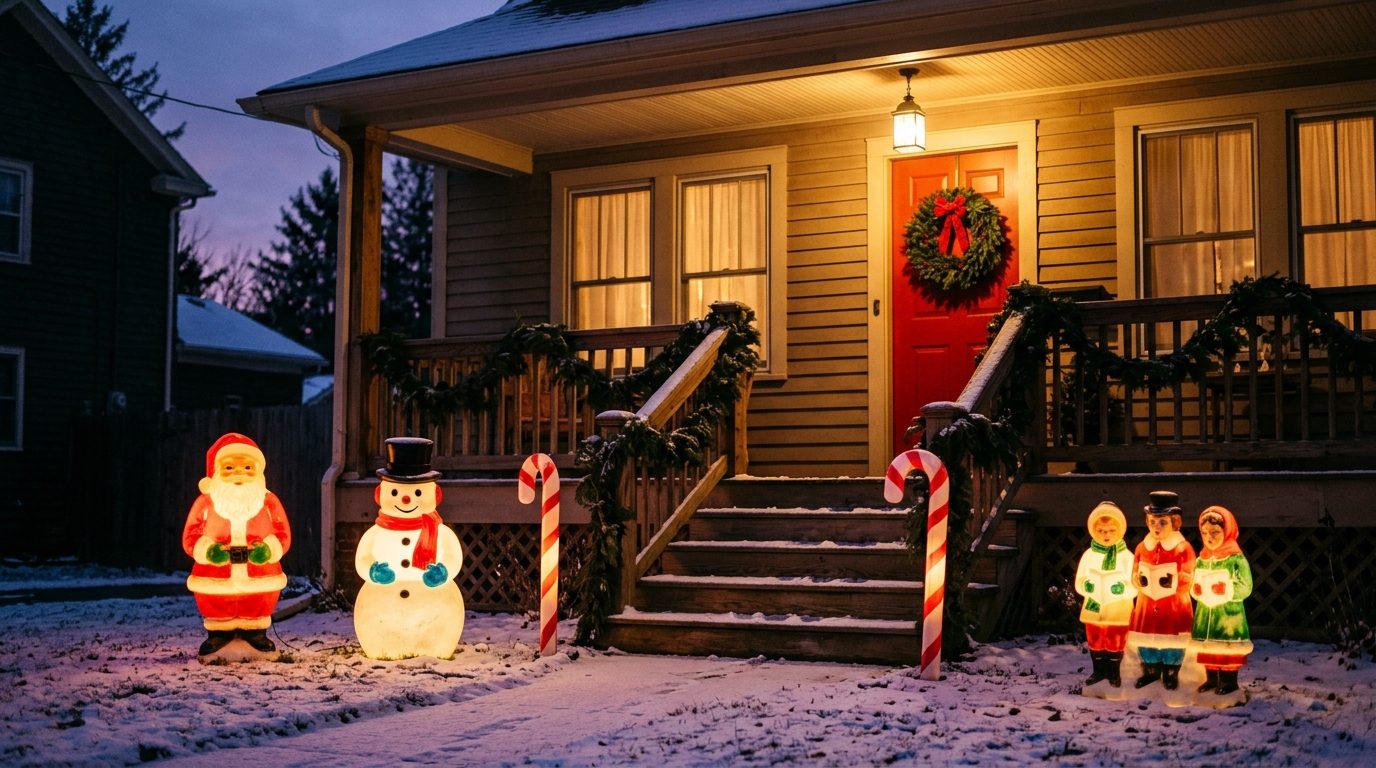
There is nothing fancy about a plastic Santa with a light inside, and that is exactly why we love it. Blow molds were made to be cheerful, sturdy and a little bit silly, and they still make people smile the moment they glow at dusk. Line up a Santa, a snowman, a couple of candy canes and a few carolers, and your porch suddenly feels like a Christmas card from 1965. Neighbors slow down. Kids point. Grown ups get a little misty eyed..
You will need: A few blow molds, LED replacement bulbs, outdoor rated extension cords, a timer, garden stakes and evergreen garland.
How to make it: 1. Pick a spot near the door where the figures will be seen from the street. 2. Group tall pieces at the back and small ones in front. 3. Plug them into an outdoor timer so they glow every evening.
Classic Santa and Snowman Pair by the Steps
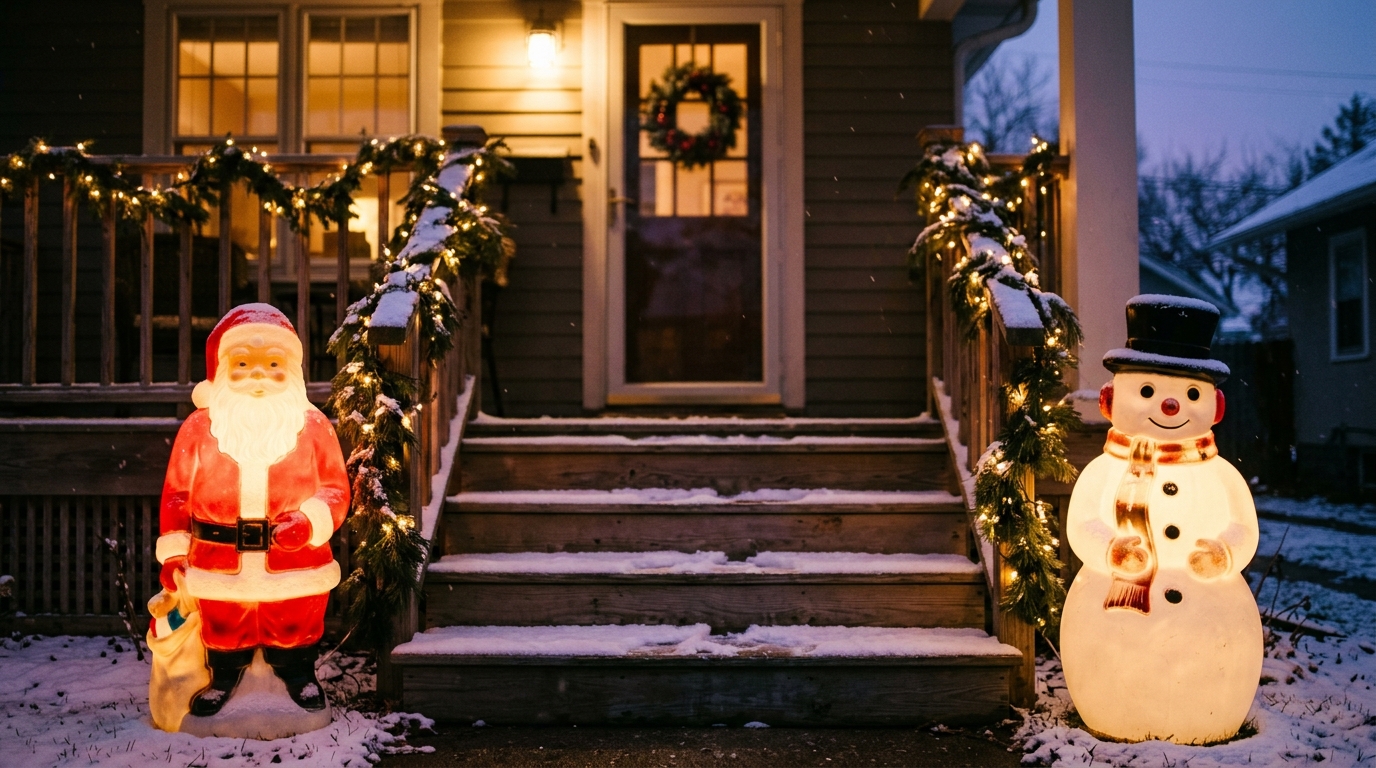
If you only have two blow molds, put them on either side of the front steps. A Santa on one side and a snowman on the other makes a balanced, welcoming entry, and it is the look most of us remember from childhood. Add a garland on the railing to tie them together. Keep the cords tucked along the edge of the steps so nobody trips. It is the simplest way to show off Christmas blow molds, and it works on any house. Which one would you put on the left?
You will need: Two blow molds, LED bulbs, an outdoor rated cord, cord clips and garland for the railing.
How to make it: 1. Set one figure on each side of the bottom step. 2. Run the cords along the edge and clip them down. 3. Wrap the railing in garland.
How to Spot a Good Vintage Blow Mold
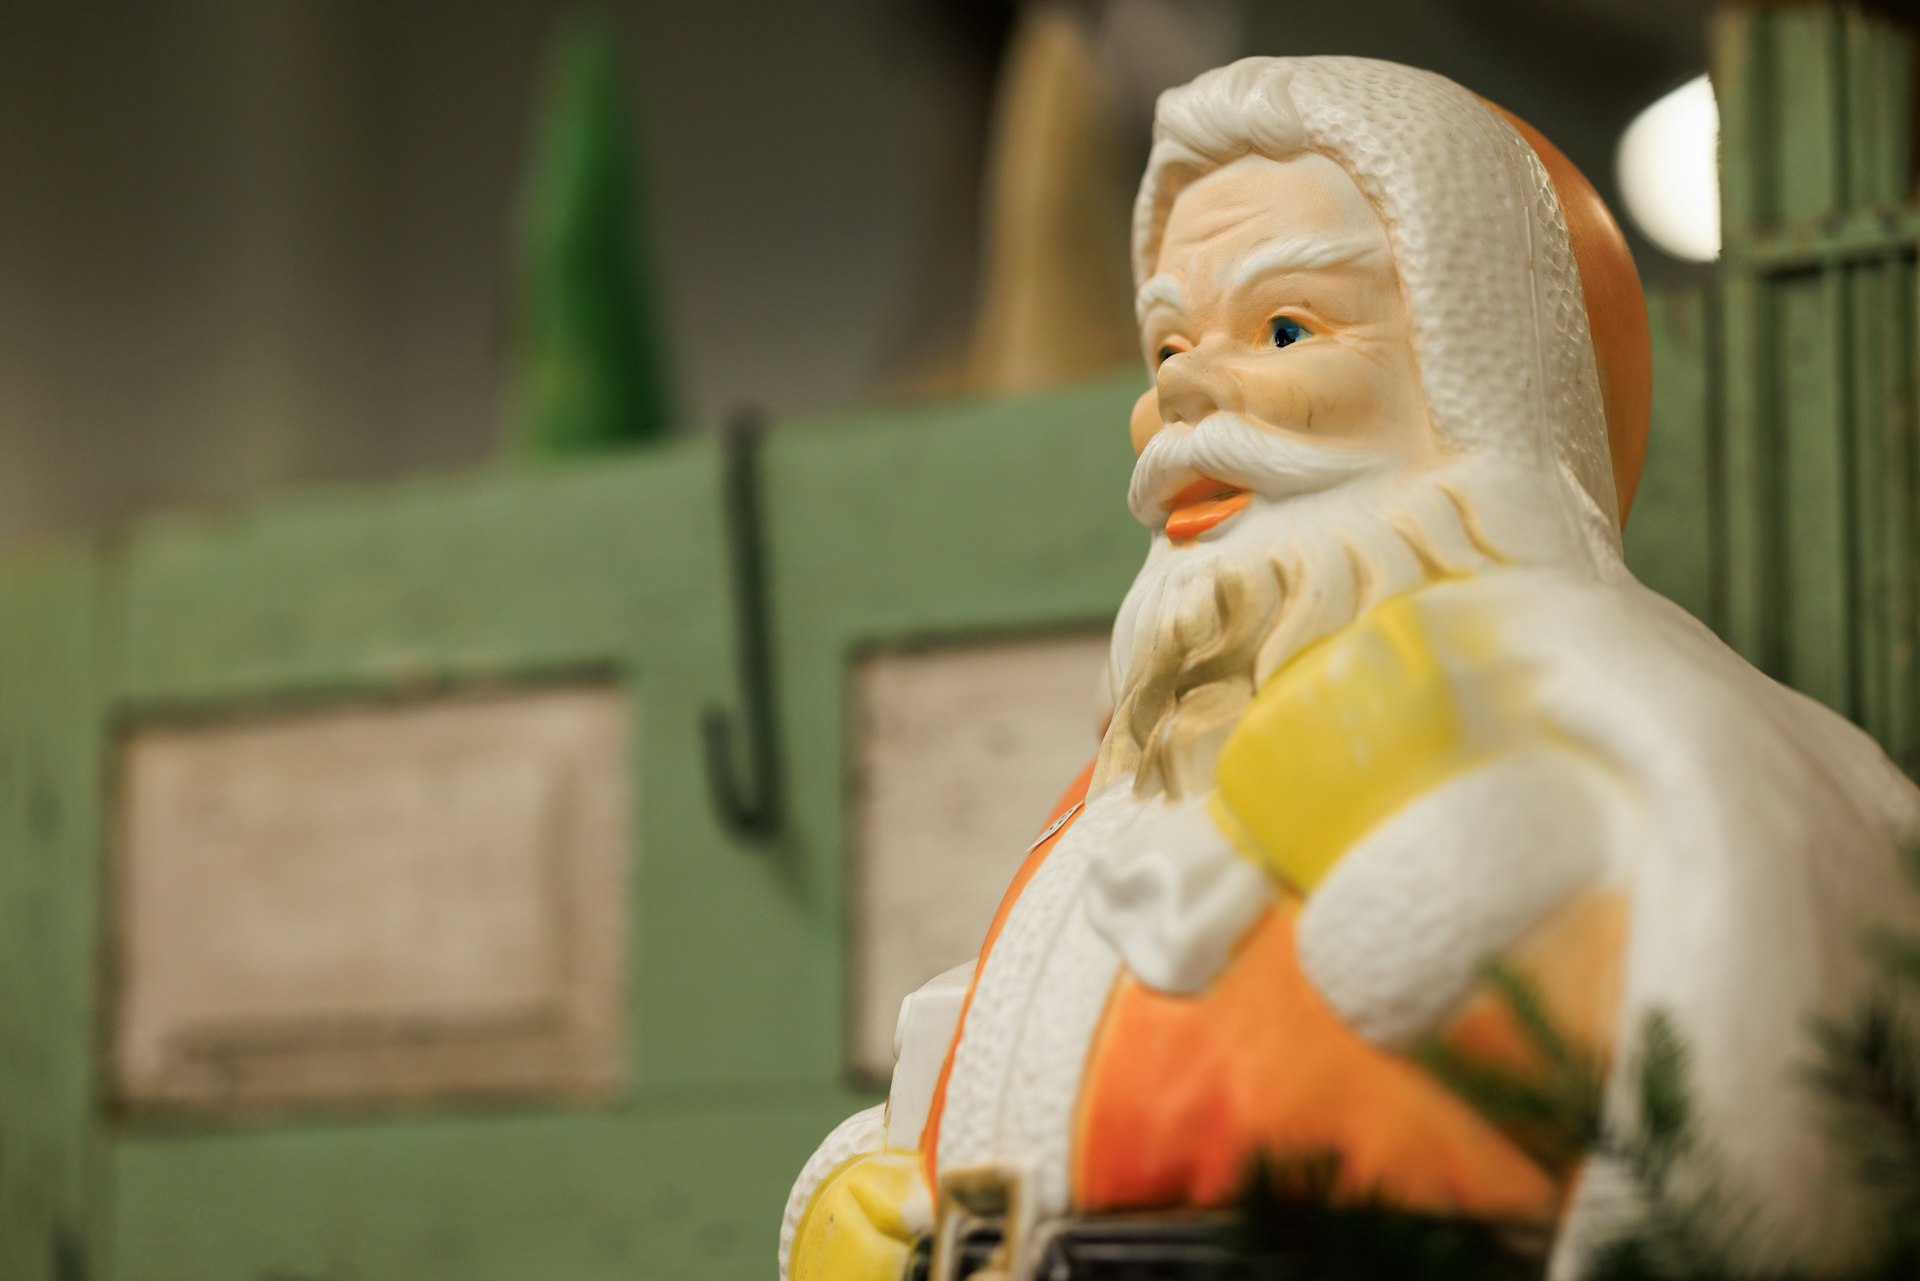
Not every old blow mold is worth bringing home. Look for thick, sturdy plastic that does not bend easily when you press it. Check for cracks around the base and the light hole, since those spread over time. Faded paint is fine, because you can refresh it, but deep sun damage makes plastic brittle. Original cords should be replaced, not reused. A Santa with a clear, cheerful face and bright red coat is a classic for a reason. What would you look for first?
You will need: A flashlight, a soft cloth and a small notebook to jot down prices.
How to make it: 1. Shine a flashlight inside to look for hidden cracks. 2. Press gently on the sides to test the plastic. 3. Skip any piece with a brittle feel or a broken base.
Estate Sale Hunting Tips for Christmas Blow Molds
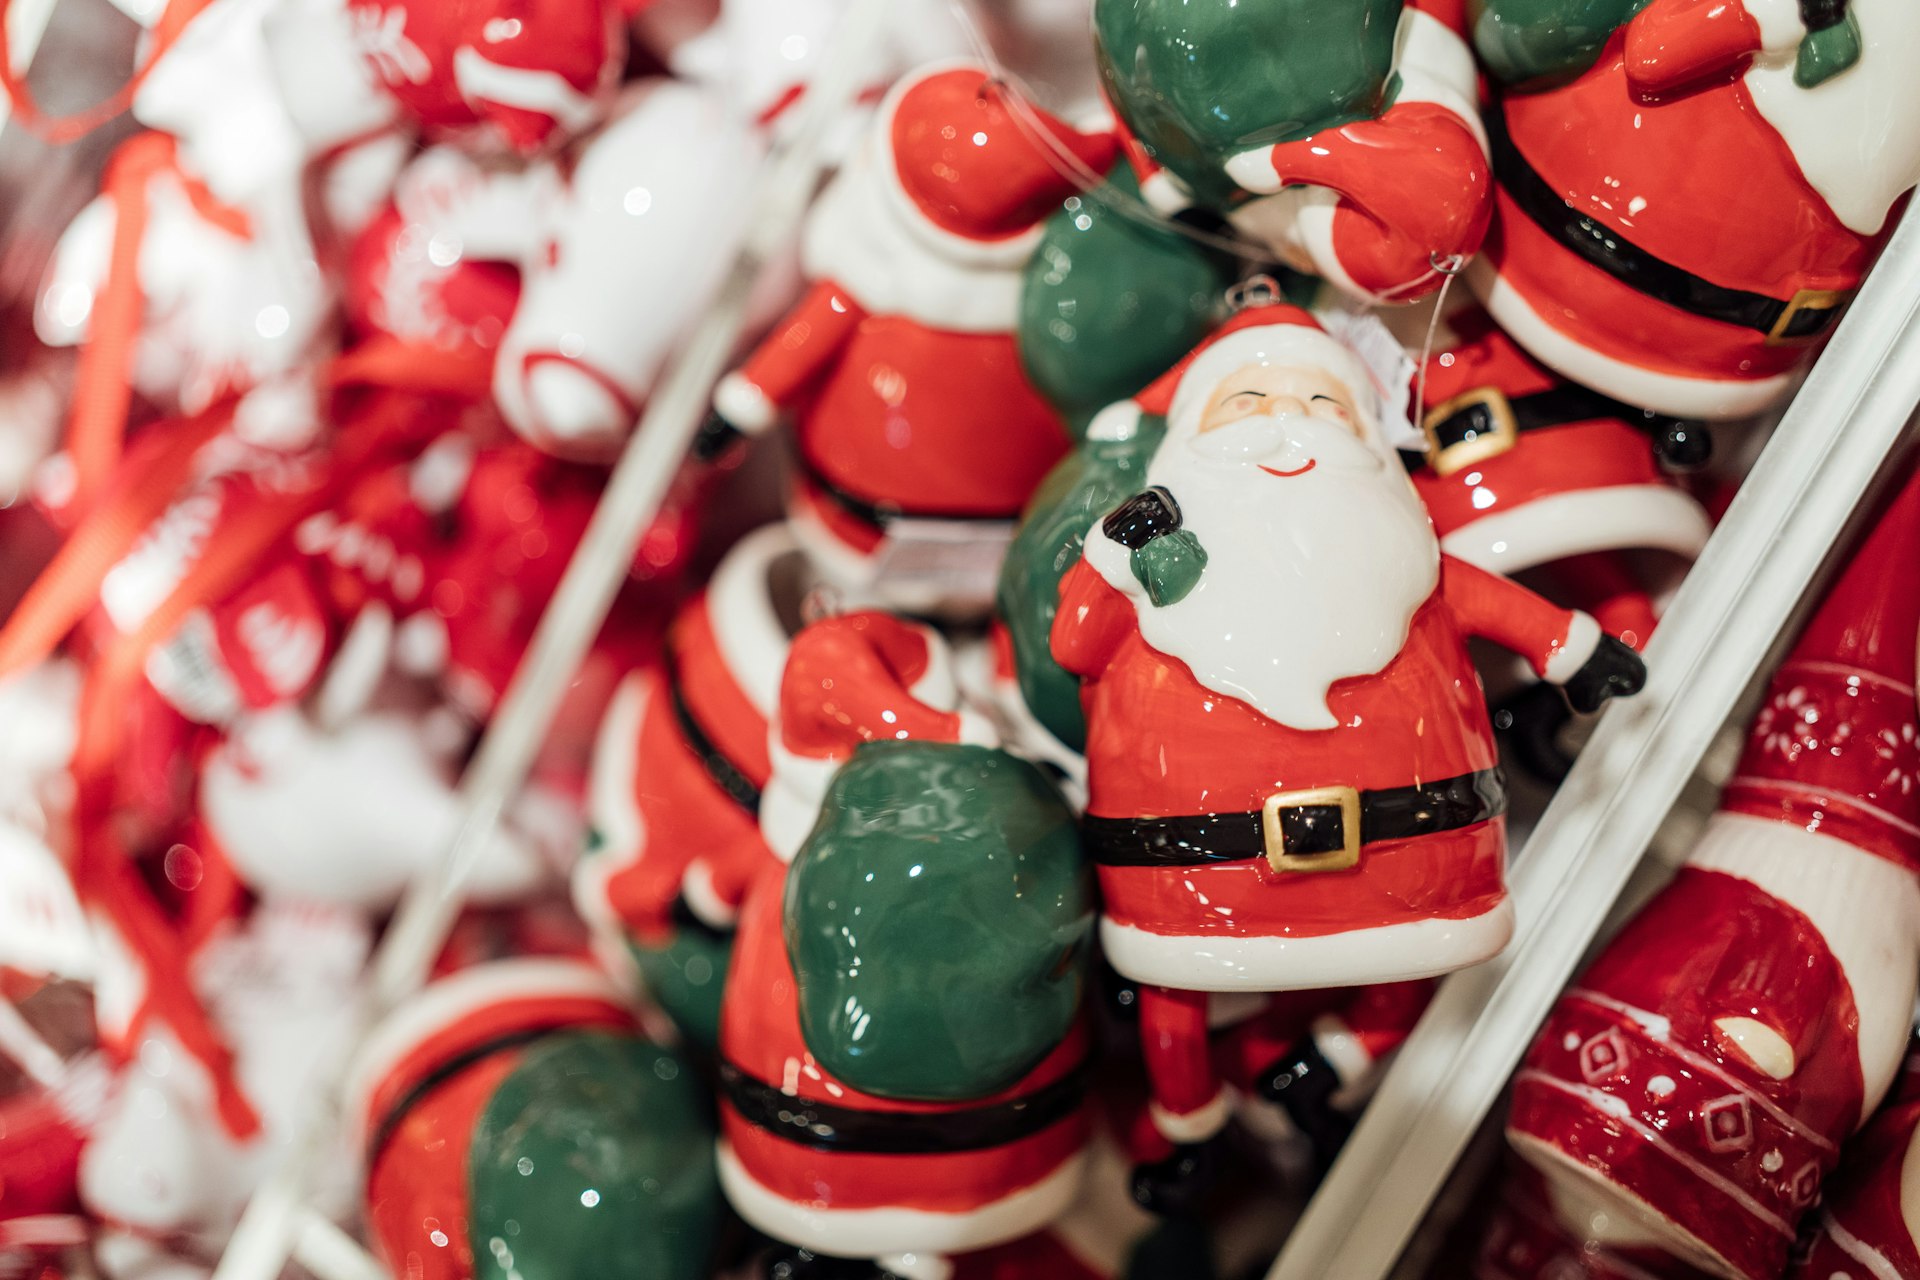
Estate sales are where the best Christmas blow molds turn up, often for a few dollars each. Go early on the first day, because collectors know where to look. Check the garage, the attic and the basement, since big yard pieces are rarely inside the house. Ask the sale staff if they have more holiday items in boxes. Bring a big bag or a blanket so they ride home safely. Some of the most loved pieces were found this way. Have you ever found a treasure at an estate sale?
You will need: Cash in small bills, a large blanket or bag for the car and a list of the pieces you want.
How to make it: 1. Check local estate sale listings for photos of holiday items. 2. Arrive early and head for the garage first. 3. Inspect each piece before you pay, then wrap it for the ride home.
Refresh Faded Paint With Outdoor Acrylic
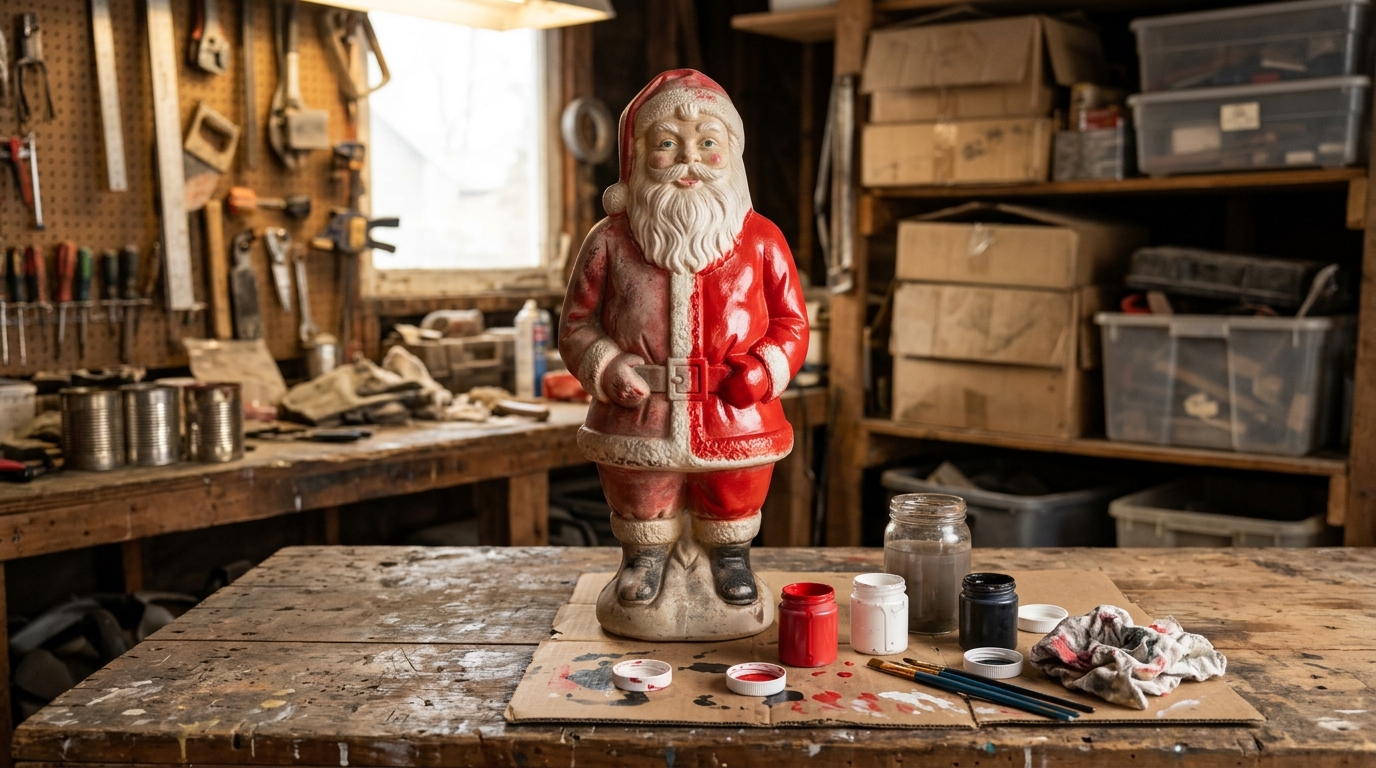
Years of sun can fade a bright red Santa into a soft pink. You can bring the color back with outdoor acrylic paint and a small brush. Clean the figure first with warm soapy water and let it dry completely. Paint only the faded areas, following the raised lines of the mold, and use thin coats. A clear outdoor sealer on top helps it last. Some collectors prefer the faded look, so decide what feels right to you. Would you repaint or keep the original look?
You will need: Mild dish soap, a soft cloth, outdoor acrylic craft paint, small brushes and a clear outdoor sealer.
How to make it: 1. Wash and dry the blow mold. 2. Paint the faded areas in thin coats, letting each dry. 3. Finish with a clear outdoor sealer in a well aired space.
Swap Old Bulbs for Cool LED Bulbs
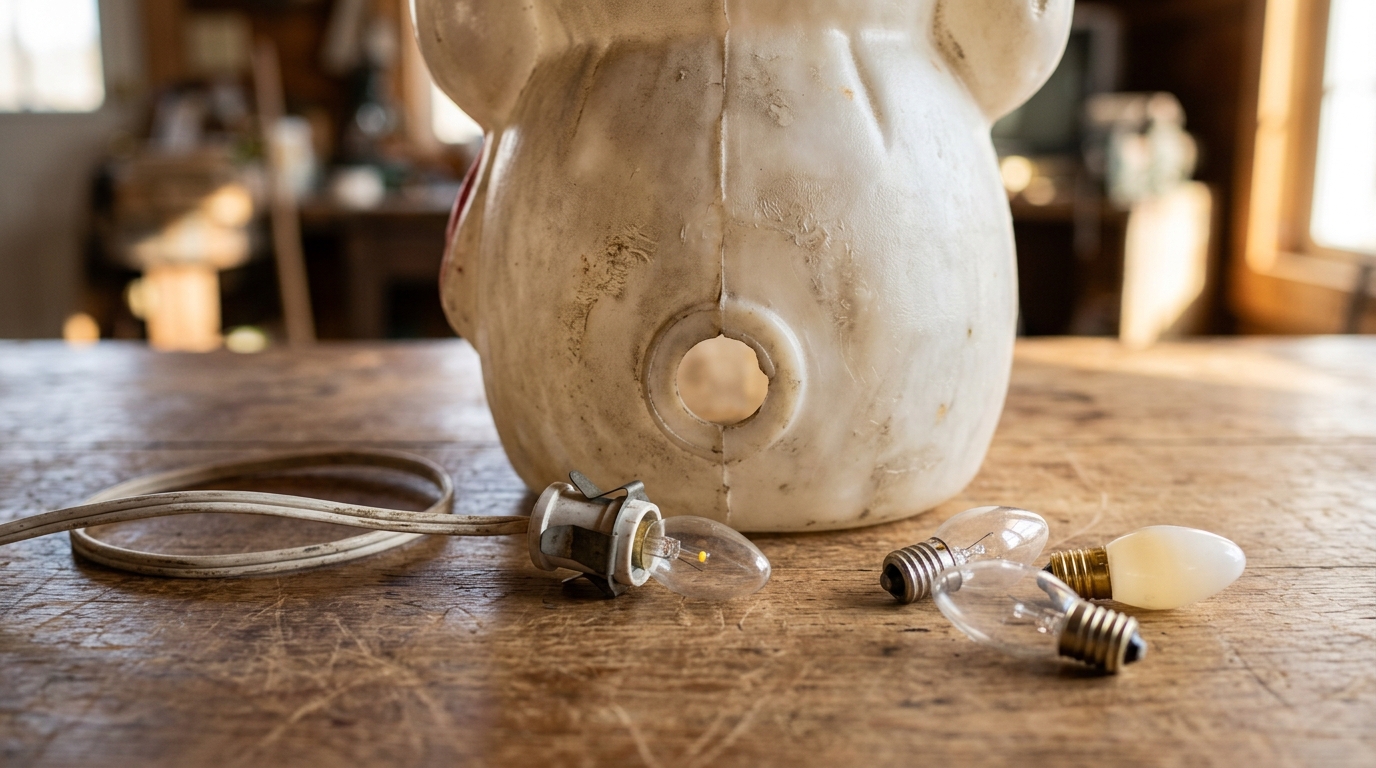
Old blow molds were made for hot incandescent bulbs, which can warm and warp the plastic over time. The easy fix is an LED bulb. LED bulbs stay cool, use far less power and last for years. Swap the old cord too if it looks cracked or stiff, and choose a new cord set rated for outdoor use. Always unplug before you change anything. It is the most important upgrade for Christmas blow molds, and it takes five minutes. When did you last check your cords?
You will need: Cool LED bulbs in the right base size, a new outdoor rated light cord set if needed and an outdoor timer.
How to make it: 1. Unplug the blow mold and remove the old bulb and clip. 2. Replace the cord if it is worn, and fit a new LED bulb. 3. Clip the light back in place and plug it into a timer.
Candy Cane Path Markers
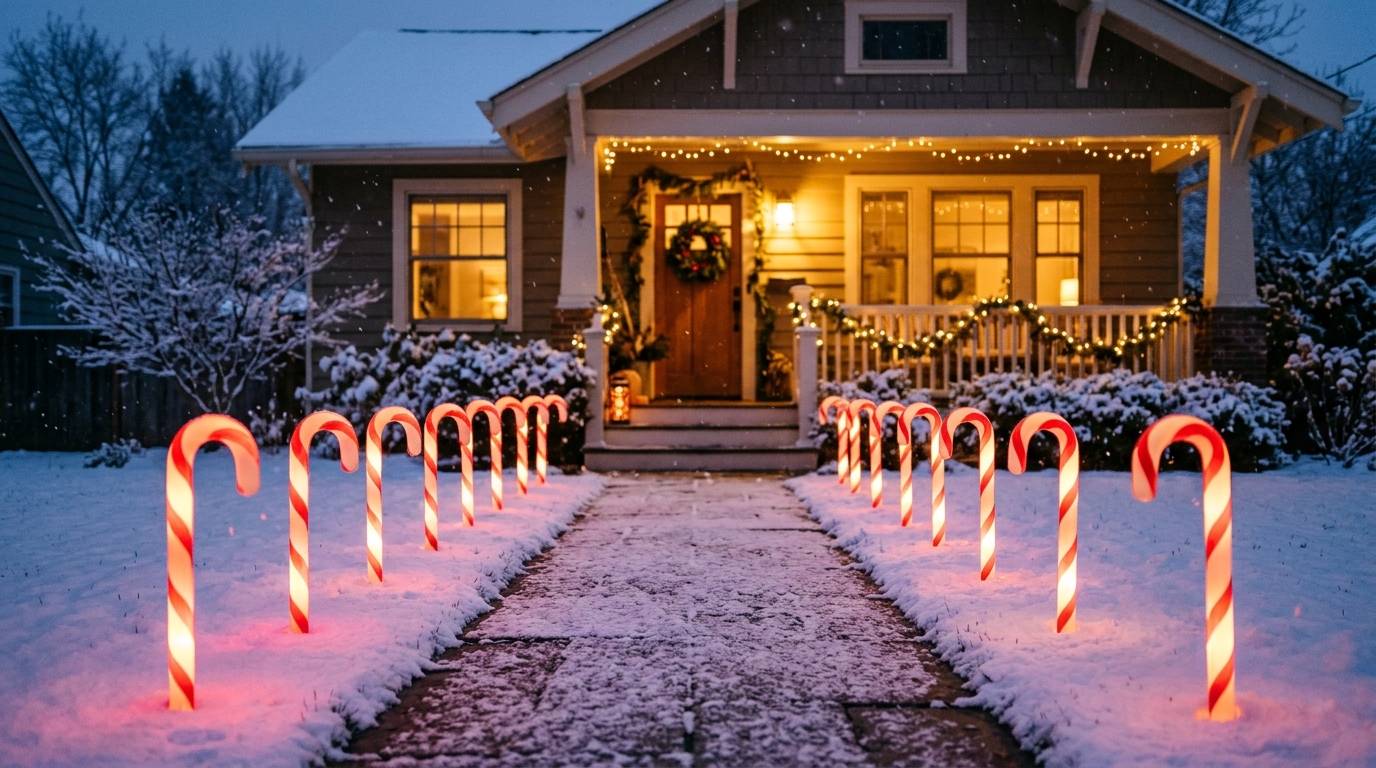
Candy cane blow molds were made to line a walkway, and they still do it better than anything else. Space them evenly on both sides of the path to the front door, so guests are guided by a row of glowing red and white stripes. They look cheerful in daylight and magical after dark. Use garden stakes so they stay straight in the wind. Even two or four make a difference. If you love decorating the whole yard, our Christmas yard decorations gallery has more ideas. How many would your walk need?
You will need: Candy cane blow molds, LED bulbs, garden stakes and an outdoor rated cord with several outlets.
How to make it: 1. Measure the path and mark even spots on both sides. 2. Stake each cane firmly. 3. Link the cords along the edge of the path and plug in.
Toy Soldiers Guarding the Door
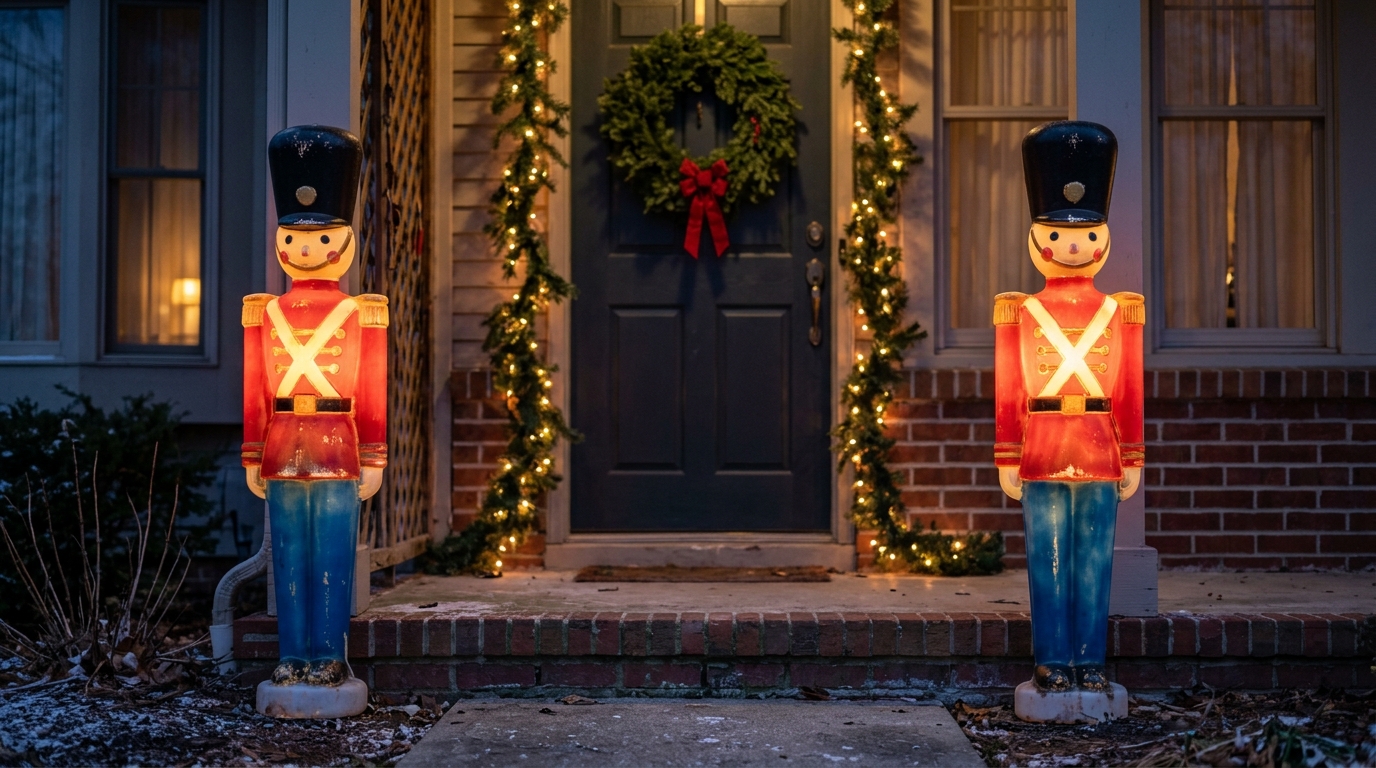
A pair of glowing toy soldiers on each side of the door feels like something straight out of a Christmas ballet. Their tall hats and red coats add height to the entry, and they look especially sharp against a dark door with a wreath. If yours are faded, a little red and black paint makes them look brand new. Kids love saluting them on the way in. Christmas blow molds like these make any entry feel grand. Would your kids salute them too?
You will need: Two toy soldier blow molds, LED bulbs, garden stakes or sandbags for weight, and garland for the door.
How to make it: 1. Stand one soldier on each side of the door. 2. Weigh them down with a sandbag inside the base. 3. Hang a wreath and garland between them.
Carolers Grouped on the Steps
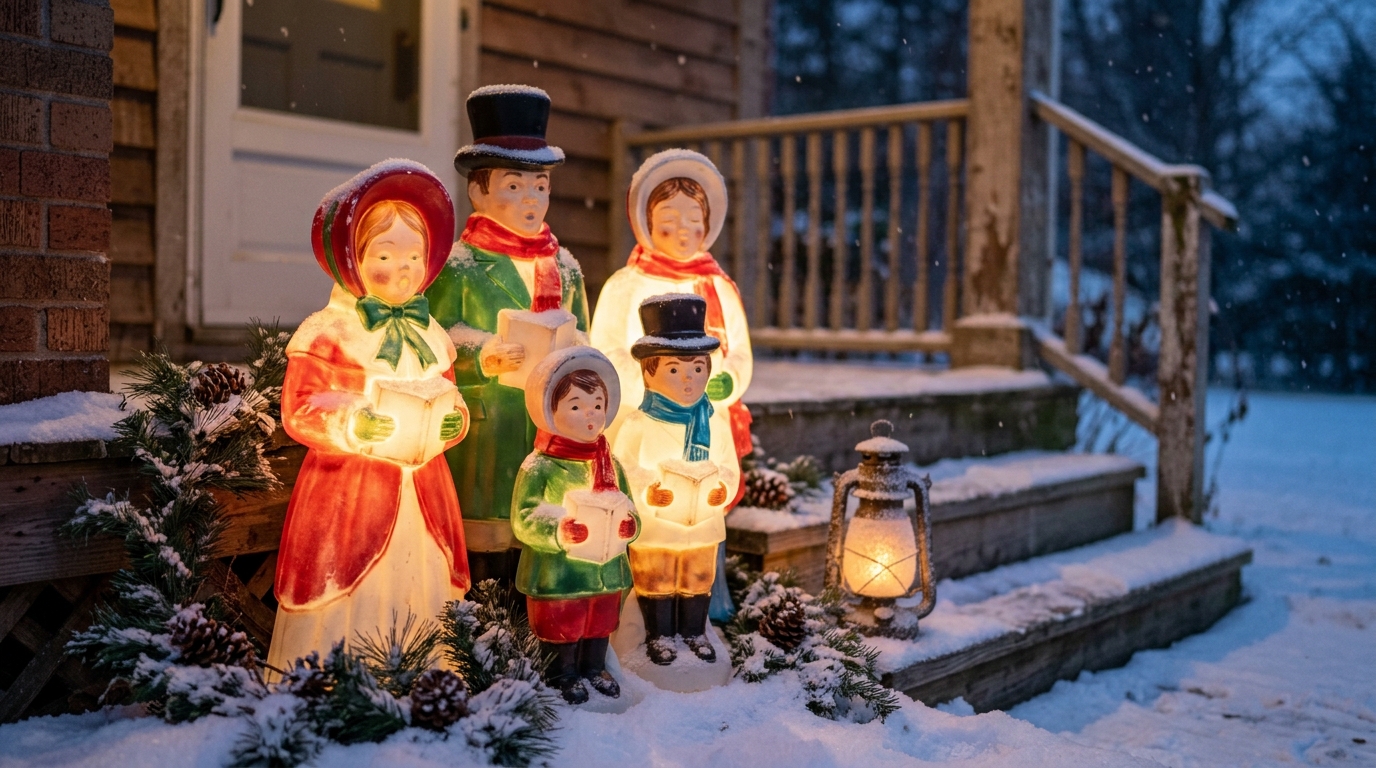
Caroler blow molds look best in a little group, as if they stopped by to sing just for you. Arrange them on the steps at different heights, with the tallest in back, and add pine branches and a battery LED lantern around their feet. The soft glow makes the whole porch feel like a scene from an old movie. Group three or four together for the best effect. They also look sweet on a covered porch where they stay out of the weather. Which carol would they be singing?
You will need: Three or four caroler blow molds, LED bulbs, pine branches and a battery LED lantern.
How to make it: 1. Place the tallest carolers on the higher steps. 2. Set smaller ones in front so every face shows. 3. Tuck pine branches and a lantern around the base.
Window Box Christmas Blow Molds
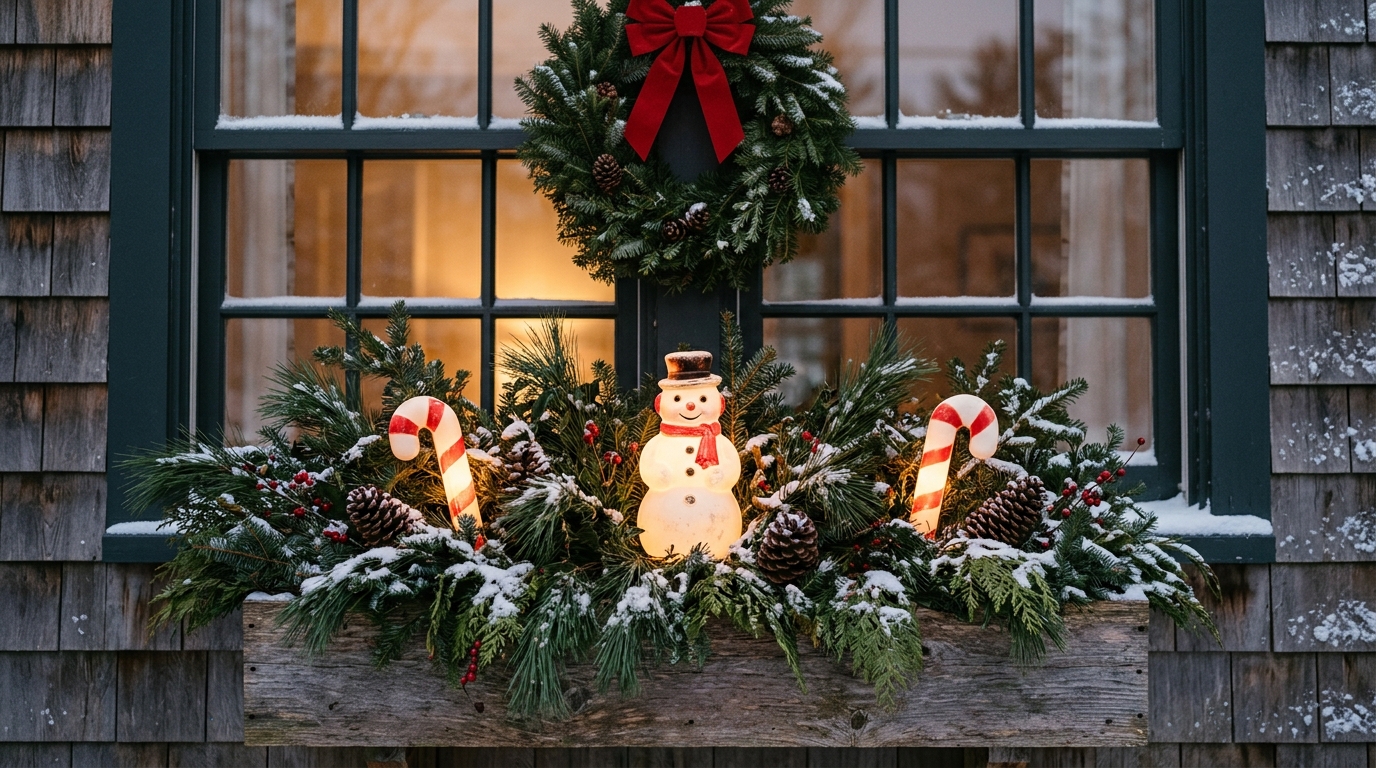
Small blow molds fit perfectly in a window box, and they look wonderful from both inside and out. Fill the box with pine branches, then nestle a little snowman and a couple of short candy canes in the greenery. At night the glow fills the window and makes the house look so welcoming. It is a smart way to use the smaller pieces you find at sales. Your family will see it every time they look out. Which window would you choose?
You will need: Small blow molds, a sturdy window box, pine branches, LED bulbs and a short outdoor rated cord.
How to make it: 1. Fill the window box with pine branches. 2. Nestle the small figures into the greenery. 3. Run the cord neatly down the wall to an outdoor outlet.
Indoor Blow Mold Vignette on a Sideboard
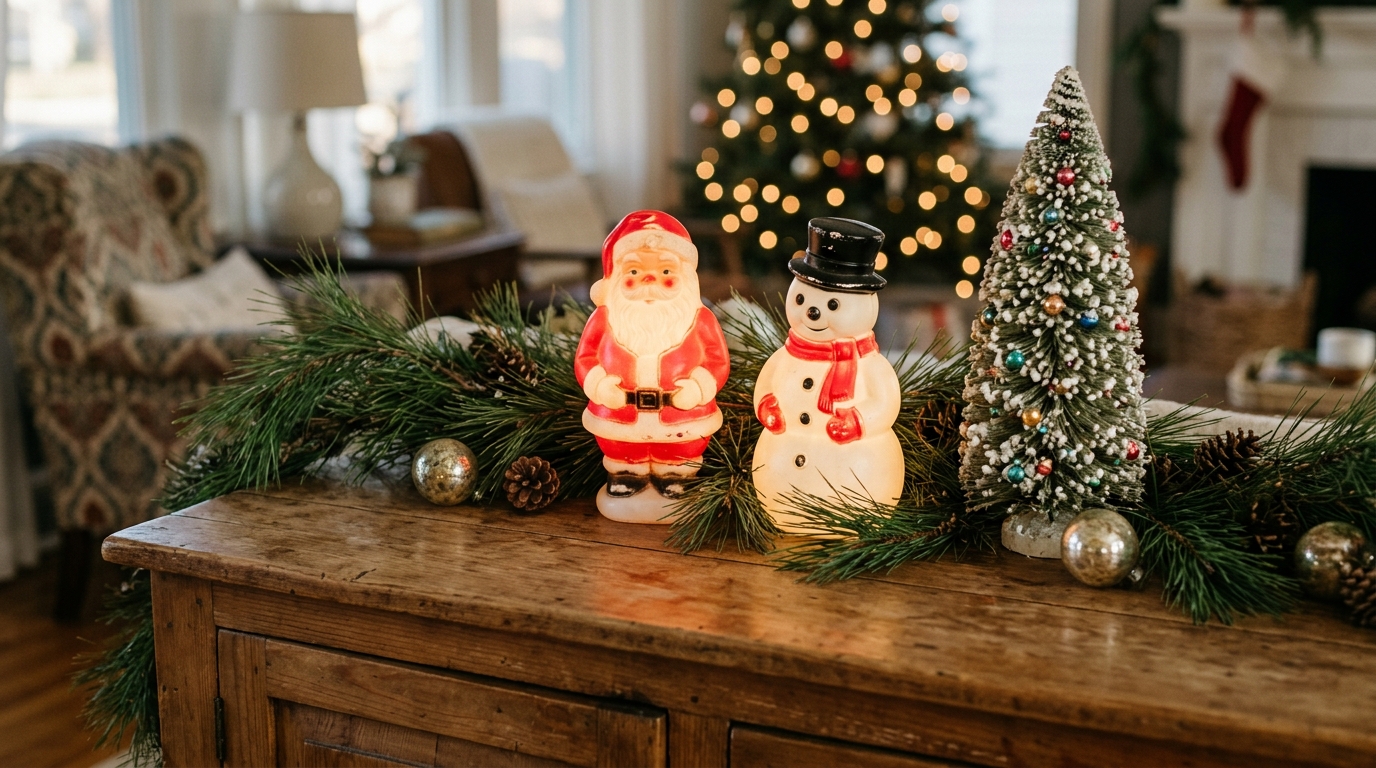
Blow molds are not only for the yard. Small ones look charming indoors, grouped on a sideboard or a bookshelf with a bottle brush tree and some garland. The soft glow adds a cozy, nostalgic feeling to a living room or dining room. Indoors, they also stay safe from wind and sun, so it is a nice home for a fragile vintage piece. Add a few old ornaments in a bowl to finish the look. Where in your home would they shine?
You will need: One or two small blow molds, LED bulbs, a bottle brush tree, garland and a bowl of vintage ornaments.
How to make it: 1. Clear the sideboard and lay down the garland. 2. Place the blow molds at different heights. 3. Fill the gaps with the tree and ornaments.
Mini Blow Mold Ornaments on a Vintage Tree
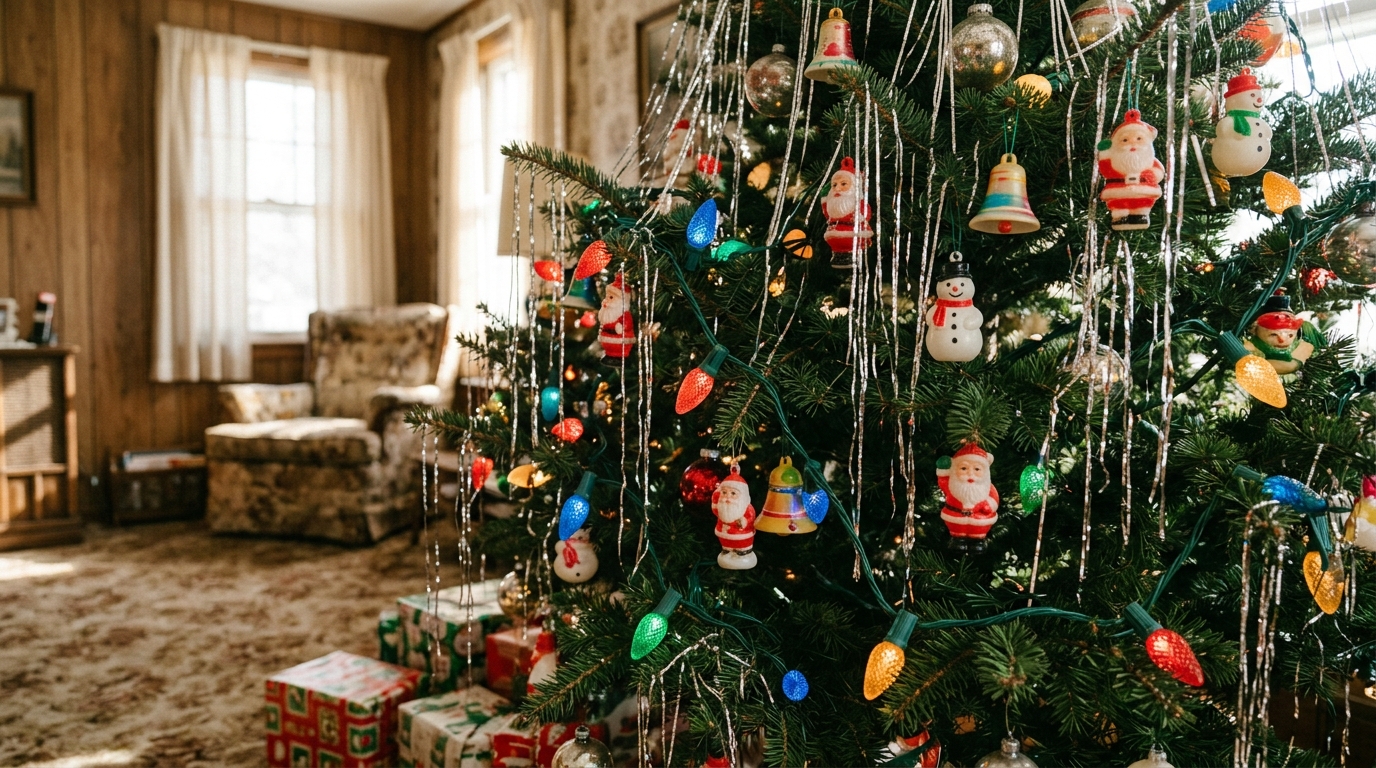
Love the look but short on space? Tiny plastic ornaments shaped like Santas, snowmen and bells give a tree that same retro blow mold charm. Mix them with big colored LED bulbs in the old C9 shape and some silver tinsel for a tree that looks like it came from a 1960s living room. Kids love finding the little figures among the branches. You can often find these ornaments in thrift stores, too. Would your tree go full retro this year?
You will need: Small plastic retro ornaments, big colored LED bulbs, silver tinsel and ornament hooks.
How to make it: 1. String the colored LED bulbs first. 2. Hang the mini figures evenly around the tree. 3. Finish with tinsel, a few strands at a time.
Anchor Christmas Blow Molds Against the Wind
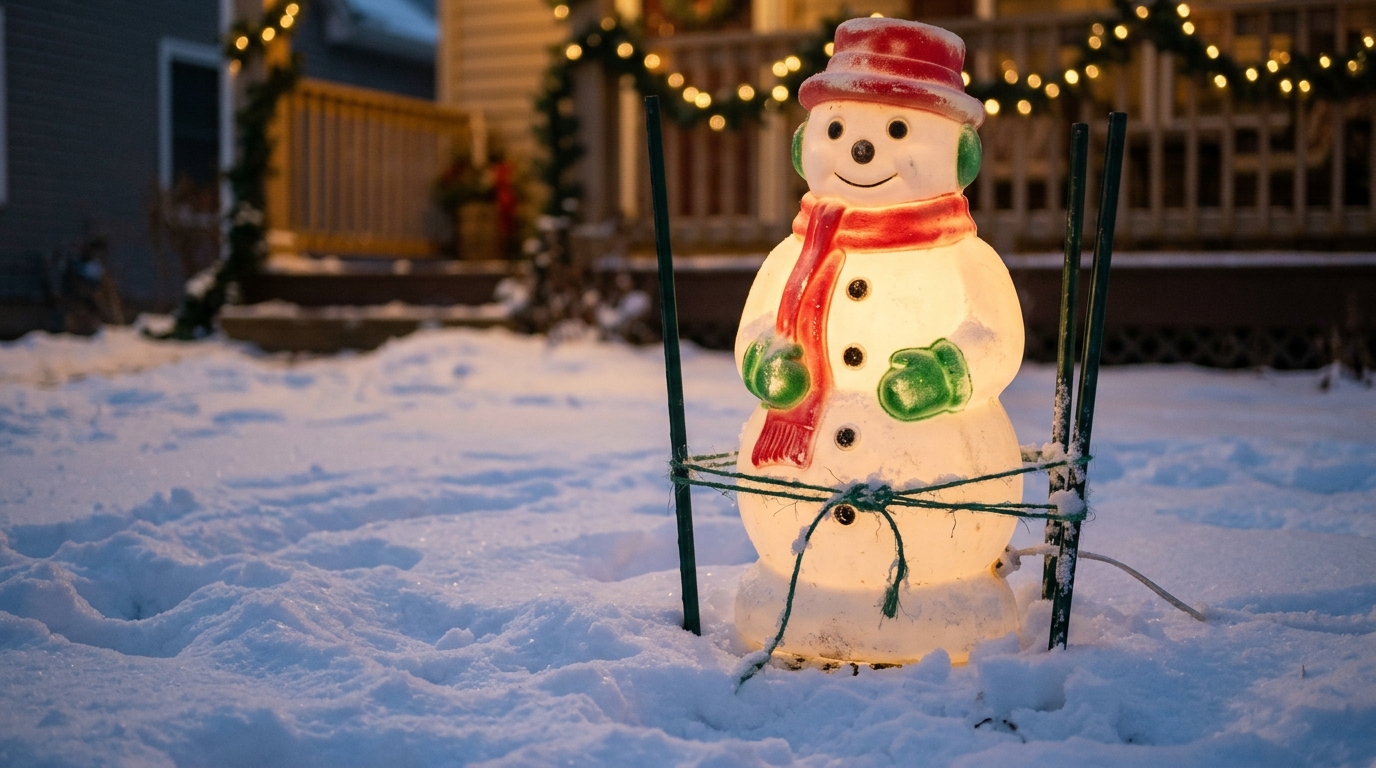
A gust of wind can send a hollow blow mold rolling down the street. The fix is simple: anchor them. Push thin metal garden stakes into the ground beside the figure and tie it gently with green garden twine. Some people also add a small bag of sand inside the base for weight. Christmas blow molds that stay upright also stay crack free, so this little step protects your favorites. Check them after every storm. Have you ever had one blow away?
You will need: Thin metal garden stakes, green garden twine and small bags of sand.
How to make it: 1. Push two stakes into the ground on either side of the figure. 2. Tie the figure loosely to the stakes with twine. 3. Add a sand bag inside the base for extra weight.
Snow Globe Porch Scene in a Big Glass Jar
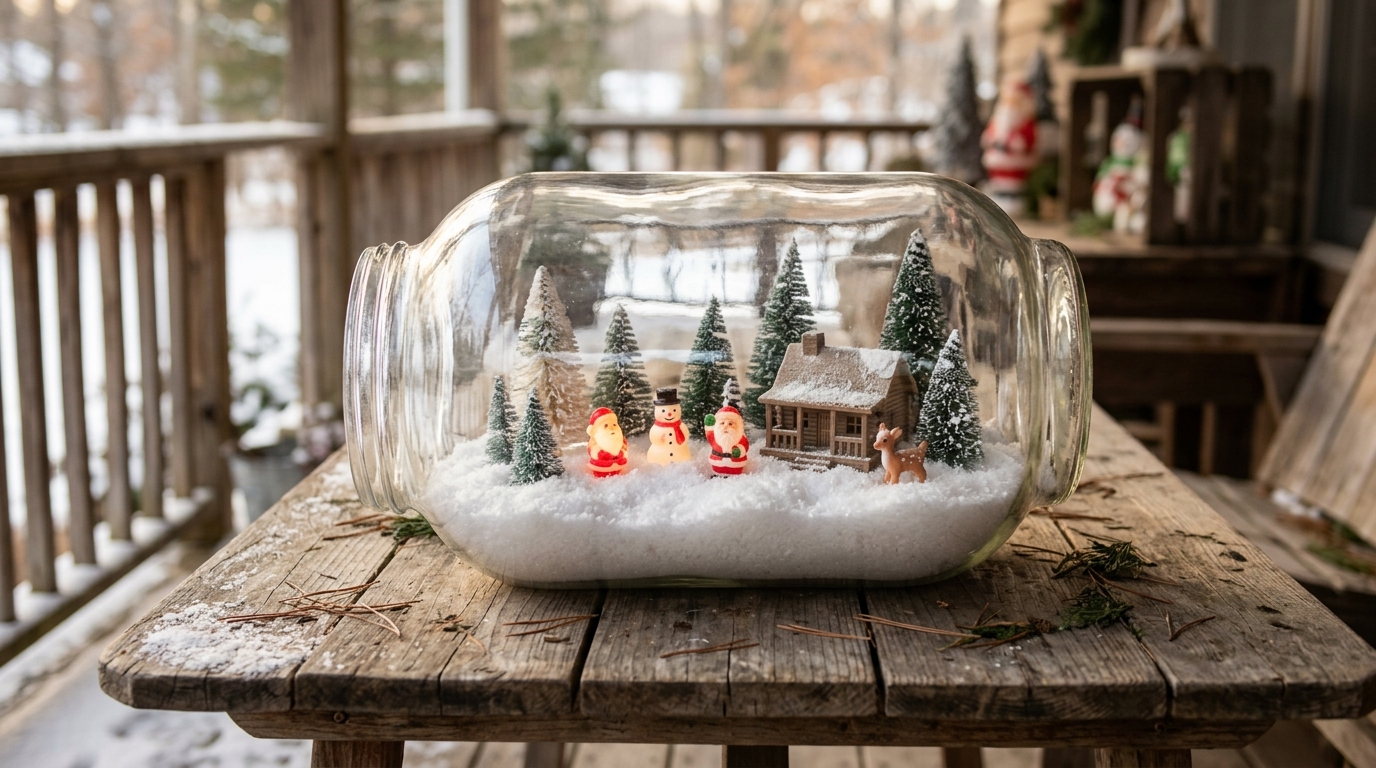
Here is a creative twist: a tiny blow mold scene inside a big glass jar, like a snow globe you can set on the porch table. Lay a large clear jar on its side, add a layer of white batting or fluffy snow, then arrange mini figures and little trees inside. A string of tiny battery lights makes it glow. It is a great project for a rainy afternoon with the grandkids. Where would you display yours?
You will need: A large clear glass jar, white cotton batting, mini plastic figures, small bottle brush trees and battery micro lights.
How to make it: 1. Lay the jar on its side on a stand so it cannot roll. 2. Add the batting and arrange the figures and trees. 3. Tuck in the battery lights and switch them on.
Penguin and Polar Bear Winter Scene
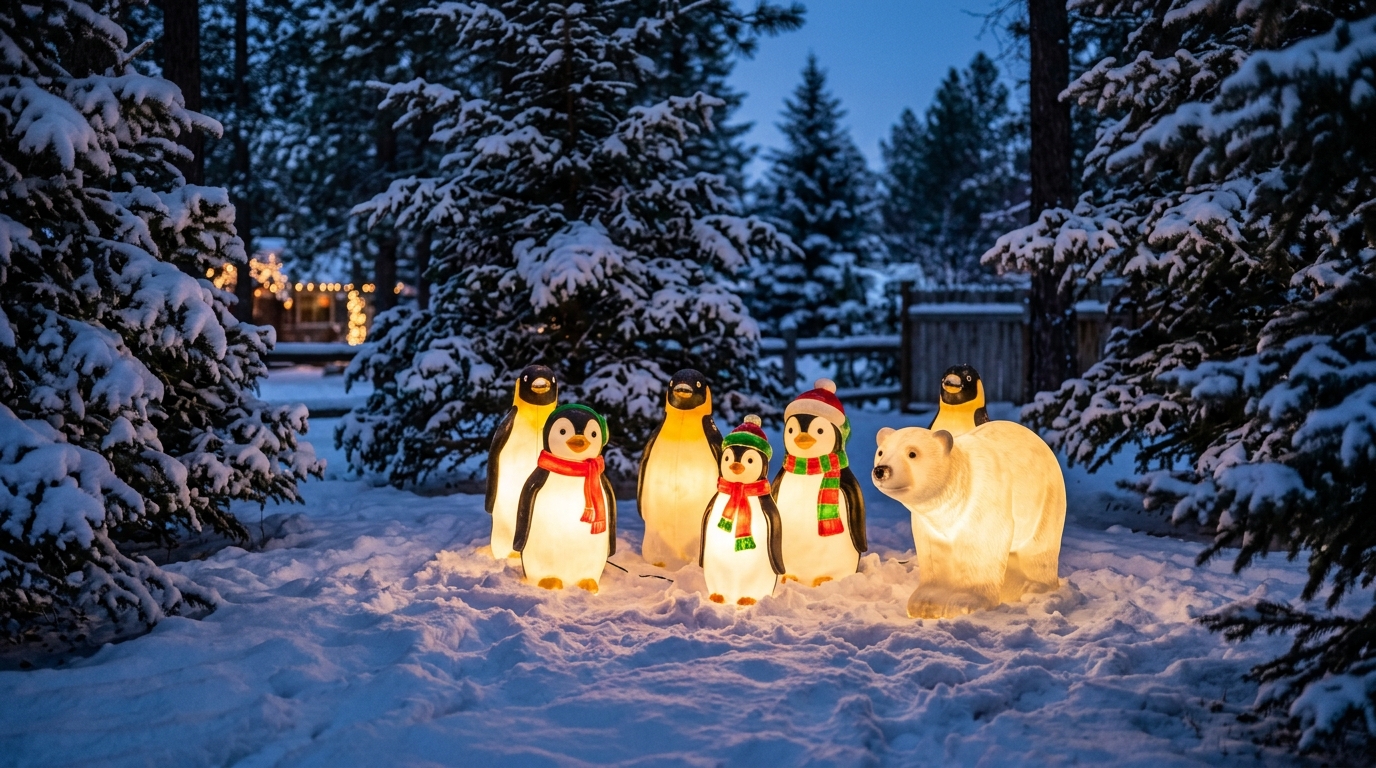
Not all Christmas blow molds have to be Santa. Penguins and polar bears make a playful winter scene that can stay up from December right through February. Group a family of penguins together with a polar bear watching over them, and set them among a few small pine trees. The cool white and black shapes look great on snow. Kids especially love this one. It also means you can keep your yard glowing after the tree comes down. Which animal would you add next?
You will need: Penguin and polar bear blow molds, LED bulbs, garden stakes and a few small potted pines.
How to make it: 1. Group the penguins close together like a family. 2. Place the polar bear slightly behind them. 3. Stake each figure and set small pines around the scene.
Blow Mold and Lamp Post Corner
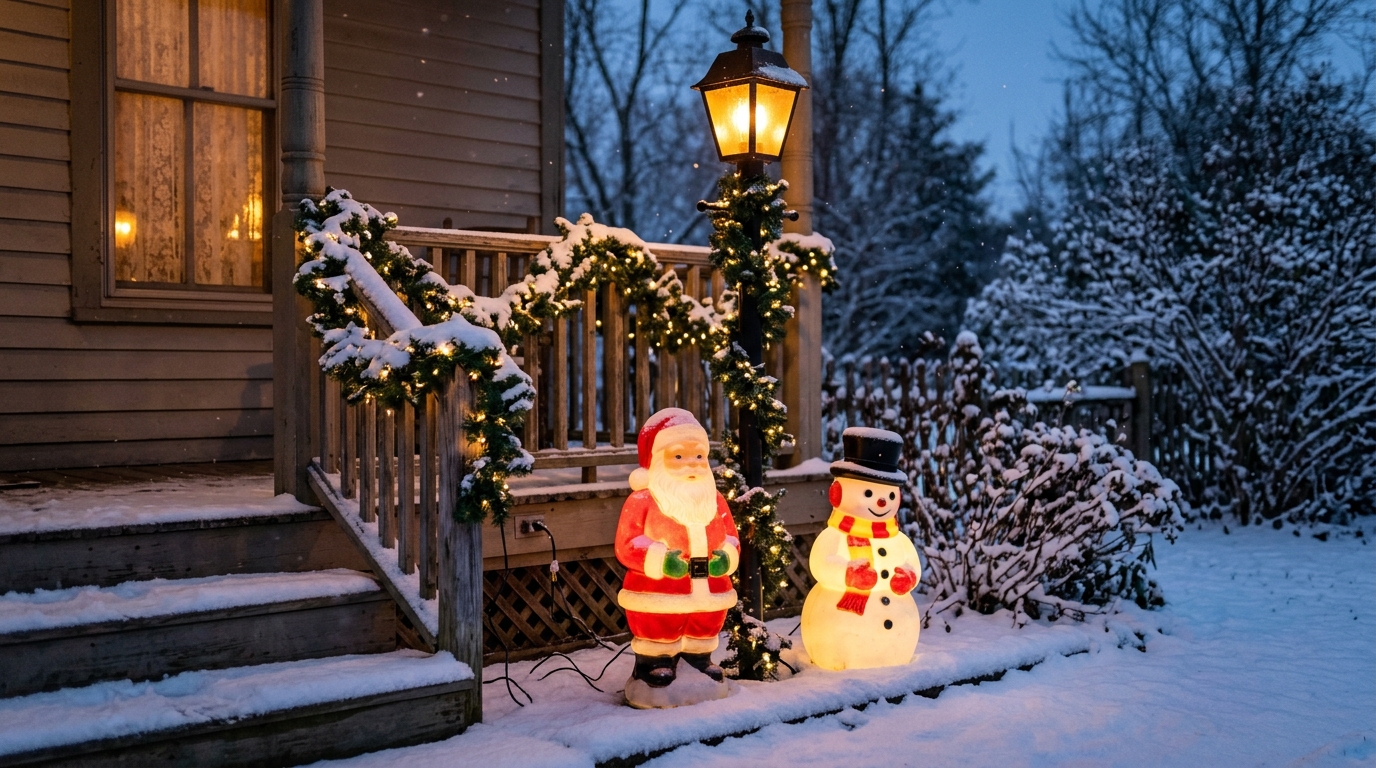
A lamp post and a couple of blow molds make a cozy corner on a porch or by the driveway. Wrap the post in garland and stand a Santa and a snowman beside it, as if they are waiting under the streetlight. Use LED bulbs in both the lamp and the figures for a soft, even glow. It is a lovely spot for a family photo, too. If you have one empty corner, this is a great way to fill it. Would you add a bench to sit on?
You will need: A lamp post or porch light, garland, two blow molds, LED bulbs and an outdoor rated cord.
How to make it: 1. Wrap the post with garland. 2. Stand the figures beside it and stake them. 3. Run the cords neatly behind the post.
Retro Aluminum Tree With a Blow Mold Santa
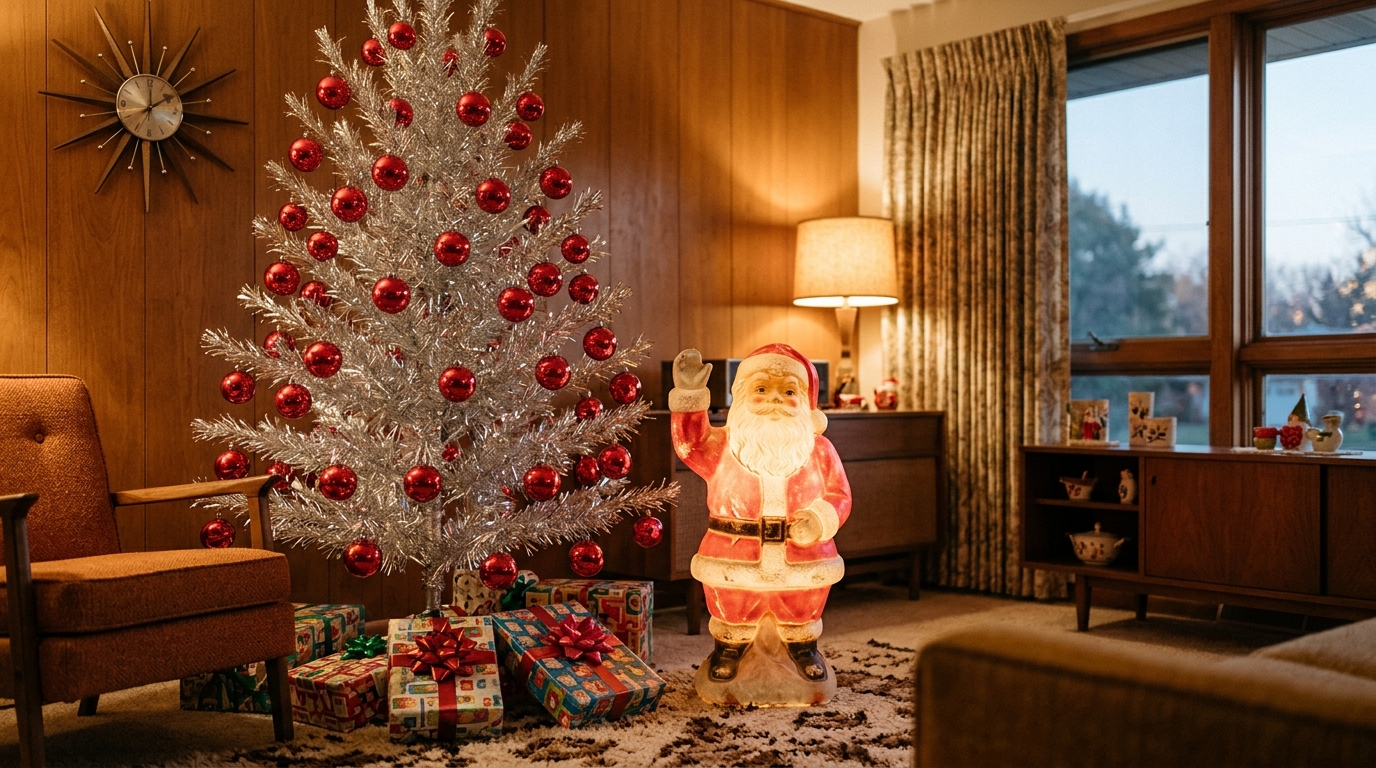
For a full mid century look, pair a shiny silver aluminum tree with red glass ornaments and a glowing Santa blow mold beside it. This was the height of style in the 1960s, and it looks fun and fresh again today. Keep the decorations simple: one color of ornaments and lots of shine. Use LED lights near the tree, never old hot bulbs. It makes a living room feel like a holiday party from another era. Would you go retro this year?
You will need: A silver tinsel tree, red shatterproof ornaments, a small blow mold Santa and LED bulbs.
How to make it: 1. Set up the tree and fluff the branches. 2. Hang the red ornaments evenly. 3. Place the Santa beside the tree and plug it in.
Storing Christmas Blow Molds Without Cracks
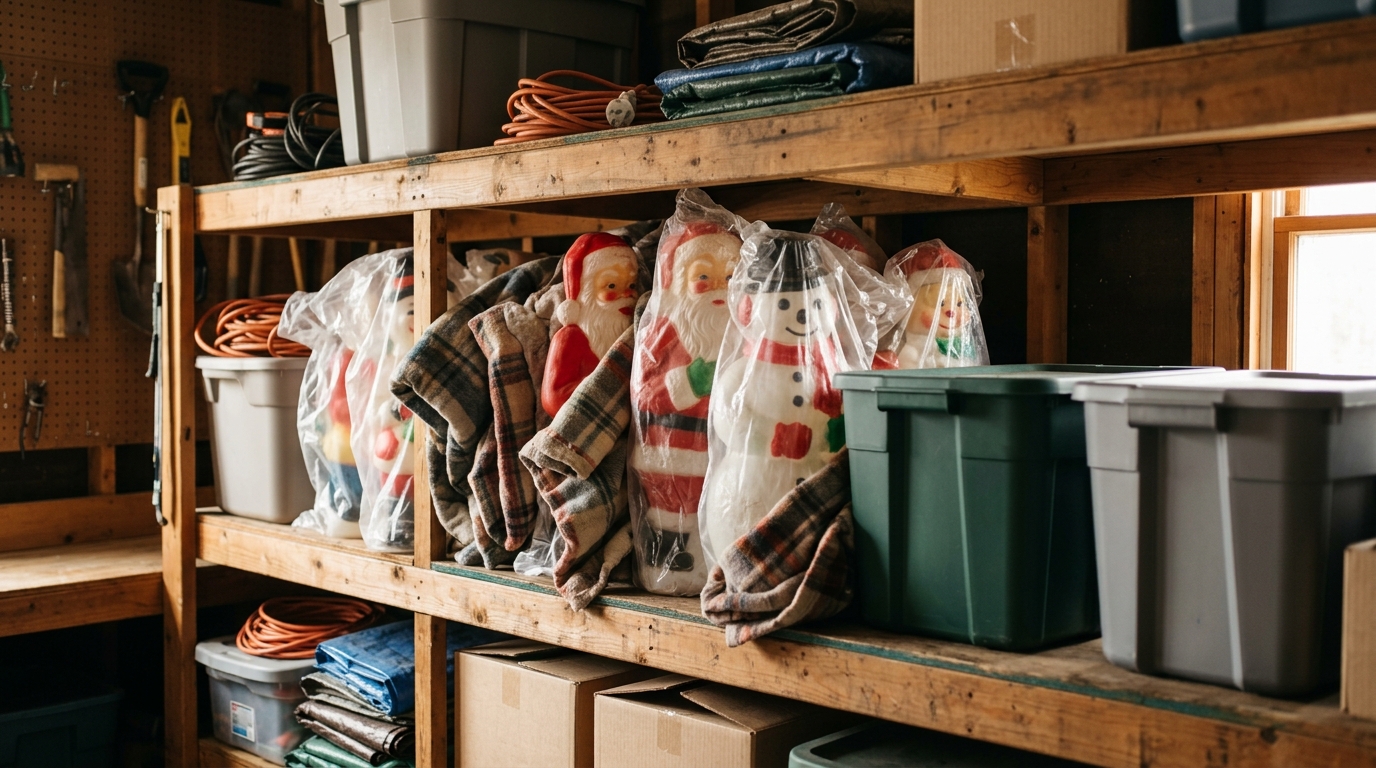
How you store your Christmas blow molds decides whether they last another fifty years. Clean and dry them before packing. Wrap each one in an old blanket or a clear plastic bag, and store them standing up on a shelf, never stacked or squeezed. Keep them away from heat, like a hot attic, which makes plastic brittle. Label each bag so you can find your favorites next year. A little care keeps the magic glowing for the grandkids. Which of these Christmas blow molds ideas will you try first?
You will need: Old blankets or clear plastic bags, a sturdy shelf, labels and a cool, dry storage spot.
How to make it: 1. Wipe each figure clean and let it dry. 2. Wrap it in a blanket or bag. 3. Store it upright on a shelf in a cool place.