DIY Cat Shelters: 13 Cozy Builds That Keep Outdoor Kitties Warm All Winter
DIY cat shelters are one of the kindest weekend projects you can make before the first big snow. If you have ever watched a stray or neighborhood cat curl up under a car or a bush on a freezing night, you know that feeling in your chest. You want to help, but you do not know where to start. The good news is that a warm, dry hideaway does not need special skills or a big budget. A storage tote, an old cooler, a few scrap boards and a bale of straw can make a real difference. These 13 cozy builds are simple, safe and made from things you can find at a hardware store or in your own garage. Pick one, build it this weekend and give a cold little friend somewhere to sleep tonight..
A Classic Wooden Cat House Filled With Straw
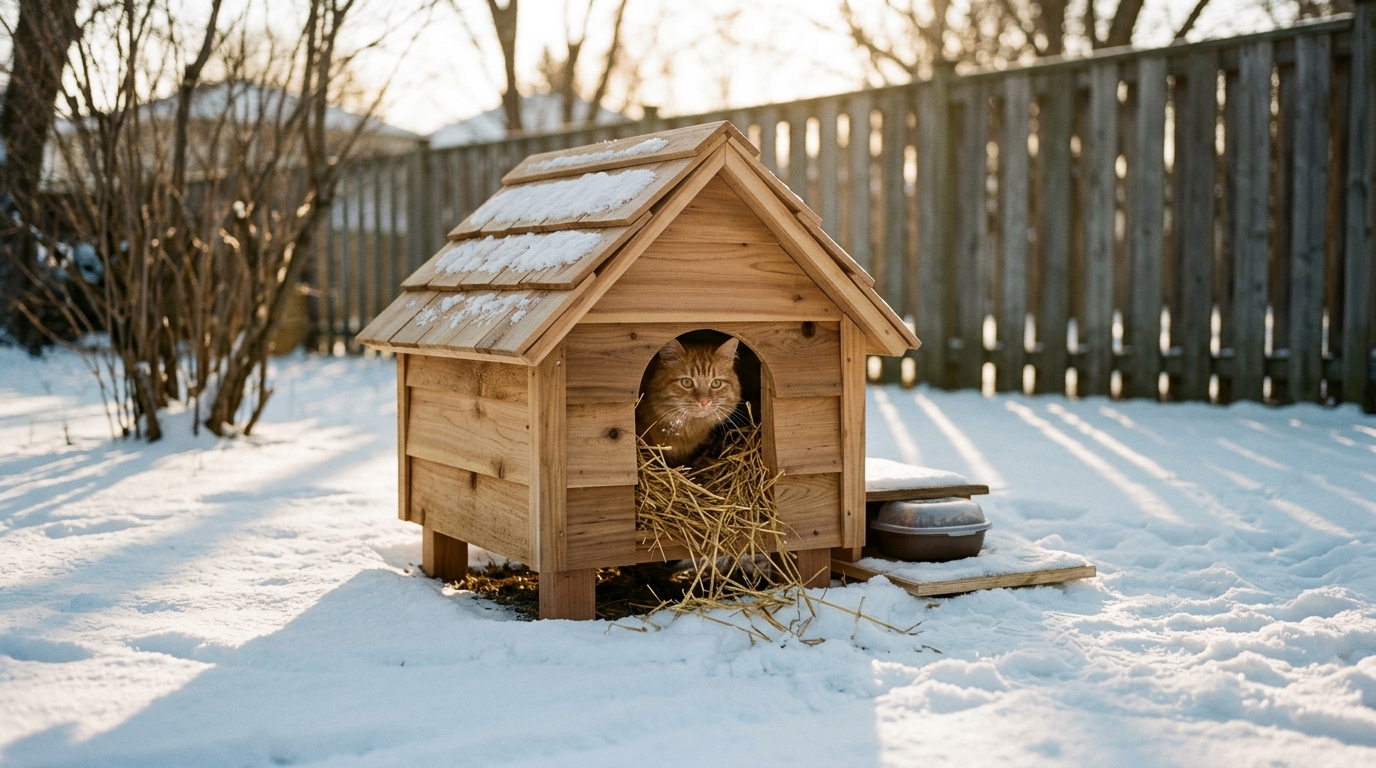
This is the shelter most people picture, and for good reason. A small wooden house with a pitched roof, a little round door and a deep bed of straw gives outdoor cats a dry place to curl up. Raise it a few inches off the ground so snow and rain cannot soak the floor. Keep the door small, about six inches wide, so body heat stays inside and bigger animals stay out. Once you build one, you may find yourself wanting to make a whole row..
You will need: Cedar or pine boards, roofing shingles or a scrap of roofing, wood screws, a drill (adult only), a jigsaw (adult only), loose straw
How to make it: 1. Cut a floor, four walls and two roof panels about 2 feet wide. 2. An adult cuts a 6 inch round door near one corner. 3. Screw the box together, add the roof and cover it with shingles. 4. Set it on short legs or bricks and fill it with loose straw.
Storage Tote DIY Cat Shelters With Foam Board
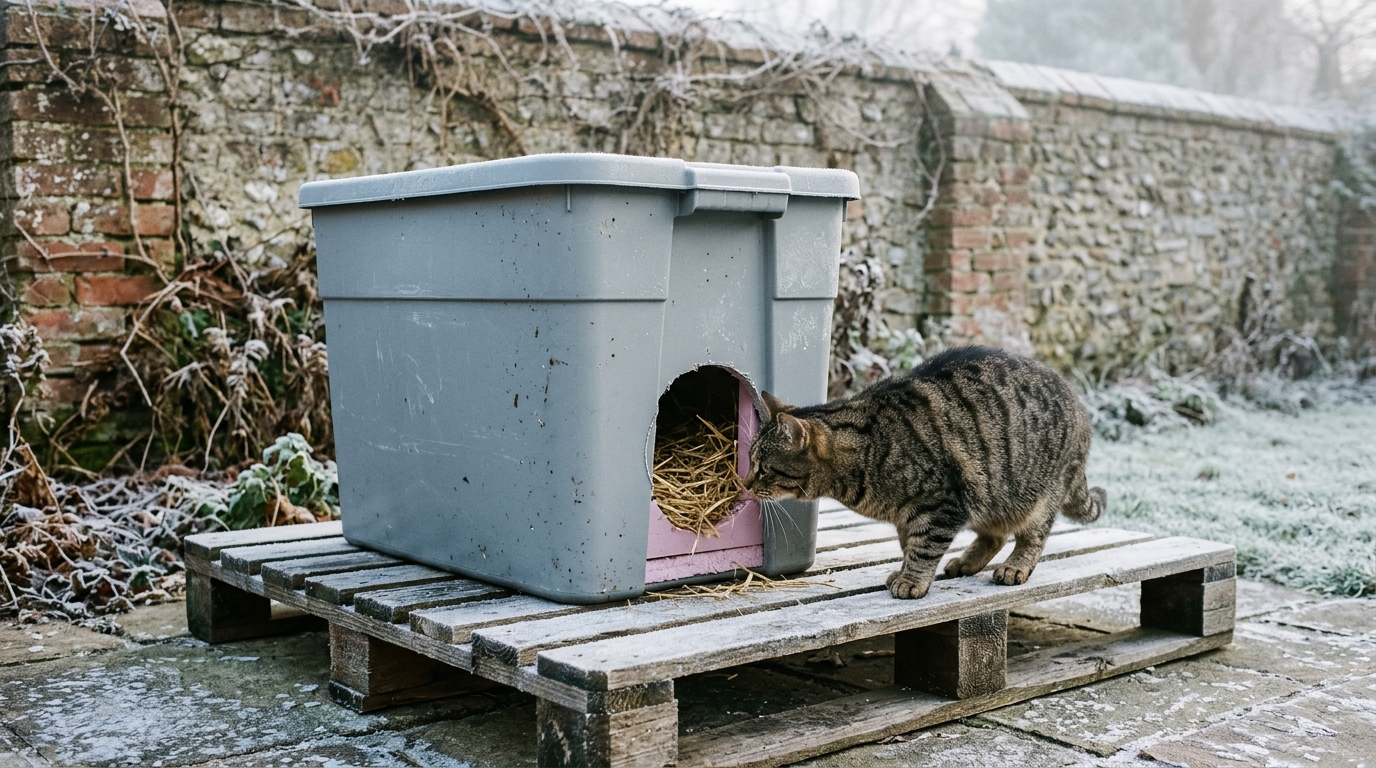
Plastic storage totes are the secret behind many DIY cat shelters that rescuers swear by. They are cheap, waterproof and easy to cut. Line the inside with rigid foam board, leave a small gap for a cat to walk in, and fill the space with straw. Many people build a dozen of these each fall for the cats in their neighborhood. Set it on a pallet or bricks so it never sits in a puddle. How many could you make with one trip to the store?
You will need: A large plastic storage tote with lid, rigid foam insulation board, a utility knife (adult only), duct tape, loose straw
How to make it: 1. An adult cuts a 6 inch round door in one side, a few inches above the bottom. 2. Cut foam board to line the floor and walls, leaving a matching hole. 3. Cut a foam piece for the ceiling and tape the edges. 4. Fill with straw, add the lid and set it on a raised base.
A Foam Cooler Hideaway
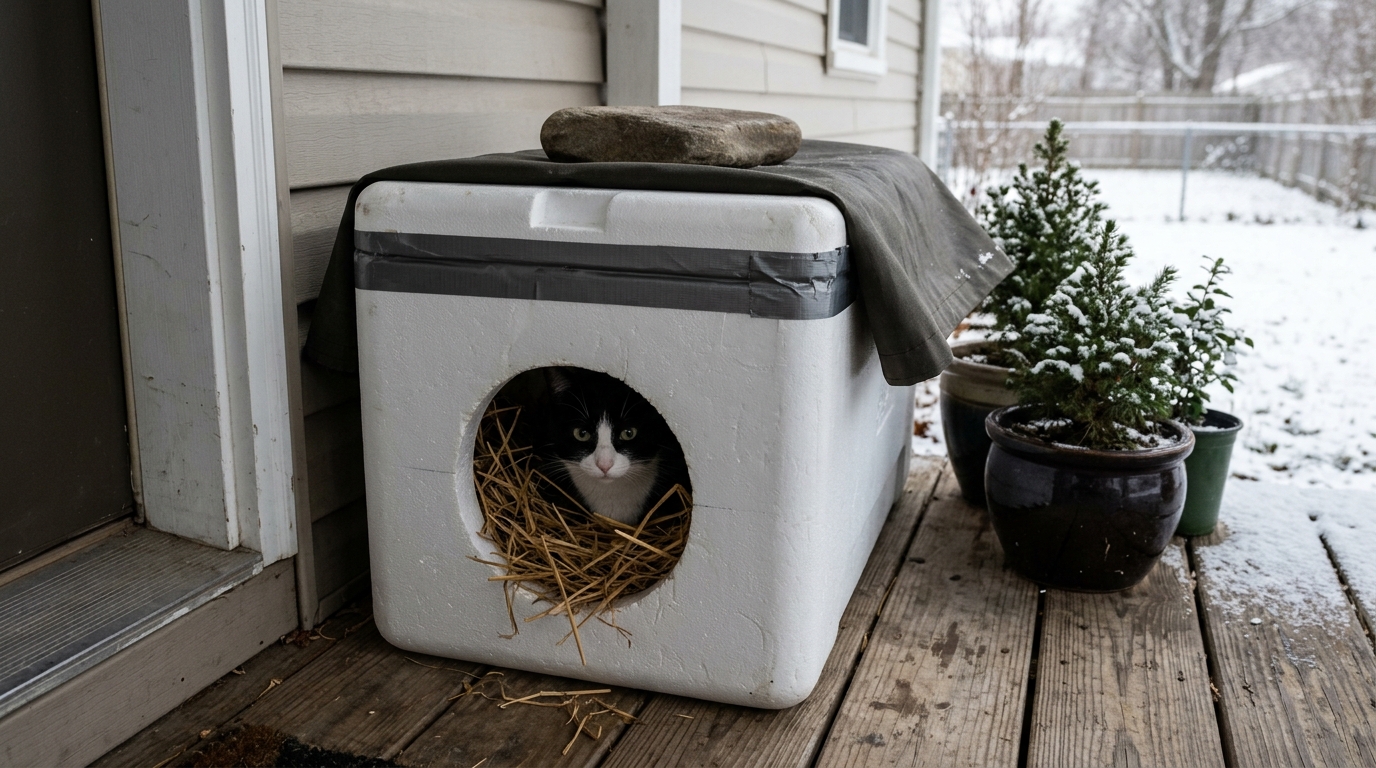
An old foam cooler already has thick insulated walls, which makes it a ready-made hideaway. Cut a round door near one end, tape the lid down and cover the top with a piece of outdoor fabric or a scrap of plastic so rain runs off. Weigh it down with a flat stone so wind cannot carry it away. It takes about 15 minutes and costs next to nothing. Do you have one gathering dust in the garage right now?
You will need: A large foam cooler, a serrated knife (adult only), outdoor duct tape, a piece of outdoor fabric or tarp, a flat stone, loose straw
How to make it: 1. An adult cuts a 6 inch round door in one end. 2. Fill the cooler about halfway with loose straw. 3. Tape the lid on firmly all the way around. 4. Cover the top with fabric and a flat stone, then place it somewhere sheltered.
Straw Bedding, Not Blankets
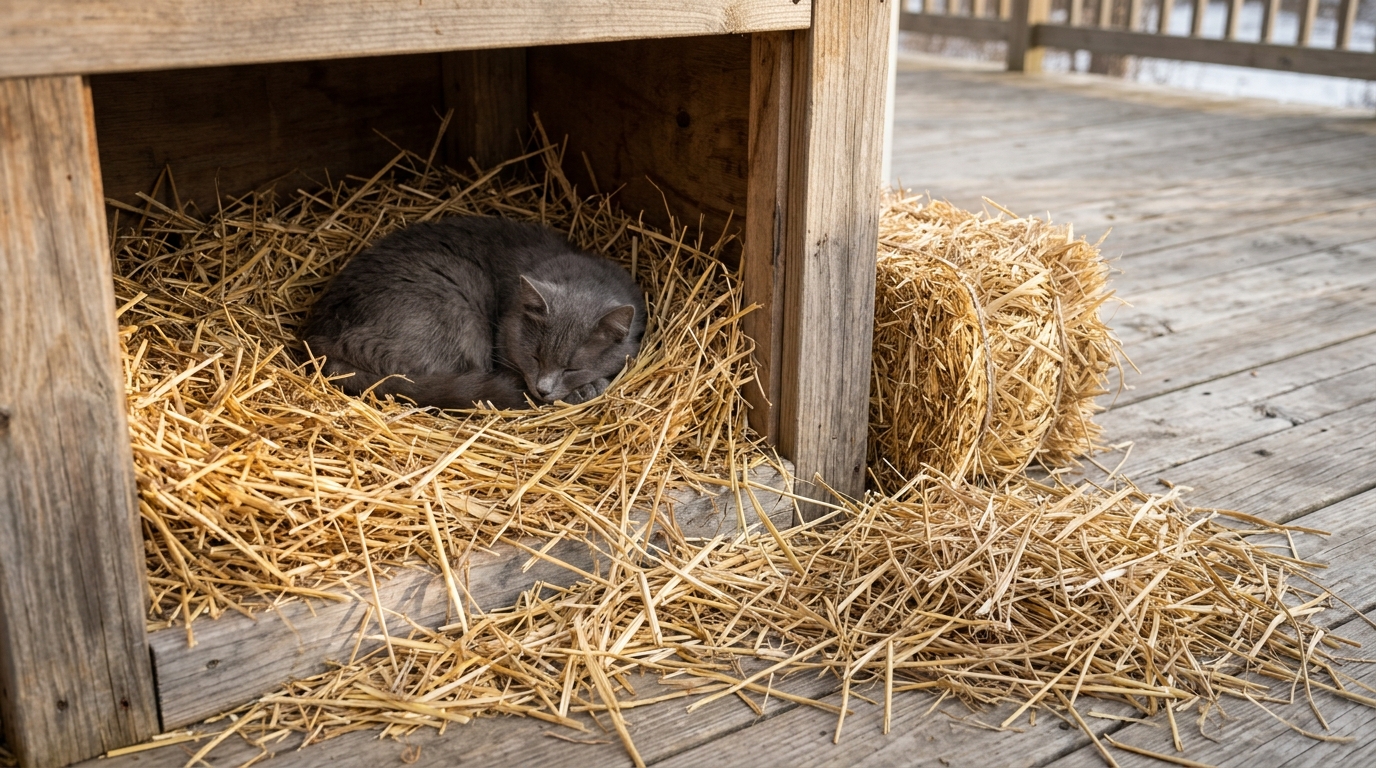
This small detail matters more than any other. Blankets, towels and hay soak up moisture and can freeze, but loose straw stays dry and lets cats burrow down into a warm nest. As Alley Cat Allies explains, straw is the bedding of choice for outdoor shelters. Fill the shelter loosely, about halfway, and fluff it now and then. Swap it out if it ever gets wet or flat. Have you been tempted to use an old blanket? Straw is the better choice.
You will need: A bale or bag of clean straw (not hay), gloves, a small rake or your hands
How to make it: 1. Buy straw from a garden or farm store, not hay. 2. Fill the shelter loosely about halfway. 3. Leave space at the door so cats can walk in. 4. Check it weekly and replace any damp straw.
A Clear Vinyl Door Flap
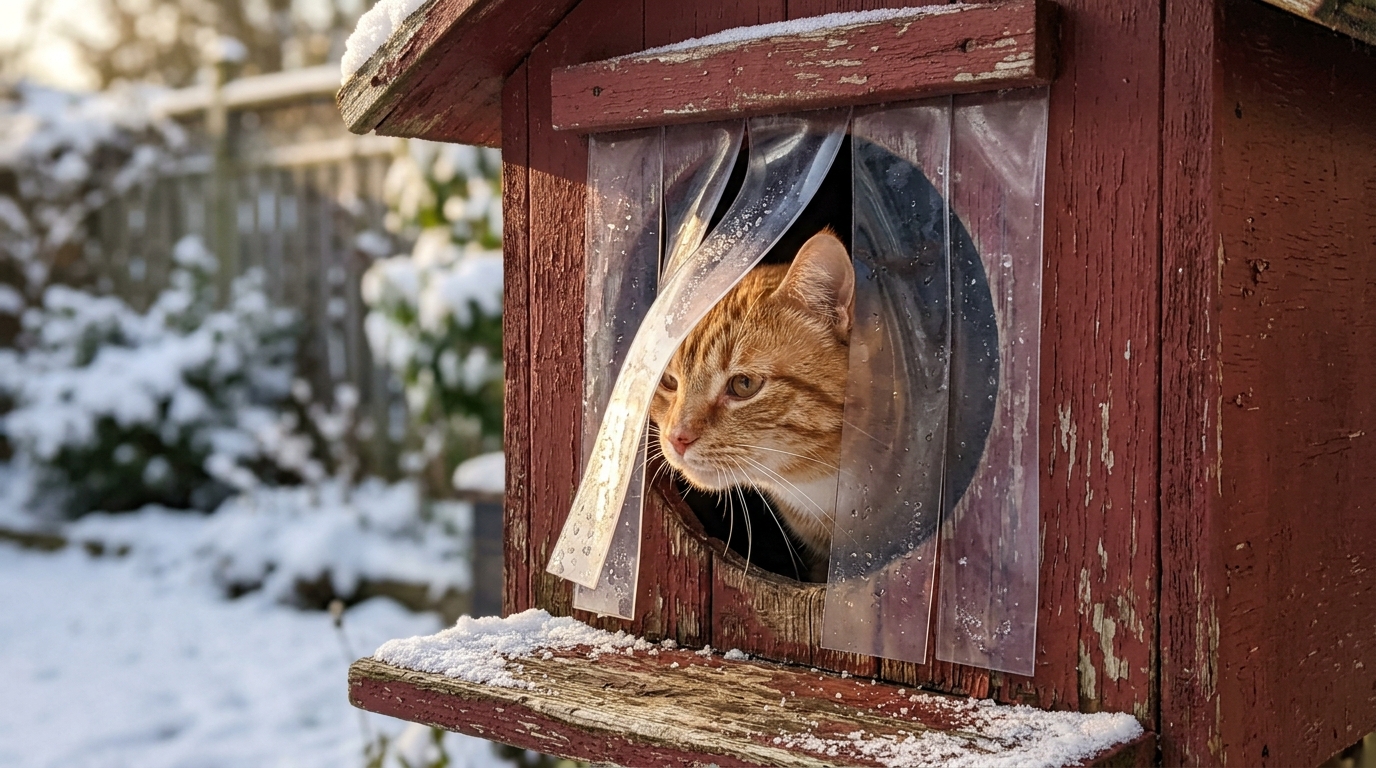
A simple flap over the doorway keeps wind and blowing snow out while still letting cats come and go. Clear vinyl strips work well because cats can see through them and feel safe pushing in. Some cats are shy at first, so tape the flap up for a few days and lower it once they are used to the shelter. It is a small upgrade that makes the inside feel much cozier. Would your local cats get the hang of it quickly?
You will need: A piece of clear heavy vinyl or a vinyl placemat, scissors, outdoor duct tape or small screws
How to make it: 1. Cut the vinyl a little larger than the door. 2. Cut it into two or three vertical strips. 3. Attach the top edge above the door with tape or small screws. 4. Tape it up for a few days, then let it hang down.
Two-Door DIY Cat Shelters for a Safe Escape
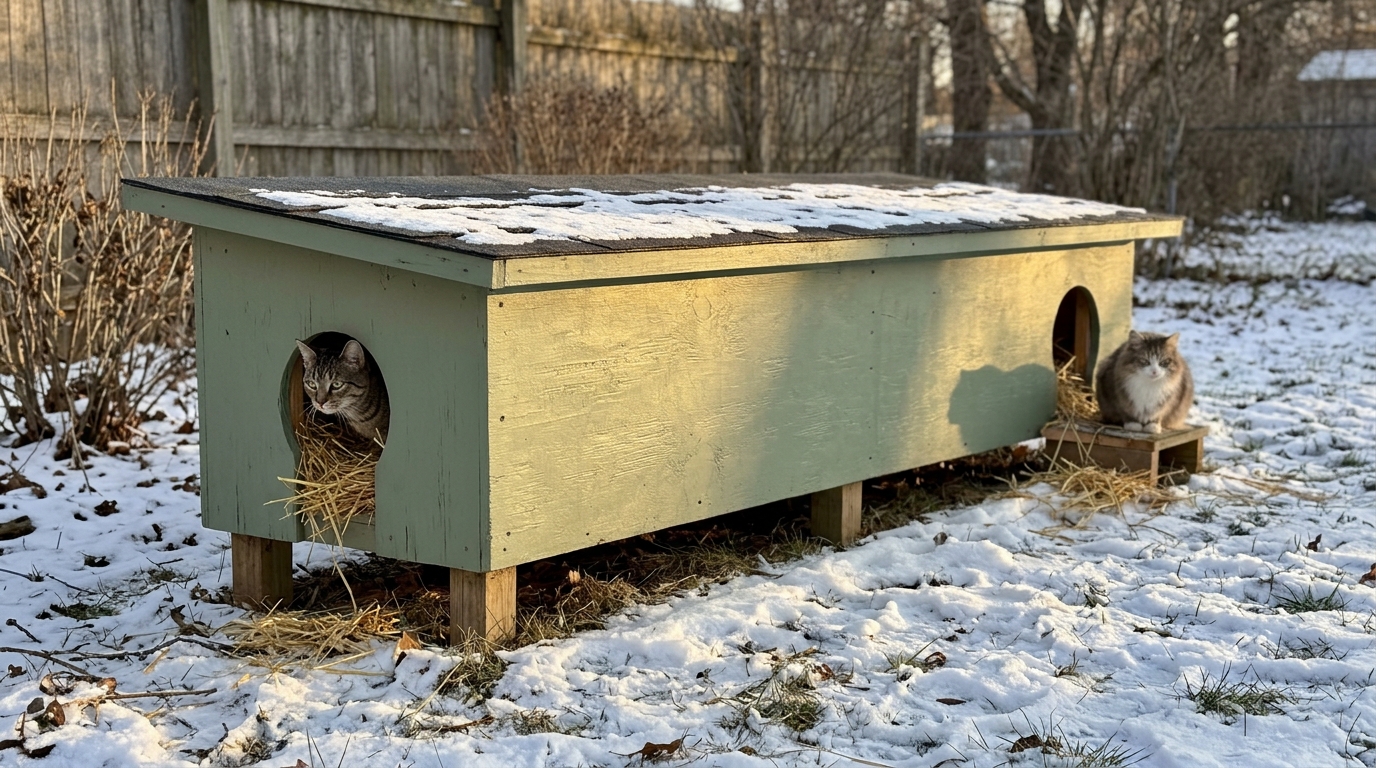
Outdoor cats like to know they can get out fast if another animal comes to the door. That is why many DIY cat shelters have two doorways, one at each end. A long, low box gives room for two or three cats to share warmth, which many colony cats love to do. Keep both doors small and face them away from the wind. Paint the outside a soft color so it blends into the yard. Would two doors make your shelter the favorite spot on the block?
You will need: Plywood or cedar boards, wood screws, a drill (adult only), a jigsaw (adult only), outdoor paint, straw
How to make it: 1. Build a long box about 3 feet long, 18 inches wide and 14 inches tall. 2. An adult cuts a small round door at each end. 3. Add a sloped roof and paint the outside. 4. Raise it on short legs and fill with straw.
A Raised Pallet Base

Cold travels up from the ground, and puddles form fast after a thaw. A wooden pallet is a free way to lift any shelter off the cold earth. Many stores give away old pallets, so ask before you buy anything. Put the pallet down first, add a flat board on top so little paws do not slip through the gaps, then set your shelter in place. It also makes the shelter easier to spot and clean. Where could you find a free pallet this week?
You will need: A clean wooden pallet, a flat plywood board, a few screws, a drill (adult only), work gloves
How to make it: 1. Check the pallet for loose nails and sand rough spots. 2. Screw a flat board on top to close the gaps. 3. Place it in a sheltered spot away from wind. 4. Set your cat shelter on top and secure it if needed.
Refit an Old Doghouse
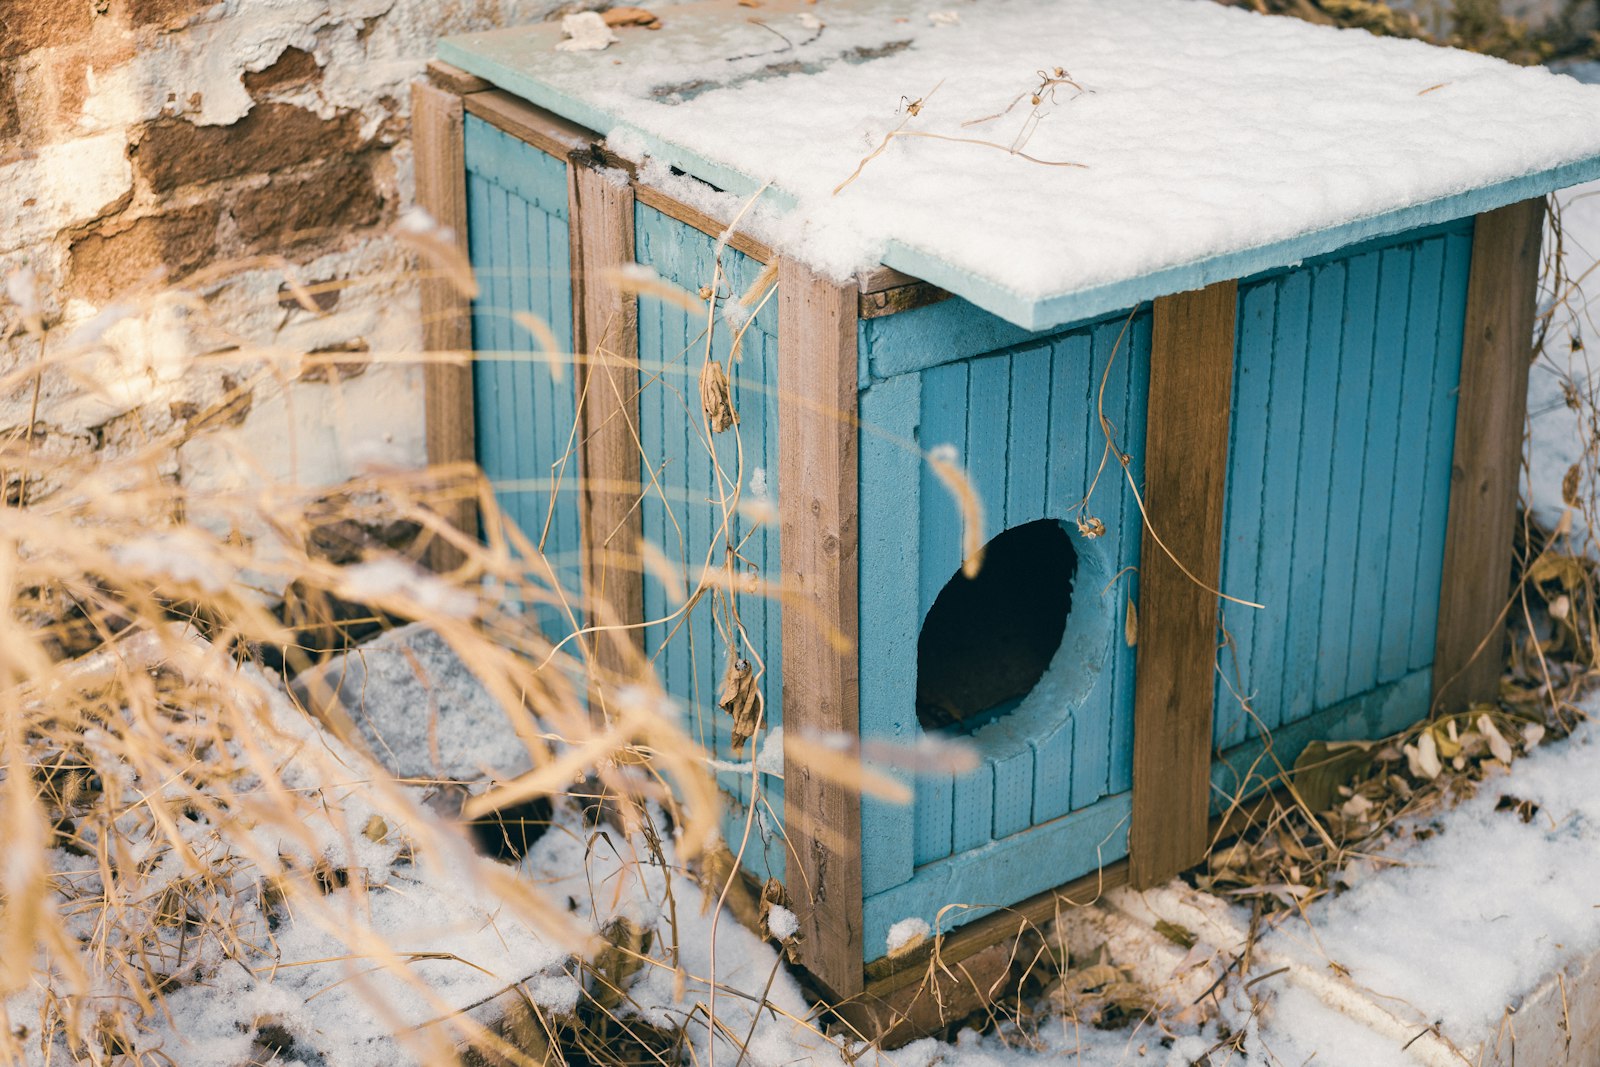
If an old doghouse is sitting empty in your yard, it can become a perfect winter home for cats with a few changes. Dog doors are usually too big for keeping warm, so cover most of the opening with a board and leave a small cat-sized door. Add a layer of foam board inside, a deep bed of straw and a raised base. It is a great way to give old things a new job. Do you know a neighbor with an unused doghouse?
You will need: An old doghouse, a plywood scrap, rigid foam board, screws, a drill (adult only), straw
How to make it: 1. Clean the doghouse and check for loose boards. 2. Screw plywood over most of the door, leaving a 6 inch opening. 3. Line the walls with foam board. 4. Fill with straw and set it on a pallet.
A-Frame DIY Cat Shelters for Snowy Yards
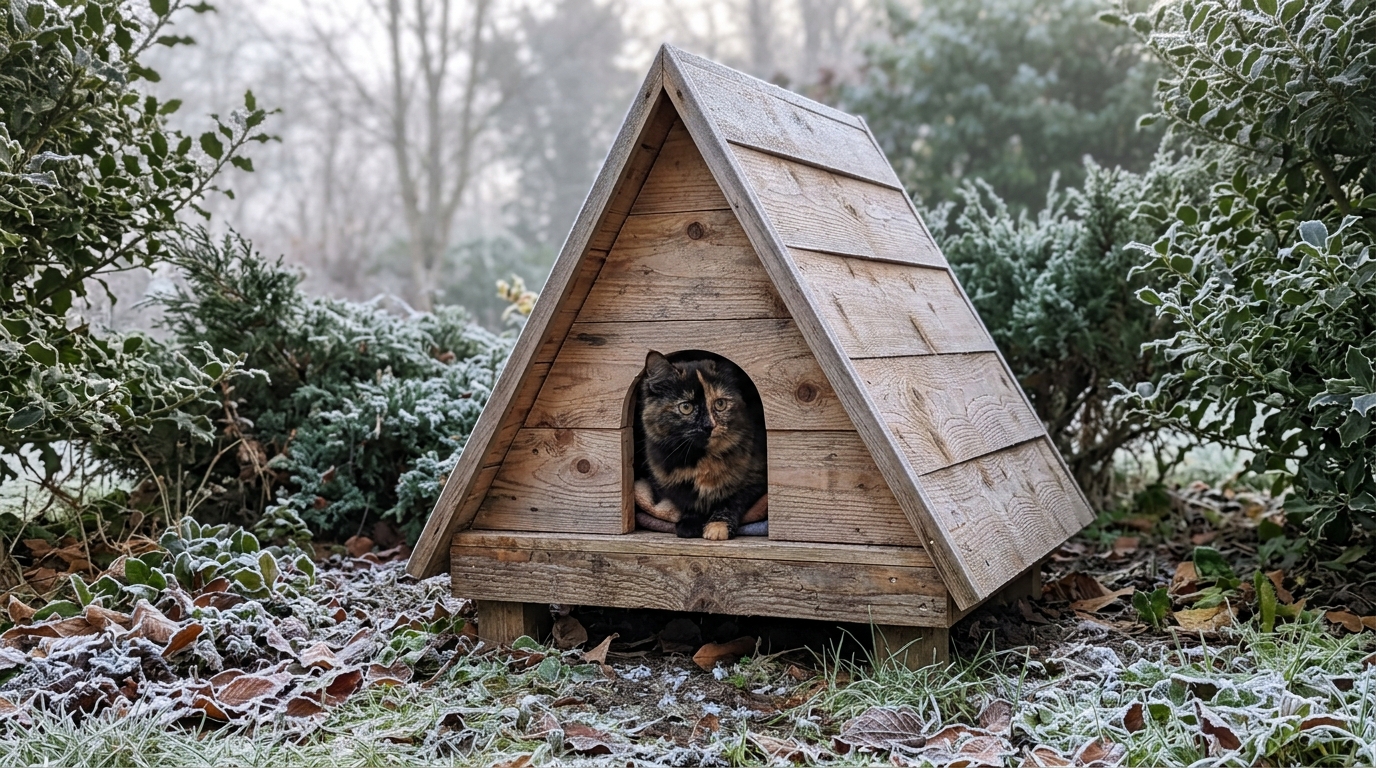
An A-frame shelter looks adorable in a garden, and the steep roof helps snow slide right off. Two angled roof panels form the walls, so there are fewer pieces to cut than a box house. Add a floor panel, a back wall and a small round door, and you have a cozy hideaway that looks like a tiny cabin. Tuck it under shrubs for extra wind protection. Would you leave it natural or paint it to match your house?
You will need: Cedar boards or plywood, wood screws, a drill (adult only), a jigsaw (adult only), outdoor stain, straw
How to make it: 1. Cut two roof panels and a floor about 2 feet long. 2. Cut a triangle back wall and a front wall with a small door. 3. Screw everything together and seal with outdoor stain. 4. Raise it a few inches and fill with straw.
A Painted Plywood Cottage
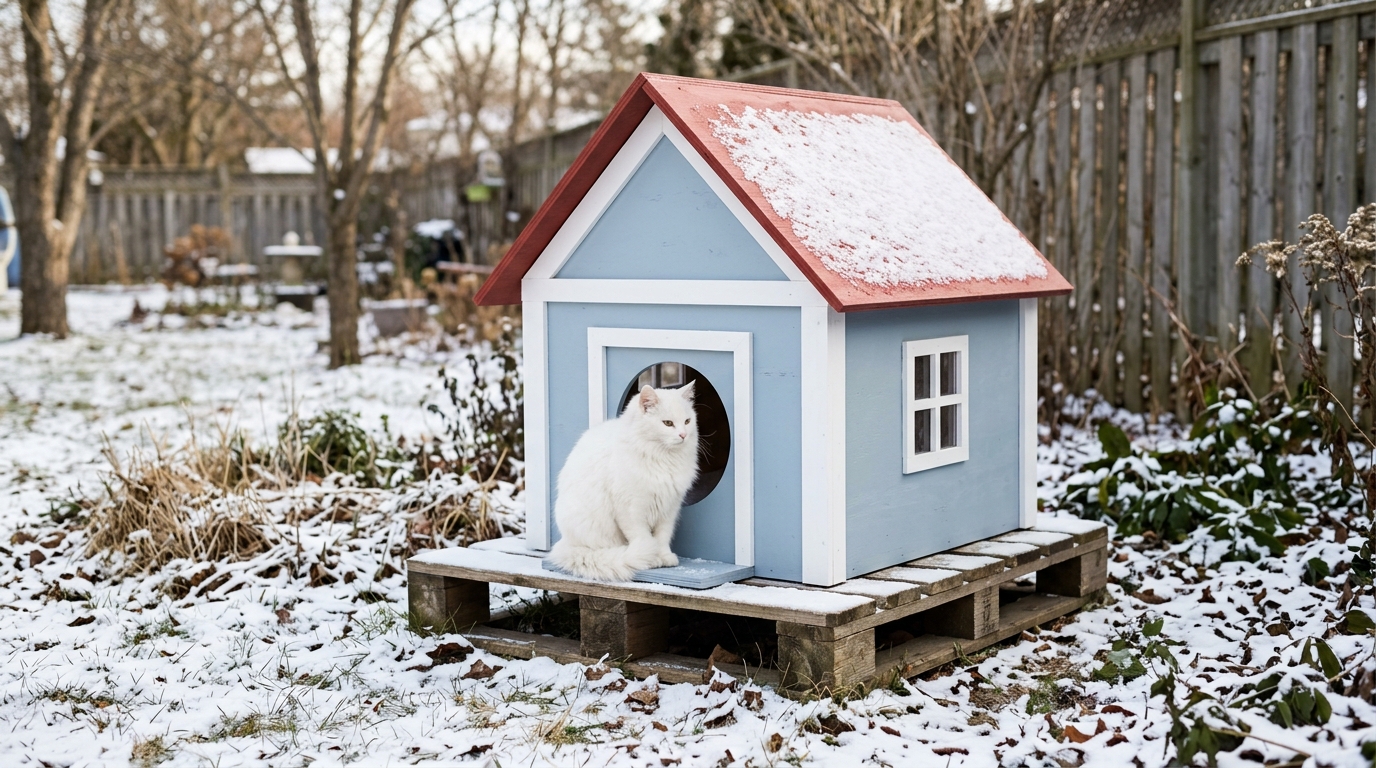
Who says a cat shelter cannot be cute? A little plywood cottage with a red roof, white trim and a painted window turns a practical build into garden decor. Kids love helping with the painting part, and neighbors will smile every time they walk by. Use outdoor paint on the outside only and let it dry fully before any cat moves in. If you have an indoor cat too, our crate litter box cover uses the same easy crate building skills. What color would your cottage be?
You will need: Plywood, wood screws, a drill (adult only), a jigsaw (adult only), outdoor paint in two or three colors, brushes, straw
How to make it: 1. Build a simple box house with a pitched roof. 2. An adult cuts a small round door. 3. Paint the outside with walls, trim and a window shape, inside left bare. 4. Let it dry for two days, then add straw and set it on a pallet.
A Porch Corner Windbreak
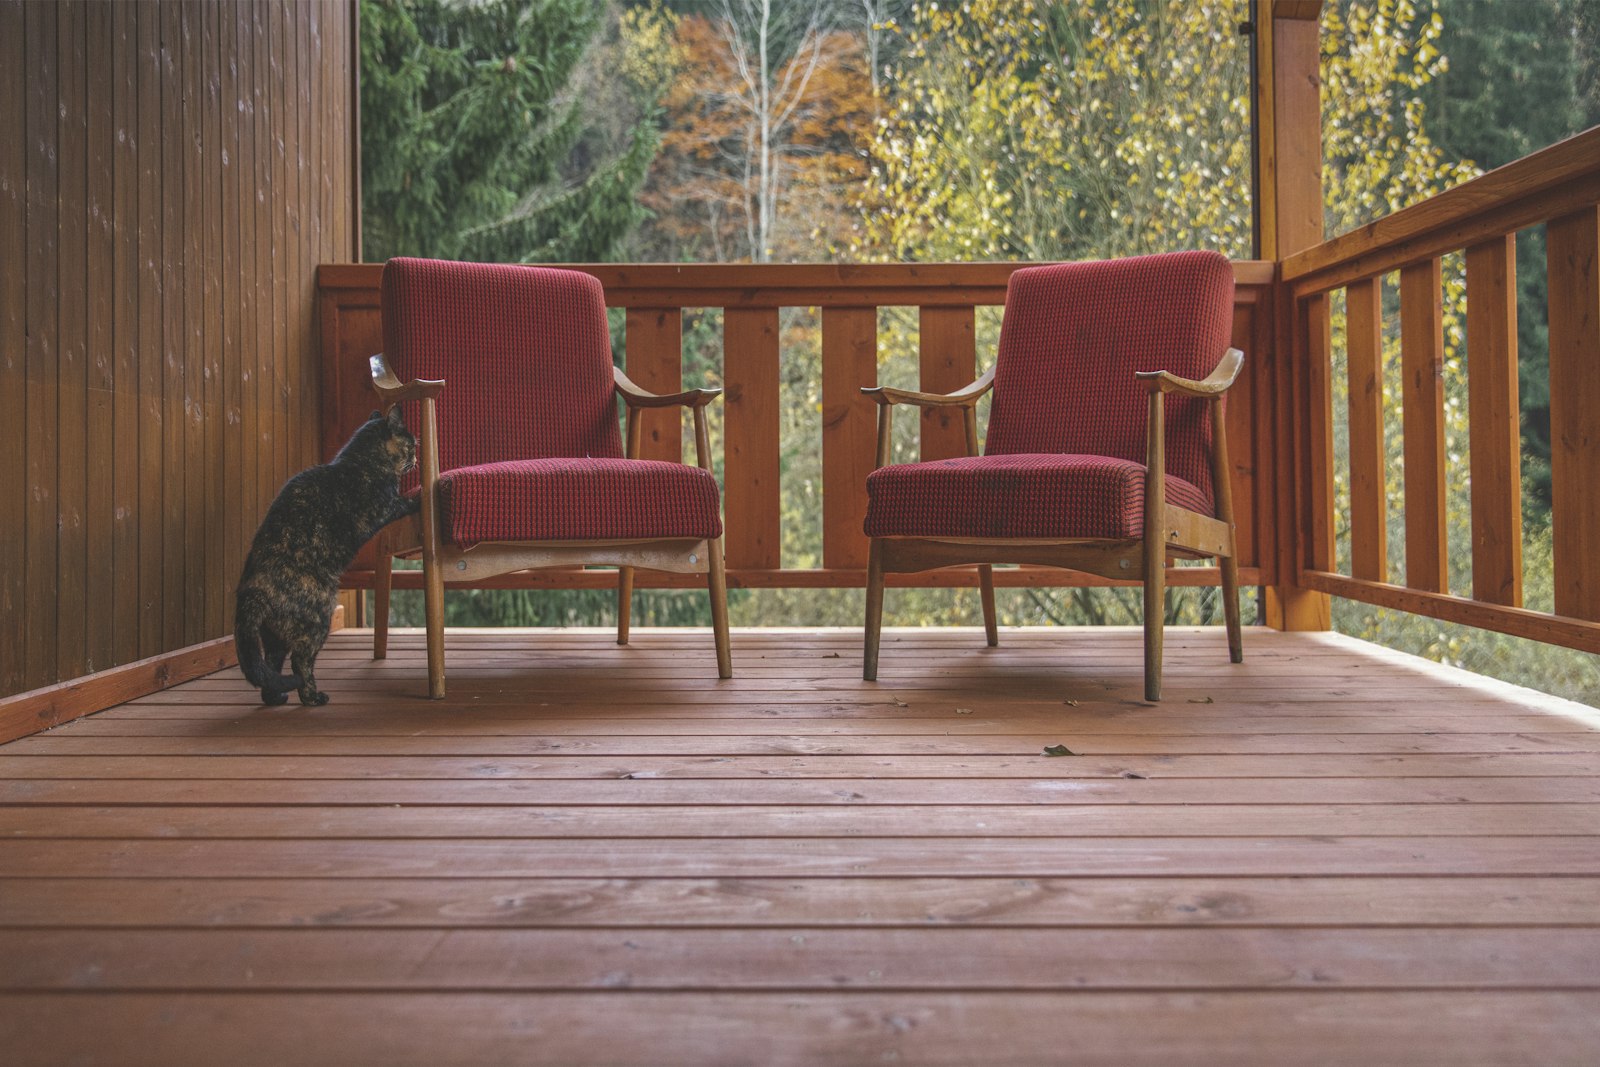
Many outdoor cats already hang around porches because they feel safe there. Turn that spot into a cozy corner by blocking the wind on two or three sides. Stack straw bales, lean a sheet of plywood or hang an outdoor tarp around a shelter tucked into the corner. Keep it away from your door path and never block exits or vents. Even a simple windbreak can make your porch feel like a warm welcome. Is there a quiet corner of your porch the cats already love?
You will need: 2 or 3 straw bales or a plywood sheet, an outdoor tarp, bungee cords, a small shelter from this list
How to make it: 1. Pick a quiet porch corner out of foot traffic. 2. Place the shelter in the corner. 3. Stack bales or lean plywood on the windy sides. 4. Secure a tarp over the top with bungee cords.
A Covered Feeding Station Near Your DIY Cat Shelters
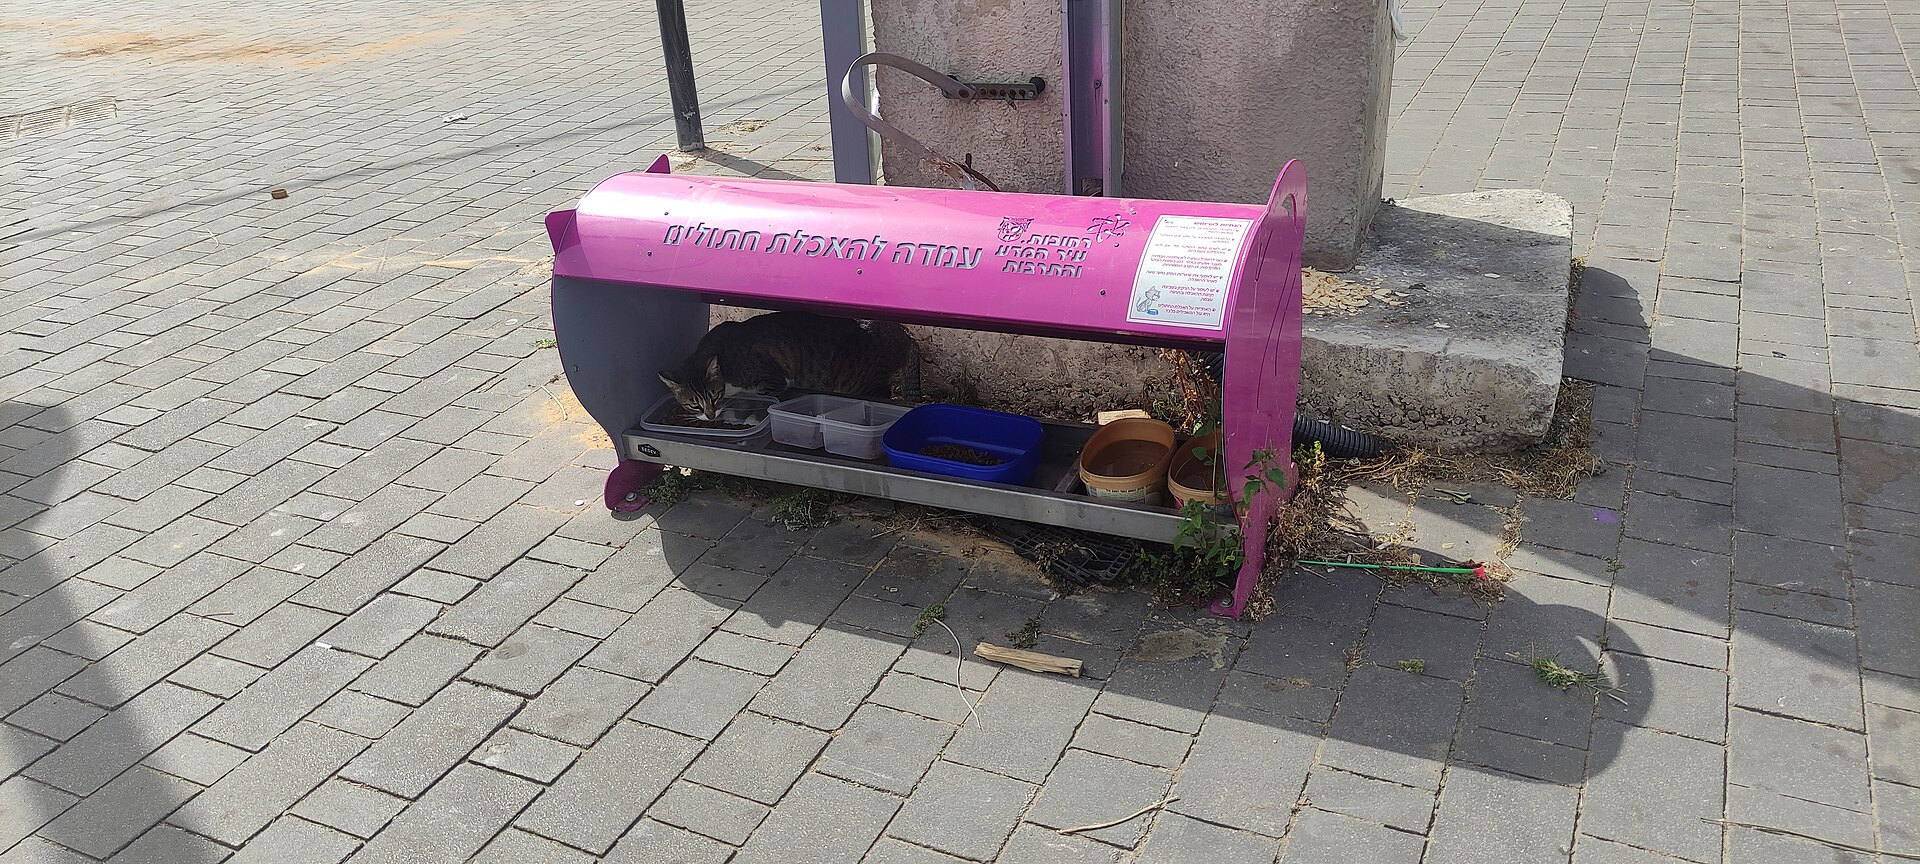
Food and water go hand in hand with DIY cat shelters, but keep them a few feet apart so the sleeping spot stays clean and quiet. A covered feeding station keeps snow and rain out of the bowls and gives cats a dry spot to eat. A long plastic bin on its side, a small roof over a shelf or a painted crate all work. Use shallow, wide bowls and check them every day. Would a covered station help the cats you feed?
You will need: A large plastic bin or wooden crate, a utility knife (adult only), shallow bowls, a flat board, outdoor tape
How to make it: 1. Turn the bin on its side so the opening faces away from the wind. 2. Set a flat board inside as a floor. 3. Place shallow food and water bowls near the back. 4. Set it a few feet from the shelter and refill daily.
Snow-Proof Tunnels for DIY Cat Shelters
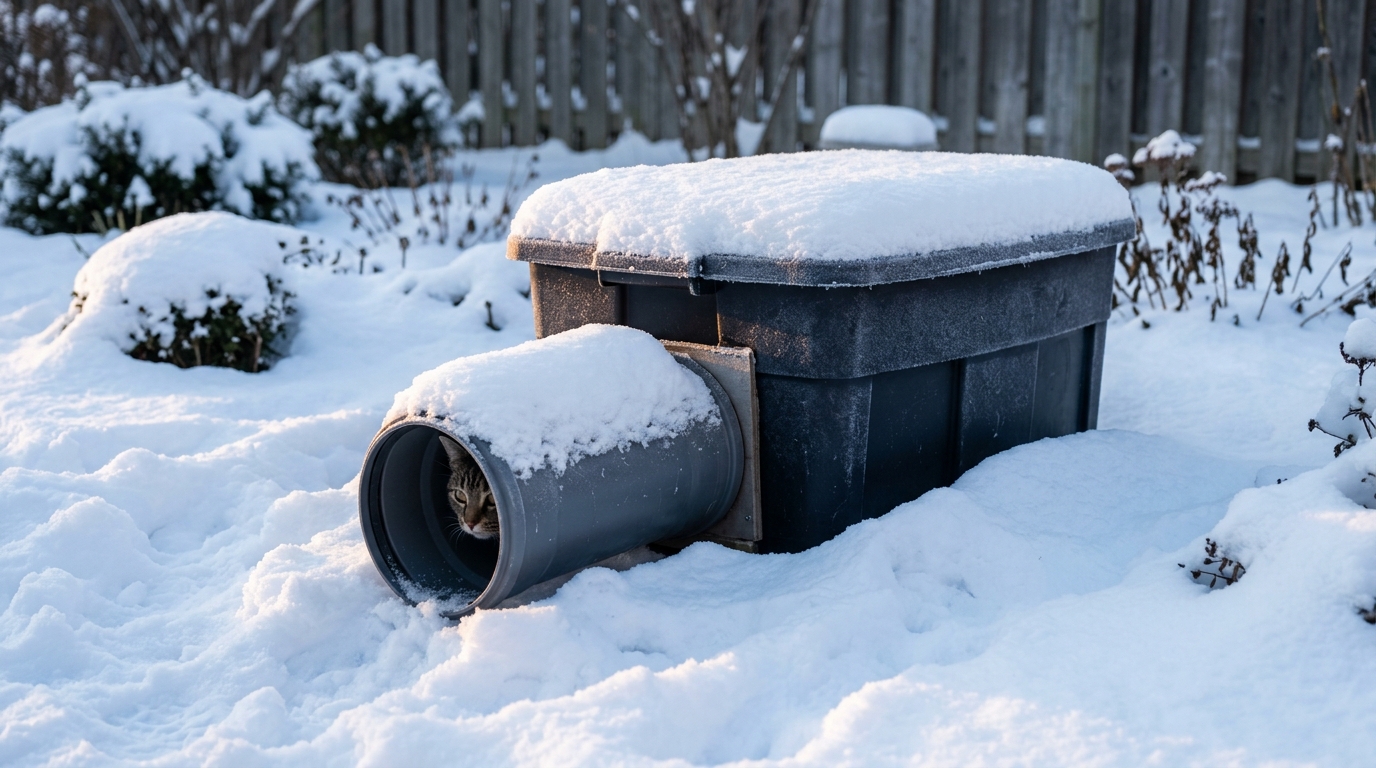
In heavy snow, doors can get buried overnight. A short tunnel made from a piece of wide plastic pipe keeps the entrance open and blocks the wind from blowing straight in. Attach it to the doorway at an angle and point it away from the wind. It also gives shy cats a feeling of safety as they walk in. Clear snow from the tunnel mouth after big storms. Of all the DIY cat shelters here, this tweak may be the one that makes the biggest difference where winters are harsh.
You will need: A short piece of wide plastic drain pipe about 6 inches across, a saw (adult only), outdoor duct tape or screws
How to make it: 1. An adult cuts a 10 to 12 inch piece of pipe. 2. Line it up with the shelter door. 3. Attach it with strong tape or small screws. 4. Point the opening away from the wind and clear snow after storms.