DIY Christmas Soap: 14 Handmade Bars That Look Like Boutique Gifts and Sell Out at Craft Fairs
DIY Christmas soap might be the most satisfying gift you can make in one evening. You melt a block of ready made soap base, stir in a little color and scent, pour it into a mold and wait. An hour later you pop out a bar that looks like it came from a fancy boutique. Holiday soap videos are pulling millions of views right now, and it is easy to see why. Pine trees floating inside clear bars, candy cane stripes and gold shimmer swirls look like little works of art. They cost about a dollar each to make, wrap up beautifully, and they sell fast at holiday craft fairs. We use melt and pour soap base only, so there is no lye and no tricky chemistry. An adult handles the hot melting, and kids can help with cutter shapes and wrapping..
DIY Christmas Soap Starts With a Pretty Stack
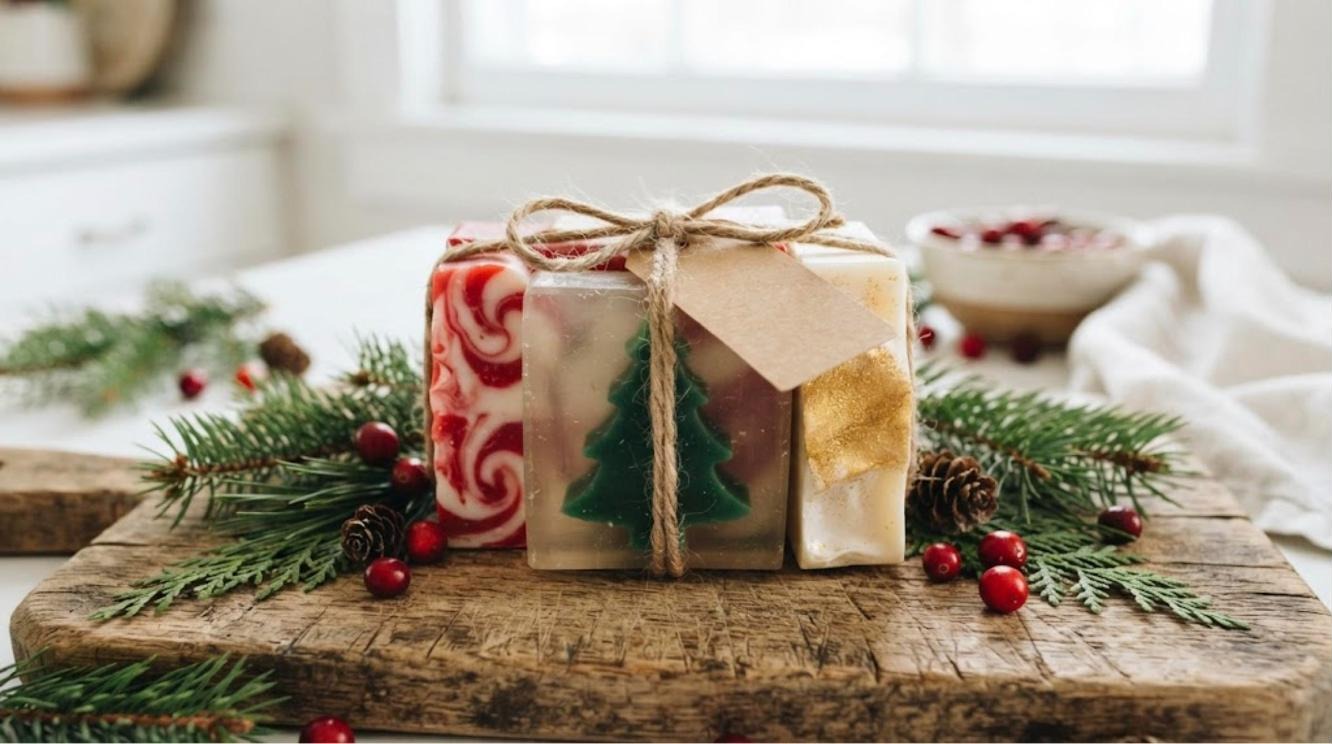
Your first batch of DIY Christmas soap is always the most exciting. Pick three looks, like a green pine tree bar, a red and white swirl and a creamy bar dusted with gold mica, then stack them and tie them with twine. That little tower is a gift on its own. Once you see how easy it is, you will want to make a bar for everyone on your list. Ask an adult to handle the melting in short bursts in the microwave. Which three colors would you stack first..
You will need: White and clear melt and pour soap base, soap colorants, soap safe fragrance, gold mica powder, a silicone loaf mold and twine.
How to make it: 1. An adult melts the base in short bursts in a heat safe jug. 2. Stir in color and scent, then pour into the mold. 3. Let it set for two hours, unmold, cut and stack.
DIY Christmas Soap Pine Tree Loaf
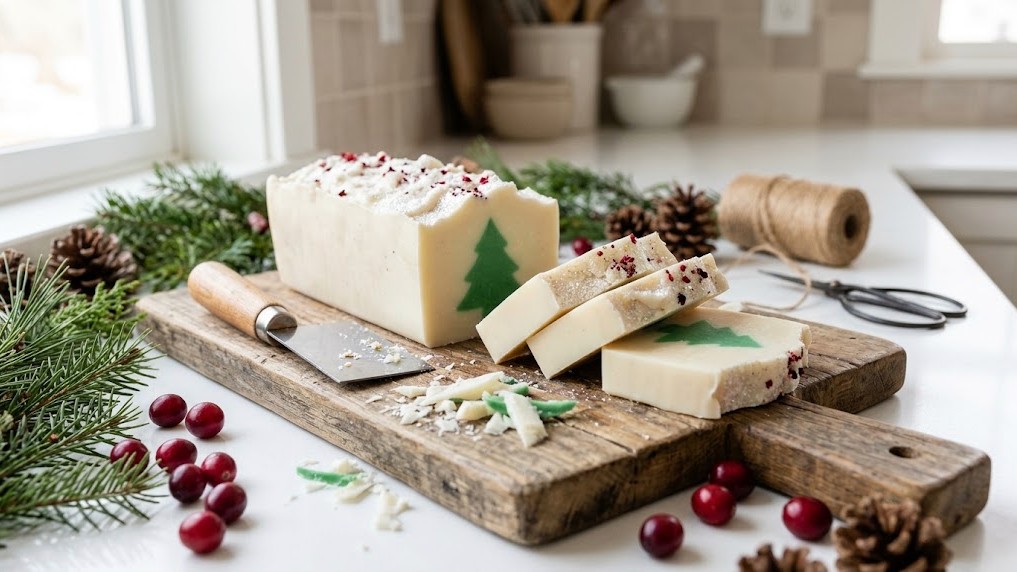
This is the DIY Christmas soap that makes people gasp. A green tree shape runs right through the loaf, so every slice shows a tiny pine tree. The trick is to make a long tree shaped bar first, then pour white soap around it. It looks like magic and takes only a little planning. Slice it with a long knife once it is firm. Would you add a sprinkle of white snow on top?
You will need: Green and white melt and pour base, a small silicone mold or a strip of thick paper for the tree, a loaf mold and a long knife.
How to make it: 1. Make a thick green strip and cut it into a long triangle tree shape. 2. Stand it in the loaf mold and pour white base around it. 3. Unmold when set and have an adult slice it into bars.
Candy Cane Striped Soap
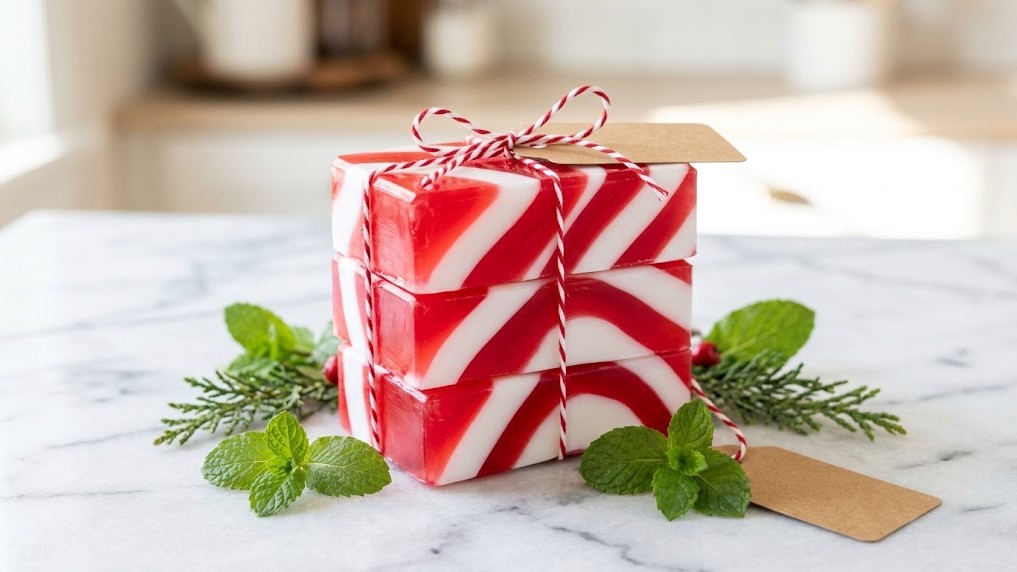
Red and white stripes make DIY Christmas soap say Christmas instantly. Pour thin layers of red and white soap, letting each one firm up for a few minutes before the next. Spritz each layer with rubbing alcohol from a spray bottle so they stick together. A peppermint scent made for soap finishes the candy cane look. These sell especially well at craft fairs because they look so festive on a table. How many stripes will you pour?
You will need: White melt and pour base, red soap colorant, peppermint fragrance made for soap, a spray bottle of rubbing alcohol and a loaf mold.
How to make it: 1. Pour a thin white layer and let it firm for five minutes. 2. Spritz it with alcohol and pour a thin red layer. 3. Repeat until the mold is full, then let it set and slice.
Snow Globe DIY Christmas Soap With a Tiny Tree
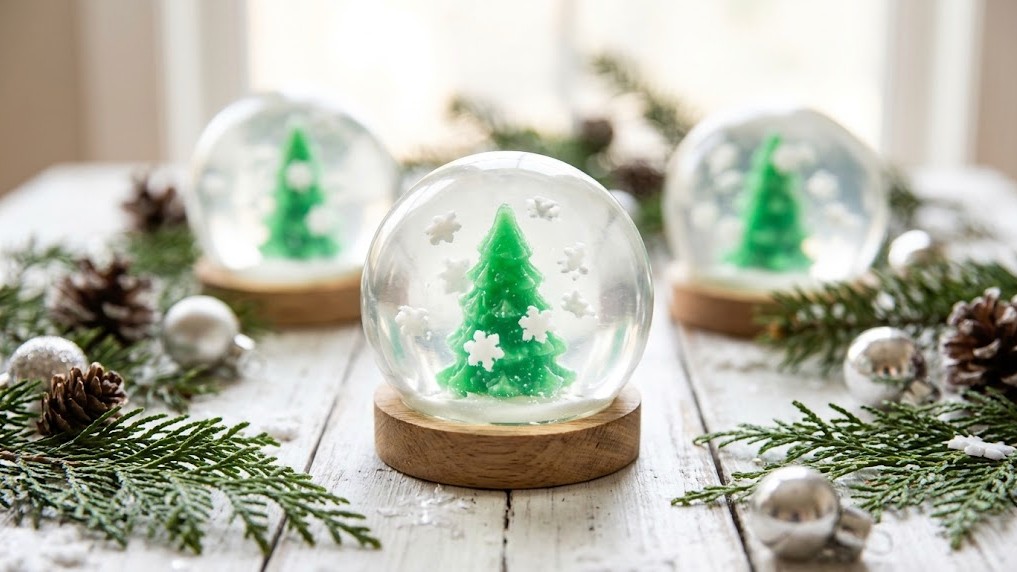
Clear DIY Christmas soap lets you build a little winter scene right inside the bar. Set a small green soap tree in a round mold, add a few white soap flakes for snow, and pour clear base over the top. When it sets, the tree seems to float inside a snow globe. Kids love choosing what goes inside. Keep the pieces small and soft so the bar is comfortable to use. What tiny scene would you put inside yours?
You will need: Clear and white melt and pour base, green soap colorant, a small tree mold, a round silicone mold and a grater.
How to make it: 1. Make a tiny green tree and grate a little white soap for snow. 2. Place them in the round mold. 3. Pour clear base over them and let it set.
Pour Into Silicone Molds With Dried Petals
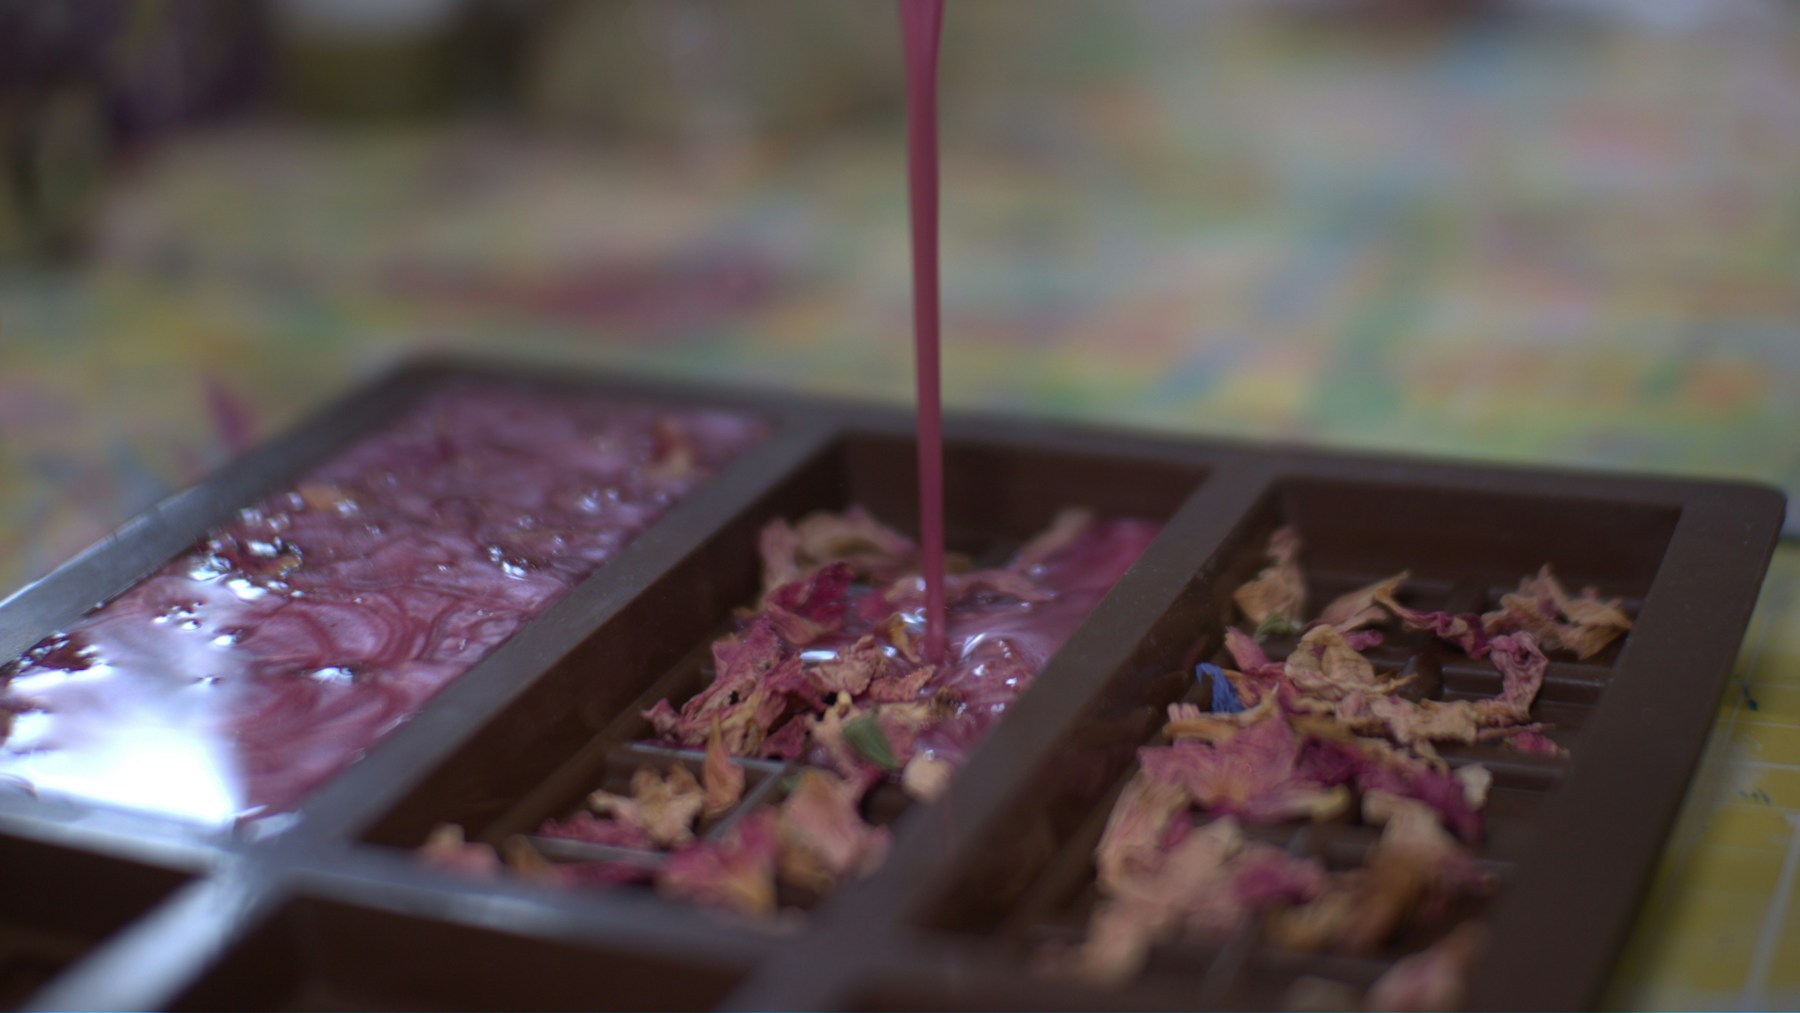
Silicone molds are the secret to clean edges and easy unmolding. Pour the warm base slowly from a jug with a spout, and you can float dried rose petals or a few cranberry colored petals on top for a winter garden look. Spritz the surface with alcohol to pop any bubbles. The video that got this whole trend going, a Christmas soap tutorial with 24 million views, uses the same simple pour. Which mold shape will you try first?
You will need: Melt and pour base, a jug with a spout, a silicone bar mold, dried petals and a spray bottle of rubbing alcohol.
How to make it: 1. Have an adult pour the warm base slowly into the mold. 2. Sprinkle petals on top while it is still liquid. 3. Spritz with alcohol and let it set for two hours.
DIY Christmas Soap in Bright Holiday Colors
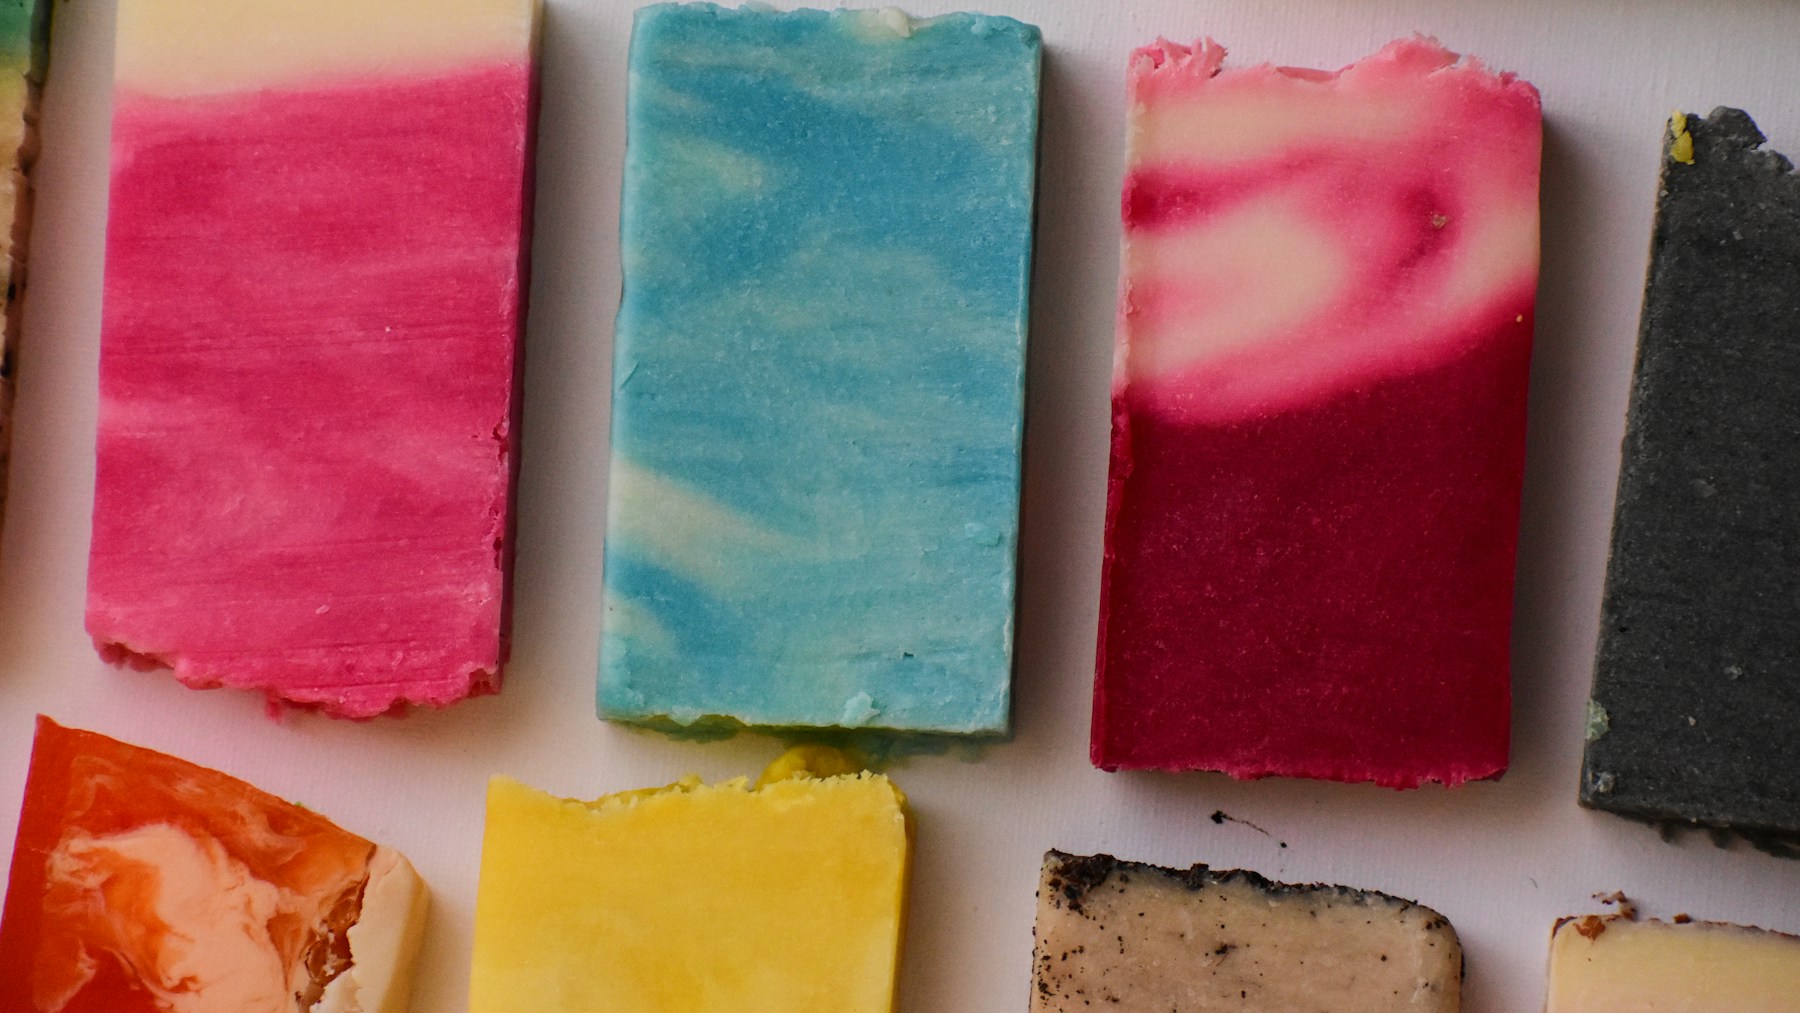
Bold color makes DIY Christmas soap pop on a gift table. Swirl red into white for a peppermint look, or try icy blue and white for a winter wonderland bar. Pour two colors into the mold at the same time from opposite corners and drag a skewer through once. Every bar comes out a little different, which is part of the charm. Lay them out in a row and they look like a box of fancy candy. Which color pair suits your family?
You will need: White melt and pour base, two soap colorants, two jugs and a wooden skewer.
How to make it: 1. Split the melted base into two jugs and color each one. 2. Pour both into the mold at the same time. 3. Drag a skewer through once and let it set.
Snowy Swirl Bars
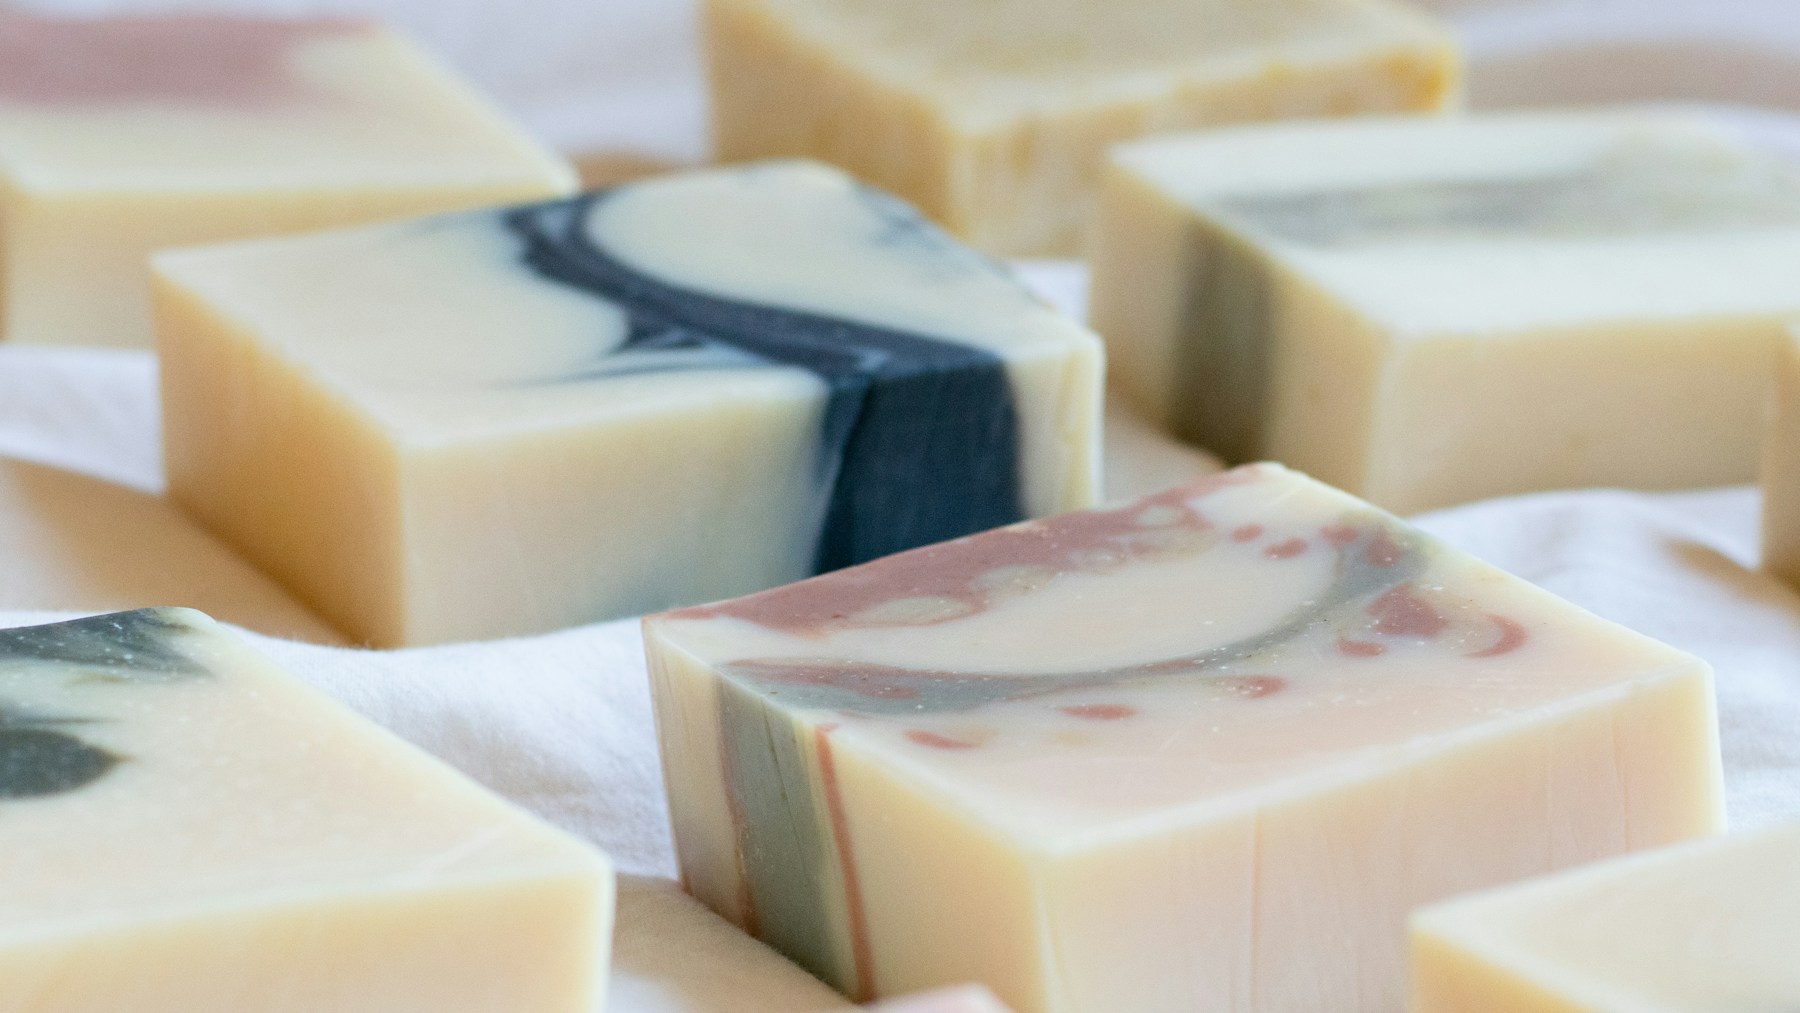
Soft swirls of gray, cream and pale blue in DIY Christmas soap look like a snowy sky. These quiet colors feel calm and elegant and suit anyone who does not love bright red. Make them with a white base and just a tiny dot of colorant swirled in with a spoon. Wrap them in plain paper and they look like they came from an expensive spa shop. They are perfect for a coworker or neighbor. Would you add a little silver mica on top?
You will need: White melt and pour base, a drop of blue and black soap colorant, a spoon and a loaf mold.
How to make it: 1. Pour most of the white base into the mold. 2. Drip in tiny drops of color. 3. Swirl gently with the spoon and let it set before slicing.
Winter Botanical Bars
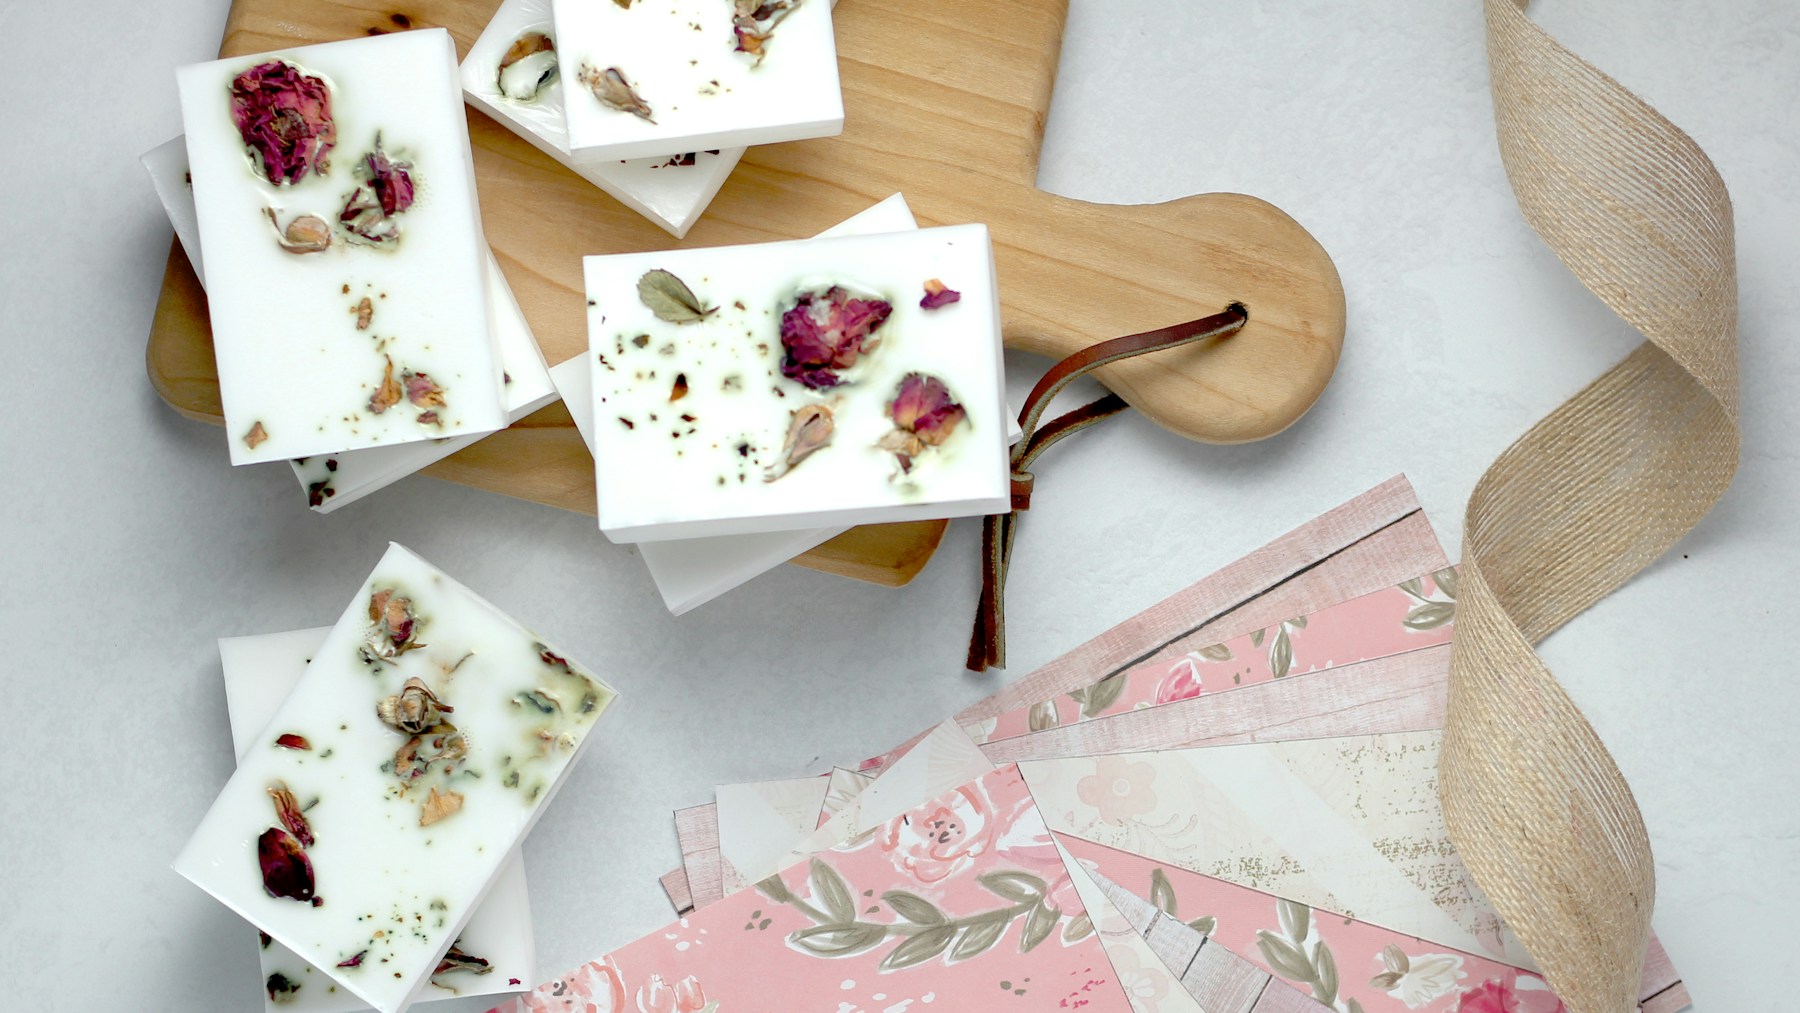
Pressed flowers and tiny sprigs on top of a white bar look like a little painting. Pour a thin white bar and press dried petals into the surface while it is still soft. For a Christmas twist, add a tiny sprig of dried rosemary or a sliver of dried orange. Keep the decorations on the top only so they do not get in the way when the soap is used. These feel very boutique. Which flowers have you saved from the summer?
You will need: White melt and pour base, a shallow bar mold, dried petals or herbs and tweezers.
How to make it: 1. Pour a thin layer of white base into the mold. 2. Wait a minute, then press the petals on with tweezers. 3. Spritz with alcohol and let it set.
Natural Cream Bars in Simple Shapes
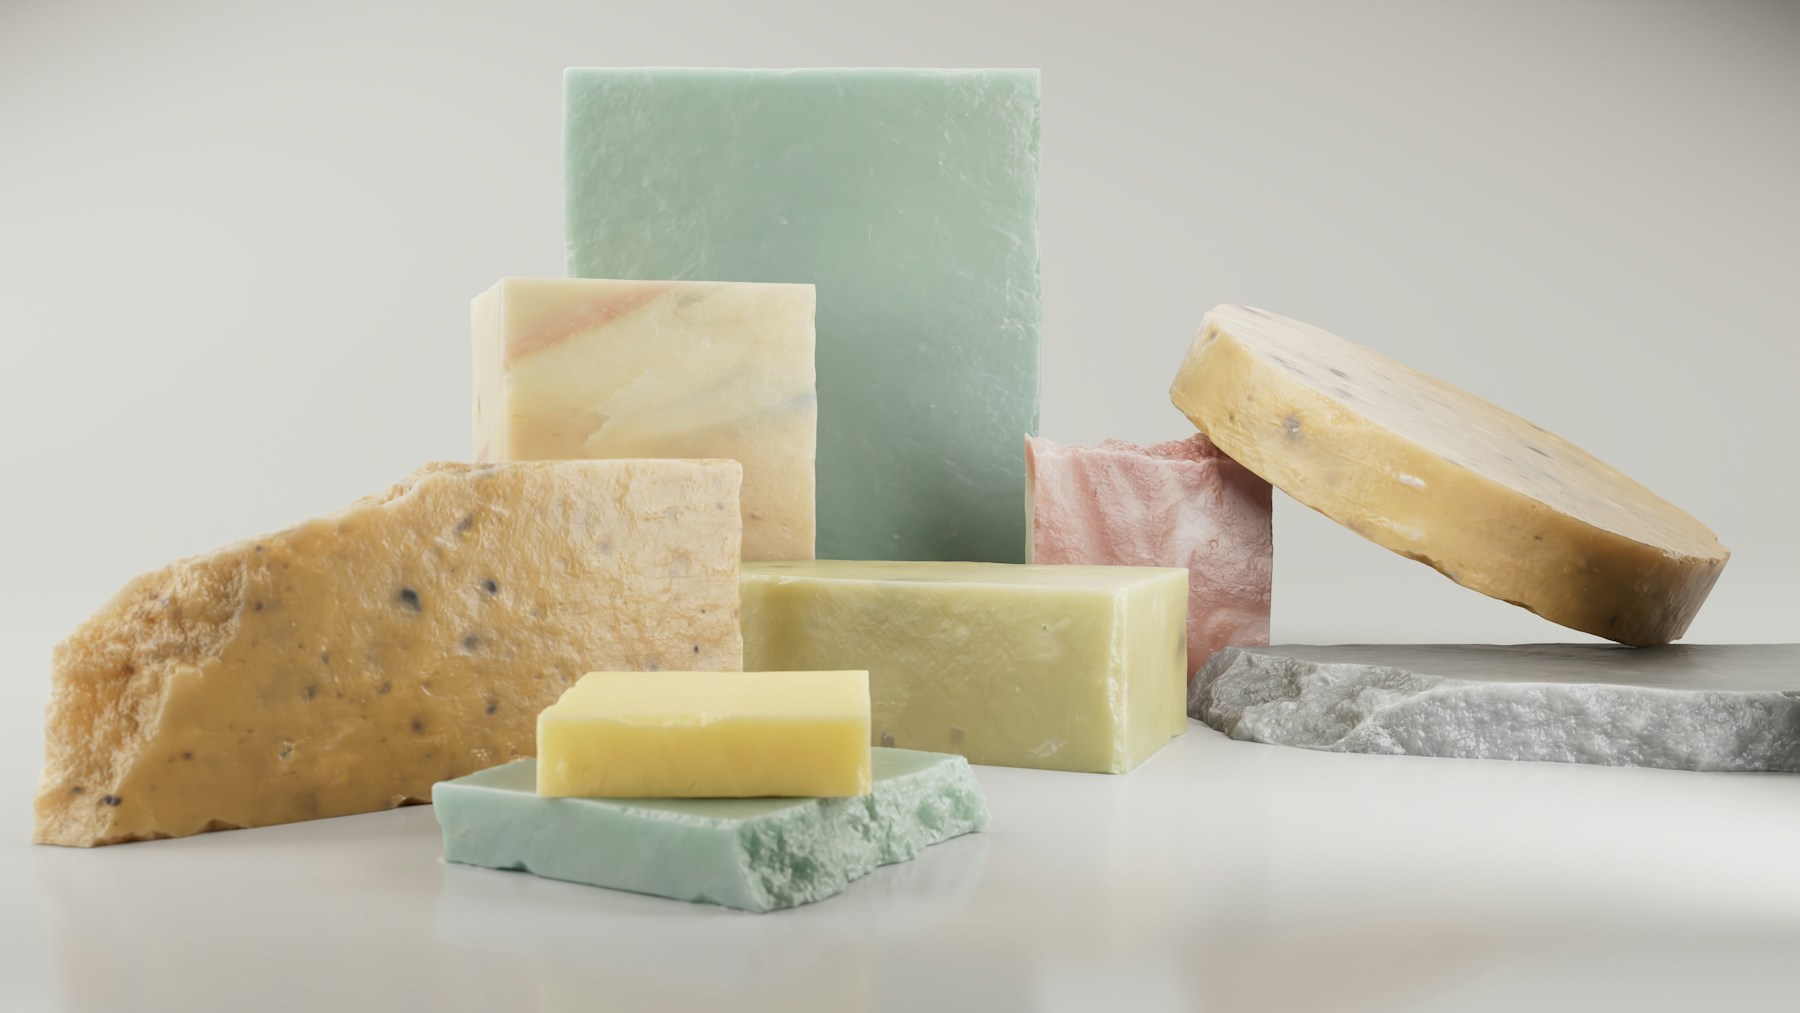
Not every bar needs bright color. Natural looking cream, sage and honey toned bars feel rustic and grown up, and they make lovely gifts for dads and grandparents. Use a goat milk or shea style melt and pour base and skip the dye completely. Cut some bars square and some round to make a pretty mixed stack. A light vanilla or cedar scent made for soap is all they need. Who on your list likes simple and classic best?
You will need: Goat milk or shea style melt and pour base, a loaf mold, a round mold and a soap safe fragrance.
How to make it: 1. Melt the base and stir in the fragrance. 2. Pour some into a loaf mold and some into round molds. 3. Unmold, cut and stack in mixed shapes.
Evergreen Bars Tied With String
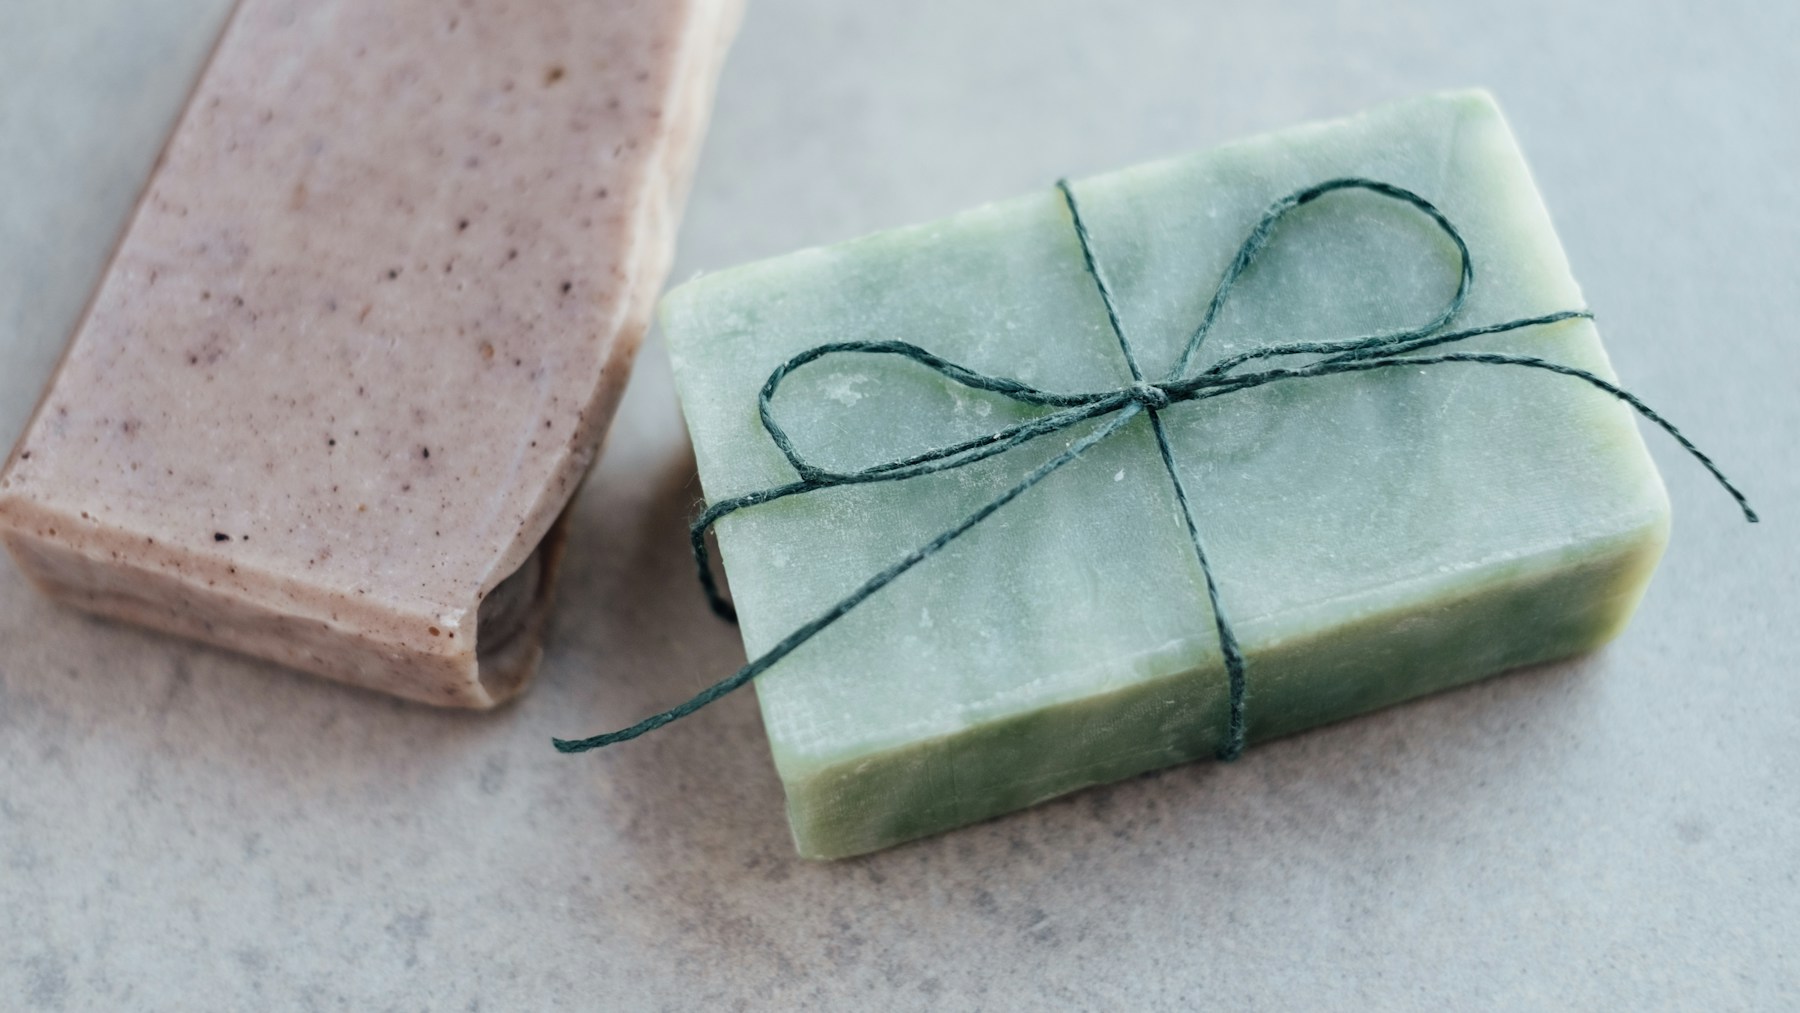
A soft pine green bar tied with a single loop of dark string is about as simple and pretty as it gets. Add a fir or pine fragrance made for soap and the whole room smells like a Christmas tree farm. Tuck a tiny evergreen sprig under the string just before gifting. These look great in a basket by the door at a holiday party as take home favors. Would you wrap yours with string or ribbon?
You will need: Melt and pour base, green soap colorant, pine fragrance made for soap, a bar mold and dark green string.
How to make it: 1. Tint the base a soft green and add the fragrance. 2. Pour into the mold and let it set. 3. Wrap each bar twice with string and tie a bow.
Kraft Paper Wrap With Twine Labels
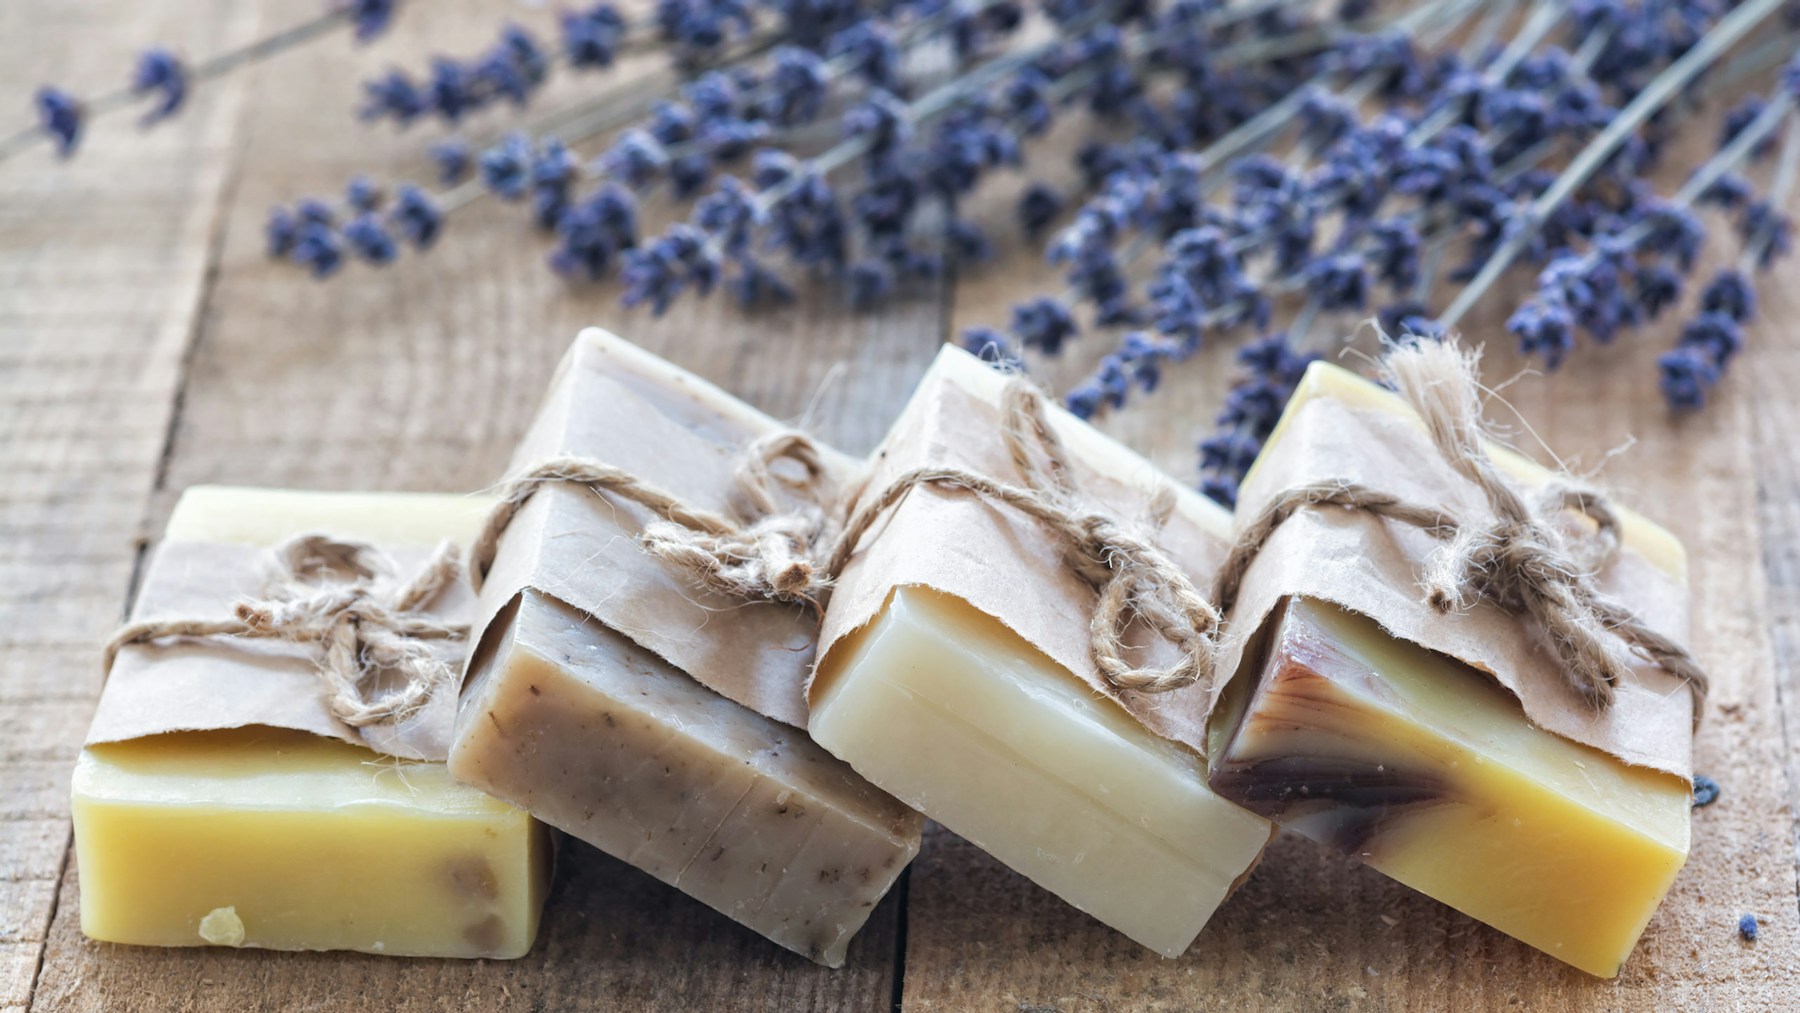
Packaging is what turns a bar of DIY Christmas soap into a boutique gift. A simple band of kraft paper around the middle, tied with jute twine, lets the pretty soap show at both ends. Add a small tag with the scent name written by hand. It costs pennies and looks like something from a farmers market stall. Buyers at craft fairs pick up wrapped bars far more often than bare ones. What will you call your scents?
You will need: Kraft paper, scissors, jute twine, small tags and a pen.
How to make it: 1. Cut paper bands about 2 inches wide. 2. Wrap each band around a bar and tape it at the back. 3. Tie twine around it and add a handwritten tag.
Mini Soap Gift Set Party Favors
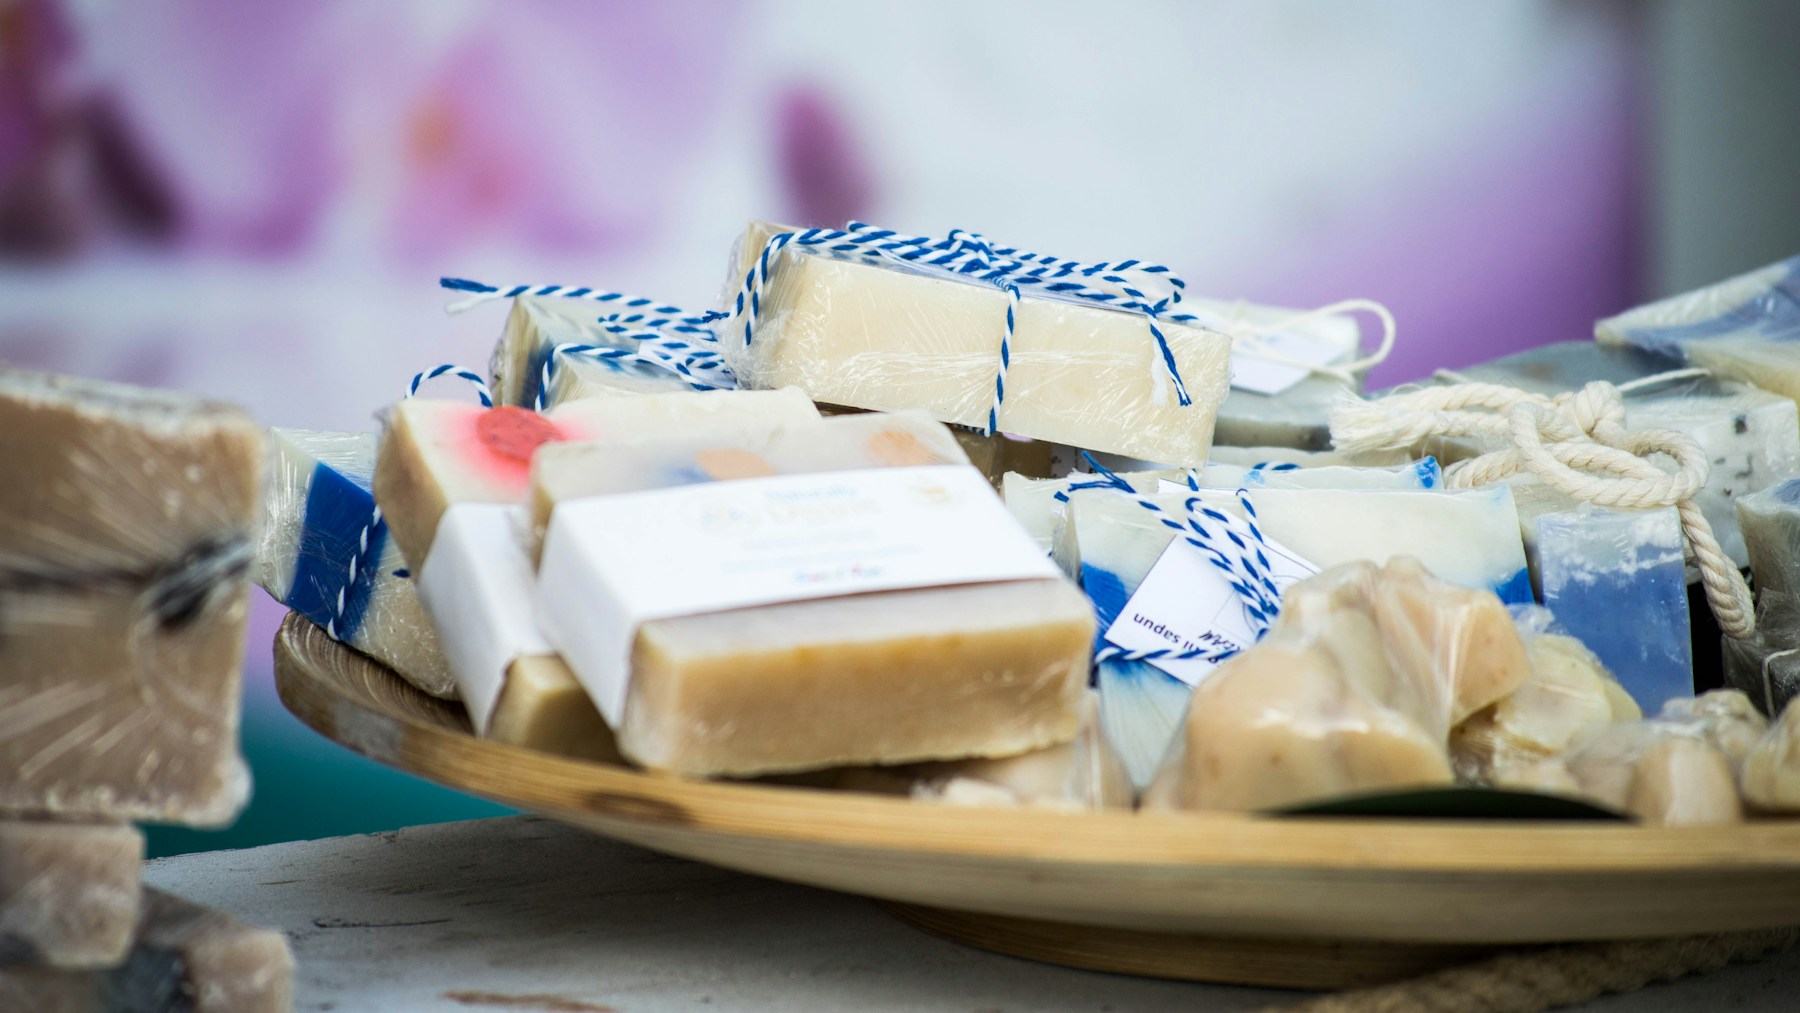
Little guest size DIY Christmas soap bars make perfect stocking stuffers and party favors. Pour them in small square molds, wrap each one in a scrap of paper, and pile them in a wooden bowl or a small crate. Guests can pick their favorite scent on the way out. A set of three tiny bars in a box also makes a sweet teacher gift. Keep a few spare for surprise visitors. How many little bars would fill your bowl?
You will need: Melt and pour base, a small square silicone mold, wrapping paper scraps, twine and a wooden bowl or crate.
How to make it: 1. Pour the base into the small molds and let it set. 2. Wrap each mini bar in paper and twine. 3. Arrange them in a bowl or crate.
Gift Box Stacks for a Holiday Market
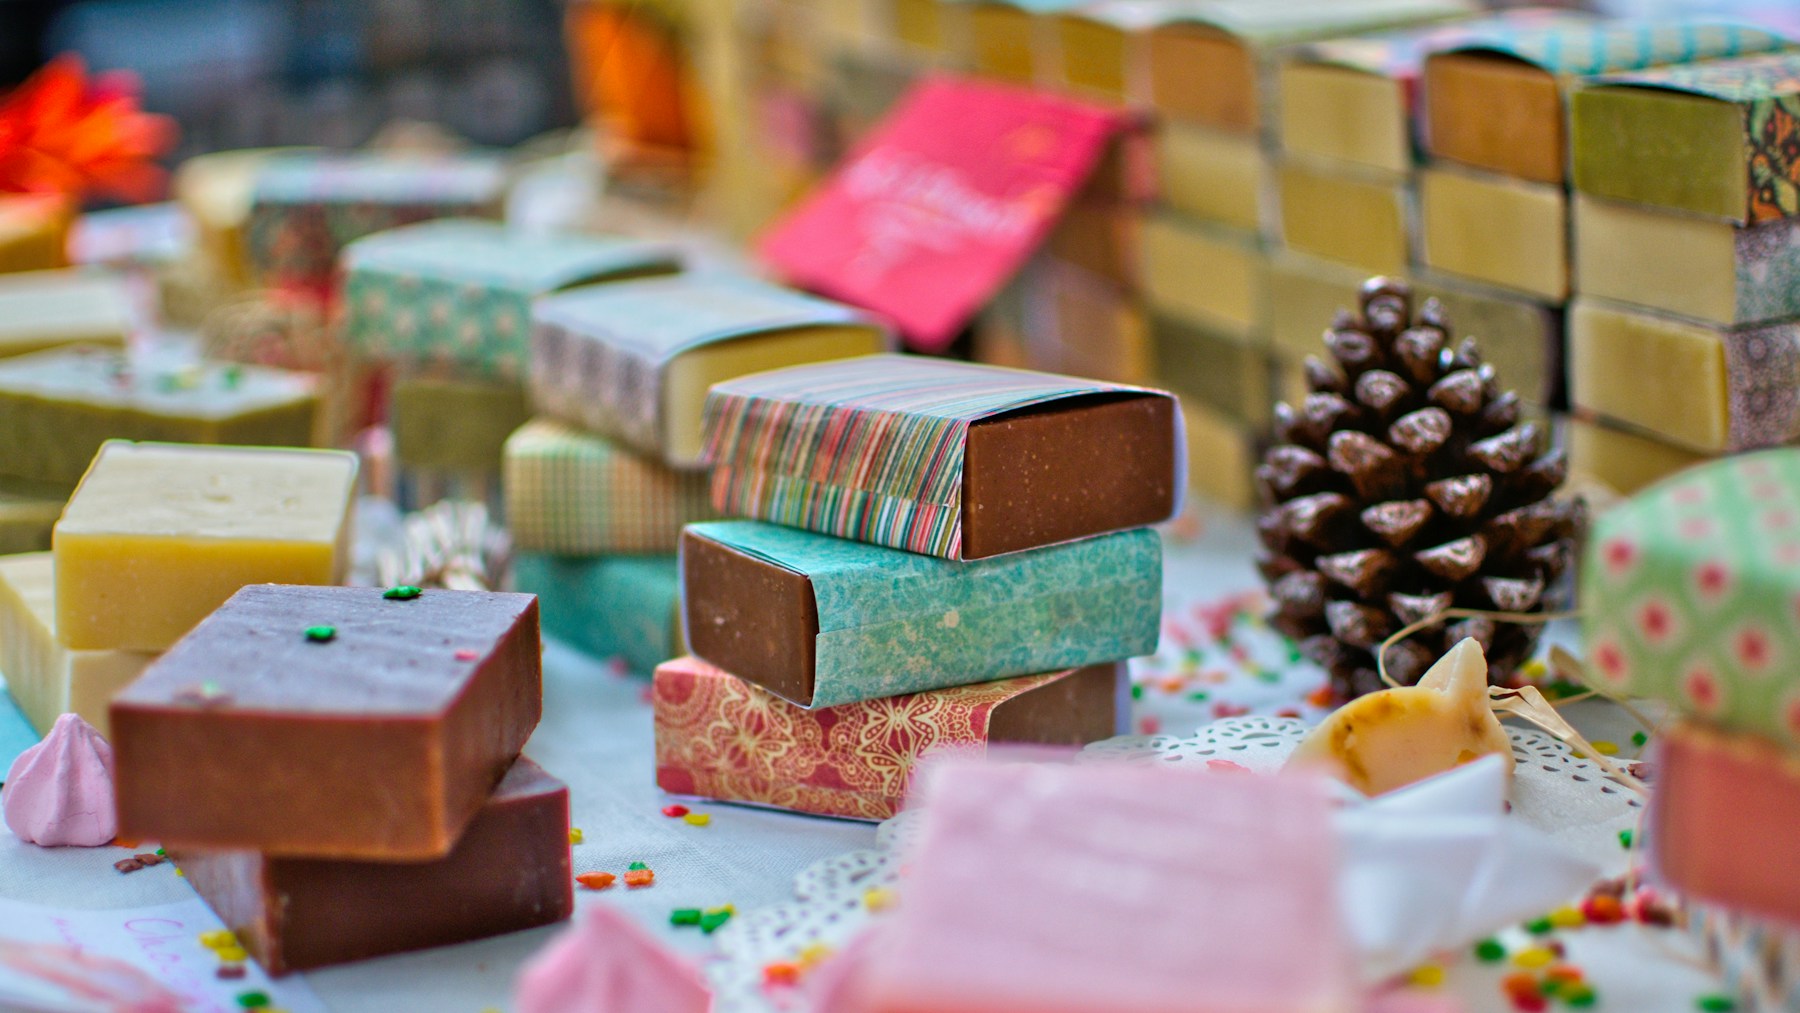
Patterned paper sleeves make each bar look like a tiny wrapped present. Slide the soap halfway out so buyers can see and smell it. Stack them in little towers with a pine cone or two for a wintry touch. This is the same trick sellers use at busy holiday markets. If you love making things to sell, our Christmas crafts to sell list has more ideas that move fast. Which paper pattern would you choose?
You will need: Scrapbook paper, a ruler, scissors, glue and a few pine cones.
How to make it: 1. Cut paper to wrap around the bar with a little overlap. 2. Glue it into a sleeve shape. 3. Slide the soap in and stack the bars into towers.
DIY Christmas Soap Craft Fair Display Tips
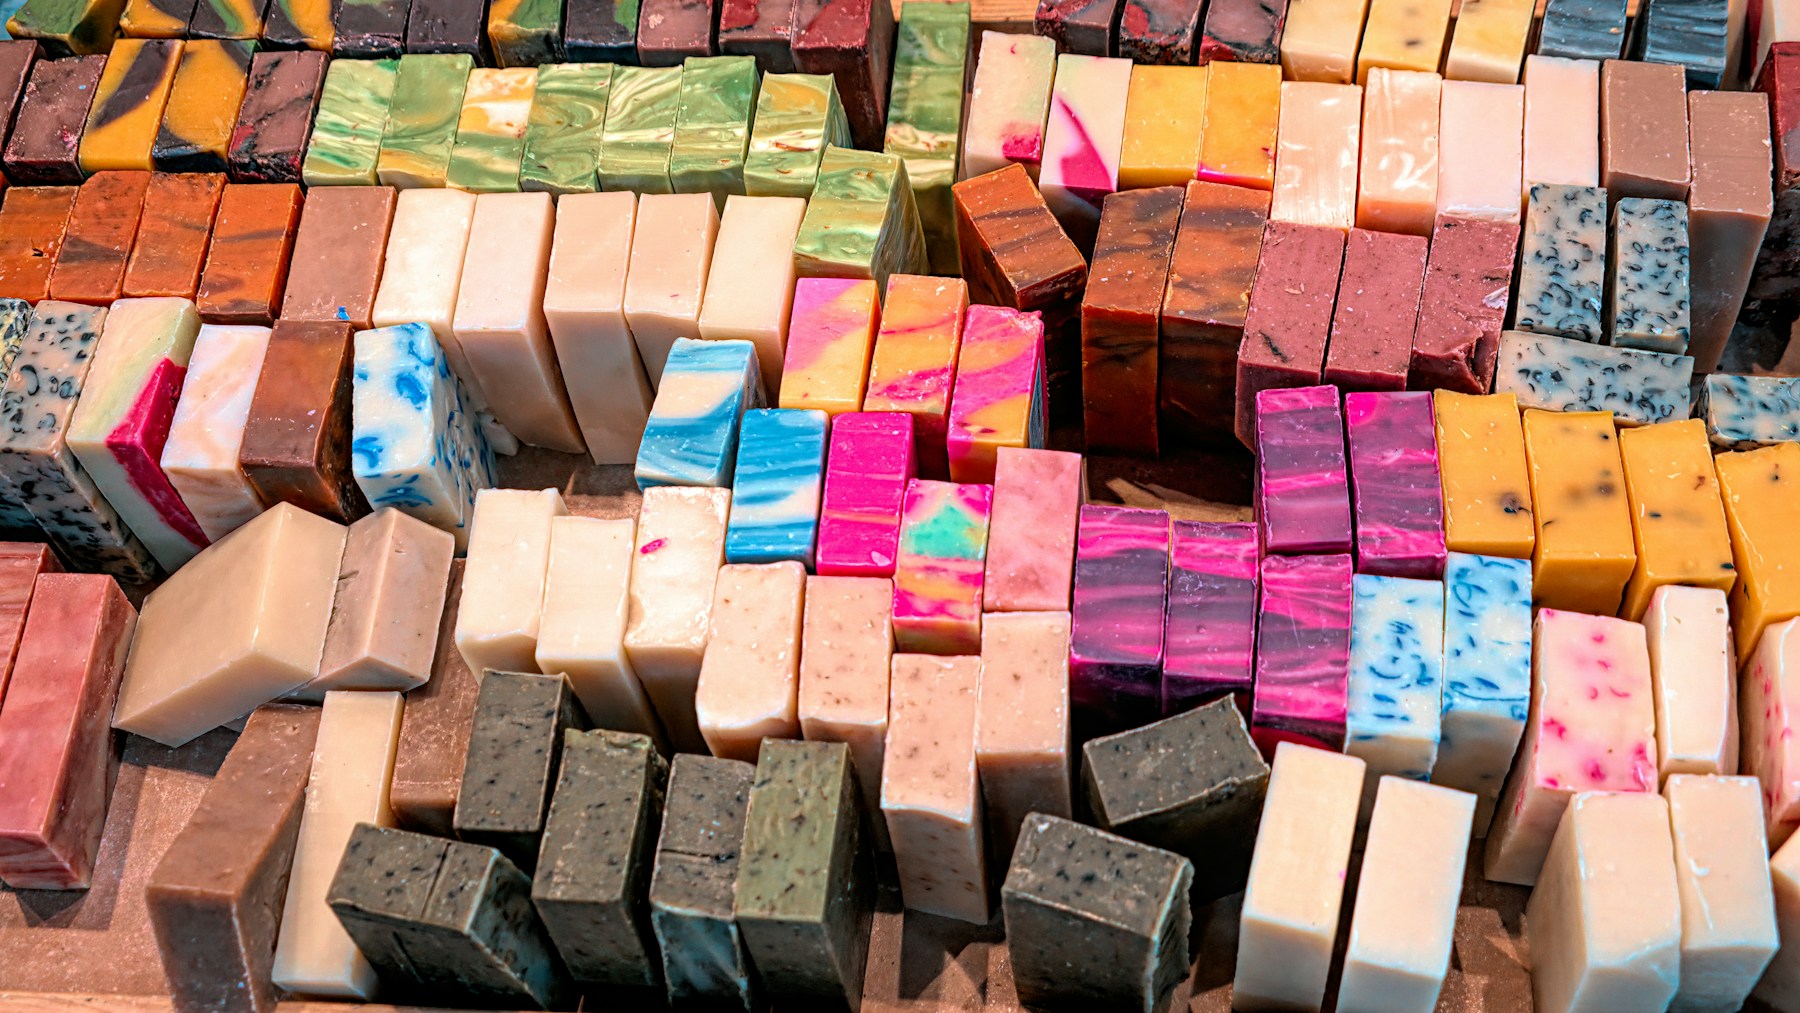
A full, colorful table pulls people in from across the room. Stack bars in neat rows by color, put a sample bar out for sniffing, and price everything clearly with small chalkboard signs. Bundles sell well, so offer three bars for a little less than buying them one by one. Keep bars wrapped so they stay fresh, and bring a few extra in a bin under the table. What price feels right for your bars?
You will need: A table, crates or risers, small price signs, a sample dish and a cash box.
How to make it: 1. Group the bars by color in tidy rows. 2. Raise some on crates so the display has height. 3. Add clear prices and a sample bar people can smell.