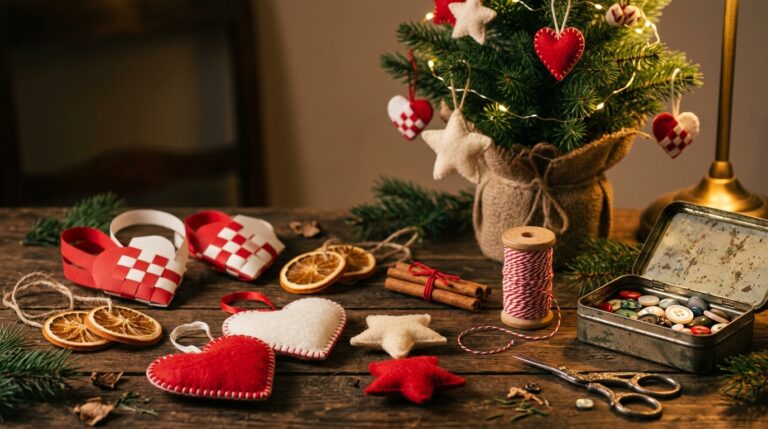
Christmas Crafts to Sell: 13 Handmade Ideas That Fly Off Craft Fair Tables
Christmas crafts to sell are one of the happiest ways to share a cozy hobby with your community this season. Walk through any small town craft fair in December and you will notice the same thing: the tables with simple, cheerful, well made pieces always draw a crowd. Searches for DIY Christmas crafts to sell have been climbing on Google this fall, as more people look for ideas they can make in batches at the kitchen table. The good news is that you do not need a big workshop. Wood slices, felt, twine, cinnamon sticks and a little paint go a long way. Below are 13 ideas that shoppers love to pick up, each with a supply list and easy steps. Every fair is different, so price fairly, keep it fun and enjoy the chats with your visitors..
Wood Slice Ornaments, the Classic of Christmas Crafts to Sell
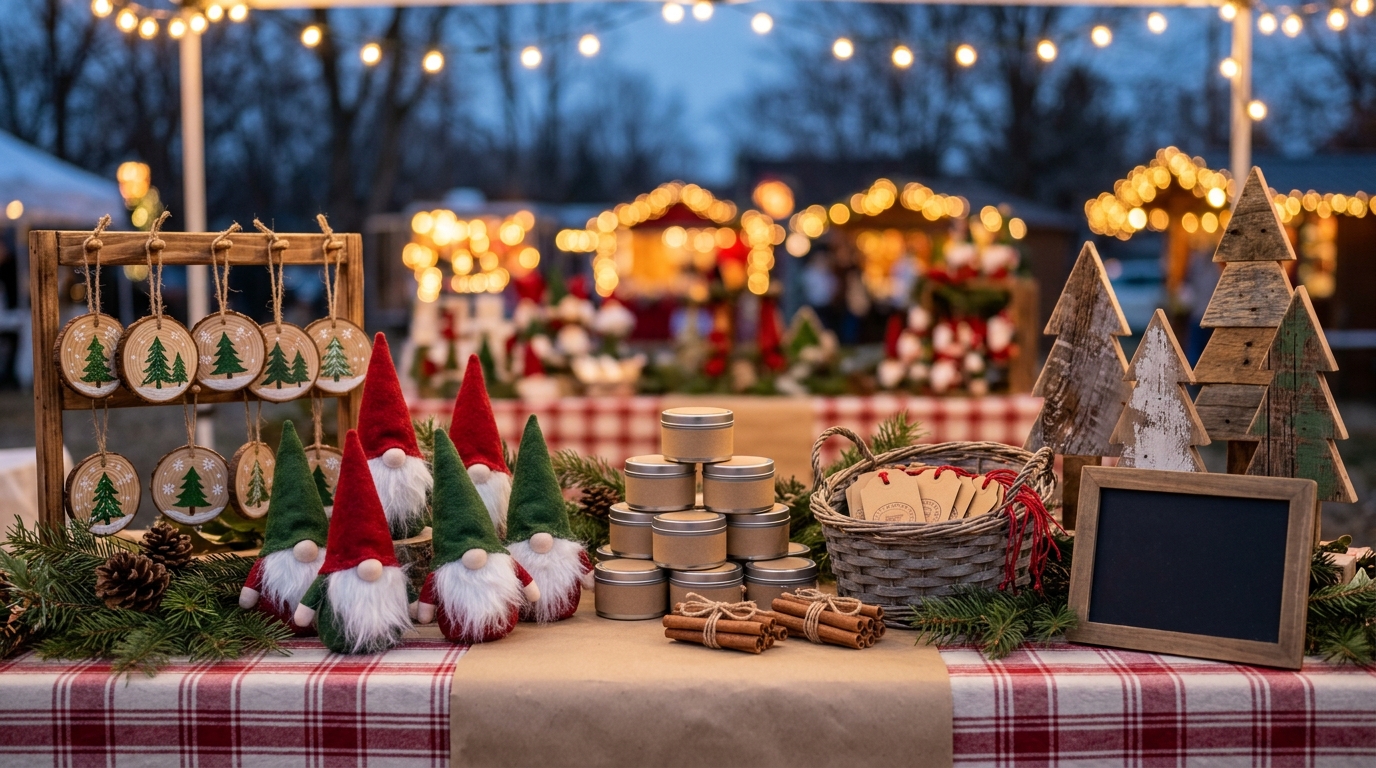
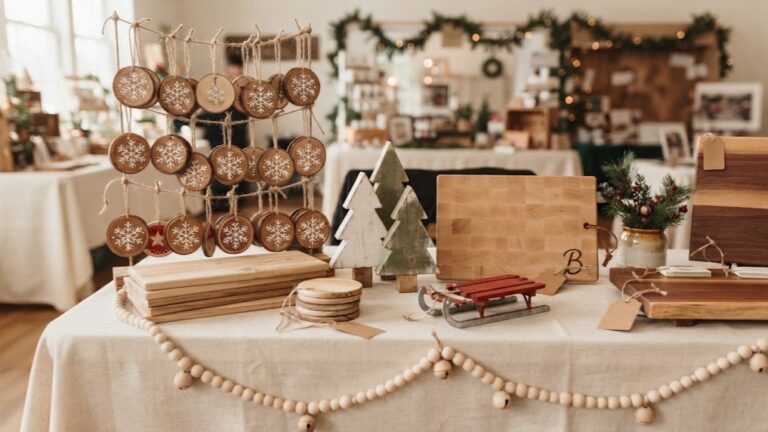
Round wood slice ornaments are often the first thing people reach for at a craft fair table. Each one has its own grain and bark edge, so no two are ever alike. A simple painted pine tree, a snowflake or a family initial is all it takes. They are light, easy to pack and perfect for making in batches of twenty or thirty in one afternoon. Hang them on a little wooden rack so shoppers can see every design. This is the craft that started many holiday booths..
You will need: Pre-cut wood slices with holes, fine sandpaper, acrylic paints, small detail brushes, white paint pen, clear water-based sealer, twine.
How to make it: 1. Lightly sand the face of each slice and wipe off the dust. 2. Paint simple designs like trees, stars or snowflakes. 3. Add fine details with a white paint pen. 4. Brush on a thin coat of clear sealer and let it dry. 5. Thread twine through the hole and tie a loop.
Felt Gnome Ornaments
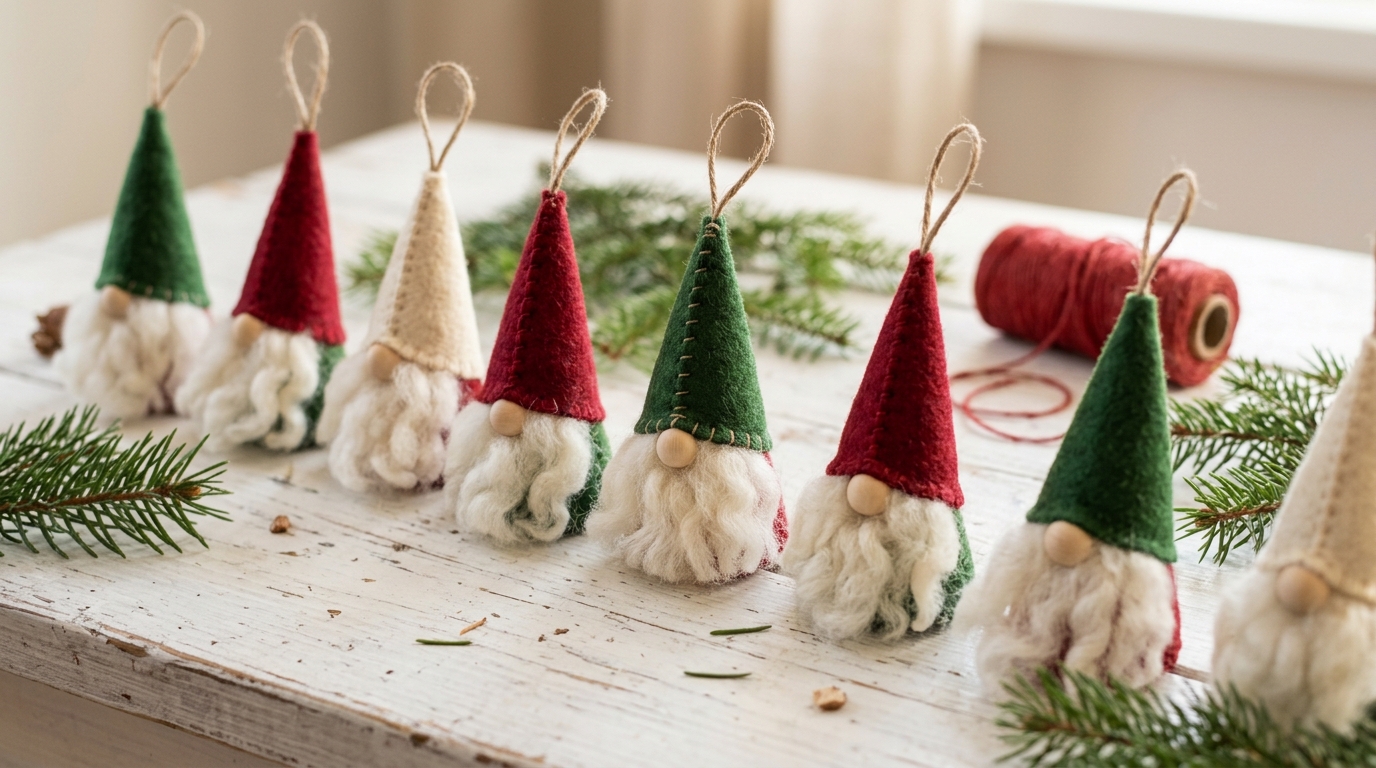
Felt gnomes have been one of the most loved holiday crafts for several years, and they still disappear fast from craft tables. A cone of felt makes the hat, a fluffy bit of wool roving makes the beard, and a wooden bead becomes the nose. They are easy Christmas crafts to sell because no faces are needed, which keeps them quick to make and very cute. Use classic red, cream and green, or try soft pastels for something different. Which color gnome would you buy first?
You will need: Felt sheets in red, cream and green, white wool roving or faux fur, wooden beads, fabric glue or hot glue (adult help), twine, scissors, small pom poms (optional).
How to make it: 1. Cut a quarter circle of felt and roll it into a cone, gluing the seam. 2. Glue a small tuft of wool roving inside the bottom edge as a beard. 3. Glue a wooden bead just above the beard as a nose. 4. Tuck a twine loop into the hat tip and glue it closed. 5. Add a tiny pom pom to the tip if you like.
Painted Wood Block Snowmen
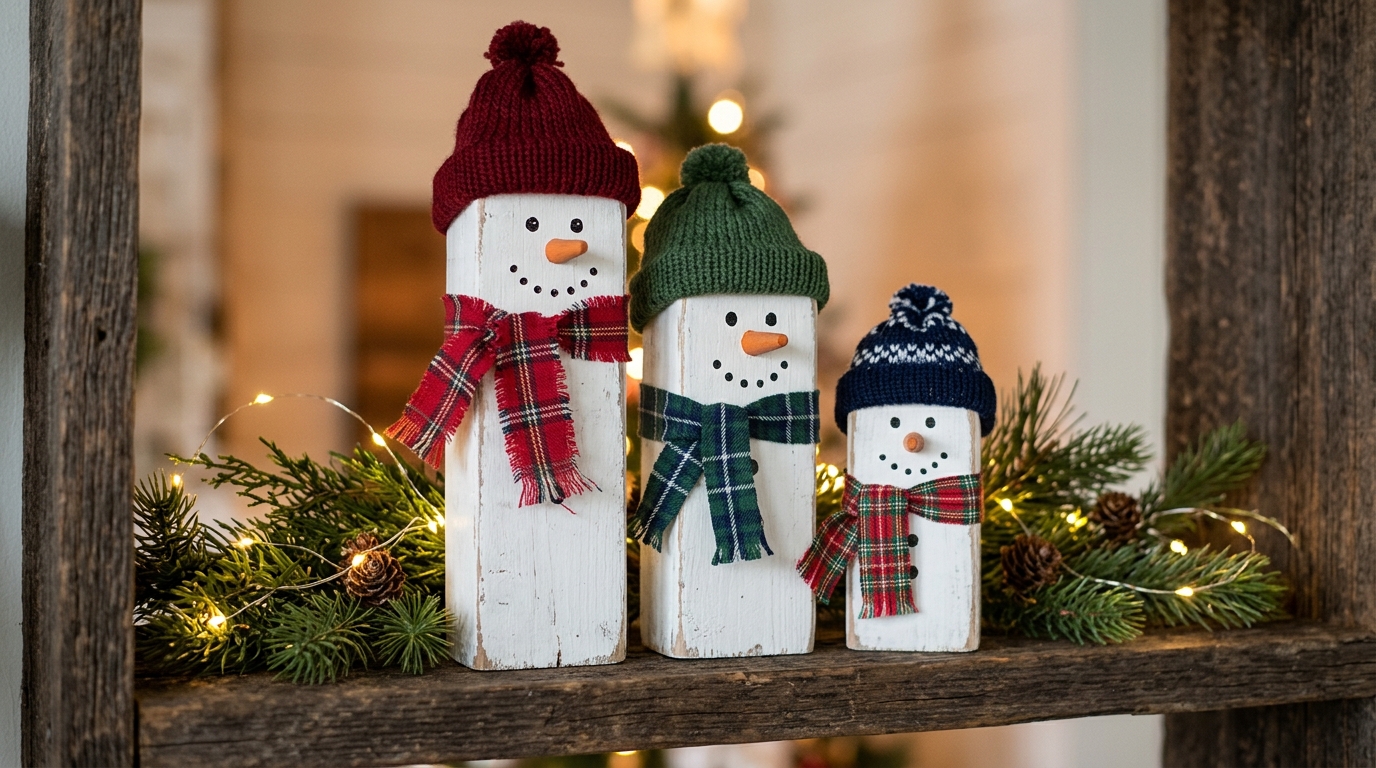
Leftover 2×4 lumber turns into the sweetest snowmen with a little paint and a few fabric scraps. Cut the blocks in different heights so they look like a little family when grouped together. A knit hat made from the cuff of a child’s sock and a plaid scarf add a cozy touch. As Christmas crafts to sell, they do well as sets of three and look adorable on mantels and shelves. Ask an adult to handle any saw cuts. Would you make a set for your own home too?
You will need: 2×4 lumber cut into blocks, sandpaper, white paint, black and orange paint, small brush, cuffs from kids’ socks, plaid fabric strips, glue.
How to make it: 1. Sand the blocks so the edges are smooth. 2. Paint them white and let them dry. 3. Paint dot eyes, a smile and a carrot nose. 4. Slip a sock cuff over the top and tie it off for a hat. 5. Tie a plaid fabric strip around the neck as a scarf.
Scrap Wood Tabletop Trees
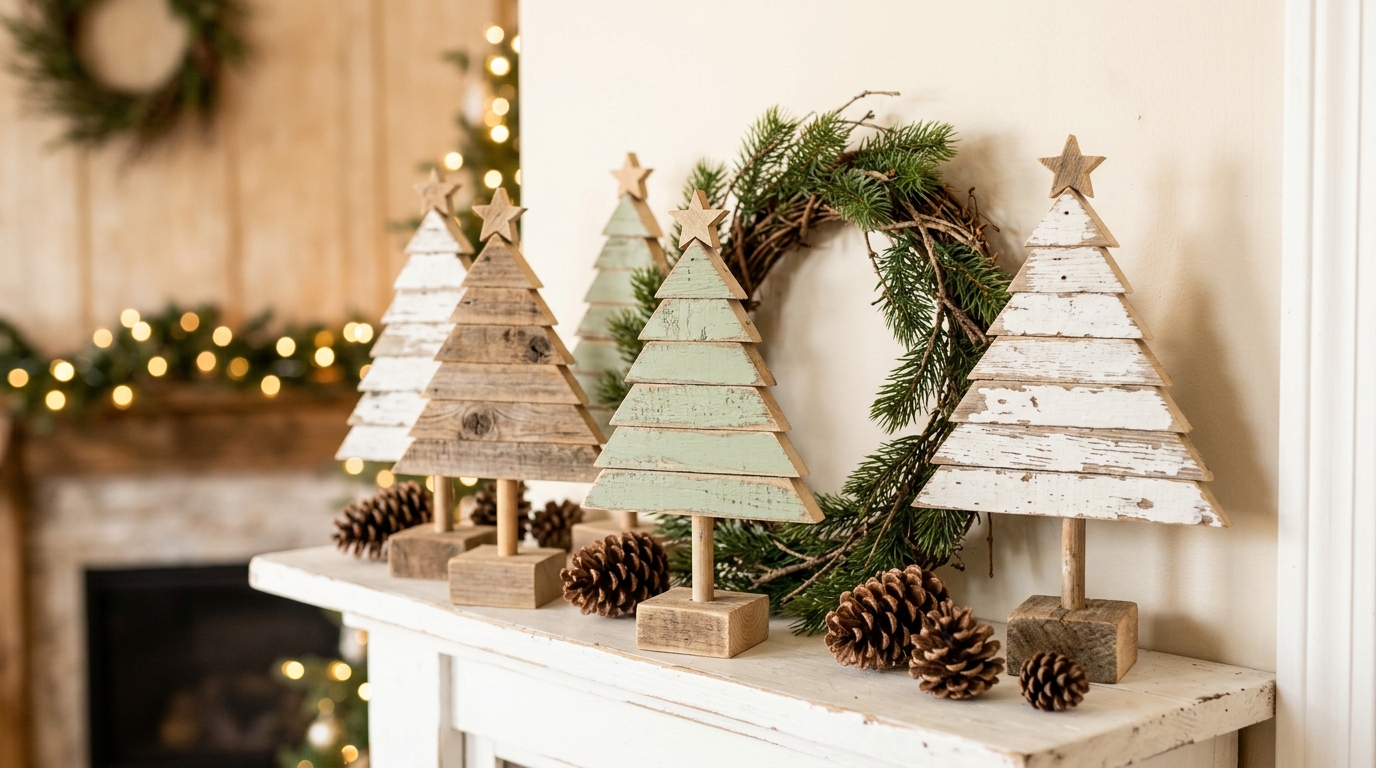
Scrap wood trees are a smart way to use up every last strip in the garage. Strips of decreasing length are stacked on a dowel trunk, so each tree looks a little different. Leave some natural, paint others soft green or white, and top each with a tiny wooden star. They are some of the most practical Christmas crafts to sell because they suit farmhouse, modern and cottage homes alike. Display them in groups of three sizes. How tall would you make yours?
You will need: Wood strips or paint stirrers, small square wood base, wooden dowel, saw (adult only), drill (adult only), sandpaper, paint, small wooden stars, wood glue.
How to make it: 1. Have an adult cut wood strips in decreasing lengths and drill a hole in the center of each. 2. Drill a hole in the base and glue in the dowel. 3. Sand and paint the strips if you like. 4. Slide the strips onto the dowel from longest to shortest, turning each slightly. 5. Glue a small star on top.
Cinnamon Stick Bundles
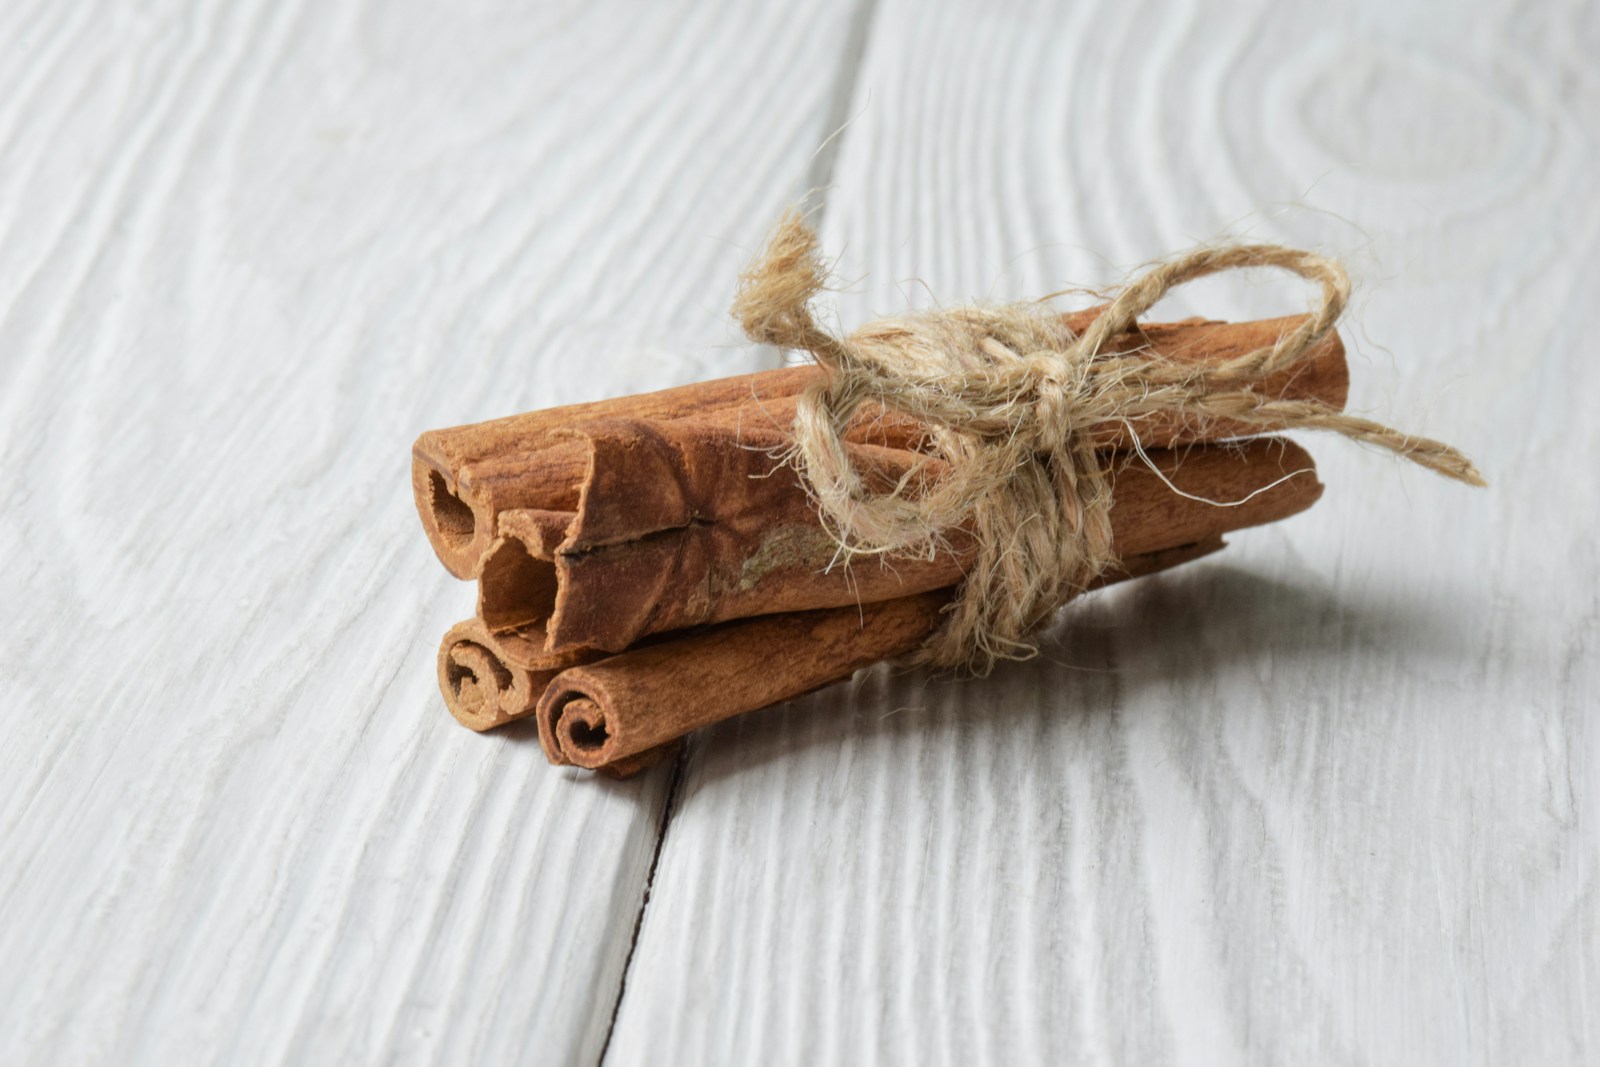
Little cinnamon bundles smell like the holidays and cost very little to make. A few sticks tied with twine, a sprig of greenery and maybe a dried orange slice make a lovely gift topper or ornament. They are budget friendly Christmas crafts to sell, and shoppers often pick up several at once to add to gifts. Bundle them in sets of five or ten with a simple kraft tag. They also look beautiful piled in a basket on your table. Which gift would you top with one of these?
You will need: Cinnamon sticks, jute twine, small sprigs of faux greenery, dried orange slices (optional), kraft tags, scissors, glue.
How to make it: 1. Gather three to five cinnamon sticks of similar length. 2. Wrap twine around the middle several times and knot it tightly. 3. Tuck a sprig of greenery under the twine and add a dab of glue. 4. Glue a dried orange slice on top if you like. 5. Tie on a small kraft tag.
Stamped Kraft Gift Tags
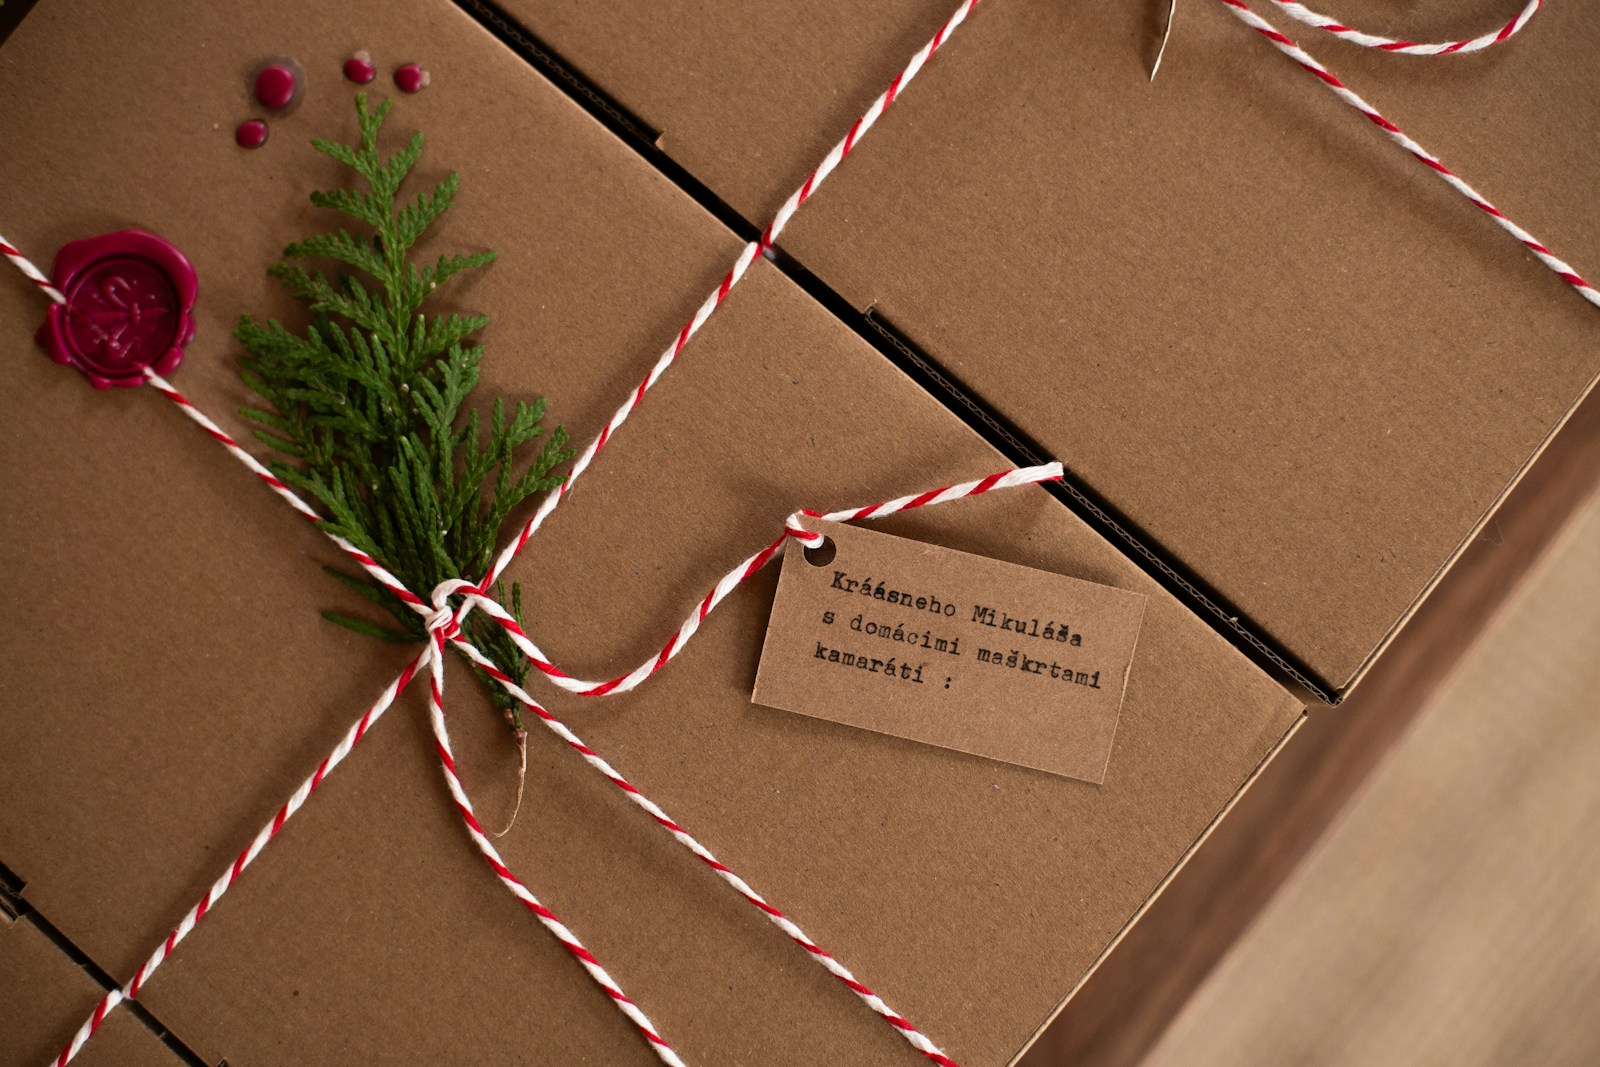
Handmade gift tags are small, light and quick to make, which is why they are such a good fit for a craft table. Plain kraft tags get a little holiday charm from rubber stamps, a bit of red and white twine and a sprig of greenery. Sell them in packs of ten or twelve tied with ribbon. People who love wrapping gifts will grab two or three packs at once. Do you have a favorite stamp you could use?
You will need: Plain kraft tags, holiday rubber stamps, ink pads in red, green and white, red and white baker’s twine, small faux greenery sprigs, ribbon.
How to make it: 1. Stamp a design on each tag and let the ink dry. 2. Add a second color stamp for a layered look. 3. Thread baker’s twine through each hole. 4. Tuck a tiny sprig of greenery under the twine on a few tags. 5. Stack them in sets of ten and tie with ribbon.
Personalized Name Ornaments
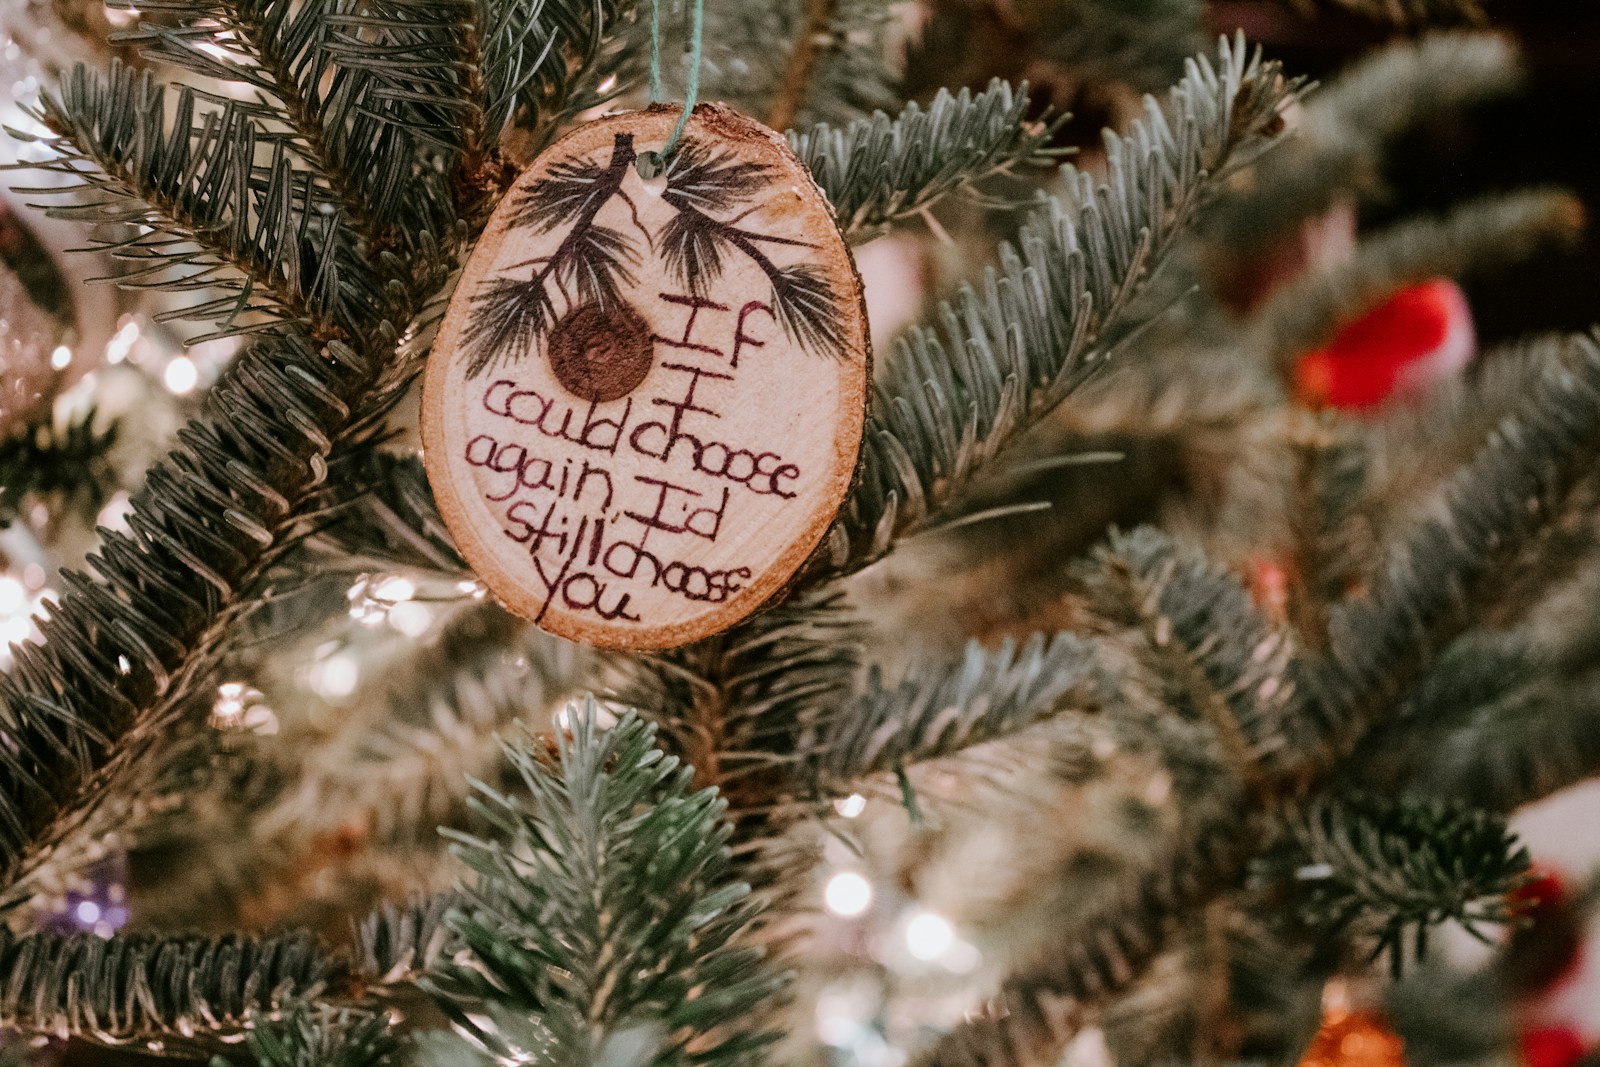
Personalized ornaments are some of the most meaningful Christmas crafts to sell, because shoppers love seeing a name or a sweet message. Wood slices work beautifully with a paint pen or careful hand lettering. Offer a few ready made common names and take a short list of custom orders for later pickup. Keep the lettering simple and clear. Add a small painted sprig of pine for a finishing touch. Whose name would you put on the first one?
You will need: Wood slice ornaments with holes, fine sandpaper, pencil, fine paint pens in black and white, clear sealer, twine or ribbon.
How to make it: 1. Sand the slice face smooth. 2. Lightly pencil the name or message in the center. 3. Trace over it with a fine paint pen. 4. Add a little pine or star doodle. 5. Seal with a thin clear coat and add a twine loop.
Dried Orange Garlands
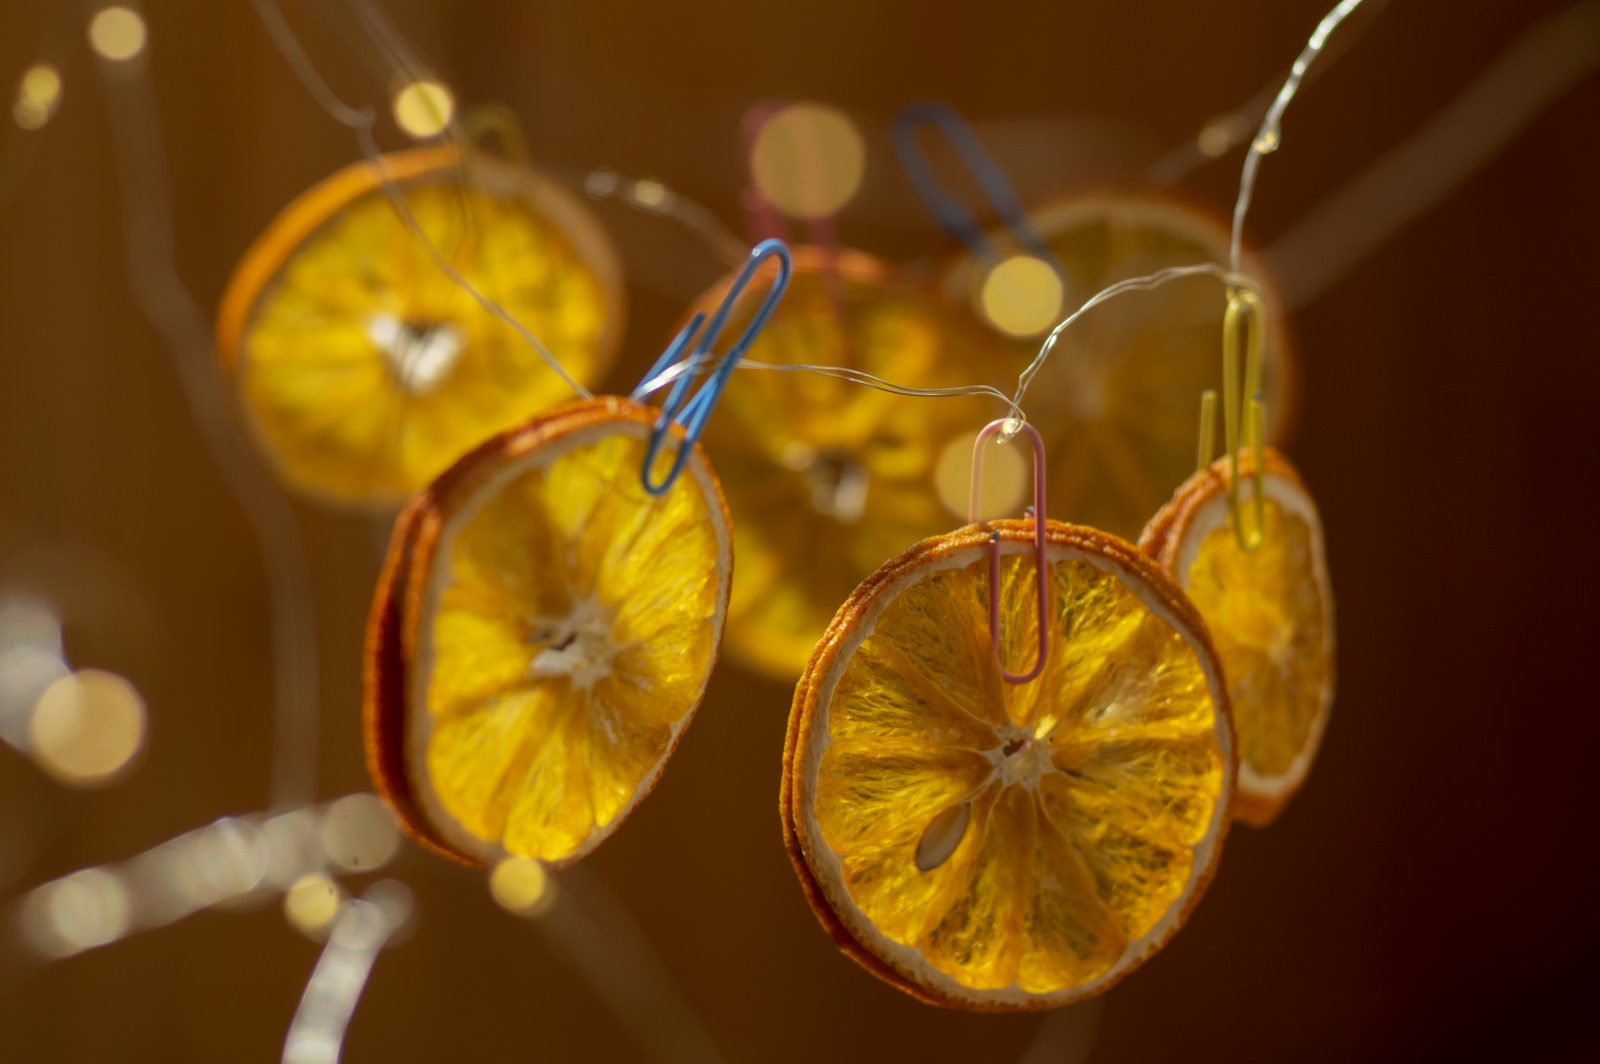
Dried orange slices glow like stained glass when the light hits them, and they have become a favorite for natural holiday decor. String them with cranberries, wood beads or bay leaves for a garland that smells wonderful. Bake the slices low and slow until dry, with an adult watching the oven. Sell garlands in a few lengths and offer single slices as ornaments too. They look beautiful draped across your booth. Have you ever made dried orange slices at home?
You will need: Oranges, sharp knife (adult only), paper towels, baking sheet, parchment paper, oven, twine, large needle, wood beads or cinnamon sticks (optional).
How to make it: 1. Have an adult slice the oranges thinly and pat them dry. 2. Lay them on parchment and bake at a low heat for several hours, turning often, until fully dry. 3. Let them cool completely. 4. Thread the slices onto twine with a needle, adding beads between them. 5. Tie loops at both ends.
Wood Bead Garlands
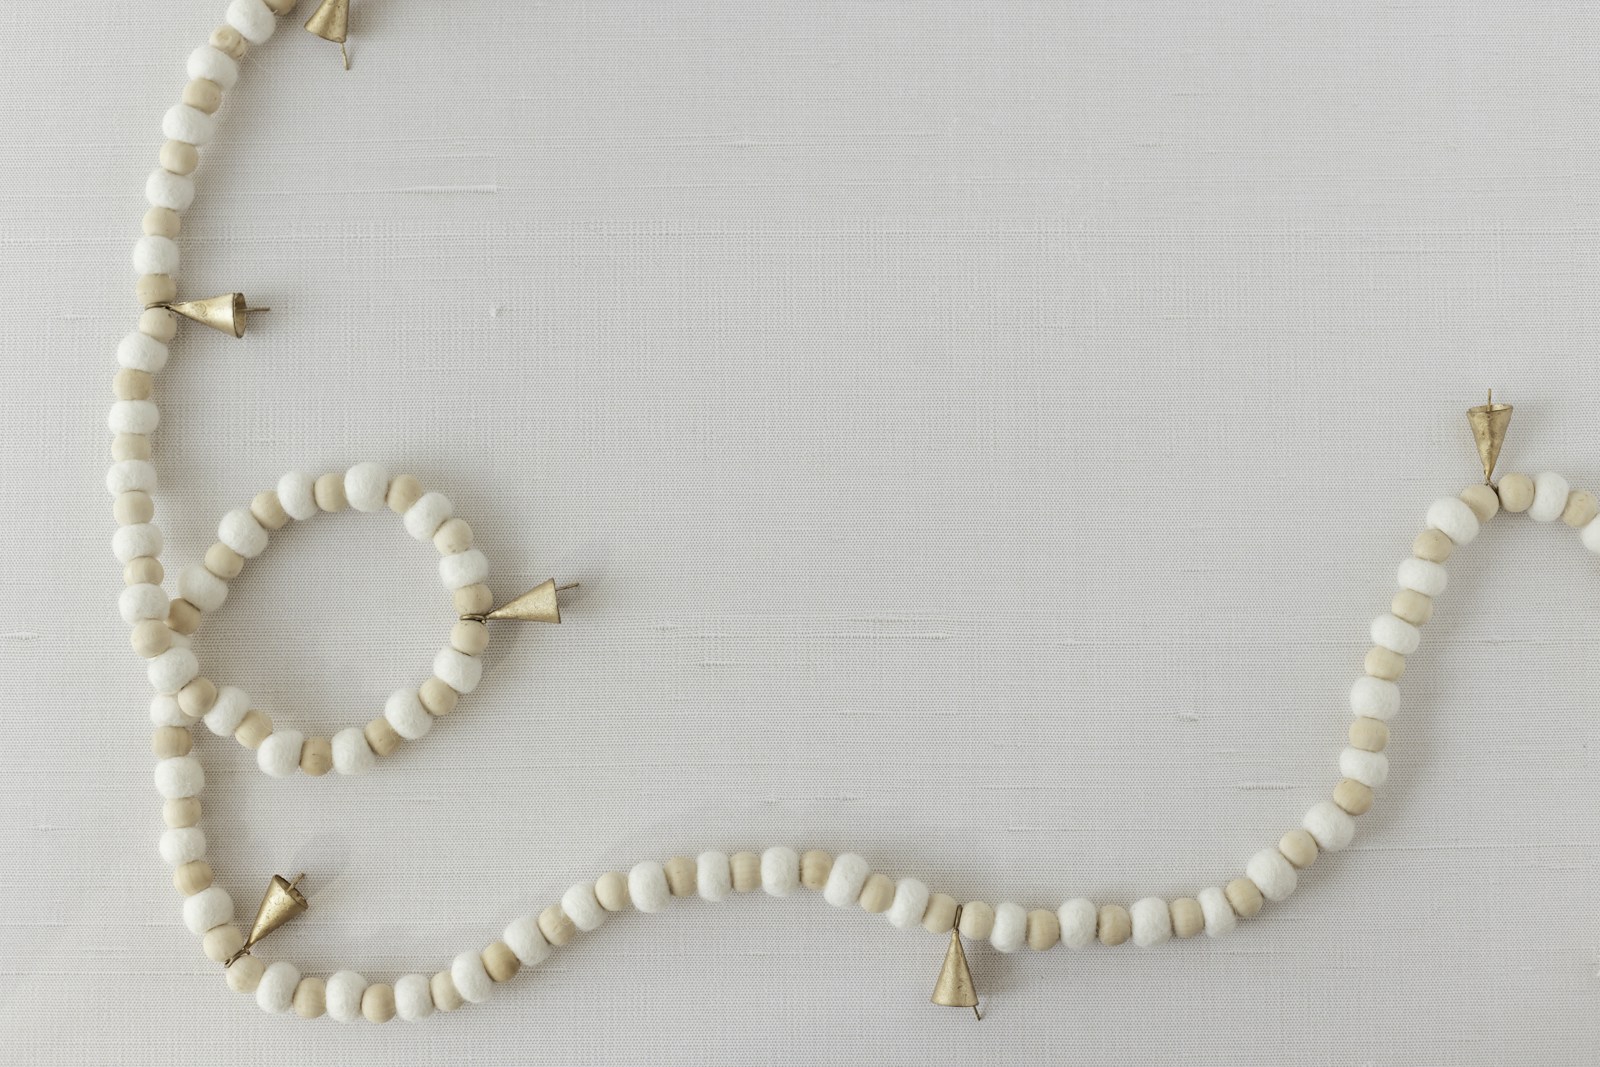
Wood bead garlands are simple, calm and timeless, which makes them easy to sell to almost anyone. Natural beads look lovely on a tree, a mantel or wrapped around a wreath. Little gold bells or tassels on the ends give them a festive touch. Of all the Christmas crafts to sell here, they are also the most relaxing project to make in front of a holiday movie. Offer a few lengths and a mix of bead sizes. Would you choose natural wood or painted beads?
You will need: Natural wood beads in two sizes, strong cotton cord, small gold bells, scissors, tape, clear nail polish or glue for knots.
How to make it: 1. Tape the end of the cord so it is easy to thread. 2. String beads in a pattern, mixing sizes. 3. Add a small bell every so often. 4. Tie a tight knot at each end and dab it with glue. 5. Add a bell or tassel at both ends.
Mini Woodland Scenes on Wood Slices
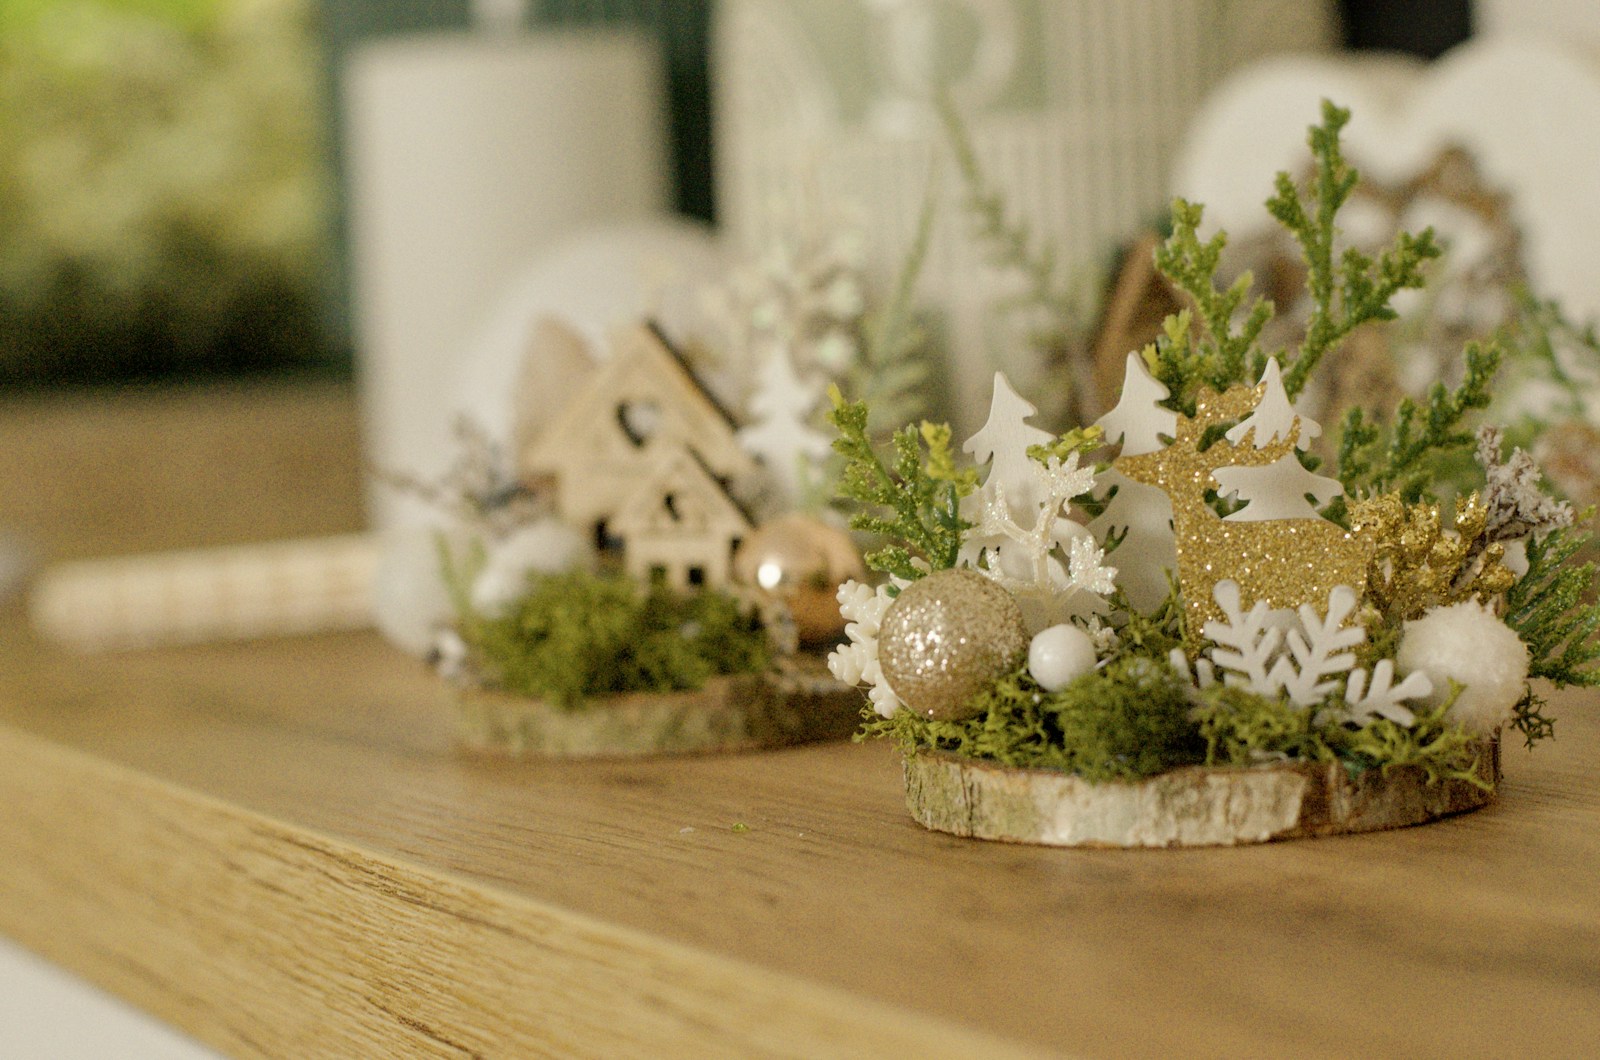
These little woodland scenes look like snowy forests you can hold in your hand. A wood slice base holds moss, tiny bottle brush trees, wooden deer and white berries. Each one can be a little different, which makes them feel special and one of a kind. They make lovely tabletop decor and hostess gifts. Shoppers tend to pick them up and smile. Use battery tea lights nearby for display, never real candles. What tiny details would you add to yours?
You will need: Thick wood slices, faux moss, mini bottle brush trees, small wooden deer and houses, white faux berries, faux snow, hot glue gun (adult help).
How to make it: 1. Glue a patch of moss onto the wood slice. 2. Arrange trees, a small house and a deer, then glue them in place. 3. Tuck in white berries and tiny sprigs. 4. Dust the scene with faux snow. 5. Display with battery tea lights only.
Painted Rock Paperweights
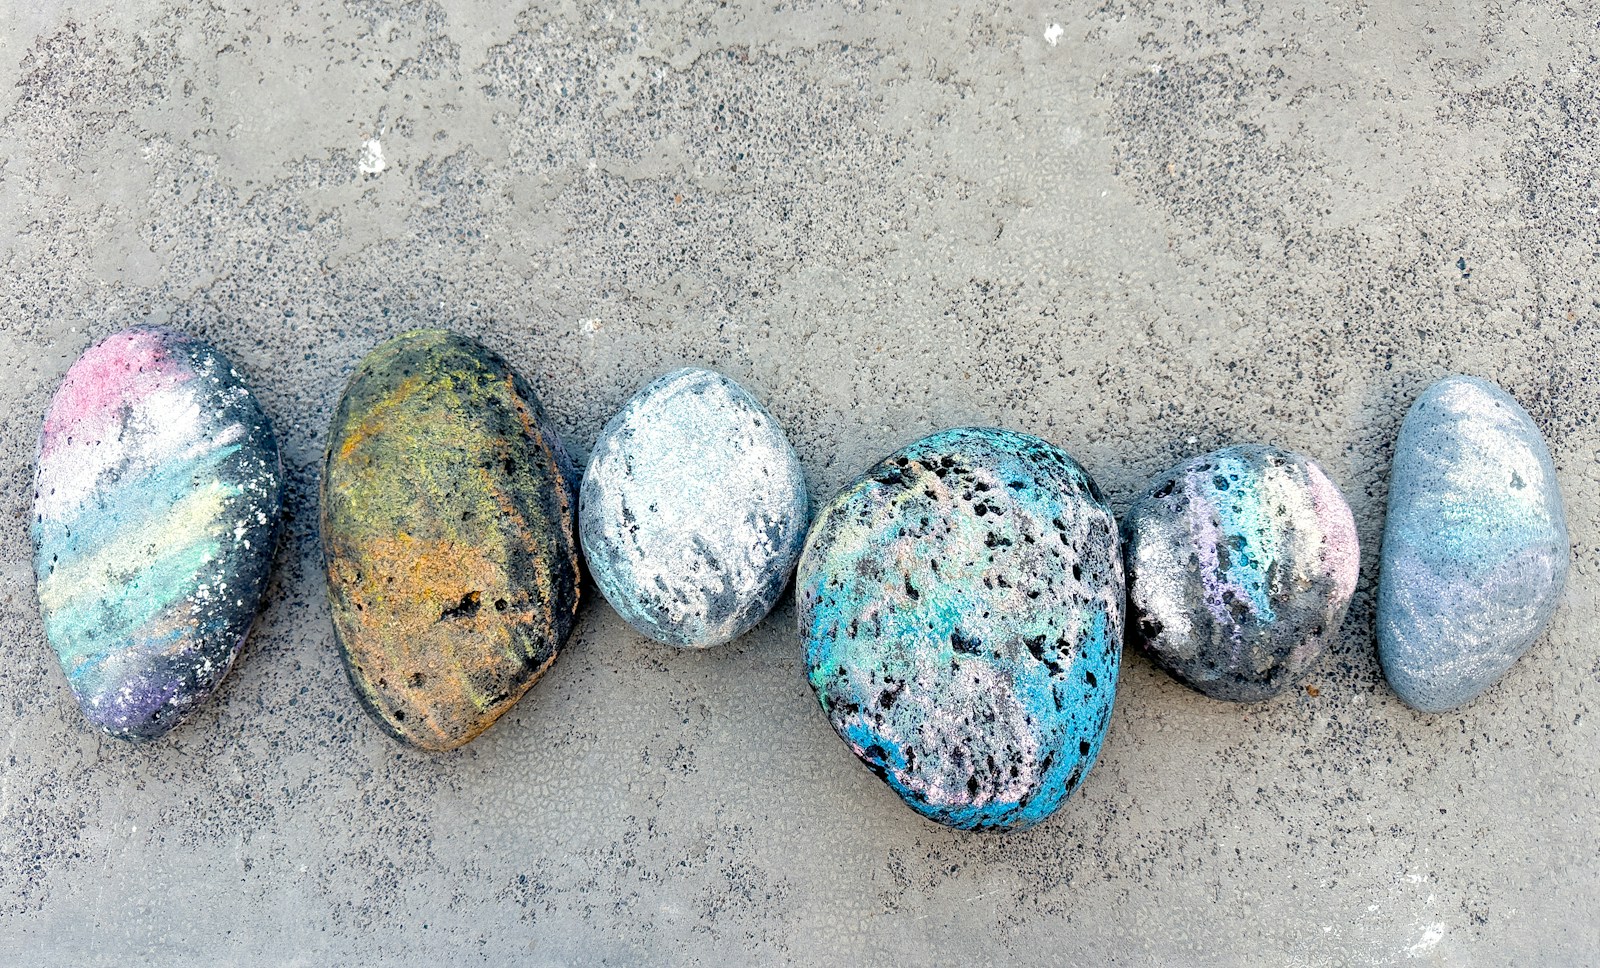
Smooth rocks painted with swirls, galaxies or tiny holiday scenes make charming paperweights and stocking stuffers. Kids can help with this one, and every rock turns out different. A clear sealer makes the colors shine and keeps them from chipping. Sell them individually or in a little box of three. These are low cost Christmas crafts to sell, inexpensive to make and fun to display in a bowl. What would you paint on your first rock?
You will need: Smooth clean rocks, acrylic paints, brushes, dotting tools or cotton swabs, paint pens, clear sealer, small boxes or bags.
How to make it: 1. Wash and dry the rocks. 2. Paint a base color and let it dry. 3. Add designs with brushes, dots or paint pens. 4. Seal with two thin coats of clear sealer. 5. Package them in small boxes or bags.
Mini Snow Globes

Mini snow globes bring out the kid in everyone. A small jar or globe, a tiny figure and some glitter and water are all you need. Shake it and the scene comes to life, which is why people always stop to try them at a craft table. Choose generic figures like trees, snowmen or deer. Make sure the lids are glued tight. For more ideas with that handmade sculpted look, see our realistic clay crafts. Which little scene would you put inside?
You will need: Small glass jars or globe kits with lids, waterproof glue, small figurines, distilled water, a few drops of glycerin, fine glitter or faux snow.
How to make it: 1. Glue the figure to the inside of the lid and let it cure fully. 2. Fill the jar with distilled water and add a few drops of glycerin. 3. Sprinkle in glitter or faux snow. 4. Run glue around the rim and screw the lid on tight. 5. Turn it over and give it a shake.
Embroidery Hoop Wreaths to Round Out Your Christmas Crafts to Sell
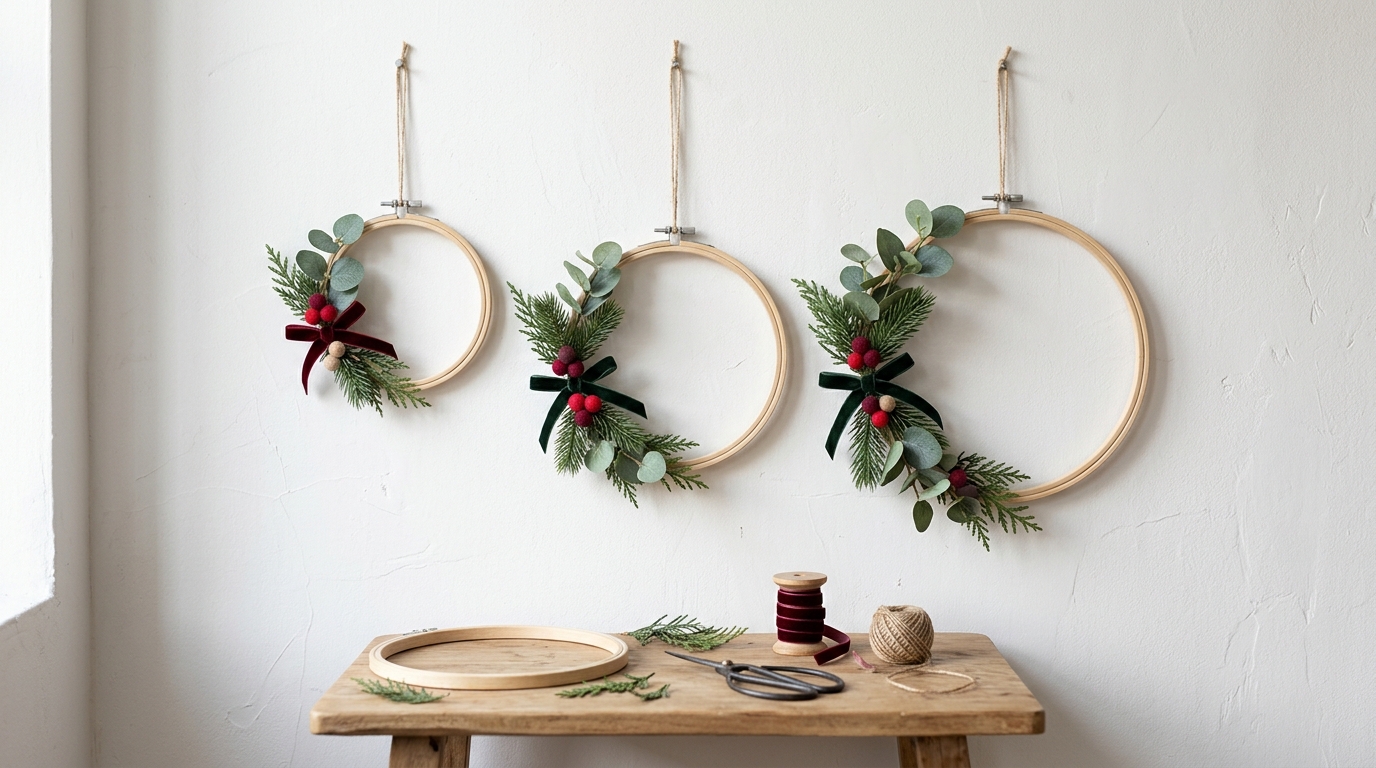
Embroidery hoop wreaths are modern, light and very affordable to make. Wrap a bit of greenery and a velvet bow around one side and leave the rest of the hoop open for a clean, simple look. Make them in three sizes so shoppers can buy a set for a wall or a door. Interest in DIY Christmas crafts to sell keeps growing on Google, and this is an easy one to add to your table. Which of these Christmas crafts to sell will you make first?
You will need: Wooden embroidery hoops in several sizes, faux eucalyptus and pine sprigs, faux berries, velvet ribbon, floral wire, hot glue gun (adult help), twine.
How to make it: 1. Separate the hoops and use only the inner ring. 2. Arrange greenery along one side and secure it with floral wire. 3. Add berries with a little hot glue. 4. Tie a velvet ribbon bow over the wire. 5. Add a twine loop for hanging.