Winter Entryway Ideas: 15 Clever DIYs That Stop Snowy Boots and Coat Piles at the Door
These winter entryway ideas came from one simple wish: to walk in from the cold and not trip over a mountain of wet boots. Every winter the front door turns into a mess of puddles, lost mittens and coats thrown over the nearest chair. It does not have to be that way. With a few boards, some hooks, a basket or two and an afternoon, you can build a landing spot that catches the snow, the slush and the clutter before it spreads through the house. Most of these projects cost less than a takeout dinner, and many use things you already own, like old towels, a spare baking sheet or a wooden crate from the garage. Pick one or two, or do them all, and your door will feel calm, warm and ready for the season..
Winter Entryway Ideas Start With One Cozy Landing Spot
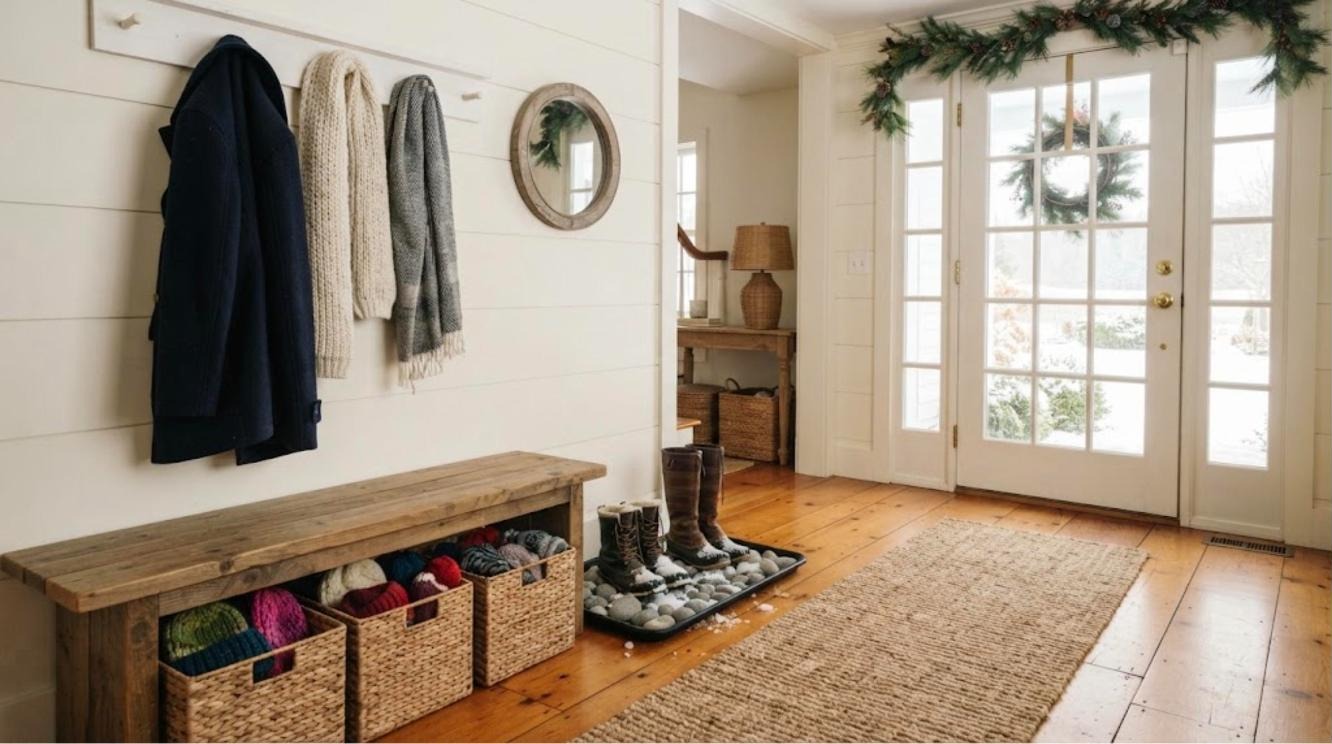
Picture coming home on a snowy night and knowing exactly where everything goes. That is the whole point of these winter entryway ideas, starting with this first project, a simple landing zone that holds a bench, a peg rail and a boot tray all in one corner. You do not need a mudroom. A plain wall by the door and a free Saturday is enough. Build it once and every other idea on this list will slot right in around it. Which corner by your door is begging for a makeover right now..
You will need: A wooden bench, a 1×4 board, wooden pegs, three baskets, a boot tray, wood glue, screws, a drill and paint.
How to make it: 1. Measure the wall and mark a line about 60 inches up. 2. Drill holes in the board every 8 inches, glue in the pegs and paint it. 3. Screw the rail into studs, then add the bench, baskets and tray below.
Boot Tray Filled With River Rocks
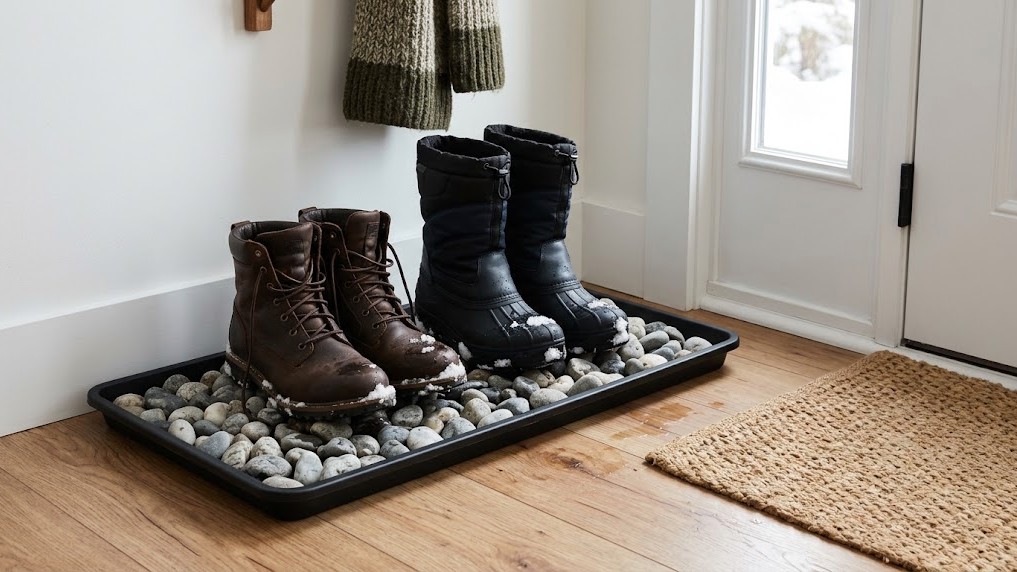
Of all the winter entryway ideas, this one is the cheapest. A plain plastic boot tray works, but a tray filled with smooth river rocks works even better. The snow melts and drips down between the stones, so your boots sit up high and dry instead of soaking in a puddle. Rinse the rocks in the sink once a month and the tray looks new again. A bag of decorative rocks costs a few dollars at any garden center. Would your family actually use a tray this pretty?
You will need: A rubber or metal boot tray and one bag of smooth river rocks.
How to make it: 1. Wash the rocks to remove dust. 2. Spread them in a single layer across the tray. 3. Set the tray right inside the door and line up the boots on top.
Pallet Wood Boot Rack
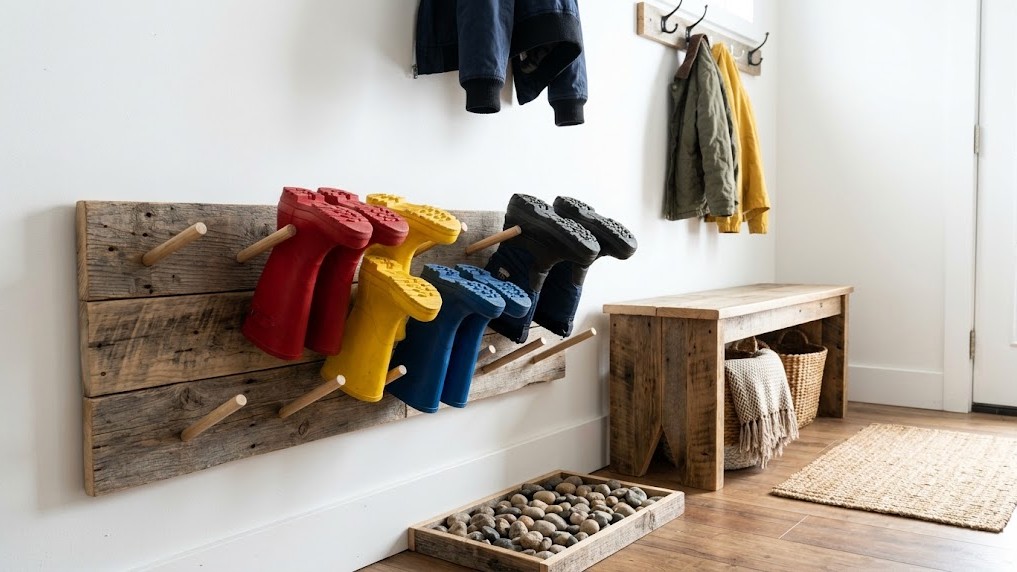
Tall winter boots flop over, and floppy boots never dry. This rustic rack holds them upside down on short dowels so air gets inside and they are dry by morning. Build it from one free pallet, sanded smooth and stained a warm brown. It hangs on the wall, which keeps the floor clear for the next person walking in. Ask an adult to handle the saw and drill. How many pairs of boots pile up at your door?
You will need: One pallet board, 6 wooden dowels, wood stain, sandpaper, wood glue, screws and a drill.
How to make it: 1. Sand the board and stain it. 2. Drill angled holes and glue in dowels 7 inches apart. 3. Screw the rack to the wall at knee height and hang the boots upside down.
Mitten and Hat Drying Line
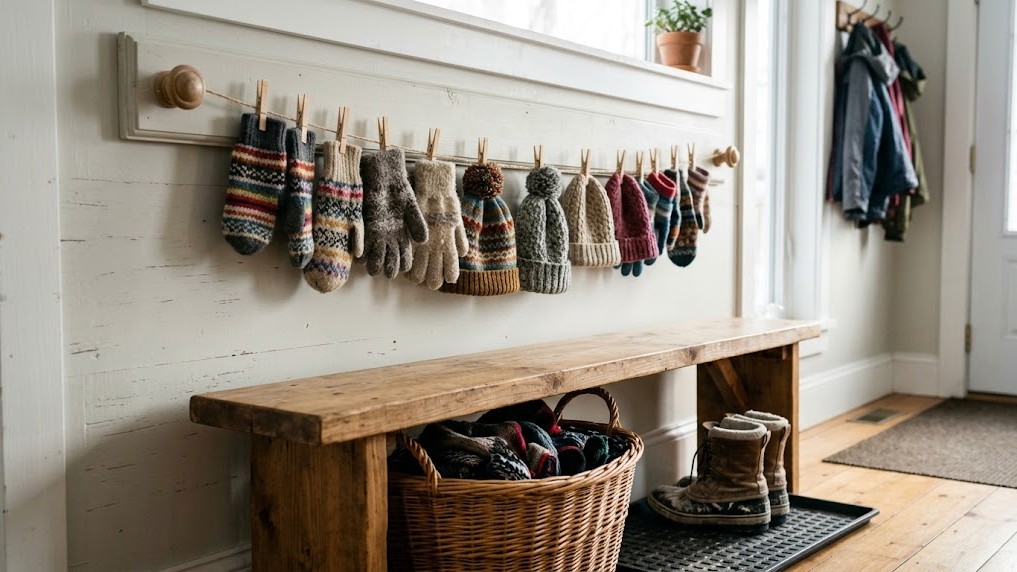
Wet mittens tossed in a basket stay wet until tomorrow. A little drying line fixes that. Stretch a cord between two cup hooks above a heat vent or along a sunny wall, and clip each mitten and hat with a wooden clothespin. Kids love clipping their own gear, and you never hunt for a lost glove again. Paint the clothespins in each person’s color to make it even easier. Is this the trick your mornings were missing?
You will need: Two cup hooks, cotton cord, wooden clothespins and craft paint.
How to make it: 1. Screw the cup hooks into the wall about three feet apart. 2. Tie the cord tight between them. 3. Paint the clothespins, let them dry and clip on the wet gear.
Hooks at Kid Height
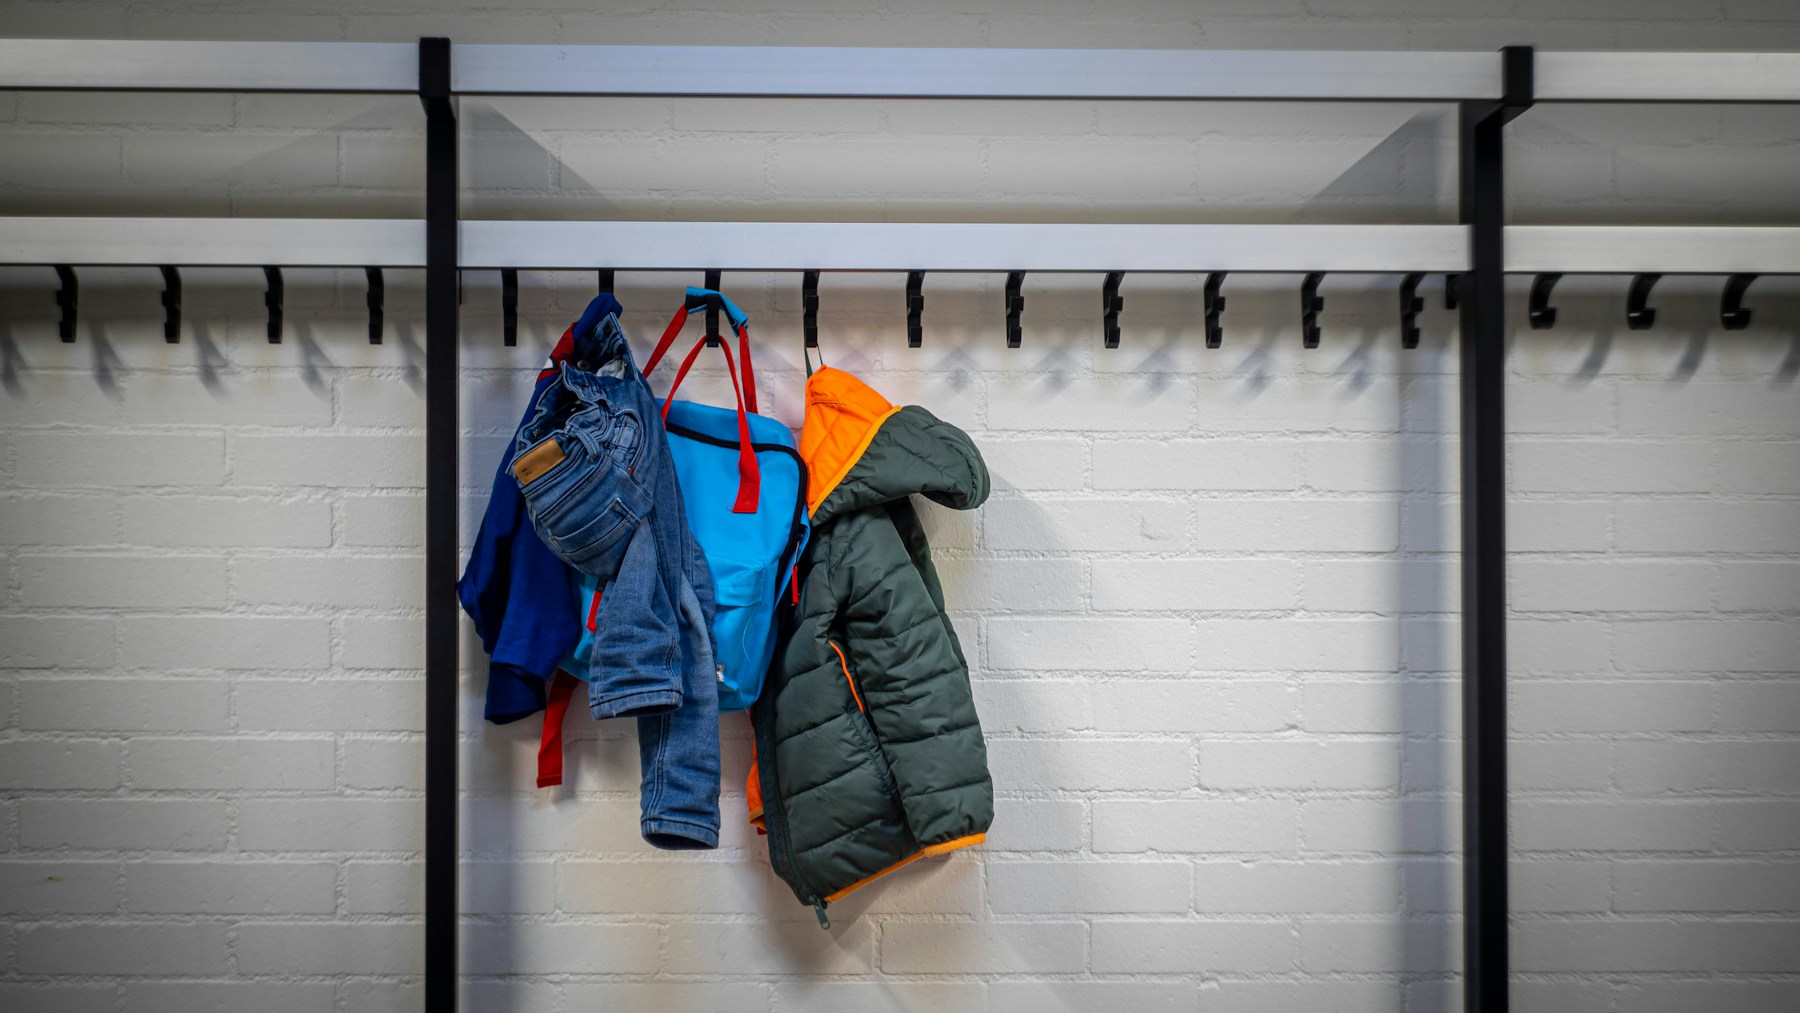
Good winter entryway ideas work for kids too. Little arms cannot reach a coat closet, so their jackets end up on the floor. Add a second row of hooks at about 36 inches and watch the floor clear up overnight. Kids feel proud when they have their own spot, and backpacks finally have a home too. Hometalk shared a fun take on this with hooks all around a door frame. Where would your kids hang their coats?
You will need: A board, 5 sturdy coat hooks, screws, a level and a drill.
How to make it: 1. Find the studs and mark a line at kid height. 2. Screw the board to the studs. 3. Attach the hooks 8 inches apart and let each child pick a hook.
Winter Entryway Ideas for a Bench With Baskets
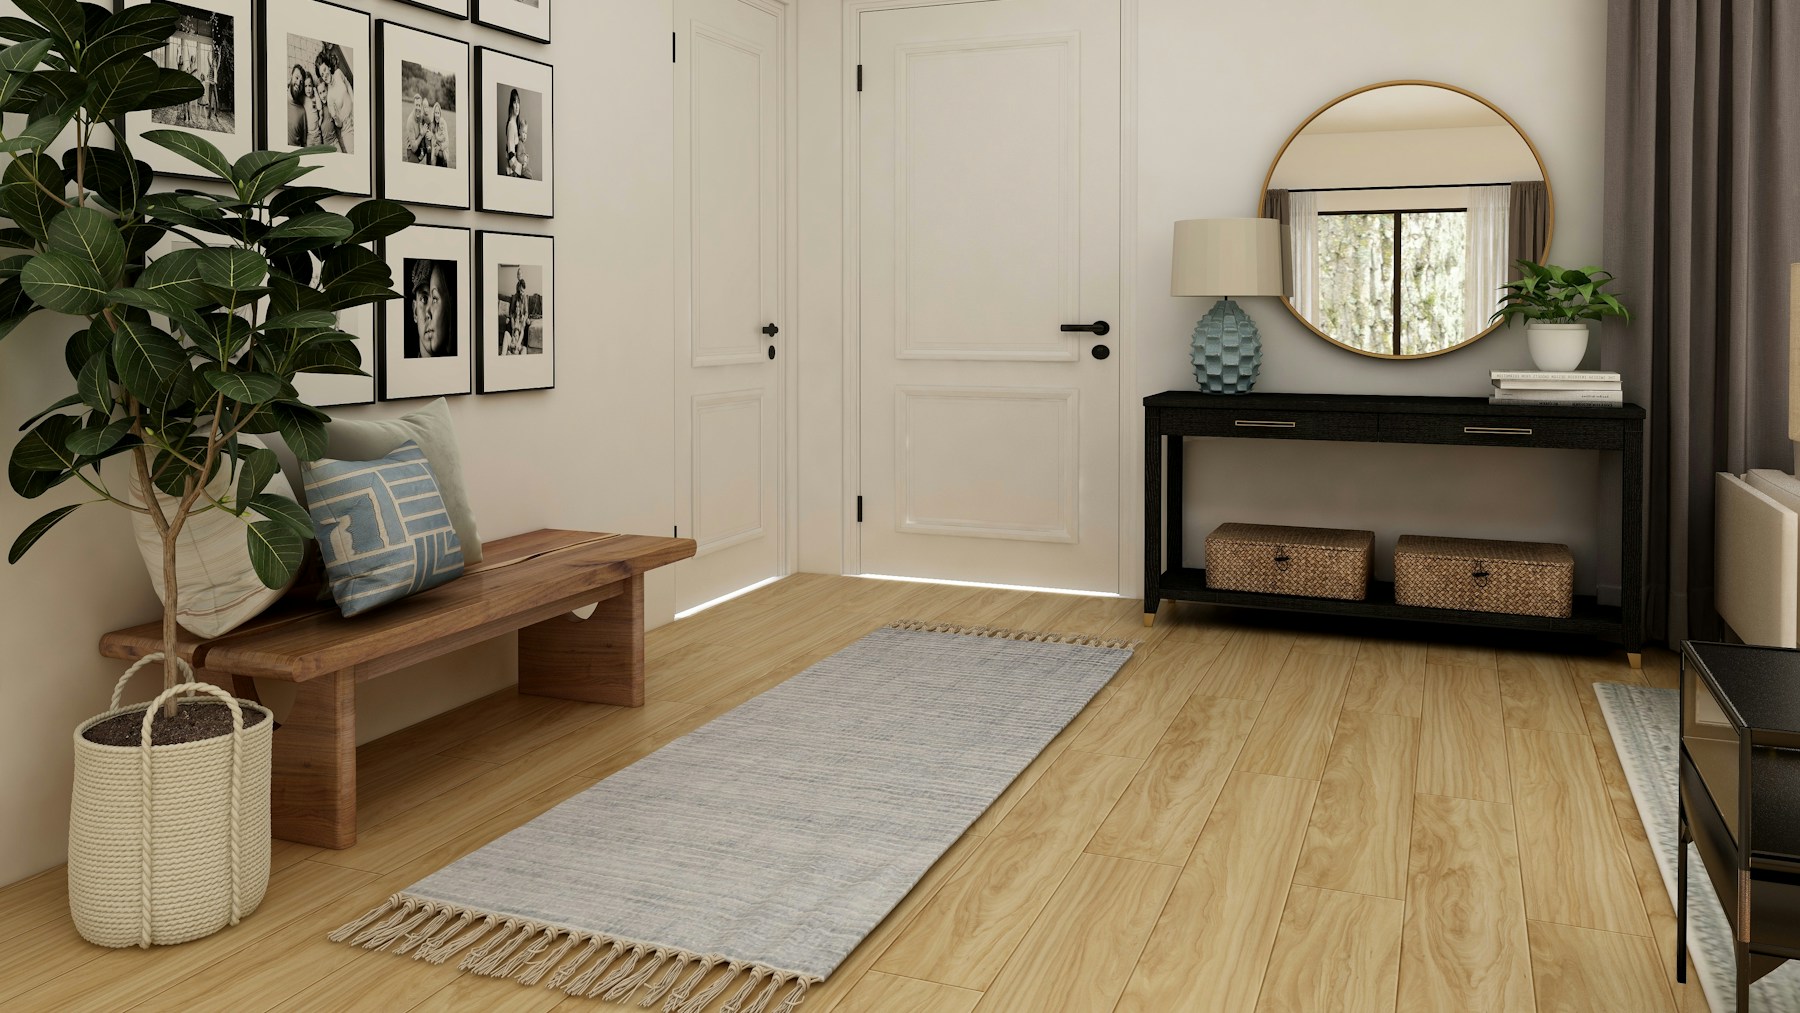
In most winter entryway ideas, a bench is the hardest working piece of furniture by any door. You sit to pull on boots, and the space underneath swallows hats, scarves and dog leashes. Slide a few woven baskets under it, one per person, and the clutter disappears in seconds. A thrifted bench with a fresh coat of paint looks just as good as a new one. Add a cushion for comfort. Which thrift store bench could you rescue this week?
You will need: A sturdy bench, 2 to 4 woven baskets, sandpaper and paint.
How to make it: 1. Sand the bench lightly and paint it. 2. Measure the space underneath and buy baskets that fit. 3. Give each person a basket for hats, scarves and gloves.
Cubby Bench for a Mini Mudroom
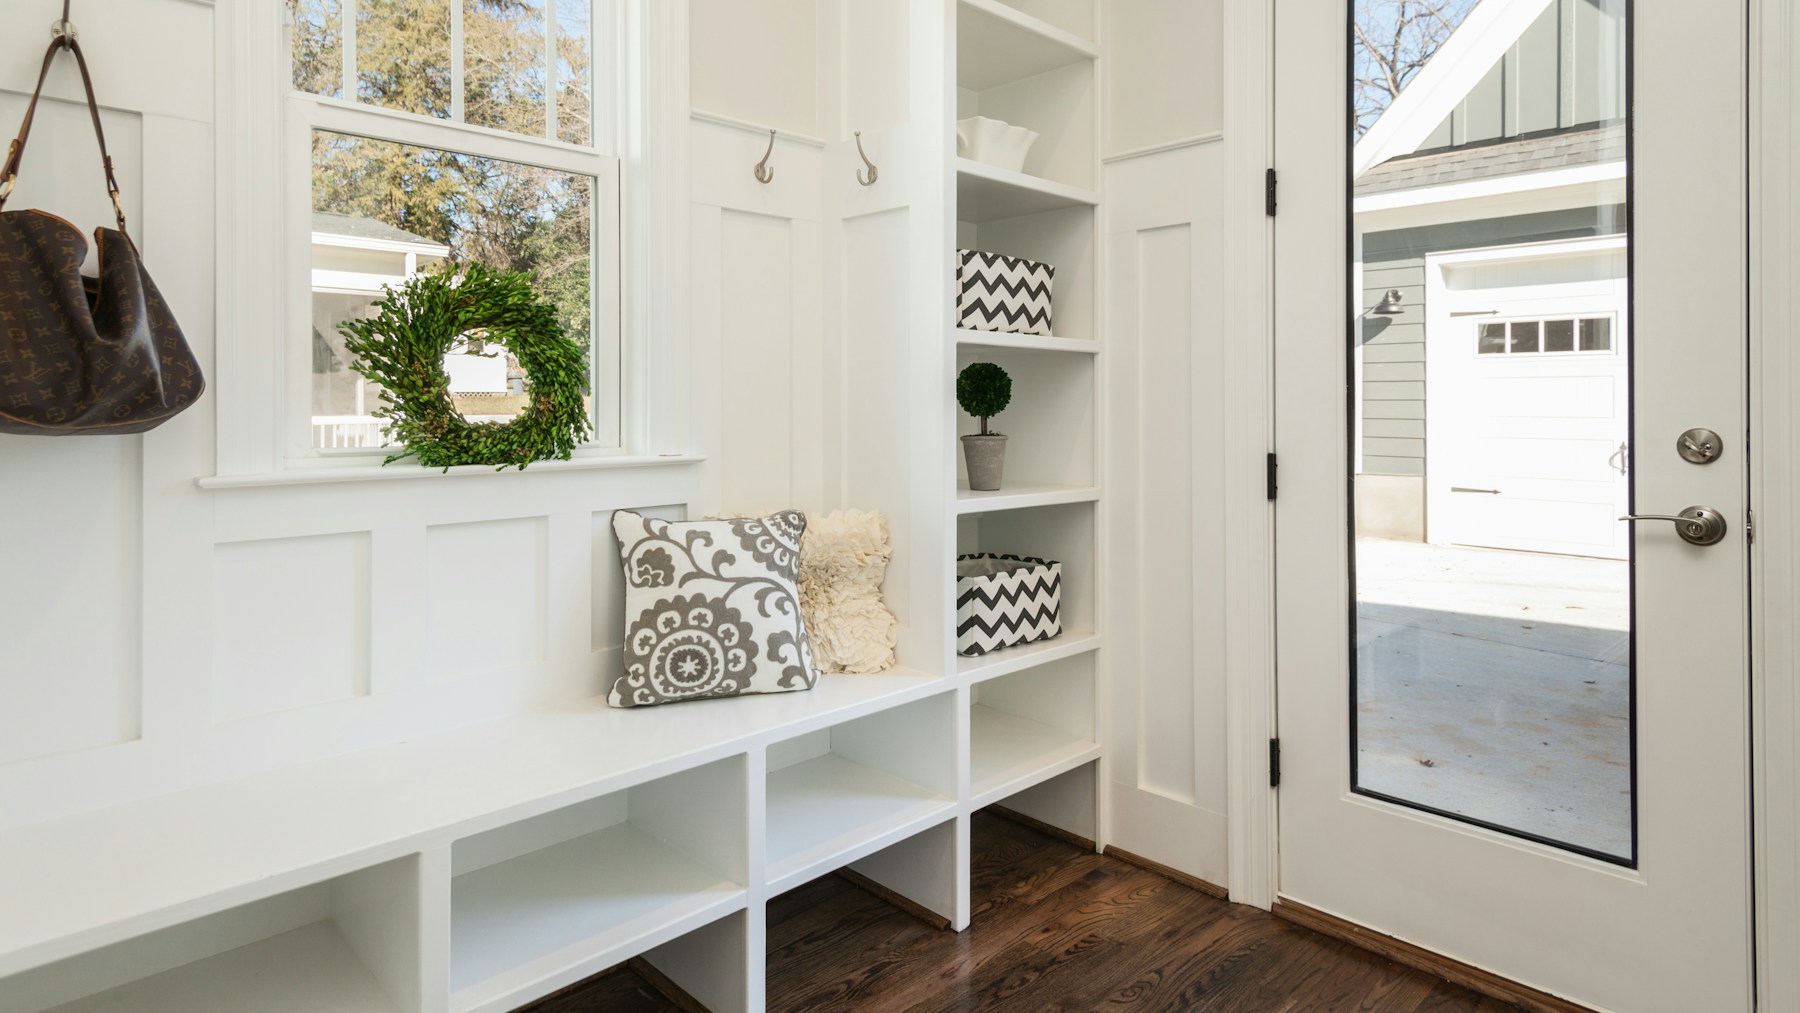
If you have a little more room, a cubby bench turns a hallway into a mini mudroom. Each cubby holds one pair of shoes or a bin, and the top doubles as a seat. Build it from basic plywood boxes screwed side by side, then paint it bright white so it feels clean and fresh all winter. Ask an adult to help with the cutting. Does your home have a spare wall that could hold one?
You will need: Plywood, wood screws, wood glue, a saw, a drill, primer and white paint.
How to make it: 1. Cut the plywood into equal boxes about 12 inches square. 2. Glue and screw them together in a row. 3. Prime, paint and top with a padded board for a seat.
Winter Entryway Ideas With a Simple Peg Rail
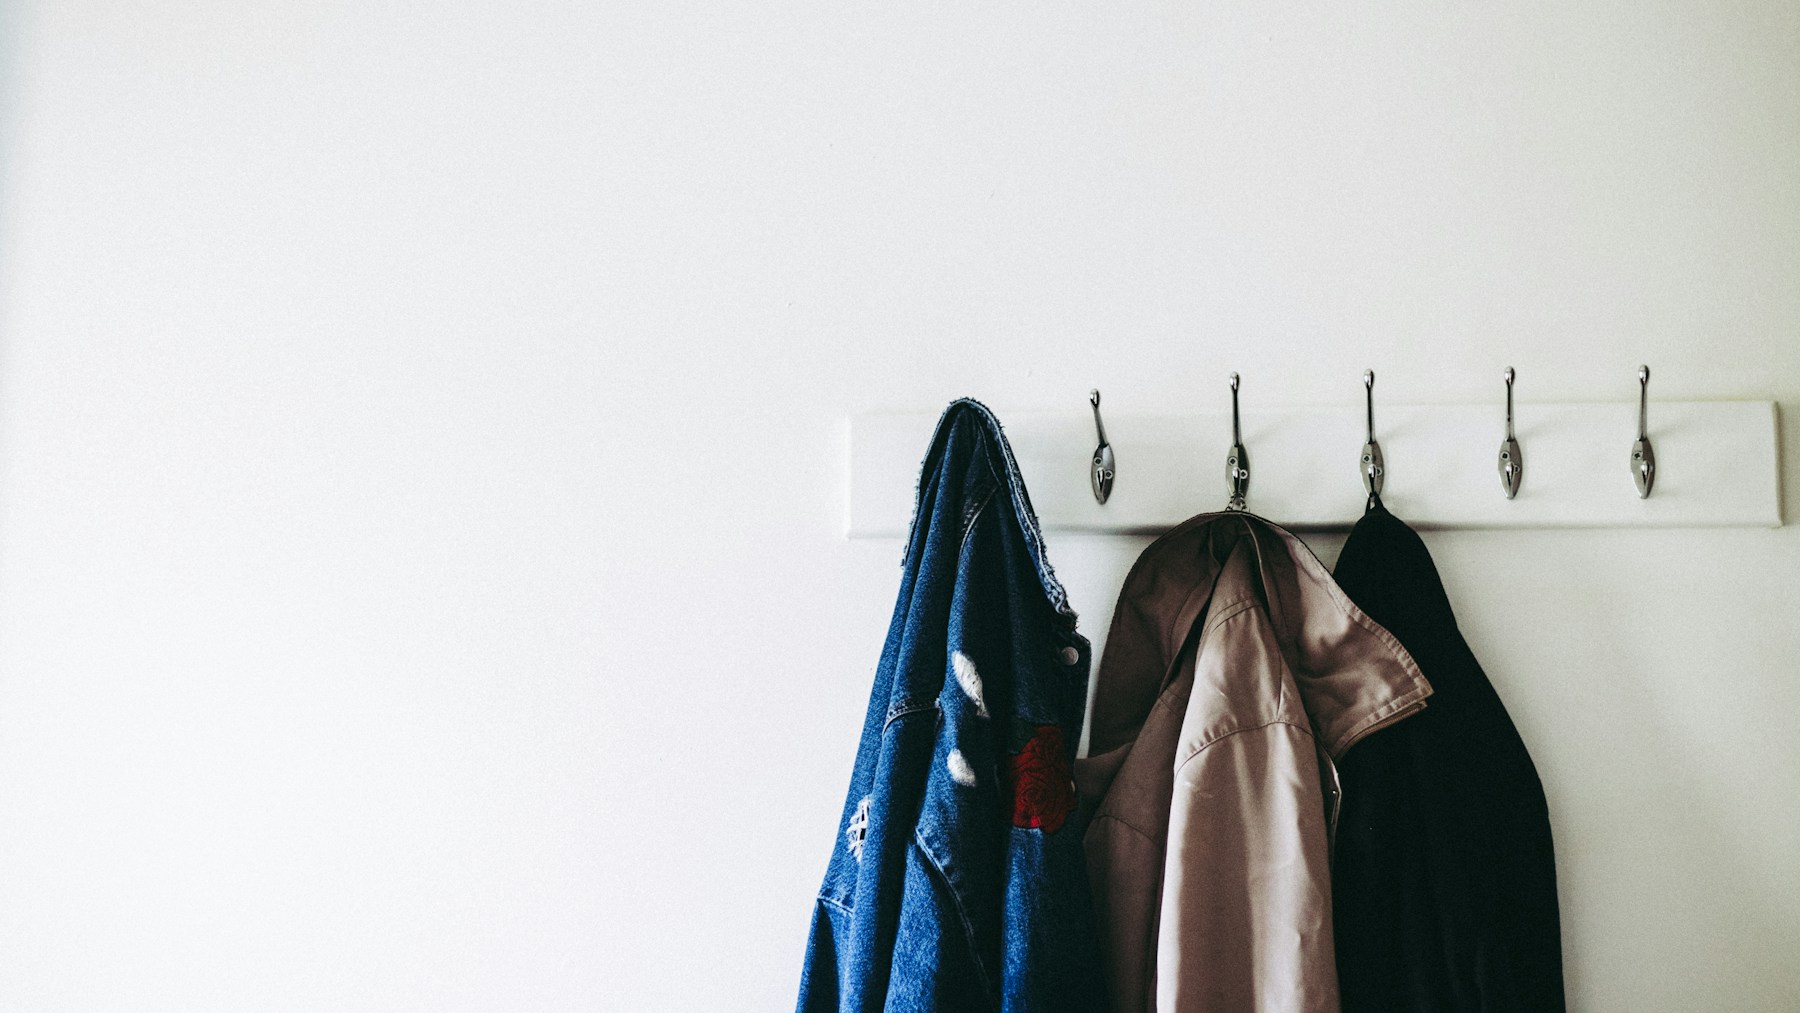
A peg rail is one of the oldest winter entryway ideas and the smartest way to tame a pile of coats. Shaker families hung everything from chairs to brooms on them. Today one long rail with chunky hooks holds every winter jacket in the house and still looks neat. Paint the rail the same color as the wall so it blends in, or pick a bold color for fun. How many coats would one rail save from the chair?
You will need: A 1×4 board, 5 or 6 coat hooks or wooden pegs, paint and screws.
How to make it: 1. Paint the board and let it dry. 2. Space the hooks evenly and screw them on. 3. Screw the rail into the wall studs at adult shoulder height.
Glove Basket for Every Person
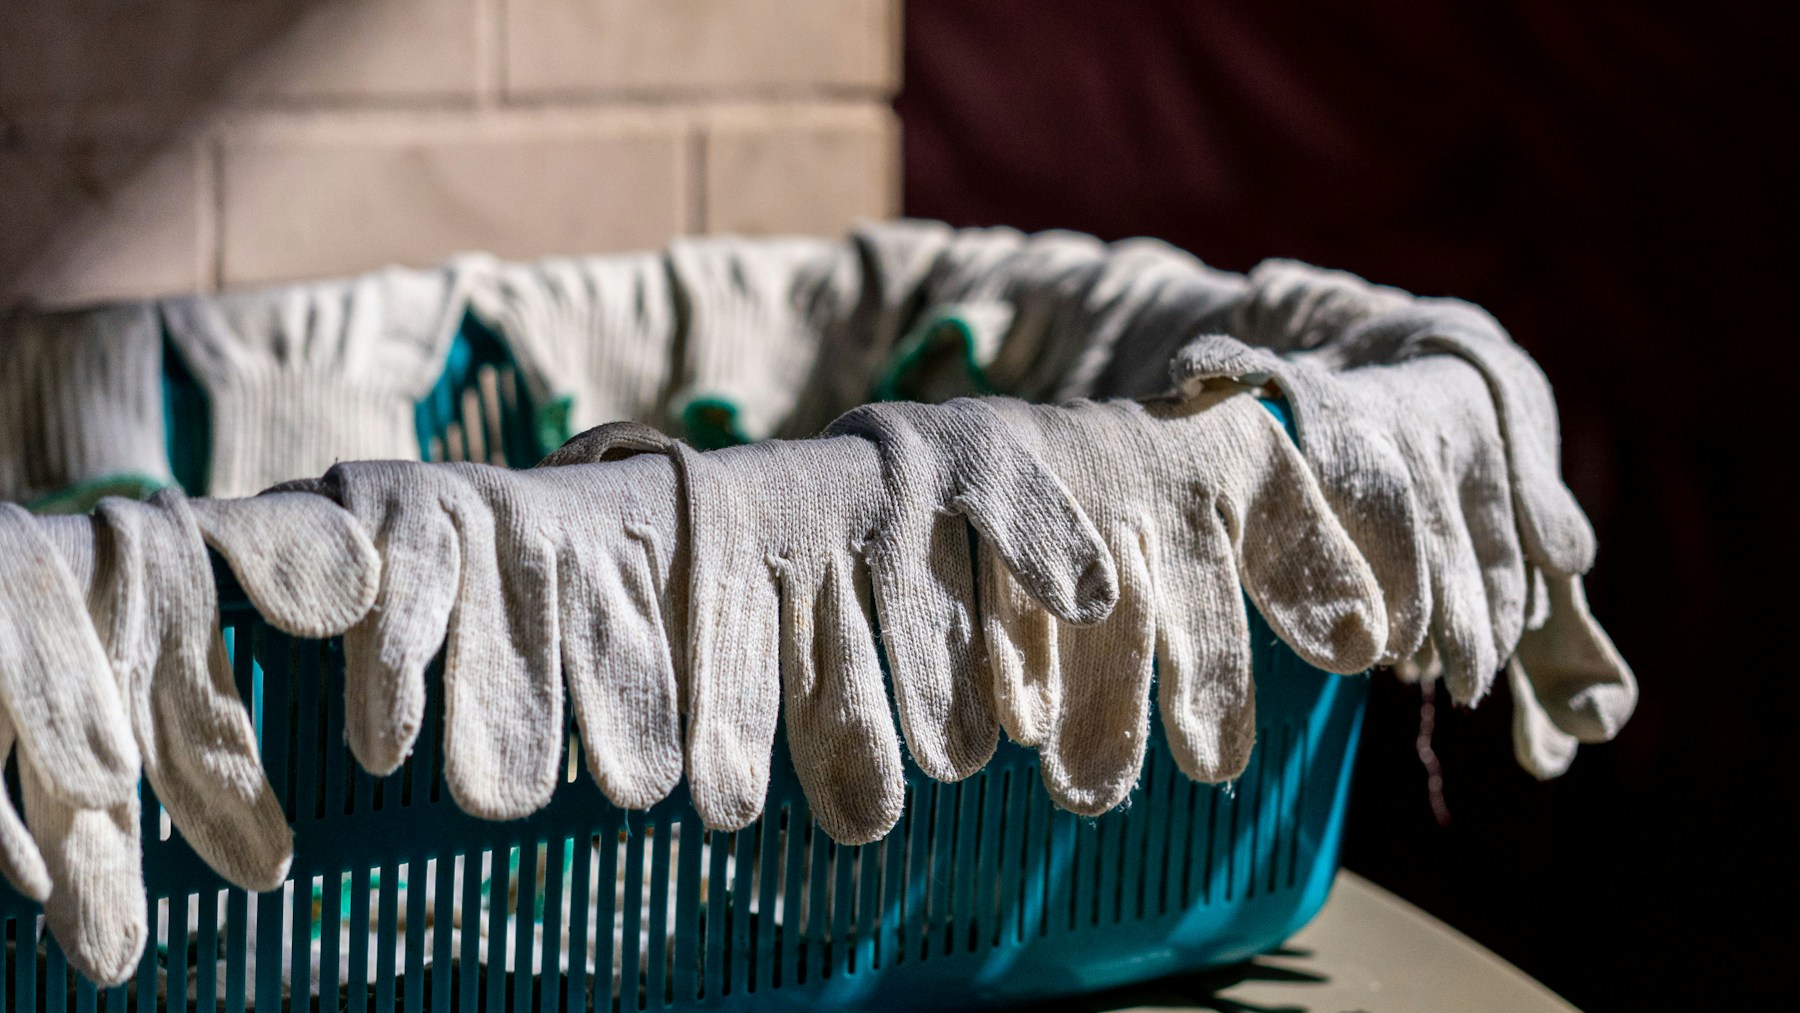
Lost gloves cause more morning fights than anything else. A small basket for each person ends the hunt for good. Tie a wooden tag on the front with a name or a color, and every pair goes back to its own home. Work gloves for shoveling get a basket of their own, too. Keep them on a low shelf so even the smallest helper can reach. Who in your house loses gloves the most?
You will need: Small baskets, wooden tags, twine and a paint pen.
How to make it: 1. Write each name on a wooden tag. 2. Tie a tag to the front of each basket. 3. Line the baskets up on a shelf or under the bench.
Washable Rag Rug From Old Towels
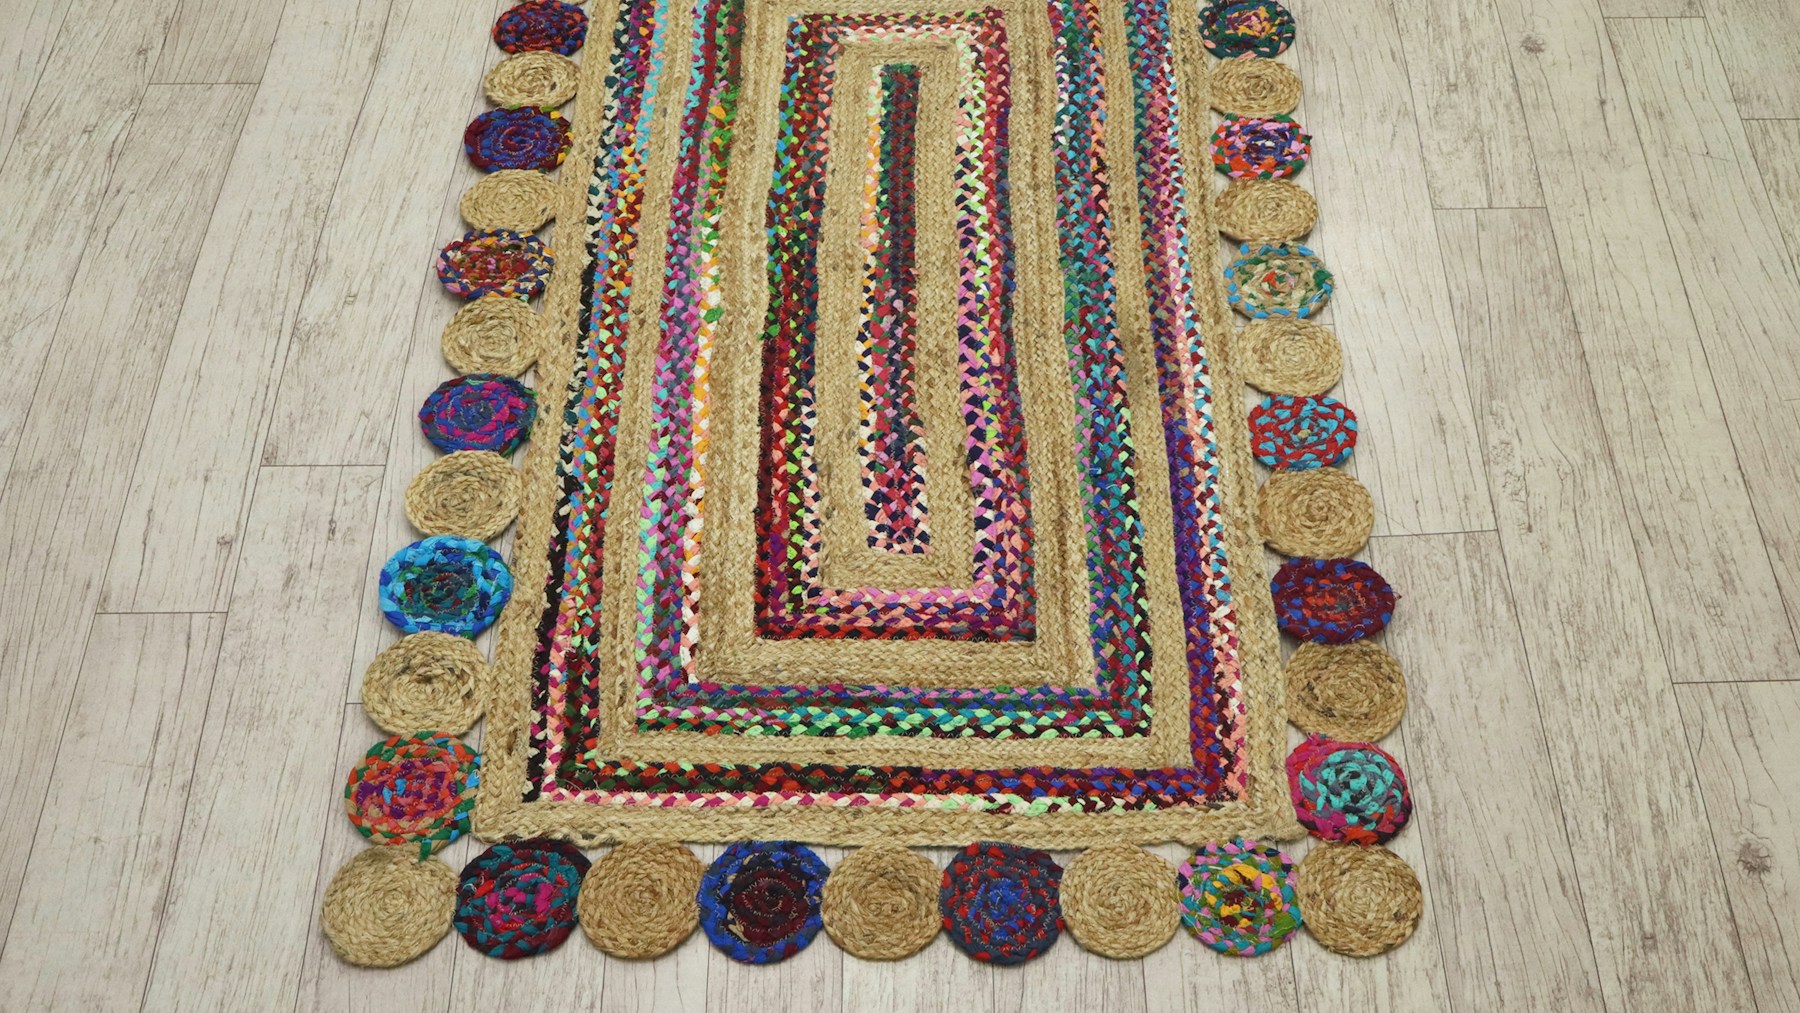
Fancy rugs and winter slush do not mix, so practical winter entryway ideas start at floor level. A braided rug made from old towels soaks up water, goes straight into the washing machine and costs nothing. Cut the towels into long strips, braid them and coil the braid into a circle or oval, stitching as you go. It is a cozy evening project while you watch a movie. Have you got a stack of old towels waiting in the closet?
You will need: 4 to 6 old towels, scissors, a large needle and strong thread.
How to make it: 1. Cut the towels into strips about 2 inches wide. 2. Braid three strips together, adding new strips as you go. 3. Coil the braid flat and stitch the edges together.
Winter Entryway Ideas for a Key and Mail Station
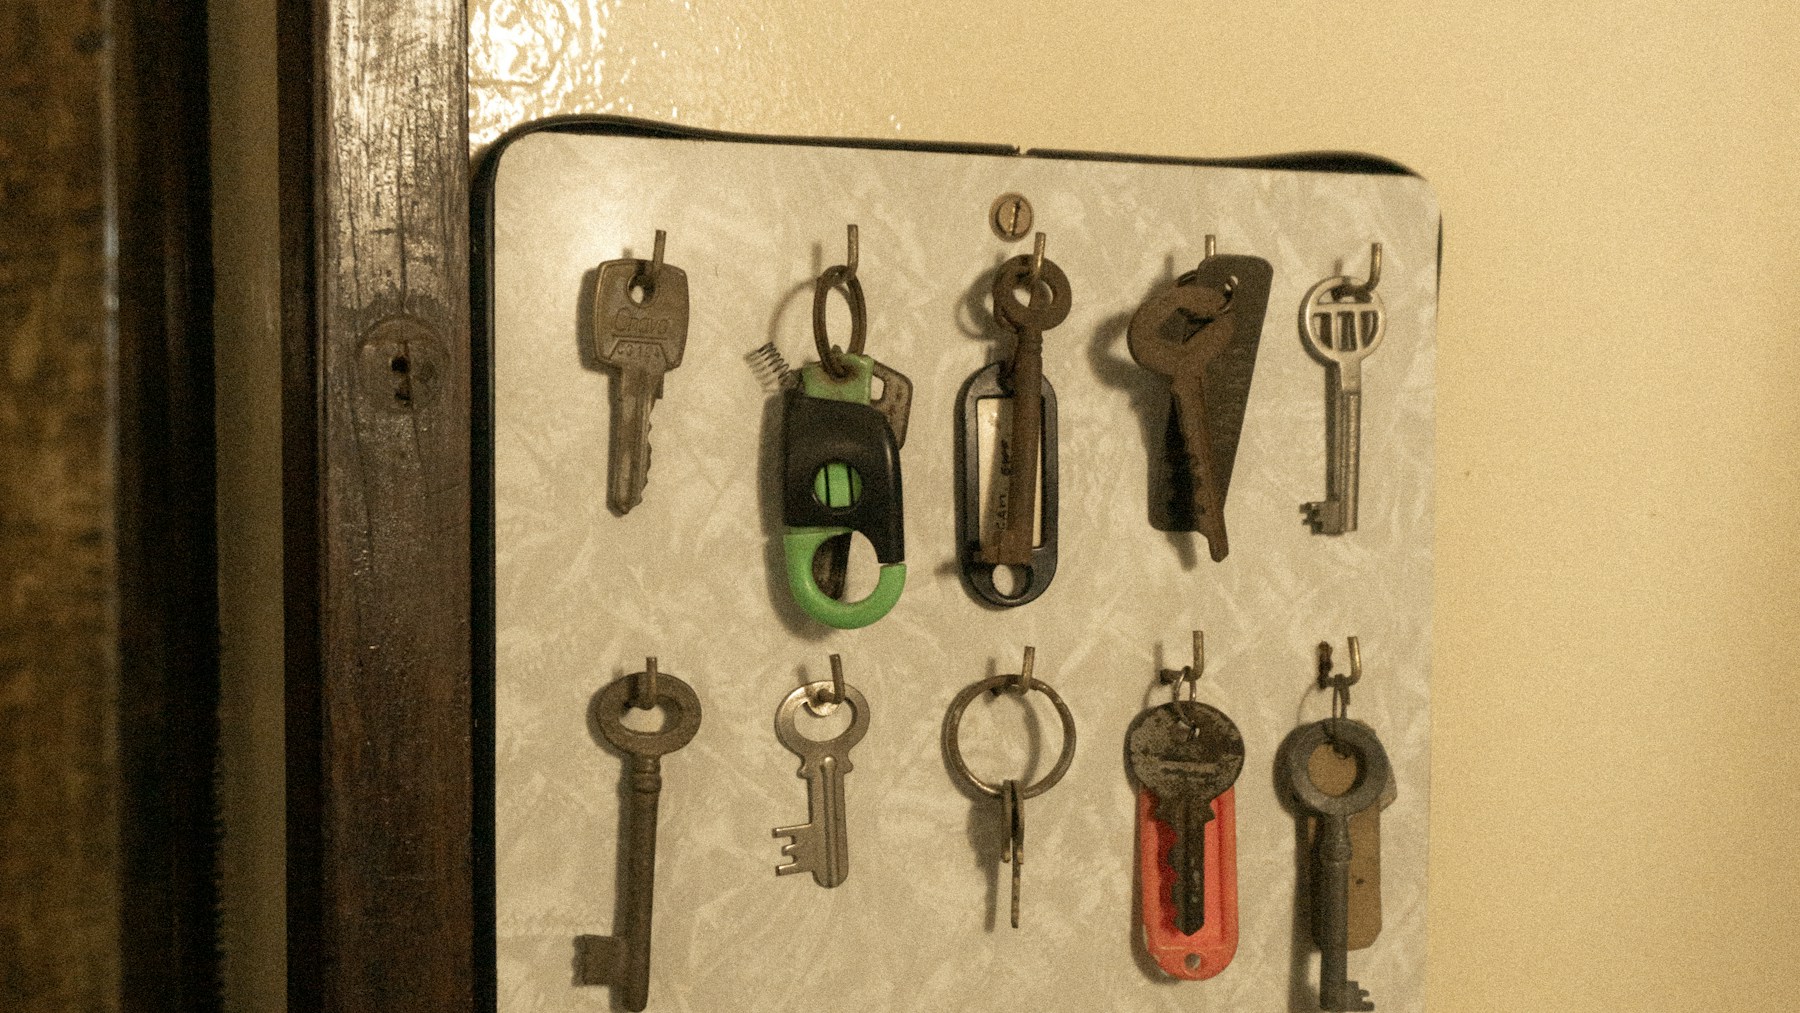
Keys and mail love to vanish in winter, buried under hats and gloves. An old cutting board turns into a handy station in minutes. Screw in a row of small hooks for keys and glue a wooden pocket on top for letters. Hang it right by the light switch, where your hand goes first. You will never dig through coat pockets for the car keys again. Where do your keys usually end up?
You will need: A wooden cutting board, small cup hooks, a thin board for the pocket, wood glue and a picture hanger.
How to make it: 1. Screw the cup hooks along the bottom of the board. 2. Glue the thin board on as a pocket for mail. 3. Add a picture hanger and hang it next to the door.
Ladder Blanket and Scarf Rack
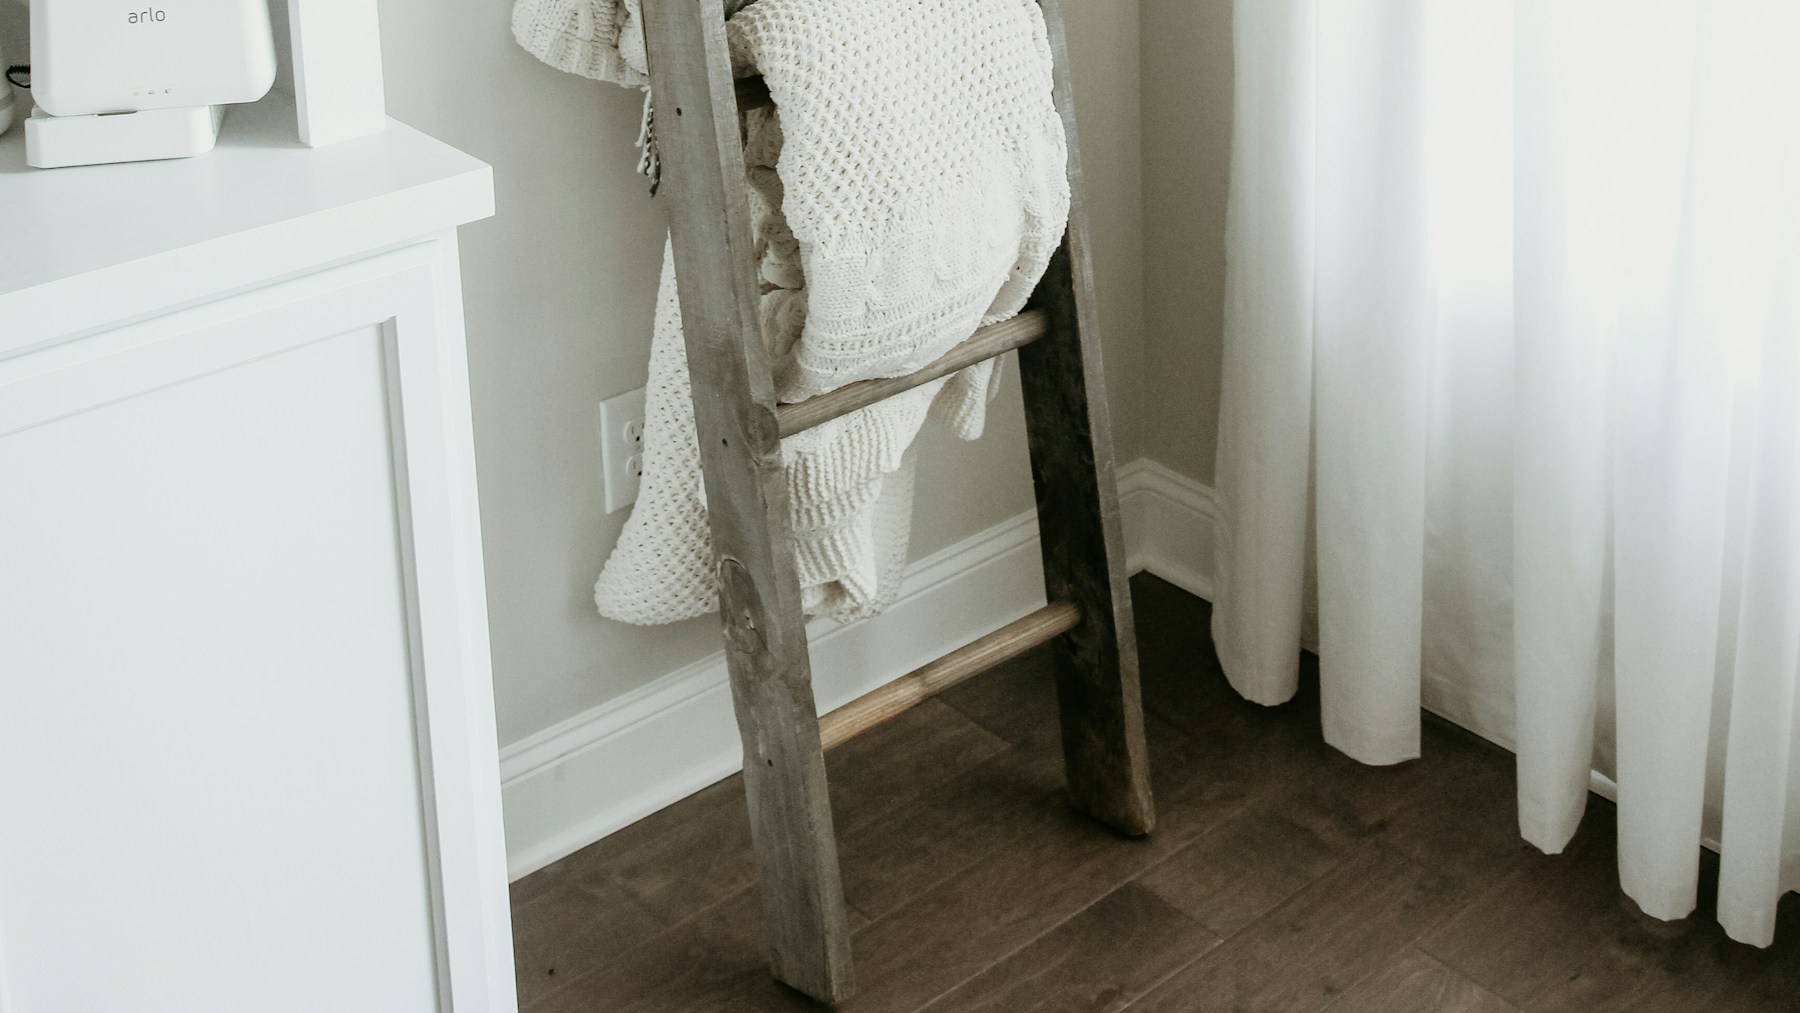
A leaning ladder takes up almost no floor space but holds a pile of scarves, cozy throws and even a spare umbrella. Each rung becomes a hanger you can see at a glance. Make one from two long boards and a few dowels, or rescue an old wooden ladder and give it a good clean. It looks charming all winter. Ask a grown up to help with the drill. Which scarves would go on your top rung?
You will need: Two 1×3 boards about 5 feet long, 4 wooden dowels, wood glue, screws and a drill.
How to make it: 1. Mark rungs every 12 inches on both boards. 2. Drill holes and glue in the dowels. 3. Add screws for strength and lean the ladder against the wall.
Small Entry Shelf With a Mirror
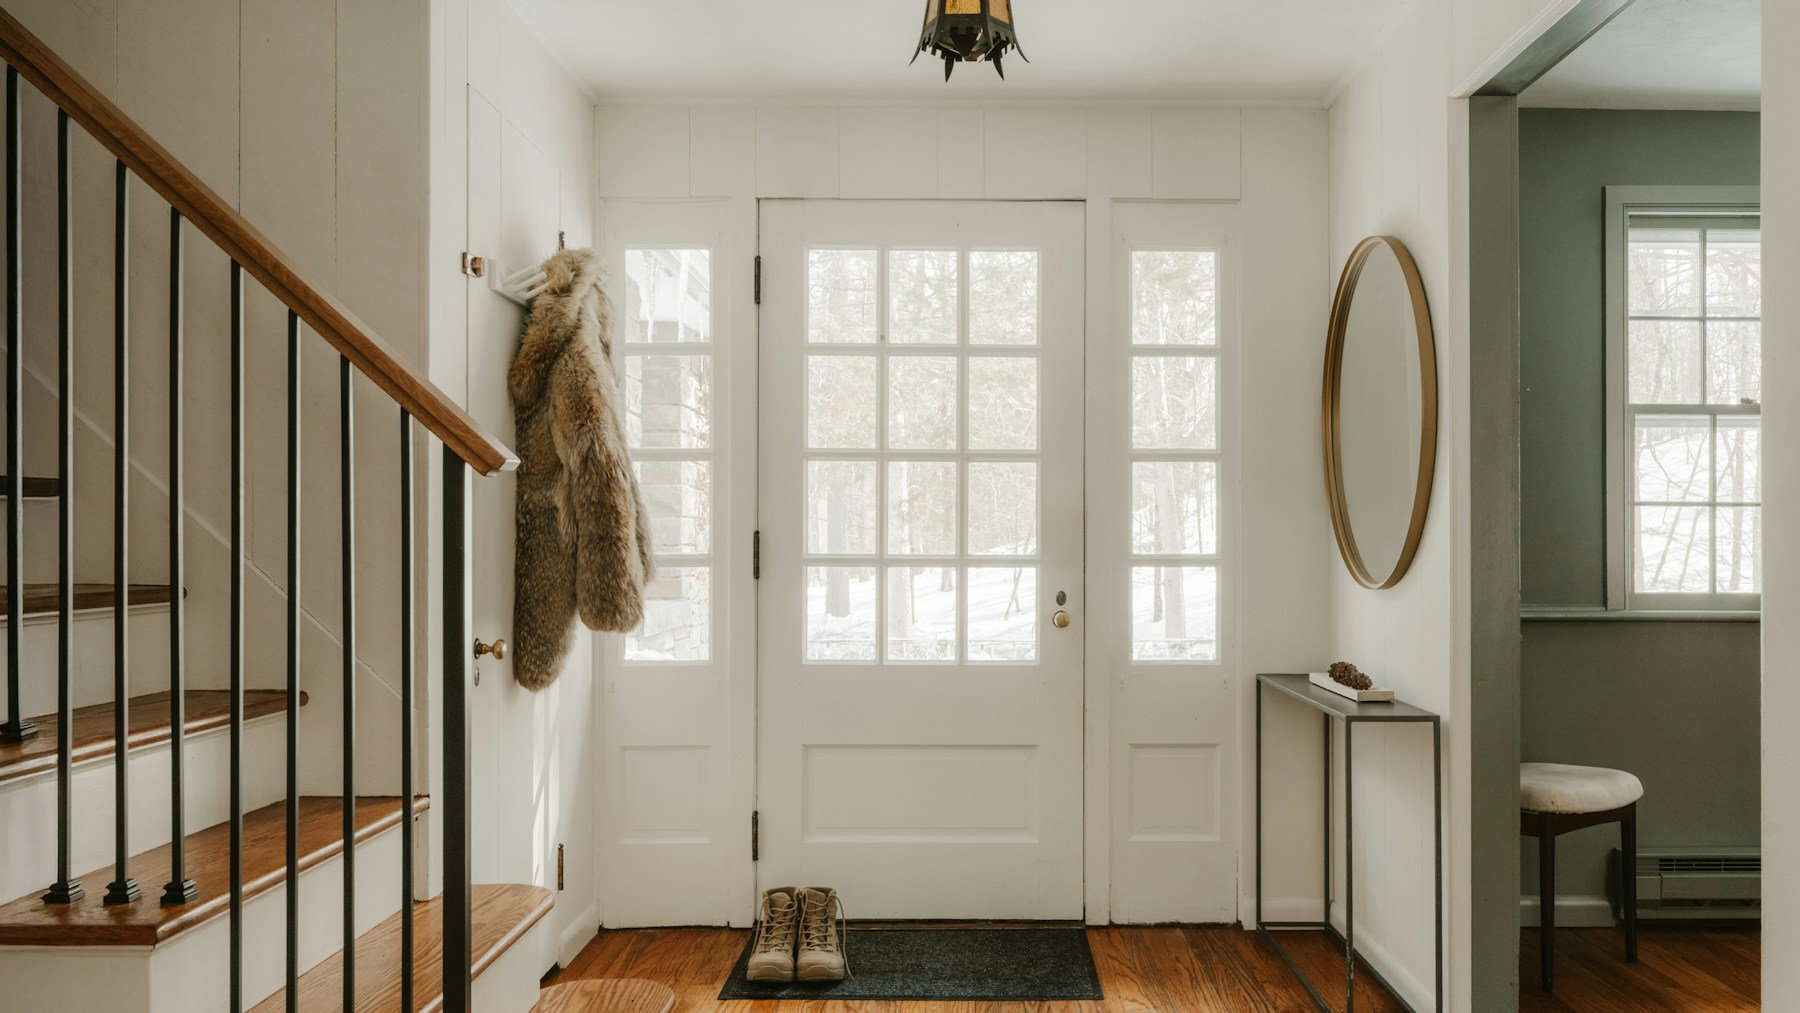
A mirror by the door lets you check for snow in your hair and lipstick on your teeth before you head out. Pair it with a narrow shelf for sunglasses, lip balm and a dish for spare change. A round mirror softens a boxy hallway and bounces winter light around the room. If you want more help keeping the cold out at the same door, read our drafty windows fixes. What would you keep on your shelf?
You will need: A round mirror, a small floating shelf, wall anchors and a level.
How to make it: 1. Hang the mirror at eye level using wall anchors. 2. Mount the shelf about 10 inches below it. 3. Add a small dish for keys and coins.
Knit Spares for the Door Basket
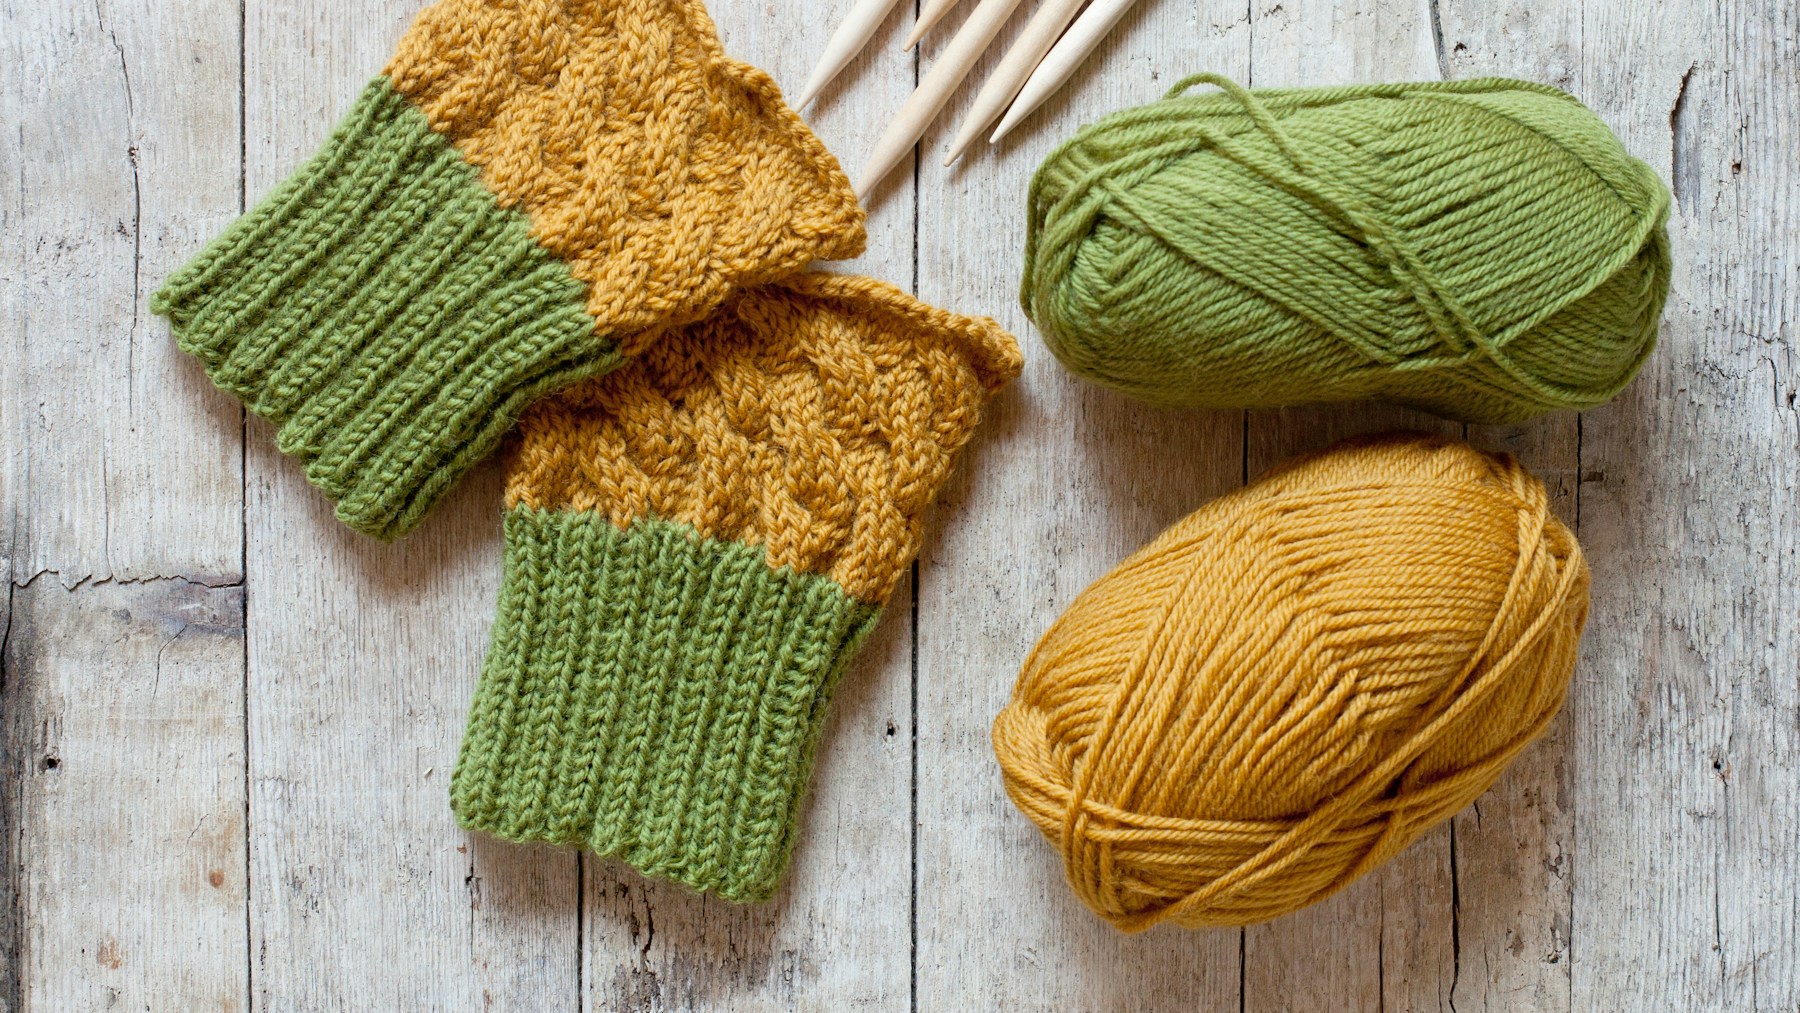
Every family has one person who walks out the door without gloves. Keep a basket of spare knit mitts by the door for them and for guests. Fingerless mitts are a perfect beginner knit and use only a small amount of yarn. Make them in cheerful colors so they are easy to spot. A few evenings of knitting give you a whole basket of warm backups. Who will reach for the spares first?
You will need: Chunky yarn, knitting needles or a crochet hook, scissors and a yarn needle.
How to make it: 1. Knit a simple rectangle about 7 by 8 inches. 2. Fold it and sew the side, leaving a gap for the thumb. 3. Weave in the ends and drop the mitts in the door basket.
Winter Entryway Ideas That End With a Welcome Wreath
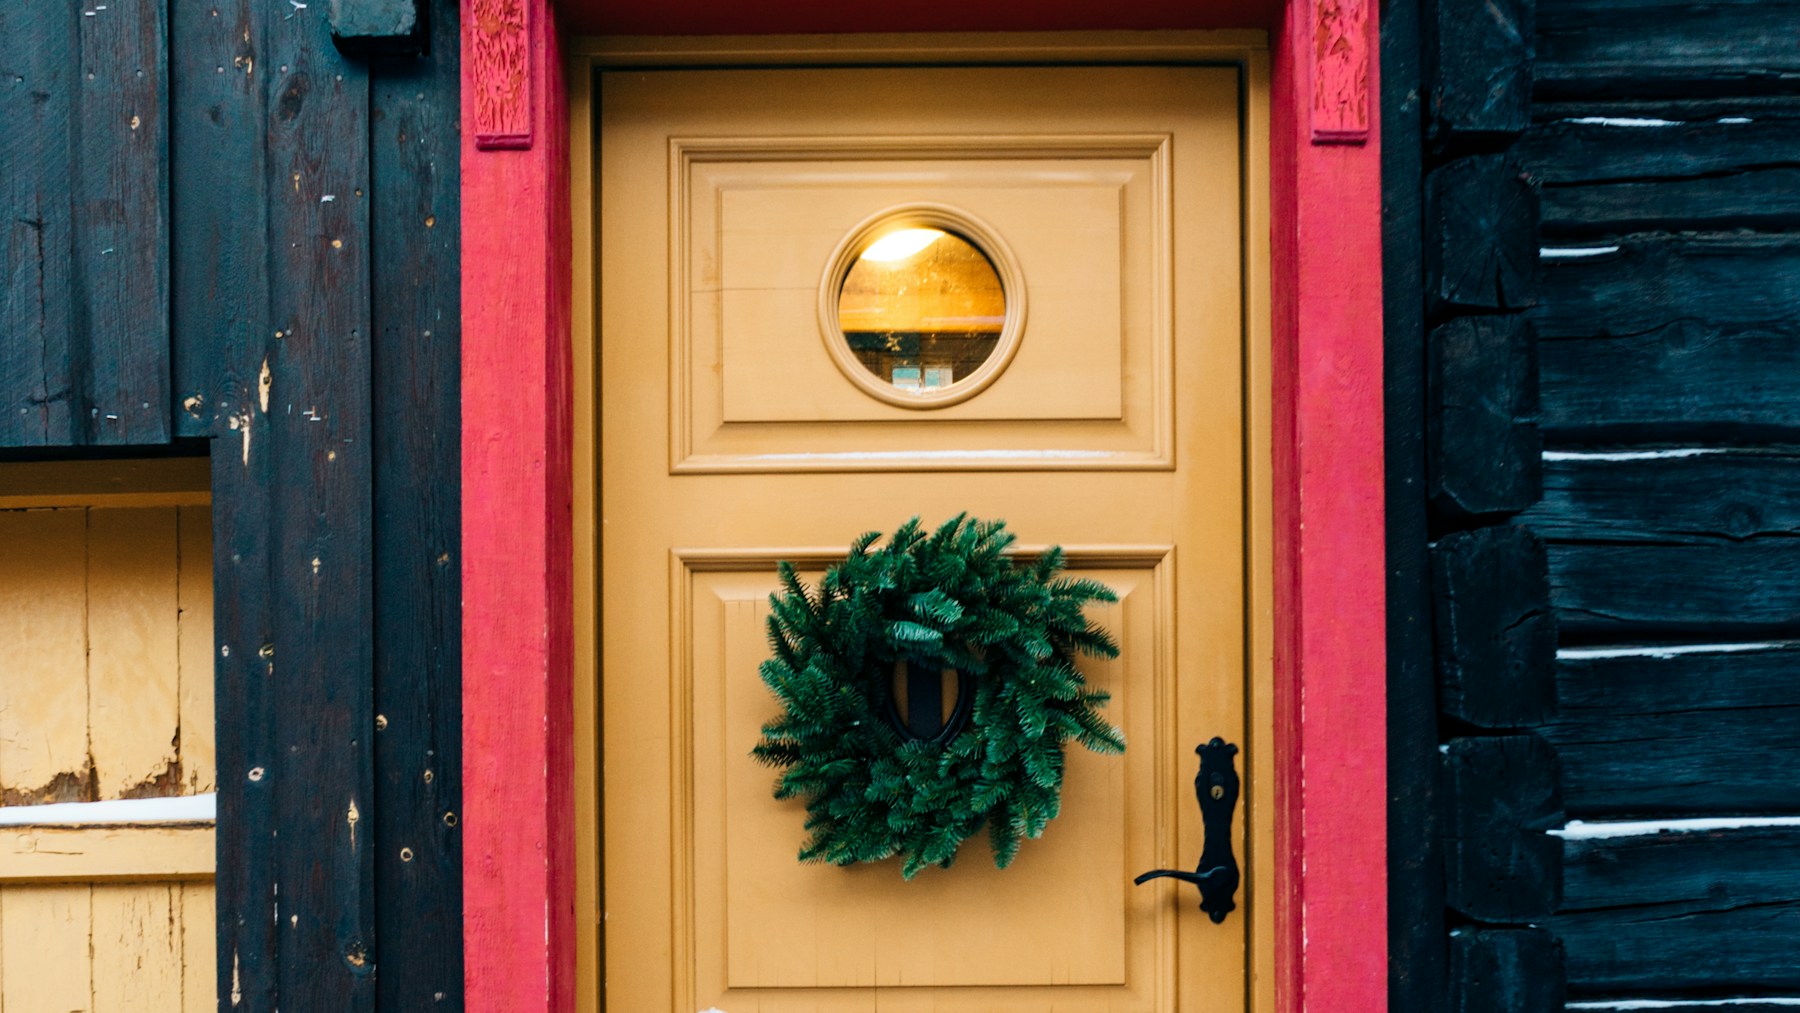
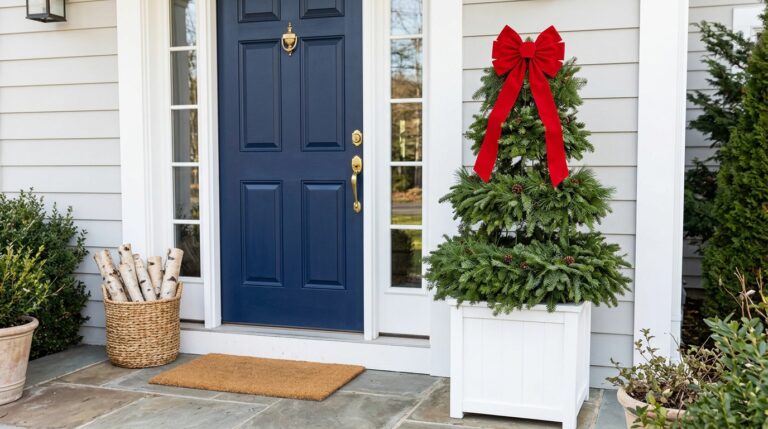
Once the inside is tidy, give the outside a little love too. A simple evergreen wreath says welcome home before you even open the door. Make one from clipped branches wired onto a metal ring, and it will stay fresh and green for weeks in the cold. Skip the bows if you want it to last past the holidays and into late winter. What color is your front door, and what wreath would suit it?
You will need: A metal wreath ring, evergreen branch clippings, floral wire and garden pruners.
How to make it: 1. Cut the branches into 6 inch pieces. 2. Wire small bundles onto the ring, overlapping as you go. 3. Hang it on the door with a wreath hook.