Emily Post Christmas Table: 15 Elegant Setting Tricks That Make a Budget Table Look Expensive
An Emily Post Christmas table is not about fancy china or a big budget. It is about making every guest feel cared for the moment they sit down. Emily Post, born on October 27, 1872, became America’s best known voice on good manners after her etiquette book came out in 1922, and so many of her table rules still make perfect sense today. Forks on the left, knives on the right, glasses in a neat little line. Once you know the simple map, you can dress it up with thrift store finds, ribbon, pine cones and greenery from the yard. The result looks like a hotel dining room, but it costs less than one takeout dinner. Pour a cup of coffee and let us set a table your family will talk about all season..
The Classic Emily Post Christmas Table Map
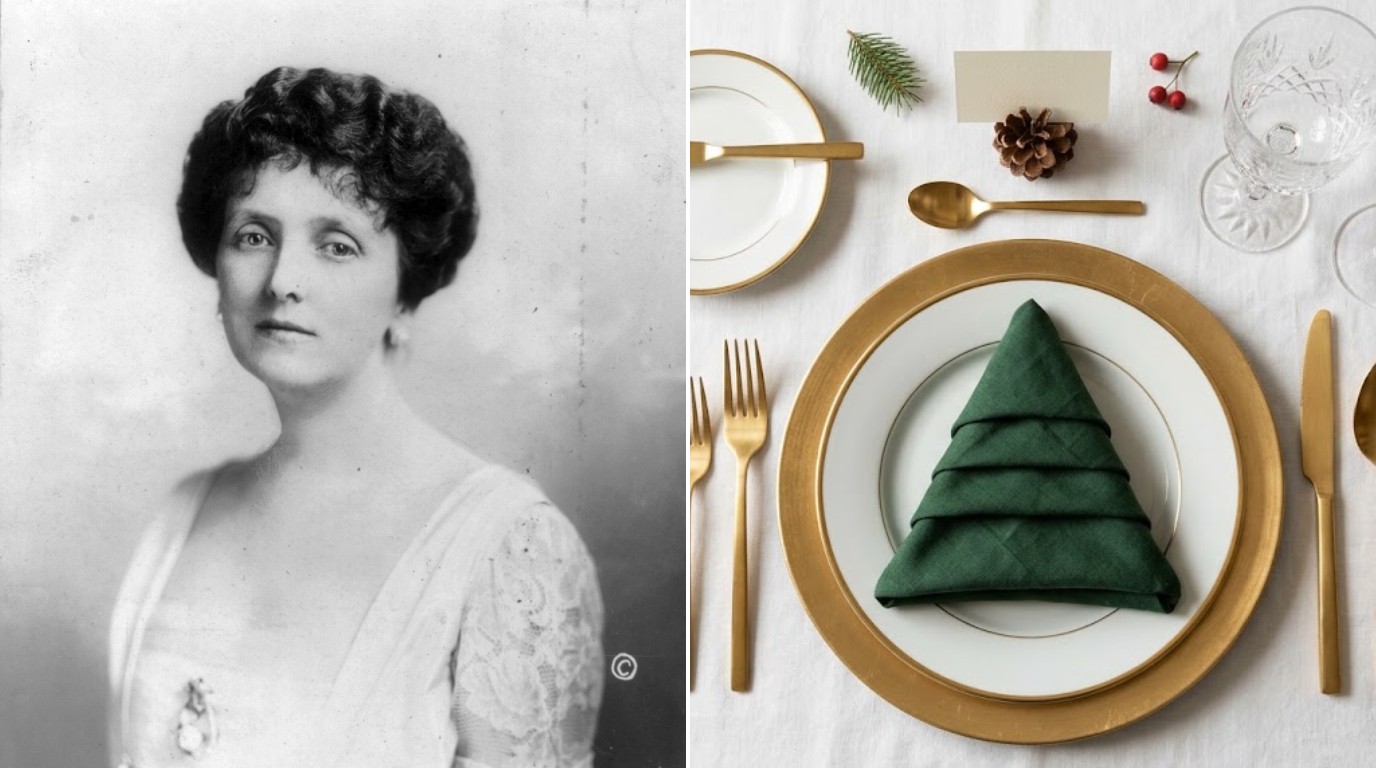
Every Emily Post Christmas table starts with one easy map. The dinner plate sits in the middle, forks go on the left, the knife goes on the right with its blade facing the plate, and the spoon sits just beyond the knife. You only set out the pieces you will actually use, working from the outside in as the courses arrive. That small rule removes so much worry for guests, because nobody has to guess which fork comes first. Once the map is right, everything you add on top simply looks intentional. Ready to sketch your own place setting on a sticky note..
You will need: Dinner plates, forks, knives, spoons, a tablecloth or runner, a sticky note and pencil.
How to make it: 1. Center the dinner plate about one inch from the table edge. 2. Place the forks on the left and the knife and spoon on the right, all lined up at the bottom. 3. Step back, check every seat matches, then add your decorations last.
Gold Chargers for an Emily Post Christmas Table
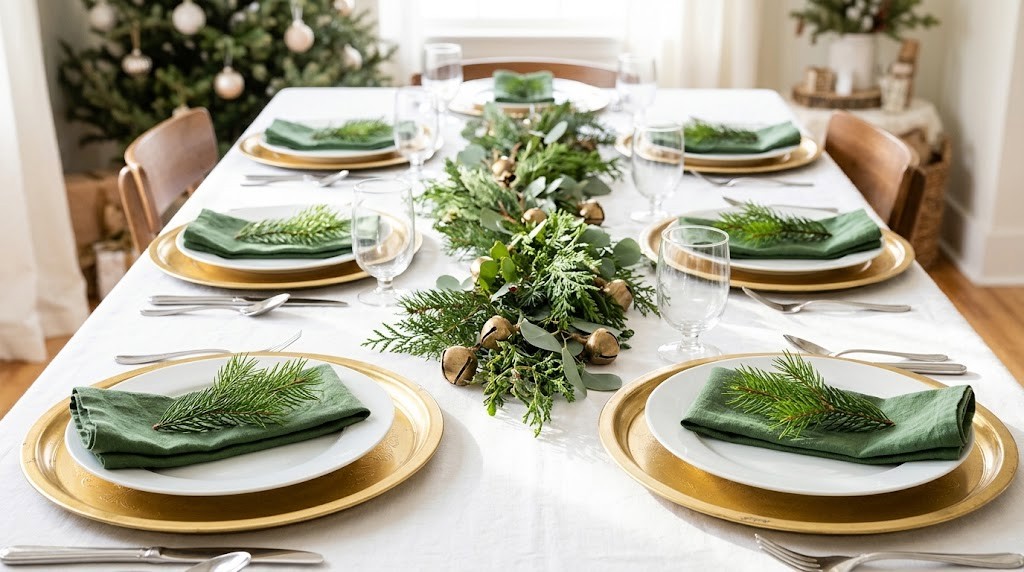
Chargers are the big plates that sit under the dinner plate, and they instantly make an Emily Post Christmas table feel formal. Store bought sets can cost a lot, but round metal or plastic serving trays from the thrift store are often a dollar each. A coat of gold spray paint on the bottom side turns a mismatched stack into a shiny matching set. Since the food sits on your dinner plate, the charger stays purely decorative. Have you seen a pile of old trays at your local thrift shop lately?
You will need: Round thrifted trays the same size, gold spray paint, drop cloth, felt dots, outdoor space with good air flow.
How to make it: 1. Wash and dry the trays, then lay them face down on a drop cloth outside. 2. Spray two light coats of gold paint, letting each coat dry fully. 3. Stick felt dots on the painted side so they never scratch your table, then set them under each dinner plate.
Velvet Ribbon Napkin Rings
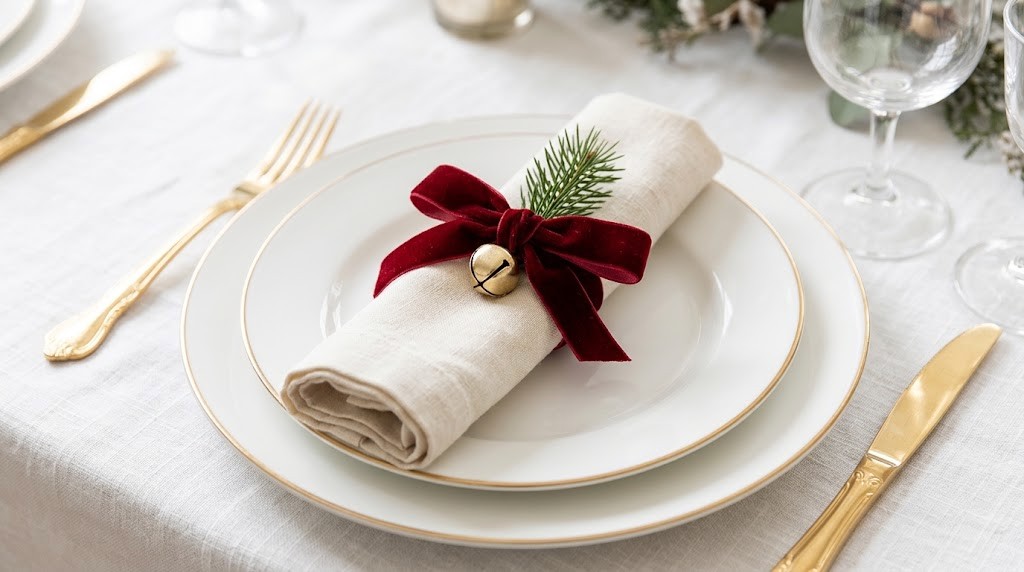
Napkin rings can add up fast when you have twelve guests, but a spool of velvet ribbon handles the whole table for a few dollars. Roll each cloth napkin, tie a soft bow and slip a sprig of pine or rosemary under the knot. A tiny jingle bell threaded on the ribbon makes a sweet sound when guests unroll it. Velvet catches the light and looks rich next to white plates. Which ribbon color would match your tree this year?
You will need: Cloth napkins, velvet ribbon about one inch wide, small jingle bells, sharp scissors, pine or rosemary sprigs.
How to make it: 1. Roll each napkin into a tight tube. 2. Cut 20 inches of ribbon, thread a bell on it and wrap it around the middle. 3. Tie a bow, tuck in a sprig of greenery and trim the ribbon ends at an angle.
Emily Post Christmas Table Place Cards on Pine Cones
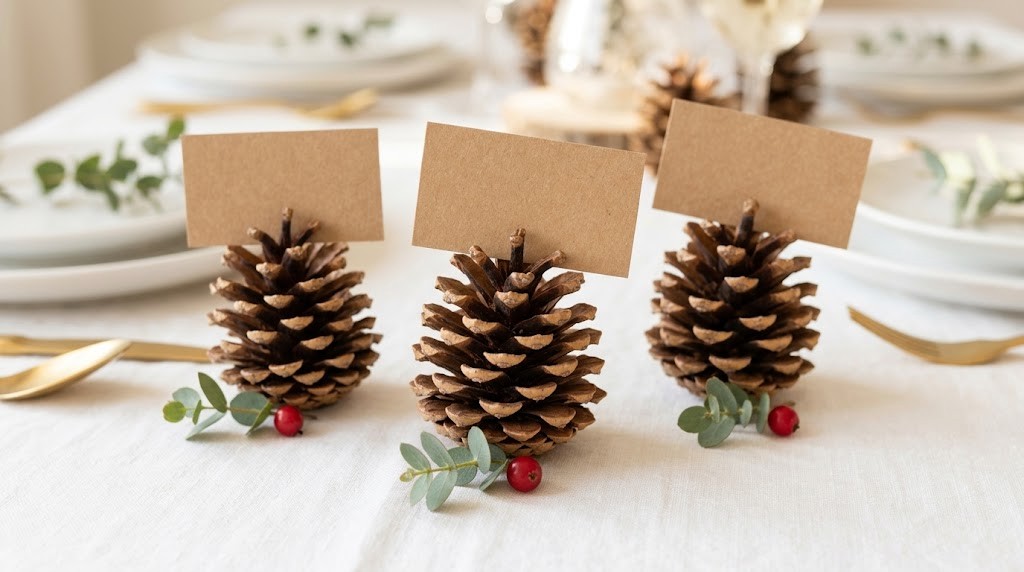
Place cards were a favorite tool of good hostesses, because they quietly solve the awkward moment of where to sit. For an Emily Post Christmas table, free pine cones from the yard make perfect card holders. Their scales grip a small card without any glue, and they look like they came from a fancy catalog. Write each name by hand, because a handwritten card says you thought about that person. You could even seat chatty cousins together on purpose. Who will you put next to Grandma?
You will need: Pine cones that stand up flat, kraft paper or card stock, a fine marker, small sprigs of eucalyptus, a baking sheet.
How to make it: 1. Bake the pine cones at a low 200 degrees for about 30 minutes to dry them out, with an adult watching. 2. Cut cards about 2 by 3 inches and write each name neatly. 3. Slide each card between the top scales and set one above every plate.
A Mini Wreath Around Each Plate
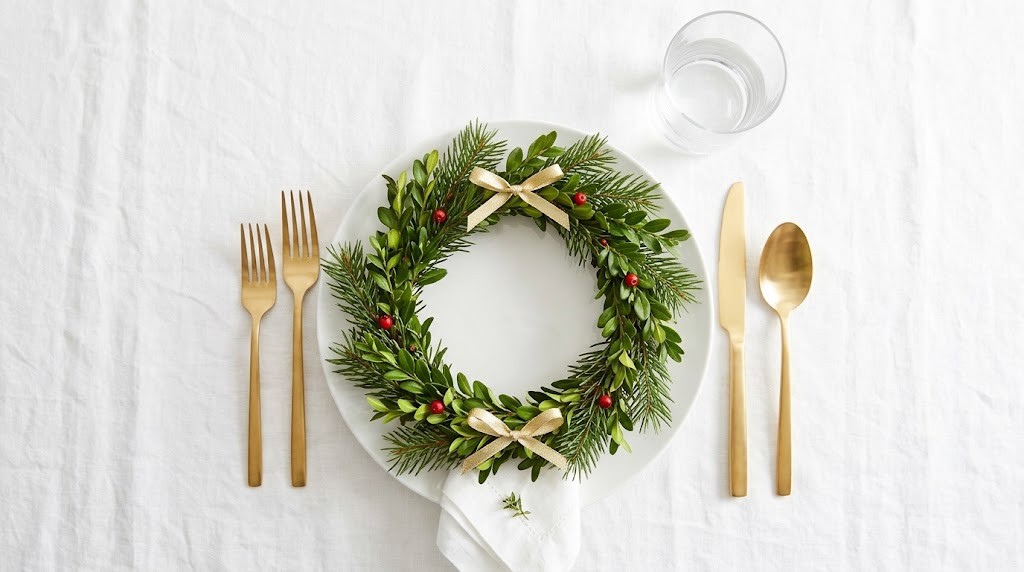
This idea makes guests stop and smile before they even sit down. A small wreath of boxwood and pine, made on a thin wire ring, frames each dinner plate like a green halo. You can buy cheap rings at the craft store or bend a wire hanger into a circle. The greenery stays fresh for days if you mist it, and every guest can take theirs home as a door wreath afterward. It is a gift and a decoration in one. Could you make a few of these on a quiet evening this week?
You will need: Thin wire wreath rings or wire hangers, florist wire, boxwood and pine clippings, small ribbon bows, garden snips.
How to make it: 1. Lay small bundles of greenery on the ring and wrap each bundle with florist wire. 2. Overlap the bundles all the way around so the wire is hidden. 3. Add a tiny bow, mist with water, and set each wreath around a plate.
Keep Your Emily Post Christmas Table Centerpiece Low
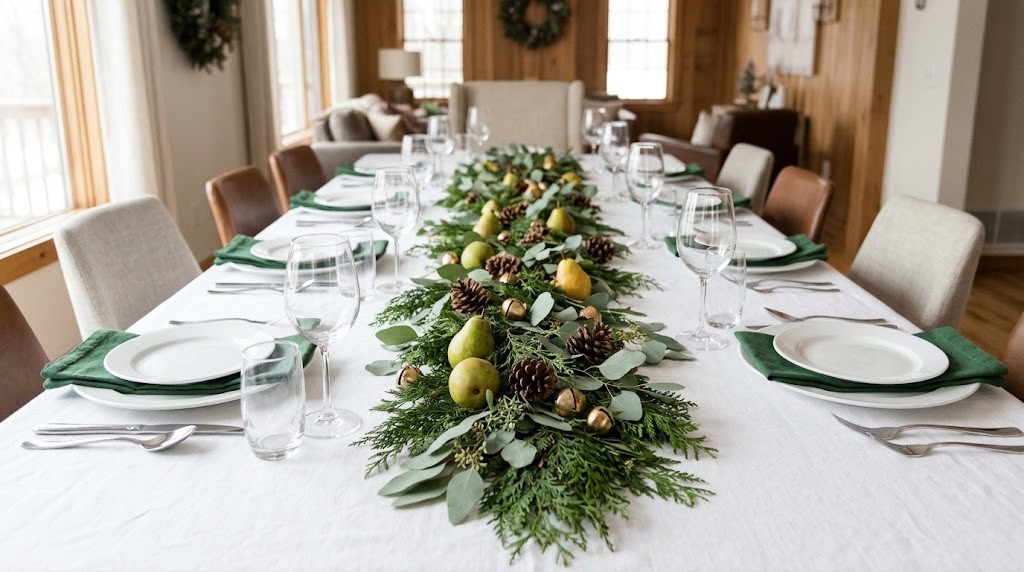
One of the smartest Emily Post Christmas table lessons is about height. A tall arrangement looks lovely in photos, but it blocks faces and makes people lean around it to chat. Keep your centerpiece low, below chin height when seated, so the conversation can flow across the table. A runner of cedar and eucalyptus with green pears, pine cones and brass bells costs very little and smells wonderful. Add battery fairy lights tucked into the greens if you want a soft glow. What could you clip from your own yard for this?
You will need: Cedar and eucalyptus branches, small pears, pine cones, brass bells, battery fairy lights (optional), garden snips.
How to make it: 1. Lay the longest branches down the middle of the table, overlapping the ends. 2. Tuck in pears, pine cones and bells in small groups. 3. Weave battery lights through the greens and keep everything under about ten inches tall.
Glasses Go Above the Knife

Here is the trick that ends the right or left glass mix up forever on an Emily Post Christmas table. Glasses always sit on the right, just above the knife, with the water glass closest to the plate and any other glass set slightly to its right. A quick way to remember it: drinks on the right, bread on the left, which is also why your left hand makes a small b and your right hand makes a small d when you touch thumb to finger. Kids love learning that one. Will you teach it at the table this year?
You will need: Water glasses, extra glasses for juice or cider, a soft cloth for polishing.
How to make it: 1. Place the water glass just above the tip of the knife. 2. Set any second glass a little to the right and slightly higher. 3. Polish each glass with a dry soft cloth so no spots show in photos.
The Bread Plate Belongs on the Left
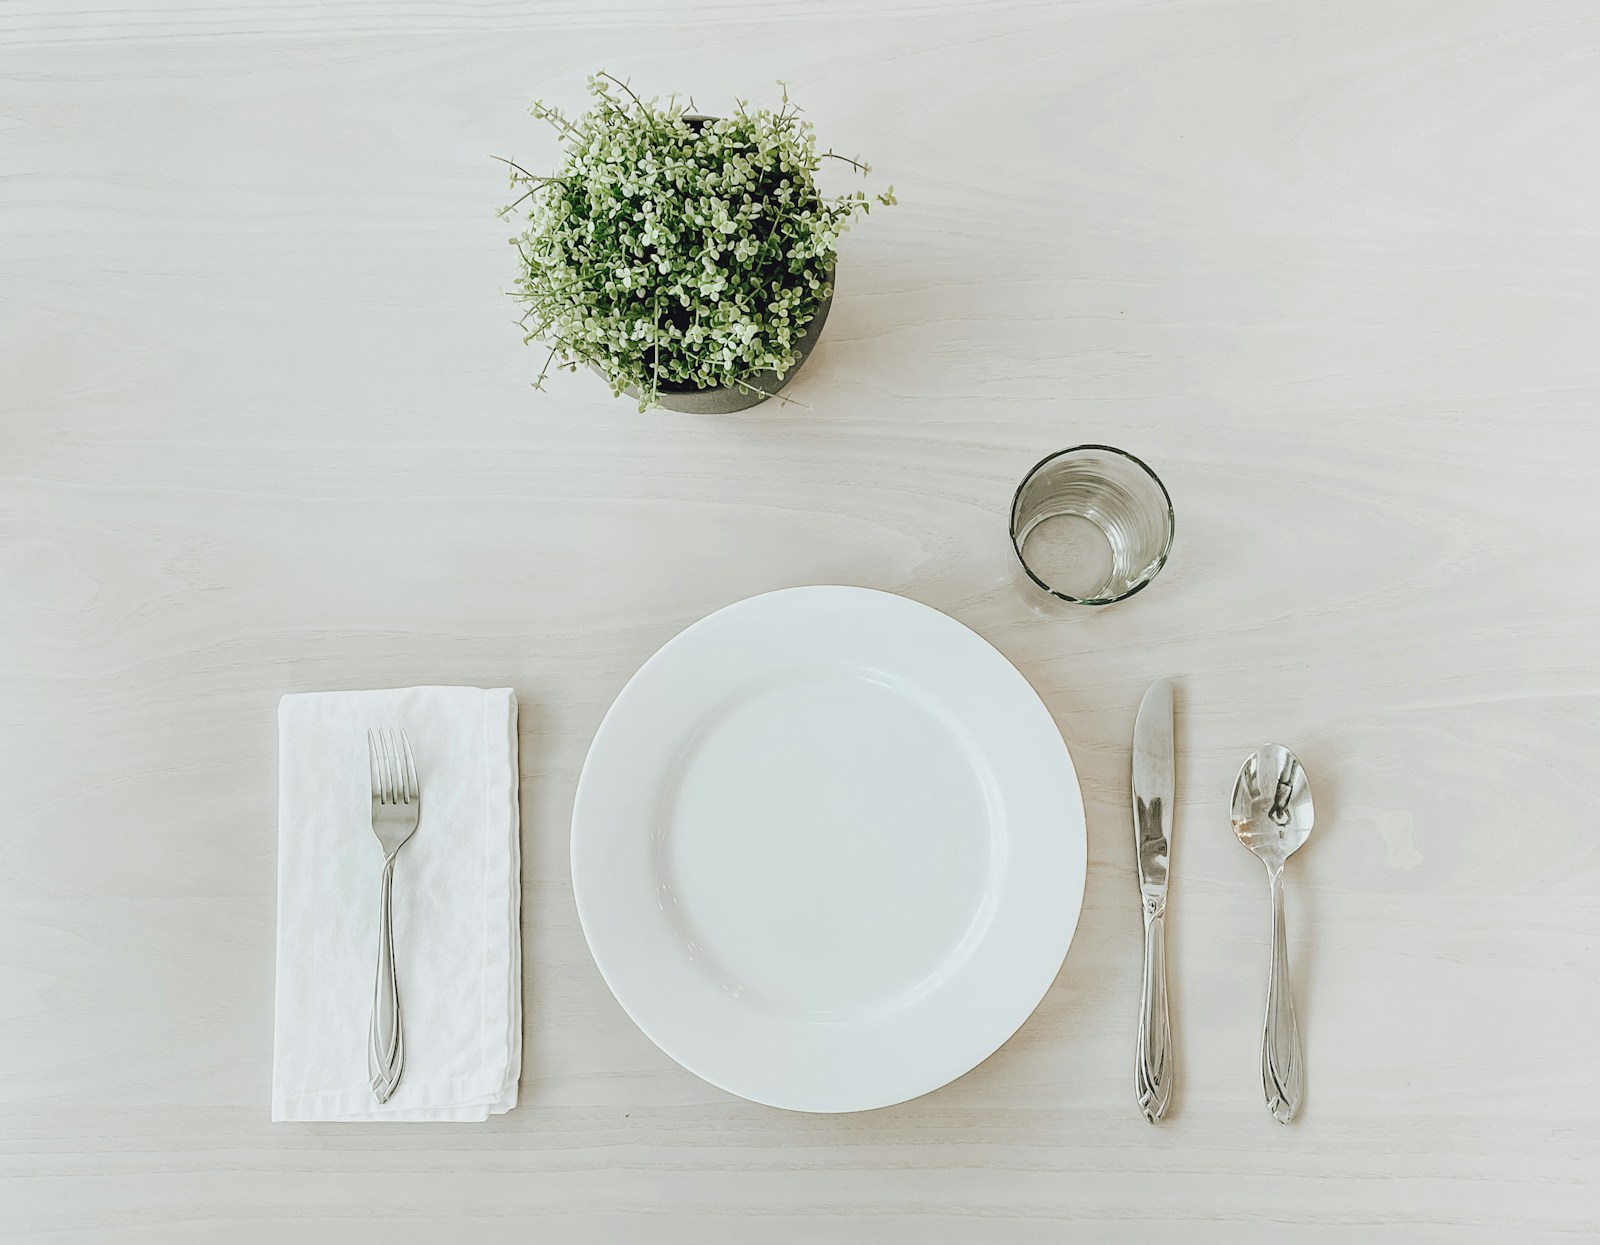
A small bread plate on the upper left is one of those details that quietly makes an Emily Post Christmas table look polished. Lay a little butter knife across its top edge, and guests never have to reach for the basket with sticky fingers. If you do not own matching bread plates, small saucers from the thrift store work beautifully, and mixed patterns look charming instead of messy. Is your cupboard hiding a stack of saucers you forgot about?
You will need: Small bread plates or saucers, butter knives, a bread basket, a cloth napkin to line it.
How to make it: 1. Set the bread plate above the forks on the left side. 2. Lay a butter knife across the top of the plate with the blade facing down. 3. Line the basket with a napkin and place it where guests can pass it easily.
A Simple Napkin Fold Anyone Can Do
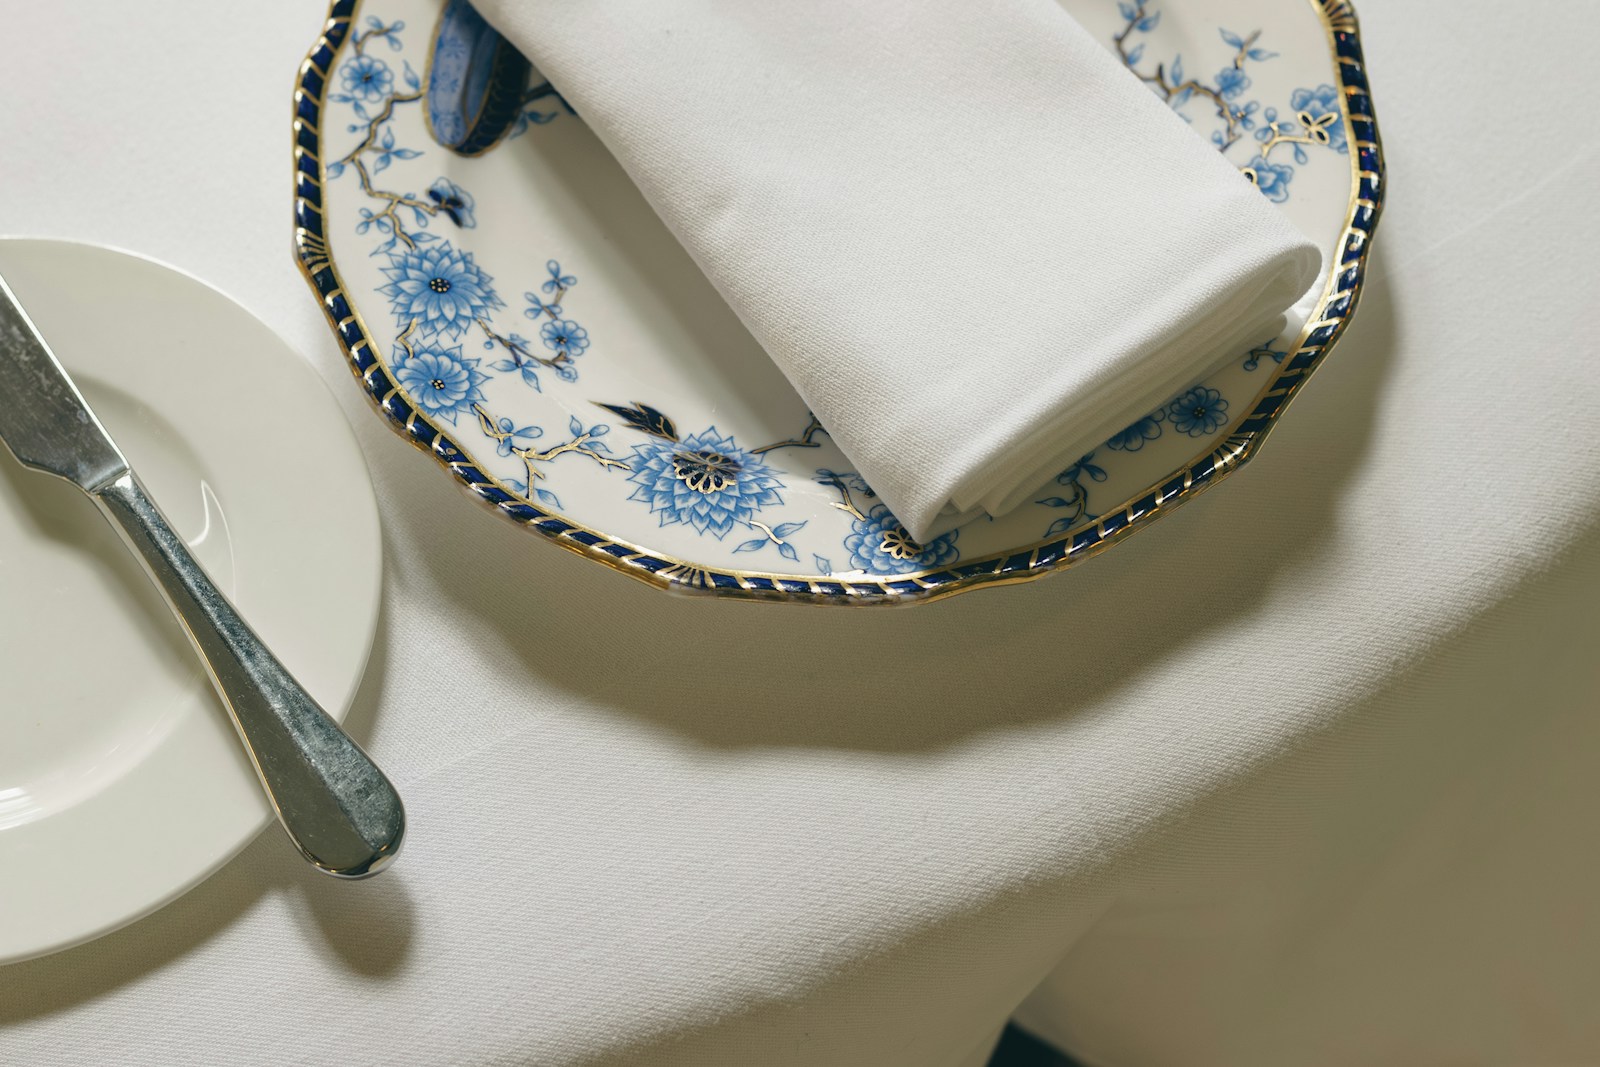
Fancy napkin origami is fun, but a neat rectangle fold laid across the plate looks just as classy and takes seconds. The secret is a crisp, ironed napkin with sharp edges. White cloth napkins from the dollar store pair with any plate pattern, including Grandma’s floral china, and they wash up like new every year. Fold them the night before and stack them, so table setting is quick on the big day. How many napkins will you need for your crowd?
You will need: Cloth napkins, an iron, a spray bottle of water, a flat surface.
How to make it: 1. Iron the napkin flat while it is slightly damp. 2. Fold it in half, then in thirds to make a long rectangle. 3. Press the edges and lay it across the plate or to the left of the forks.
Salt and Pepper Within Easy Reach
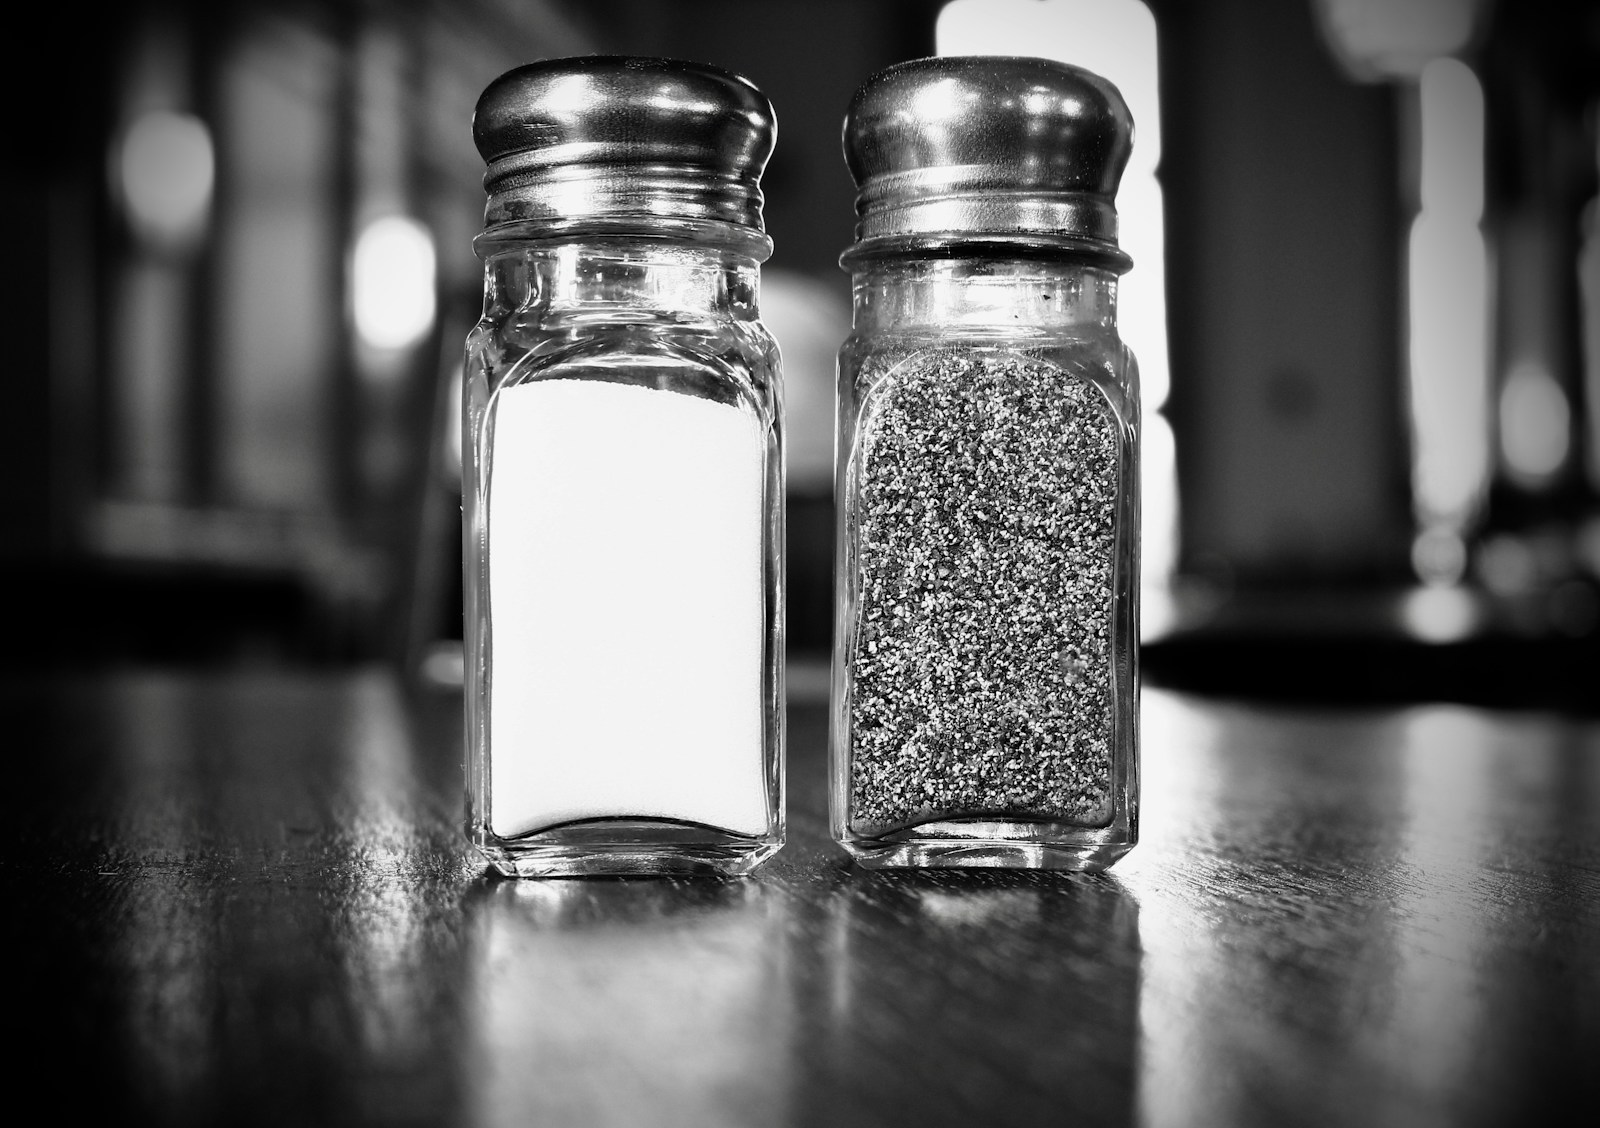
A gracious Emily Post Christmas table never makes guests ask twice for the salt. Set one pair of shakers for every four to six people, so nobody has to stretch across a neighbor. Mismatched vintage shakers from yard sales add a playful touch, and plain glass ones can be dressed up with a tiny ribbon around the neck. It feels small, but it keeps the meal relaxed and the conversation going. Do you have a fun pair hiding in the back of a cabinet?
You will need: Several pairs of salt and pepper shakers, thin ribbon, scissors, a funnel for refilling.
How to make it: 1. Count your guests and plan one pair for every four to six seats. 2. Refill each pair the day before and wipe the outsides. 3. Tie a short ribbon bow on each and spread them evenly down the table.
The Tablecloth Drop Length Trick
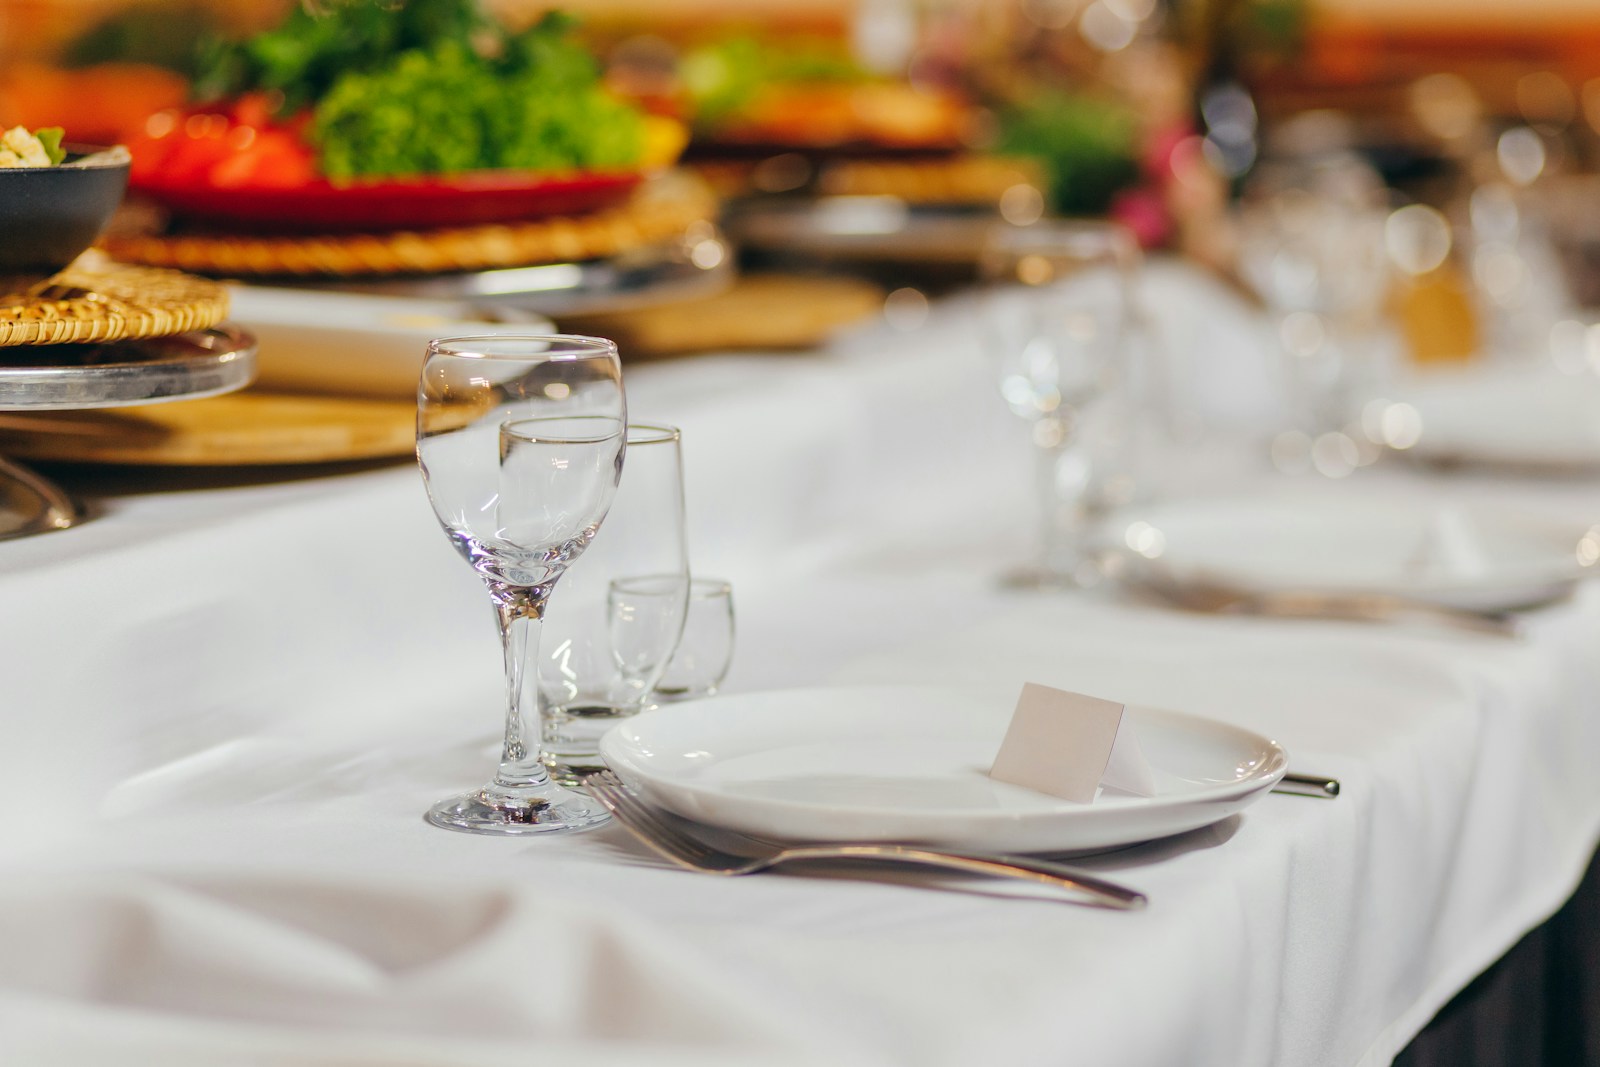
Why do some tables look like a restaurant and others look homemade? Often it is the tablecloth length. A cloth that hangs about 8 to 12 inches over each edge looks generous and finished, while a short one looks like it shrank in the wash. Measure your table, add twice your drop, and you have the perfect size. A plain white cloth is the most flexible choice, since it works with every color you add. Have you measured your table before?
You will need: Measuring tape, a white or cream tablecloth, an iron, a table pad (optional).
How to make it: 1. Measure the length and width of your table. 2. Add 16 to 24 inches to each number for an 8 to 12 inch drop on every side. 3. Iron the cloth on the table so the creases disappear.
Emily Post Christmas Table Favors Guests Take Home
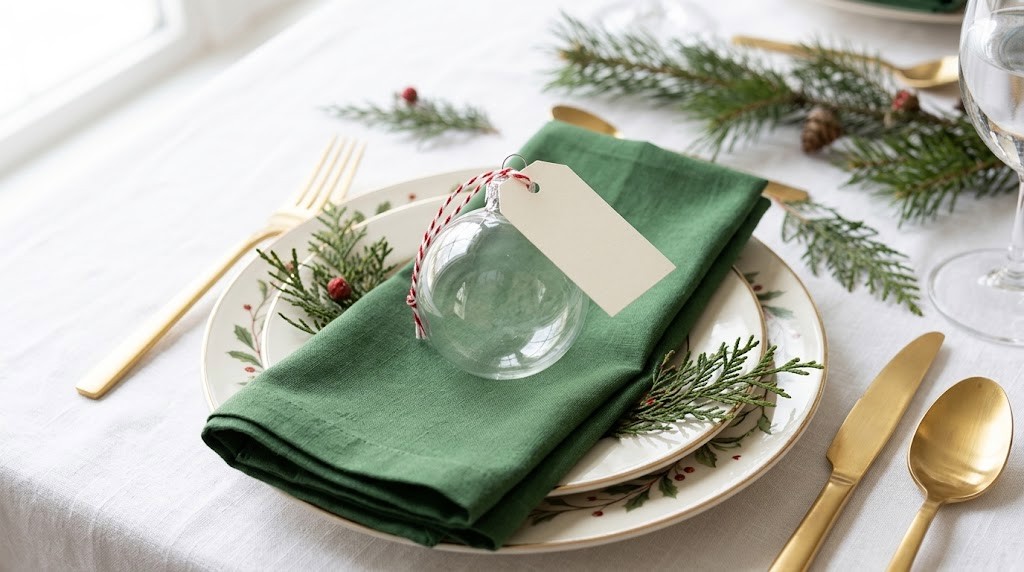
Here is a sweet twist that doubles as a thank you gift. Instead of a paper card, rest a clear glass ornament on each napkin with a small tag that carries the guest’s name. At the end of the night, everyone takes their ornament home for their own tree. You can fill the ornaments with a pinch of fake snow, a sprig of dried lavender, or a tiny rolled note. Years later, people will still hang it and remember your Emily Post Christmas table. What would you tuck inside?
You will need: Clear plastic or glass fillable ornaments, paper tags, bakers twine, a fine marker, small fillers like fake snow.
How to make it: 1. Remove the ornament caps and add your filler, then replace the caps. 2. Write each name on a tag and tie it to the hanger loop with twine. 3. Set one ornament on each folded napkin.
A Kids Table That Feels Special
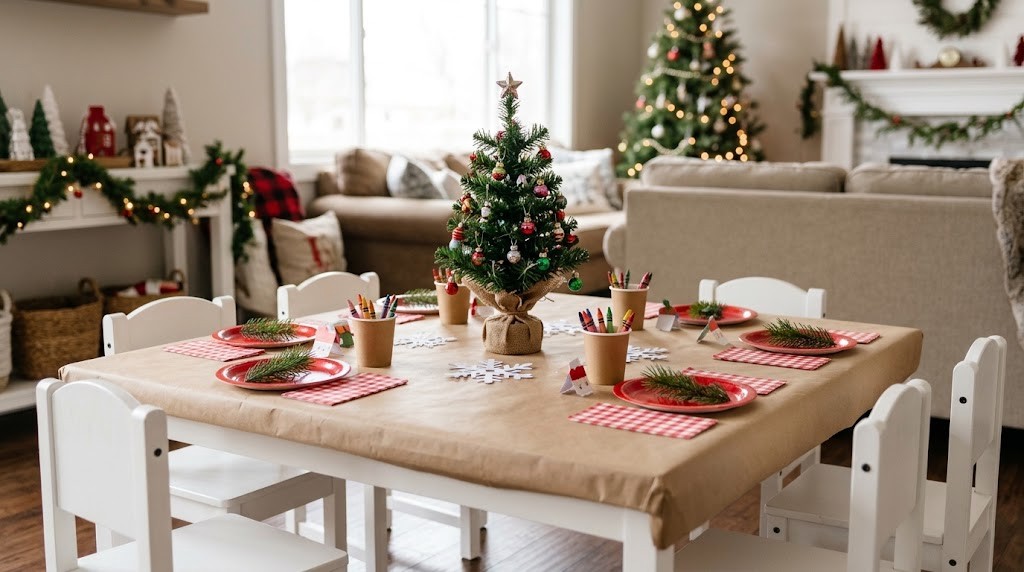
Children notice when the grown up table is pretty and theirs is not. Give them a table of their own that feels just as festive. Roll brown kraft paper over the top as a tablecloth, set out cups of crayons, and let them draw while they wait for dinner. Paper snowflakes, checked napkins and a little tree in the center make it feel like a party. Kids eat happily, and the adults get a calm meal too. Would your kids rather sit here than with the grown ups?
You will need: A roll of kraft paper, tape, small cups, crayons, checked paper or cloth napkins, a mini tree, paper snowflakes.
How to make it: 1. Roll kraft paper over the table and tape it underneath. 2. Place a cup of crayons between every two seats. 3. Add napkins, snowflakes and a small tree in the middle.
Buffet Style for a Small Space
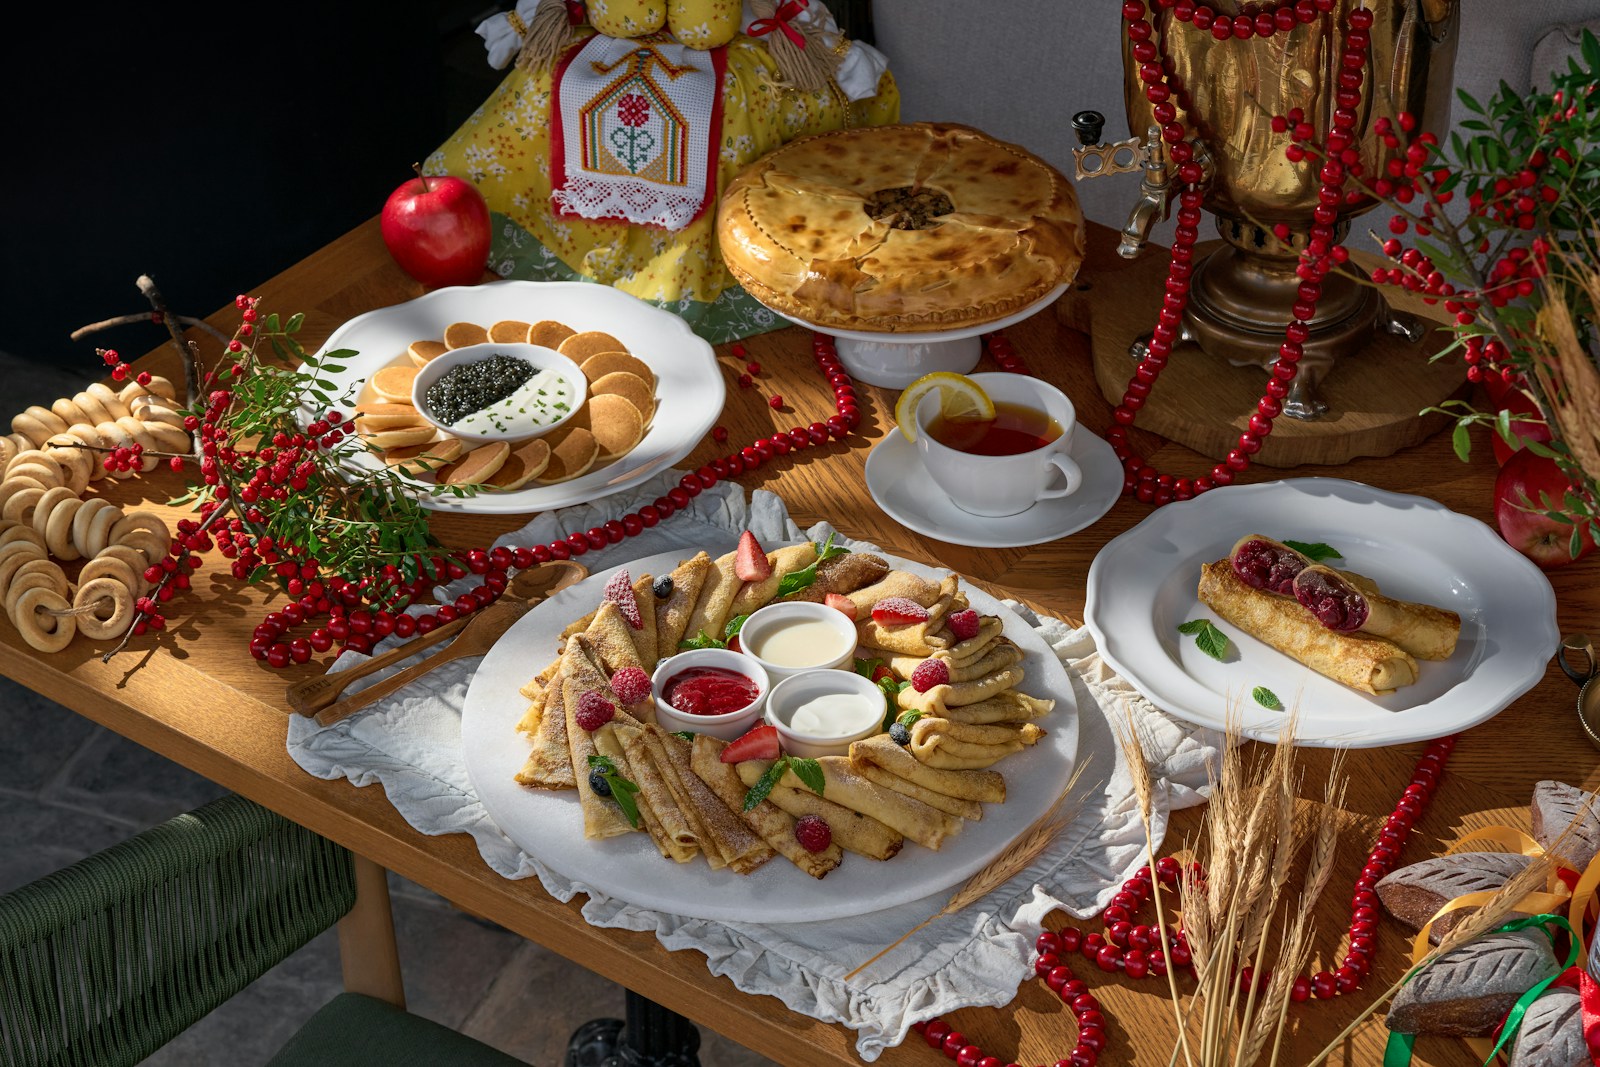
Not every home has room for a long sit down dinner, and that is perfectly fine. A buffet lets guests serve themselves from a side table or kitchen island, and you keep the dining table free for plates and glasses. Set the line in a logical order: plates first, then main dishes, sides, bread and finally napkins and cutlery wrapped together at the end. Guests never juggle a fork while holding a full plate. For more cozy hosting ideas, browse these Christmas table ideas you can DIY on a budget. Where could your buffet line go?
You will need: A side table or counter, a tablecloth, risers like upturned bowls, serving spoons, napkins rolled with cutlery.
How to make it: 1. Stack plates at the start of the line. 2. Arrange dishes from mains to sides, using upturned bowls under a cloth to add height. 3. Put rolled napkins with cutlery at the very end.
Iron Linens With a Damp Towel
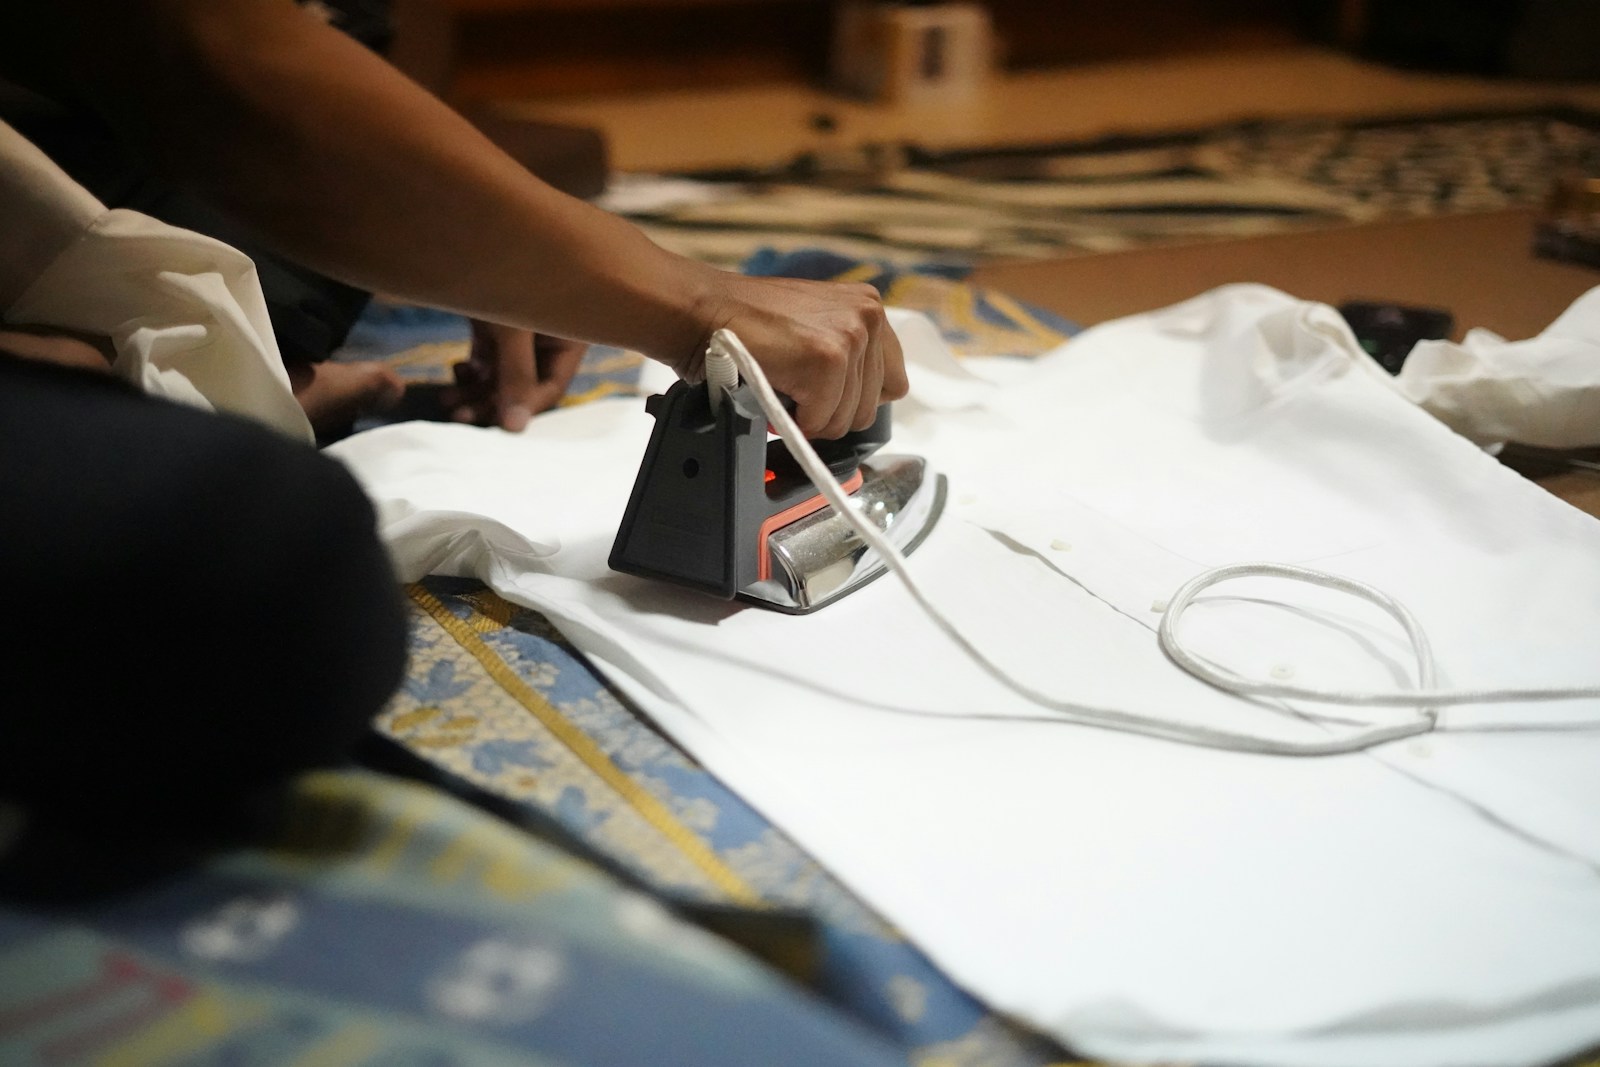
Wrinkled linens are the one thing that can make an elegant table look rushed. An old pressing trick fixes stubborn creases fast: lay a damp kitchen towel over the cloth and press with a hot iron. The steam relaxes the fibers and leaves a smooth finish without shine marks. Hang the tablecloth on a hanger or roll it around a tube until dinner. The story of Emily Post shows she cared about calm, prepared hosting, and this is that idea in action. Will you press your linens the day before?
You will need: An iron, an ironing board, a clean damp kitchen towel, a hanger or cardboard tube.
How to make it: 1. Set the iron to the setting for your fabric. 2. Lay the damp towel over a section of the cloth and press firmly, then lift and move on. 3. Hang or roll the finished linens so they stay smooth.