Countertop Makeover Ideas: 12 Cheap Fixes That Make Old Counters Look Like Real Stone Before the Holidays
Countertop Makeover Ideas are a lifesaver when your kitchen counters look tired but new stone would cost thousands. Have you ever priced granite or quartz and felt your heart sink? You are not alone. One YouTube video, Don’t Buy New Countertops. Do This And Save Thousands!, has been watched about 1.8 million times, and similar how-to videos have pulled in tens of millions more. The best part is that most of these fixes cost $30 to $300 and fit into a weekend, just in time for holiday guests. Below are 12 countertop makeover ideas, each with a short supply list and simple steps. Always open the windows, wear gloves and follow the kit label..
Countertop Makeover Ideas Start With Faux Marble Paint and Epoxy
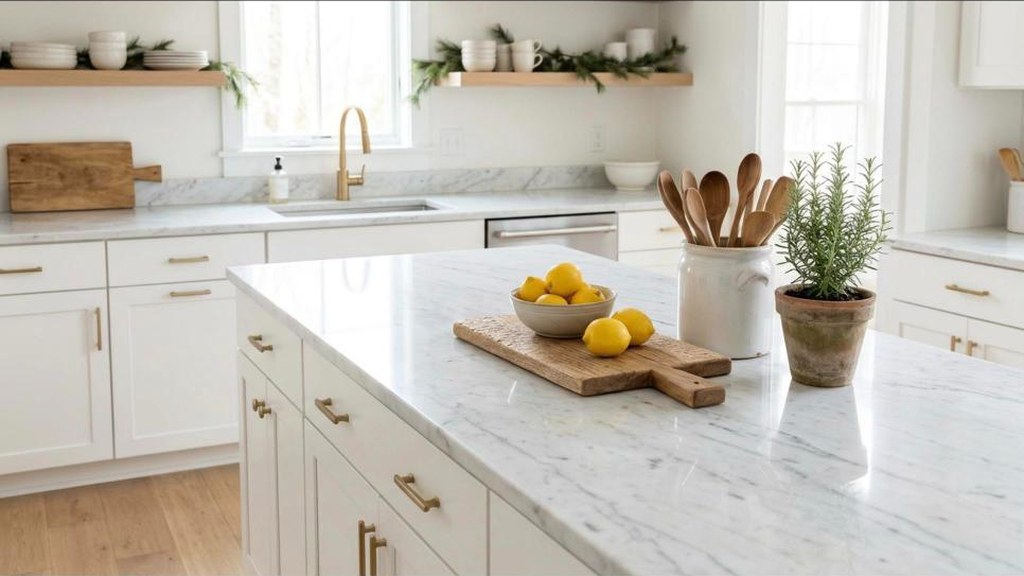
This is the look that went viral, and it is easy to see why. A plain laminate or tile counter gets a coat of bonding primer, then white paint, then soft gray veins drawn with a feather or a small artist brush. Clear countertop epoxy on top makes it glossy, tough and wipeable, just like polished stone. Look at a photo of real Carrara marble while you paint, since real veins wander and fade instead of running straight. Practice on a piece of cardboard first. A full kitchen usually costs $150 to $300 in supplies, compared with thousands for real marble. Plan for a few days without the counter while the epoxy cures. Would anyone guess it is paint..
You will need: Sandpaper, degreaser, bonding primer, white and gray paint, a feather or fine brush, a countertop epoxy kit, gloves, painter’s tape.
How to make it: 1. Clean, sand and prime the counter, then paint it white. 2. Drag soft gray veins with a feather and blend them with a dry brush. 3. Pour and spread the epoxy as the kit directs and let it cure fully.
Granite Look Countertop Paint Kits
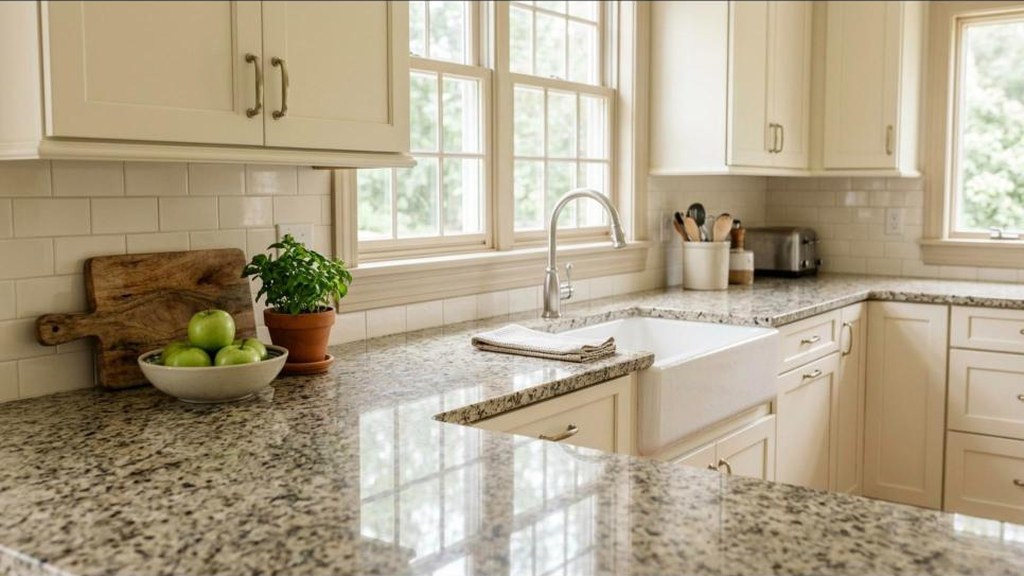
Of all the countertop makeover ideas, a boxed refinishing kit is the easiest way to get a stone look without any art skills. These kits come with a base coat, decorative chips or speckle paint and a clear topcoat, and they work on laminate, cultured marble and many old tile counters. Most cost $100 to $250 for an average kitchen. The process is mostly cleaning, sanding and rolling. Tape off the walls and sink, open the windows and follow the label exactly, since each brand has its own drying times. The finished speckled granite look hides crumbs and wear really well. It is a weekend project that makes an older kitchen feel brand new. Ready to tape off?
You will need: A countertop refinishing kit, a small foam roller, sandpaper, degreaser, painter’s tape, plastic sheeting, gloves.
How to make it: 1. Clean and sand the counters, then tape and cover everything nearby. 2. Roll on the base coat and add the speckle layer as directed. 3. Finish with the clear topcoat and wait the full cure time.
Countertop Makeover Ideas for Renters: Marble Contact Paper
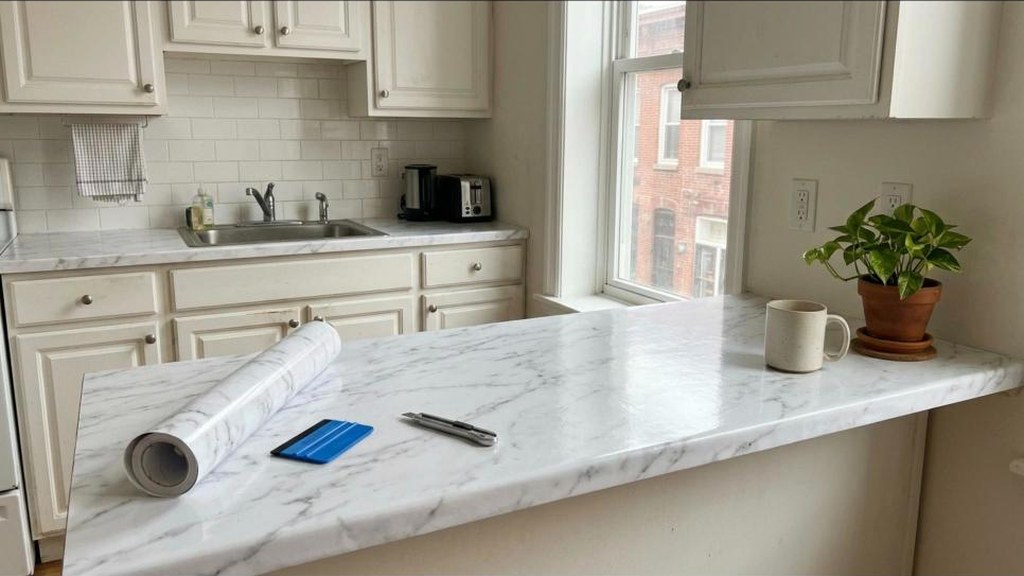
Renting does not mean you are stuck with ugly counters. Peel and stick marble film is a no damage change you can remove when you move. Thicker, heavier films look the most real and last the longest, so it is worth paying a little more. Clean the counters well, then work in small sections, smoothing the film with a squeegee as you peel the backing away. A hair dryer on low warms the film so it wraps neatly around rounded edges. Trim the extra with a sharp craft knife. A whole kitchen often costs under $60. It will not stand up to hot pans, so keep trivets handy. Is your landlord going to be jealous?
You will need: Thick marble contact paper, a squeegee, a craft knife, a hair dryer, a measuring tape, degreaser.
How to make it: 1. Clean the counter and cut film a few inches longer than each section. 2. Peel a little backing at a time and smooth with a squeegee. 3. Warm the edges with a hair dryer, wrap them and trim.
Butcher Block Overlay
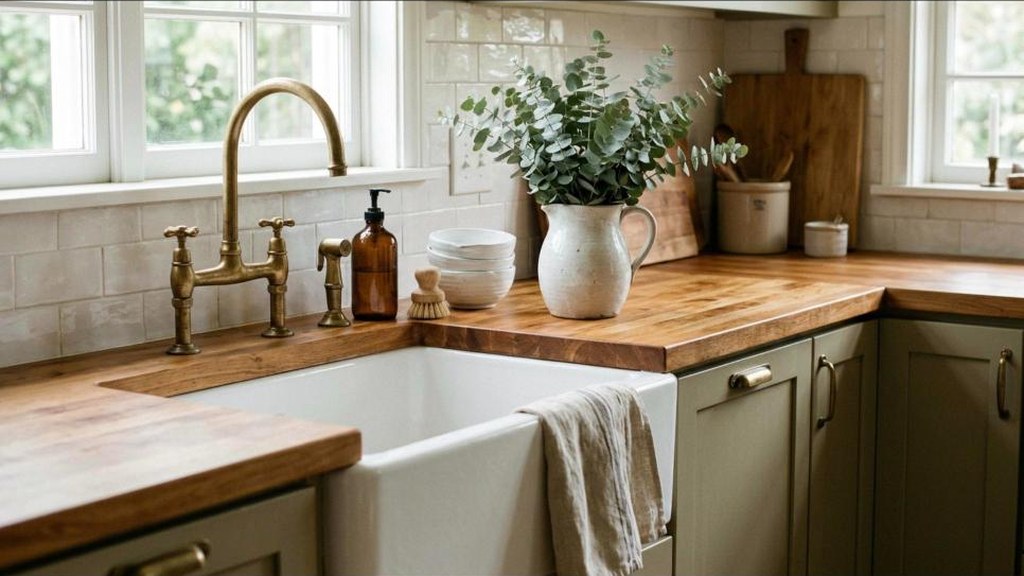
Butcher block brings instant warmth to a kitchen, and you do not have to rip out the old counters to get it. Many home stores sell butcher block slabs in standard lengths, and you can lay them right on top of a flat, solid counter. Have the store cut it to size, or ask a handy friend with a saw. Glue it down with construction adhesive and add a thin trim strip on the front edge to hide the old counter underneath. Seal the wood with food safe oil, and rub in another coat every few months. Slabs often run $200 to $400 per section. The warm wood looks lovely with white cabinets. Do you love a farmhouse kitchen?
You will need: A butcher block slab cut to size, construction adhesive, wood trim, food safe oil, soft cloths, a caulk gun.
How to make it: 1. Make sure the old counter is flat and clean. 2. Spread adhesive, set the butcher block in place and add trim to the front edge. 3. Rub in food safe oil and let it soak in overnight.
Concrete Look Skim Coat
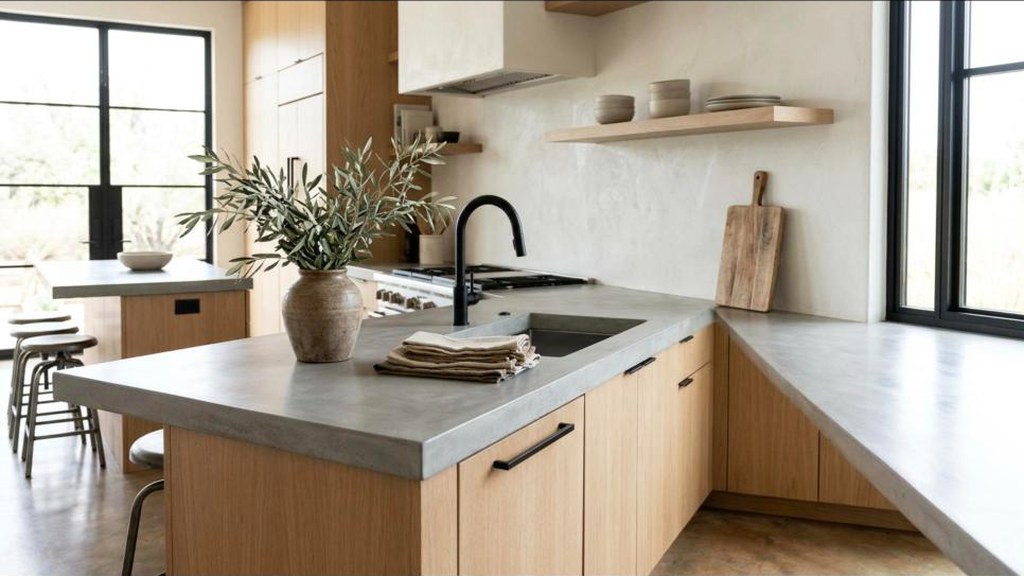
If you love an industrial modern look, a concrete skim coat is a cheap way to get it. Feather finish concrete is a fine powder you mix with water and spread in very thin layers with a trowel, right over laminate that has been sanded rough. Two or three thin coats look much better than one thick one. Sand lightly between coats for a smooth, stone like finish. The color varies a little across the counter, which is part of the charm. Finish with several coats of a food safe concrete sealer so it resists stains. Supplies often cost under $100. Wear a dust mask while sanding and keep the room well aired. Do you like the raw, modern look?
You will need: Feather finish concrete, a mixing bucket, a steel trowel, sandpaper, a dust mask, food safe concrete sealer.
How to make it: 1. Sand the old counter rough and wipe it clean. 2. Trowel on two or three thin coats, sanding lightly between each. 3. Seal with several coats and let it cure before use.
Countertop Makeover Ideas With a Metallic Epoxy Swirl
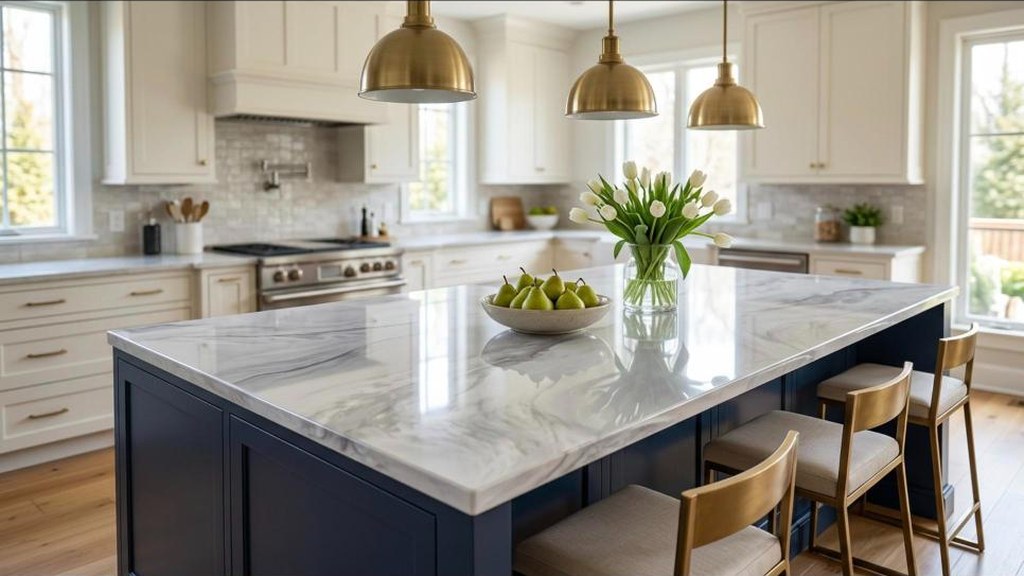
Metallic epoxy gives counters a deep, swirly shine that looks like polished stone or even a fancy hotel bar. You mix a metallic pigment into the epoxy, pour it over a dark base coat and gently spread it so the color moves and swirls. White, pearl and gray are the most natural choices for a kitchen. Every counter turns out one of a kind. Small bubbles can be popped by passing a heat gun on low over the surface, just like the kit says. Work in a warm room with good airflow and wear gloves the whole time. Kits run about $200 to $350. It is a bigger project, but the wow factor is real. Brave enough to try it?
You will need: A metallic countertop epoxy kit, pigment, base coat paint, a notched spreader, a heat gun, gloves, plastic sheeting.
How to make it: 1. Prep and paint a base coat, then cover the floor and cabinets. 2. Mix pigment into the epoxy, pour and spread it gently. 3. Pop bubbles with a heat gun on low and let it cure fully.
Black Soapstone Look With Paint
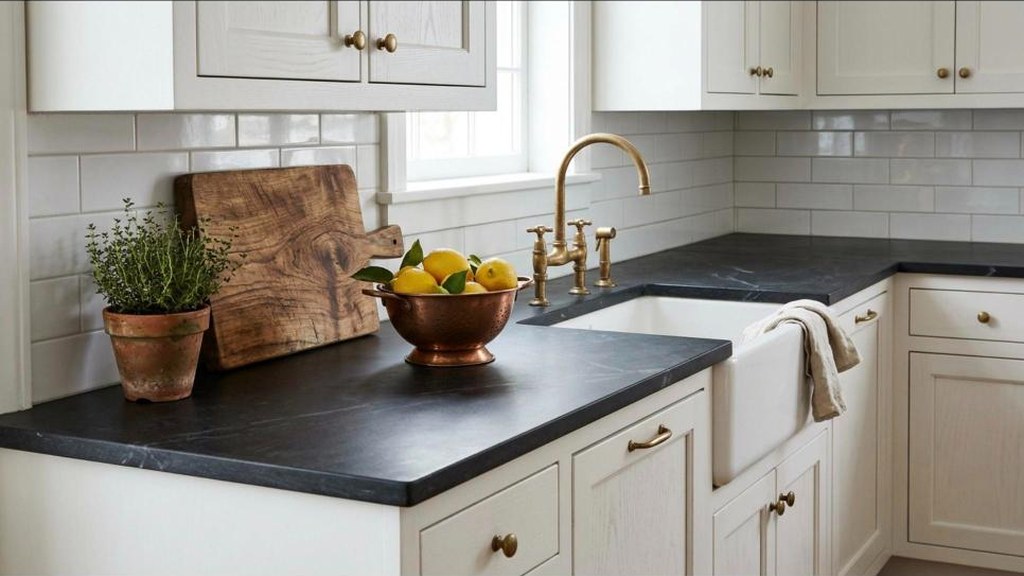
Real soapstone is gorgeous and pricey, often more than $100 per square foot. A matte charcoal or black paint finish gets surprisingly close for a tiny fraction of that. After cleaning, sanding and priming, roll on two or three coats of a durable matte paint in a soft black or deep charcoal. For a more natural look, lightly dab on a few faint gray veins with a nearly dry brush. Seal it with several coats of a clear matte topcoat made for counters. The dark color hides stains well and looks rich next to white or wood cabinets. Expect to spend $60 to $120 in supplies. Will you be brave and go bold with black this year?
You will need: Sandpaper, degreaser, bonding primer, matte black or charcoal paint, a fine brush, a clear matte topcoat, a foam roller.
How to make it: 1. Clean, sand and prime the counter. 2. Roll on two or three thin coats of dark paint and add faint veins if you like. 3. Seal with a matte topcoat and wait for the full cure.
Countertop Makeover Ideas With Tile Over Laminate
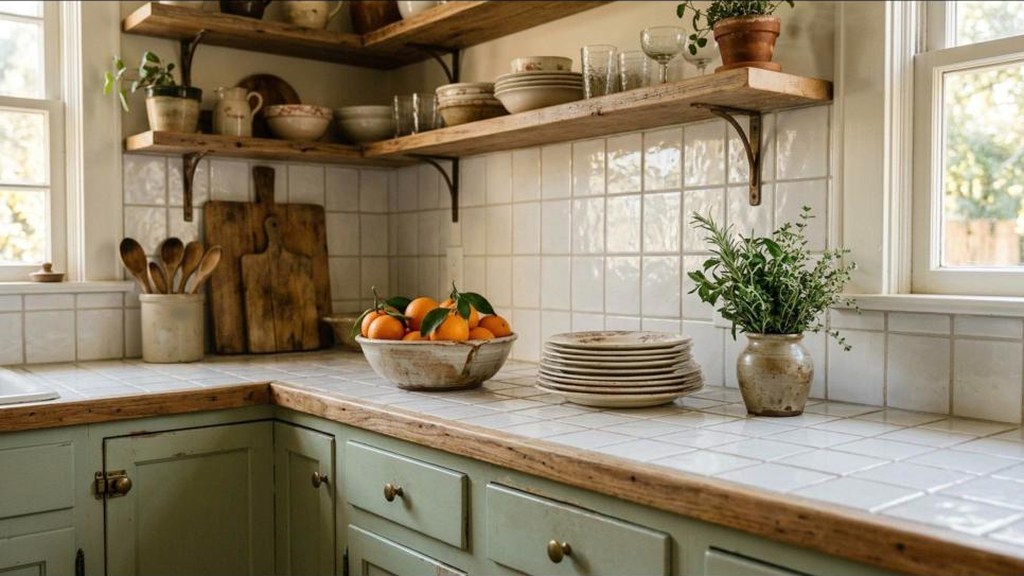
Tile over laminate is a classic European look that is having a big comeback. Small square tiles in white, green or cream look charming and a little retro. If your old laminate counter is solid and flat, you can tile right on top of it after roughing it up with sandpaper. Use a thinset made for this kind of surface and plastic spacers to keep the lines straight. A tile edge piece or wood trim finishes the front. Grout in a slightly darker color hides kitchen stains better than bright white. Seal the grout once it dries. Tiles, thinset and grout often cost $100 to $200 for a small kitchen. Which tile color would you pick?
You will need: Small square tiles, thinset, tile spacers, a notched trowel, grout, a grout float, grout sealer, edge trim.
How to make it: 1. Sand the laminate rough and clean it well. 2. Spread thinset and set the tiles with spacers. 3. Grout the next day, wipe it clean and seal.
Bathroom Vanity Quick Version
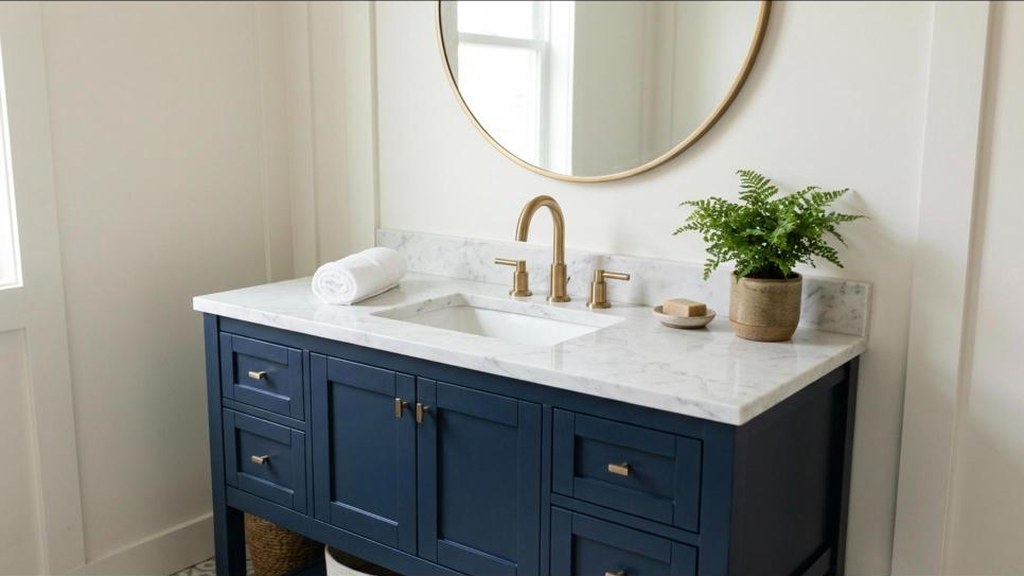
Want to test these countertop makeover ideas before you tackle the kitchen? Start with the bathroom vanity. It is small, quick and uses only a fraction of the supplies. A small paint kit, a single roll of marble contact paper or a little leftover epoxy is usually enough. Most vanity counters can be done in one afternoon, plus drying time. Tape off the sink and faucet carefully, and run the fan and open a window while you work. A fresh white marble look with brass or black fixtures makes even an old bathroom feel like a hotel. It also gives you practice and confidence for bigger counters. Guests always notice the guest bath, right?
You will need: A small paint kit or marble contact paper, painter’s tape, a small roller, a craft knife, sandpaper.
How to make it: 1. Remove items, clean and tape off the sink and faucet. 2. Paint or apply film as you would on a kitchen counter. 3. Let it cure fully before using the sink.
Countertop Makeover Ideas That Start With a New Edge
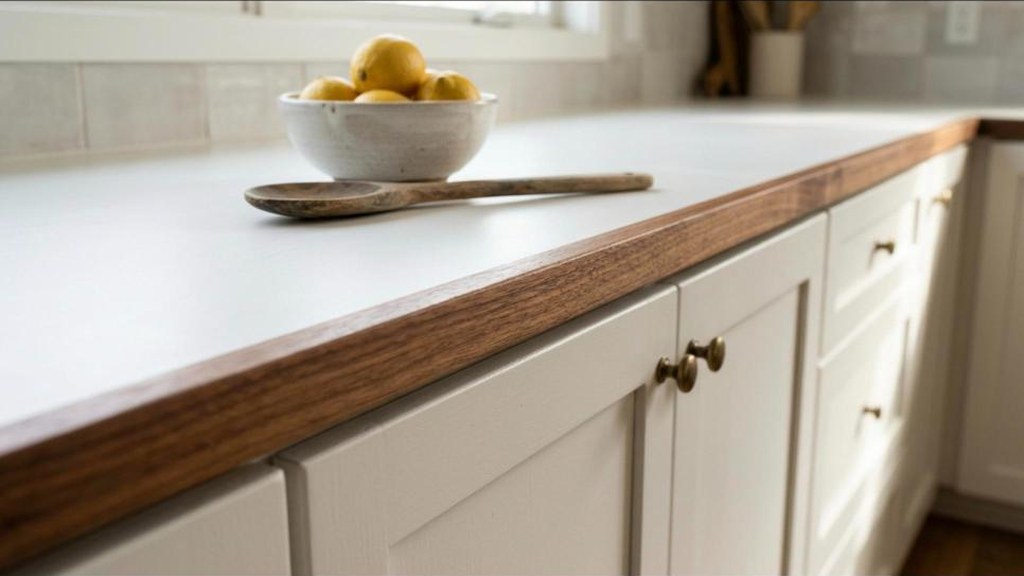
Sometimes it is the edge that makes a counter look dated. Those rounded, bullnose laminate edges scream 1990s. Covering them with a straight wood trim or a slim metal edging gives the whole counter a thicker, more modern look. Wood trim can be stained to match butcher block or painted to match a painted counter. Metal edging in brushed brass or black is easy to cut and stick on. Attach the trim with construction adhesive and small finishing nails. This is one of the cheapest countertop makeover ideas on the list, often $30 to $60. Pair it with paint or film on top for a full makeover. Did you ever think an edge could change so much?
You will need: Wood trim or metal edging, construction adhesive, small finishing nails, a saw or tin snips, stain or paint.
How to make it: 1. Measure the front edge and cut the trim to length. 2. Glue it on and tack it with finishing nails. 3. Fill nail holes and stain or paint it.
Styling Tricks So Counters Look Expensive
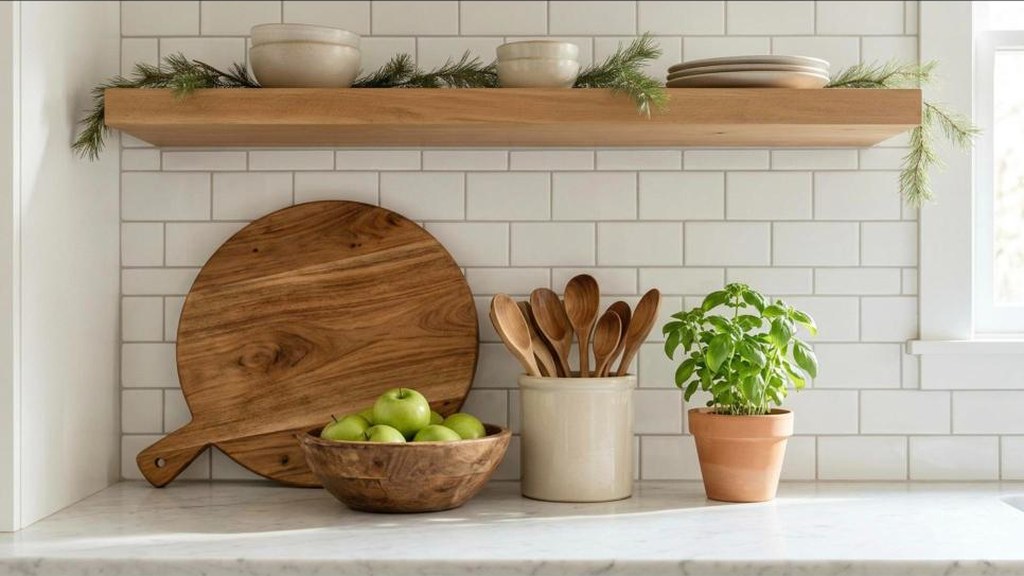
Even the nicest counter looks cheap under a pile of clutter. The best countertop makeover ideas include a little styling, and it costs almost nothing. First, clear everything you do not use every day. Then add three things: a big wood cutting board leaning against the backsplash, a bowl of lemons or green apples, and a crock full of wooden spoons. A small potted herb like rosemary adds life. Keep the toaster and other small appliances in a cabinet if you can. Group items in one or two spots instead of spreading them out. Add a little garland on the open shelf for the holidays. Could you clear your counters tonight?
You will need: A large wood cutting board, a fruit bowl, a ceramic utensil crock, wooden spoons, a small potted herb.
How to make it: 1. Clear everything off and wipe the counters clean. 2. Put back only daily use items, grouped together. 3. Add the board, fruit bowl, crock and plant in one or two spots.
Countertop Makeover Ideas: Mistakes to Avoid
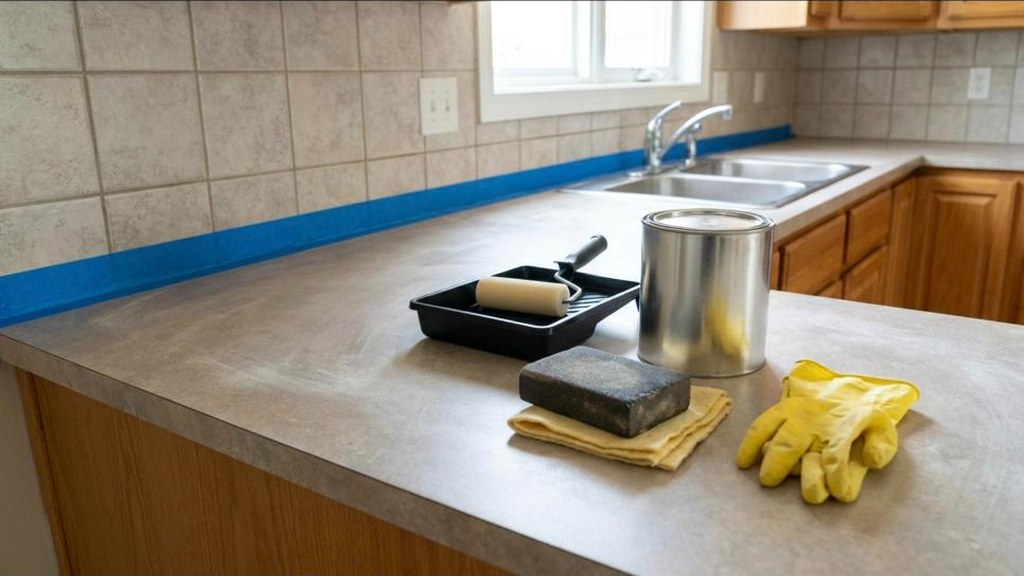
Most failed counter makeovers come down to a few simple mistakes. The first is skipping the prep. Counters need to be degreased, sanded and wiped clean, or paint and epoxy will peel. The second is rushing the cure time. Paint may feel dry in hours, but it can take days or even weeks to fully harden, so read the label and be patient. The third is skipping the topcoat, which is what protects the finish from water and scratches. Finally, never set hot pans right on the new surface, and use cutting boards for chopping. Do these right and your new counters can last for years. Which step will you be most careful with?
You will need: Degreaser, sandpaper, tack cloths, painter’s tape, a clear topcoat, trivets, patience.
How to make it: 1. Degrease and sand every inch, then wipe with a tack cloth. 2. Follow the label for dry and cure times. 3. Always finish with a topcoat and use trivets after.