Candy Machine Restoration: 15 Steps That Brought an 1871 Drop Roller Back to Life
Candy machine restoration sounds like an odd hobby until you watch someone pull a rusty lump of iron out of storage and turn it back into a working sweet maker. That is exactly what the YouTube channel Rescue & Restore did with an 1871 drop roller, a hand cranked candy press made of heavy cast iron with bronze rollers. The video has been watched more than 85 million times, and it is easy to see why. There is the thrill of the find, the slow and careful cleanup, the shiny reveal and then the best part of all: real candy coming out of a machine that is more than 150 years old. Here are the steps that brought it back, plus a few easy ideas you can try with your own rusty treasures..
Candy Machine Restoration: Meet Rescue & Restore
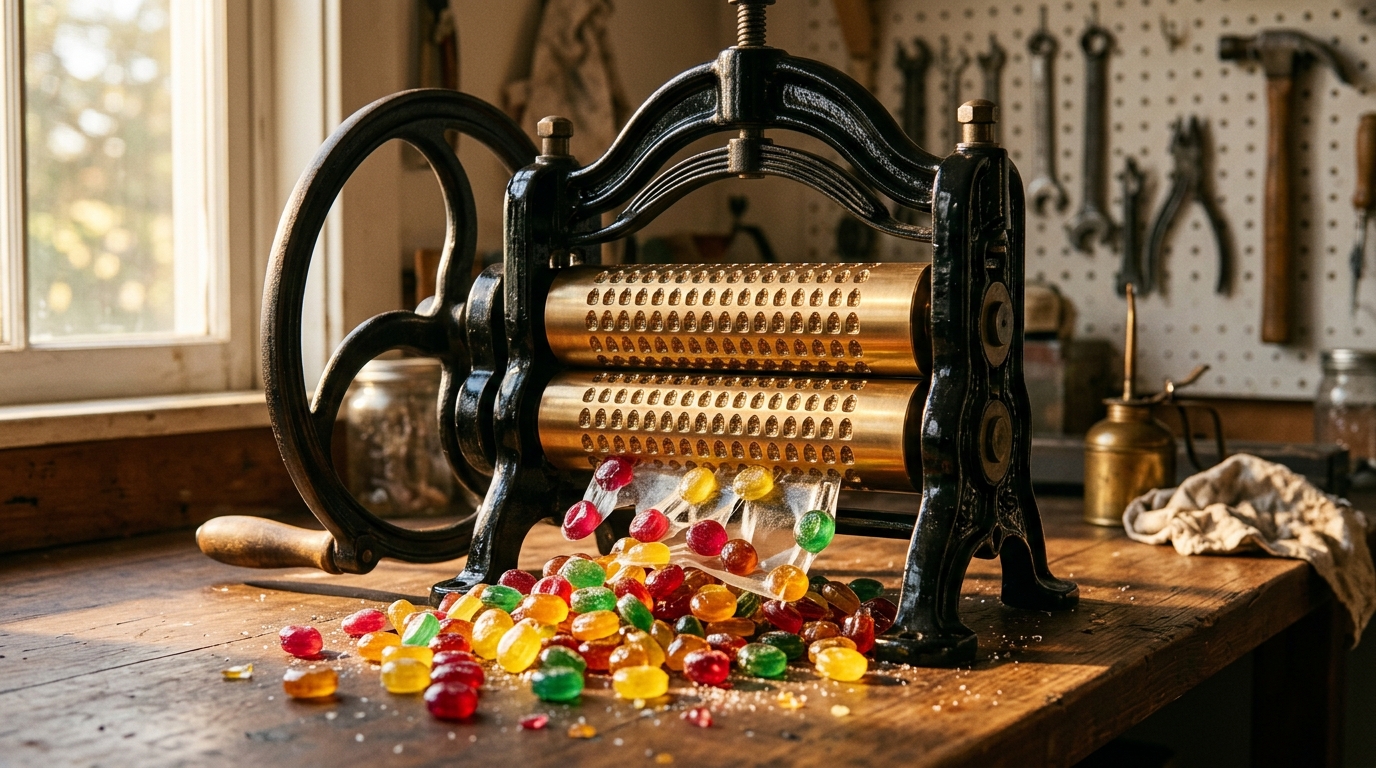
Rescue & Restore is a YouTube channel with about two million subscribers, and its most famous video is this one. In his 1871 candy drop roller restoration, the creator takes an old machine made by Thomas Mills & Bro., cleans it, coats it and then makes a whole lot of candy with it. He says in the video notes that making candy was much more fun and easy than he expected. Millions of people agreed, because the clip has passed 85 million views. Ready to see how he did it..
You will need: Patience, a camera to record every step, a clean workbench, good light and a big love for old machines.
How to make it: 1. Pick one old object you really want to save. 2. Film or photograph it before you touch anything. 3. Plan the steps from cleaning to finishing. 4. Share the before and after with family or friends.
The 1871 Drop Roller Find
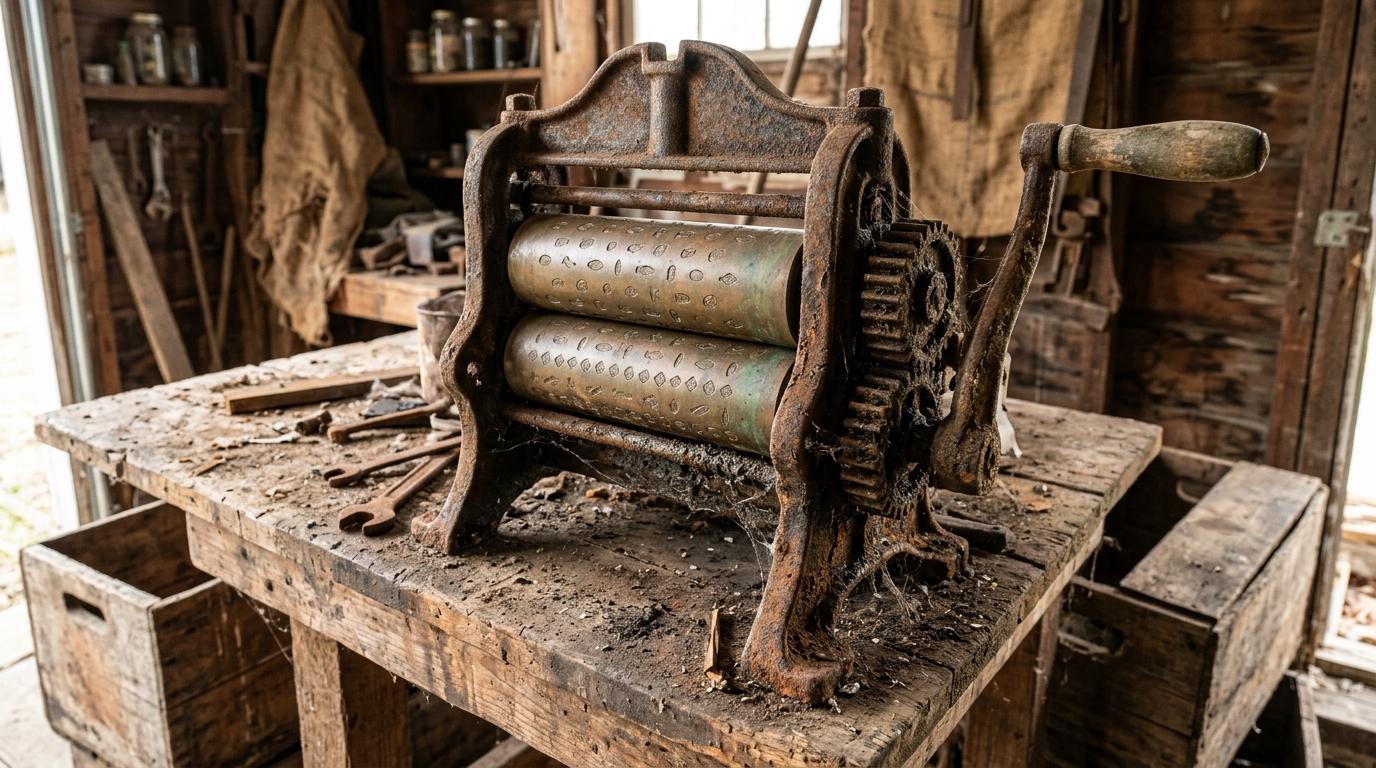
A drop roller is a simple but clever tool. Hot sugar goes between two engraved rollers, you turn the crank, and out comes a sheet of little shaped candies. This one came from Thomas Mills & Bro., a Philadelphia company that, according to the Smithsonian Libraries, was set up in 1864 and sold candy making machines of all kinds. When it arrived, it was rusty and dull. Would you have guessed it could ever work again?
You will need: An old machine or tool, a soft brush, a notebook and a phone camera.
How to make it: 1. Brush off loose dust and cobwebs. 2. Look for a maker name or date in the casting. 3. Note what is missing or broken. 4. Take photos from every side.
Why Cast Iron Survives 150 Years
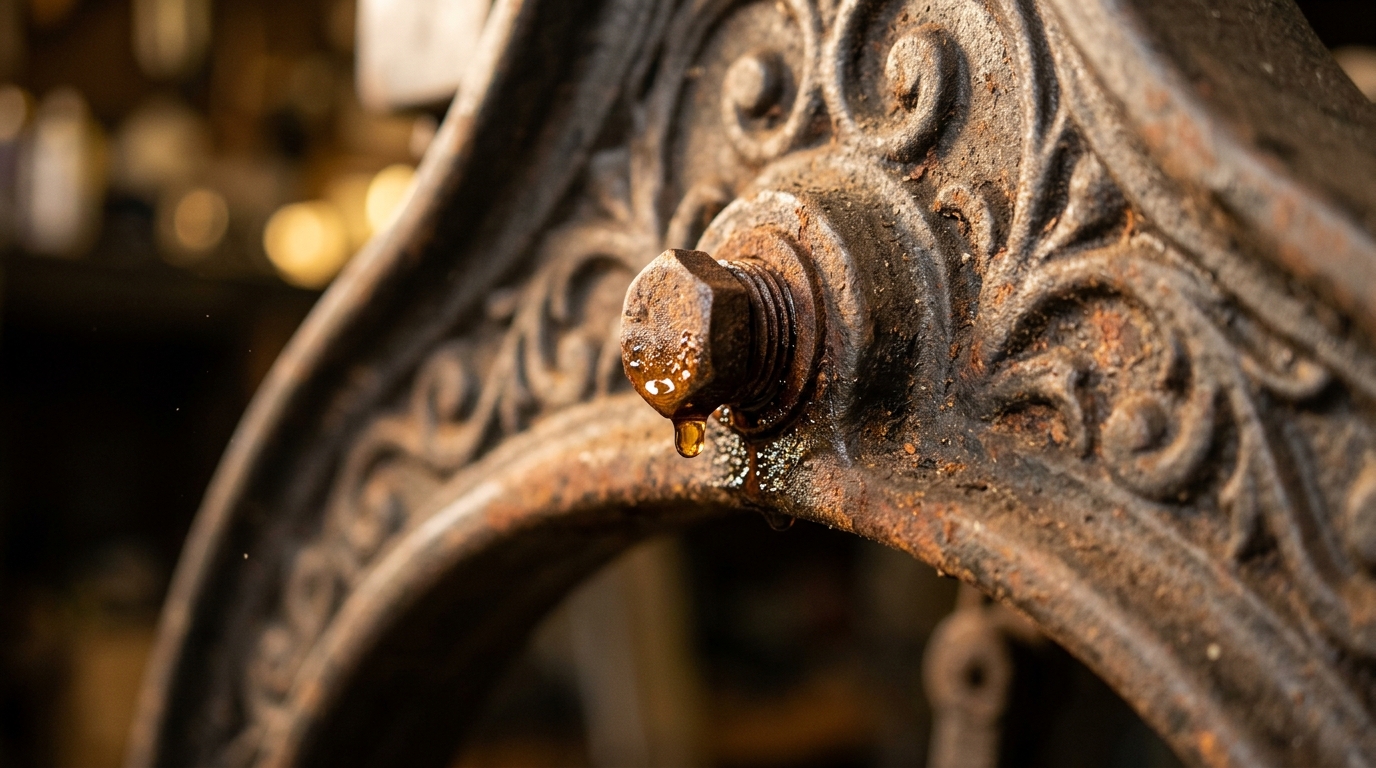
The frame of this machine is heavy cast iron, and that is the secret to why it lasted so long. Cast iron rusts on the surface, but the thick metal underneath usually stays strong for generations. That is why old skillets, sewing machine bases and candy tools still turn up at sales today. The orange crust looks scary, yet it often hides a solid piece that only needs cleaning. Have you ever passed up an old cast iron find because of a little rust?
You will need: A magnet, a stiff nylon brush, a flashlight and a dry cloth.
How to make it: 1. Check with a magnet to confirm the metal is iron. 2. Brush away loose rust. 3. Shine a light to look for cracks. 4. Wipe it dry and keep it indoors.
Candy Machine Restoration Begins With Taking It Apart
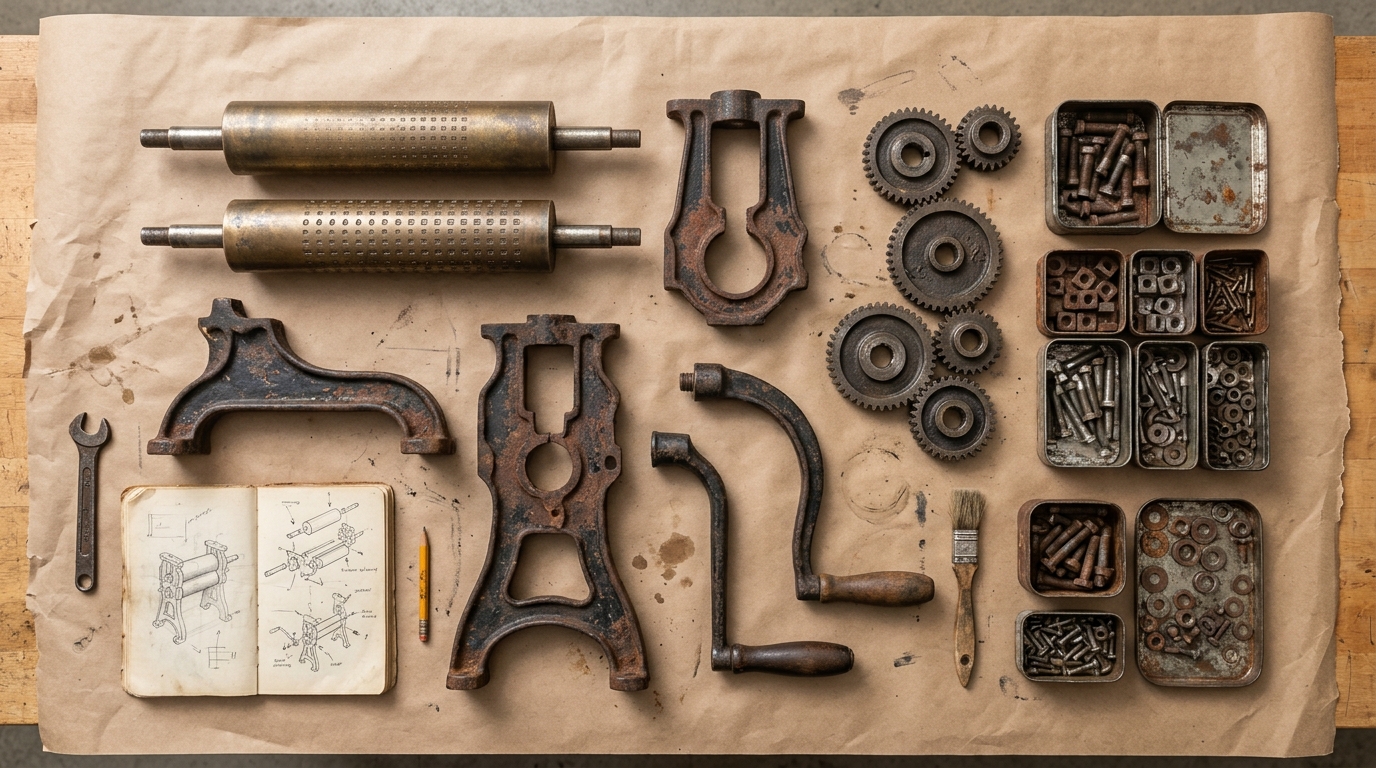
Every good candy machine restoration starts with a careful teardown. Rollers, crank, gears, pins and bolts all come off one by one so each part can be cleaned the right way. Laying them out in order makes putting it back together so much easier later. Small tins or muffin trays keep the tiny pieces from rolling away. It is the least exciting step on camera, but it saves hours of head scratching. Do you lay your parts out in order too?
You will need: Screwdrivers, wrenches, penetrating oil, small tins or a muffin tray, masking tape and a marker.
How to make it: 1. Spray stuck bolts with penetrating oil and wait. 2. Remove parts one at a time. 3. Label each part with tape. 4. Lay them out in order on paper.
Sandblasting Away the Rust
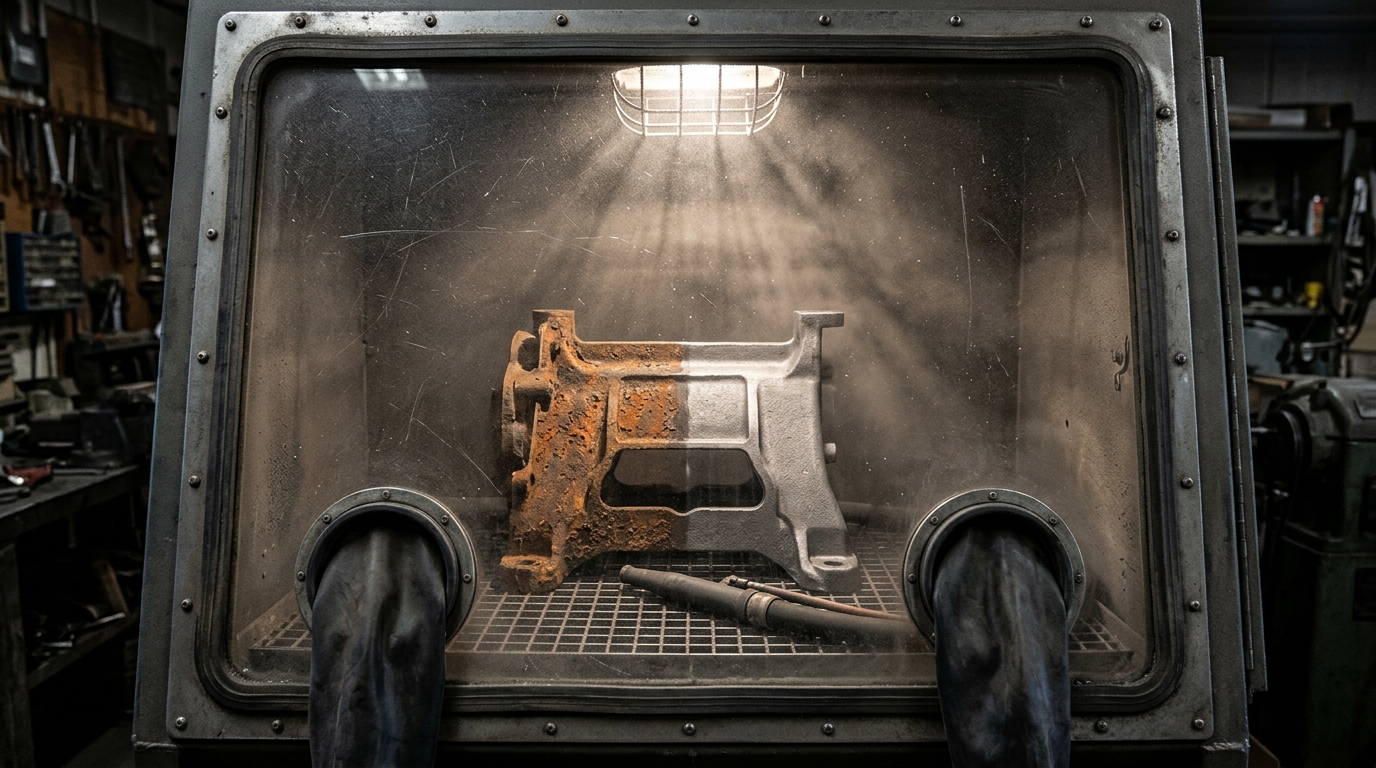
In the video, the creator starts the cleanup by sandblasting the parts to remove the rust. This is a job he does inside a closed sandblasting cabinet with professional gear, and it is not a kitchen table project. The blast leaves the iron bare, gray and clean, ready for a new coat. If you have a big rusty piece and no cabinet, many local auto or metal shops will blast it for you. Isn’t it amazing how fast the old orange crust disappears?
You will need: For the pros: a sandblasting cabinet, abrasive media, gloves and a respirator. At home: a local metal shop that offers blasting.
How to make it: 1. Strip off any parts that should not be blasted, like bronze rollers. 2. Let a pro or a closed cabinet do the blasting. 3. Blow off the dust. 4. Coat the bare metal soon so it does not rust again.
Checking the Bronze Rollers
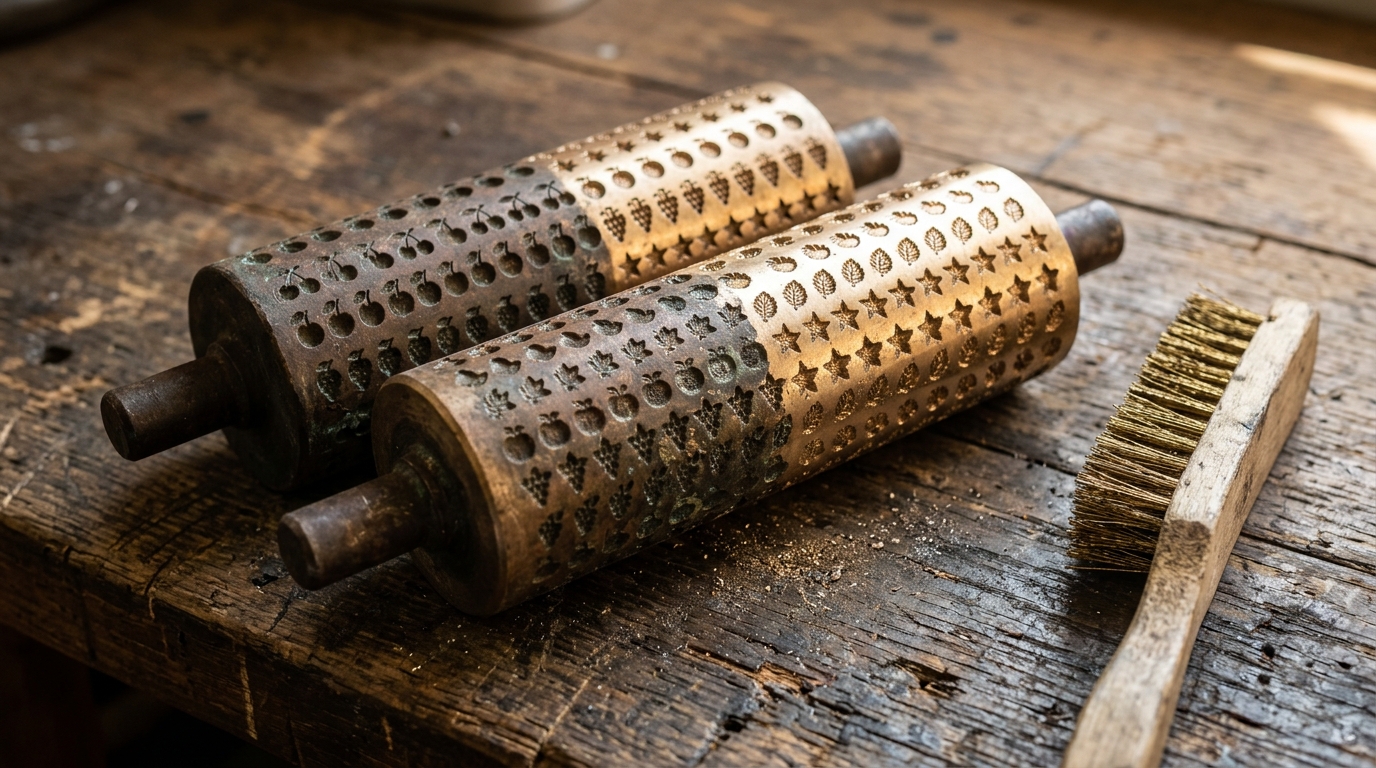
The rollers are the heart of a drop roller. They are bronze, not iron, and their engraved cups give each candy its shape. Bronze does not rust like iron, but it does turn dark and dull over the years. Cleaning it gently is important, because harsh scrubbing could wear down the fine engraving. The good news is that bronze usually comes back with patience and a soft brush. Can you picture how many candies these rollers have made since 1871?
You will need: A soft brass brush, warm soapy water, an old toothbrush, cotton cloths and a magnifying glass.
How to make it: 1. Wash the rollers in warm soapy water. 2. Clean the engraved cups with a soft brush. 3. Check each cup for cracks or chips. 4. Dry them right away with a cloth.
Powder Coating Gives the Candy Machine Restoration Its Shine
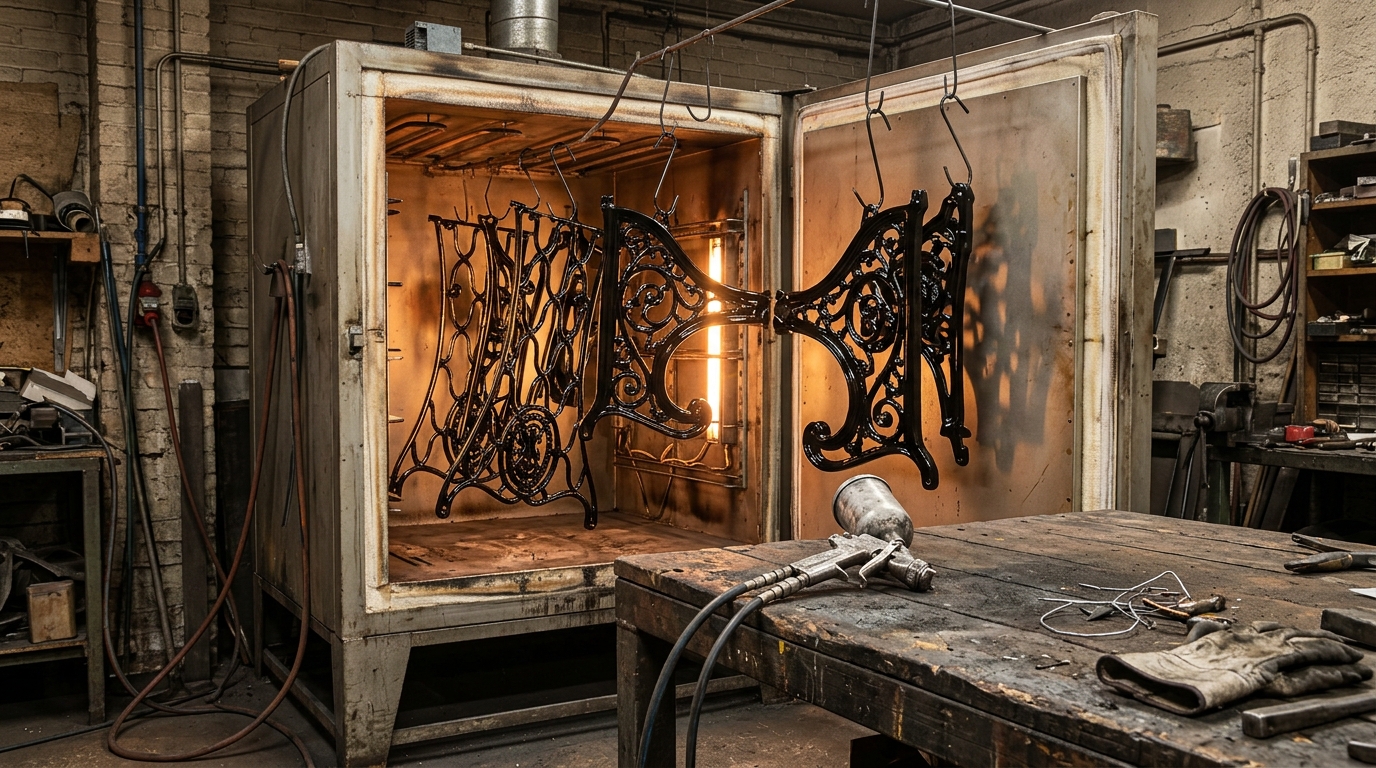
After blasting, the creator powder coats the iron parts to bring back their shine. Powder coating is a dry paint that is sprayed on and then baked hard in an oven, which gives a tough, glossy finish. This part of the candy machine restoration was done with his own powder coating system and a separate oven used only for parts, never for food. The result is that deep black look you see at the end. Doesn’t it look brand new?
You will need: For the pros: a powder coating system, a parts-only oven, hooks and wire. At home: a local powder coating shop or a can of high heat enamel used outside.
How to make it: 1. Clean and dry the bare metal well. 2. Hang the parts so every side is reachable. 3. Spray the powder or have a shop do it. 4. Bake or cure as the product directs, then cool.
Polishing the Bronze to a Golden Glow
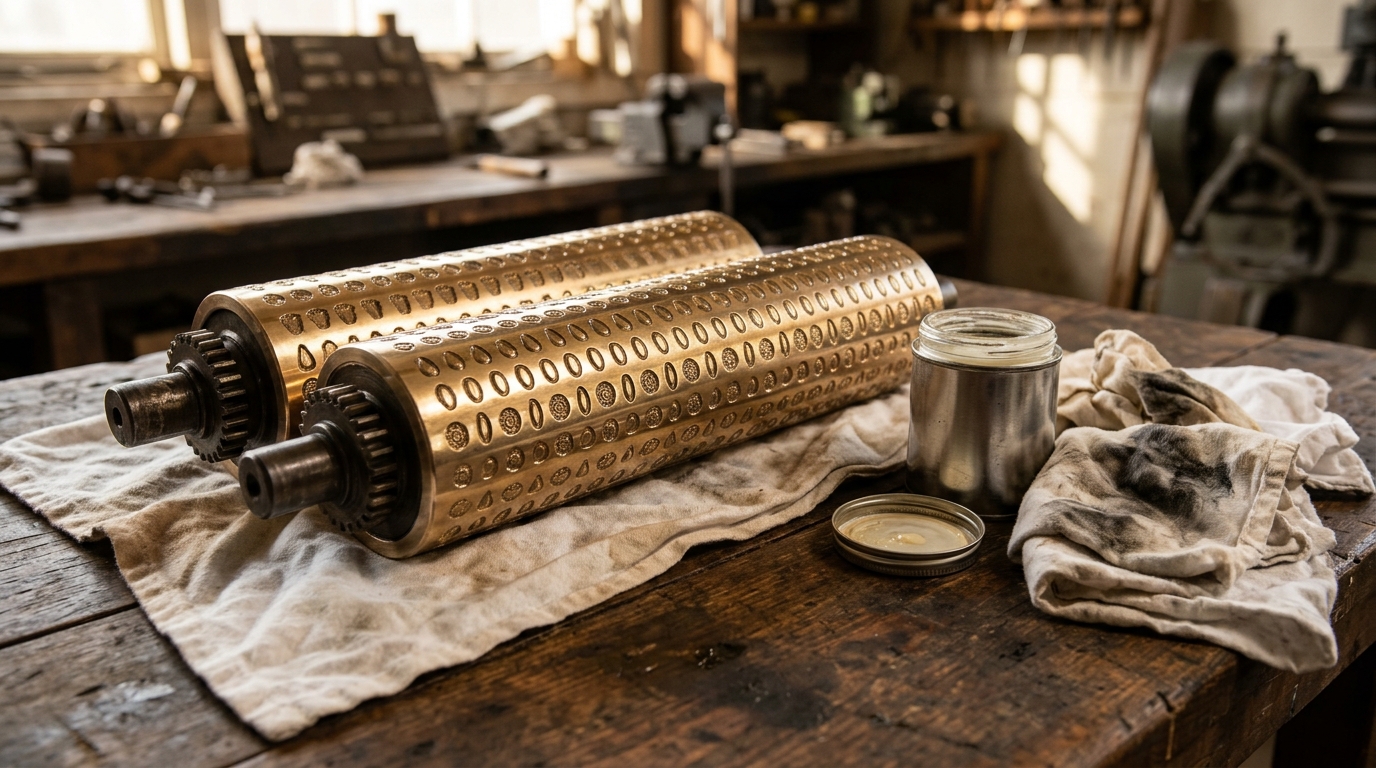
Once the iron is black and glossy, the bronze rollers need to match. A good polish brings out a warm golden glow that makes the whole machine look like a treasure. The trick is to polish the outside surfaces and keep the engraved cups clean but not scratched. Wash off all polish residue very well before candy ever touches the rollers. This is the moment when the old machine really starts to look proud again, isn’t it?
You will need: Metal polish, soft cotton cloths, a soft toothbrush, warm soapy water and gloves.
How to make it: 1. Put on gloves. 2. Rub a small amount of polish on the outer bronze with a cloth. 3. Buff with a clean cloth. 4. Wash the rollers well in soapy water and dry them.
New Pins, Bolts and Small Parts
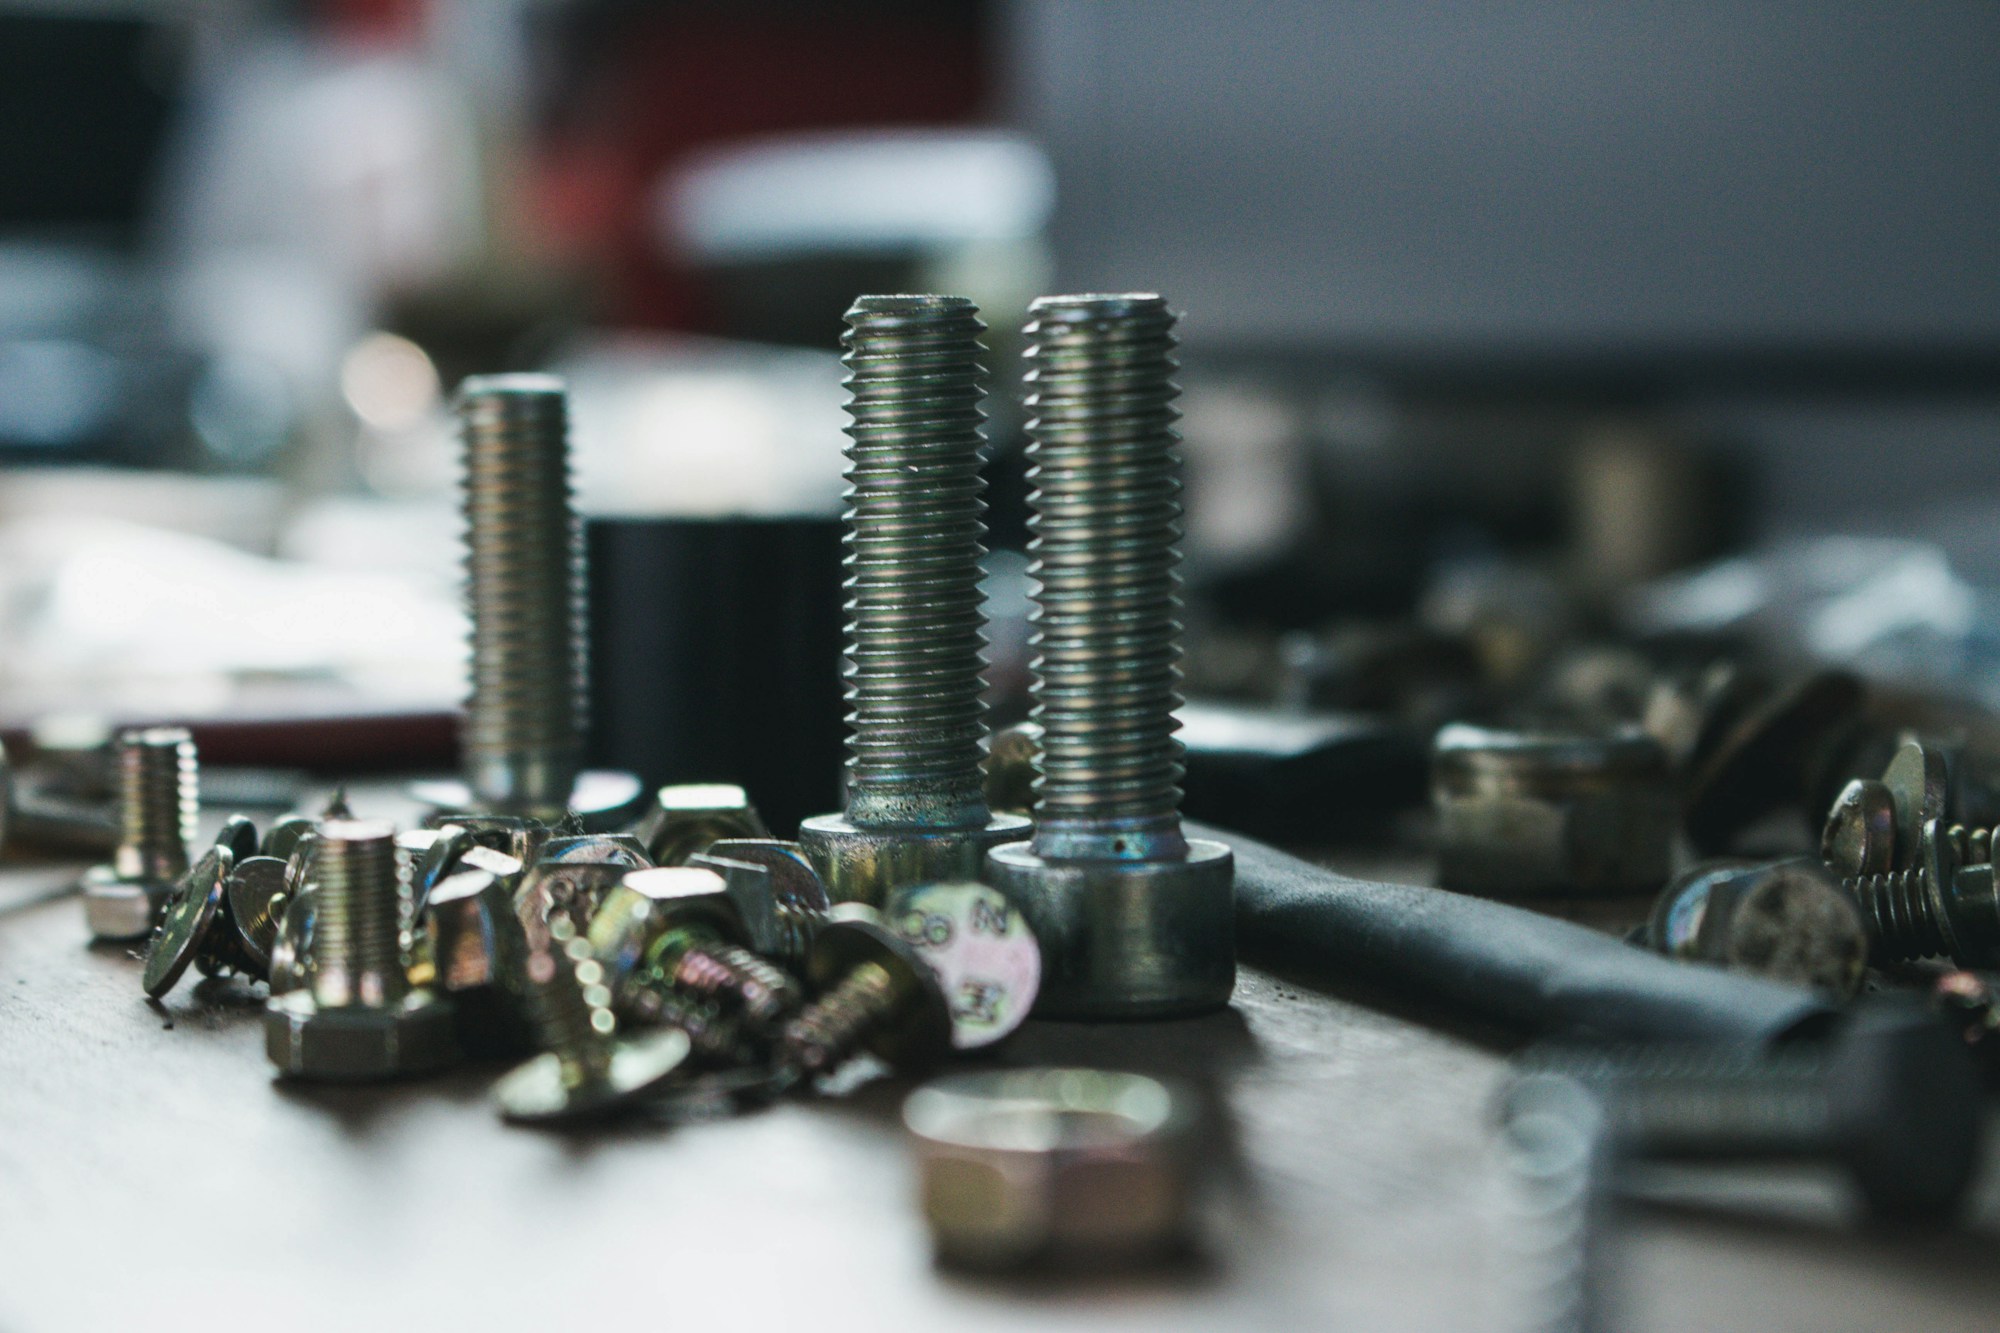
Old machines often come with bent pins, missing bolts or worn threads. The creator lists a tap and die set among his tools, which is what restorers use to clean up and cut threads so bolts turn smoothly again. Swapping a few tired pieces for fresh hardware makes the machine safe and easy to crank. Keep the original parts in a bag with the machine, because collectors love that. What small part would you replace first?
You will need: Replacement bolts and pins, a tap and die set, a thread gauge, a little machine oil and a small bag for old parts.
How to make it: 1. Match old bolts to new ones with a thread gauge. 2. Clean the threads with the tap or die. 3. Fit the new pins and bolts. 4. Add a drop of oil to moving parts.
A Test Spin, the Proudest Moment of Any Candy Machine Restoration
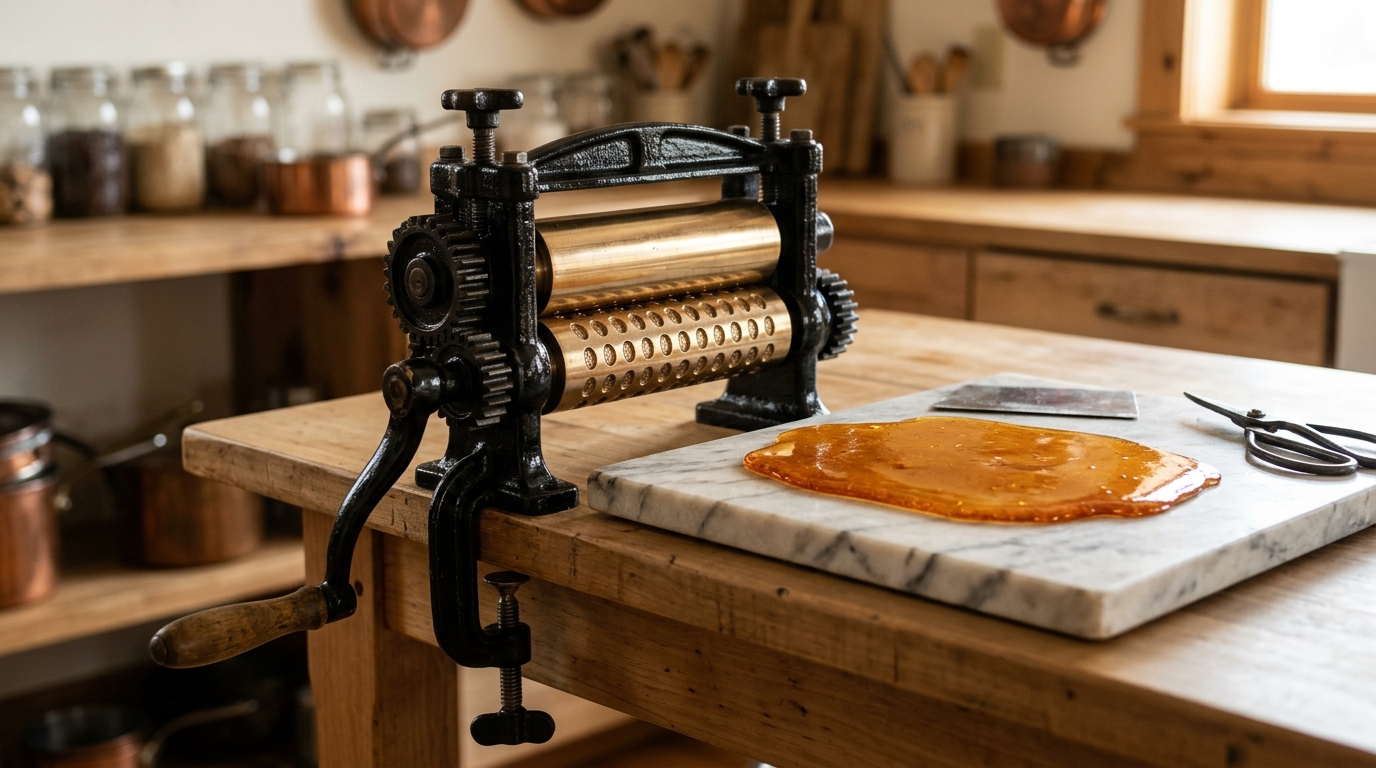
Before any sugar goes near it, the machine gets put back together and given a test spin. The rollers should turn smoothly together, and the crank should feel easy in your hand. This is the moment every restorer waits for, because it shows that all the cleaning and fitting worked. Clamp the machine firmly to a sturdy table so it cannot tip. Isn’t there something so satisfying about an old crank turning again?
You will need: A sturdy table, a strong clamp, a clean cloth and a little food safe oil if the maker allows it.
How to make it: 1. Reassemble the parts in order. 2. Clamp the machine to the table. 3. Turn the crank slowly and listen for scraping. 4. Adjust and wipe everything clean.
Cooking the First Sugar Batch
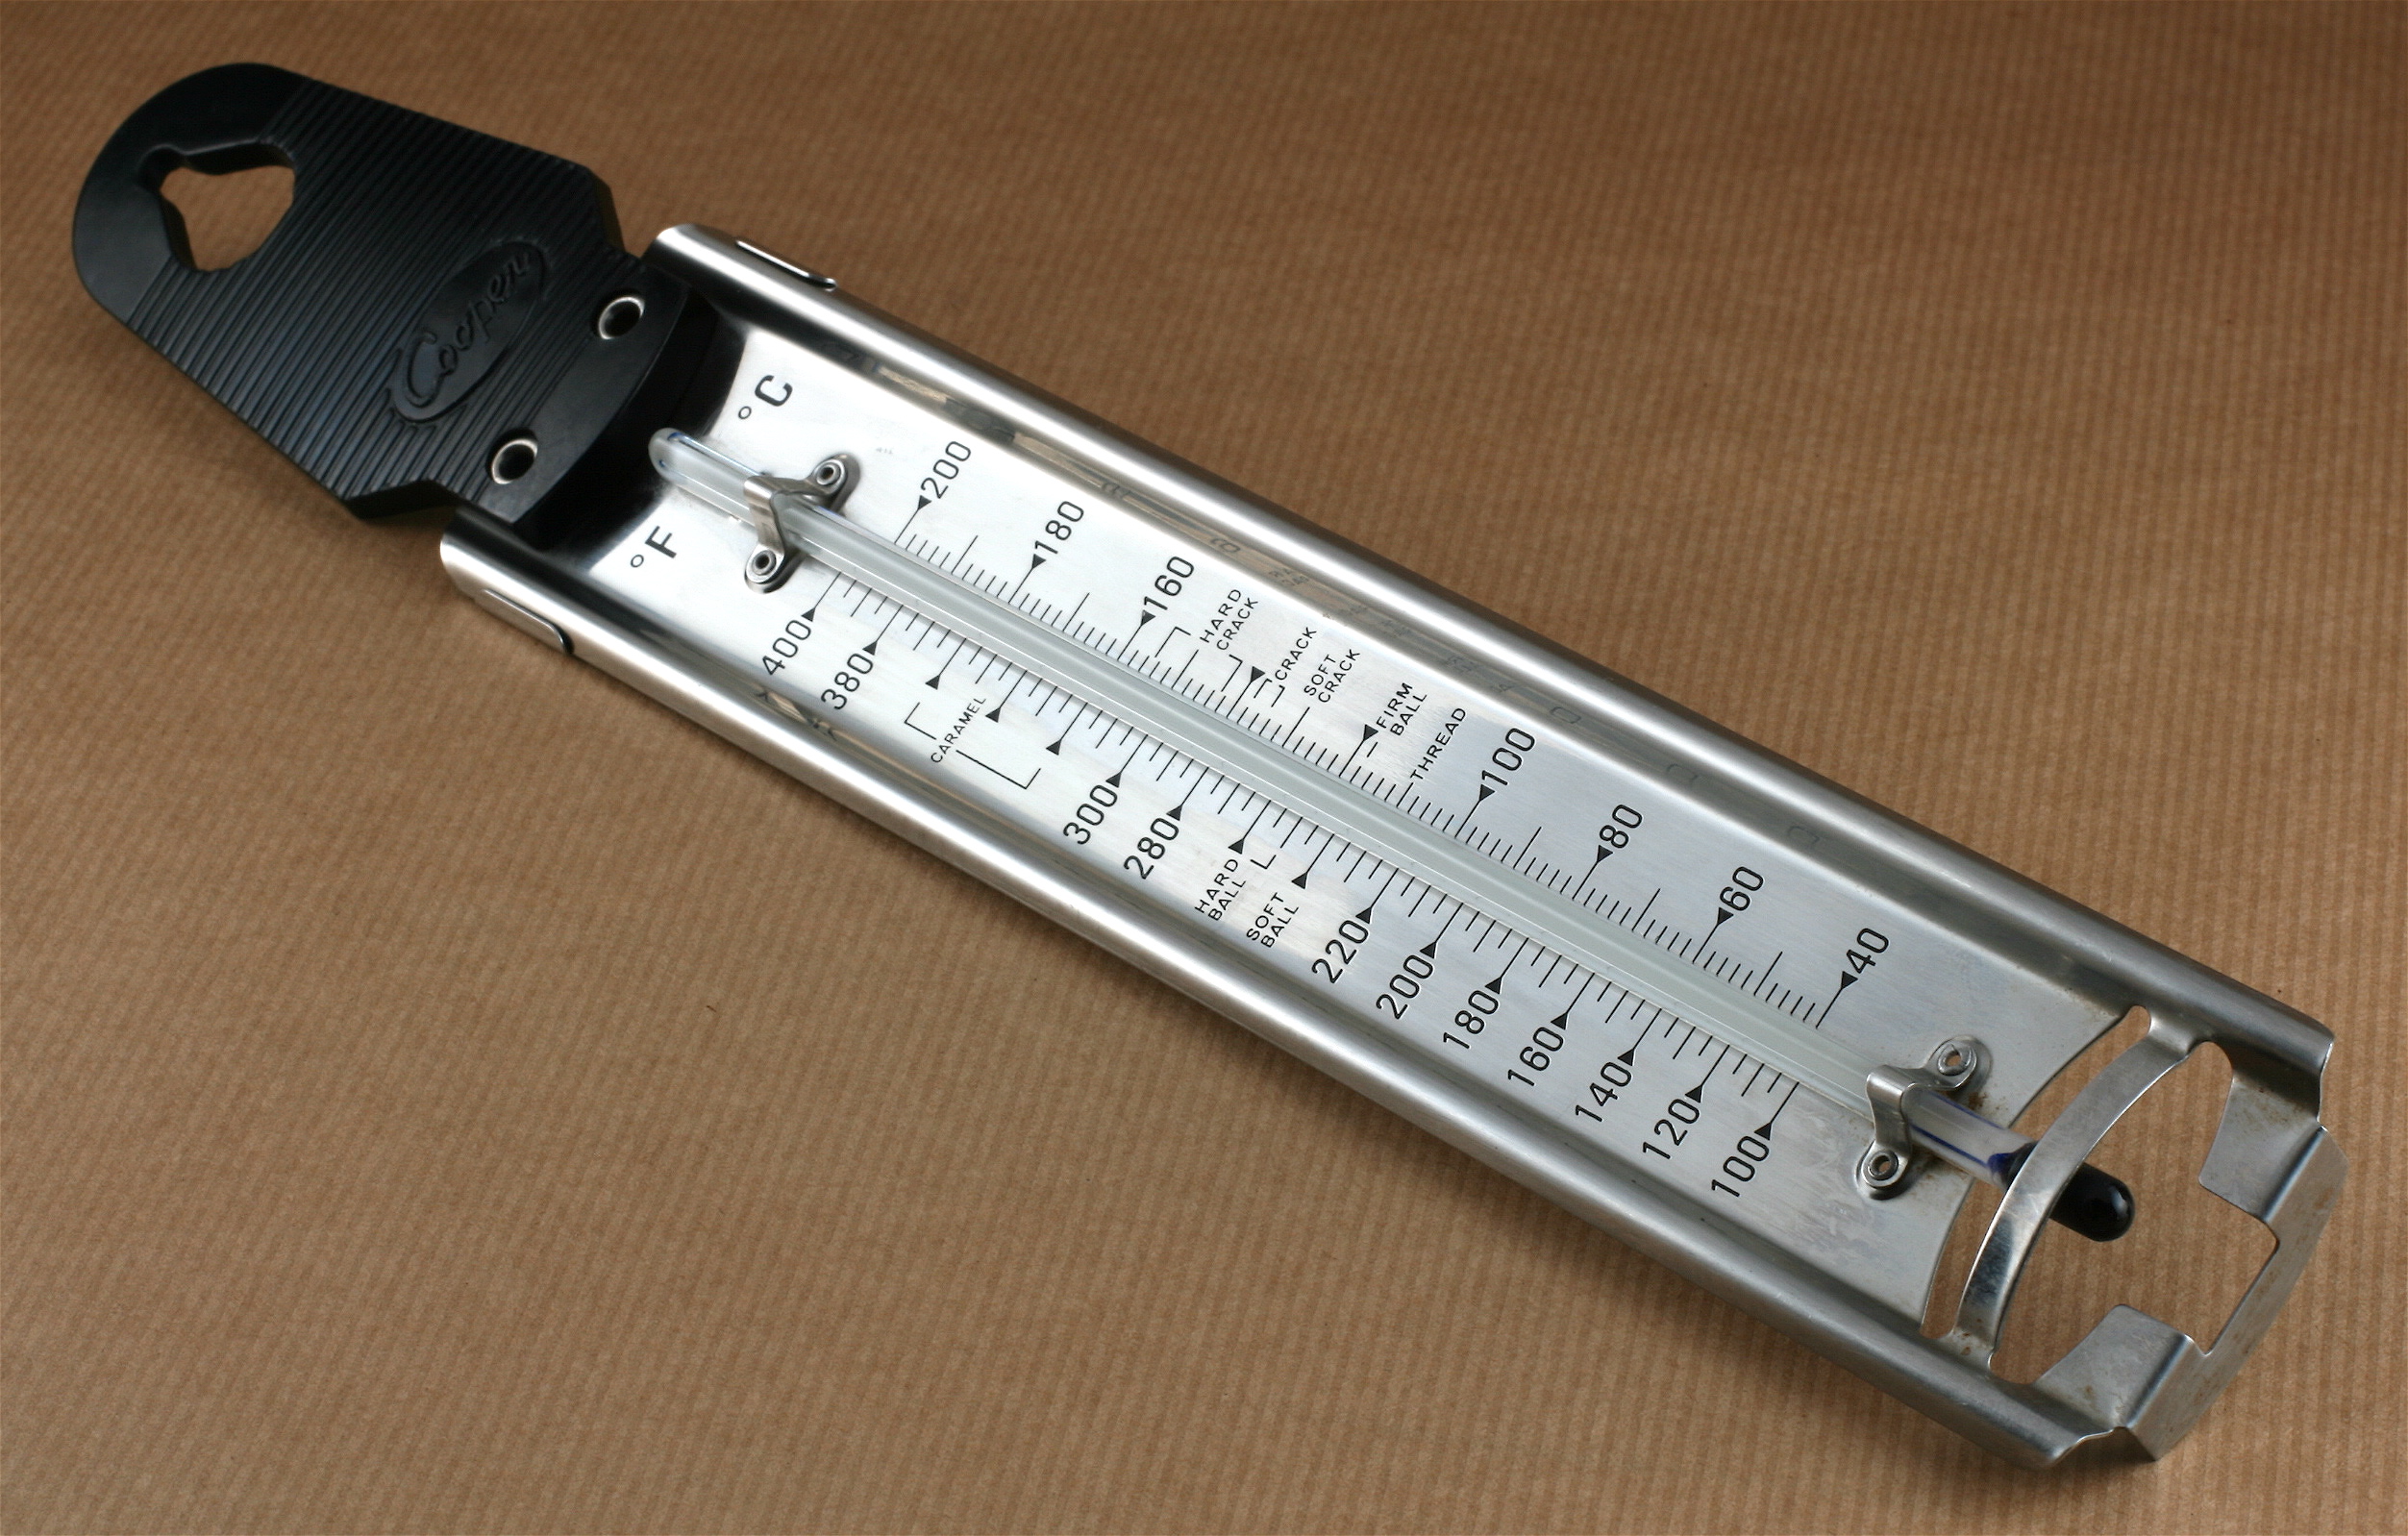
Drop rollers work with very hot sugar. According to Wikipedia, the classic method shapes sugar cooked to about 120 degrees Celsius between two hand cranked rollers. That is hot enough to burn badly, so this step is for adults only, with kids watching from a safe distance. A candy thermometer takes the guesswork away, and a heavy pot keeps the sugar from scorching. Have you ever made hard candy at home before?
You will need: Sugar, water, a little corn syrup, flavor and food coloring, a heavy pot, a candy thermometer, oven mitts and a marble or heat proof slab.
How to make it: 1. An adult cooks the sugar mixture while watching the thermometer. 2. Take it off the heat at the right stage. 3. Pour it onto an oiled slab. 4. Fold in flavor and color once it can be handled with gloves.
The First Drop Candies Roll Out
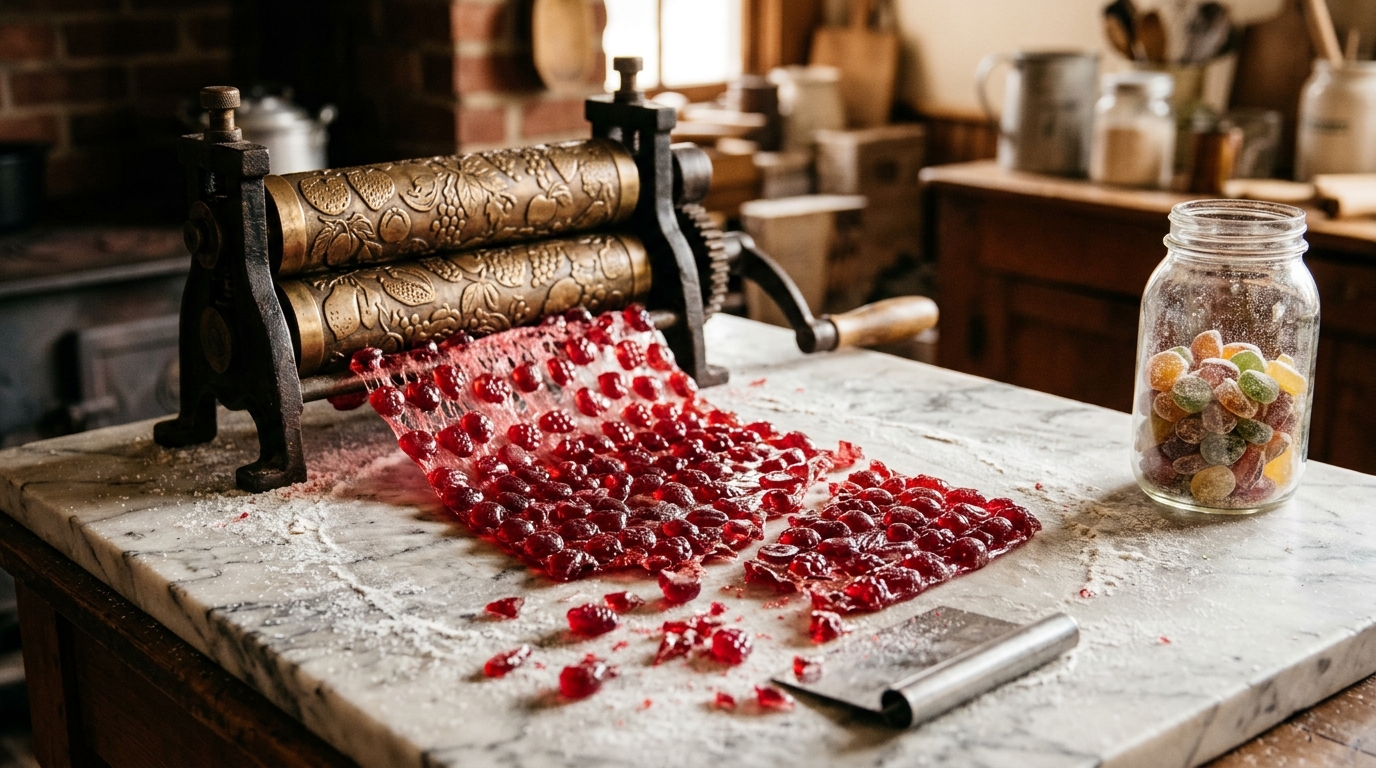
This is the payoff. A warm sheet of sugar goes into the rollers, the crank turns, and out comes a sheet of tiny shaped candies joined by a thin sugar web. Once it cools a little, the sheet snaps apart into dozens of pretty drops. In the video, the creator ends up making lots of candy, and it is the part viewers love to watch again and again. Which flavor would you try first, cherry or lemon?
You will need: A restored drop roller, warm candy sugar, food safe gloves, a clean slab and a glass jar.
How to make it: 1. Feed the warm sugar into the rollers. 2. Turn the crank at a steady pace. 3. Let the candy sheet cool for a minute. 4. Snap the drops apart and store them in a jar.
Why Drop Candies Were an Old-Fashioned Favorite
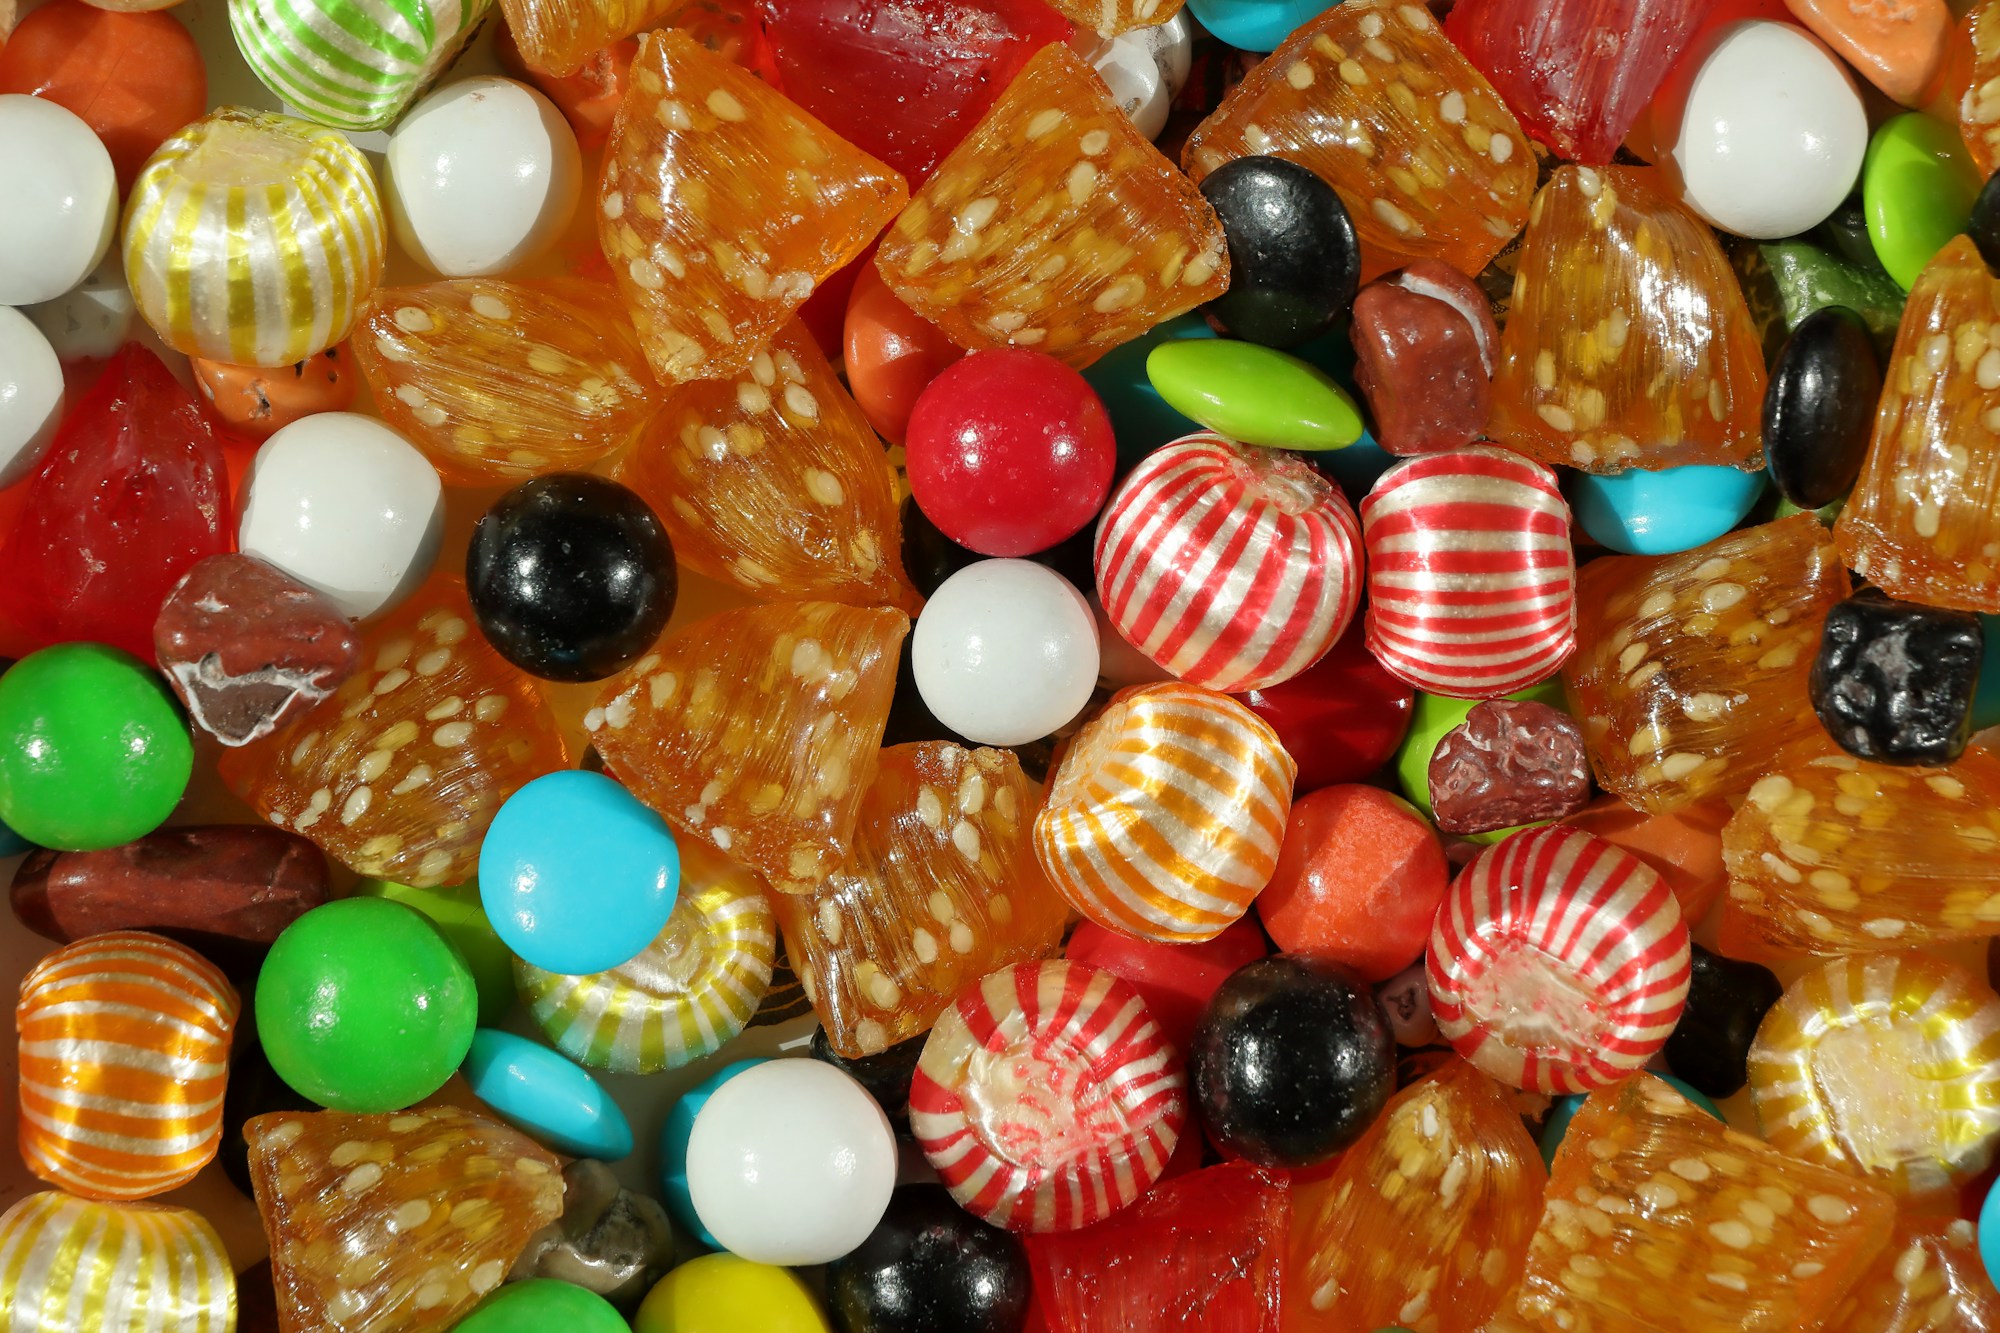
Long before plastic wrapped sweets, drop candies were a store counter classic. Drop roller machines came on the market in the 1840s, and they let small candy shops press out sheets of pretty shaped sweets by hand. Families bought them by the scoop from big glass jars. Seeing a working roller today is like opening a window into an old corner shop. Do you remember a candy jar like this from your own childhood?
You will need: A glass jar, a scoop, a mix of old-fashioned hard candies and a pretty ribbon.
How to make it: 1. Fill a clean glass jar with mixed hard candies. 2. Add a scoop. 3. Tie a ribbon around the lid. 4. Set it on a shelf for a sweet vintage touch.
Flea Market Finds to Look For After Watching This Candy Machine Restoration
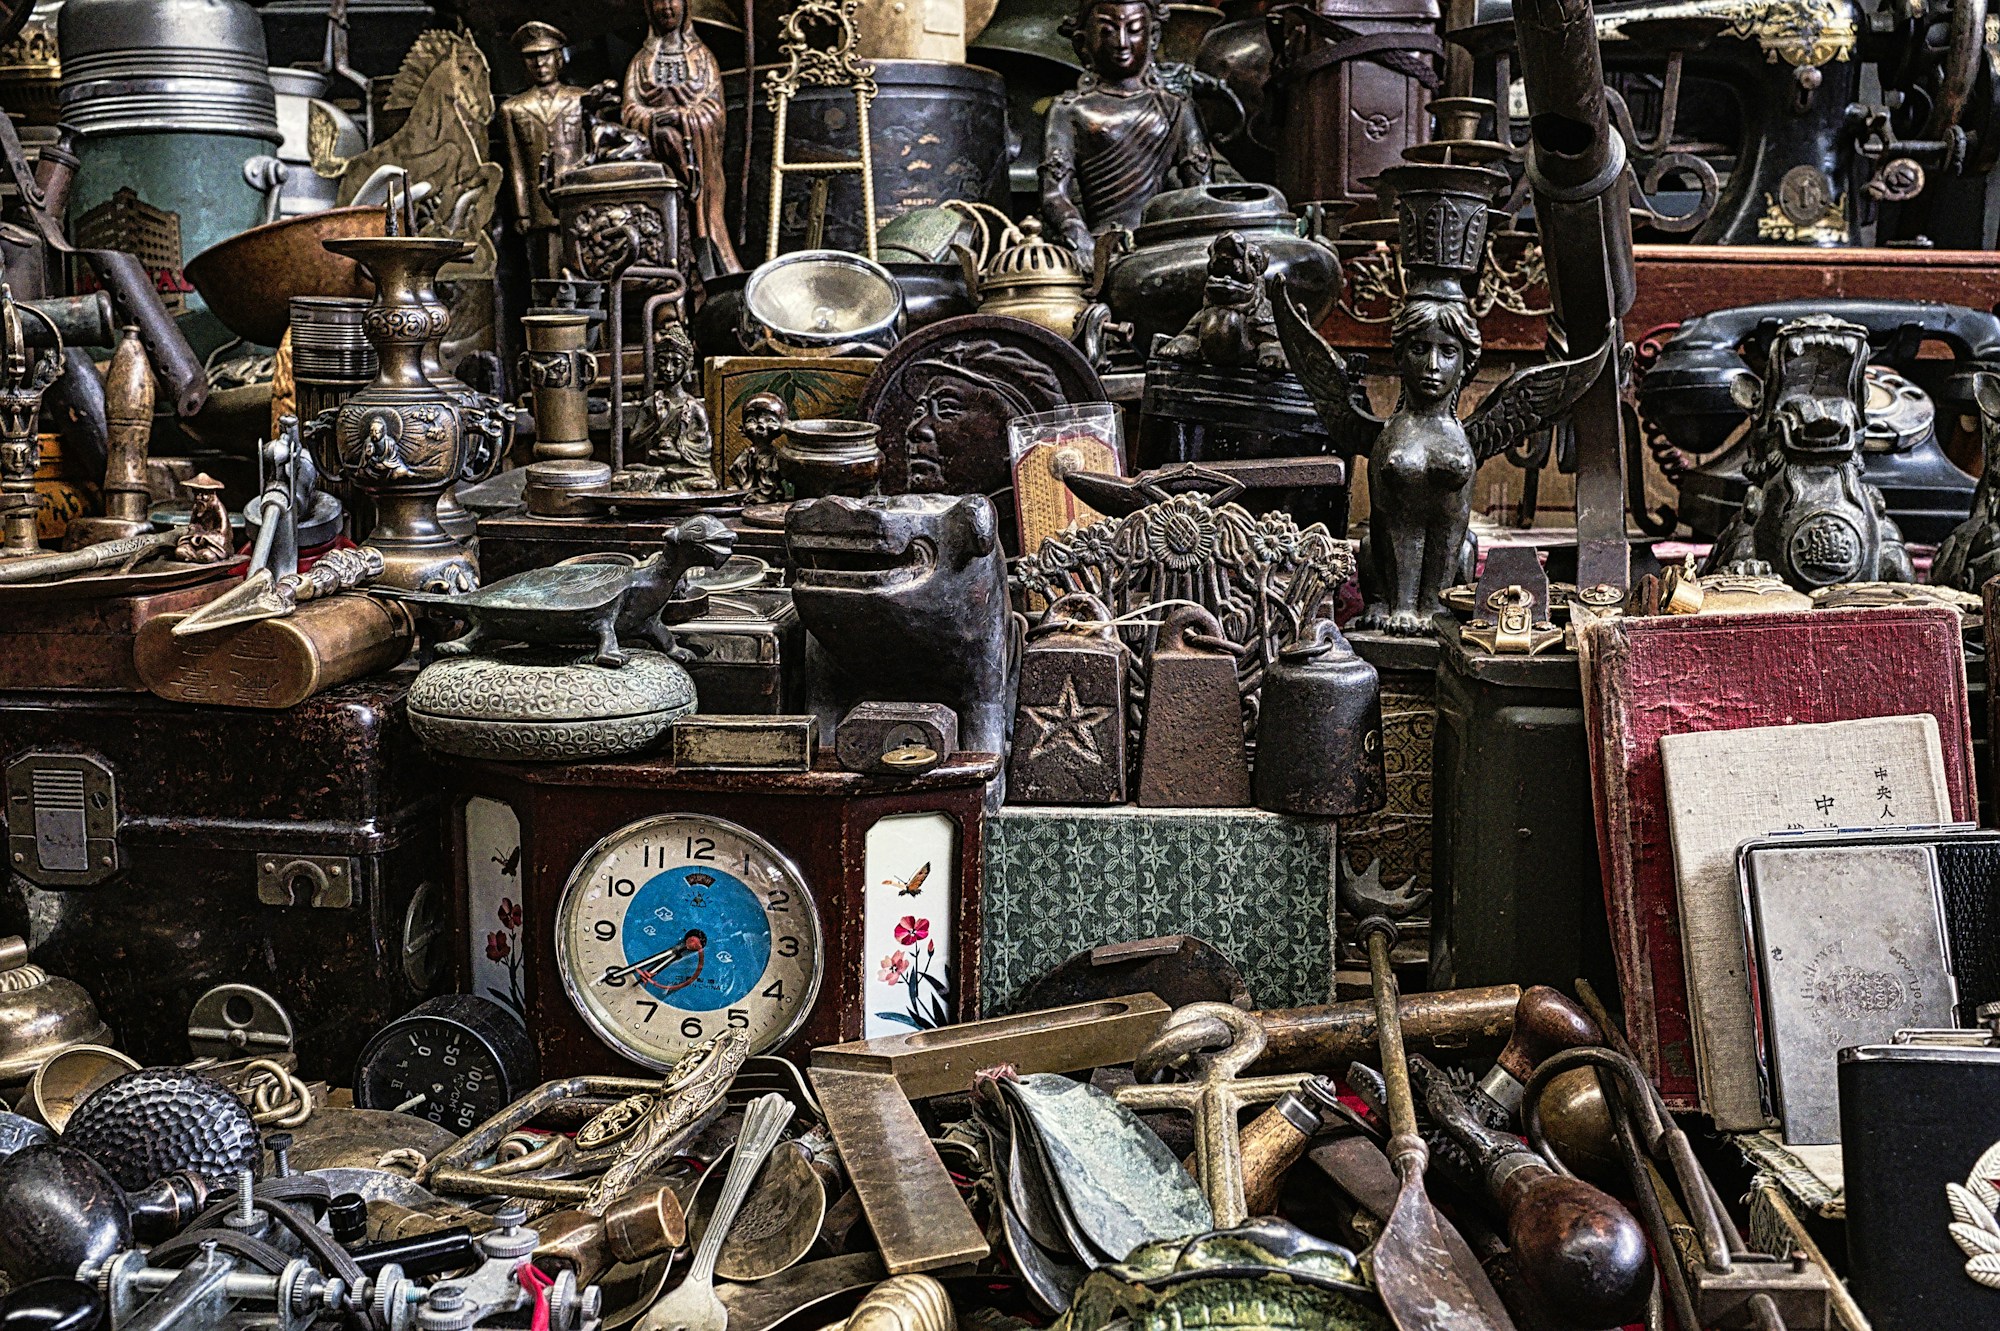
Watching a candy machine restoration might send you straight to the next flea market. Look for cast iron tools, brass and bronze pieces, hand cranked kitchen gadgets and old molds. Heavy pieces with a little surface rust are often good bargains. If you love a good rescue, our furniture flips are full of curbside finds that got a second life too. What would you hunt for first?
You will need: Cash in small bills, a magnet, a flashlight, a tote bag and a list of what you want.
How to make it: 1. Arrive early for the best picks. 2. Use a magnet to spot iron. 3. Check for cracks and missing parts. 4. Ask politely about the price and the story behind it.
Safe Home Rust Removal for Small Treasures
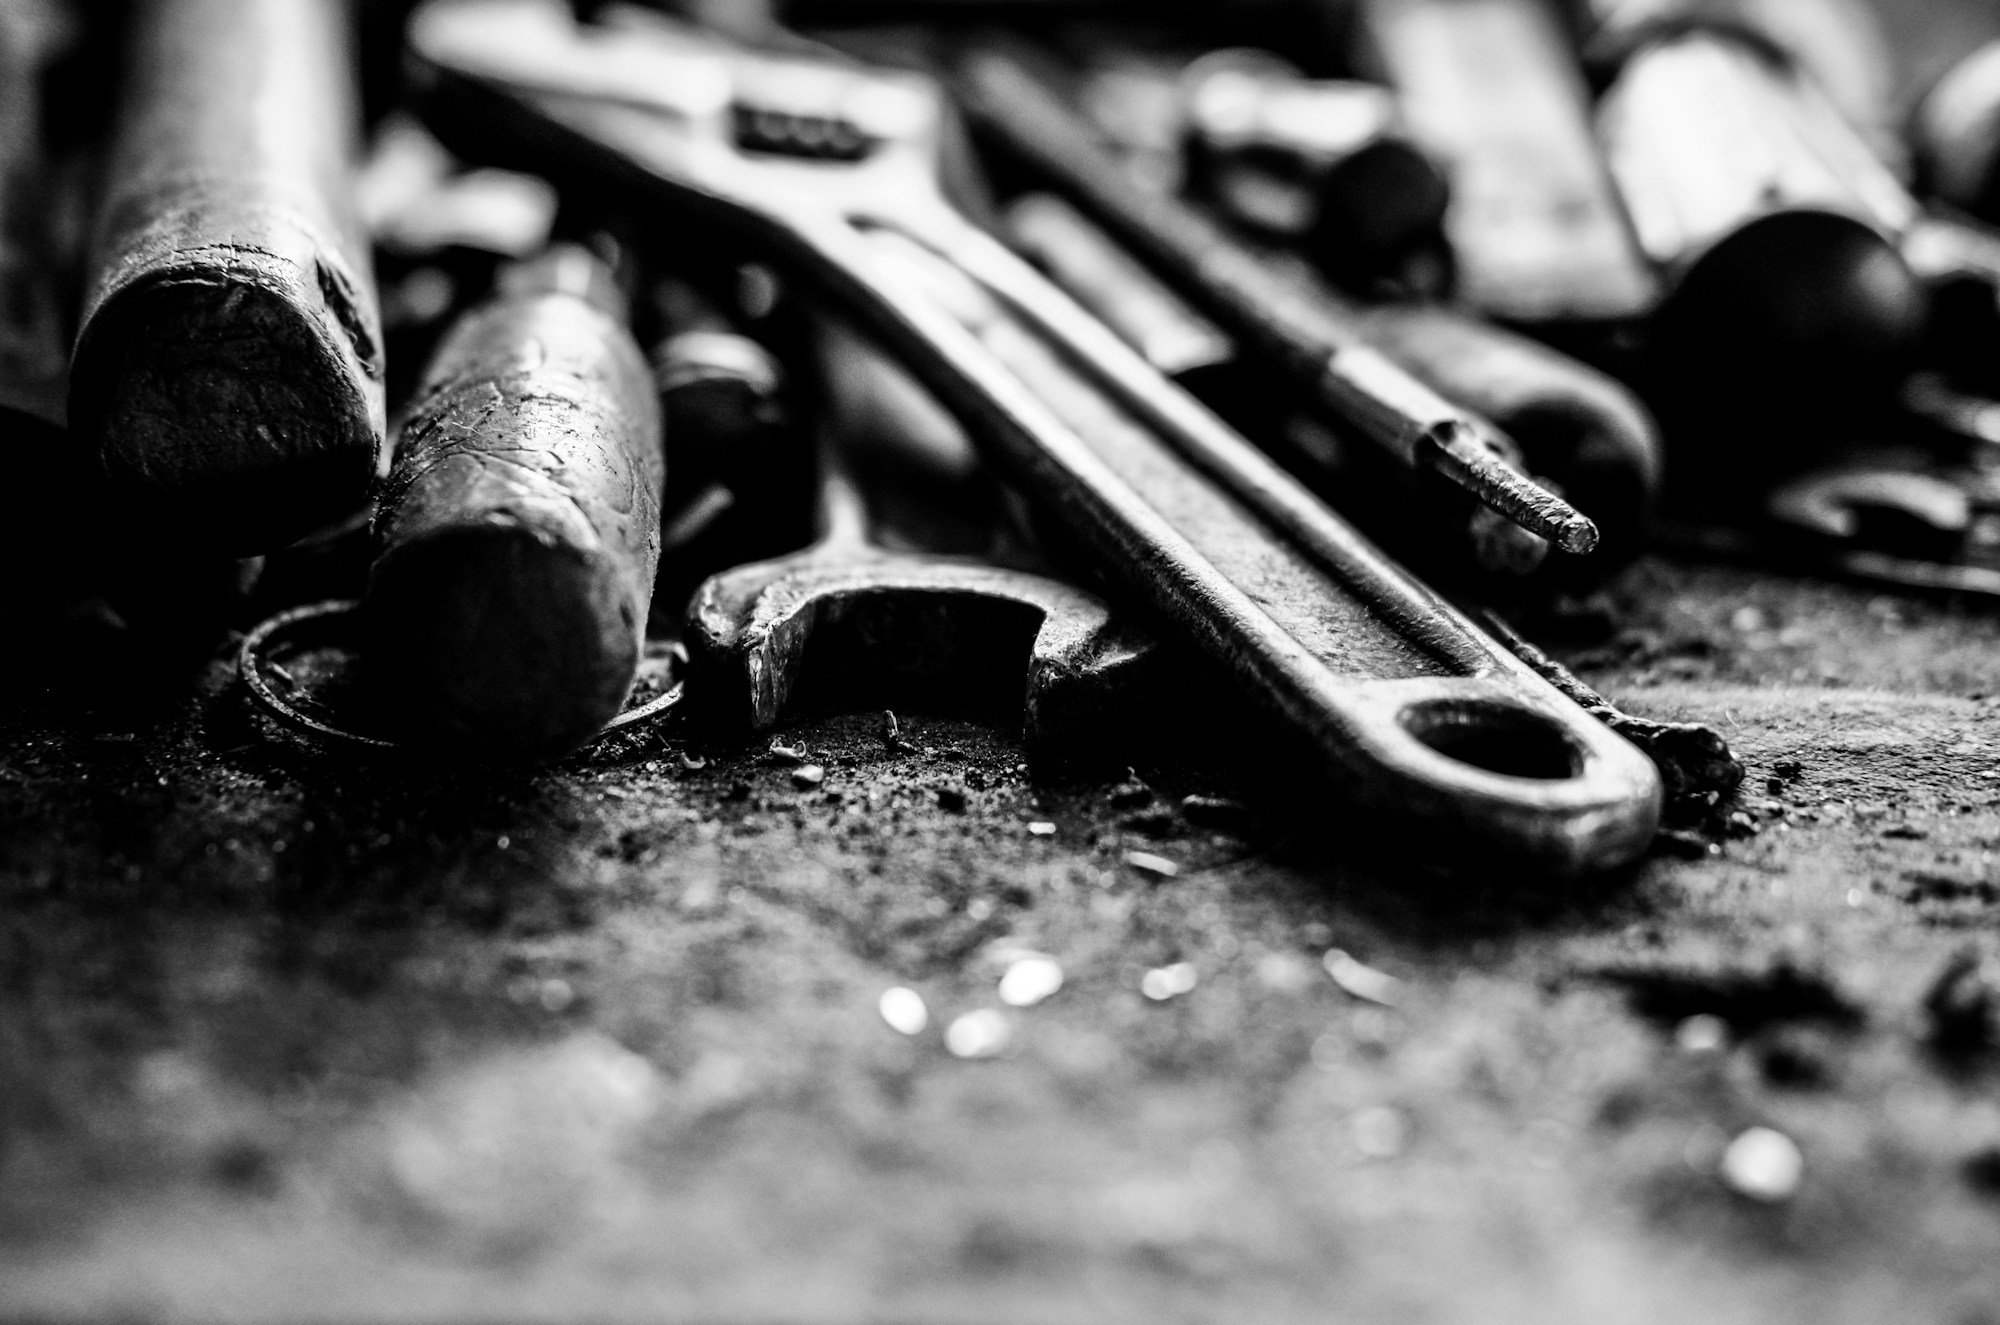
You do not need a sandblaster to clean small rusty tools at home. A plain white vinegar soak loosens light rust, and steel wool or a stiff brush does the rest. Work in a ventilated spot, wear gloves and never mix cleaning products. Once the metal is clean, dry it right away and wipe on a thin coat of oil so the rust does not come back. Which rusty tool in your garage deserves a second chance?
You will need: White vinegar, a plastic tub, gloves, steel wool or a stiff brush, old towels and a light machine oil.
How to make it: 1. Soak the small rusty piece in vinegar for a few hours. 2. Scrub the loosened rust with steel wool. 3. Rinse and dry it completely. 4. Wipe on a thin coat of oil.