Mason Jar Christmas Crafts: 13 Dollar Store Ideas That Look Way More Expensive Than They Are
Mason Jar Christmas Crafts are proof that the prettiest holiday decor does not have to cost much at all. A plain glass jar from the dollar store, a bit of paint, some ribbon and a few battery lights can turn into a glowing luminary, a tiny snowy village or a gift that looks like it came from a fancy boutique. Holiday jar videos have pulled in millions of views online because they are so quick and so satisfying to make. Whether you want sweet gifts for neighbors, a cozy table centerpiece or a fun craft night with friends, these 13 easy ideas will keep your hands busy and your home glowing all season long..
Mason Jar Christmas Crafts: Glowing Snowy Tree Jars
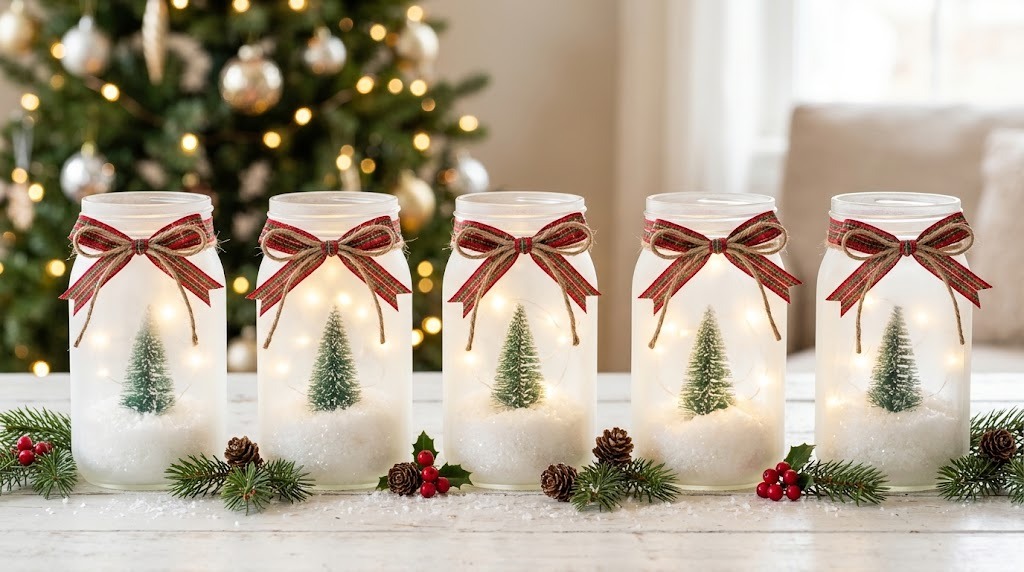
These glowing tree jars are the easiest way to start your Mason Jar Christmas Crafts collection. Frost the glass, add a scoop of fake snow, press in a tiny bottle brush tree and tuck in a strand of battery fairy lights. Tie each one with plaid ribbon and line them up on a table or mantel. Five jars cost less than one store bought centerpiece, and they look like they came from a holiday boutique. How many will you make..
You will need: 5 mason jars, frosted glass spray, fake snow, mini bottle brush trees, battery fairy lights, plaid ribbon, twine.
How to make it: 1. Spray the outside of each jar with frosted glass spray and let it dry. 2. Add fake snow and press a tree into the center. 3. Coil fairy lights inside and tie ribbon around the neck.
Floating Ornament Water Jar
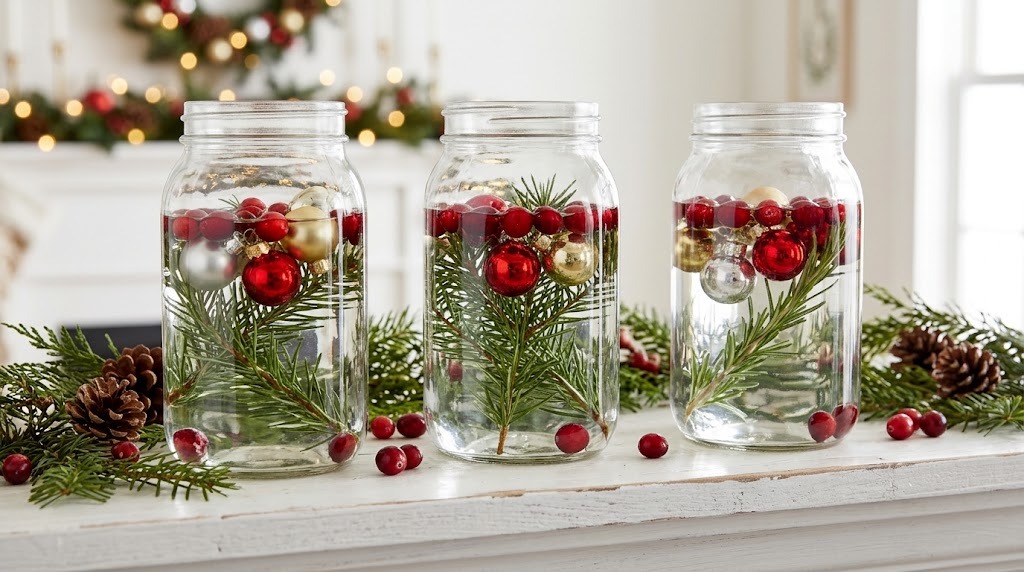
A floating ornament jar looks like magic and takes about five minutes. Push a pine sprig into a clear jar, fill it with water, then drop in small shatterproof ornaments and fresh cranberries that bob near the top. One floating ornament jar video on YouTube has passed 2.9 million views. Use plastic ornaments so nothing breaks. Line up three on a mantel and they catch the light beautifully. Which colors would you float?
You will need: Tall clear jars, small shatterproof ornaments, fresh cranberries, pine or rosemary sprigs, water.
How to make it: 1. Place a pine sprig in each jar. 2. Fill with cold water almost to the top. 3. Add cranberries and ornaments so they float near the rim.
Sock Snowman Jar

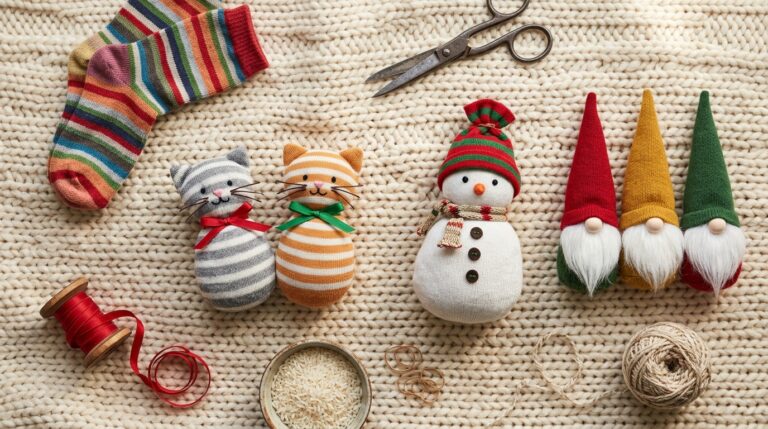
Of all the Mason Jar Christmas Crafts here, this one wins the cute prize: an old white sock and a jar become a little snowman. Stretch the sock over the jar, fold the extra into a hat, and add button eyes, a felt carrot nose and a scrap of plaid for a scarf. One version of this craft has more than 3 million views on YouTube. It makes a sweet gift filled with candy, too. Would you give yours a red hat or a green one?
You will need: A small jar, a white knit sock, a colored sock for the hat, 2 black buttons, orange felt, a fabric scrap, fabric glue.
How to make it: 1. Pull the white sock over the jar and trim the extra. 2. Cut the colored sock top into a hat and glue it on. 3. Add buttons, a felt nose and a tied scarf.
Mason Jar Christmas Crafts: Frosted Snowflake Luminary
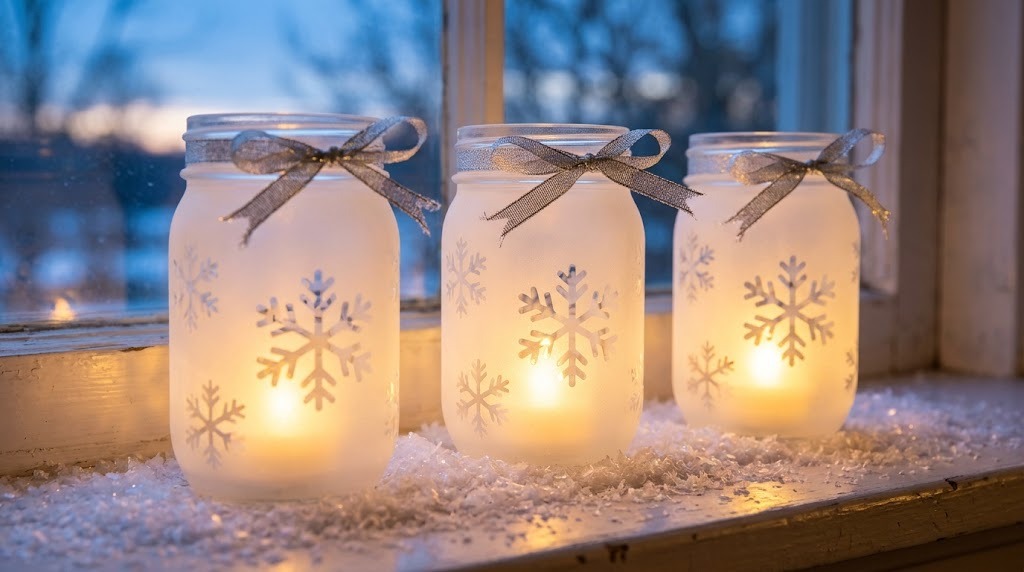
Frosted luminaries are some of the prettiest Mason Jar Christmas Crafts, and they are completely safe because the glow comes from battery tea lights. Stick snowflake stickers on clear jars, spray them with frosted glass spray, then peel off the stickers to reveal clear snowflakes. When the tea light flickers inside, the snowflakes shine like frost on a window. Tie silver ribbon at the top. Where would you set your row of glowing jars?
You will need: Clear jars, snowflake vinyl stickers, frosted glass spray, battery LED tea lights, silver ribbon.
How to make it: 1. Press snowflake stickers firmly onto clean jars. 2. Spray two light coats of frosted glass spray outdoors and let dry. 3. Peel the stickers, add a battery tea light and tie on ribbon.
Candy Cane Striped Painted Jar
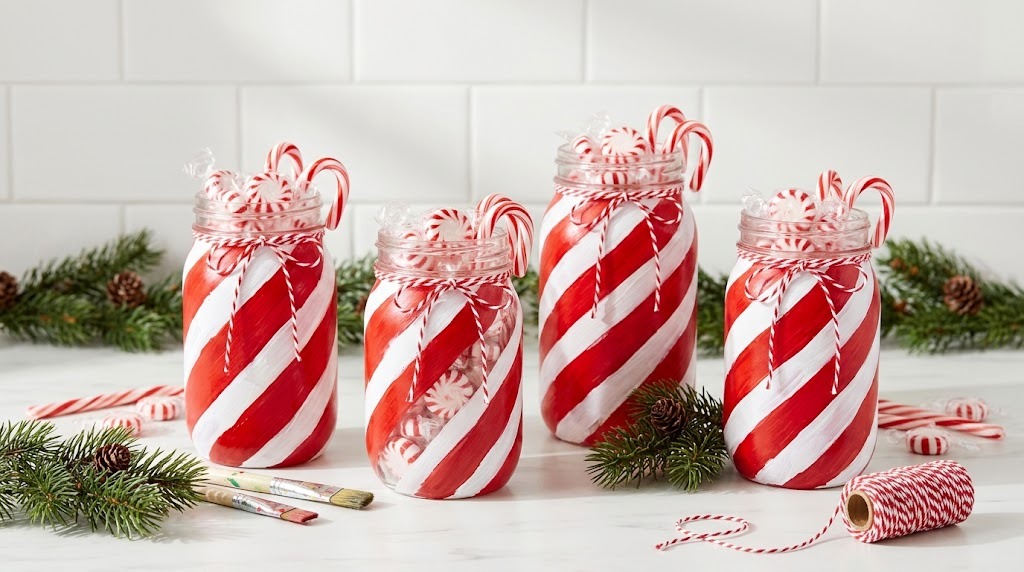
Bold red and white stripes make a plain jar look like a giant candy cane. Wrap painter’s tape around the jar on a slant, paint the red stripes, then peel the tape while the paint is still a little wet for crisp lines. Fill it with peppermints and tie on baker’s twine. They are cheerful on a kitchen counter and make easy gifts for teachers and neighbors. Would you fill yours with candy or cocoa?
You will need: Jars, white and red acrylic or chalk paint, painter’s tape, a flat brush, baker’s twine, peppermints.
How to make it: 1. Paint the jar white and let it dry. 2. Wrap tape diagonally and paint the gaps red. 3. Peel the tape, let it dry and fill with candy.
Mason Jar Christmas Crafts: Hot Cocoa Mix Gift Jar
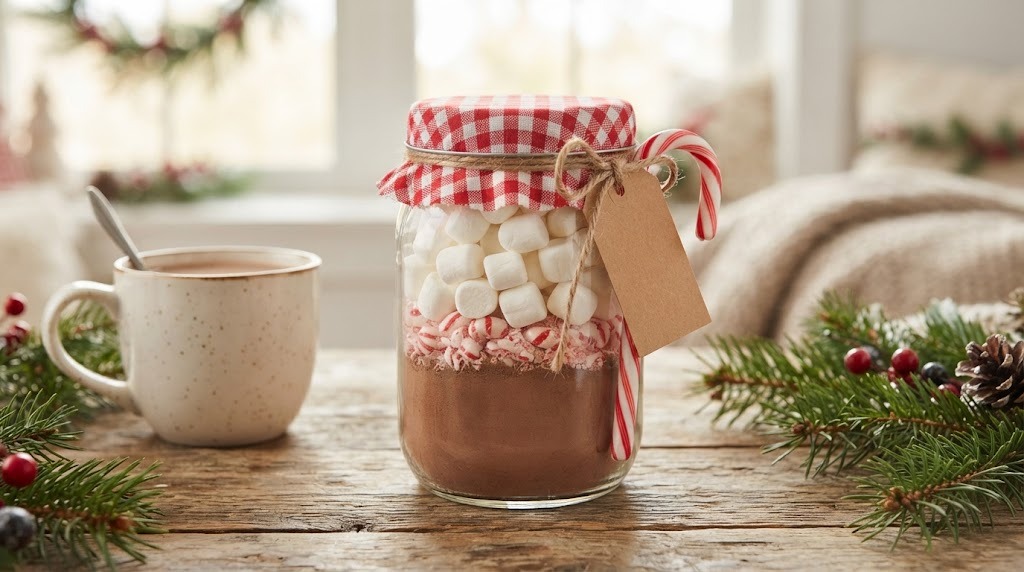
A layered cocoa jar is the gift everyone hopes to get. Spoon cocoa mix into a clean jar, top it with mini marshmallows and crushed peppermint, and add a little tag with the directions: stir three spoonfuls into a mug of hot milk. Tie a candy cane to the lid with ribbon. For more budget friendly ideas, see our dollar store Christmas gifts. Who on your list loves cocoa the most?
You will need: A pint jar with lid, hot cocoa mix, mini marshmallows, crushed peppermint, a fabric square, ribbon, a gift tag.
How to make it: 1. Pour cocoa mix into the jar and tap to level it. 2. Add a layer of peppermint, then fill to the top with marshmallows. 3. Cover the lid with fabric, tie ribbon and add the tag.
Mason Jar Christmas Crafts: Mini Winter Village Inside a Jar
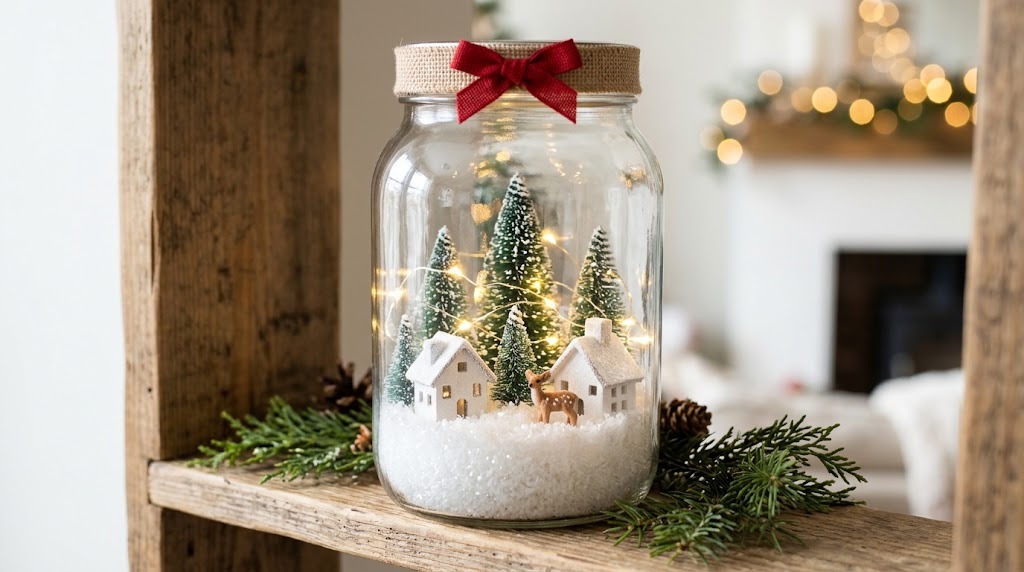
A whole snowy village can fit inside a single jar, and it might be the most charming of all these Mason Jar Christmas Crafts. Glue tiny houses, bottle brush trees and a little deer to the inside of the lid or the jar bottom, add fake snow, and wind battery fairy lights through the scene. Wrap the lid in burlap and finish with a red bow. It looks like a keepsake snow globe. Which tiny houses would you choose?
You will need: A wide mouth jar, miniature houses, mini bottle brush trees, a tiny animal figurine, fake snow, battery fairy lights, burlap, ribbon.
How to make it: 1. Glue the houses and trees to a cardboard circle that fits the jar bottom. 2. Add snow and the figurine, then set it inside. 3. Coil the lights around the scene and decorate the lid.
Glitter Dipped Jar Rims
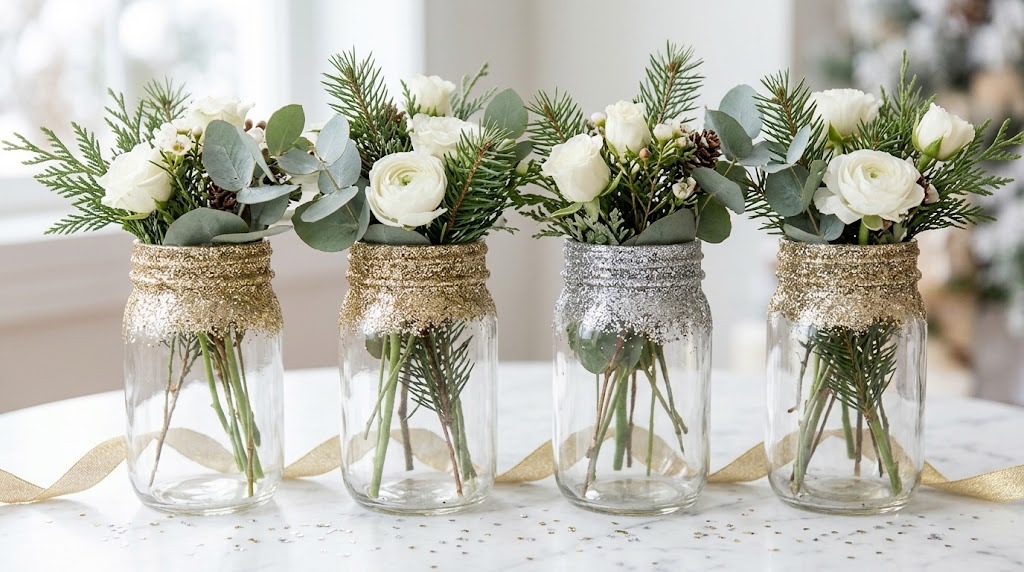
A little sparkle along the rim makes a simple jar look ready for a holiday party. Brush glue around the top inch of the jar, dip it into gold or silver glitter, and seal it so the glitter stays put. Fill the jars with white flowers, eucalyptus or pine and you have centerpieces that look elegant and expensive. They are perfect for New Year’s Eve too. Gold or silver for your table?
You will need: Clear jars, craft glue or decoupage glue, fine glitter, a paper plate, a small brush, clear sealer spray.
How to make it: 1. Brush glue around the rim of each jar. 2. Roll the rim in glitter on a paper plate. 3. Let it dry, spray with sealer and add your stems.
Reindeer Face Painted Jars
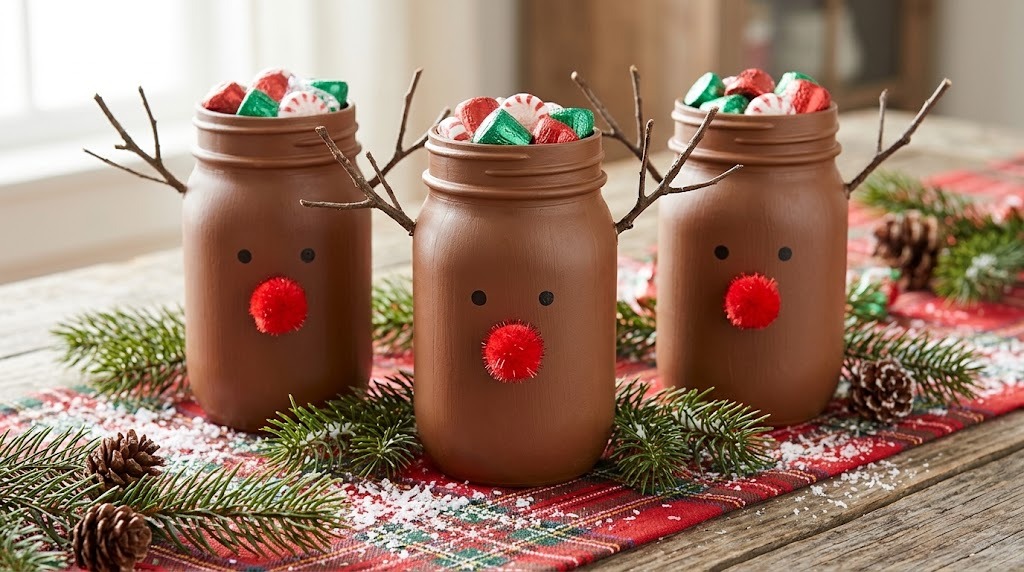
These reindeer Mason Jar Christmas Crafts always get a smile. Paint the jars brown, glue small twigs on the sides for antlers, and add googly or painted eyes plus a fluffy red pom pom nose. Fill them with chocolates or candy and they turn into happy little gifts for coworkers or the grandkids’ teachers. Make a whole team of them in one evening. Will you add a Rudolph to lead the pack?
You will need: Small jars, brown acrylic paint, small twigs, red pom poms, black paint or eyes, craft glue, candy.
How to make it: 1. Paint each jar brown and let it dry. 2. Glue twigs to the sides near the top as antlers. 3. Add eyes and a red pom pom nose, then fill with candy.
Cookie Jar Gift With a Layered Mix

Cookie jars are a classic homemade gift that never goes out of style. Pour flour, sugars, chocolate chips and candies into a jar in neat stripes, pressing each layer down, and add a recipe card with the wet ingredients to mix in. Short on time? Fill a pretty jar with baked cookies instead and tie on a ribbon. It looks lovely on a kitchen shelf and tastes even better on a cold afternoon. Which cookie would you share?
You will need: A quart jar, flour, brown sugar, white sugar, chocolate chips, candy pieces, a funnel, a recipe card, ribbon.
How to make it: 1. Mix the flour with baking soda and salt. 2. Funnel each ingredient into the jar in layers, pressing them flat. 3. Seal the lid and tie on the recipe card.
Fairy Light Jar Lantern
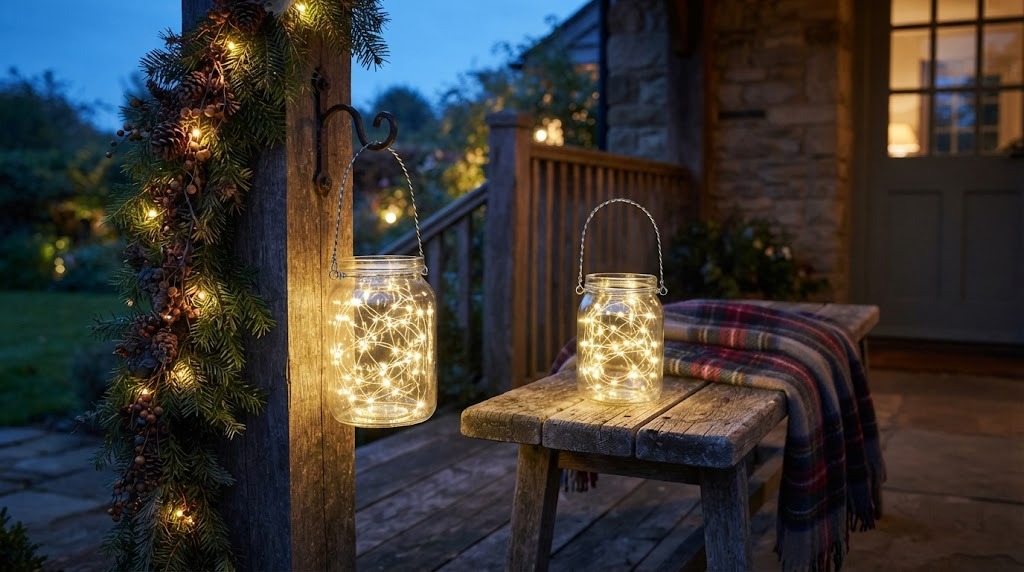
Nothing is simpler than a jar full of fairy lights, and nothing feels cozier on a dark winter evening. Coil a strand of warm white battery lights inside a clear jar, tuck the battery pack under a bit of moss or fabric, and set it on a shelf or nightstand. A wire handle turns it into a lantern you can hang on a porch hook. Make a few for every room. Where would you hang yours?
You will need: A clear jar, warm white battery fairy lights, a little moss or fabric, wire for a handle, pliers.
How to make it: 1. Feed the lights loosely into the jar so they fill the space. 2. Hide the battery pack under moss at the top. 3. Twist wire around the neck to make a hanging handle.
Pine Cone and Cranberry Centerpiece Jar
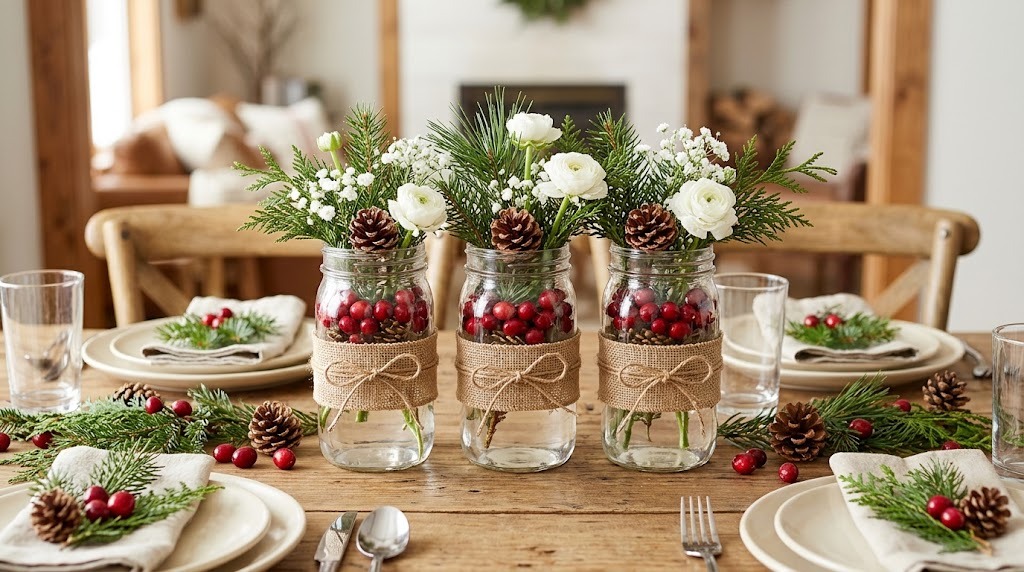
A row of jars filled with cranberries, pine cones and fresh greens makes a beautiful low centerpiece that guests can see over. Drop the cranberries and cones in first, add water, then push in pine sprigs and a few white flowers. Wrap the jars with burlap and twine for a farmhouse look. It costs a few dollars and looks like a florist made it. How long would your table runner of jars be?
You will need: 3 to 5 jars, fresh cranberries, small pine cones, pine sprigs, white flowers, burlap, twine, water.
How to make it: 1. Add cranberries and pine cones to each jar. 2. Fill with water and arrange pine and flowers. 3. Wrap burlap around the middle and tie with twine.
Mason Jar Christmas Crafts: Sweater Sleeve Jar Cozy
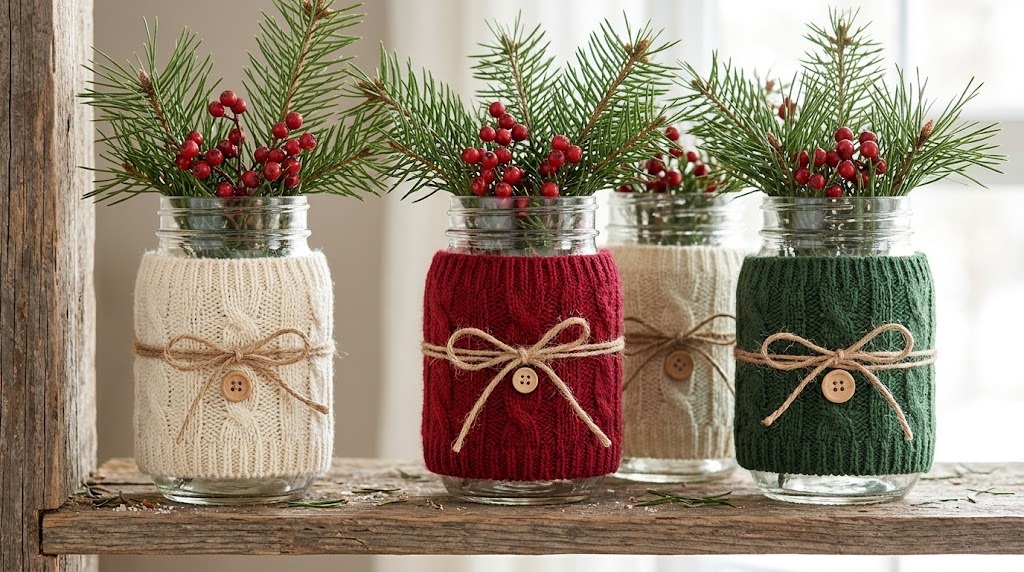
An old sweater with a hole in the elbow still has two cozy sleeves to give. Cut the sleeves into tubes, slide them over jars, fold the tops, and add a wooden button. Fill them with pine and berries for a warm cabin look. It is a lovely last project in your Mason Jar Christmas Crafts list and a great way to reuse clothes. Which old sweater would you cut up first?
You will need: An old knit sweater, jars, sharp scissors, wooden buttons, a needle and thread or fabric glue, pine sprigs, berries.
How to make it: 1. Cut the sleeves into pieces a little taller than the jars. 2. Slide them on and fold the top edge down. 3. Sew or glue on a button and add greenery.