Outdoor Christmas Trees: 15 Giant DIY Yard Trees That Look Like a Town Square Display on a Budget
Outdoor Christmas trees give a house that big town square feeling the moment neighbors drive past, and you do not need a store bought giant to get it. Homemade yard trees are one of the most watched holiday projects online right now, with one giant DIY tree video topping 5.6 million views. Families want the grand look on the lawn or porch without the grand price tag. In this gallery you will find trees made from old tires, wood planks, ladders, crates, chicken wire and even a laundry basket, plus a few real evergreen ideas for anyone who likes living greenery. Every one of these outdoor Christmas trees uses simple supplies, weatherproof trims and daylight friendly decorations, so they look cheerful from morning to dusk. Pick a favorite, grab your work gloves and let’s get building..
Outdoor Christmas Trees That Steal the Show on the Front Yard
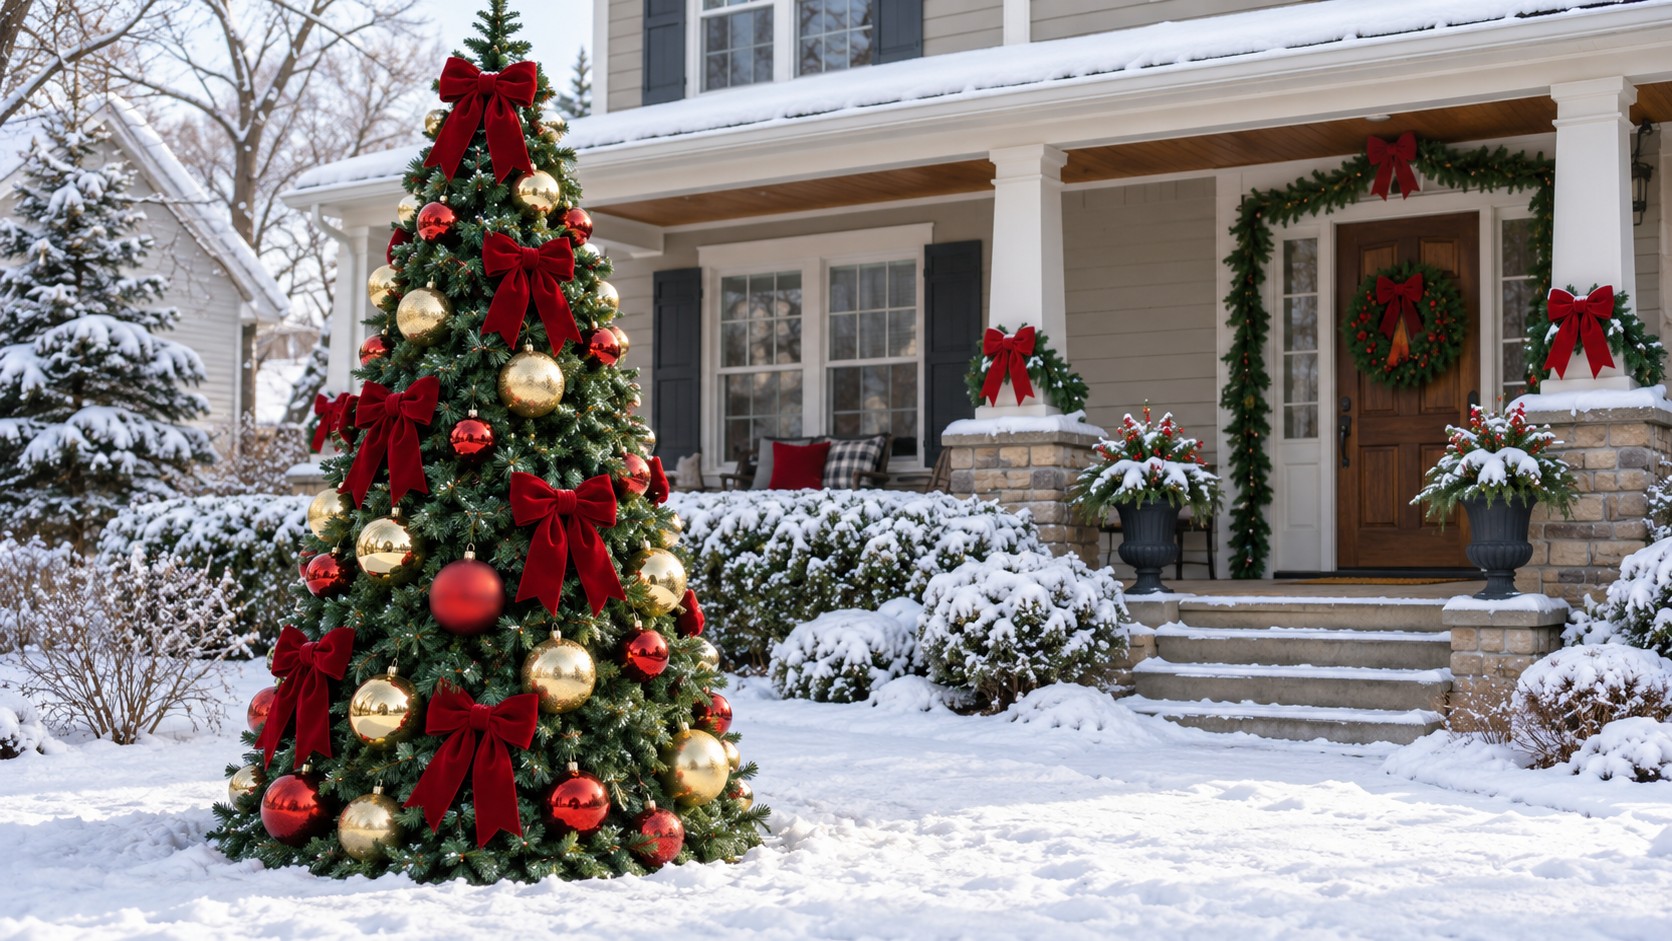
The project that started this trend is a giant cone tree built right on the front yard. The creator DiY BiGBooM shared a giant outdoor Christmas tree video that has been watched more than 5.6 million times, and it is easy to see why. A tall frame wrapped in thick faux garland, big red velvet bows and oversized ornaments looks like it came from a city plaza. Pair it with a few of our favorite Christmas yard decorations and your house becomes the stop on every holiday drive..
You will need: a tall tomato cage style cone frame or a homemade frame from four 8 foot 1×2 boards, about 60 feet of thick faux pine garland, zip ties, 8 to 10 large red velvet bows, oversized shatterproof ornaments, and 2 metal stakes.
How to make it: 1. Stand the cone frame on the yard and anchor it with metal stakes and wire. 2. Wrap the garland from the bottom up, zip tying it every foot so it stays full. 3. Add the bows in a loose spiral and hang the big ornaments in the gaps.
Matching Potted Evergreens by the Front Door
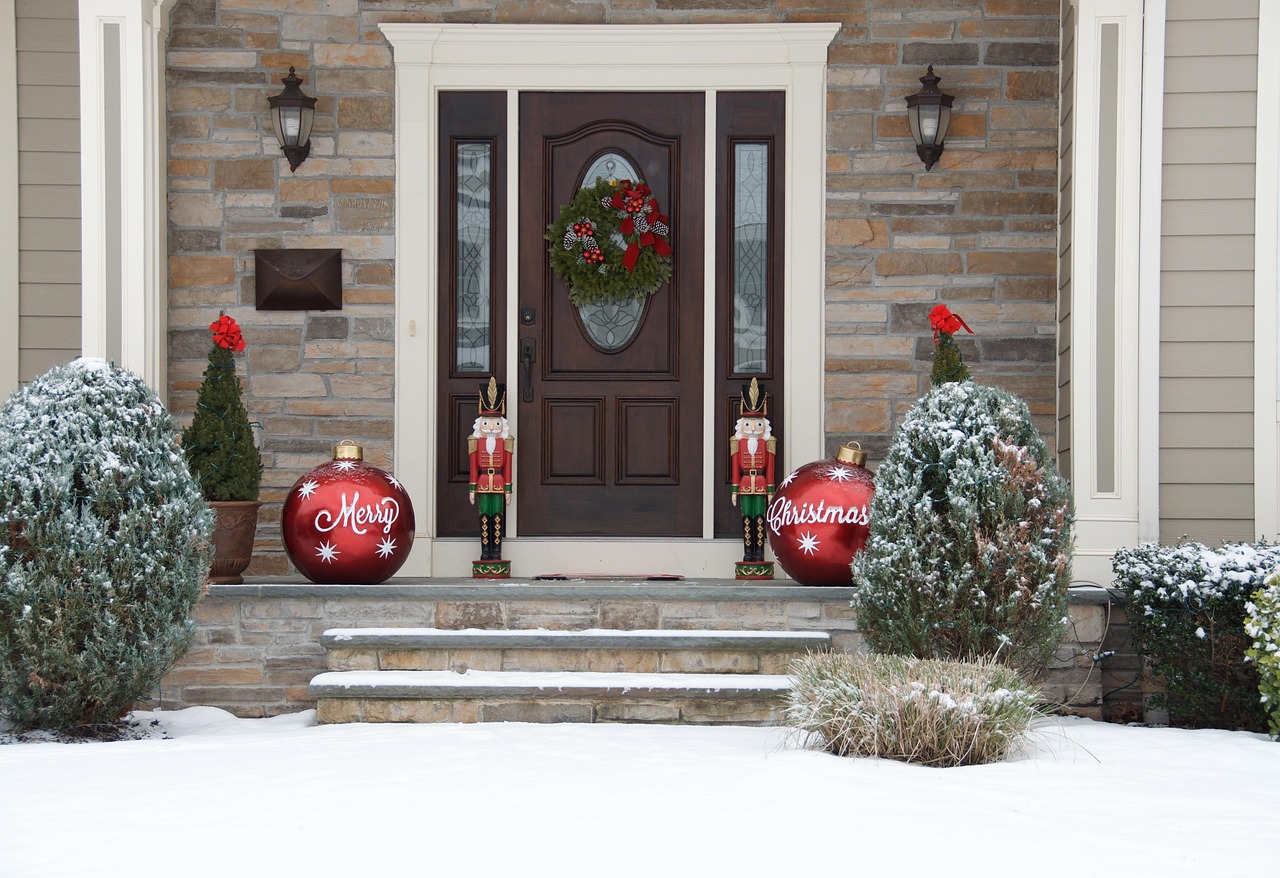
Sometimes the most elegant outdoor Christmas trees come in pairs. A pair of potted evergreens on either side of the front door frames the entrance like a hotel lobby, and a couple of giant red ornaments at their feet ties the look together. Dwarf Alberta spruce and boxwood both hold their shape all winter. Keep the pots matching for a formal feel, or mix sizes for a cottage look. You will find more planter combos in our Christmas porch planters post, including ways to keep the soil from freezing too fast.
You will need: 2 matching outdoor pots at least 16 inches wide, 2 small potted evergreens, potting soil, 2 to 4 large red shatterproof ornaments, and a bag of mulch.
How to make it: 1. Set the pots on each side of the door and fill the bottom third with soil. 2. Plant the evergreens at the same height and top with mulch. 3. Nestle the big ornaments at the base of each pot and water lightly once a week.
Outdoor Christmas Trees From Stacked Old Tires
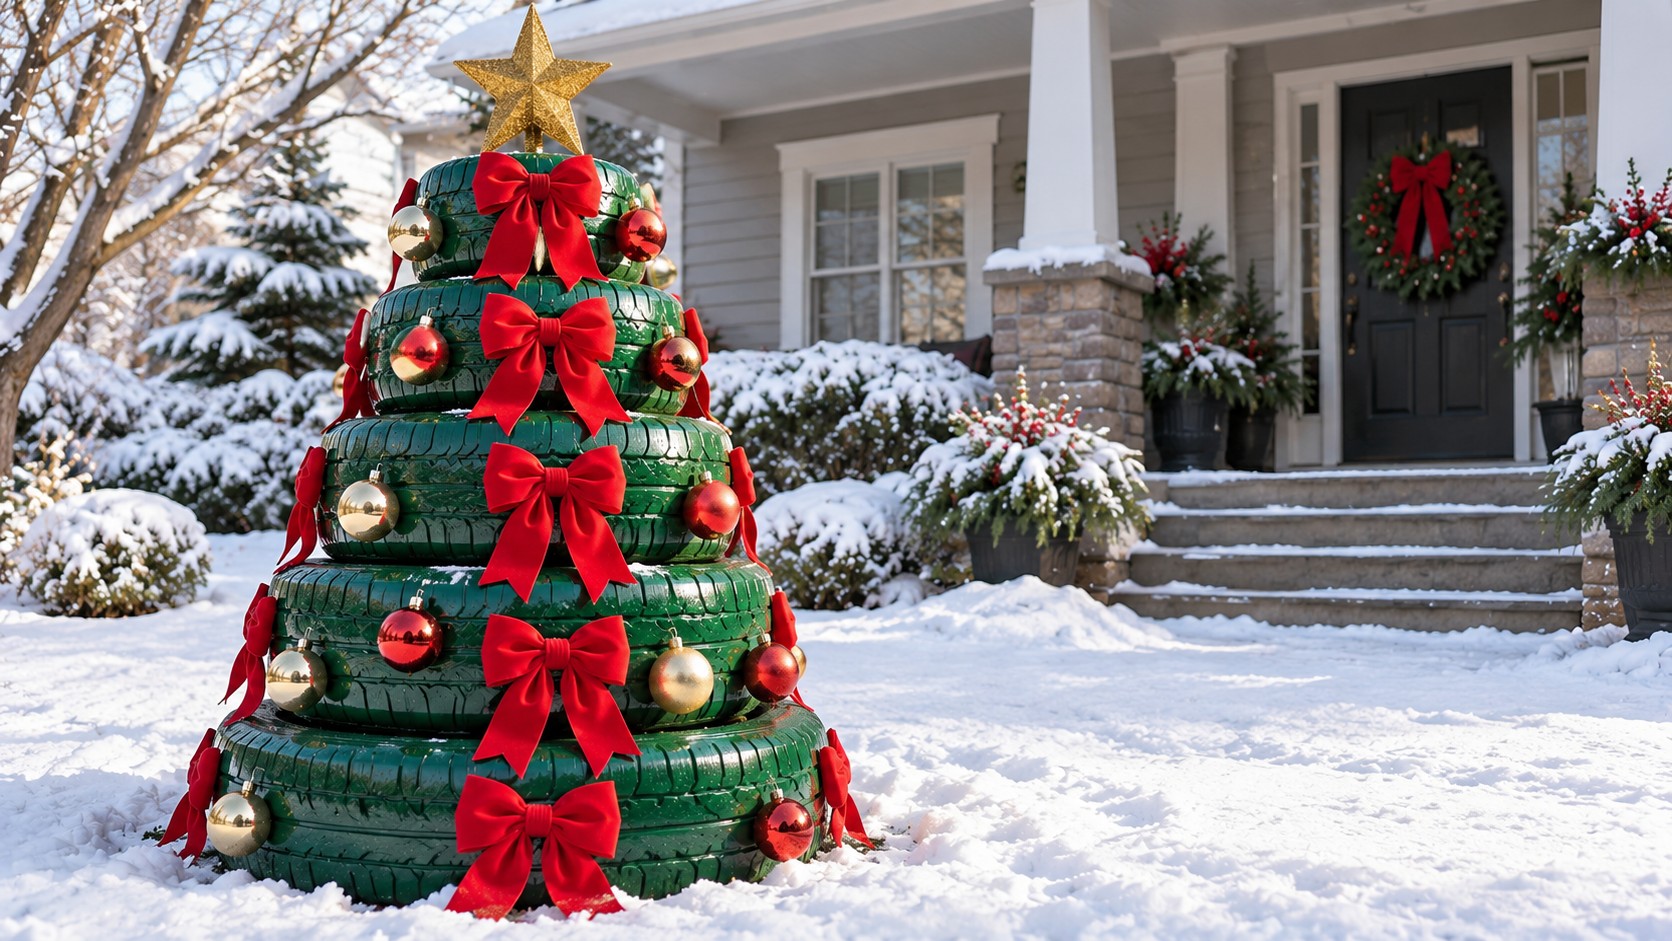
Old tires are free at most repair shops, and stacked in a cone they make one of the boldest outdoor Christmas trees you can build. Start with a big truck tire at the bottom and go smaller as you climb, then paint the stack glossy green. Big red bows and a gold star finish it off. The rubber shrugs off rain and snow, so the tree can stand all season with no worry. If you love projects that give junk a second life, browse our recycled Christmas decorations for more ideas.
You will need: 5 to 7 used tires in decreasing sizes, outdoor spray primer for rubber, glossy green outdoor spray paint, 6 large red bows, a weatherproof gold star, and a length of wire.
How to make it: 1. Wash the tires with soapy water and let them dry completely. 2. Prime and paint each tire green, then stack them from largest to smallest. 3. Wire the bows around the stack and fix the star to the top tire.
A Burlap Wrapped Potted Tree on the Deck
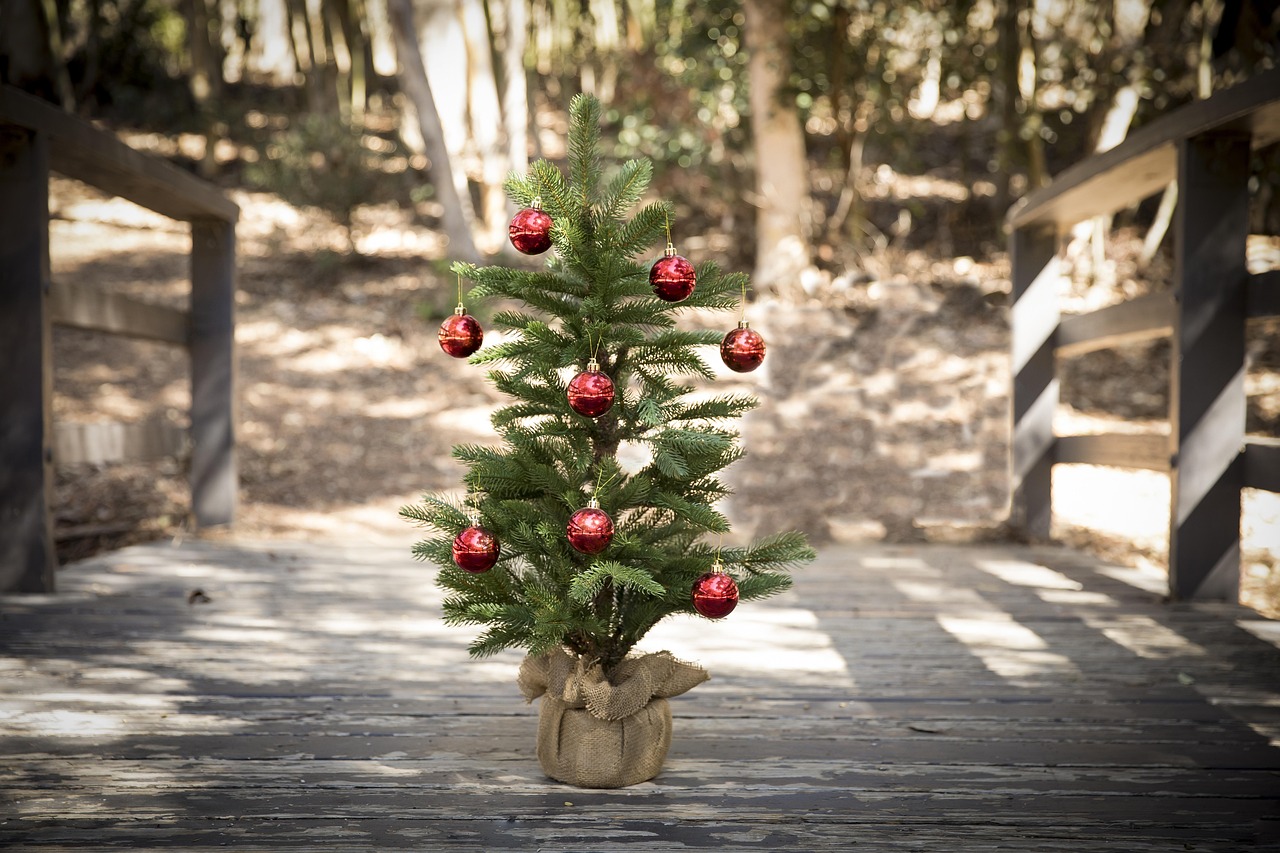
A small live tree in a burlap wrap is the quiet cousin of giant outdoor Christmas trees, and it looks lovely on a deck or patio. Red ornaments on green needles are all it needs. Wrap the nursery pot in burlap and tie it with jute cord for a farmhouse touch. After the holidays the tree can stay outside in its pot or be planted in the yard in spring. Our front porch planters guide has tips on choosing pots that will not crack in a hard freeze.
You will need: a small potted evergreen about 3 to 4 feet tall, a square of burlap, jute cord, 10 to 12 small red shatterproof ornaments, and a plant saucer.
How to make it: 1. Set the nursery pot in the center of the burlap and pull the corners up around it. 2. Tie the burlap in place with jute cord. 3. Hang the red ornaments evenly and set the tree on a saucer on the deck.
Outdoor Christmas Trees Built From Wood Planks
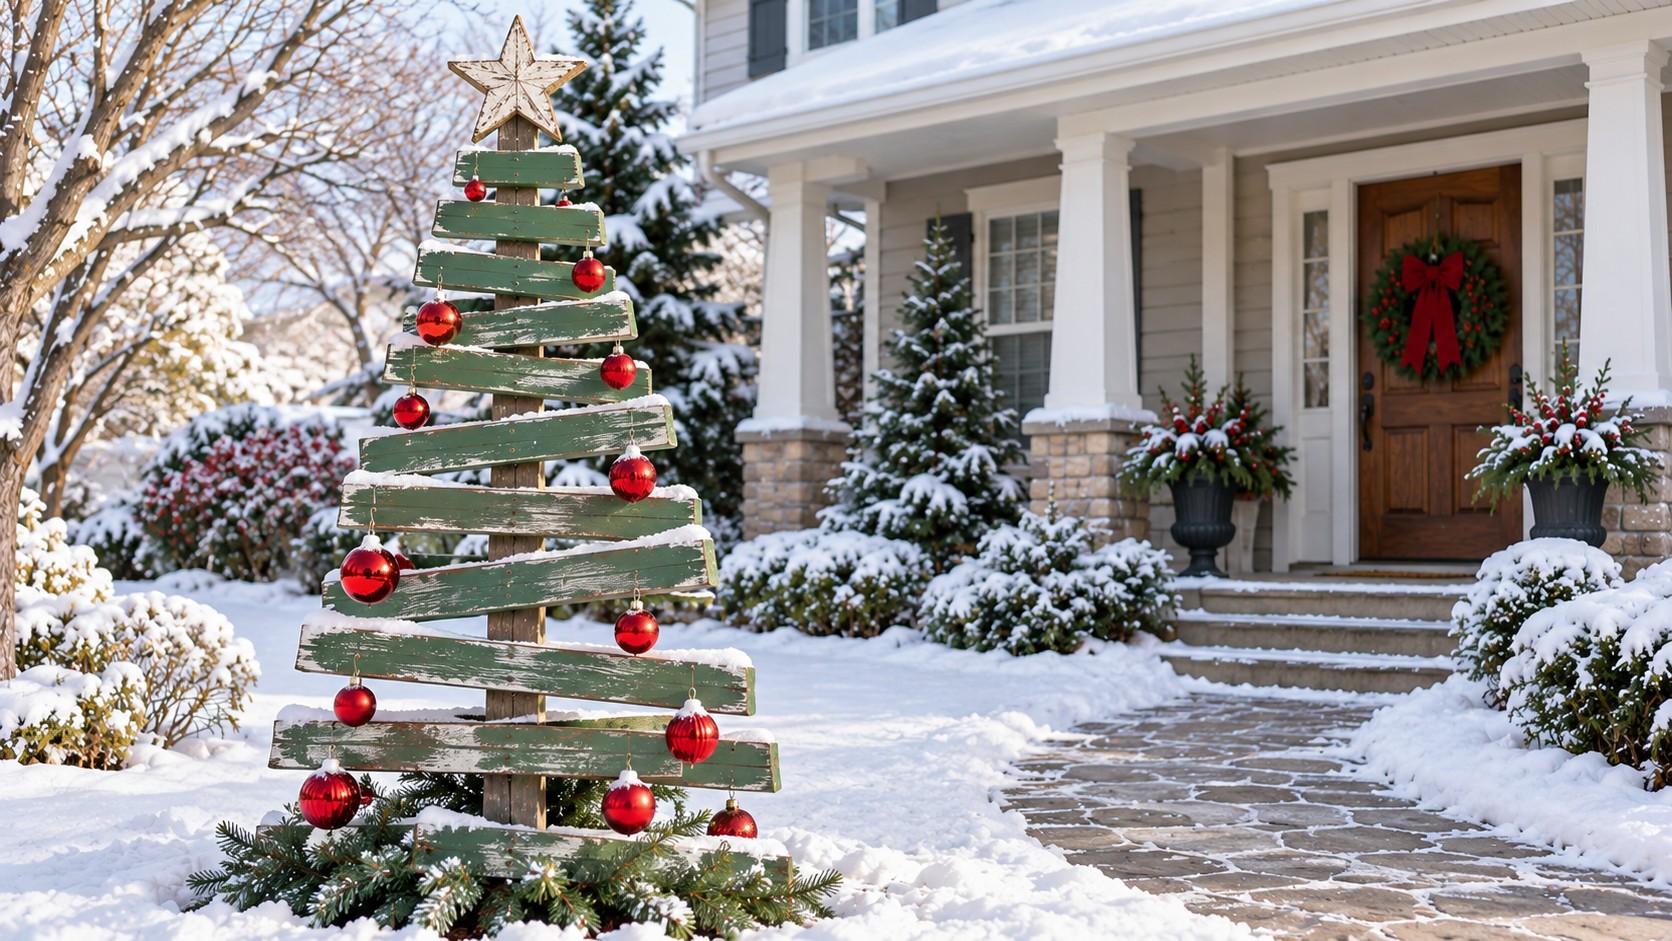
A plank tree looks modern and rustic at the same time. Cut boards in decreasing lengths, mount them across a tall center post, and you get a crisp tree shape that reads clearly from the street. Paint the planks soft green with white edges, or leave the wood natural and seal it. Hang a few red ornaments from small hooks under each plank. This is one of those outdoor Christmas trees that can be stored flat in the garage, and it pairs well with our 2×4 Christmas crafts.
You will need: one 8 foot 4×4 post, eight 1×6 boards, a miter saw, exterior wood glue, exterior nails, outdoor paint or sealer, cup hooks, red ornaments, and a post base or bucket of gravel.
How to make it: 1. Cut the boards from 48 inches down to 12 inches in even steps. 2. Glue and nail each board across the post, longest at the bottom, leaving a gap between them. 3. Paint or seal, add cup hooks, hang ornaments and stand the post in a base.
Shatterproof Red Ornaments on a Snowy Yard Tree

If you already have a pretty evergreen or a leafless shade tree in the yard, the fastest decoration of all is a load of shatterproof red ornaments. Hang them in small groups at different heights and let the snow settle on top for a picture perfect winter scene. Plastic ornaments will not break if they fall, and they hold their color in the sun. Go big near the bottom and smaller up high. For supersize versions you can make yourself, see our giant Christmas ornaments post.
You will need: 40 to 60 red shatterproof ornaments in three sizes, green floral wire, and a stepladder.
How to make it: 1. Thread a short loop of floral wire through each ornament cap. 2. Hang the largest ornaments on the lowest limbs and work up with smaller sizes. 3. Twist each wire loop closed so wind cannot carry the ornaments away.
Chicken Wire Cone Stuffed With Fresh Greenery
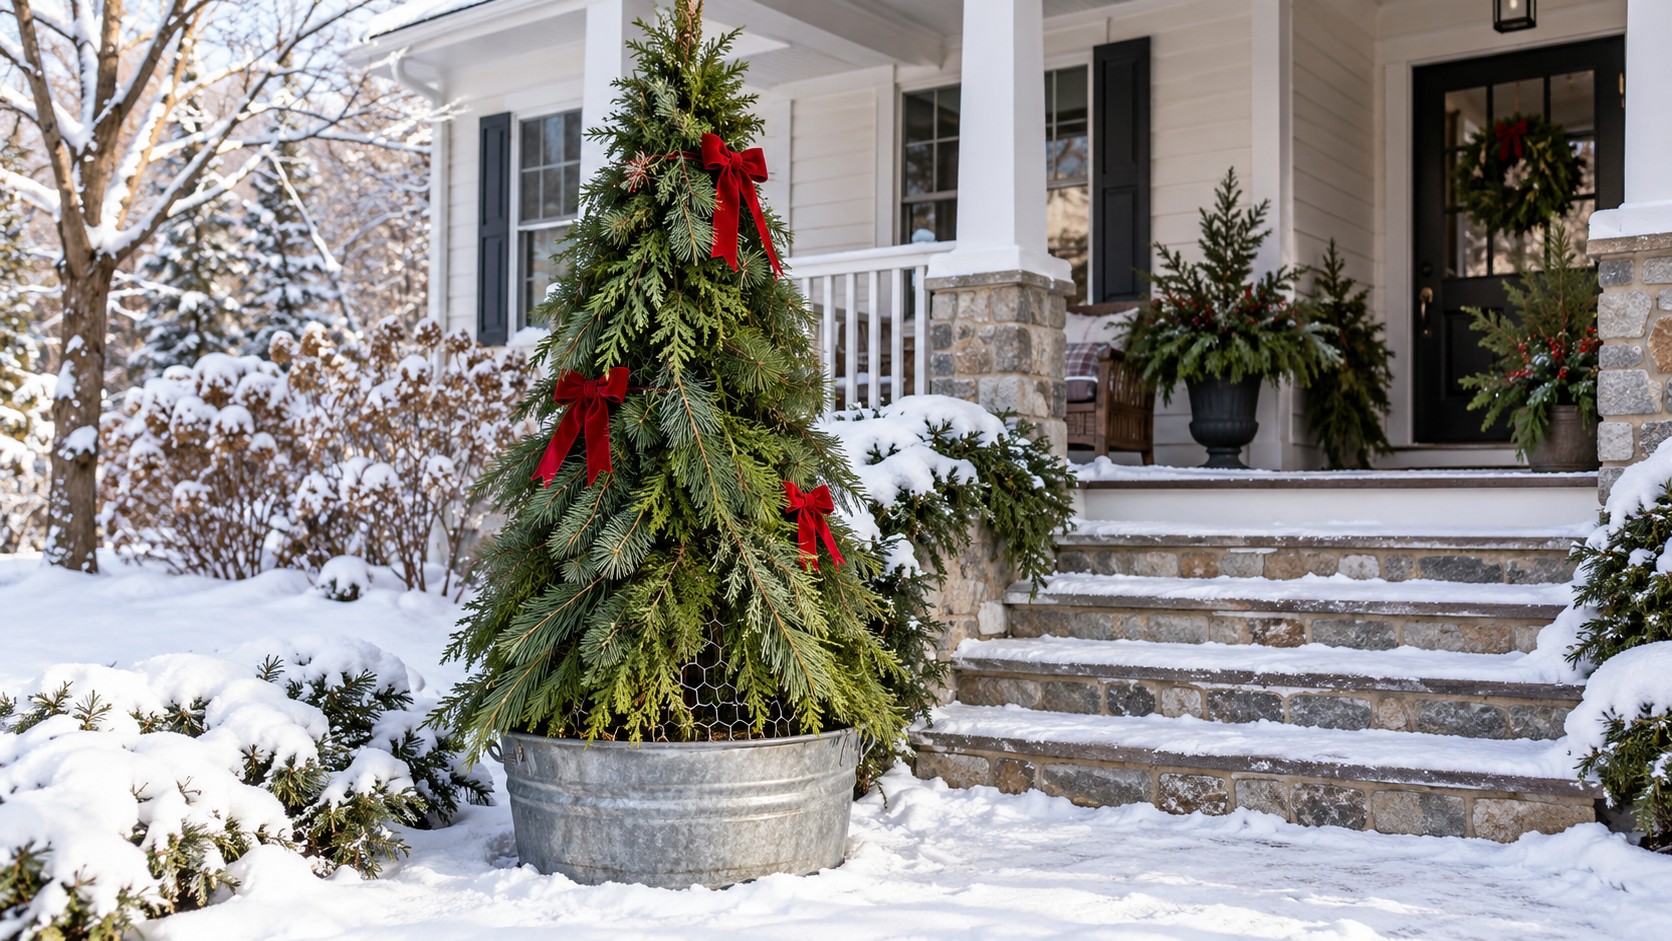
Chicken wire is the secret to a full, real looking tree with no trunk at all. Roll it into a tall cone, set it in a galvanized tub, and tuck fresh pine and cedar cuttings into every opening until the wire disappears. Christmas tree lots often give away trimmed greenery for free, so these outdoor Christmas trees can cost almost nothing. Add a few red bows and the tree smells wonderful every time you open the door. Any leftover greens can go into our DIY Christmas garland project.
You will need: a roll of chicken wire about 4 feet wide, wire cutters, work gloves, a large galvanized tub, a bag of sand or gravel, fresh pine and cedar cuttings, and red ribbon.
How to make it: 1. Roll the chicken wire into a cone about 6 feet tall and close the seam with the cut wire ends. 2. Set it in the tub and weigh the base with sand. 3. Push greenery into the openings from the bottom up and add bows.
Frosted Boughs for a Flocked Yard Tree Look
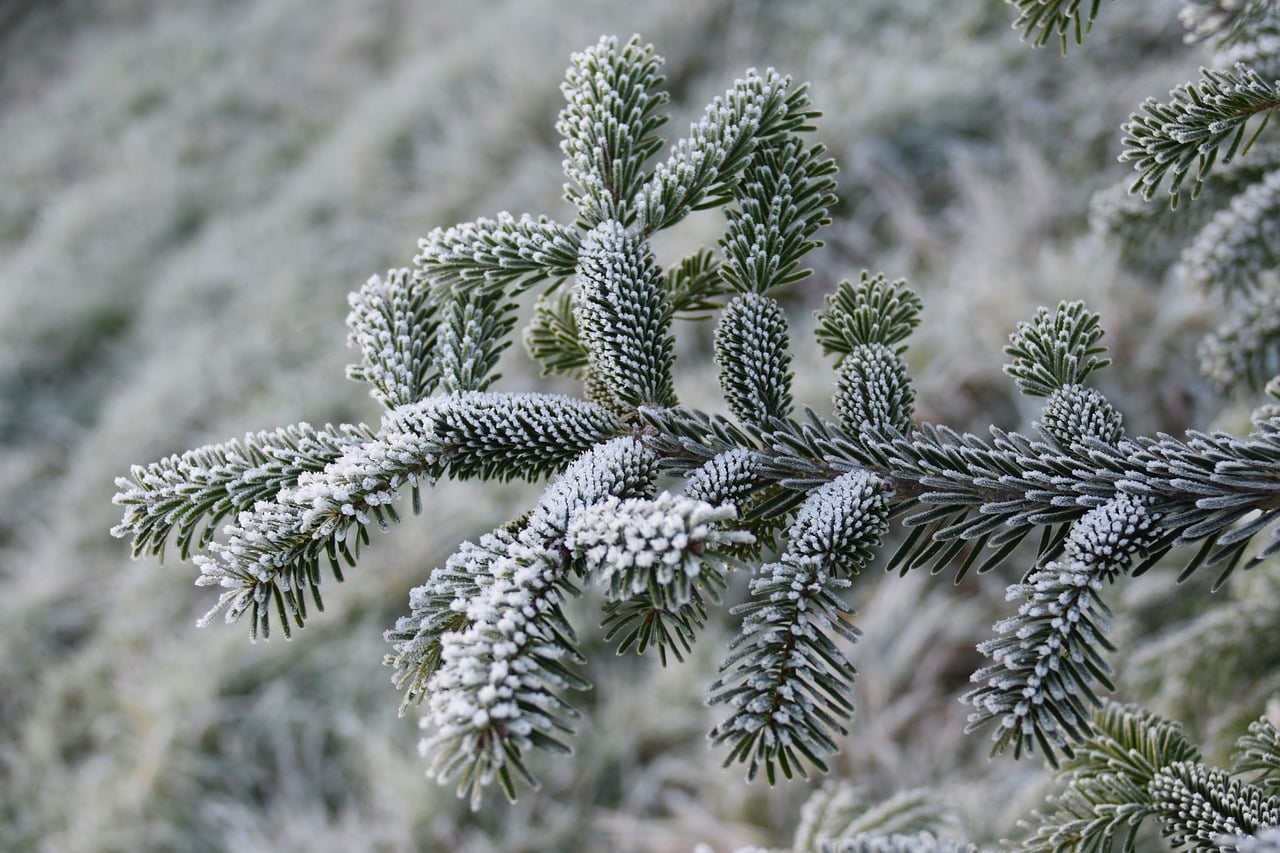
Nothing says winter wonderland like a tree that looks dusted in frost. Real snow does not always cooperate, so many people give their outdoor Christmas trees a light coat of flocking for that soft white edge on every needle. Spray it on a dry day and let it set before you add ornaments. The effect is gorgeous next to a red front door or a dark green house. Learn how to get even coverage and avoid clumps in our guide to the flocked Christmas tree.
You will need: outdoor rated flocking spray or a flocking kit, a drop cloth, eye protection, a dust mask, and a small evergreen or artificial tree.
How to make it: 1. Lay a drop cloth and set the tree on it in a sheltered spot. 2. Spray light coats on the tips of the needles, working from top to bottom. 3. Let it dry for a full day before moving it outside.
Outdoor Christmas Trees Made From an Old Ladder
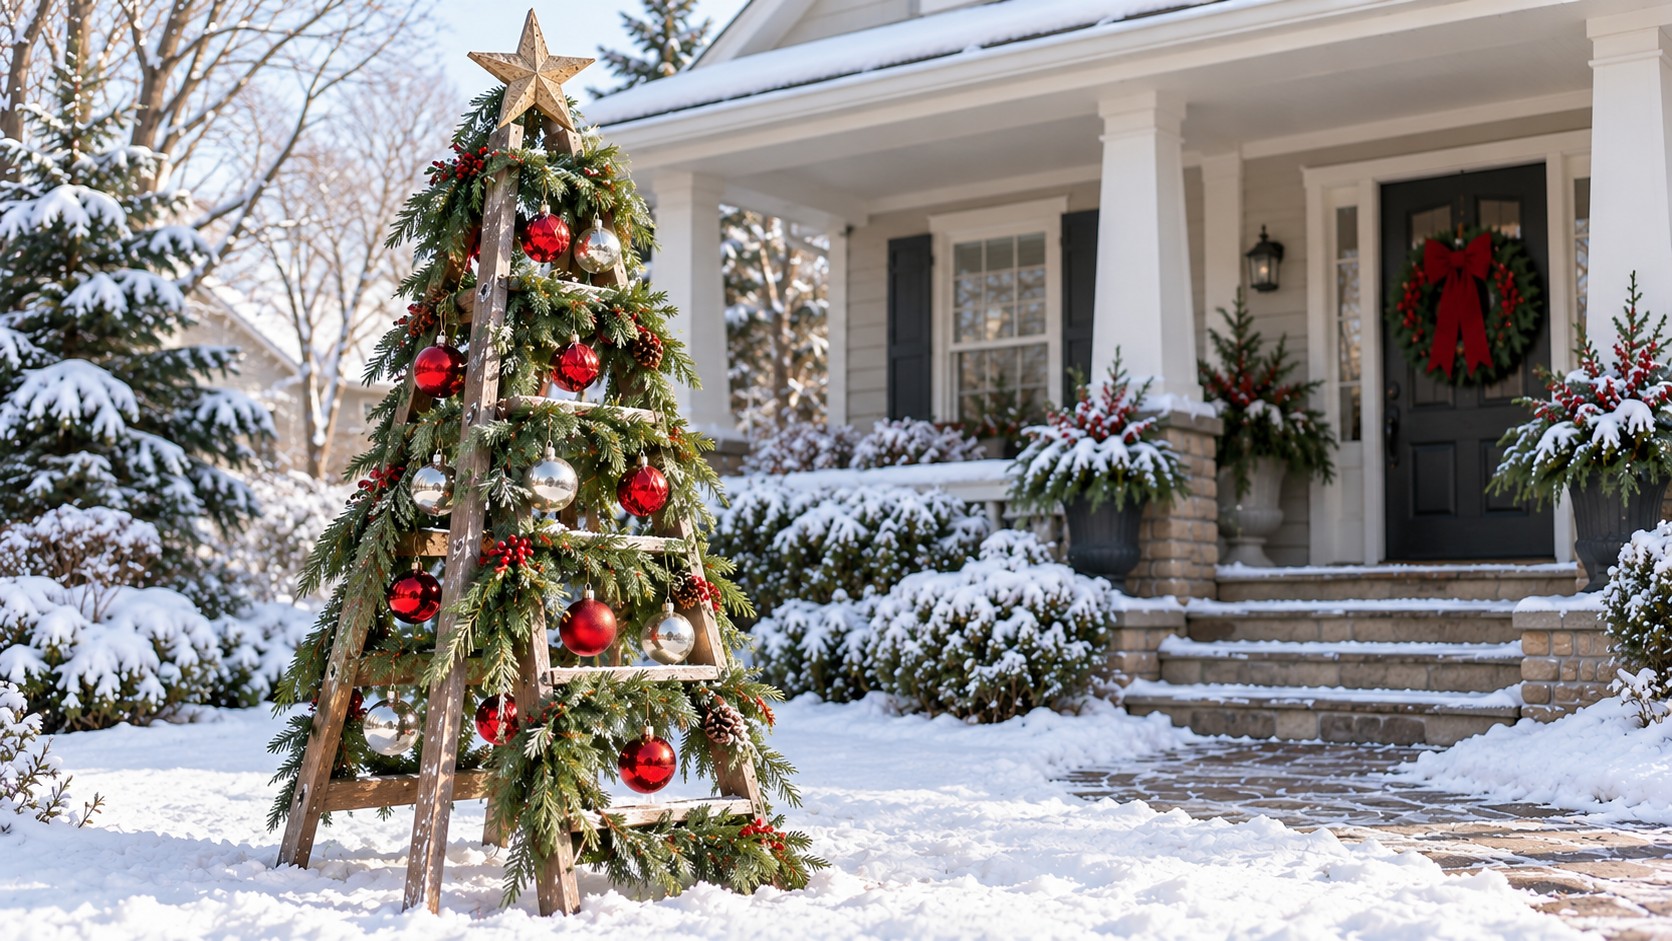
An old wooden stepladder already has the perfect triangle shape. Open it in the yard, wrap fresh garland over the steps, and hang weatherproof ornaments from each rung. A wooden star on the top step finishes the look. It is one of the most charming outdoor Christmas trees because it looks homemade in the best way. Paint the ladder if it is very worn, or keep the chipped paint for a farmhouse feel. You will find indoor ideas for the same ladder in our Christmas ladder decor post.
You will need: an old wooden A frame ladder, 25 feet of fresh or faux garland, zip ties, red and silver weatherproof ornaments, a wooden star, and 2 tent stakes.
How to make it: 1. Open the ladder and stake both back legs to the ground with cord. 2. Weave the garland back and forth over the steps and zip tie it in place. 3. Hang ornaments from each rung and fix the star to the top.
Natural Pine Cones on a Live Evergreen
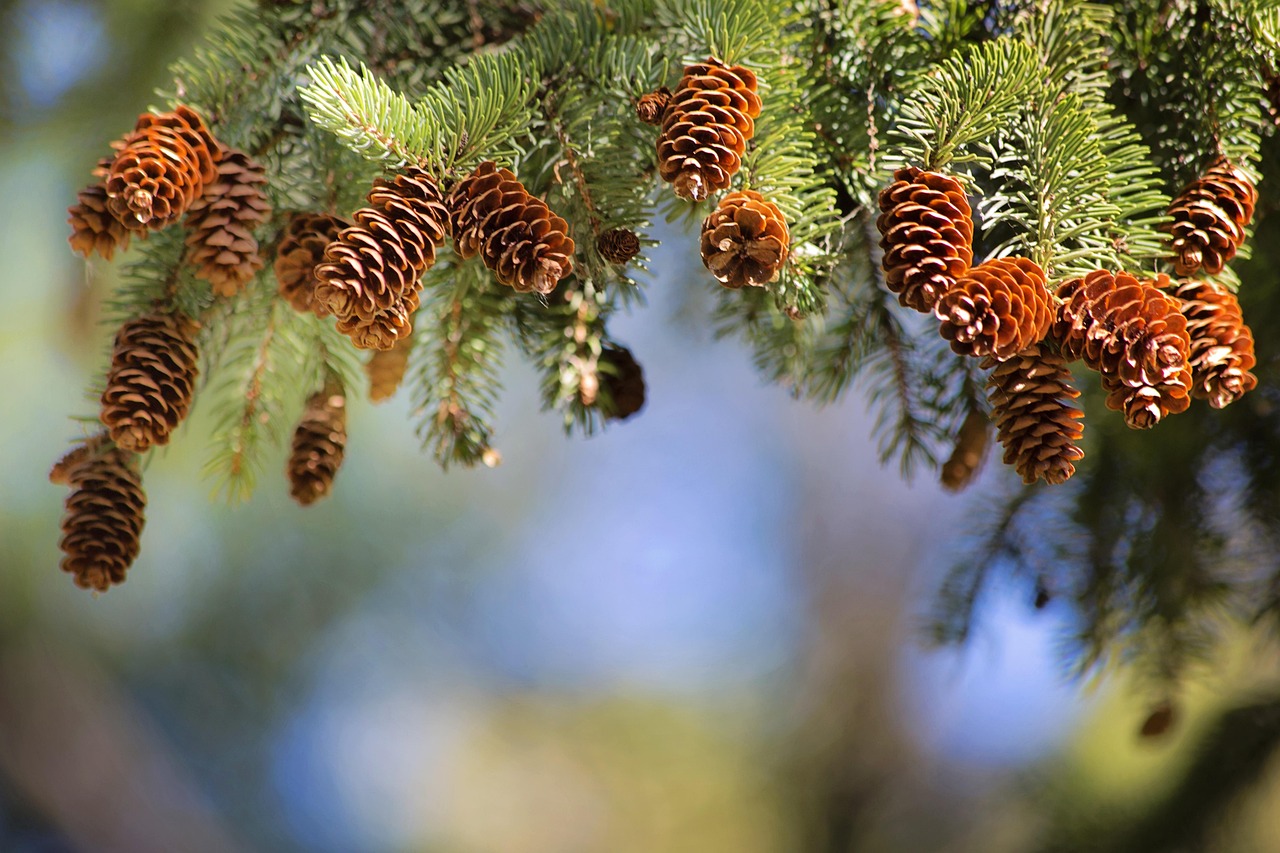
A live evergreen in the yard is beautiful with nothing on it, but a few natural pine cones make it feel festive without a single store bought trim. Wire cones to the tips of the boughs so they look like they grew there. Add a touch of white paint on the edges for a snowy look. Birds will happily visit, and nothing needs to be packed away in January. Gather extra cones for our pine cone Christmas crafts and you will have a matching wreath for the door.
You will need: 20 to 30 pine cones, thin green floral wire, white outdoor craft paint, and a dry paintbrush.
How to make it: 1. Bake the cones at 200 degrees for half an hour to clear out bugs and sap. 2. Dry brush white paint on the tips. 3. Wrap floral wire around the base of each cone and twist it onto the tips of the boughs.
Stacked Crate Tree With Gift Boxes
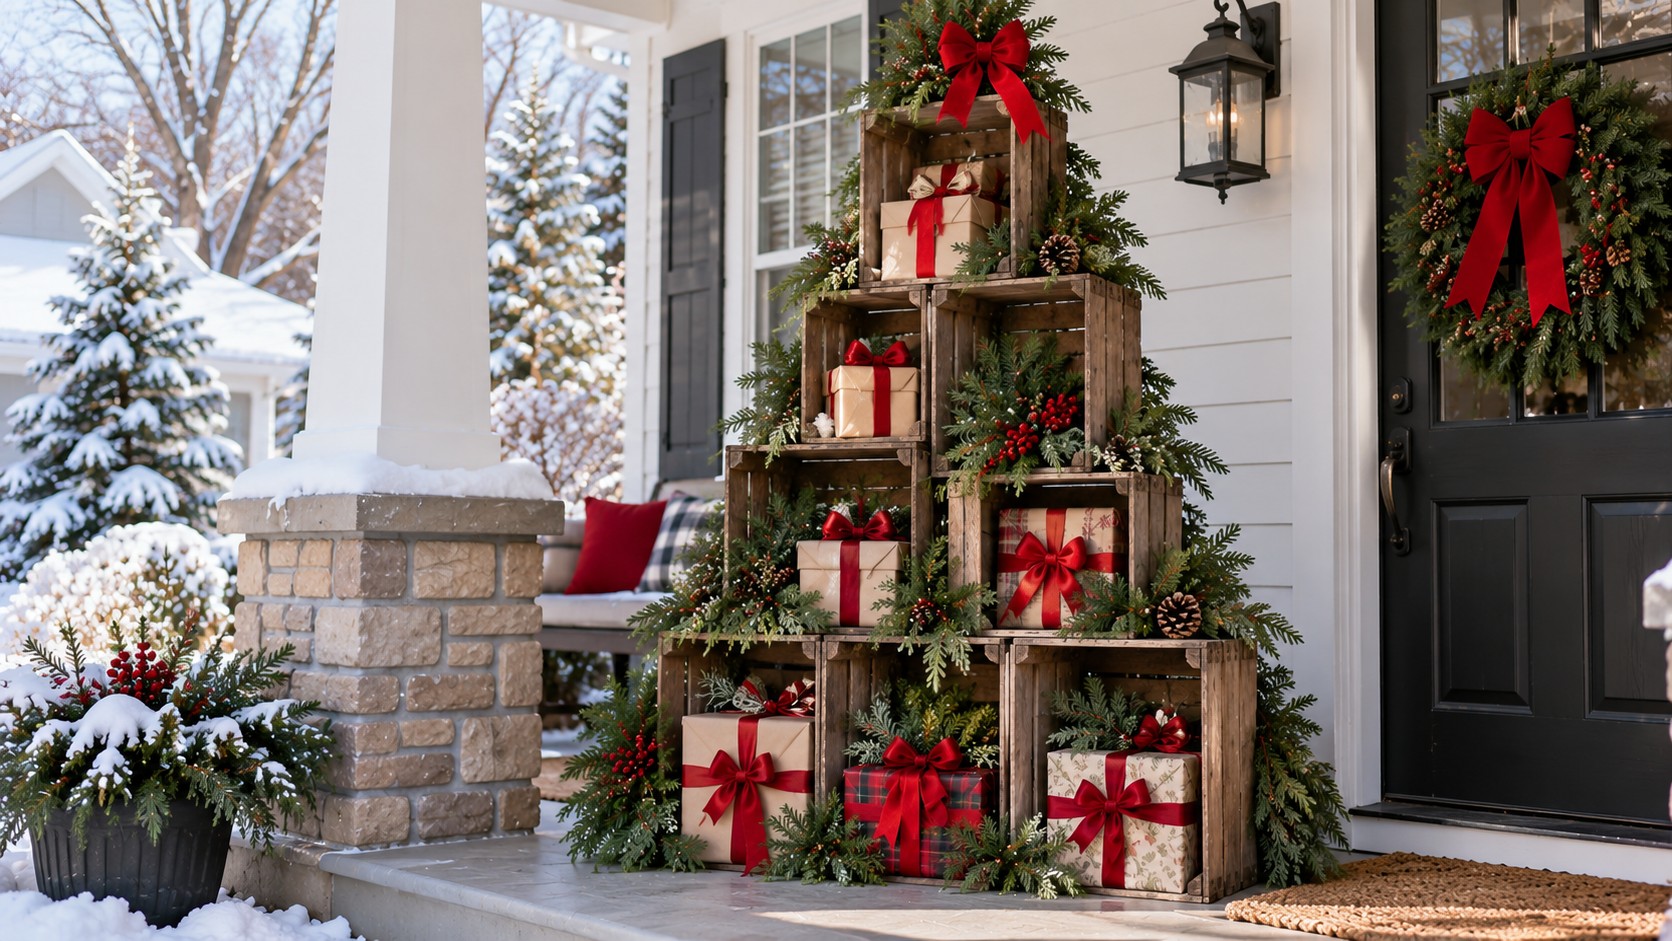
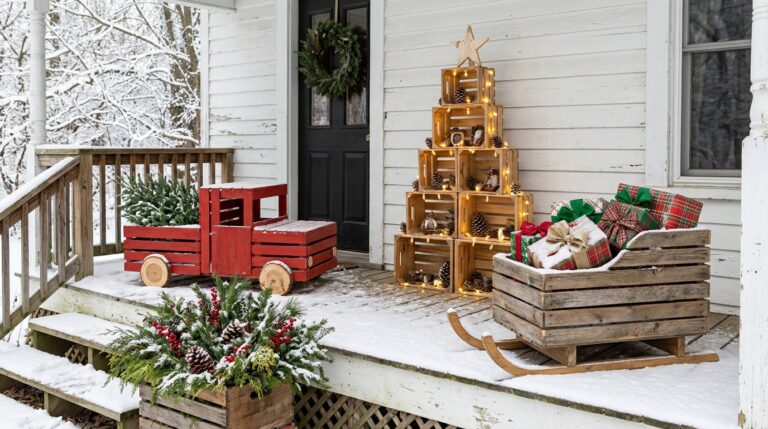
Wooden crates stacked in a pyramid make outdoor Christmas trees that double as display shelving. Fill each crate with pine sprigs and tuck in wrapped gift boxes with big red ribbons, and the porch looks like Santa just made a delivery. The gift boxes can be empty cardboard boxes wrapped in outdoor safe vinyl paper. Stack three crates on the bottom, work up to a single crate on top, and fasten them together for safety. Find more ways to style crates in our wooden crate Christmas decor gallery.
You will need: 6 to 8 wooden crates, exterior wood glue, metal corner plates and short wood fasteners, pine sprigs, empty boxes, waterproof gift wrap or vinyl, and red ribbon.
How to make it: 1. Lay out the crates in a pyramid on the porch, three on the bottom and one on top. 2. Join neighboring crates with glue and corner plates. 3. Fill each crate with greenery and wrapped boxes, then tie on the ribbons.
A Sled Tree Like a European Town Square

For real town square inspiration, look to the giant tree once built from old wooden sleds outside the Belvedere palace in Vienna. Stacked in rings that get smaller toward the top, the sleds formed a tall, golden tree that drew crowds all season. You can copy the idea at home with three or four thrift store sleds leaned in a cone shape around a post. Add a garland collar and a star. If you love that old world feel, our Christmas market decor post has more ideas.
You will need: 3 or 4 wooden sleds from thrift shops or flea markets, a tall wooden post, heavy cord, a length of garland, and a weatherproof star.
How to make it: 1. Set the post in a bucket of gravel. 2. Lean the sleds around the post with the runners facing out and tie them at the top with cord. 3. Add the garland around the base and the star on the post.
Outdoor Christmas Trees With a Steel Rod Frame and Star Topper
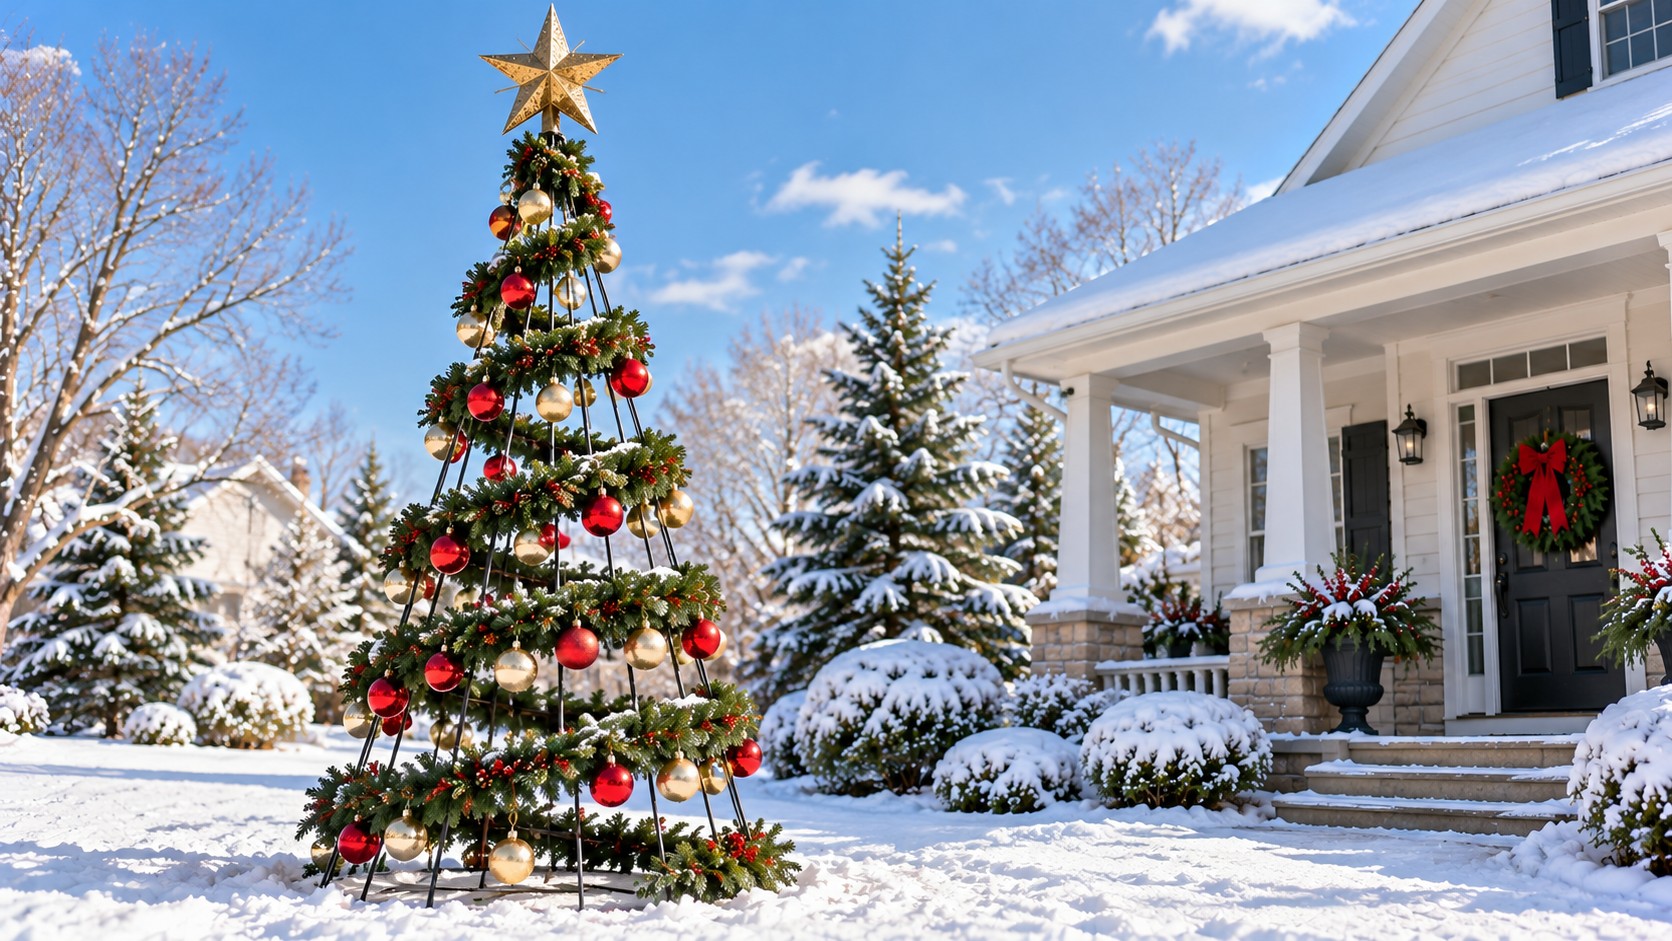
A skeleton tree is all outline and no bulk, which makes it perfect for small yards. Bend long steel rods so they meet at the top in a cone, tie them together, then wrap a thick spiral of faux garland around the frame. A big gold star crowns it. The open shape lets you see the house behind it, and it looks graceful against a blue winter sky. Among all the outdoor Christmas trees here, this one is the easiest to store. Browse our Christmas tree topper ideas for star options.
You will need: 6 steel rods about 8 feet long, heavy wire, a round plywood base or 6 ground stakes, 40 feet of faux garland, zip ties, and a large weatherproof star.
How to make it: 1. Push the rods into the ground in a circle about 3 feet wide. 2. Bend the tops together and bind them tightly with heavy wire. 3. Wrap the garland in a spiral, zip tie it at each rod and fix the star at the peak.
Plant a Live Tree You Can Keep for Years
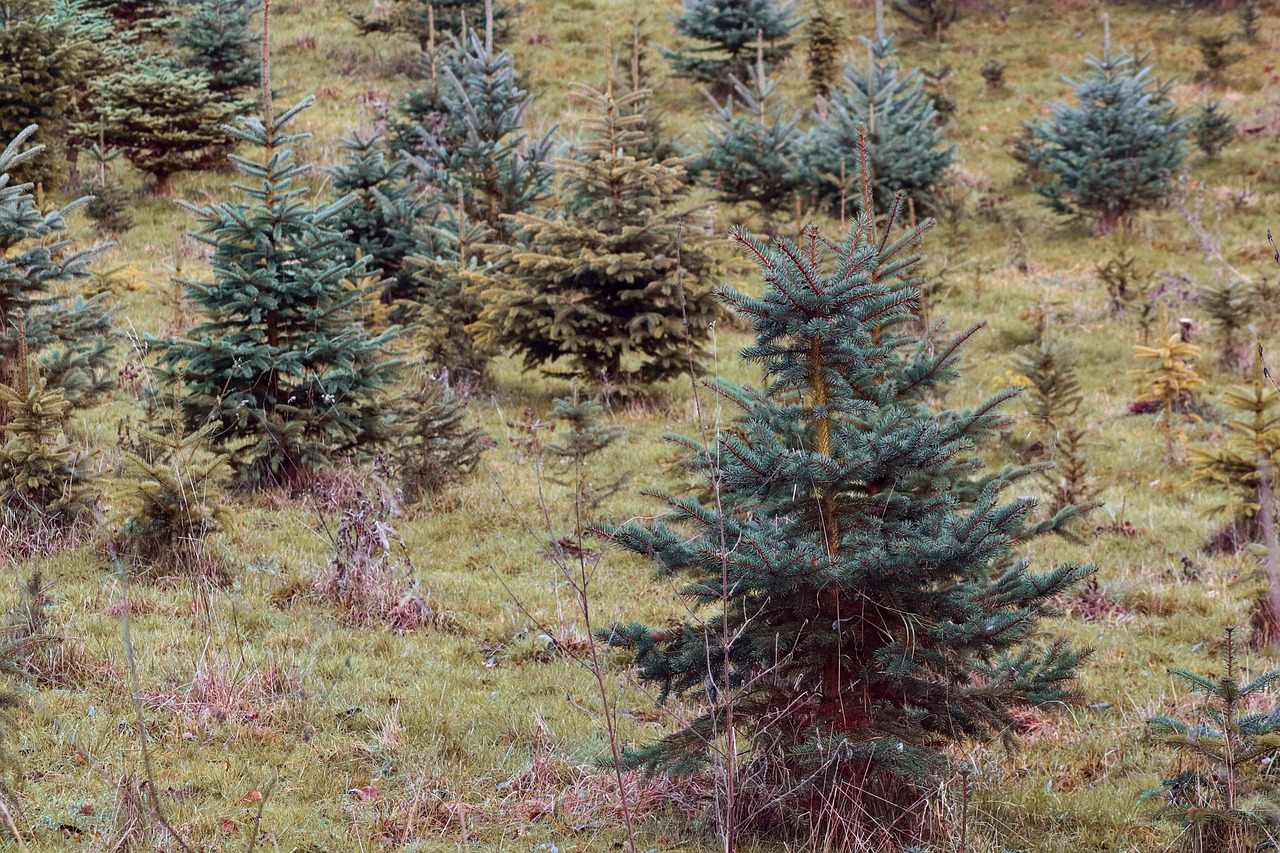
Young trees growing in a field are a reminder that the best yard tree might be one you plant yourself. A small spruce or fir from a nursery can be decorated on the porch this year and planted in the yard in spring. In a few seasons it becomes a real centerpiece you can trim every December. Ask the nursery which species suit your climate. If you love the forest look, our woodland Christmas decor gallery is full of natural ideas.
You will need: a small potted spruce or fir, a large pot or tub, mulch, and a spot in the yard for spring planting.
How to make it: 1. Keep the tree outdoors on the porch in its pot, never in a warm house for long. 2. Water it whenever the soil feels dry. 3. Plant it in the ground in early spring and mulch the base.
Outdoor Christmas Trees From a Laundry Basket
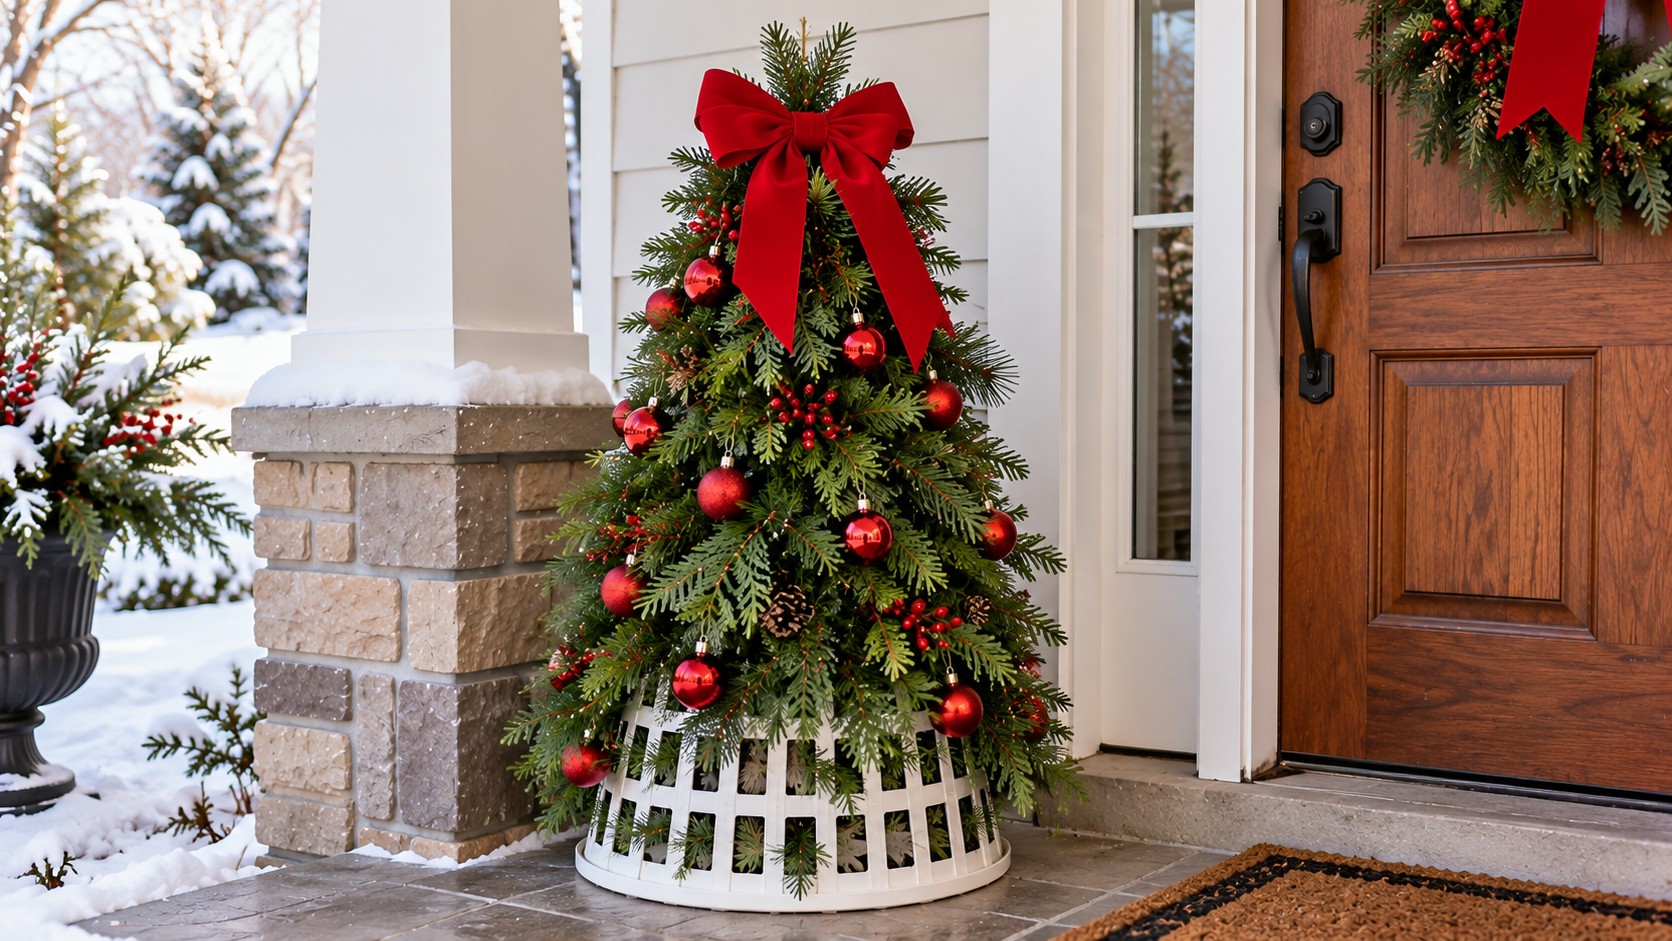
One of the most surprising outdoor Christmas trees comes from a plain plastic laundry basket. Creator Lexi DIY turned one upside down, pushed skewers and faux sprigs through the openings and ended up with a full 3 foot tree, a video seen over 4.5 million times. It is perfect for a small porch or a step beside the front door. Add tiny red ornaments and a big bow and no one will ever guess what is underneath. Our basket Christmas decor post has more clever basket tricks.
You will need: a round plastic laundry basket, a tomato stake or dowel for height, bamboo skewers, a bundle of faux pine sprigs, a hot glue gun, mini red ornaments, and a red bow.
How to make it: 1. Turn the basket upside down and tie the stake to the center for height. 2. Push faux sprigs through every opening, angling them up and out. 3. Glue in skewers with more sprigs near the top to form a point, then add ornaments and the bow.