Wooden Keepsake Box Gifts: 16 Handmade Christmas Ideas That Look Expensive but Cost Very Little
Wooden keepsake box gifts are the presents people never throw away, and they are far easier to make than they look. A plain box of pine or walnut becomes a family treasure the moment someone tucks a letter, a ring or a baby’s first booties inside. Years later it still sits on a dresser, holding memories. You do not need a big shop or fancy tools. A few boards, wood glue, a small saw and a free afternoon are enough to build a box that looks like it came from a boutique. Below are 16 handmade Christmas ideas for grandma, dad, kids, couples, gardeners and crafters, each with a short supply list and simple steps. It all starts with one basic box that millions of people learned to build..
Wooden Keepsake Box Gifts Start With One Basic Box
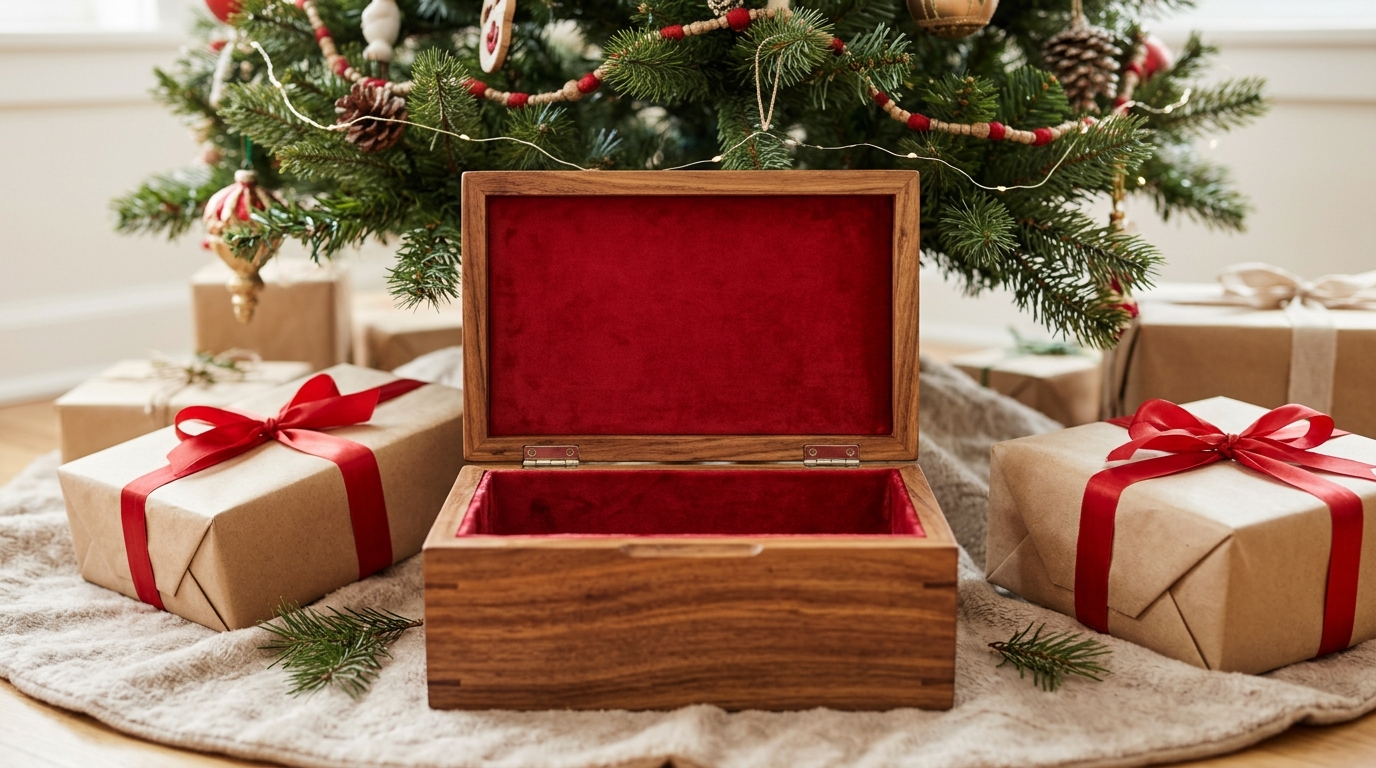
One simple box changed how millions of people think about woodworking. Steve Ramsey of Woodworking for Mere Mortals cut four sides, a bottom and a lid from plain boards, joined them with glue and a few small nails, then sanded and finished the box in one short session. His basic box video has more than 4,986,000 views, because it proves anyone can do it. Line that same box with red velvet and it becomes a gift that feels as special as our handmade wooden Christmas gifts..
You will need: 1×6 pine or walnut board, small hand saw or miter saw, wood glue, small brads, sandpaper, wood stain or oil, red velvet fabric, craft glue, two small hinges.
How to make it: 1. Cut two long sides, two short sides, a bottom and a lid. 2. Glue and nail the sides around the bottom. 3. Sand every edge smooth. 4. Wipe on stain and let it dry. 5. Glue velvet inside and add the hinged lid. Ask an adult to run the saw.
A Pine Box With a Wood Burned Holly Design
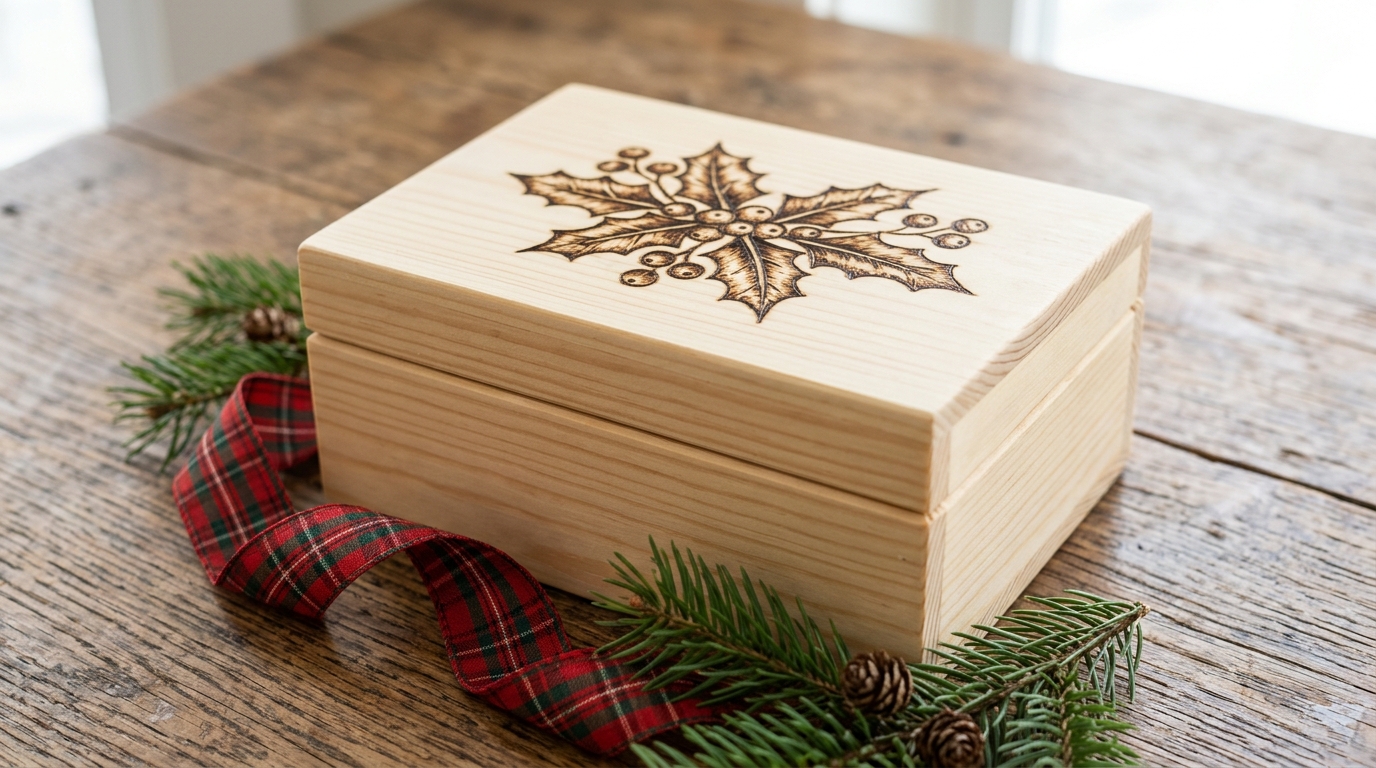
Pine is soft, pale and cheap, which makes it perfect for your first wooden keepsake box gifts. A simple holly sprig burned into the lid turns it into a real Christmas gift. You can trace a pattern with carbon paper and follow the lines slowly, and nobody will guess it was your first try. If you love this look, our wood burning art gallery shows how far the craft can go. Keep the design small and centered so the grain still shows around it.
You will need: Small pine box, holly pattern, carbon paper, pencil, wood burning tool with a fine tip, fine sandpaper, clear wax.
How to make it: 1. Sand the lid smooth. 2. Trace the holly pattern with carbon paper. 3. Burn the outline slowly with an adult nearby. 4. Shade the leaves with light strokes. 5. Rub on clear wax to seal and protect it.
Wooden Keepsake Box Gifts for Grandma’s Recipes
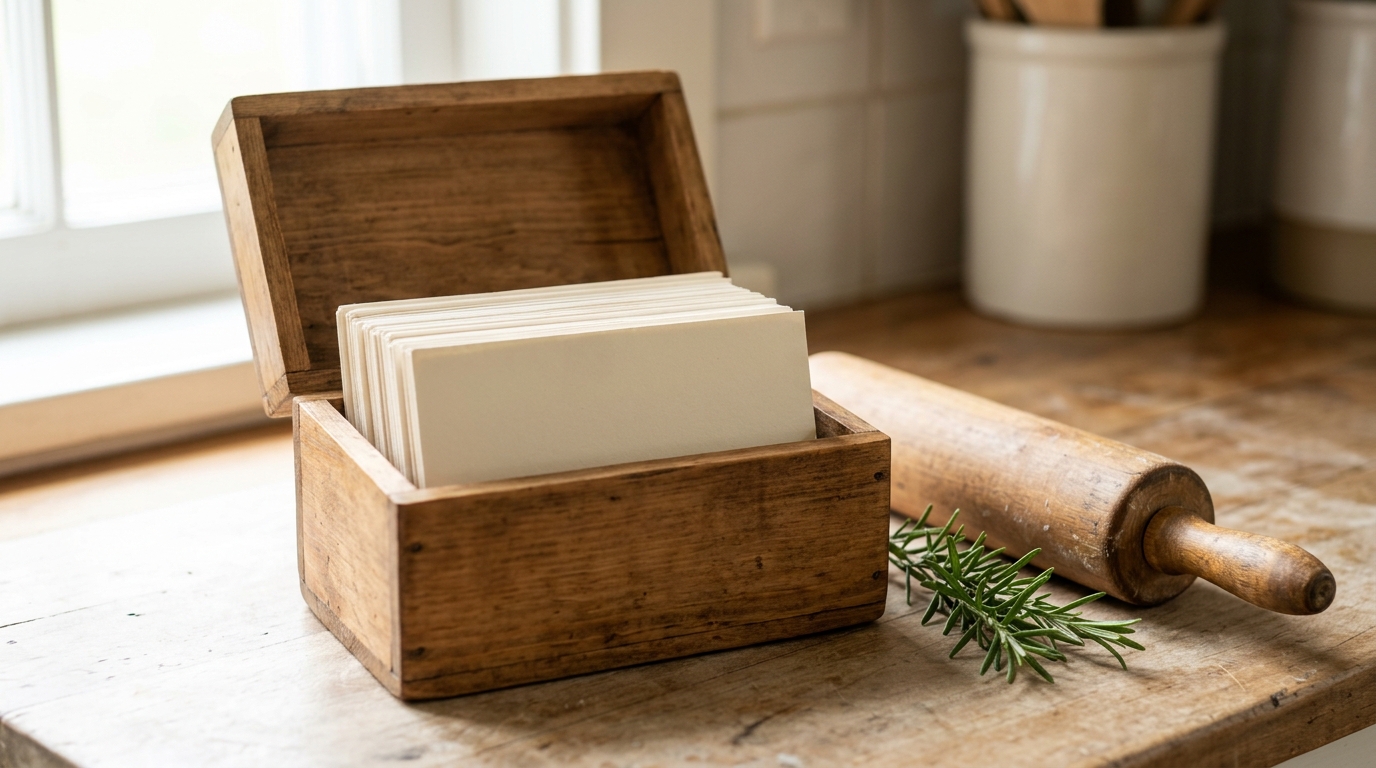
Every family has a few recipes that only live in grandma’s head. A small wooden card box gives them a home. Fill it with blank index cards and a note asking her to write down the cookies, the stuffing and the pie everyone fights over. Next Christmas you can copy the cards for every grandchild. It pairs beautifully with the other handmade gifts for grandma in our gallery, and it costs only a few dollars in wood.
You will need: 1×4 pine board, thin plywood for the bottom, wood glue, brads, sandpaper, light stain, blank index cards, small hinge.
How to make it: 1. Size the box so a 4×6 card stands upright. 2. Glue and nail the four sides to the bottom. 3. Add a lid with one long hinge. 4. Sand and stain. 5. Fill with cards and tuck in a handwritten note.
A Watch and Cufflink Box for Dad
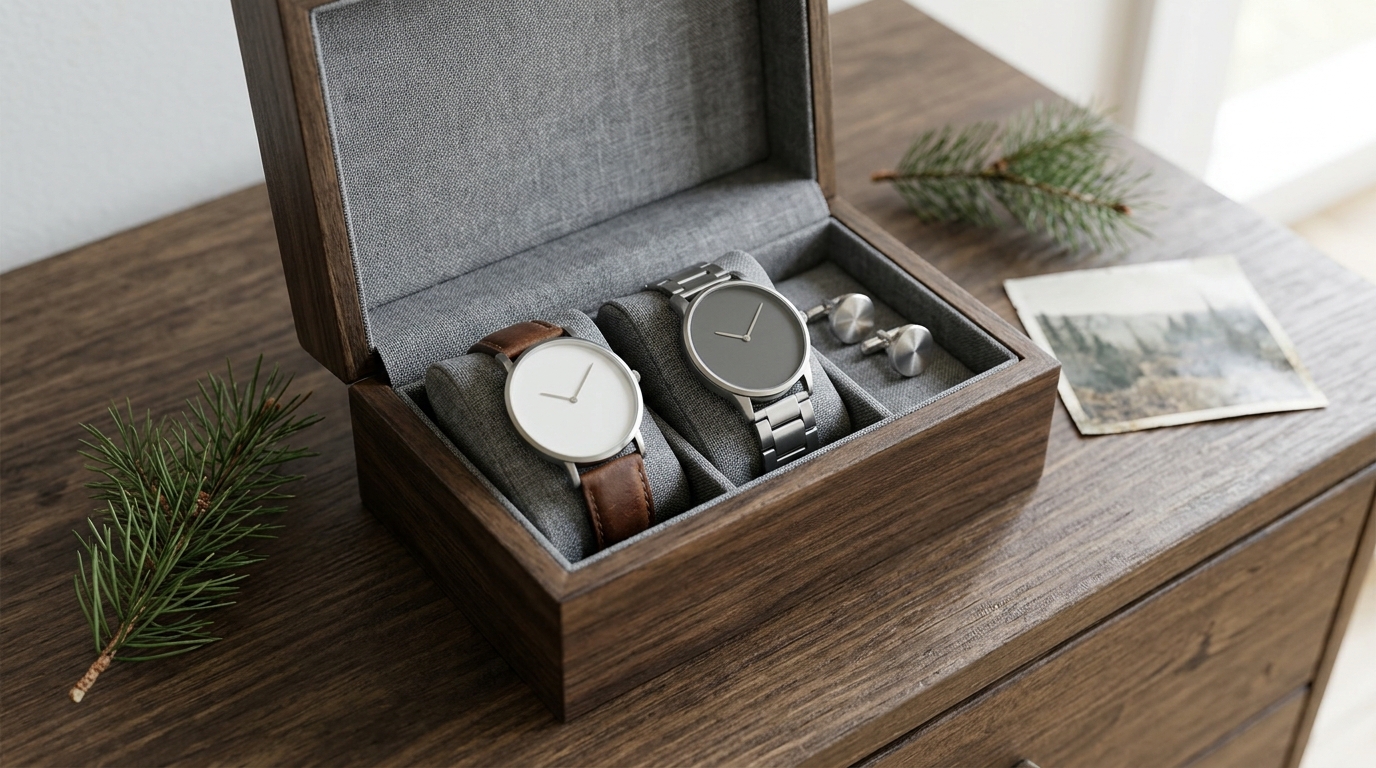
Dads rarely ask for anything, but they love a place to set their watch at night. A dark stained box with soft gray lining and little fabric rolls looks like something from a fine men’s shop. The rolls are just foam strips wrapped in felt, so the lining costs less than a coffee. Add it to your list of handmade gifts for dad and he will use it every single day. Like all wooden keepsake box gifts, make it a little deeper than you think so nothing presses against the lid.
You will need: Small hardwood or stained pine box, gray felt, thin foam strips, craft glue, dark stain, small hinges, a small brass catch.
How to make it: 1. Build a shallow box about 3 inches deep. 2. Stain it a dark walnut color. 3. Wrap foam strips in felt to make three rolls. 4. Glue felt to the floor and set the rolls in place. 5. Add hinges and a small catch.
Wooden Keepsake Box Gifts With a Felt Lined Jewelry Tray
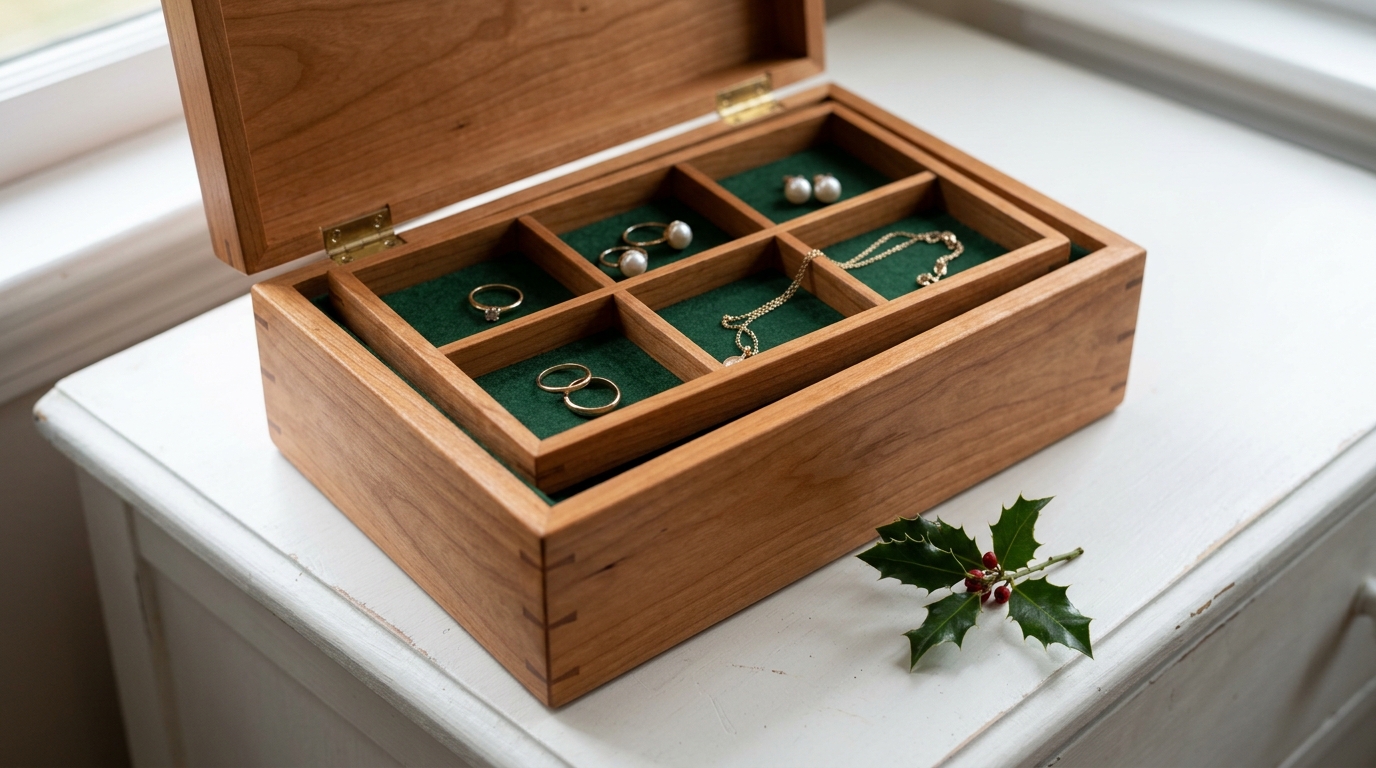
A lift out tray is the detail that makes a jewelry box feel expensive. Rings and earrings sit in small felt squares on top, while necklaces lie flat underneath. The tray is simply a shorter box with thin divider strips glued inside, resting on two little ledges. Deep green felt looks rich against warm cherry wood. For something sparkly to tuck inside, see our handmade jewelry gifts and wrap them together.
You will need: Cherry or stained pine boards, thin strips for dividers and ledges, wood glue, green felt, craft glue, sandpaper, oil finish.
How to make it: 1. Build the main box and lid. 2. Glue two thin ledges inside, about an inch down. 3. Build a smaller tray that rests on them. 4. Add divider strips to the tray. 5. Line every section with felt and oil the outside.
A Memory Box for Baby’s First Christmas
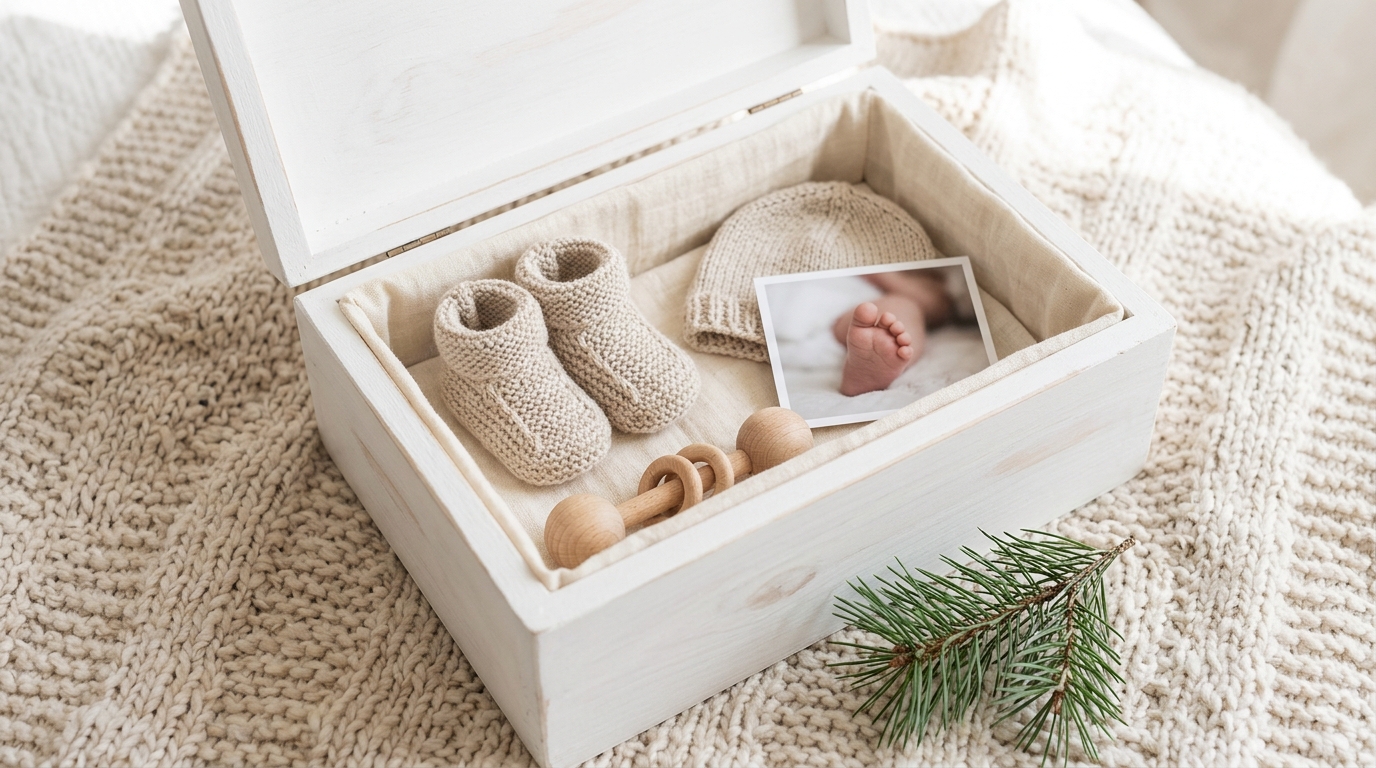
New parents keep everything from the first year, but it ends up scattered in drawers. A soft white box gives the first booties, the hospital hat, a tiny rattle and a favorite photo one safe home. Paint it a gentle white and line it with cream fabric so it looks calm and sweet. Pair it with our handprint and footprint keepsakes for a gift that will make new parents tear up. Use a non toxic paint and let it cure fully before the box is filled.
You will need: Pine box with lid, white chalk paint, cream cotton fabric, spray adhesive or craft glue, soft brush, clear matte sealer.
How to make it: 1. Sand the box lightly. 2. Paint two thin coats of white. 3. Seal with a matte topcoat. 4. Cut fabric to fit the floor and sides. 5. Glue it smooth and let it cure for two days.
Wooden Keepsake Box Gifts for Saving Christmas Cards
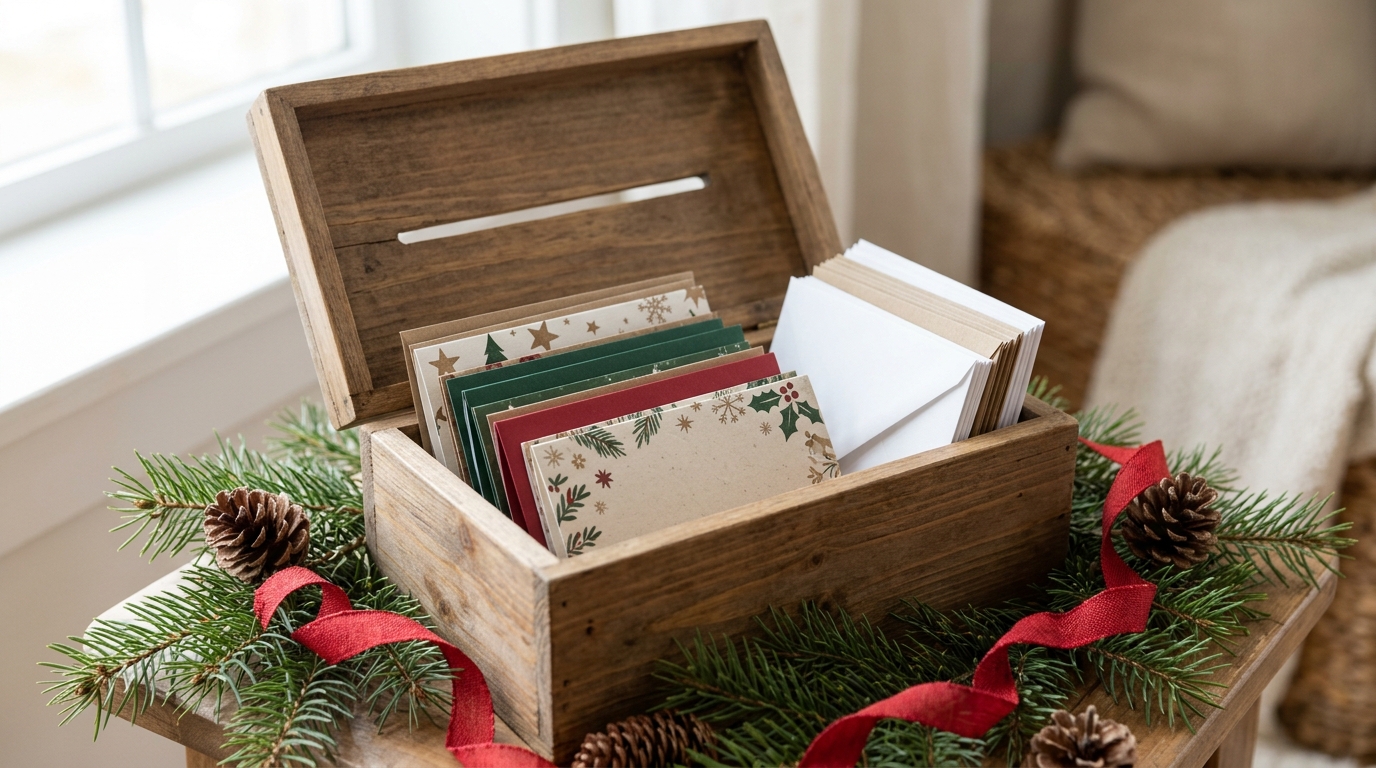
Christmas cards pile up on the counter and then vanish in January. A box with a slot on top lets the family drop each card in as it arrives. On New Year’s Day, open the lid and read them all again. Over the years it becomes a little archive of friends, babies and family photos. Fans of vintage Christmas cards will love having a pretty place to keep them. Cut the slot a bit wider than a thick envelope so nothing gets stuck.
You will need: Pine boards, thin plywood lid, drill, small coping saw, wood glue, brads, sandpaper, stain, red ribbon.
How to make it: 1. Build a box a little bigger than a folded card. 2. Mark a slot on the lid. 3. Drill a starter opening and cut the slot with a coping saw, with adult help. 4. Sand the slot edges smooth. 5. Stain and hinge the lid.
A Tea Chest With Little Dividers
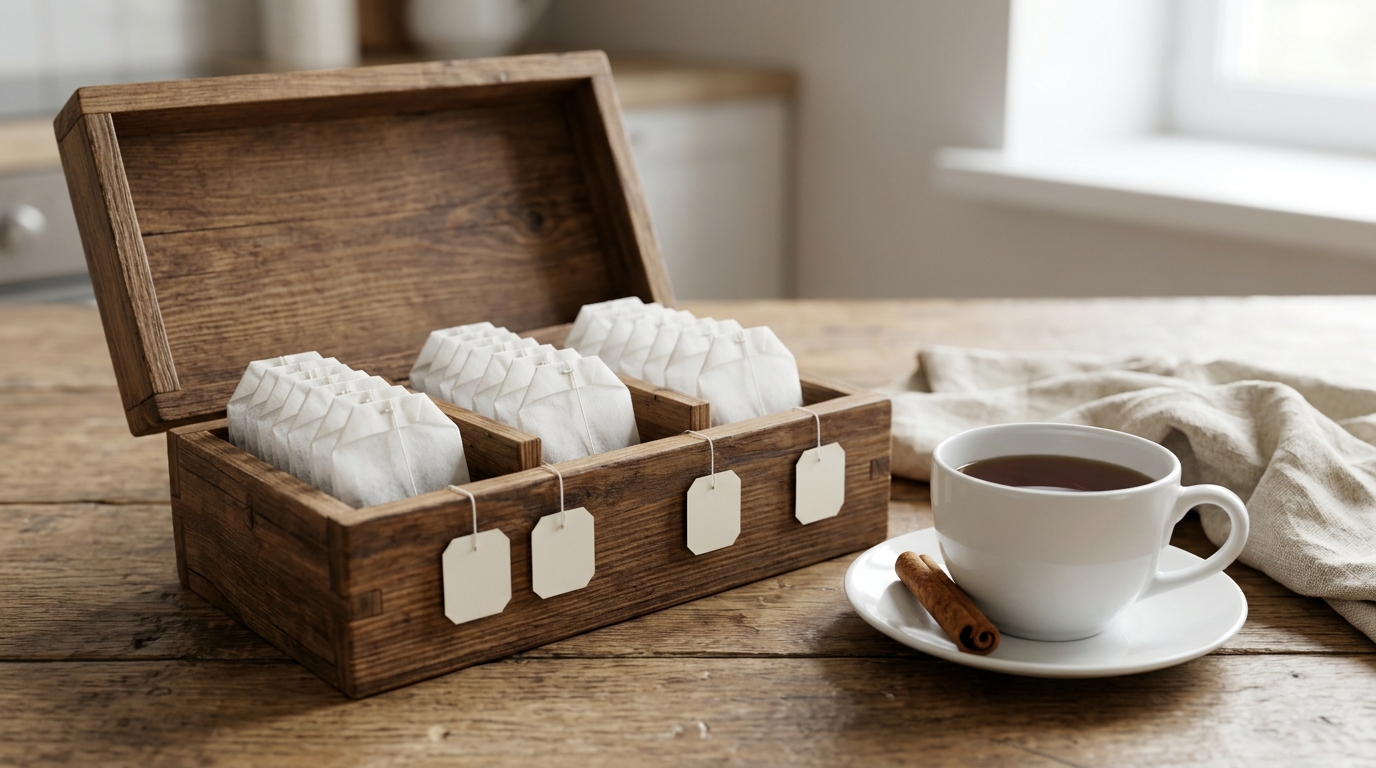
Tea lovers always have a messy drawer of loose bags. A wooden chest with neat little rows turns that drawer into a pretty display for the counter. The dividers are thin craft strips cut to length and glued in place, no special joints needed. Fill it with a few favorite flavors, since wooden keepsake box gifts always feel better full. It sits nicely next to our Christmas gifts in a jar for a cozy kitchen gift set.
You will need: Pine boards, thin wood strips, wood glue, brads, sandpaper, food safe oil, assorted tea bags.
How to make it: 1. Build a box about 3 inches deep. 2. Measure a tea bag and cut strips for even rows. 3. Glue the strips in place and let them dry. 4. Sand and rub on food safe oil. 5. Fill with tea and tie with ribbon.
A Photo Transfer Lid With a Farmhouse Look
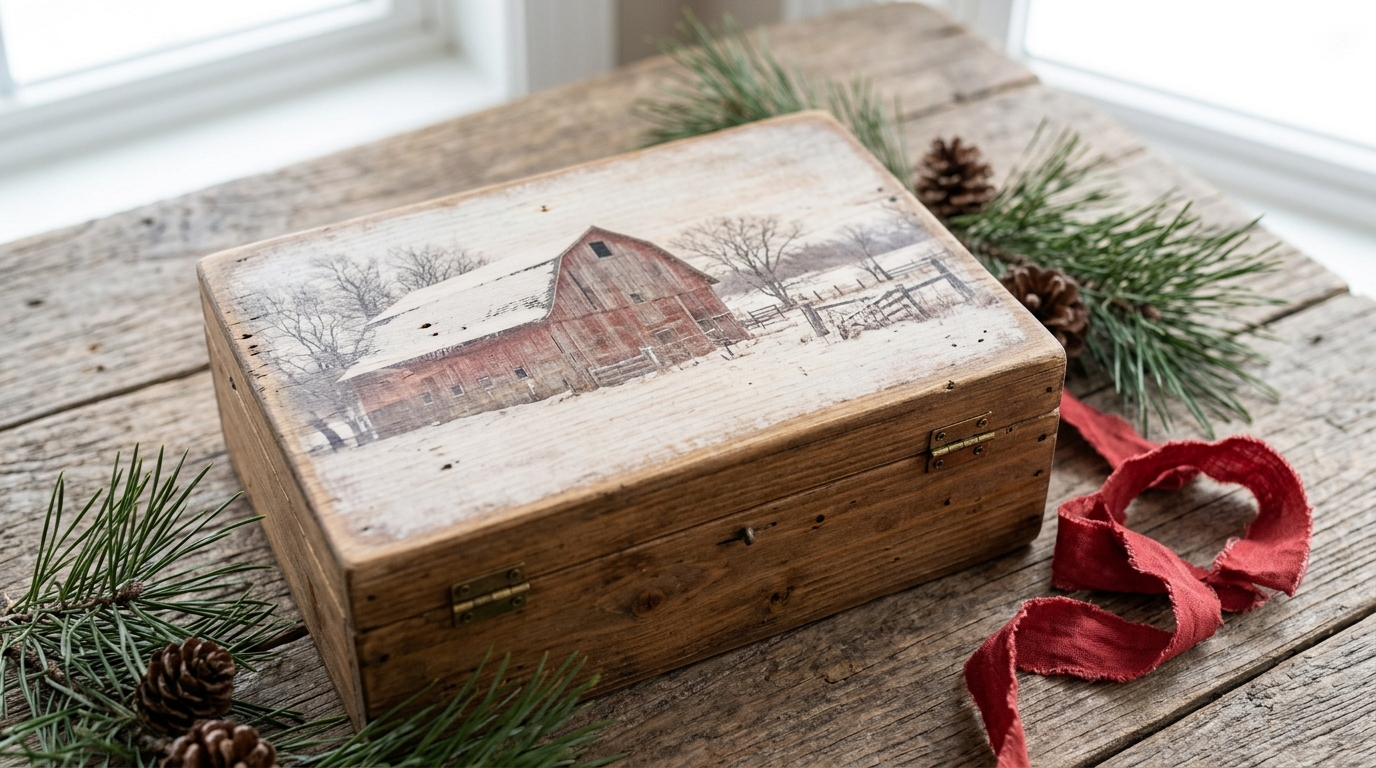
A photo printed right onto the wood looks soft, faded and full of history. Use a laser print of the family farm, a childhood home or a favorite winter scene. Brush on transfer medium, press the print face down, let it dry and rub the paper away with a damp cloth. The image stays behind in the grain. Our picture frame crafts use the same trick on frames. Remember to flip any photo with words before printing.
You will need: Wooden box with a flat lid, laser printed photo, photo transfer medium, foam brush, damp cloth, matte sealer.
How to make it: 1. Sand the lid smooth. 2. Brush a thick coat of transfer medium on the lid. 3. Press the print face down and smooth out bubbles. 4. Let it dry overnight. 5. Rub off the paper and seal.
A Bead Box for a Crafter
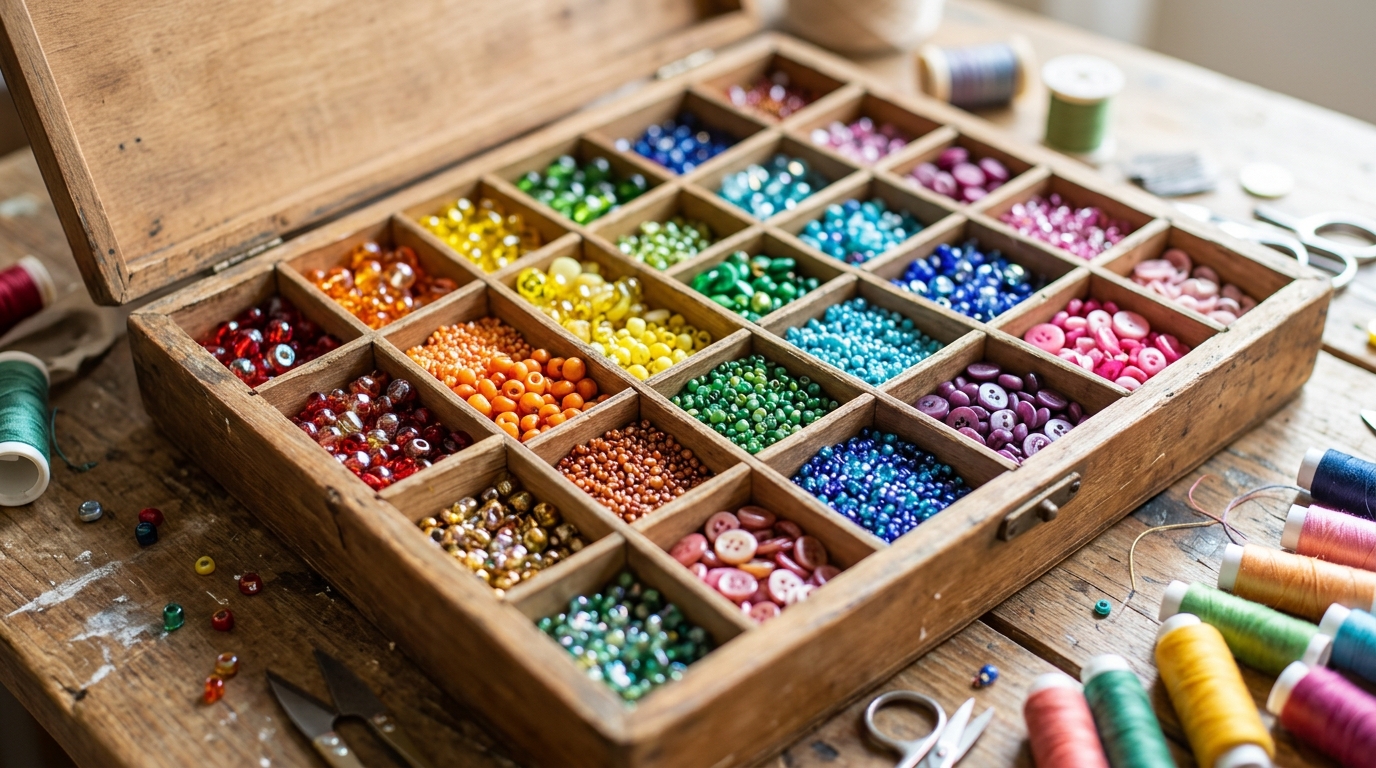
Crafters spend half their time hunting for the right bead. A grid box with dozens of tiny squares fixes that and looks like a rainbow when the lid opens. Build a shallow tray and glue in a lattice of thin strips with notches so they cross neatly. Fill a few squares with new beads, and it joins the most useful wooden keepsake box gifts on this list. Any crafter who loves craft room organization will keep this on the table all year.
You will need: Pine boards, thin craft strips, small saw, wood glue, sandpaper, clear finish, assorted beads.
How to make it: 1. Build a shallow tray about 2 inches deep. 2. Cut strips to fit both ways. 3. Notch each strip halfway so they interlock. 4. Glue the grid inside. 5. Add a lid and fill a few squares.
Wooden Keepsake Box Gifts for a Gardener
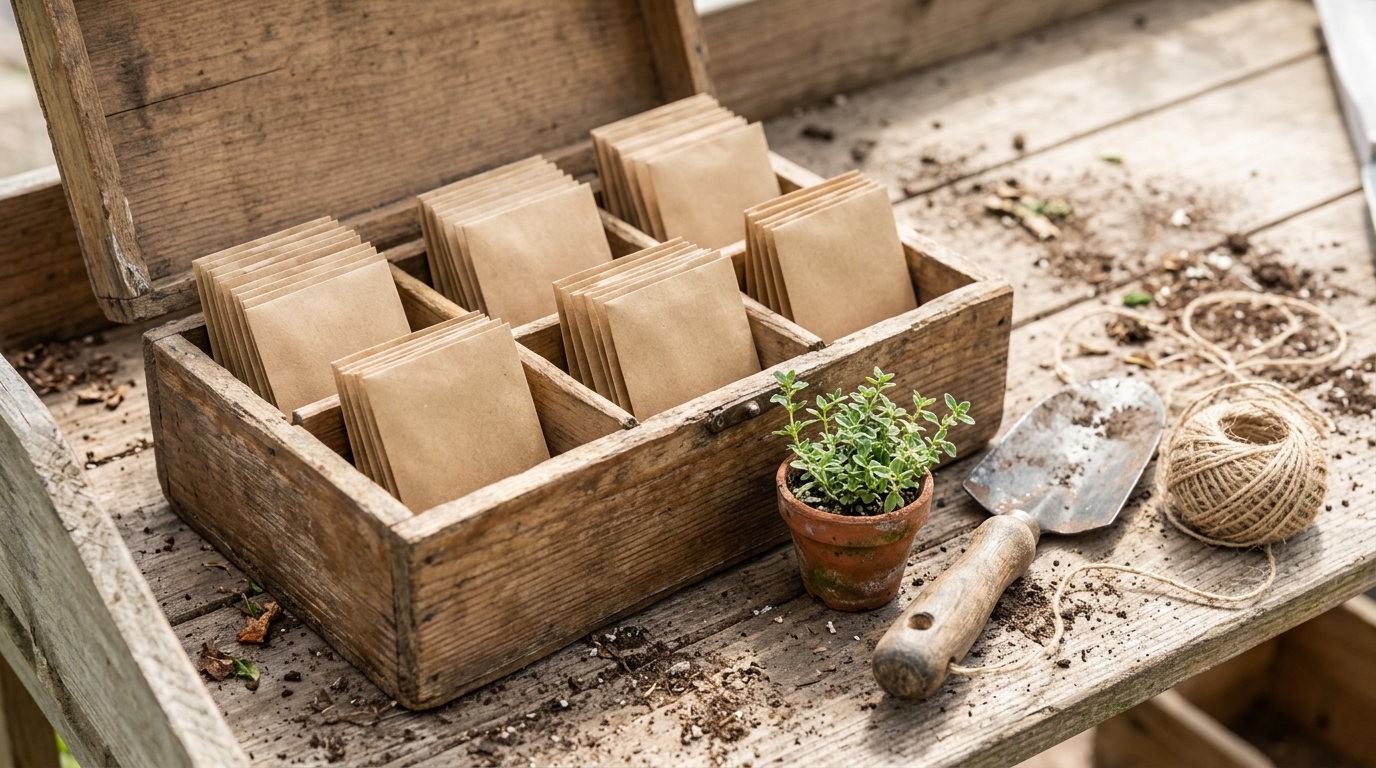
Gardeners save seeds in old jars, coffee cans and paper bags. A rustic seed box with dividers keeps them sorted by season and ready for spring. Fill it with small paper envelopes and a few packets of their favorite flowers. Add twine and a hand trowel for a gift that says you know them well. If they dream of growing herbs indoors, our kitchen garden ideas make a nice extra page to print and tuck inside.
You will need: Weathered pine or pallet boards, thin divider strips, wood glue, brads, sandpaper, small paper envelopes, twine.
How to make it: 1. Build a long open box with a lid. 2. Glue in dividers for spring, summer and fall. 3. Sand off any splinters. 4. Leave the wood raw or rub on a light wax. 5. Fill with envelopes and seeds.
A Snowflake Treasure Chest for Kids
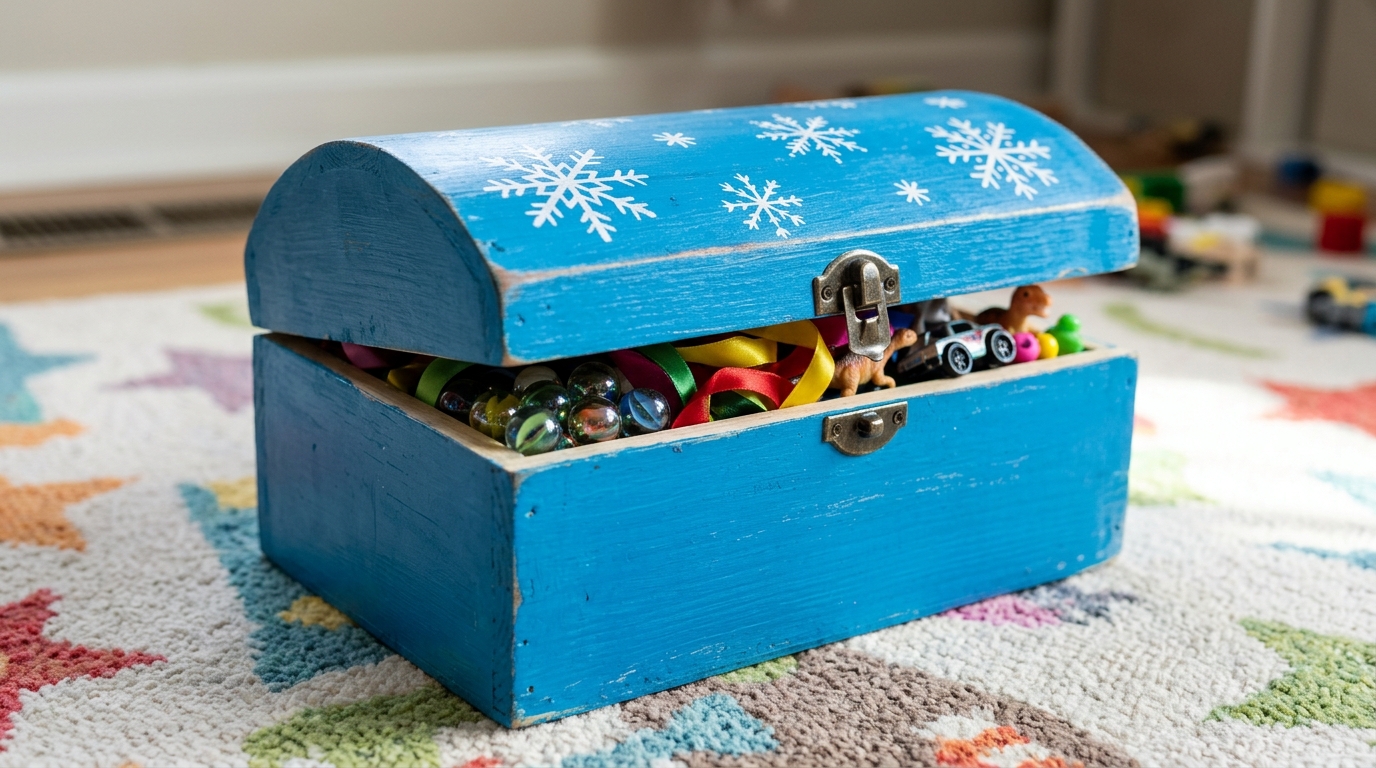
Every child needs a place to hide their treasures. A little chest painted bright blue with white snowflakes feels magical on Christmas morning. Buy an unfinished wooden chest from the craft store or build a simple box with a curved lid. Kids can help paint the snowflakes with a small brush. Our kids Christmas gift ideas have more easy projects little hands can join. Choose a chest with a slow close lid so small fingers stay safe.
You will need: Small wooden chest, bright blue acrylic paint, white acrylic paint, small round brush, water based clear sealer.
How to make it: 1. Sand the chest lightly. 2. Paint two coats of blue and let them dry. 3. Paint simple six line snowflakes in white. 4. Add dots between the snowflakes. 5. Seal with a clear water based topcoat.
A Love Letter Box for Your Sweetheart
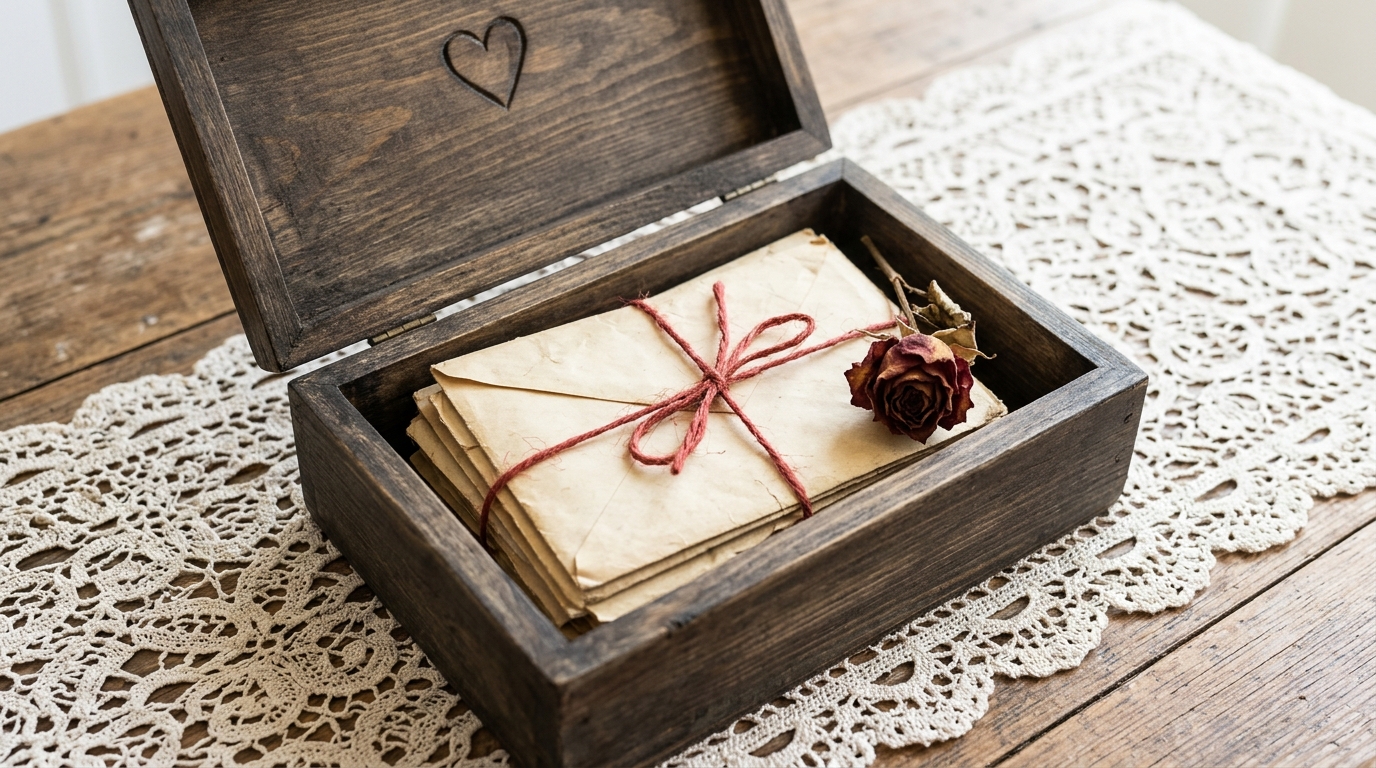
Some gifts are meant for just one person. A dark box with a small heart on the lid holds old letters, ticket stubs and a dried rose from your first date. Write a new letter for this Christmas and tie it with red twine on top of the stack. It is one of the most romantic gifts for couples you can make, and it costs almost nothing. A craft knife or a heart shaped stencil and paint both work for the lid.
You will need: Small wooden box, dark stain, heart stencil, craft knife or small chisel, sandpaper, red twine, a handwritten letter.
How to make it: 1. Stain the box a deep brown. 2. Trace a small heart on the lid. 3. Carve it shallow with adult help, or paint it. 4. Sand and wax. 5. Fill with letters tied with twine.
An Ornament Storage Box With Dividers
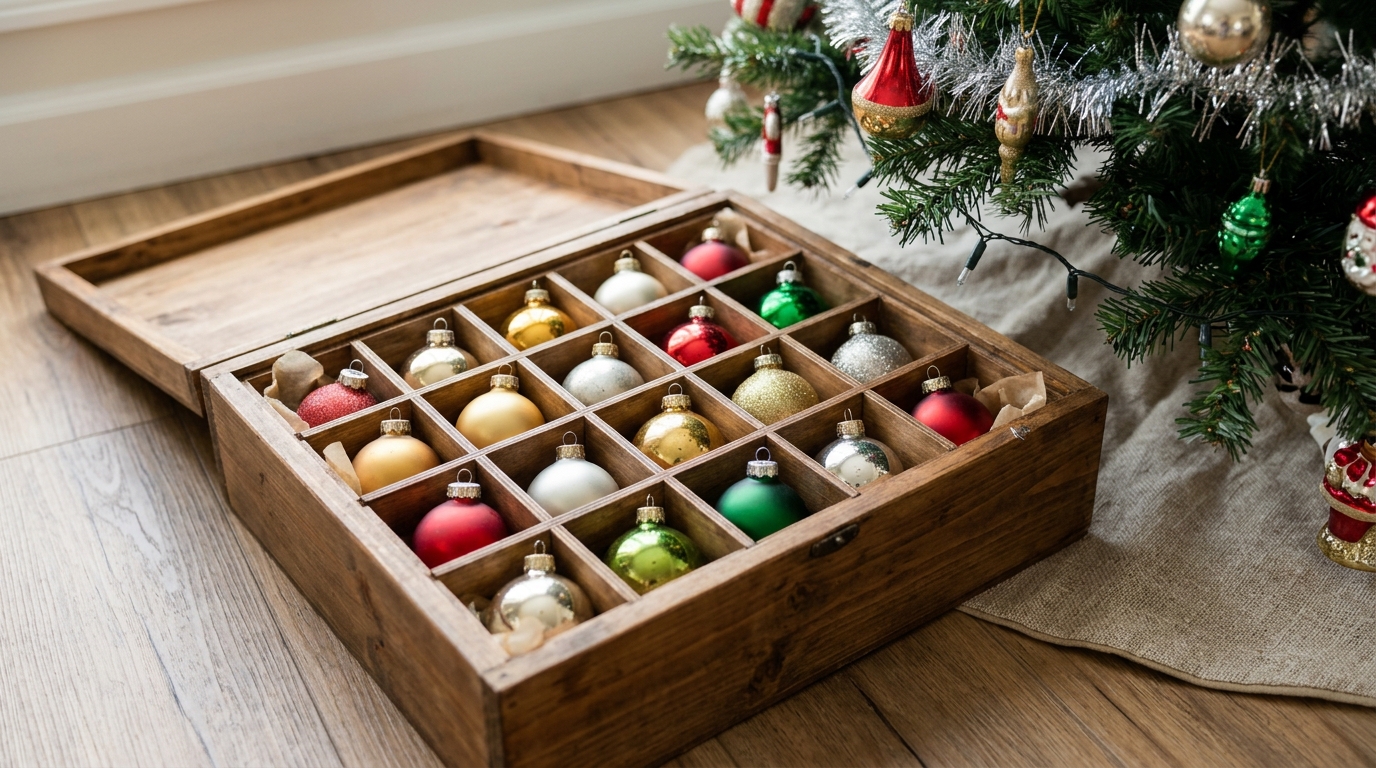
Fragile glass ornaments deserve better than a cardboard box. A wooden case with square cells keeps every bauble safe from one year to the next. Size the cells about a half inch wider than your largest ornament and pad the floor with felt. Of all the wooden keepsake box gifts here, this one saves the most heartbreak. It solves one of the biggest problems in our Christmas storage hacks gallery.
You will need: Pine boards, thin plywood strips, wood glue, brads, felt, craft glue, sandpaper, stain or paint.
How to make it: 1. Build a box about 4 inches deep. 2. Cut plywood strips to make a grid. 3. Notch and interlock the strips. 4. Glue felt to the floor. 5. Set the grid inside and add a lid.
Wooden Keepsake Box Gifts in Walnut and Brass
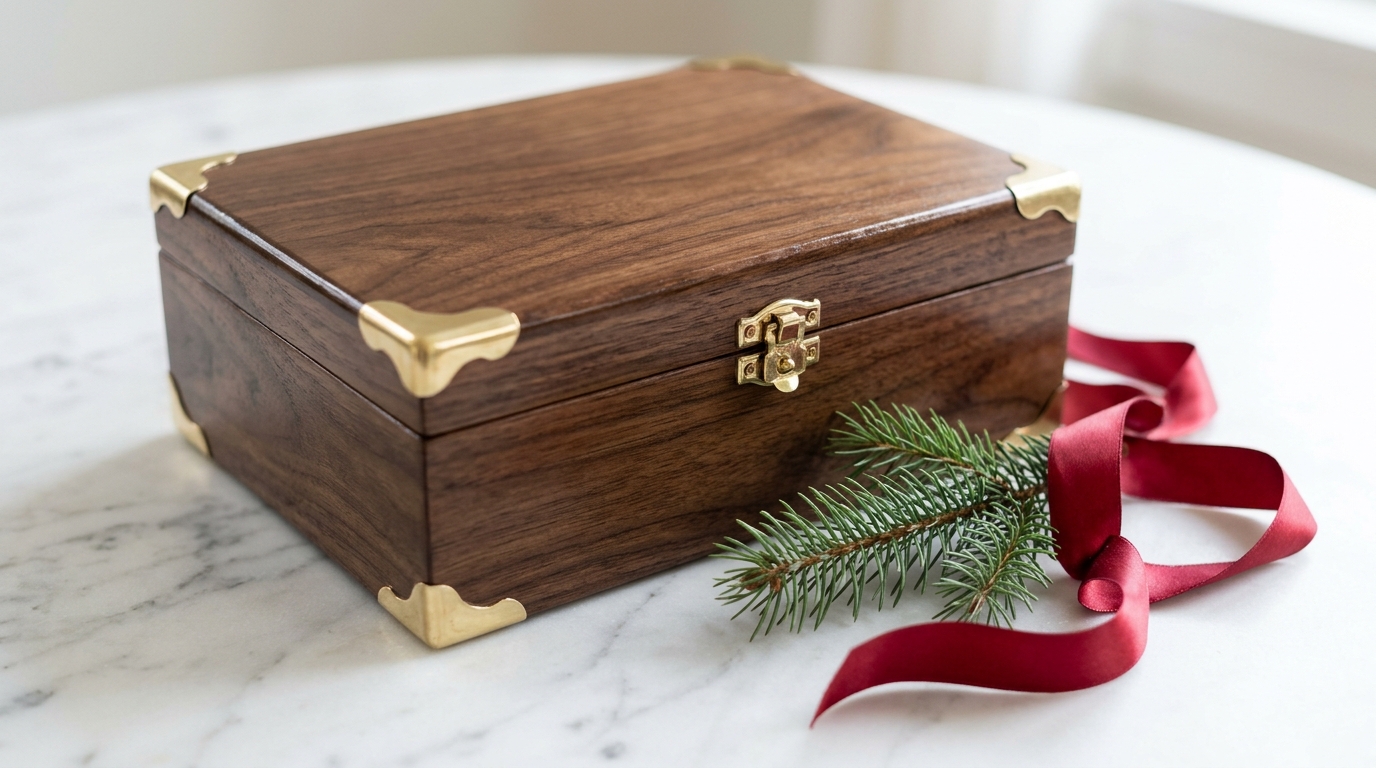
If you want wooden keepsake box gifts that look like they cost a fortune, reach for walnut and brass. Shiny corner caps and a small clasp turn a plain box into an heirloom. The hardware costs just a few dollars online or at a hardware store, and it nails on in minutes. Oil the walnut until it glows. Warm metal accents look just as good here as they do in our brass Christmas decor ideas. Sand to a high grit before the oil for that glassy, expensive feel.
You will need: Walnut boards or stained pine, brass corner caps, brass clasp, small hinges, tiny brass nails, fine sandpaper, oil finish.
How to make it: 1. Build and sand the box up to a very fine grit. 2. Wipe on oil and let it soak in. 3. Add a second coat the next day. 4. Tap brass corners on each corner. 5. Fit the hinges and clasp.
An Art Supply Box for a Young Artist
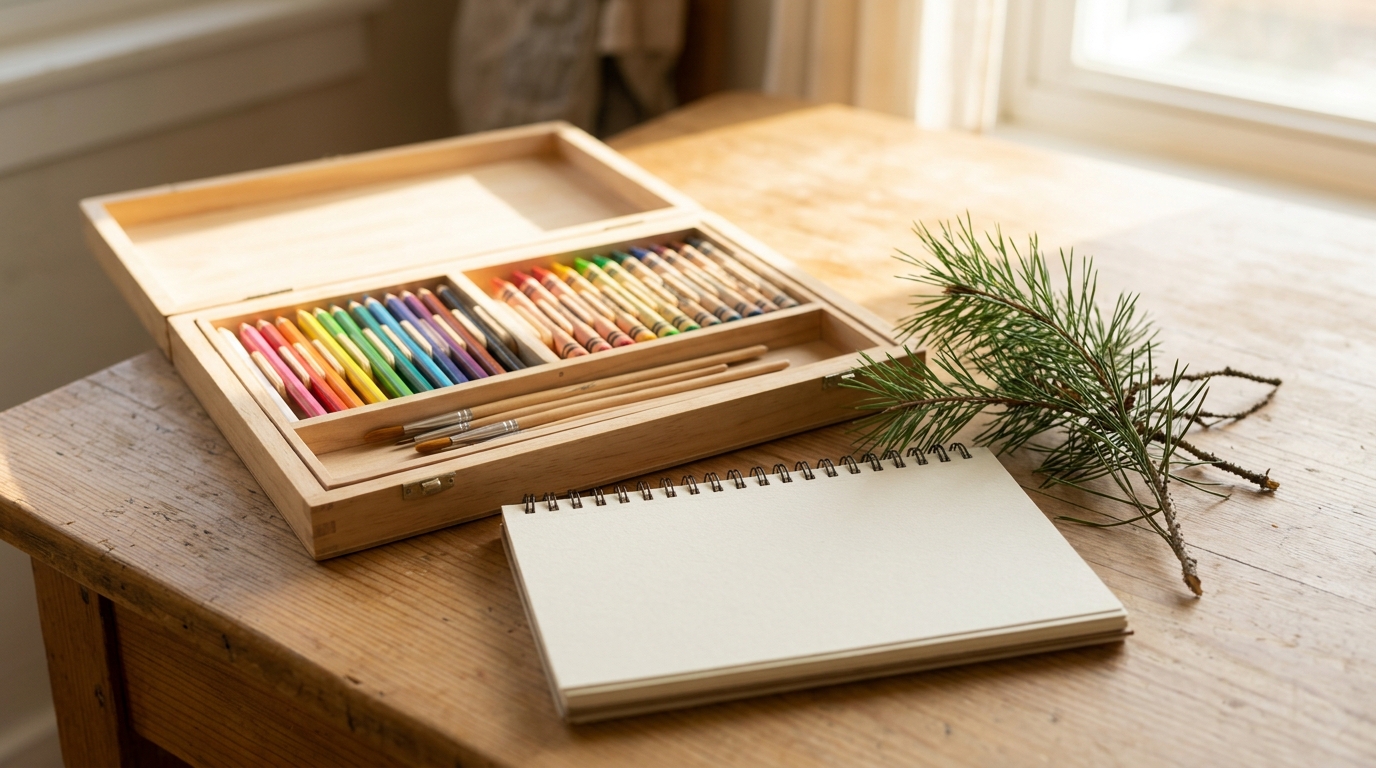
A young artist with a real art box feels like a grown up. Build a shallow case with a little rack for pencils and a compartment for brushes, then fill it with good supplies. Add a blank sketchbook and the gift is ready. Grandparents can make it together with the child, which turns it into a memory too. Our Christmas crafts with grandkids have more ideas for that special time. Rounded corners and a smooth finish keep it safe for small hands.
You will need: Pine boards, thin strip with drilled openings for pencils, wood glue, brads, sandpaper, clear finish, pencils, crayons, brushes, sketchbook.
How to make it: 1. Build a shallow box with a hinged lid. 2. Drill a row of openings in a strip for pencils, with adult help. 3. Glue the strip inside. 4. Round all corners with sandpaper. 5. Seal and fill with supplies.