Wood Burning Art: 12 Pieces From the Artist Who Spends 130 Hours on One Slab
Wood burning art has a quiet kind of magic, and one artist on Facebook proves it slab after slab. The page is called Hippie North, it has about 520,000 followers, and its videos pull millions of plays because people simply cannot believe a hot pen and a piece of wood can do this. One octopus slab alone has been played 38 million times. One time lapse shows 130 hours of work squeezed into 20 seconds. That kind of patience touches something in all of us, especially in a busy season. Below are 12 slides: the pieces that made people stop and stare, then small, safe versions you can make at your own kitchen table, including easy Christmas gifts. No fancy studio needed, just a little time and a steady hand..
The Wood Burning Art That Started It All
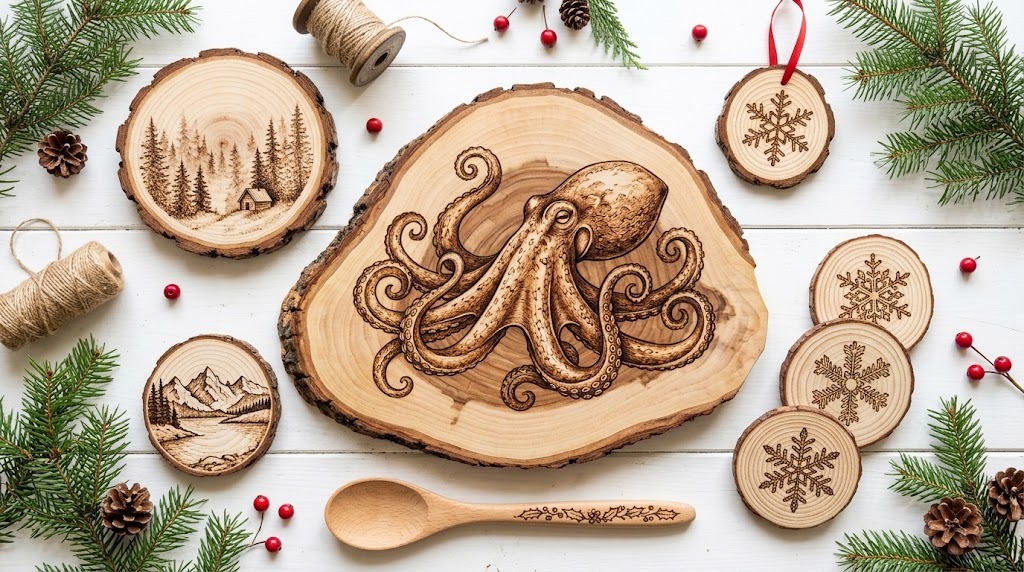
Picture a table full of warm honey wood, each piece covered in fine brown lines that look like ink. That is what scrolling the Hippie North page feels like. Giant slabs sit next to tiny forest rounds, and every one of them took hours of slow, careful work. The big pieces get the millions of plays, but the small ones are the real gift for the rest of us, because they show how far a simple line can go. Keep reading for the pieces people cannot stop sharing and the easy versions you can try..
You will need: A few unfinished wood slices or rounds, a pencil, a soft eraser, a fine brown paint pen or brown fine tip marker, and clear matte sealer.
How to make it: 1. Sand each slice lightly and wipe off the dust. 2. Sketch a simple design in pencil, like a tree, a star or a snowflake. 3. Trace the lines with the brown paint pen, then add small dots and short strokes for shading. 4. Let it dry, erase stray pencil and seal it.
Hold Your Breath: The Giant Octopus Slab
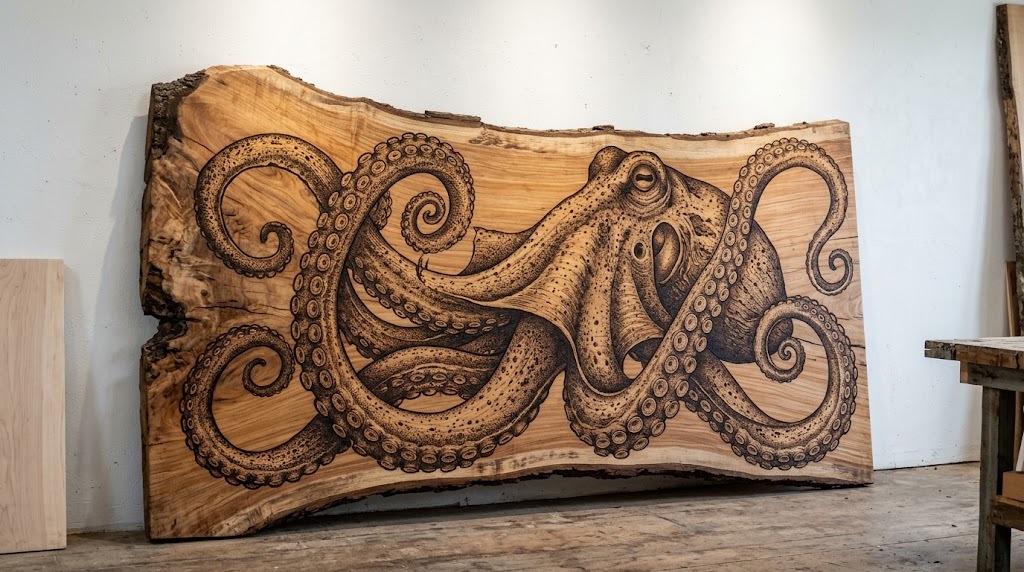
This is the wood burning art piece that made the page famous. The octopus slab, called Hold Your Breath, fills a huge live edge board with curling tentacles, and every sucker is shaded by hand. A revisit video of the piece has passed 38 million plays and more than 927,000 reactions. People keep watching because the wood grain seems to move with the tentacles, as if the octopus is swimming through the rings. Could a tiny octopus on a coaster be your version?
You will need: One round wood slice about 4 inches wide, a pencil, a brown paint pen, a fine black or dark brown marker and sealer.
How to make it: 1. Draw a small circle for the head near the top of the slice. 2. Sketch four to six wavy tentacles that curl outward. 3. Trace with the brown pen and add a row of small dots along each tentacle. 4. Darken one side of each curl for depth, then seal.
Restless Void: A Swirling Deep Sea Panel
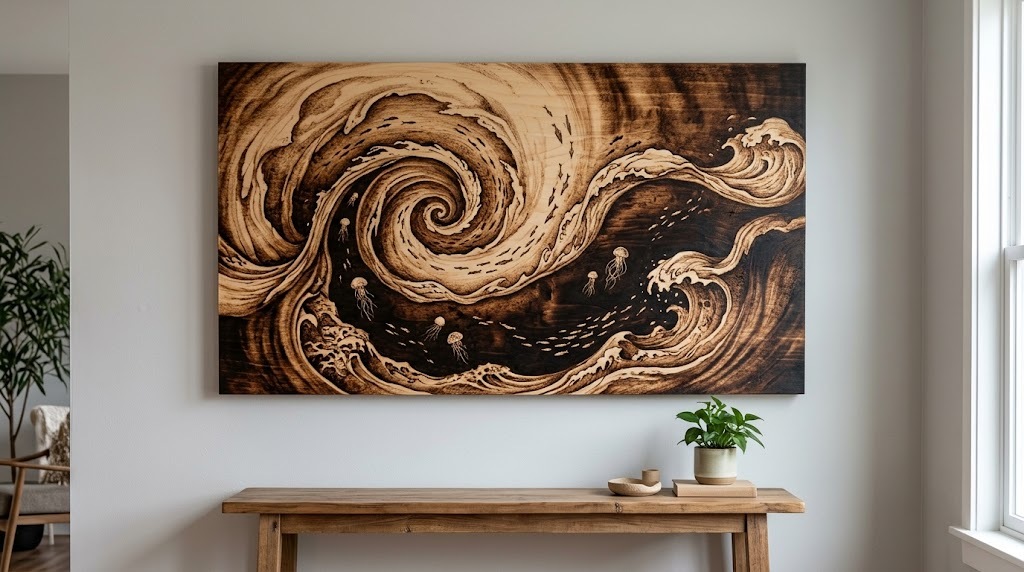
Restless Void goes deep, both in color and in feeling. The finished piece swirls like ocean water pulling you down, with the darkest browns sitting right in the middle. That video has reached about 9.4 million plays and close to 6,000 shares. It is a good reminder that wood burning art is not only about outlines. The magic is in the slow move from light tan to almost black. Want to practice that kind of shading on a small scale?
You will need: A small square wood plaque, a pencil, brown paint pens in light and dark shades, and sealer.
How to make it: 1. Draw a loose spiral from the center outward. 2. Fill the outer rings with light brown strokes. 3. Go darker as you move toward the middle, overlapping your lines. 4. Add two or three tiny fish shapes, let dry and seal.
An Overgrown Forest City in Wood Burning Art
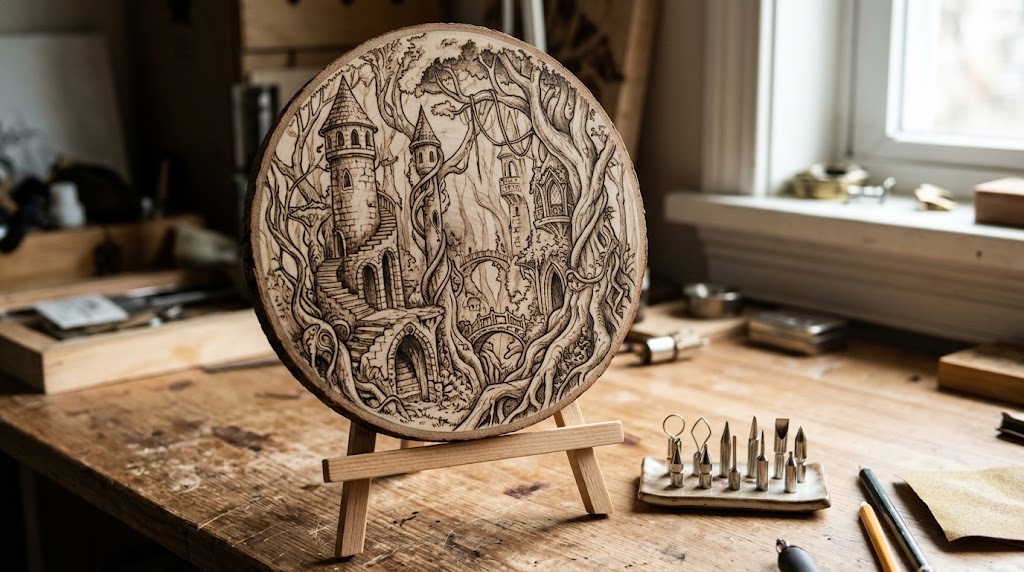
One of the most shared pieces is a forest scene inspired by a favorite video game world, with old stone walls slowly taken over by trees and roots. It has passed 10 million plays and 11,000 shares. Fans love spotting the tiny windows and vines tucked into every corner. You do not need a game to love this look. Any old ruin, barn or garden wall can become your own little story in wood. What place would you draw?
You will need: A wood round, a pencil, a ruler, a brown paint pen and a fine tip marker for small details.
How to make it: 1. Sketch a simple arch or wall shape with the ruler. 2. Draw tree trunks growing up and over it. 3. Add roots, vines and small leaves with the fine marker. 4. Shade the inside of the arch darker, then seal.
Abundance: Flowers and Leaves on Live Edge
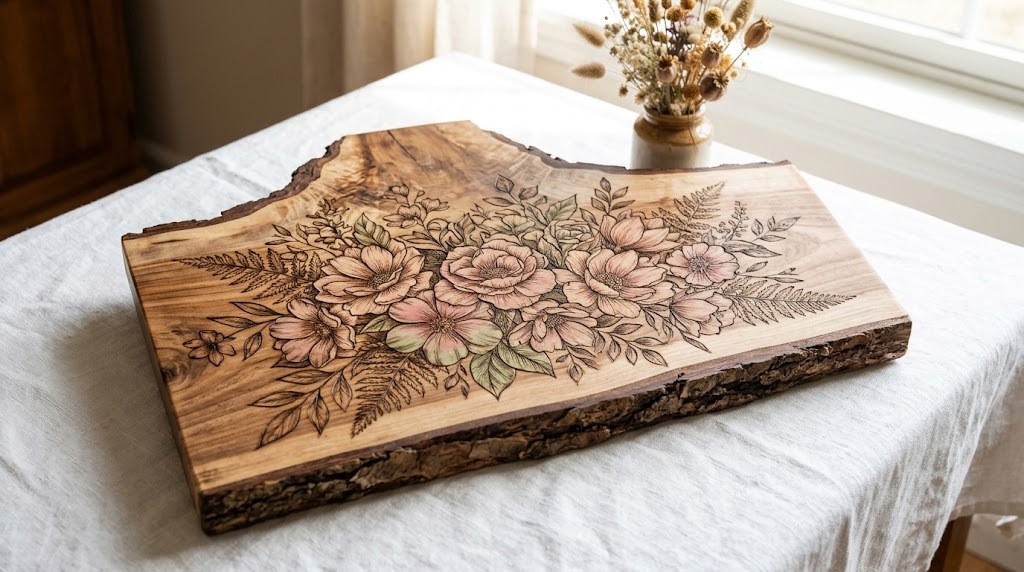
Abundance is pure joy to look at. Flowers, leaves and ferns pile on top of each other until the slab feels like a summer garden. Even the work in progress video pulled about 1.6 million plays, because watching each petal appear is so calming. A light wash of color on a few blooms makes the brown lines pop even more. This style of wood burning art makes a lovely gift because everyone loves flowers. Who on your list would hang this?
You will need: A small live edge plank or wood slice, a pencil, a brown paint pen, and watercolor paints with a small brush.
How to make it: 1. Draw three simple flowers and a few leaves. 2. Trace the outlines with the brown pen. 3. Add a very watery wash of pink or green to a few petals. 4. Let it dry fully, then seal.
A Mountain Lake on a Wood Round
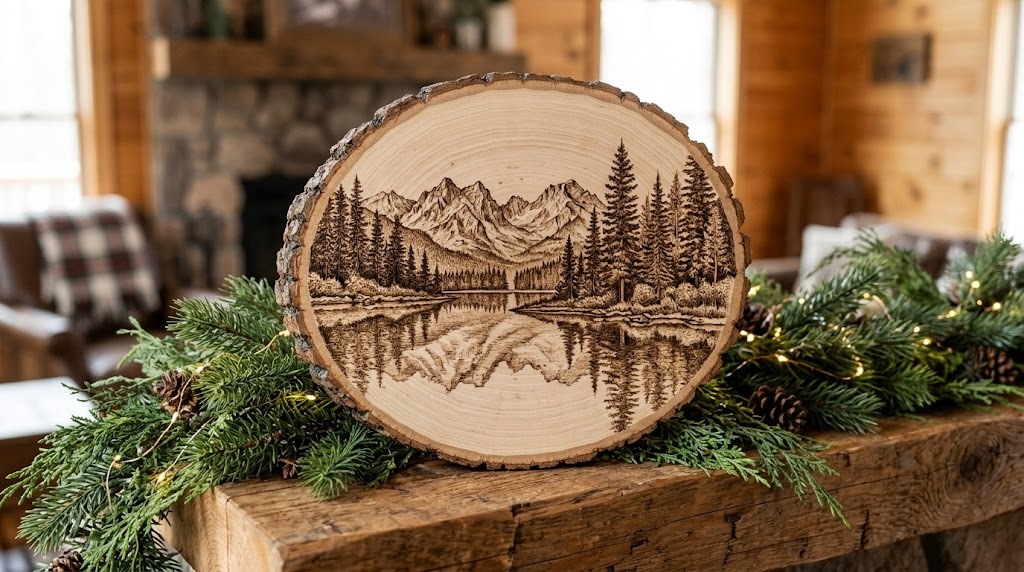
A calm mountain lake, tall pines on the shore and peaks reflected in still water. This scene from the page has reached about 1.4 million plays, and it feels like a deep breath in wood form. Landscapes are a great place to start with wood burning art because nature forgives small mistakes. A crooked pine just looks more real. Prop a round like this on the mantel with some greenery and it fits right in with Christmas decor. Ready to draw your favorite view?
You will need: A thick wood slice with bark, a pencil, a brown paint pen, a fine marker and sealer.
How to make it: 1. Draw a wavy line across the middle for the shore. 2. Sketch mountain peaks above and mirror them faintly below. 3. Add pine trees with quick zigzag strokes. 4. Leave the water lighter, then seal.
Mushroom and Moss Wood Burning Art
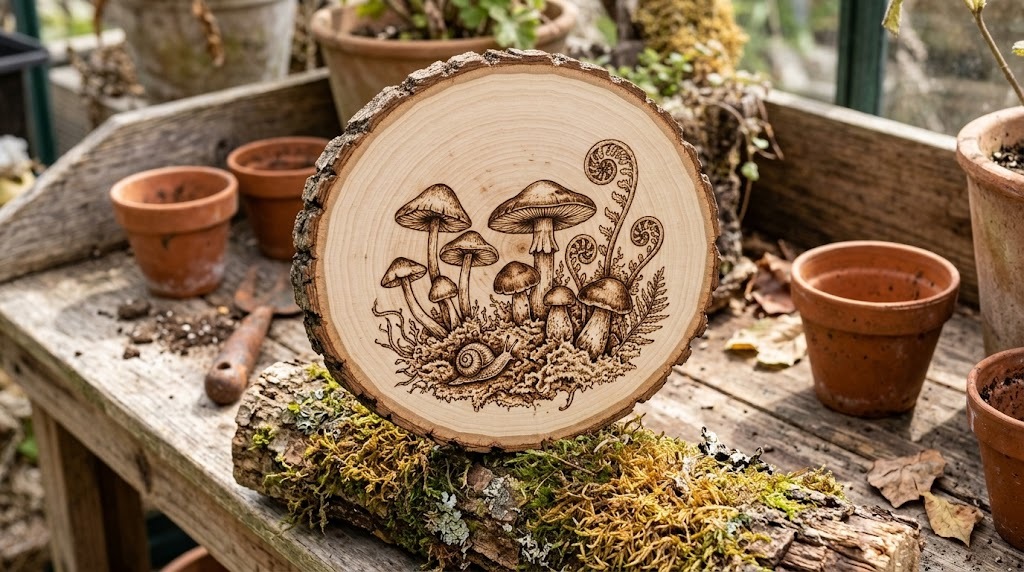
Forest floor scenes show up again and again in pyrography, and it is easy to see why. Mushrooms have soft round caps that look great with simple shading, and moss is just a cluster of tiny dots. A little snail tucked in the corner adds a smile. This makes a sweet gift for a gardener or anyone who loves a walk in the woods. You could even make a matching set for a kitchen windowsill. Which forest friend will you add first?
You will need: A wood round, a pencil, a brown paint pen, a fine marker, and a dot tool or toothpick dipped in paint.
How to make it: 1. Draw three mushroom caps of different sizes. 2. Add stems and gills with short lines. 3. Dot clusters of moss around the base. 4. Shade under each cap, then seal.
Nested Rings With Wildflowers
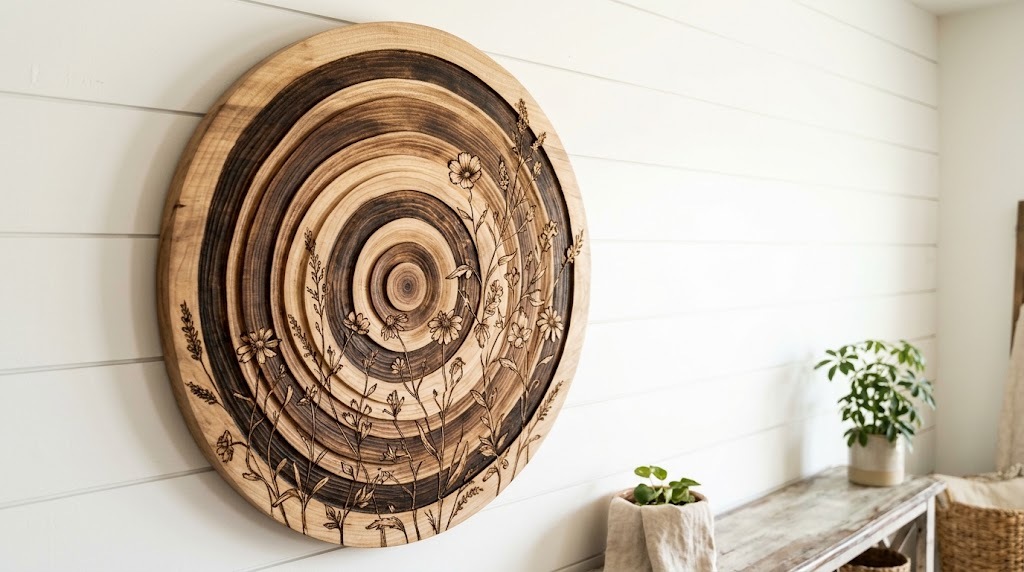
Tree rings already tell a story, so why not lean into them? This style traces rings around the center, each one a different shade of brown, then lets wildflowers grow right across them. It looks fancy, but it is mostly circles and simple stems. The contrast between neat rings and wild flowers is what catches your eye. It is a nice way to learn shading because each ring is its own little practice zone. Would you choose daisies or lavender?
You will need: A round wood plaque, a pencil, a compass or round lids for tracing, brown paint pens in two shades and sealer.
How to make it: 1. Trace four or five rings using lids of different sizes. 2. Fill each ring with a lighter or darker shade. 3. Draw thin flower stems across the rings. 4. Add small petals on top, then seal.
130 Hours of Wood Burning Art in One Slab
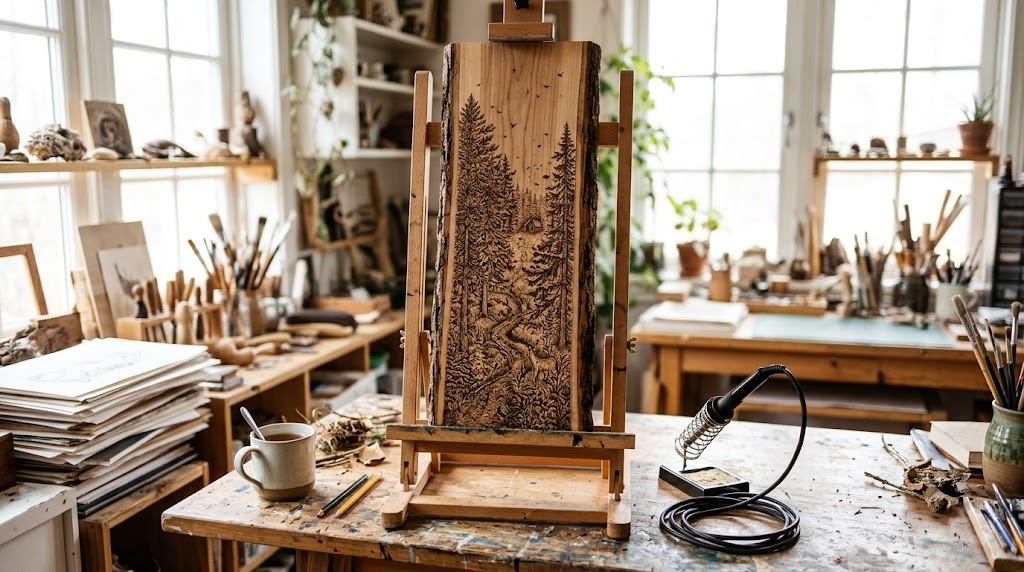
Here is the number that stops people cold. One time lapse post squeezes 130 hours of wood burning into just 20 seconds, and it has gathered about 16,600 reactions. Think about that: weeks of evenings, one tiny line at a time. It is the perfect answer to anyone who says handmade gifts are quick or easy. The good news is you can enjoy the same calm feeling in just 20 minutes with a small project. Where could you find a quiet half hour this week?
You will need: A small wood plank, a pencil, a brown paint pen, a fine marker and a cup of tea.
How to make it: 1. Set a timer for 20 minutes. 2. Draw a row of pine trees across the plank. 3. Add as many tiny needles and branches as the time allows. 4. Stop when the timer rings, look at your progress and seal it later.
Try It: Wood Burning Art Pine Slice Ornament
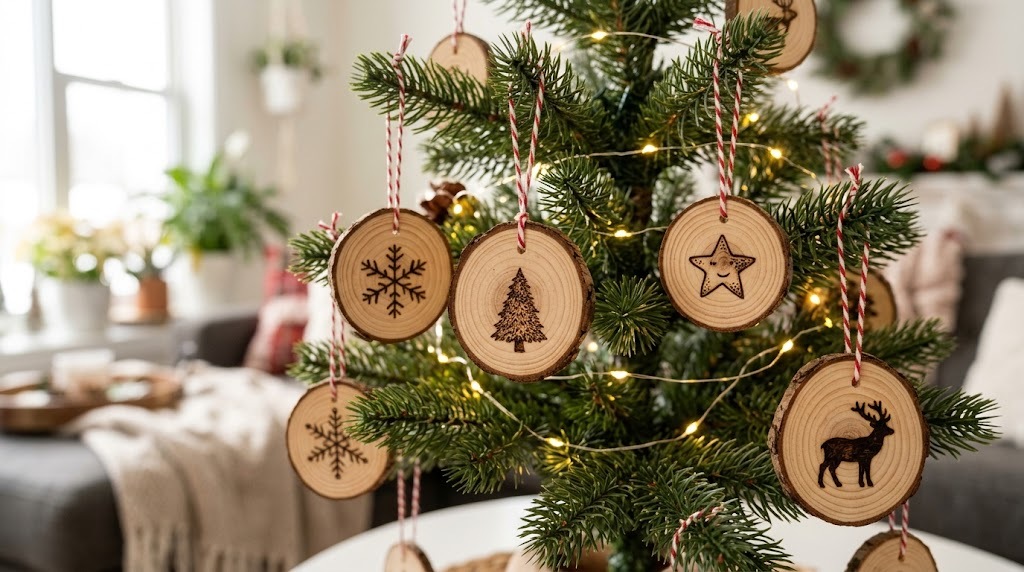
Now for the fun part, the small projects you can make at home. Pine slice ornaments are the easiest place to start. Each slice gets one simple shape, like a star, a tree or a reindeer. For a no heat version, a brown paint pen gives almost the same look. If an adult in the house already uses a wood burning tool, use it on low heat in a ventilated room and never leave it switched on. Which shape will go on your tree first?
You will need: Small pine wood slices with a hole drilled for hanging, a pencil, a brown paint pen, red and white twine, and sealer.
How to make it: 1. Sketch a simple shape in the center of each slice. 2. Trace it with the brown pen. 3. Add a few dots of snow around it. 4. Seal, thread twine through the hole and tie a loop.
Try It: Snowflake Coaster Gift Set
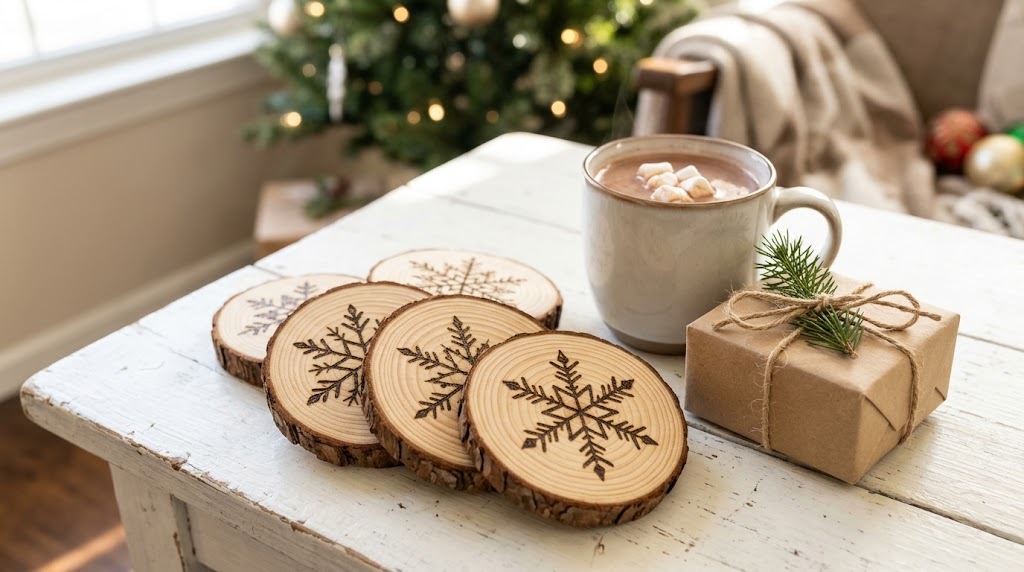
A set of coasters is a wood burning art gift people really use, and snowflakes are made of simple straight lines. Make each one different so the set feels special. Stack them, tie them with twine and add a sprig of pine, and you have a present that looks like it came from a craft fair. If you want more ideas to sell or share, our wood crafts to sell gallery is full of them. Who gets the first set?
You will need: Six round wood slices about 4 inches wide, a pencil, a ruler, a brown paint pen, food safe sealer and twine.
How to make it: 1. Draw a star of three crossing lines on each slice. 2. Add small V shapes along each arm. 3. Make every snowflake a little different. 4. Seal both sides well so the coasters can handle a damp mug.
Try It: A Wood Burning Art Mandala Practice Board
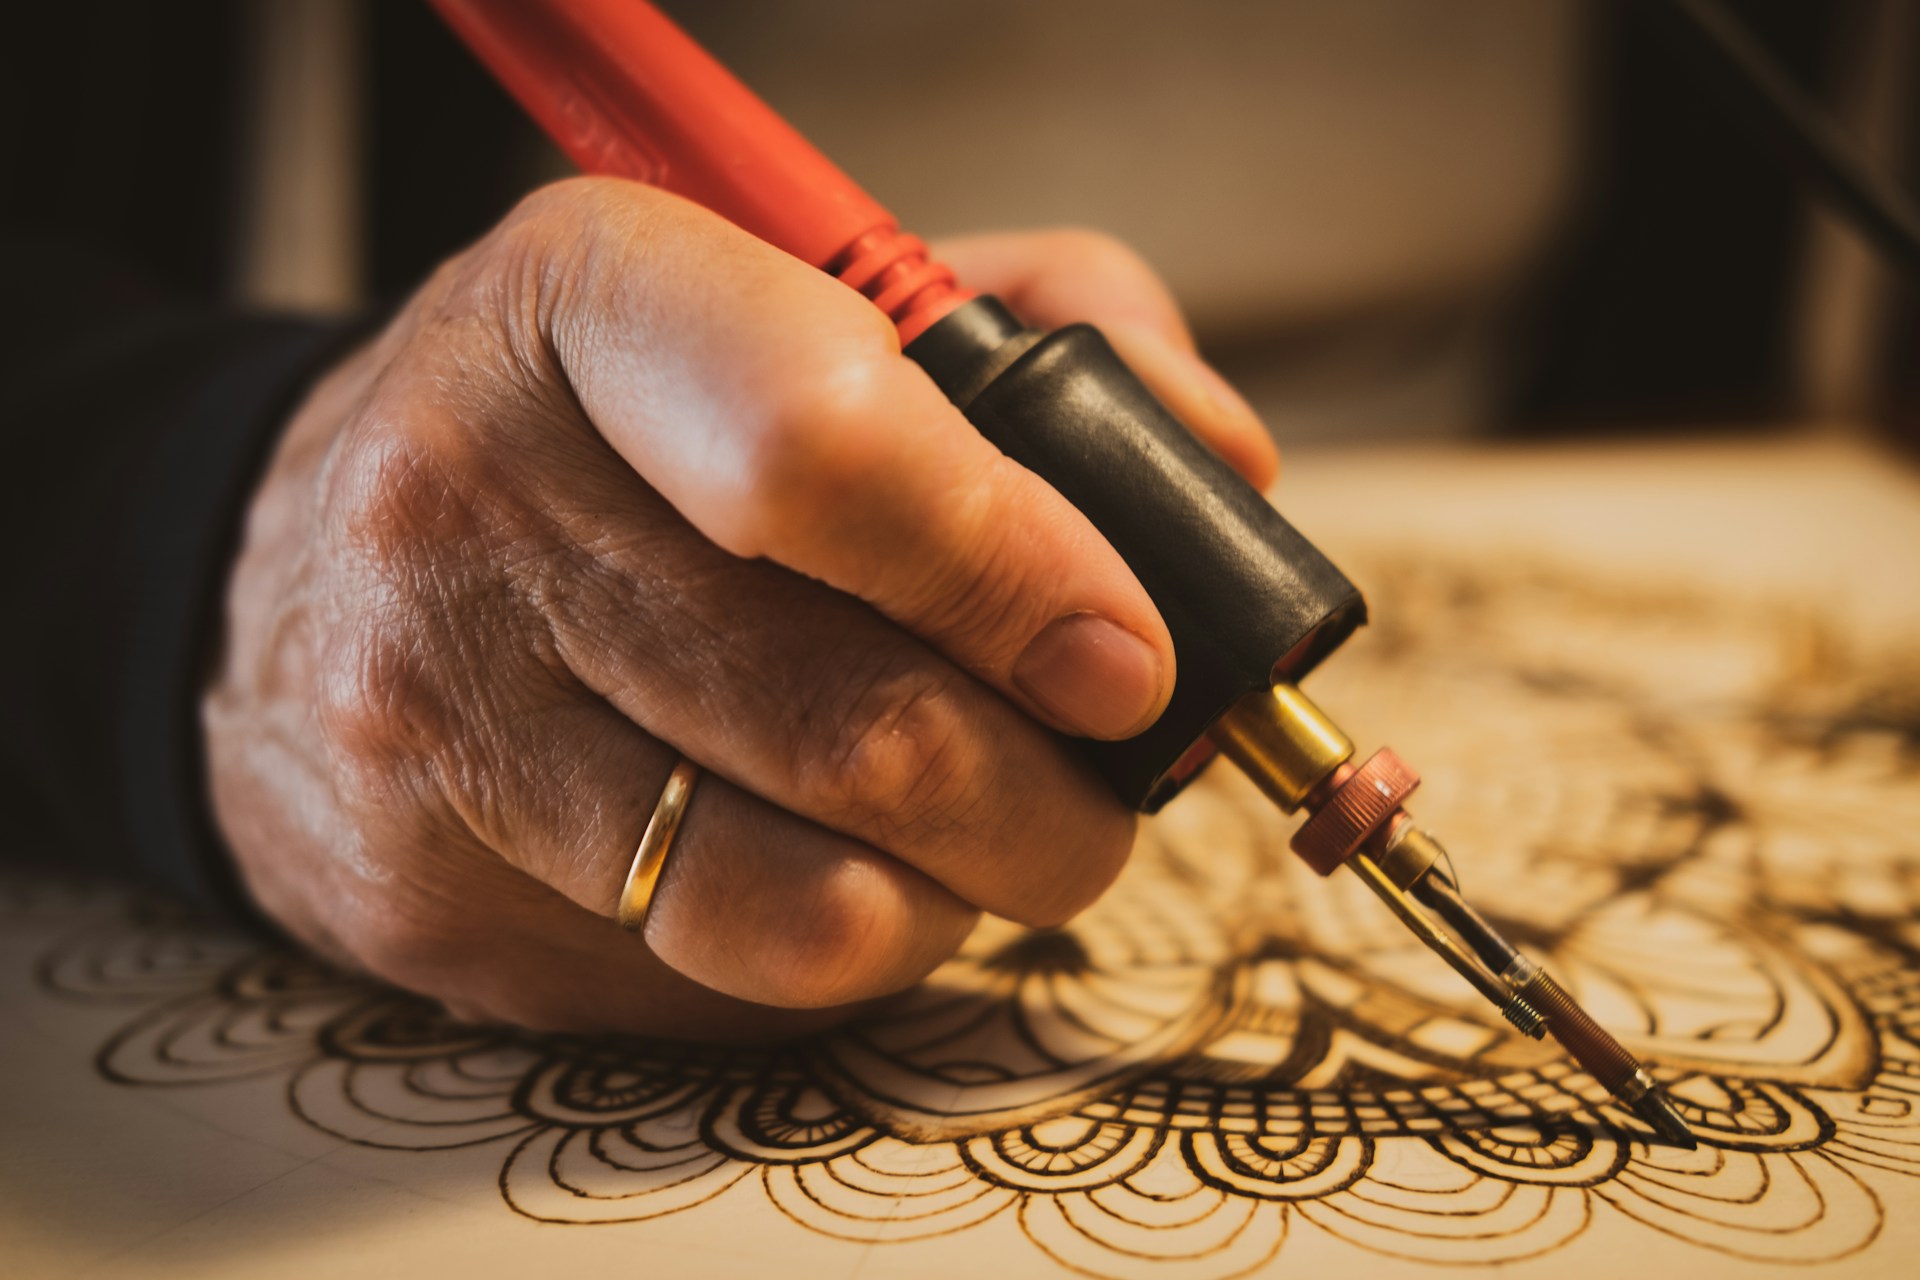
Mandalas are the perfect practice board for any beginner. Every pattern is built from circles, petals and scallops, so you repeat the same small shapes again and again until your hand feels steady. Look closely and you can see why patient artists love this style: one ring at a time, it grows into something beautiful. Start with a brown paint pen on a cheap pine board, and if an adult in the house later moves on to a real wood burning tool, a mandala is a calm first project. How many rings will yours have?
You will need: A pale pine or basswood board, a pencil, a compass or round lids, a ruler, a brown paint pen and a fine black marker.
How to make it: 1. Mark the center and draw four or five rings around it. 2. Divide the rings into equal sections with the ruler. 3. Fill each ring with one repeating shape, like petals, dots or scallops. 4. Trace everything with the pen, erase the pencil and seal.