Wooden SUV Model Magic: 15 Steps Behind the Carving 265 Million People Watched
A wooden SUV model carved by hand has been watched more than 265 million times, and once you see it, you will understand why. It starts as a plain block of pine on a dusty workbench. Eight minutes later it is a gleaming little SUV with doors, a grille, turned wheels and even real springs under the body. No talking, no fancy studio, just a pair of patient hands and the sound of tools. The video comes from the Vietnamese channel Woodworking Art, and people around the world keep sharing it because it feels like magic. Below, we walk through every stage of the build, then share three easy projects you can try at home with simple scrap wood. Grab a cup of coffee and get ready to want a workbench of your own..
Meet the Maker Behind the Wooden SUV Model
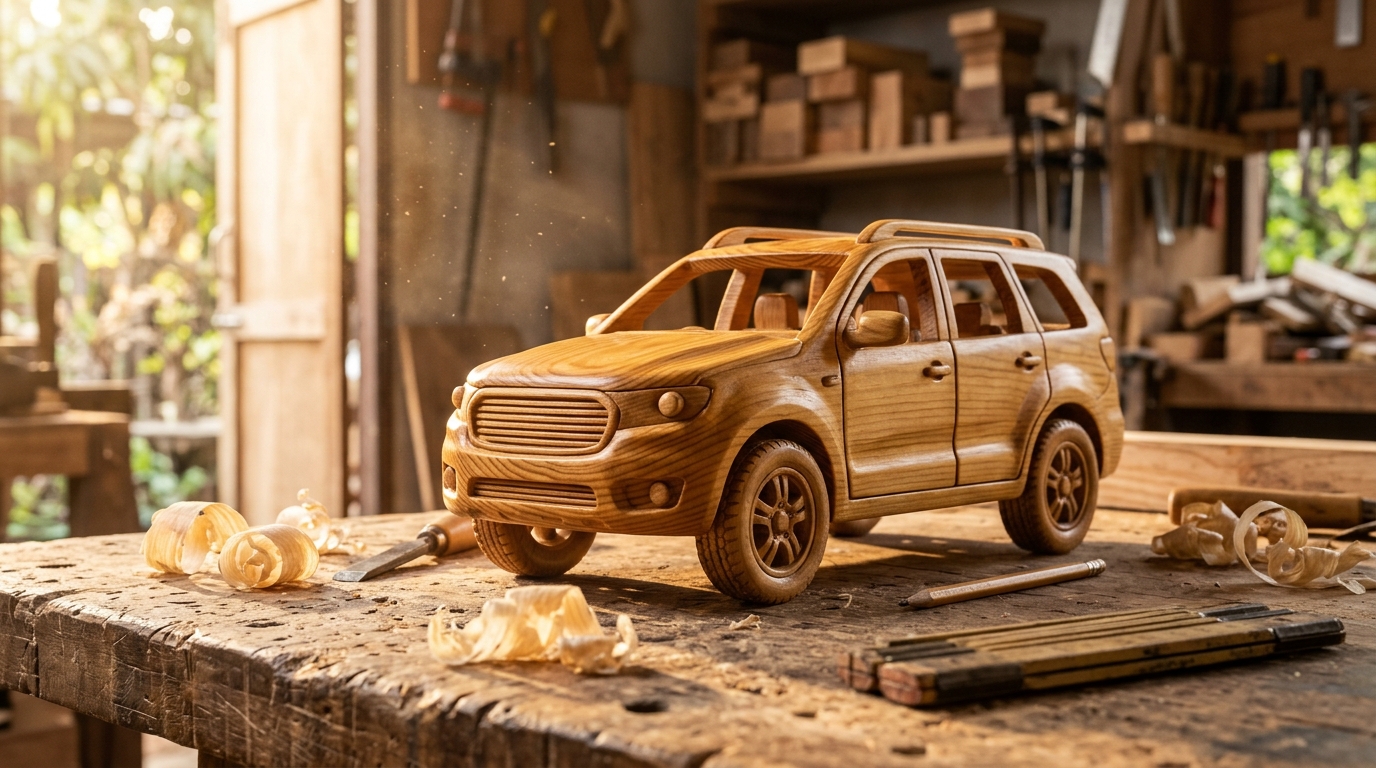
The channel is called Woodworking Art, and on May 13, 2020 it posted a quiet video of a craftsman turning blocks of wood into a scale model of a popular family SUV. Today that one video has passed 265 million views and more than a million likes, and the channel has millions of subscribers. There is no voice over at all. You simply watch the shape appear, one cut at a time. You can watch the full build video on YouTube, then come back here for the step by step story and some projects of your own..
You will need: Patience, good light, a sturdy workbench and a love of wood. The original maker uses pine blocks, a drill, a small trim router, chisels, sandpaper and paint.
How to make it: 1. Watch the video once just to enjoy it. 2. Watch again and pause at each chapter. 3. Note the order of the build: body, doors, front and rear details, wheels, then assembly. 4. Use the steps below as your guide.
Step 1: Choosing the Wood and Drawing the Outline
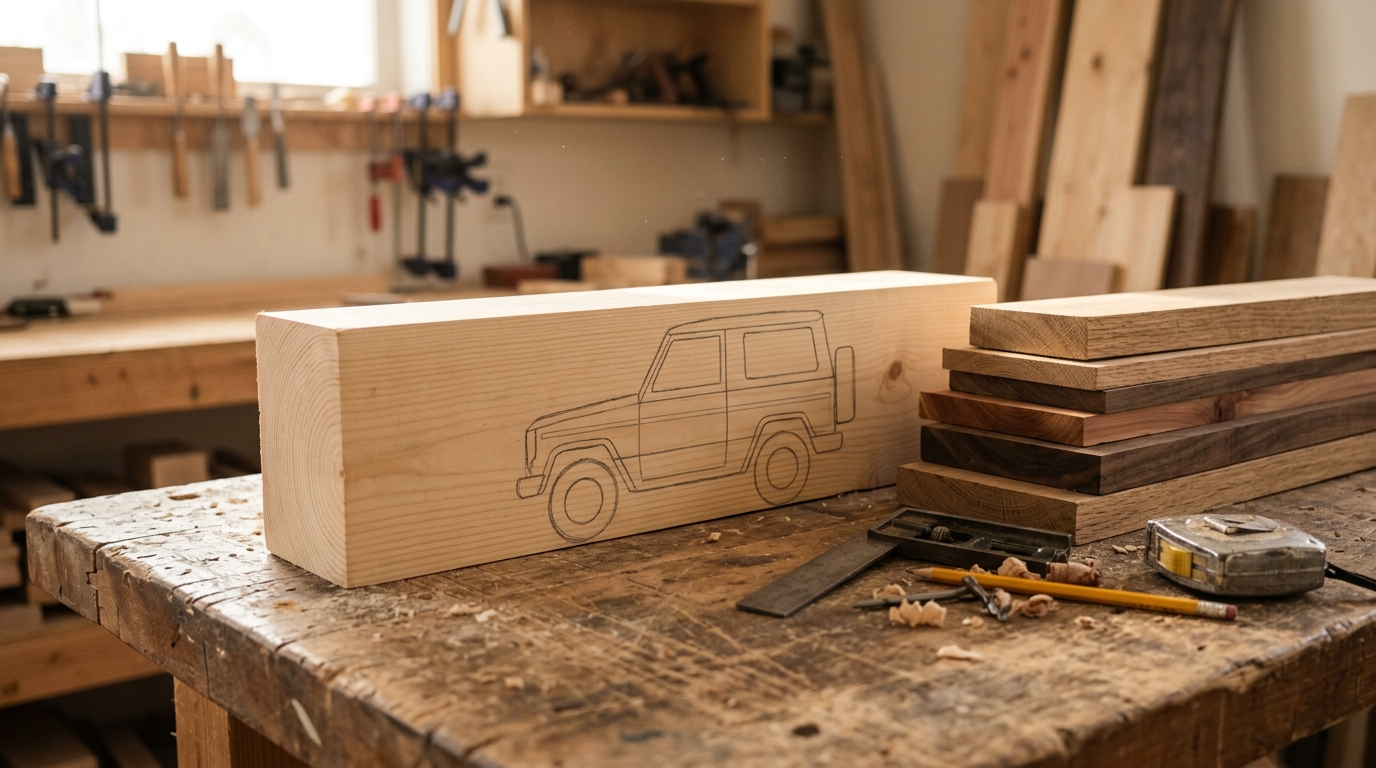
Every great carving starts with the right piece of wood. The maker picks thick, pale blocks with a straight, even grain, because soft pine is easy to cut and shows off every curve. Then he draws the side view of the SUV right onto the block in pencil: the long flat roof, the sloped windshield, the wheel arches. A clear outline saves a lot of guesswork later. Have you ever tried sketching a car from the side? It is harder than it looks!
You will need: A thick block of pine or basswood, a pencil, a ruler, a carpenter square and a printed side view of any car you like.
How to make it: 1. Check the block for cracks and knots. 2. Print a side view picture at the size you want. 3. Trace or copy the outline onto the block. 4. Mark the top view on the top face too.
Step 2: Rough Cutting the Wooden SUV Model Body
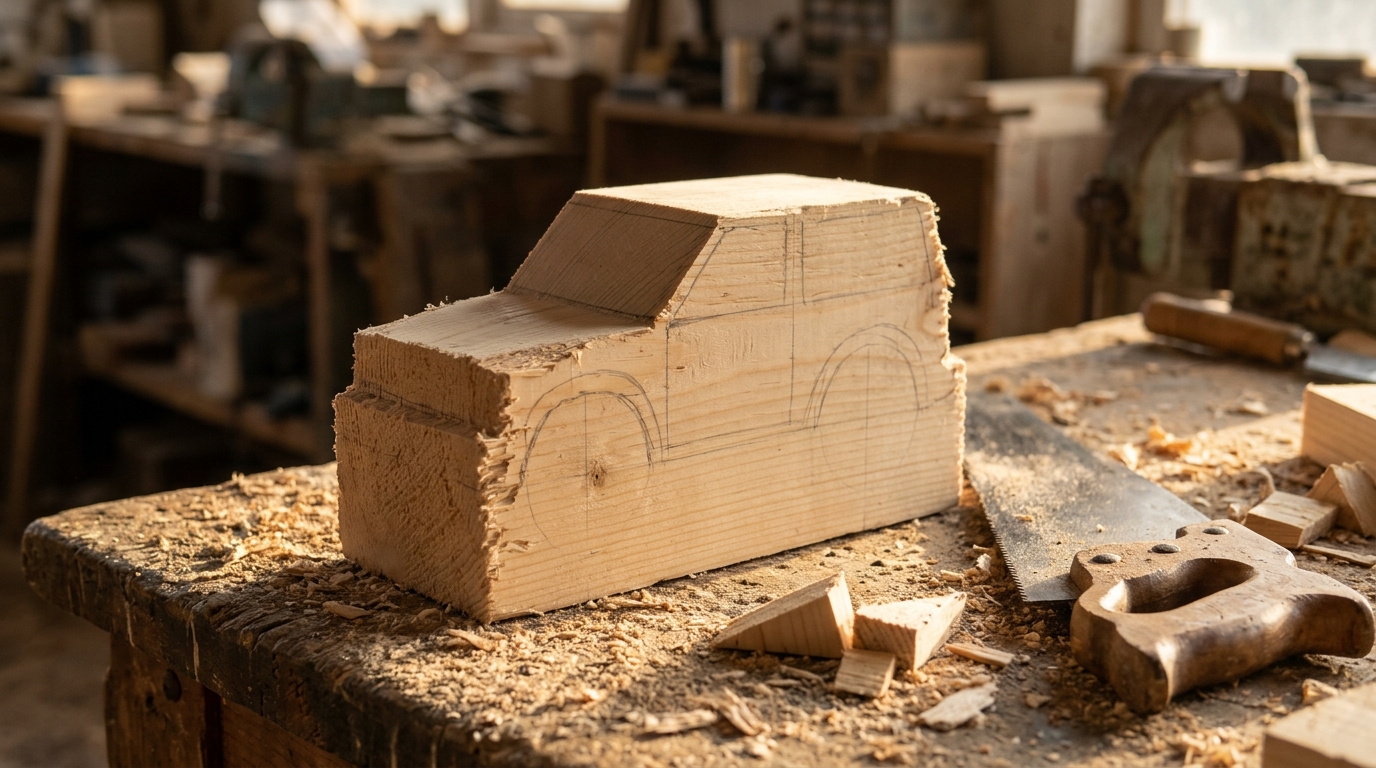
Next, the extra wood comes off. The maker cuts away the corners around the outline until a boxy little SUV shape stands on the bench. At this stage it looks more like a toy brick than a car, and that is fine. The goal is the right size and stance. Fine details come much later. This is the moment in the video where most viewers lean in, because you can suddenly see where it is going. Adults should handle saws, and always clamp the wood instead of holding it.
You will need: A coping saw or band saw (adult use only), clamps, safety glasses and your marked block.
How to make it: 1. Clamp the block firmly. 2. Cut along the outside of the side outline. 3. Turn the block and cut the top view shape. 4. Keep the offcuts for small parts later.
Step 3: Hollowing Out the Wooden SUV Model
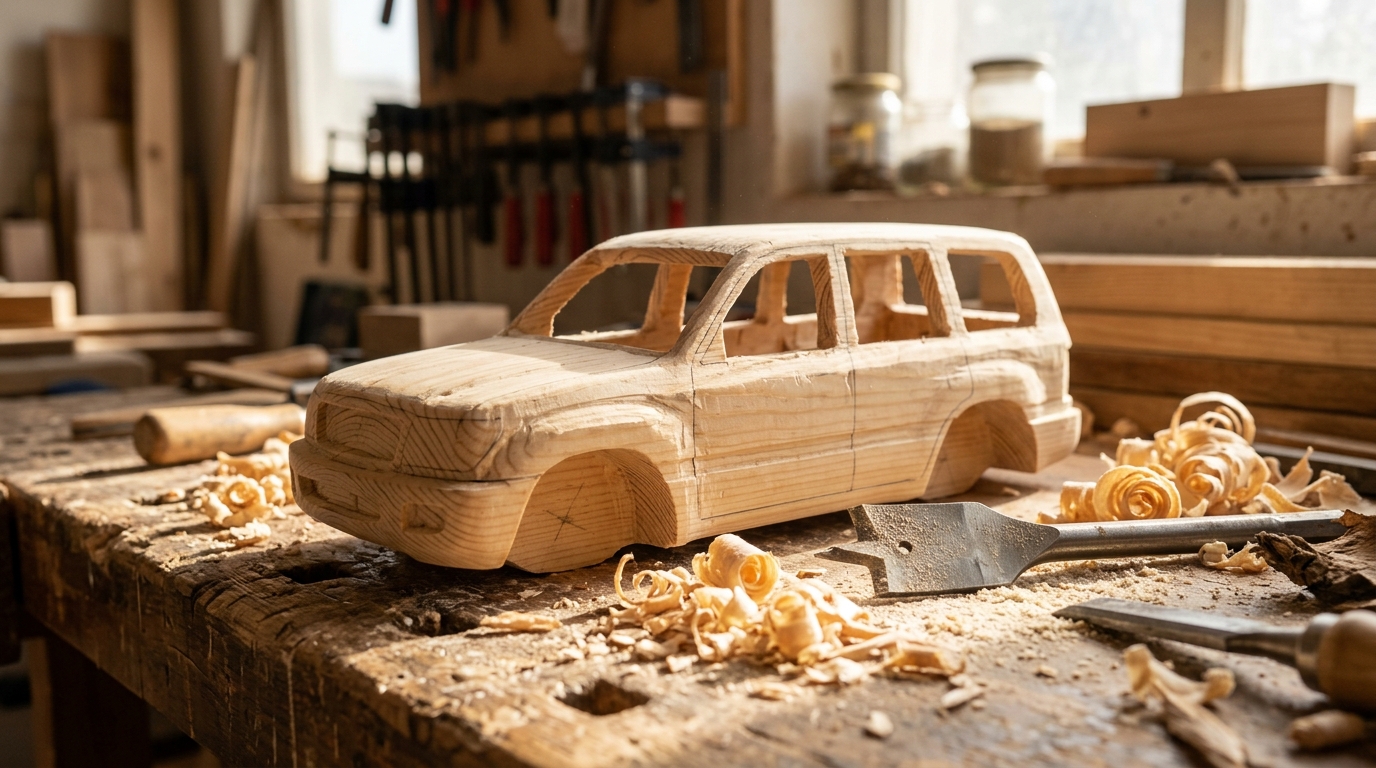
Here is the clever part. Instead of building the body from flat boards, the maker hollows out the solid block with a drill and chisels, like scooping out a pumpkin. Window openings are cut through the sides so you can see inside. The walls end up thin and even, which keeps the finished model light and lets light shine through the windows. It takes a steady hand and lots of small passes. Would you have the patience for this step?
You will need: A drill with large bits, a set of wood chisels, a mallet, clamps, safety glasses and a dust mask.
How to make it: 1. Mark the wall thickness on the top and bottom. 2. Drill a row of holes inside the lines. 3. Clean out the waste with chisels. 4. Cut the window openings and smooth the edges.
Step 4: Carving the Doors One by One
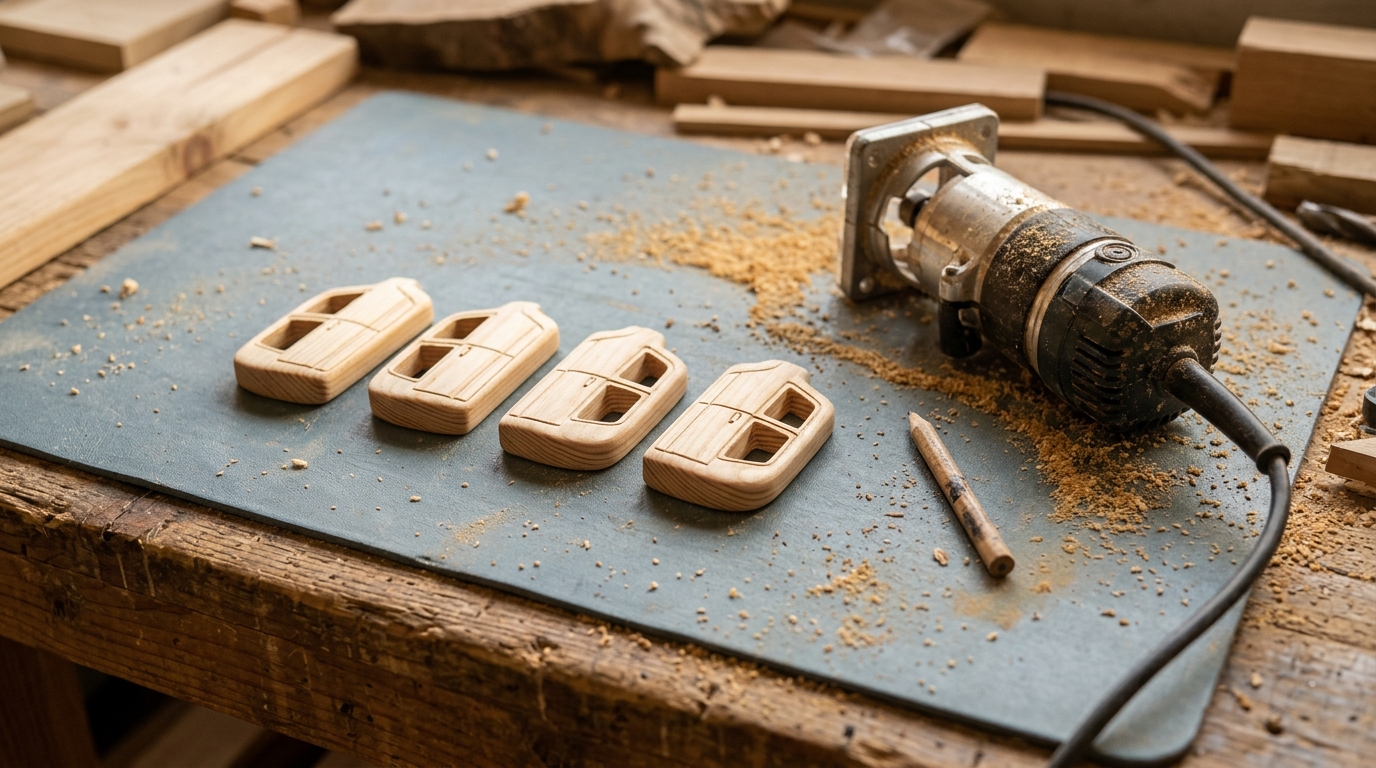
The doors are made as separate pieces. The maker shapes each one to match the curve of the body, then uses a small trim router to cut thin panel lines and window frames. Laid out on the bench, they look like tiny puzzle pieces. When they go back on, the seams line up so neatly that the body looks like it was pressed from one sheet. This is where the model starts to look truly real, not just carved.
You will need: Thin pine pieces, a small trim router or carving knife (adult use), sandpaper, wood glue and a pencil.
How to make it: 1. Trace each door shape from the body. 2. Cut the pieces slightly oversized. 3. Sand them to an exact fit. 4. Carve the panel lines and window frames.
Step 5: The Grille, Headlights and Front Bumper
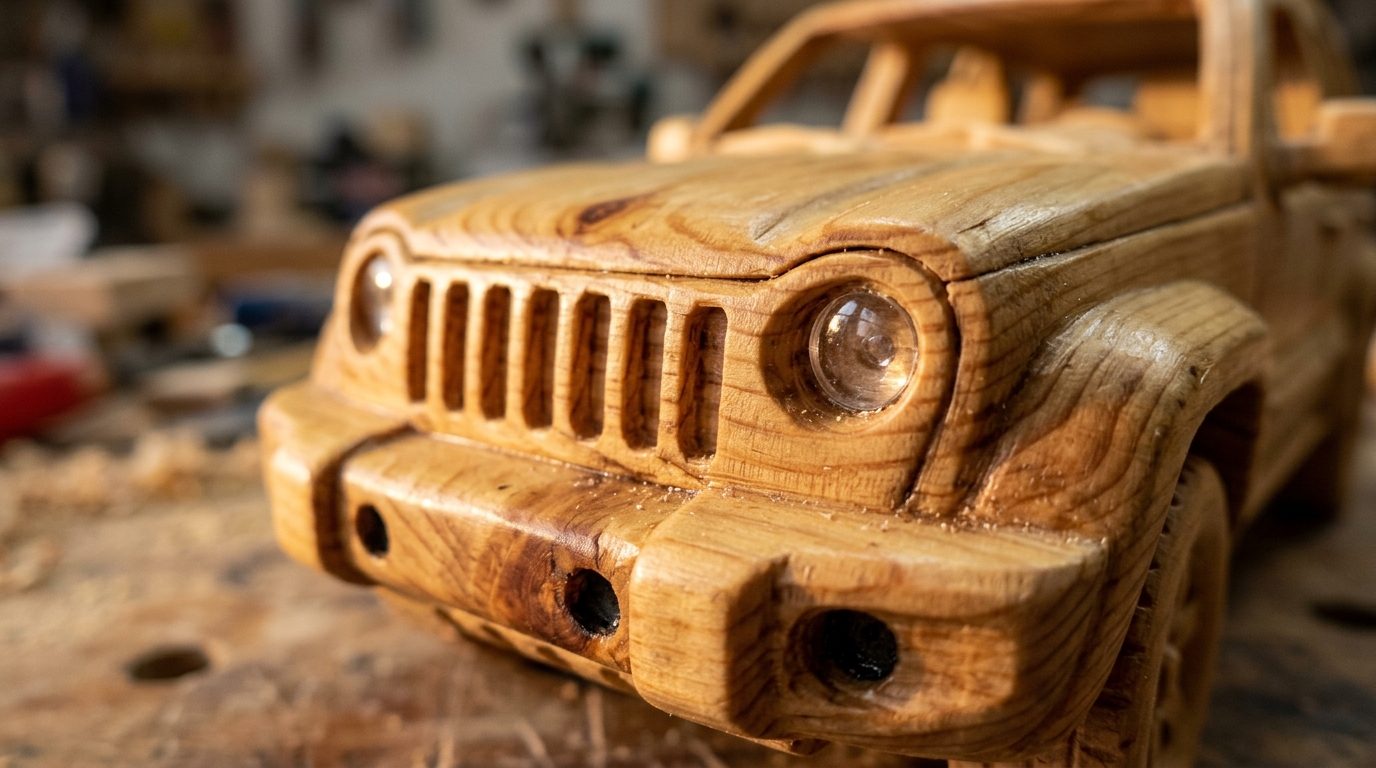
The front of any car is its face, and the maker treats it that way. He carves the grille slat by slat, shapes the bumper and adds round headlights with clear lenses. Each little detail is only a few millimeters wide, so the work is slow and careful. Viewers often say this is their favorite part of the video, because the face of the SUV suddenly appears out of the wood. Which detail would you carve first?
You will need: Small carving gouges, a craft knife (adult use), fine sandpaper, a few clear acrylic beads or buttons for lenses and wood glue.
How to make it: 1. Draw the grille lines on the front. 2. Carve between the lines with a small gouge. 3. Drill shallow holes for the headlights. 4. Glue in clear beads as lenses.
Step 6: Rear Details and Red Tail Lights
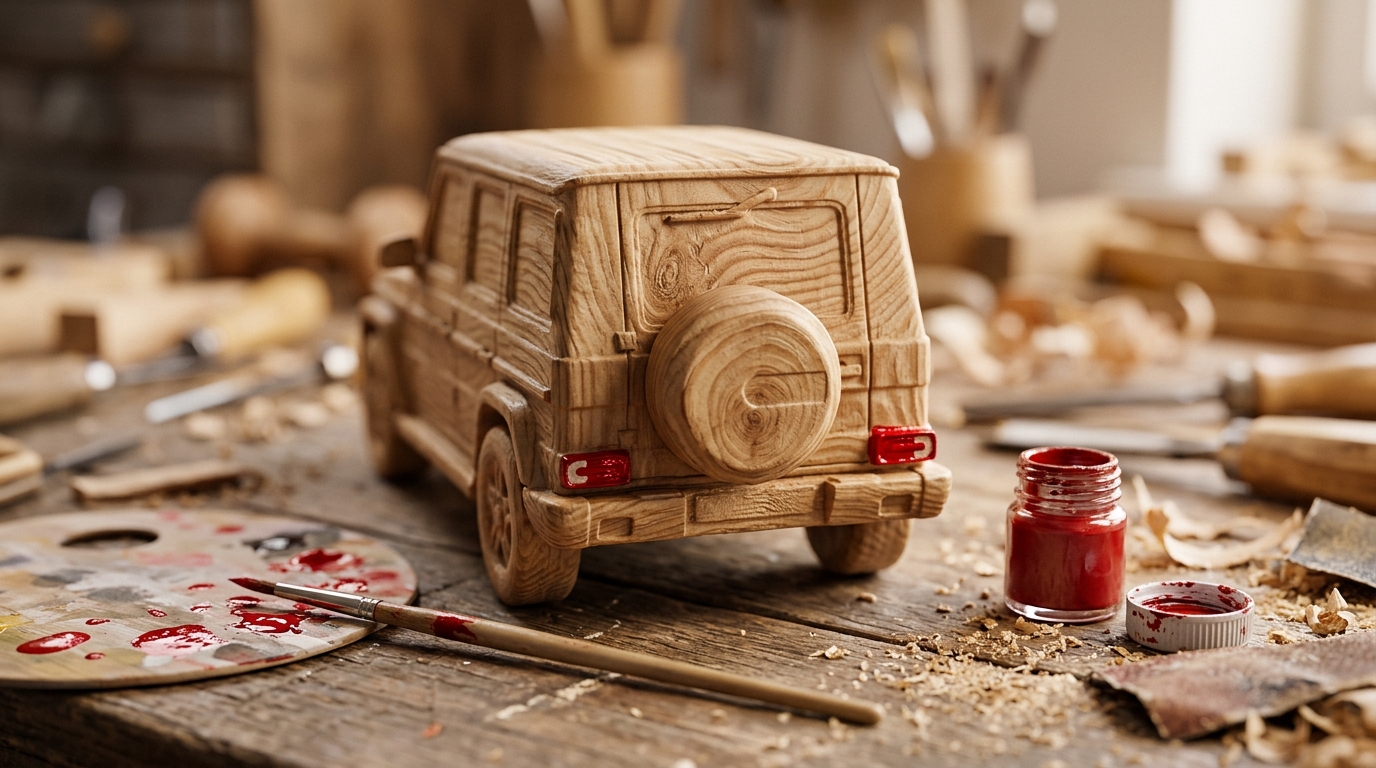
Next, the maker turns to the back. He carves the tailgate, a bumper and the spare wheel cover, then uses a fine brush to paint the tail lights a glossy red. That tiny touch of color makes the whole wooden SUV model pop. Most of the car stays natural wood, so the red lights and the silver touches stand out even more. It is a great lesson for any craft project: a little bit of color goes a long way.
You will need: Fine artist brushes, red and silver acrylic paint, a small palette and a steady surface to rest your hand on.
How to make it: 1. Carve the tailgate lines and bumper. 2. Sand the light areas very smooth. 3. Paint two thin coats of red. 4. Let it dry fully before handling.
Step 7: Turning Four Wooden Wheels
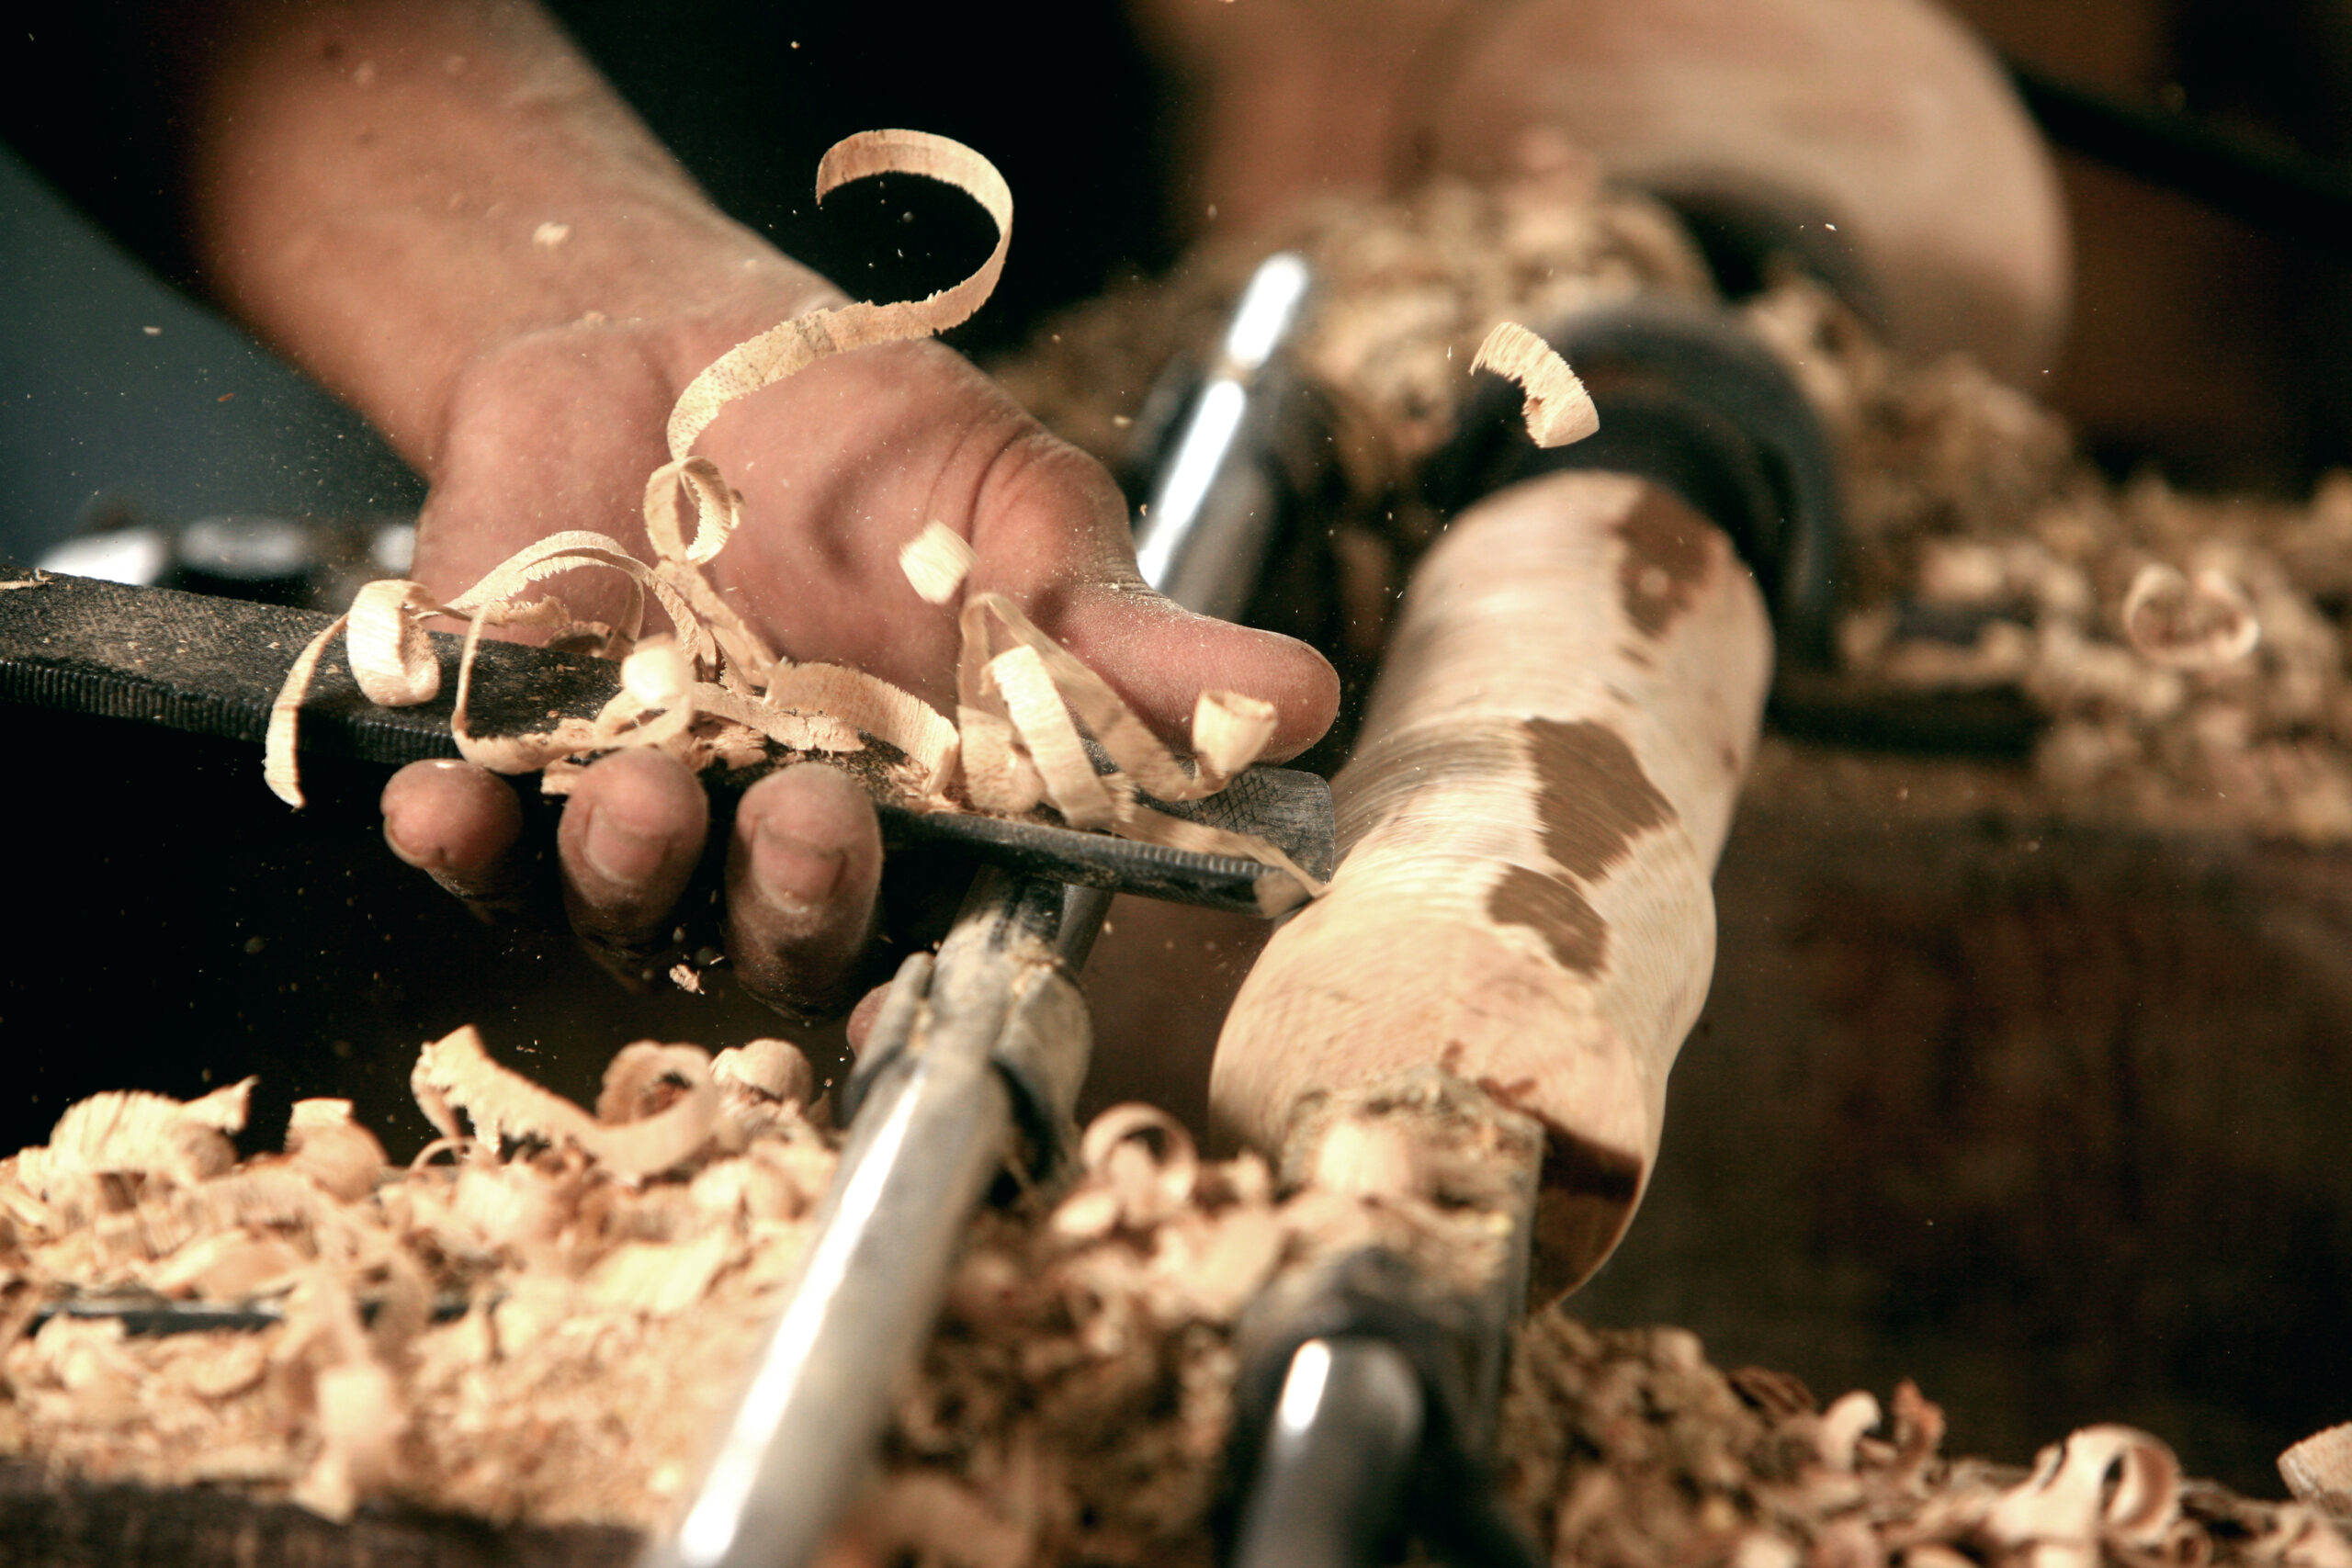
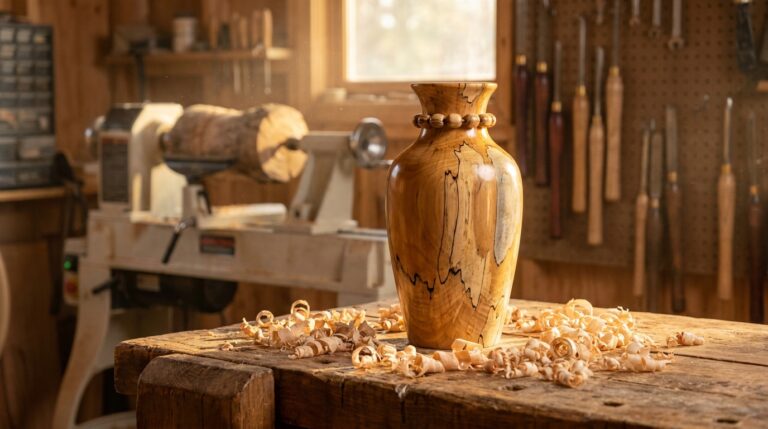
Round wheels are hard to carve by hand, so the maker spins them. In the video he uses a drill mounted on a simple homemade stand as a mini lathe, then shapes the tire and rim with a tool while the wood turns. Afterward he carves a tread pattern and spokes. Woodturners all over the world use the same idea, like the craftsman in this photo. Spinning tools are for trained adults only, with eye protection and no loose sleeves.
You will need: Wood discs or thick dowel, a lathe or drill stand (adult use), turning tools, safety glasses and sandpaper.
How to make it: 1. Cut four discs of the same size. 2. Mount each one and spin it slowly. 3. Shape the tire and rim. 4. Carve the tread and drill the axle hole.
Step 8: A Chassis With Real Springs
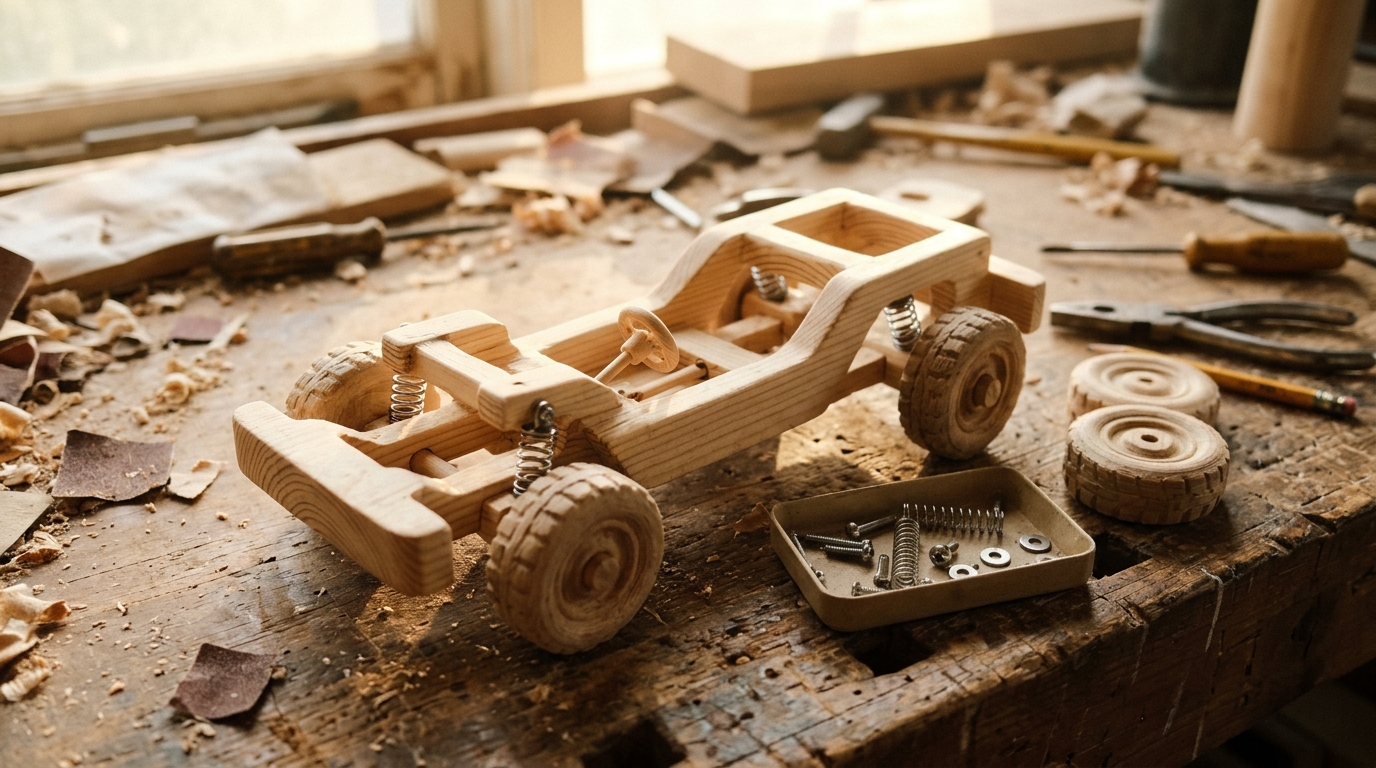
This is the surprise that makes people gasp. Under the body, the maker builds a wooden chassis with axles and small metal coil springs, so the wheels can move up and down like a real suspension. He even adds parts that let the front wheels turn. You do not see much of it once the body goes on, but you can feel the difference when the model rolls. Did you expect a carving to have working suspension?
You will need: A flat strip of hardwood, two dowels for axles, small coil springs from a hardware store, screws and wood glue.
How to make it: 1. Cut a base the length of the body. 2. Drill holes for the axles. 3. Fit the springs between the base and axle blocks. 4. Test that the wheels move freely.
Step 9: Sanding Every Surface Smooth
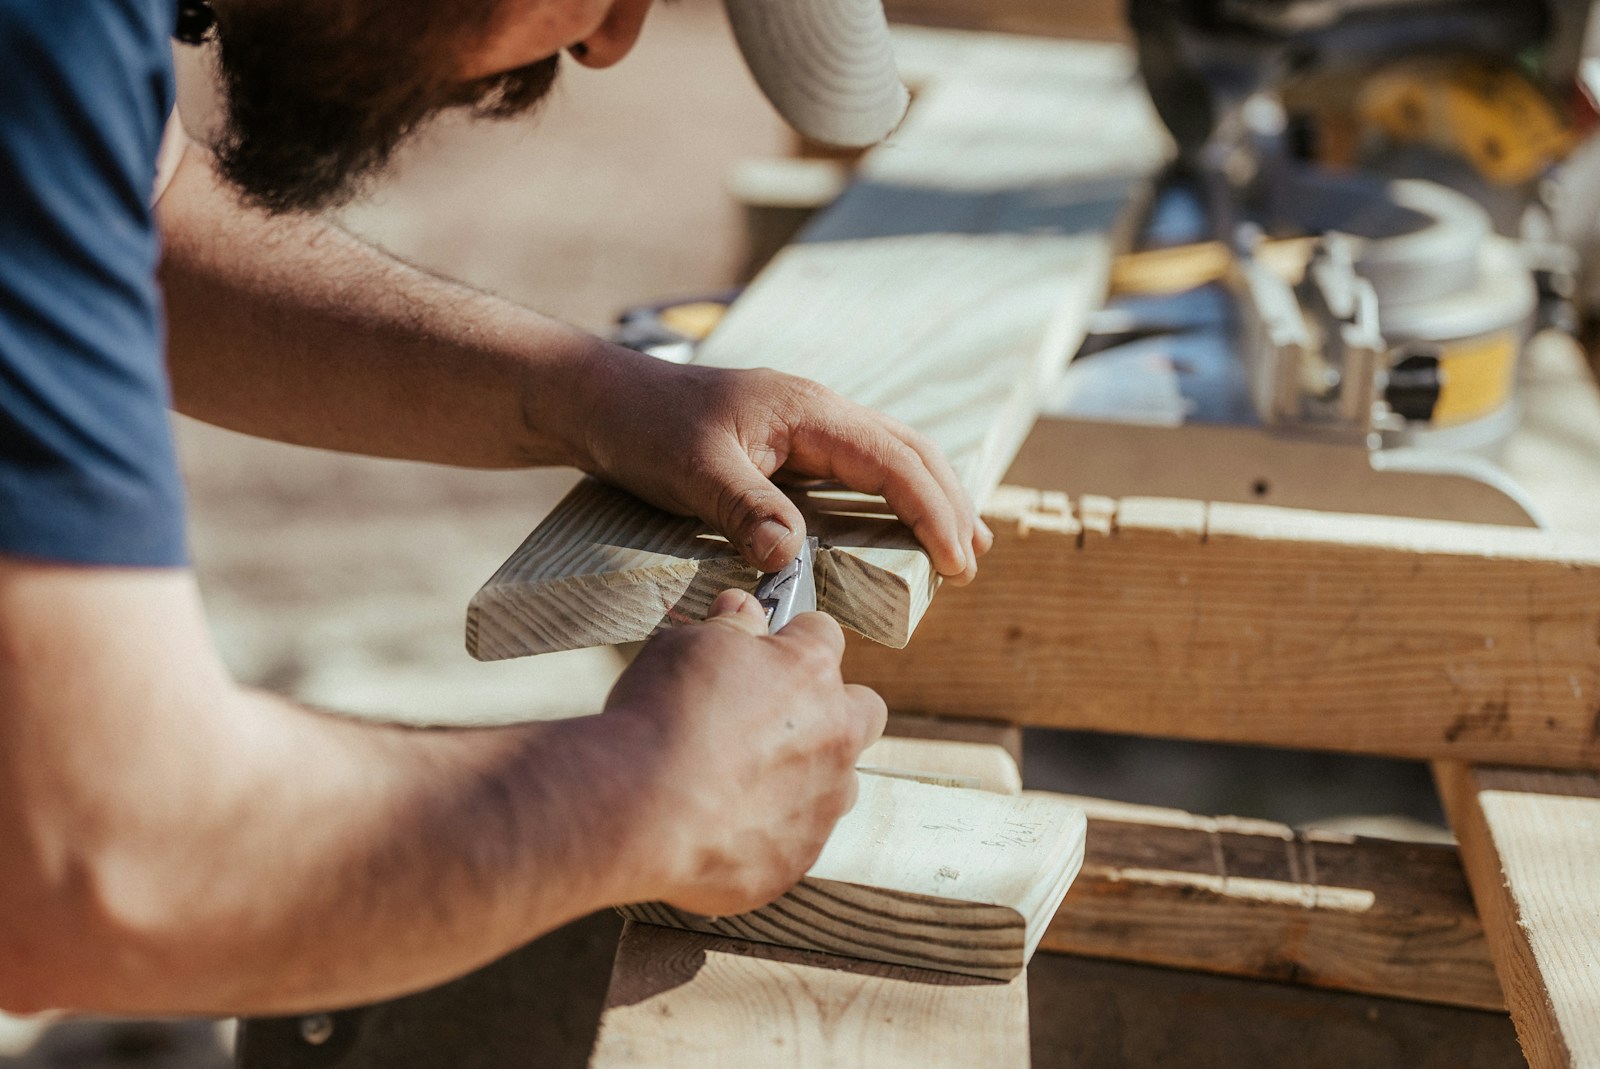
Sanding is the least glamorous step, but it is what makes the final model glow. The maker works through rough, medium and fine grits until the wood feels like silk. Every edge gets softened, and every tool mark disappears. If you have ever refinished a chair or a table, you know how good this part feels. For more ideas on bringing old wood back to life, see our furniture flips gallery.
You will need: Sandpaper in 120, 220 and 320 grit, a sanding block, a soft brush and a dust mask.
How to make it: 1. Start with 120 grit to remove marks. 2. Move to 220 grit for a smooth feel. 3. Finish with 320 grit. 4. Brush off all dust before finishing.
Step 10: Oil or Varnish for That Golden Glow
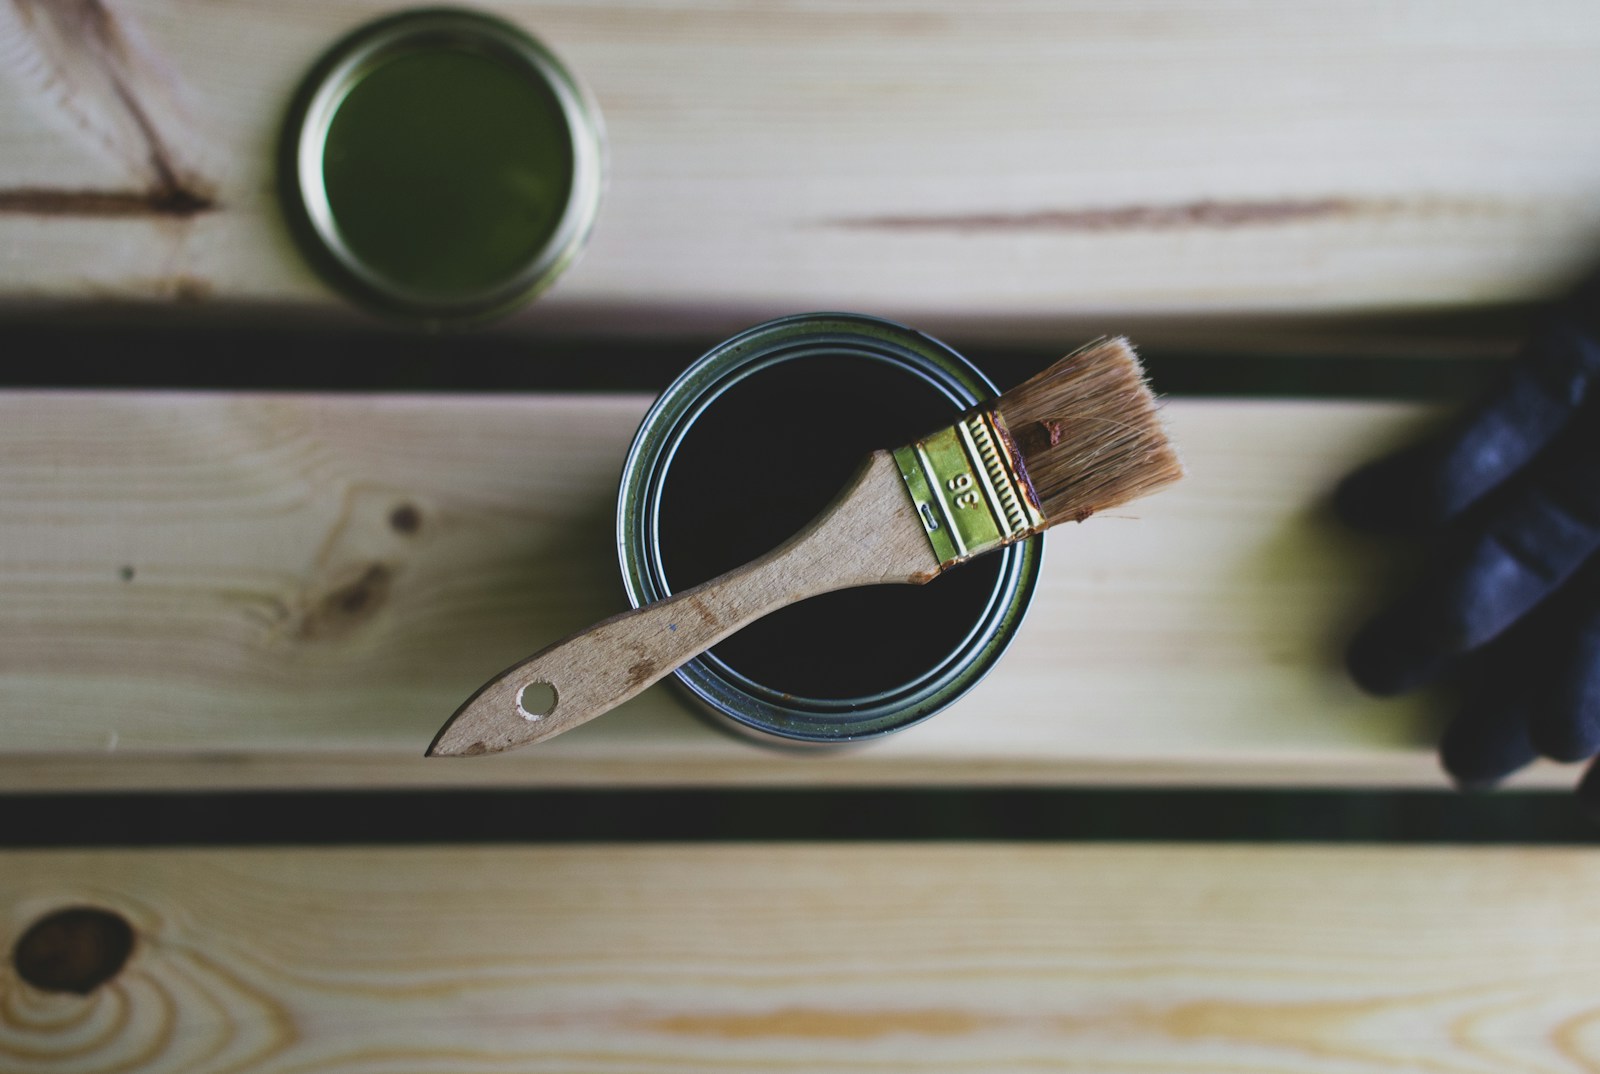
A clear finish brings out the grain and gives the pine that warm honey color you see at the end of the video. Thin coats work best. Brush one on, let it dry, sand lightly with very fine paper, and repeat. Two or three coats are usually enough for a soft shine without a plastic look. Always work with a window open or outdoors, and keep the can closed when you are not using it. Do you like a matte look or a glossy one?
You will need: Clear water based varnish or wood oil, a soft brush, fine sandpaper, a lint free cloth and good airflow.
How to make it: 1. Wipe the model clean. 2. Brush on a thin coat. 3. Let it dry fully and sand lightly. 4. Add a second or third coat.
Step 11: The Test Roll of the Wooden SUV Model
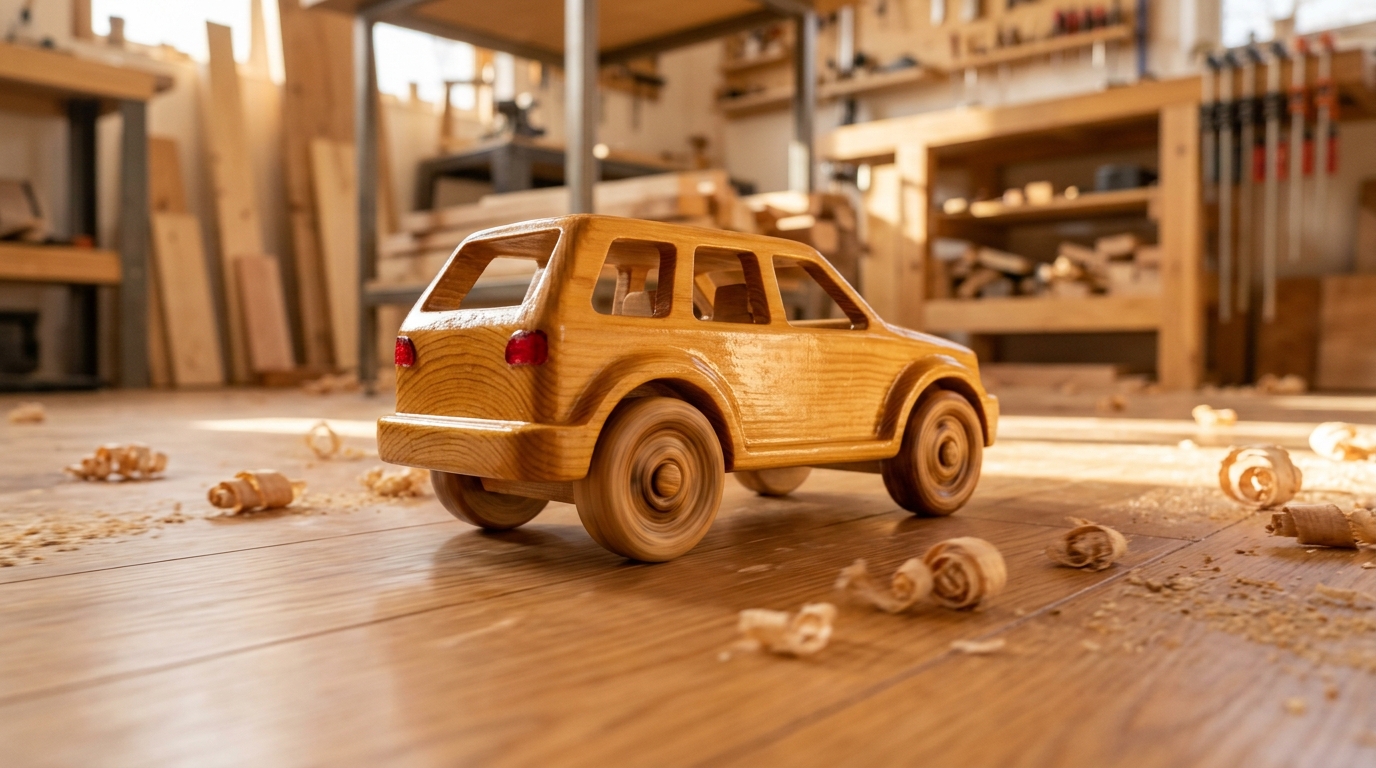
After the body, doors, wheels and chassis come together, the video ends with a review and a little test drive. The finished wooden SUV model rolls smoothly across the table, springs soaking up the bumps, doors and details shining in the light. It is a tiny moment, but after watching every cut, it feels like a big reward. This is the clip people share most, and it is easy to see why. Would you keep it on a shelf or let it roll?
You will need: Your finished model, a smooth floor or table and someone to cheer you on.
How to make it: 1. Check every wheel turns freely. 2. Tighten any loose parts. 3. Give it a gentle push. 4. Take a photo of your proud moment.
Why Millions Cannot Stop Watching This Wooden SUV Model
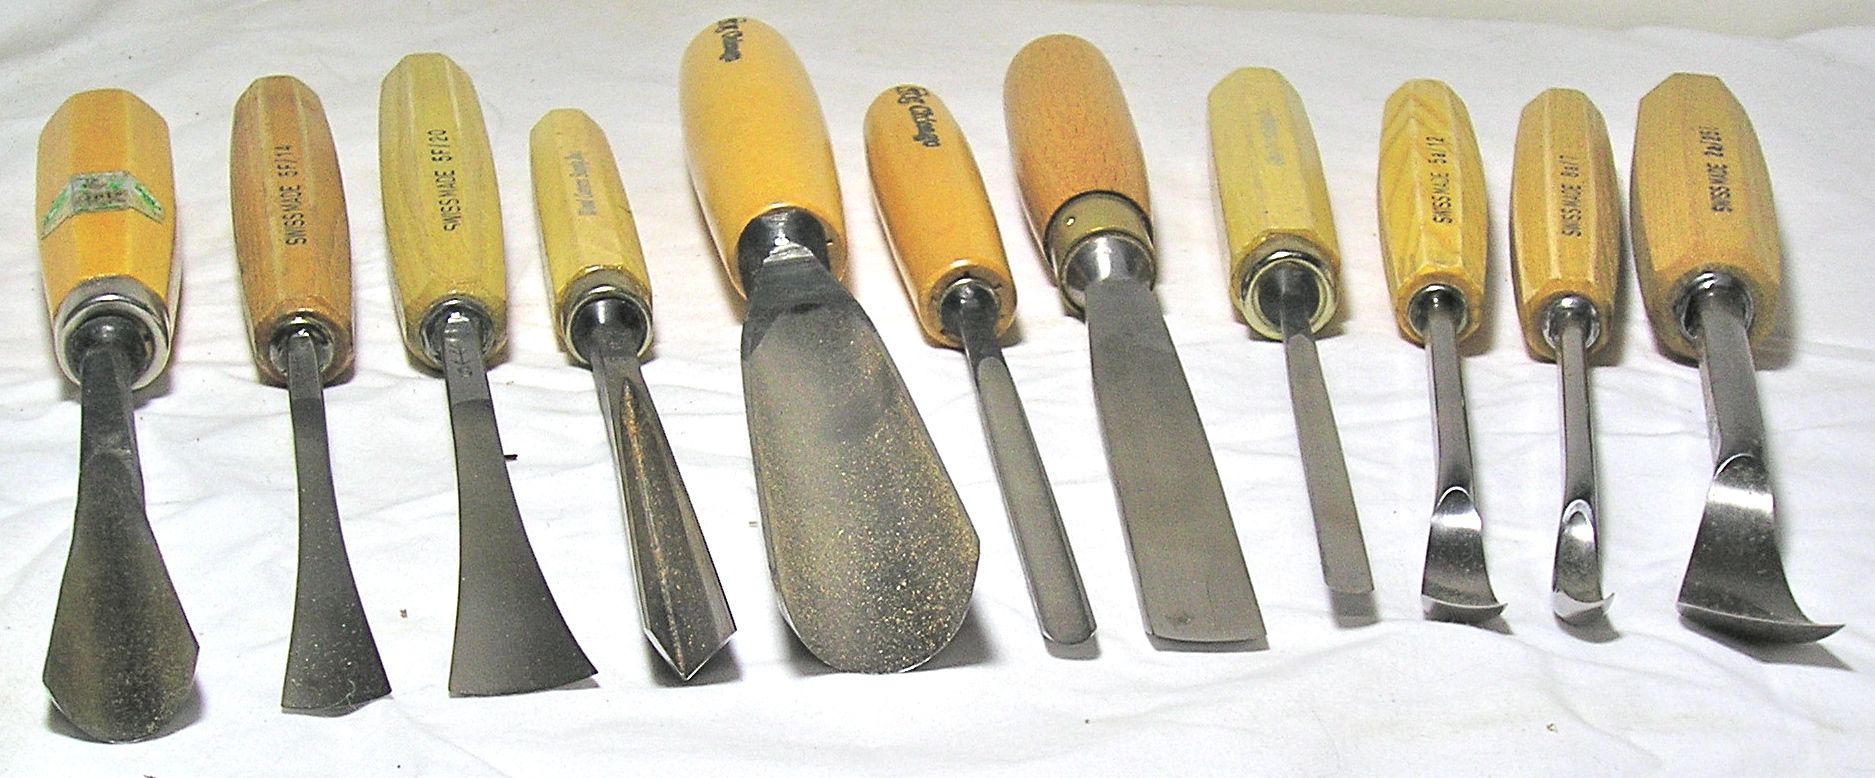
So why did a quiet carving video reach 265 million views? People say it is calming. There is no rush, no drama, just steady progress you can see. It also mixes two things many of us love: cars and handmade craft. And there is a little bit of wonder in watching simple hand tools like these chisels turn a plain block into something that looks real. Many viewers say it made them want to pick up a tool for the first time. Has a video ever inspired you to try a new hobby?
You will need: Nothing but a few spare minutes and a quiet moment to watch.
How to make it: 1. Watch the video with the sound low. 2. Notice how each step builds on the last. 3. Pick one small skill you would like to learn. 4. Try it with the easy projects below.
Try It: A Simple Toy Car From One Board
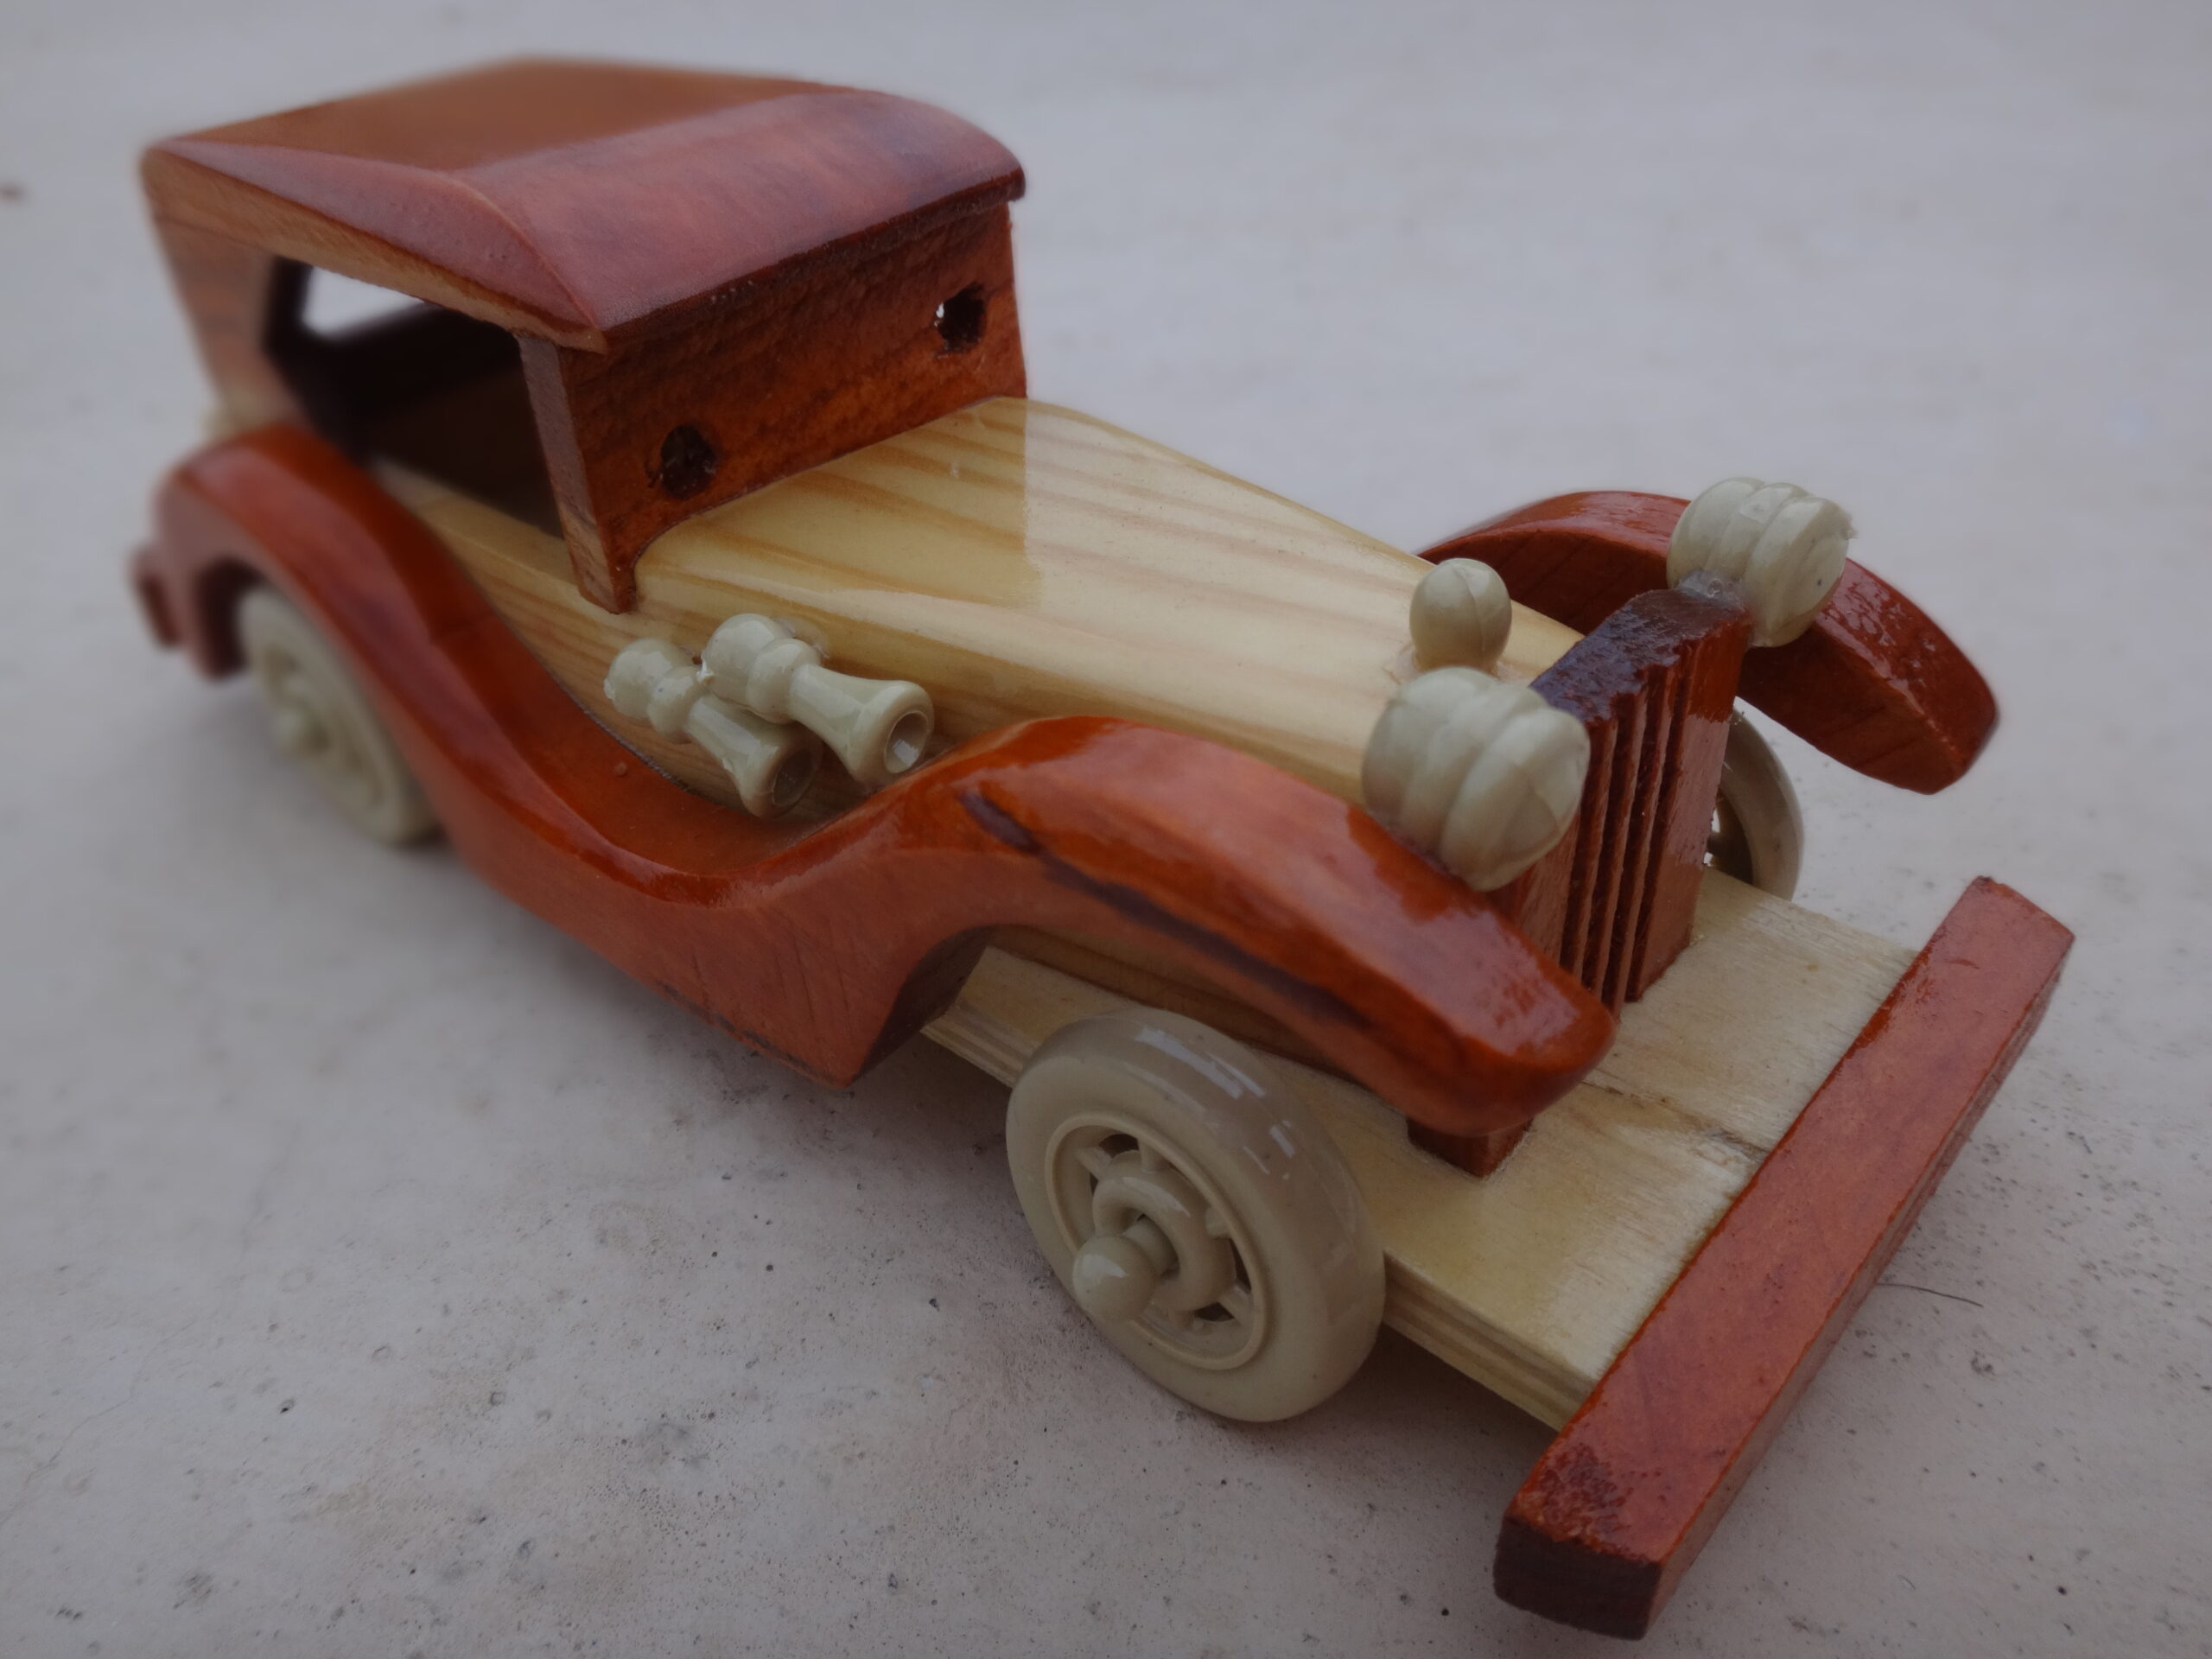
You do not need a big workshop to make your first wooden car. A single short piece of 2×4 lumber is enough for a chunky, kid friendly toy car like these. Draw a simple car shape, cut it out, round the edges and add four wheels. It is a perfect weekend project to do with a child or grandchild, with an adult on the saw and the kids on sandpaper and paint. Who in your family would love one?
You will need: A 10 inch piece of 2×4, four wooden toy wheels with axle pegs, sandpaper, wood glue, a drill (adult use) and non toxic paint.
How to make it: 1. Draw a car side view on the board. 2. An adult cuts it out with a saw. 3. Sand all edges round and smooth. 4. Drill axle holes, glue in the wheels and paint.
Try It: A Scrap Wood Truck Planter
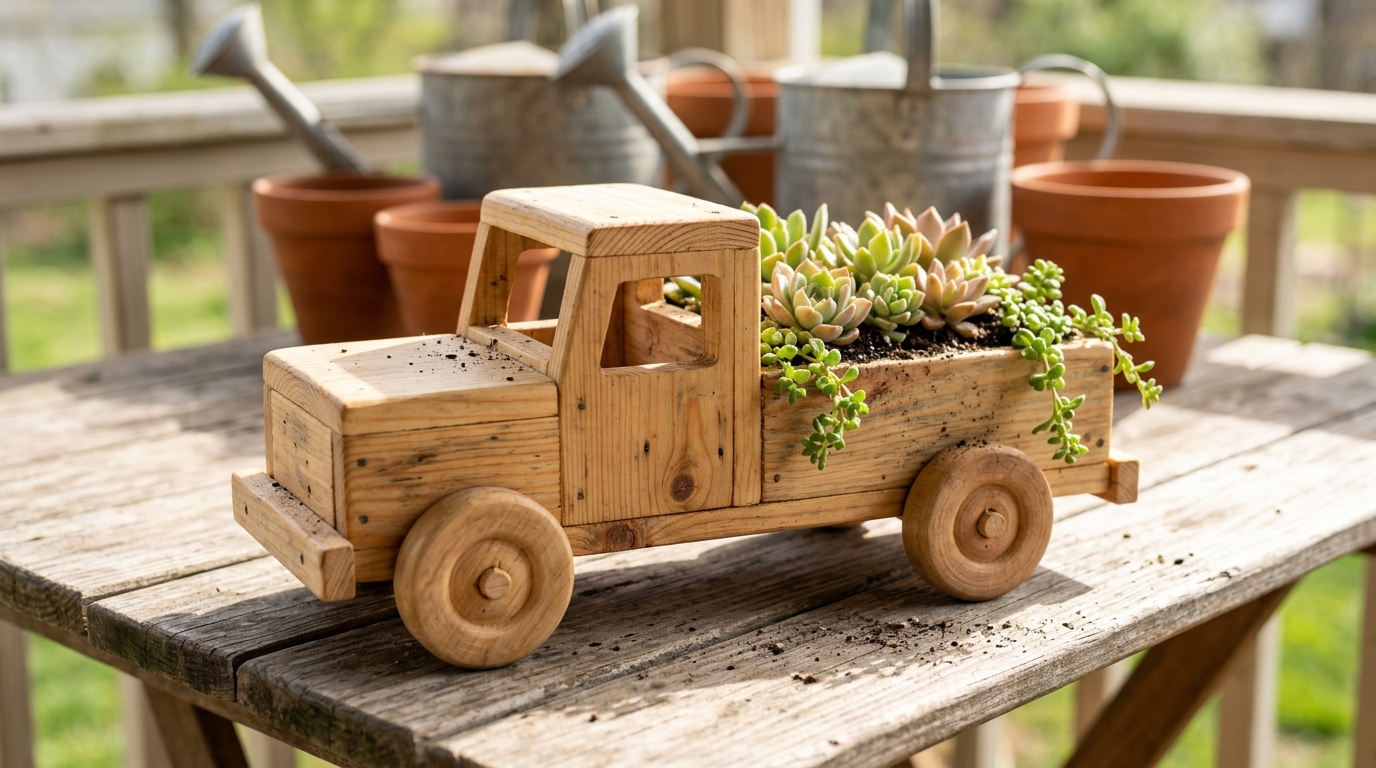
Here is a cute way to use leftover boards. Build a simple pickup truck shape and turn the open bed into a small planter for succulents or herbs. It looks sweet on a porch table, a sunny windowsill or a desk. Line the bed with a bit of plastic so the wood lasts longer, and use a light oil finish to protect it. It also makes a lovely handmade gift for a car lover who has everything. What would you plant in yours?
You will need: Scrap pine boards, four wooden wheels, wood glue, small nails, a plastic liner, potting mix, small succulents and wood oil.
How to make it: 1. Cut a base, two sides, a front and a back for the truck bed. 2. Glue and nail them into an open box. 3. Add a small block cab and four wheels. 4. Oil the wood, add a liner and plant.