Dried Flower Decor: 17 Cozy Keepsakes Inspired by a Rose Drying Video Watched 1.9 Million Times
Dried flower decor gives a favorite bouquet another chapter after the vase is empty. A rose-preserving short by Aasthaetics has drawn more than 1.9 million views, and its appeal is easy to understand: flowers can become part of a room instead of something you clear away. These 17 projects take that idea in different directions, from a generous rose wreath to tiny seed-head bundles and a light wall hanging. Start with completely dry stems that feel papery rather than damp. Keep the finished pieces away from direct sun, moisture and busy walkways, where brittle petals can catch on clothing. Use vessels and frames you already own, choose one quiet color palette, and let the varied shapes do the decorating. You can see the rose-preserving idea from Aasthaetics before choosing your first project.
Start Your Dried Flower Decor With a Rose Wreath
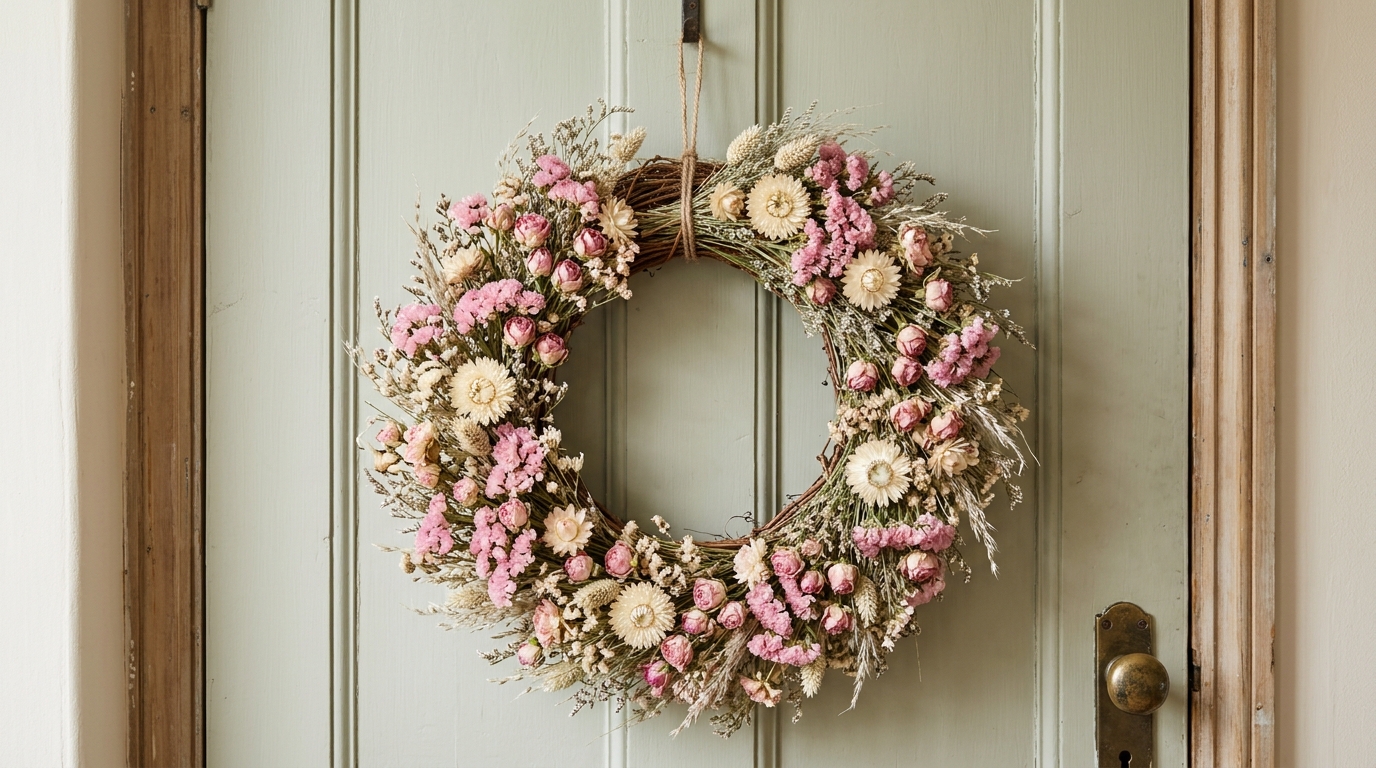
A full rose wreath brings soft pink and cream to a plain door. Small rosebuds, strawflowers and fine grasses give the ring a loose, handmade shape. The pale sage background makes those faded colors stand out. Build the wreath from little bunches, all pointing around the ring in the same direction. Leave the outer grasses slightly uneven for a relaxed edge. Plain cord is enough to hang it. Pick up the same colors in handmade table favors when you want the doorway and dining table to feel connected.
Supplies: Dry rosebuds and strawflowers, a small vine wreath base, thin floral wire, plain cotton cord, craft snips.
Step 1: Make small flower bundles and arrange them around the base until the ring looks evenly full.
Step 2: Wire each bundle to the base, overlapping the next bunch to hide the previous attachment.
Step 3: Tuck the final stems beneath the first bundle, secure the wire ends, and add a hanging loop.
Give a Blue Vase Its Own Ladder Shelf
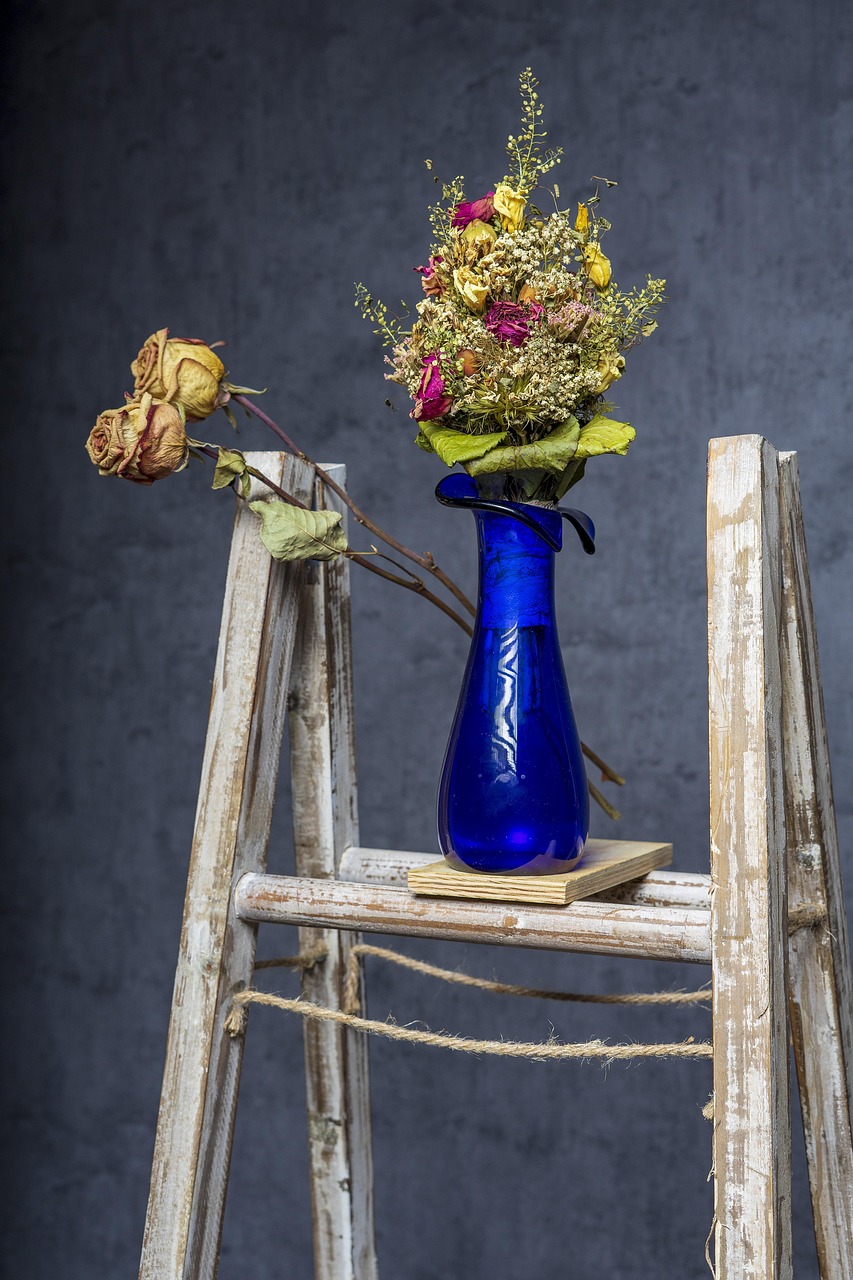
A cobalt vase turns a weathered decorative ladder into a small display shelf. The bright glass gives the faded roses a strong contrast, while one trailing stem breaks up the upright shape. Place a little wood board across a secure rung to support the vase, just as shown. Keep the bunch narrow enough that the blue glass remains visible. The empty rungs give this arrangement room to breathe. A small piece from these easy weaving projects adds a soft texture to the nearby wall without crowding the display.
Supplies: A stable decorative ladder, a small wood display board, a narrow blue vase, dry mixed flowers, craft snips.
Step 1: Steady the decorative ladder and place a small board securely across one level rung.
Step 2: Set the blue vase on the board and add a narrow dried bouquet.
Step 3: Turn a trailing rose stem outward and leave the other rungs clear.
Keep Dried Flower Decor Simple With a White Vase
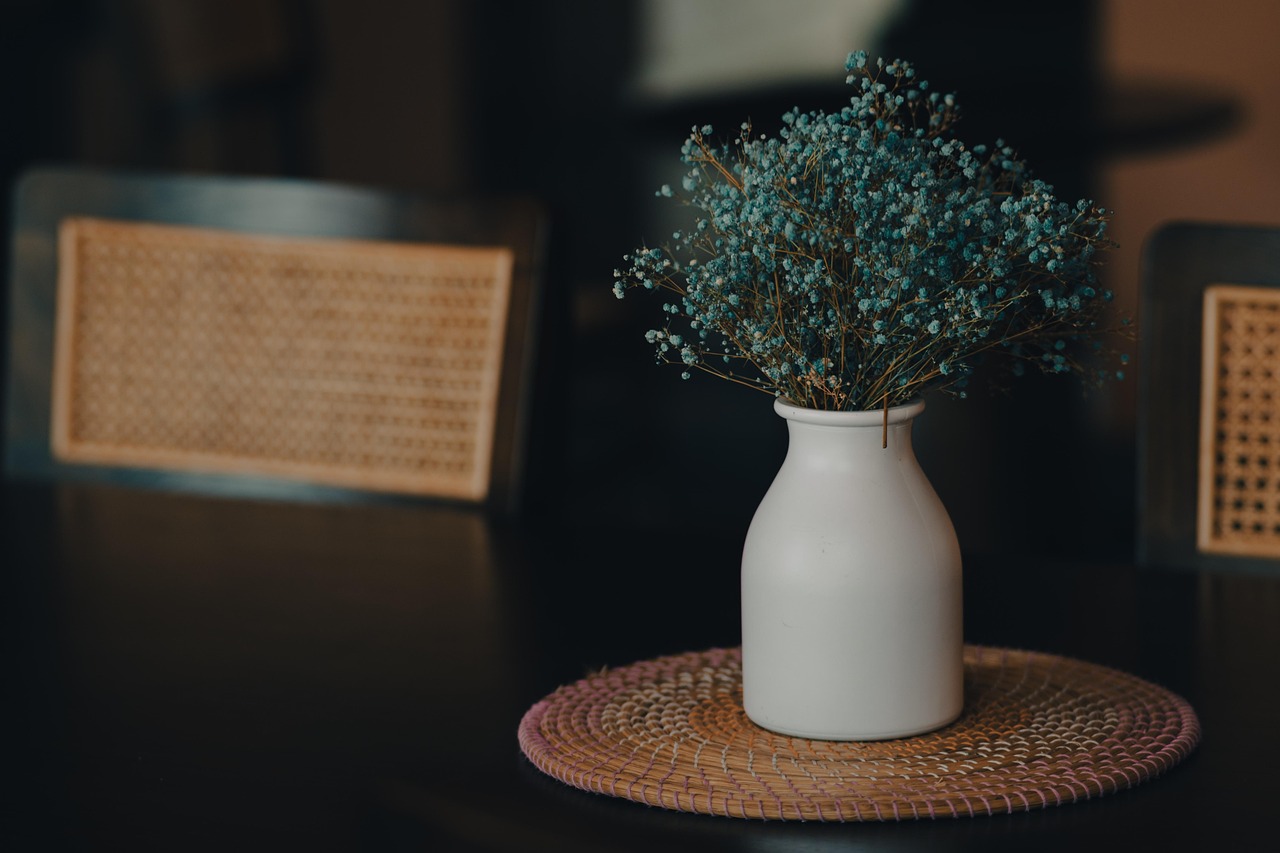
Tiny blue blooms form a light cloud above a plain white vase. A round woven mat brings warmth beneath the clean ceramic shape. This is dried flower decor you can put together with one small bunch and a vessel already on the shelf. Gather the stems closely near the center, then open the outer sprays with your fingertips. Keep the base simple so the fine flowers remain the focus. Try a different woven base from these placemat crafts when you want to change the colors around the arrangement.
Supplies: A plain white vase, preserved blue fine-flowered stems, a round woven mat, craft snips.
Step 1: Wipe the vase dry and place it on a woven mat.
Step 2: Gather a rounded bunch and trim gradually until the flower heads sit comfortably above the rim.
Step 3: Spread the outer stems evenly and leave clear space around the mat.
Frame Dried Flower Decor in a Shadowbox
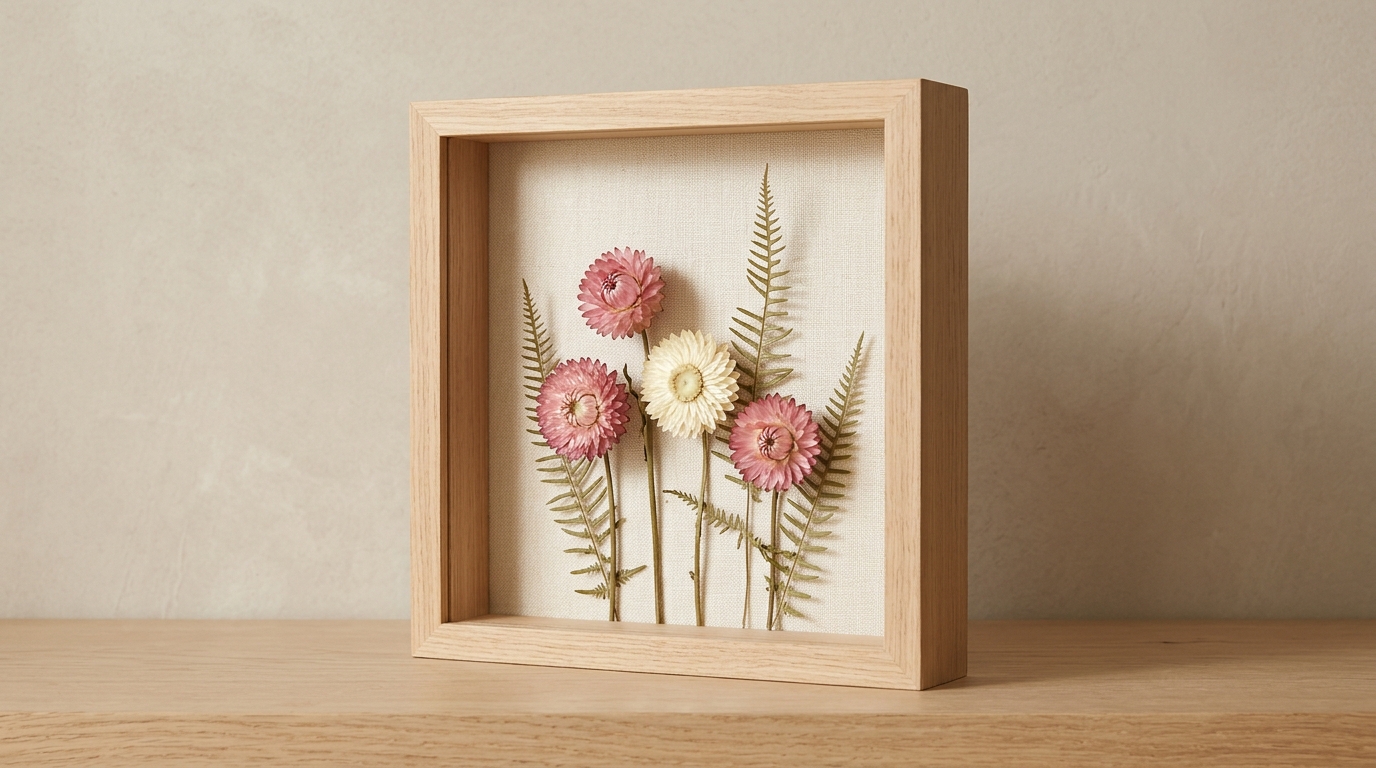
Four papery blooms make a small framed meadow against a linen backing. Their pink and cream petals stand above the fabric, with fern shapes filling the gaps. A deep wood frame gives the flowers room to keep their shape. Arrange everything before adding adhesive, leaving the taller stems slightly off center. The pale frame makes this dried flower decor easy to place on a shelf with other handmade pieces. You can reuse a frame from these picture frame crafts, choosing a deep one with enough space for the blooms.
Supplies: A small deep wood frame, rigid backing, plain linen, four dry strawflowers, dried fern stems, clear craft adhesive.
Step 1: Cover the backing with linen, smoothing it and fixing the edges on the reverse.
Step 2: Arrange four dry blooms and fern stems within the frame depth.
Step 3: Attach the lower stems with small adhesive dots, let them set, and display on a stable shelf.
Hang Lavender Beside a Copper-Toned Bottle
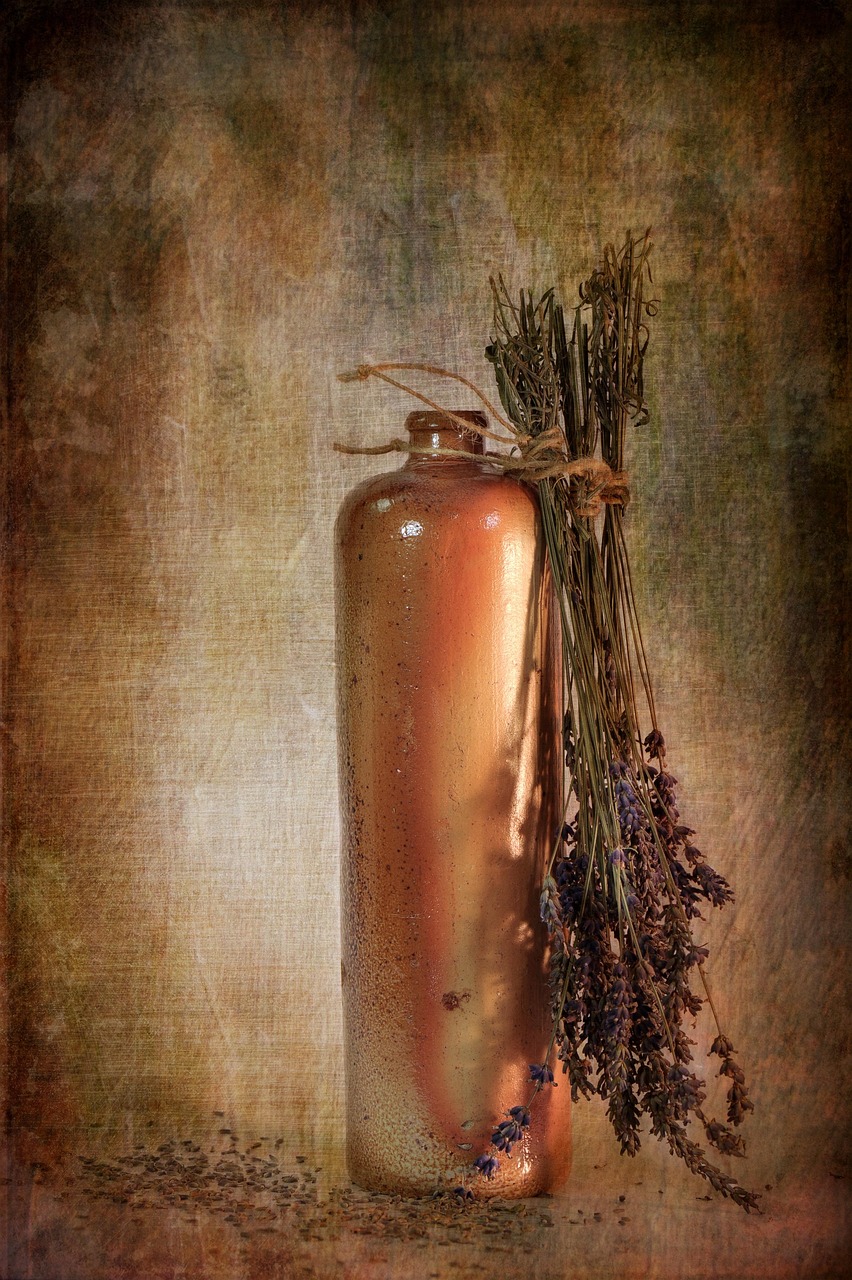
A hanging lavender bundle gives this copper-toned bottle an unexpected outline. The stems rise beside its neck while the flowers point down, almost reaching the tabletop. Rough cord connects the two pieces and looks right against the warm, aged finish. Tie the bundle firmly at its cut ends, then fasten it around the bottle neck. Keep the bottle heavy enough to balance the flowers. This arrangement sits comfortably beside the worn surfaces and simple shapes of a refreshed thrifted mirror on a bedroom dresser.
Supplies: A heavy unmarked decorative bottle, completely dry lavender stems, plain cotton cord, a protective mat.
Step 1: Set a heavy bottle on a protective mat and compare its height with the bundle.
Step 2: Bind the dry lavender near the cut ends, leaving a hanging loop of cord.
Step 3: Tie the loop around the neck so the flowers hang clear of the table.
Give Dried Flower Decor a Soft Ribbon Finish
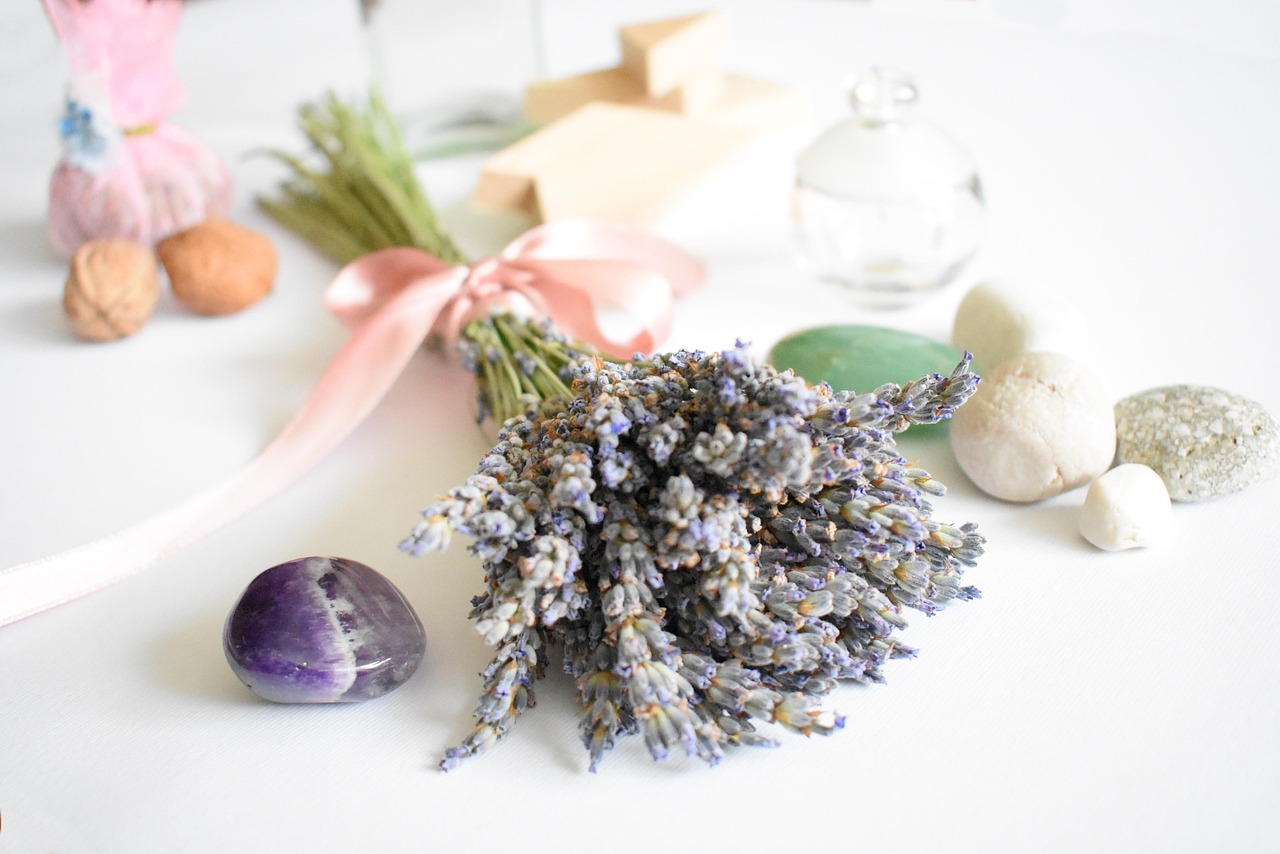
A pale pink bow gives a lavender bunch a gentle finish. The ribbon sits low on the stems, leaving the flower heads free to spread across the table. Smooth stones add little pockets of color around the bundle. Dried flower decor does not need a large vase to feel complete. Tie a loose bow, let the tails fall naturally, and place the bunch where its shape can be seen from above. Carry the same ribbon into simple gift packaging for a small present that feels thoughtfully put together.
Supplies: A lavender bunch, plain pink satin ribbon, a few smooth stones, craft snips.
Step 1: Trim the stem bases and gather the lavender into a loose bunch.
Step 2: Wrap pink ribbon around the lower third and tie a soft bow.
Step 3: Lay the bunch on a dry surface with a few smooth stones beside it.
Let a Mixed Bouquet Rest on Wood
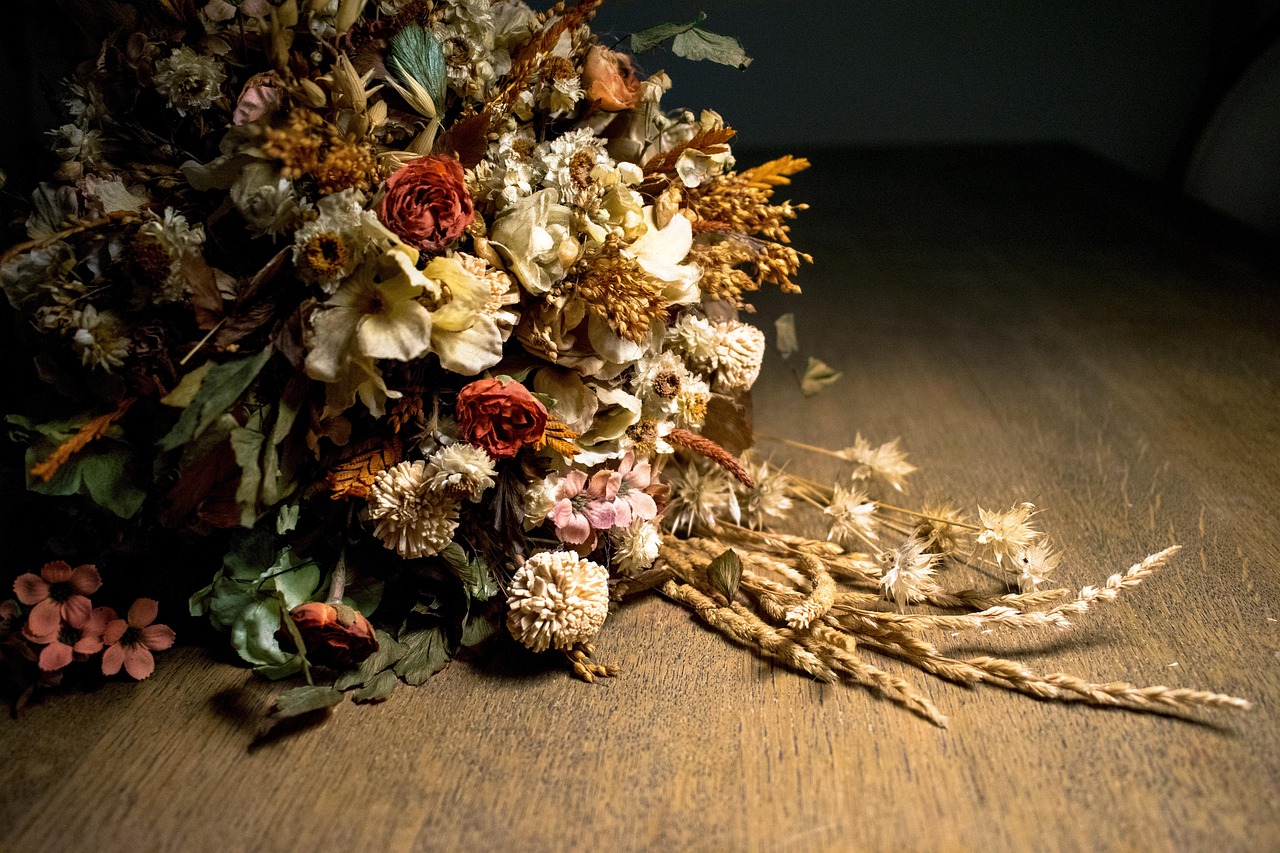
A mixed bouquet resting on wood has a softer outline than one standing upright. Faded red roses sit among pale flowers, with long grasses reaching across the surface. Keep the flower heads gathered together and let only a few stems trail out to the side. That contrast makes this bouquet feel full without covering the entire shelf. Bind the stems where the tie stays out of sight. When giving the bouquet away, a box lined with paper from a saved gift bag makes a pretty presentation.
Supplies: A mixed dry bouquet, cotton cord, a clean wood display surface, craft snips.
Step 1: Sort the dry stems by length and place the largest blooms near the center.
Step 2: Tie a low, spreading posy and trim the cut ends behind the flowers.
Step 3: Rest the bouquet sideways on a clean wood surface and spread the longest grasses.
Tuck Dried Flower Decor Into a Wood Wall Pocket
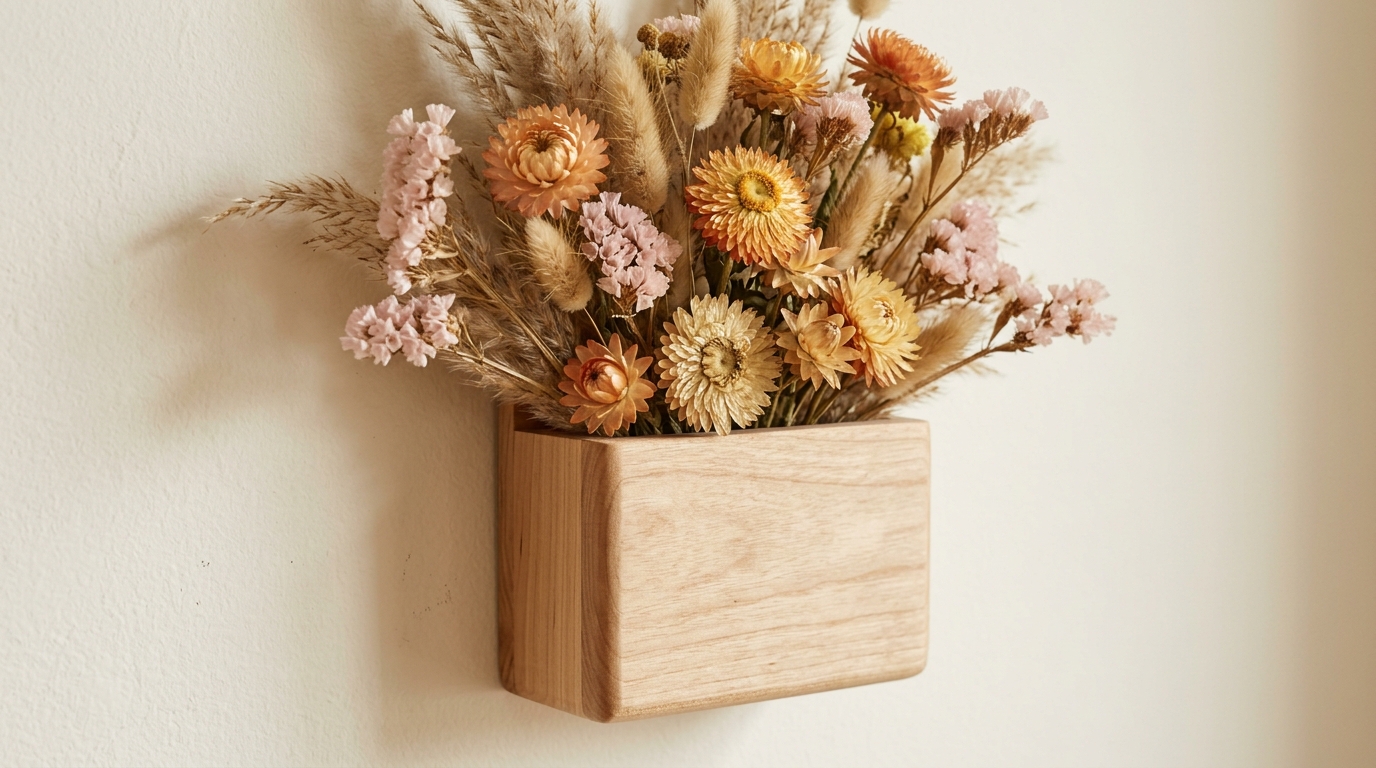
A little wood wall pocket hides the stem ends and lets the flowers fan out above its rim. Golden strawflowers, pale pink sprays and feathery grasses give it a full but lightweight shape. Keep the biggest blooms close to the opening and let a few fine pieces reach higher. This dried flower decor suits a narrow wall where a shelf would feel bulky. A natural wood finish keeps attention on the flowers. Pair the pocket with one of these small handmade photo gifts to make a quiet corner feel personal.
Supplies: A small ready-made wood wall pocket with suitable mounting hardware, dried flowers, fine grasses, cotton cord.
Step 1: Follow the pocket mounting instructions to attach it securely to a suitable interior wall.
Step 2: Tie a lightweight fan of short dry stems, keeping larger blooms close to the rim.
Step 3: Place it inside and adjust outer stems clear of the walkway.
Tie Three Tiny Flax Bundles
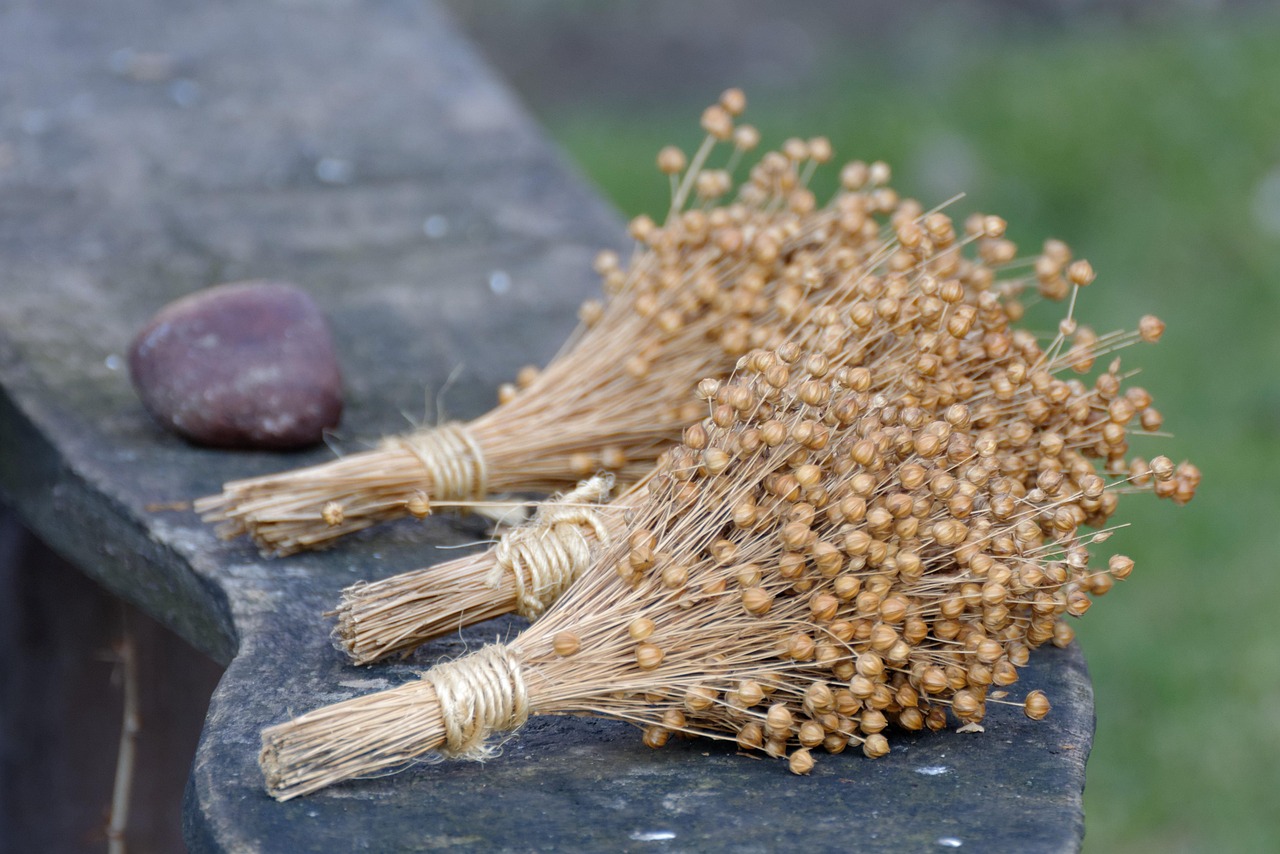
Three tiny flax bundles look finished with nothing more than pale cord. Their round seed heads make a soft golden fan above the neatly wrapped stems. Bind each bunch low, with several close turns of cord, and trim the cut ends to similar lengths. Set the bundles at slightly different angles so they feel casually placed. A smooth stone keeps the little arrangement simple. Their natural fibers go well with a small woven piece, especially when both use the same cream and straw tones.
Supplies: Dried flax stems with seed heads, pale cotton cord, one smooth stone, craft snips.
Step 1: Divide flax stems into three small bunches of similar fullness.
Step 2: Bind each low on the stems with neat turns of cord and a firm knot.
Step 3: Lay the bundles at slightly different angles beside one smooth stone.
Brighten a Winter Window With Purple Blooms
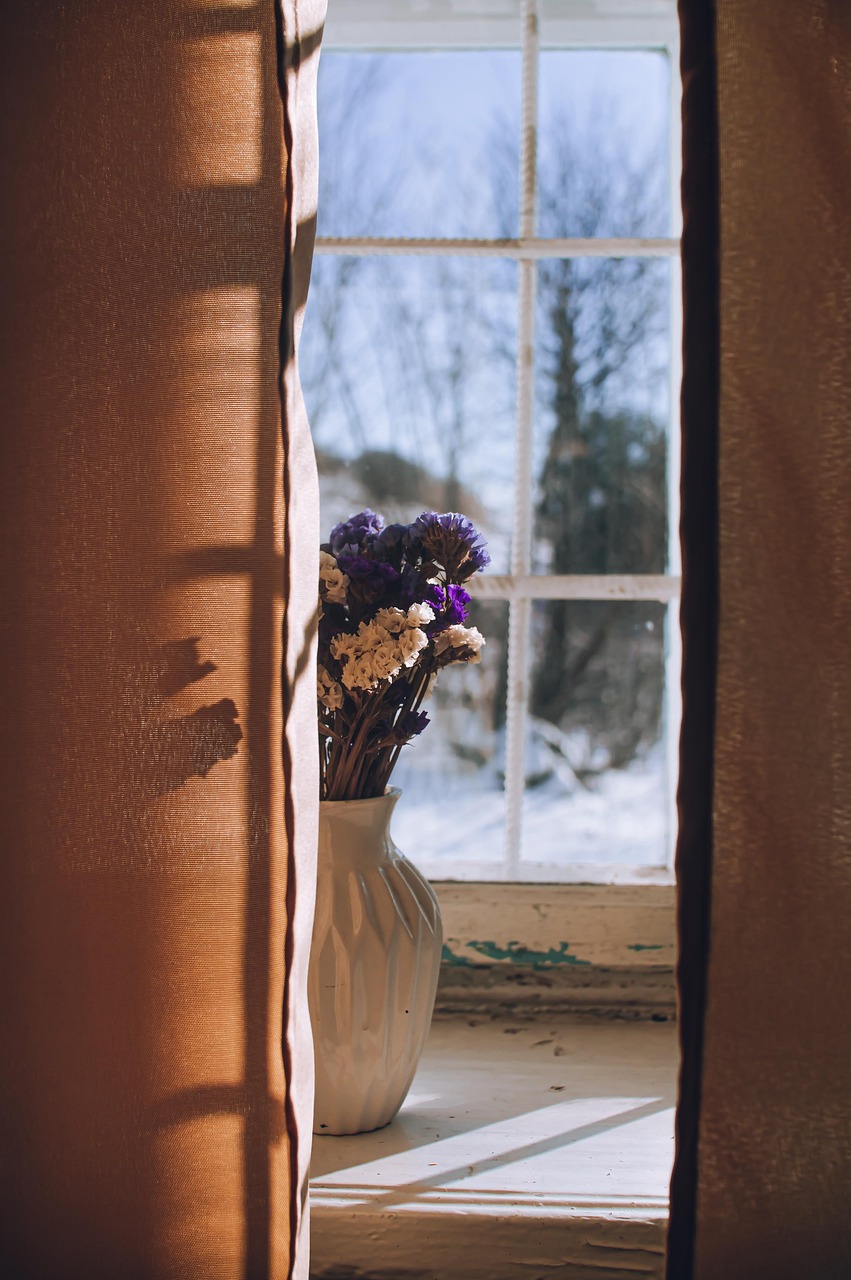
Purple and cream blooms bring a little color to a winter window. The white vase sits between warm curtains, with the flowers gathered just above its narrow neck. A modest bunch leaves the view outside open. A small bouquet like this is easy to move from a windowsill to a bedside table whenever the room needs a change. Trim gradually so the flower heads keep their uneven outline. Two small arrangements in matching vases also make a thoughtful gift for a couple setting up a shared home.
Supplies: A small stable white vase, completely dried purple and cream stems, a nonslip pad, craft snips.
Step 1: Pick a dry, sheltered window-side spot clear of moving curtains.
Step 2: Trim a small dry bouquet to suit a narrow, stable vessel.
Step 3: Place the vase on a nonslip pad, beyond condensation and strong direct sun.
Gather Seedpods Into a Textured Bouquet
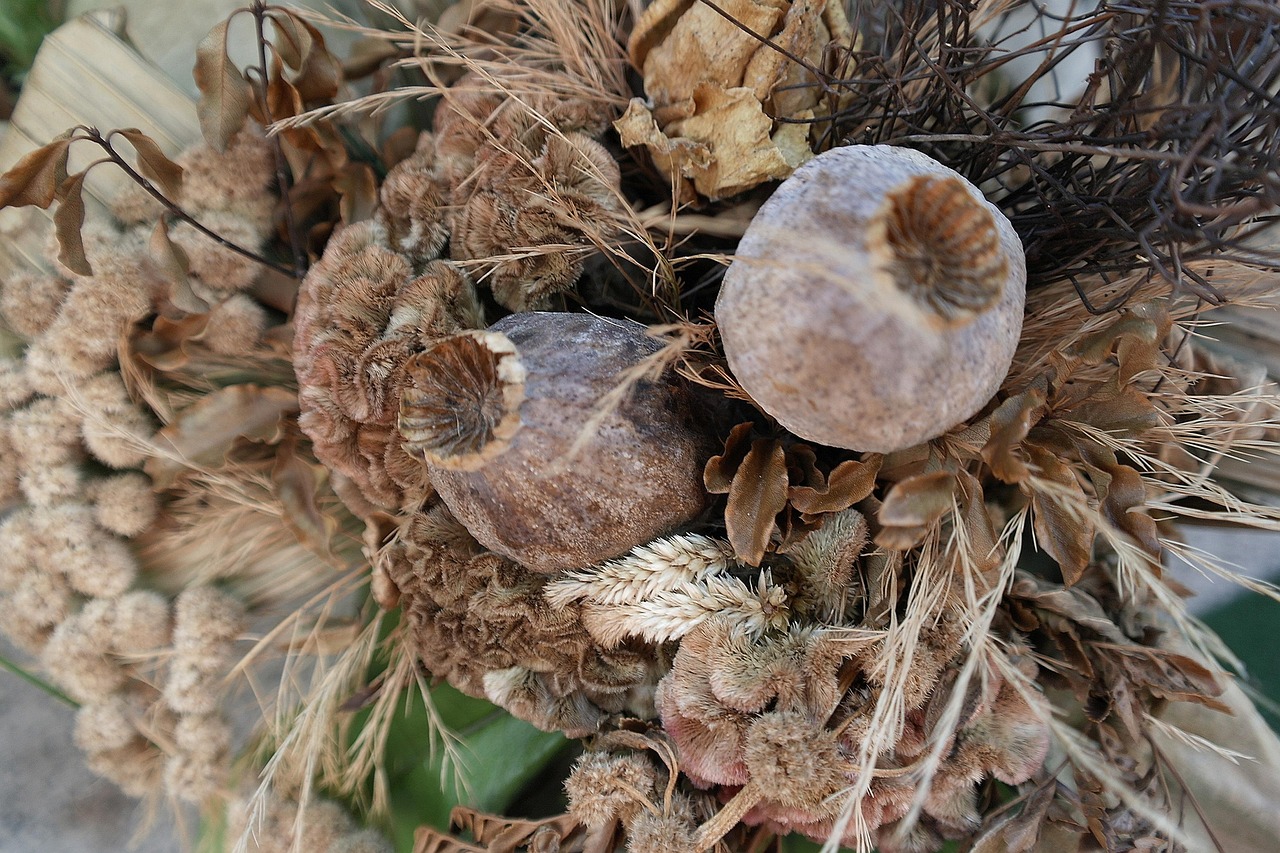
Rounded seedpods give this bouquet its boldest shapes. Fine grasses, curled leaves and soft brown flower heads fill the spaces around them. Keep the colors close together so the different textures do the work. Start with the largest pods, then tuck the thinner pieces around their edges. The result feels rich without needing bright blooms or extra decoration. A close arrangement keeps the pods easy to see from across a shelf. The quiet brown and gray palette also sits well beside a small piece of foil embossed art.
Supplies: Decorative dry seedpod stems, fine dried grasses, dry foliage, cotton cord, craft snips.
Step 1: Choose two or three decorative seedpod stems and a few fine dry grasses.
Step 2: Group the heavier shapes centrally, then bind their stems before adding airy outer pieces.
Step 3: Bind the stems together and turn the bouquet to show the rounded pods.
Save Rose Petals in a Shallow Bowl
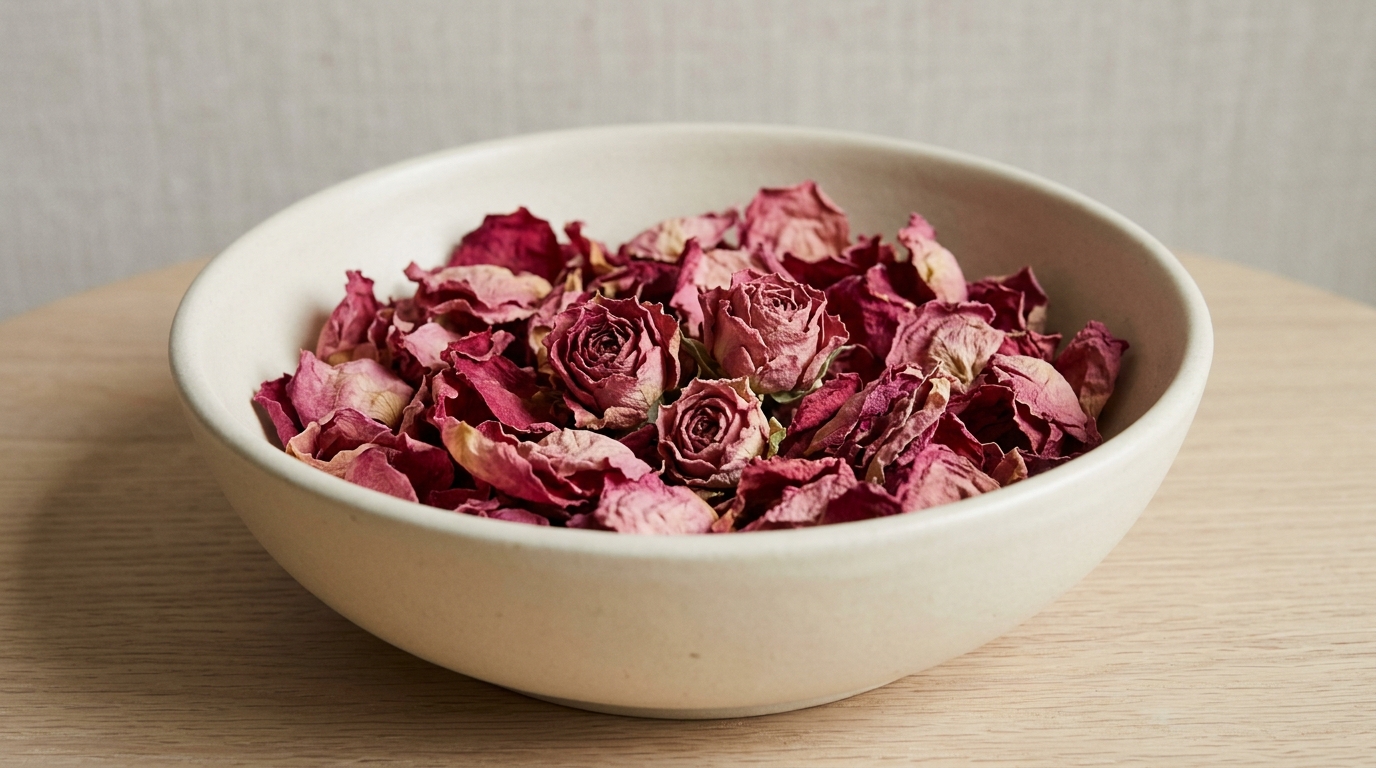
A shallow cream bowl turns saved rose petals into a simple tabletop display. Loose curled petals surround a few intact rose heads, giving the surface more shape than petals alone. The bowl stays plain so the faded pink color stands out. Add only a shallow layer, then turn the larger pieces until their curled edges show. This dried flower decor is a lovely way to keep the last pieces of a favorite bouquet. A small bowl and a protected packet of petals can become the handmade touch in a budget gift basket.
Supplies: Clean dry rose petals, a few intact dry rose heads, a shallow plain ceramic bowl, a soft brush.
Step 1: Sort clean dry petals, setting aside any damp, stained or damaged pieces.
Step 2: Add a loose shallow layer to a plain bowl, with larger curled petals on top.
Step 3: Tuck in a few intact dry blooms and display in a quiet, dry spot.
Let Fine Stems Stand Out Against Black
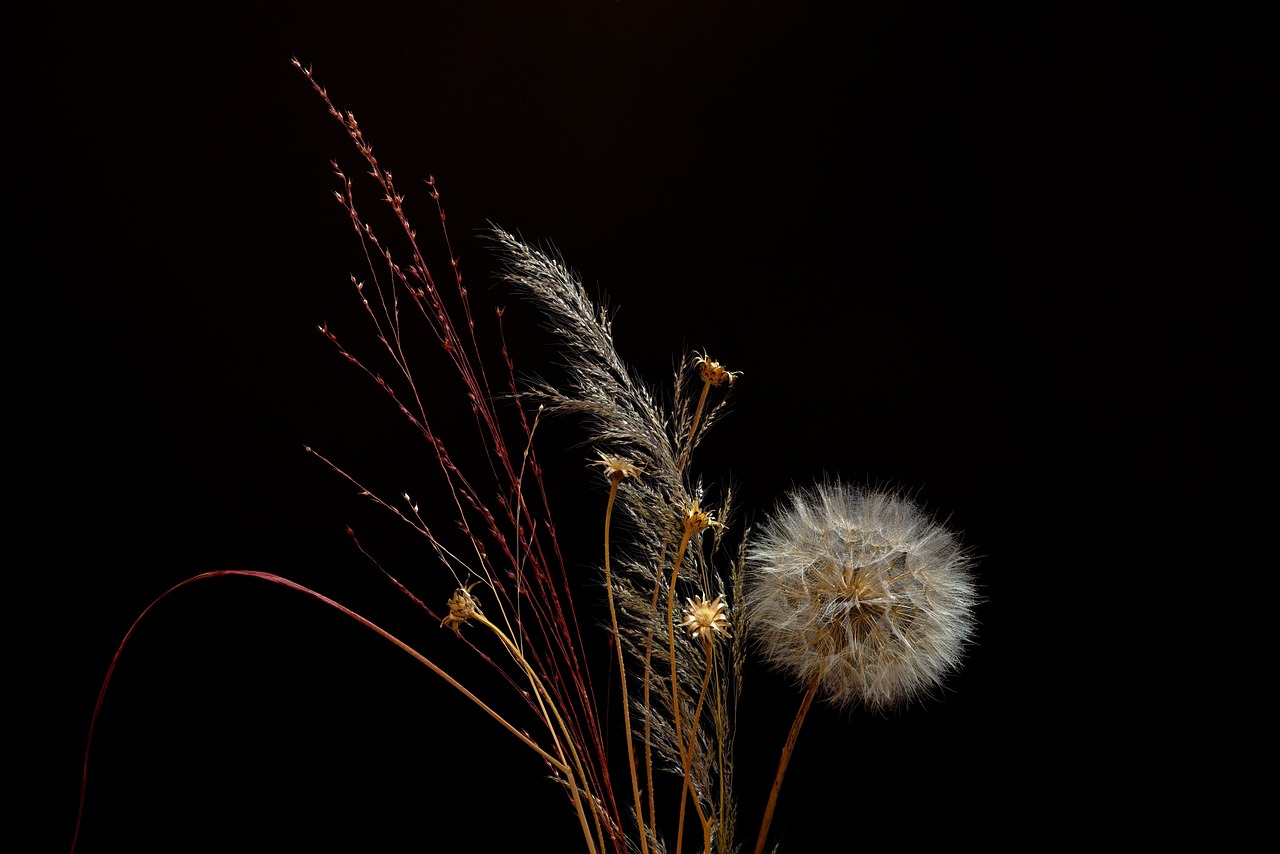
A dark background makes every fine stem visible in this airy arrangement. One rounded seed head sits beside a feathery grass, while thin reddish stems rise along the other side. Leave space between the shapes instead of packing them into a dense bunch. The open outline is what makes the display feel delicate. Gather the stems at their base and turn the bunch until the curves look balanced. This little arrangement also makes a satisfying subject for a beginner watercolor, with just a few clear shapes to study.
Supplies: Fine fully dried grass stems, one intact dry seed head, cotton cord, a plain dark backdrop.
Step 1: Choose one rounded seed head, a feathery grass and a few fine reddish stems.
Step 2: Gather them at the base, leaving open space between their upper shapes.
Step 3: Bind the lower stems and turn the arrangement against a plain dark backdrop.
Make a Rounded Rosebud Pomander
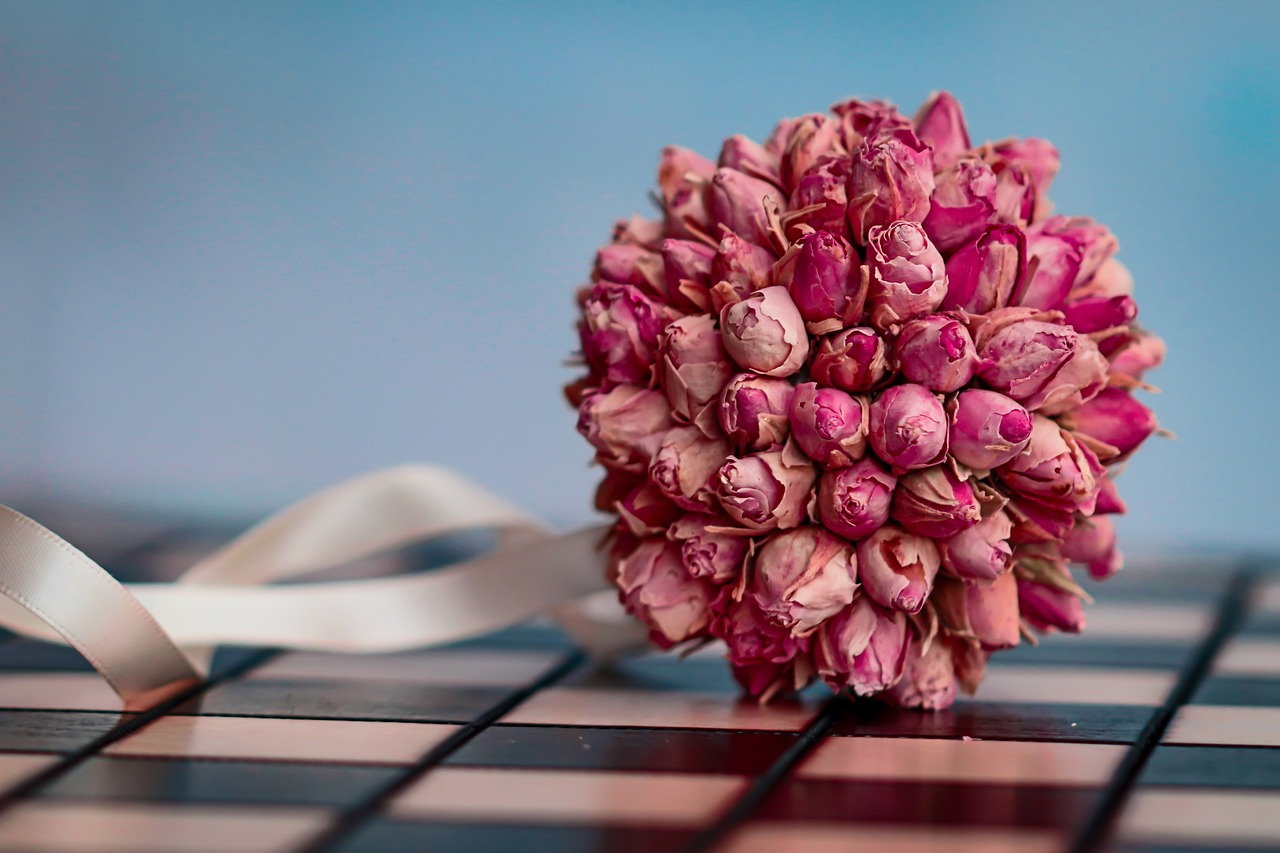
Closely packed rosebuds make a rounded pomander with a soft pink surface. A plain white ribbon trails from the base and adds a gentle contrast to the curled petals. Keep the flower heads close together, but let their natural sizes make the outline slightly uneven. Short stems and a lightweight craft sphere help the roses hold that rounded shape. Rest the finished piece on a shelf where the ribbon can fall loosely beside it. The same pale pink and white colors work beautifully with hand painted ornaments in a small display.
Supplies: Small fully dried rosebuds, a lightweight craft sphere, white ribbon, clear craft adhesive, craft snips.
Step 1: Secure ribbon to a lightweight craft sphere following the base supplier instructions.
Step 2: Attach short rosebud stems in close rows, concealing the base without pressing the petals.
Step 3: Let the adhesive set before resting it in a dish or using a secure hook.
Rest Lavender Across a Natural Shell
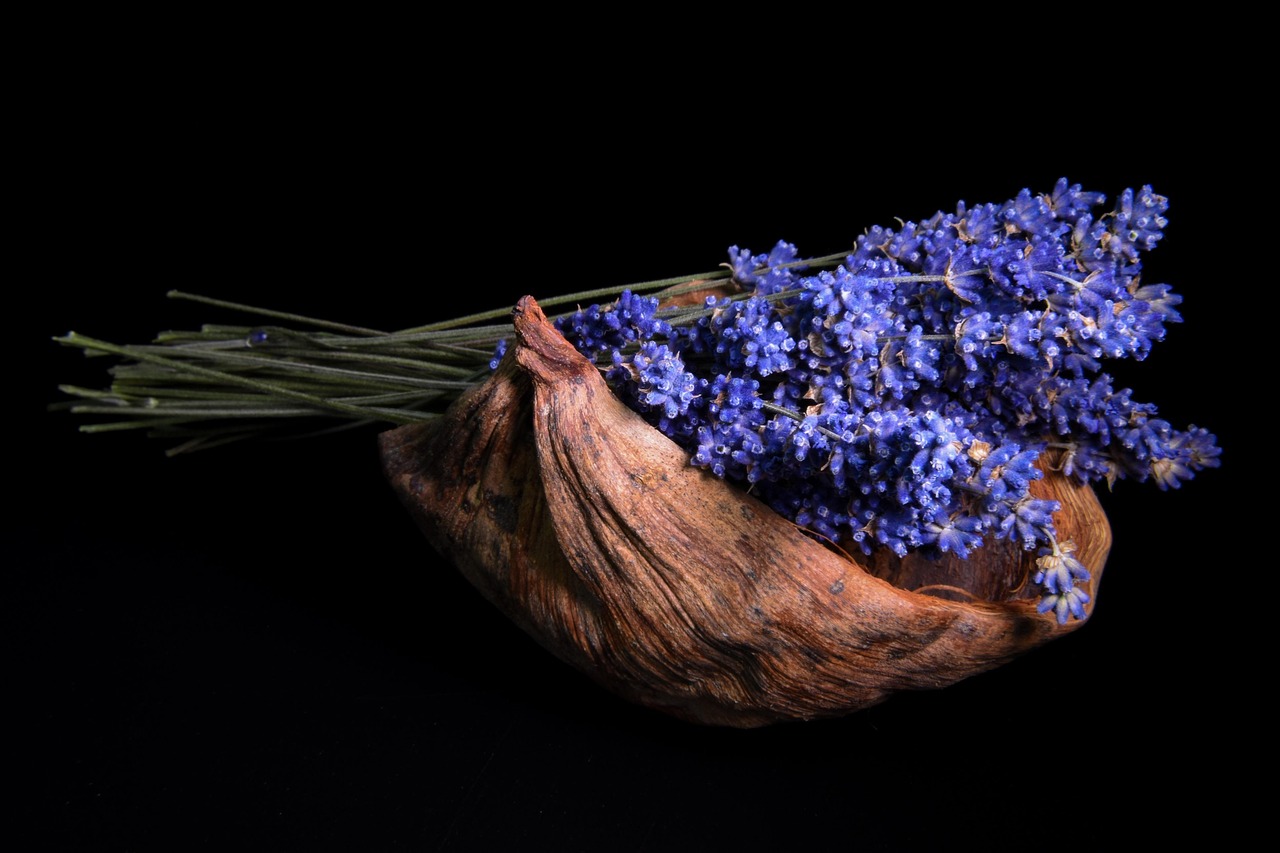
A curved natural shell holds a lavender spray sideways across its rim. The rough brown surface makes the purple flower heads look especially bright, and the long stems balance the shape at the other end. Keep the bunch loose rather than filling the shell completely. A few stems can cross at the base to hold the fan together. Set the finished piece where its curved edge is easy to see. Its small scale also makes it a charming choice among simple Secret Santa gifts for someone who enjoys natural decor.
Supplies: A clean stable natural-shell craft bowl, a lavender spray, craft snips.
Step 1: Check that the shell rests steadily on a dry surface.
Step 2: Trim the lavender into a loose fan with long stems at one end.
Step 3: Lay the spray sideways across the curved rim and balance its weight.
Give Wildflowers an Uneven Outline
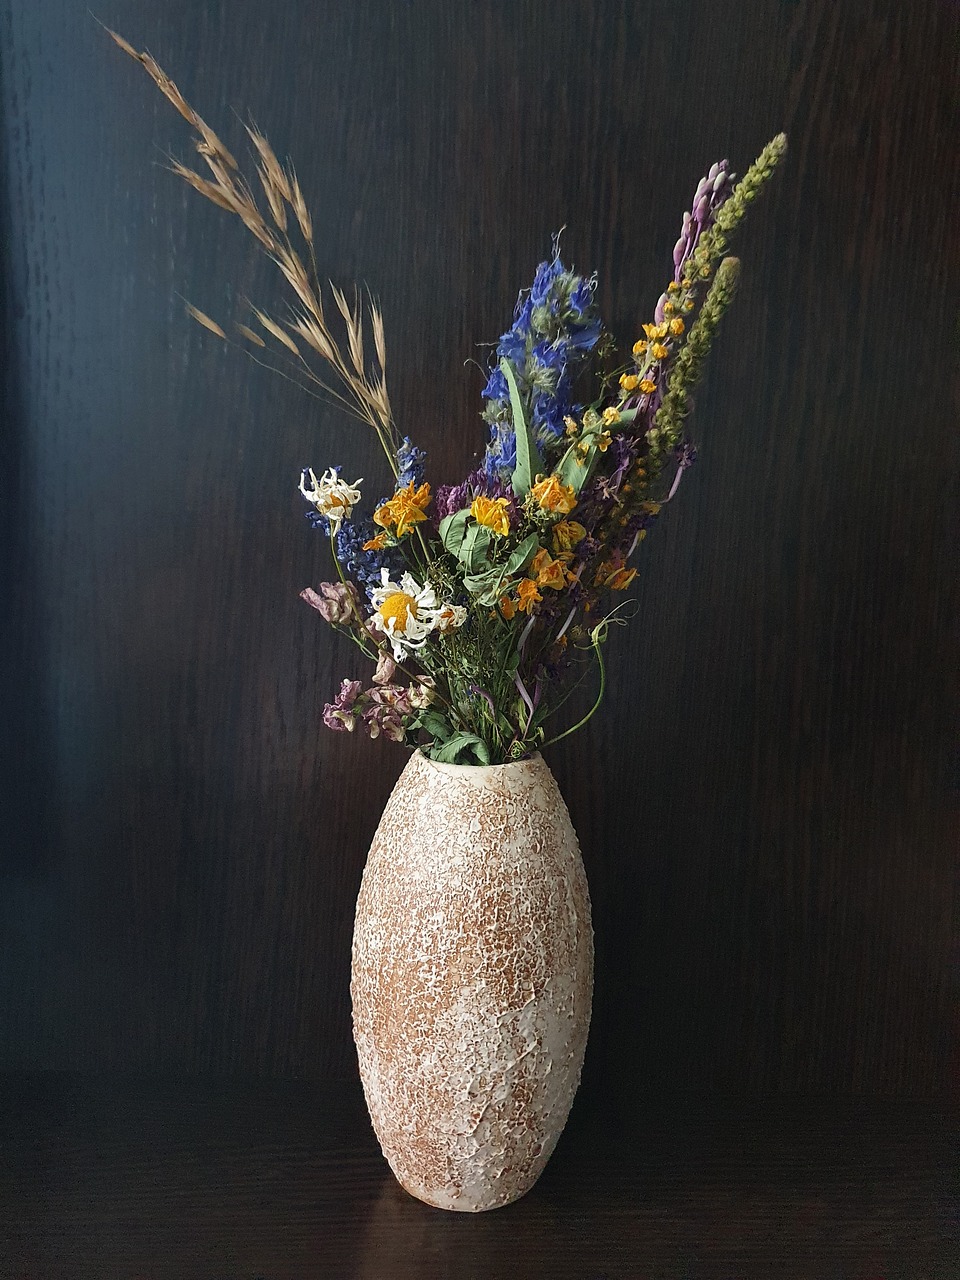
One tall grass stem gives this wildflower arrangement its easy, uneven outline. Smaller blue, yellow and pale flowers gather lower down, above a textured oval vase. The narrow opening holds the bunch together while each stem keeps its own curve. Turn the vase as you work and leave a little space between the tallest pieces. Dried flower decor feels more relaxed when both sides do not match exactly. A reusable sleeve made with a simple fabric gift bag is a pretty way to wrap the vase when giving it away.
Supplies: A textured narrow vase, dry mixed wildflowers, one taller dry grass stem, craft snips.
Step 1: Place one tall dry grass stem slightly off center in the narrow vase.
Step 2: Add shorter dried flowers near the rim, leaving small spaces between the shapes.
Step 3: Turn the vase and trim only stems that disrupt its gentle uneven outline.
Hang Dried Flower Decor From a Simple Dowel
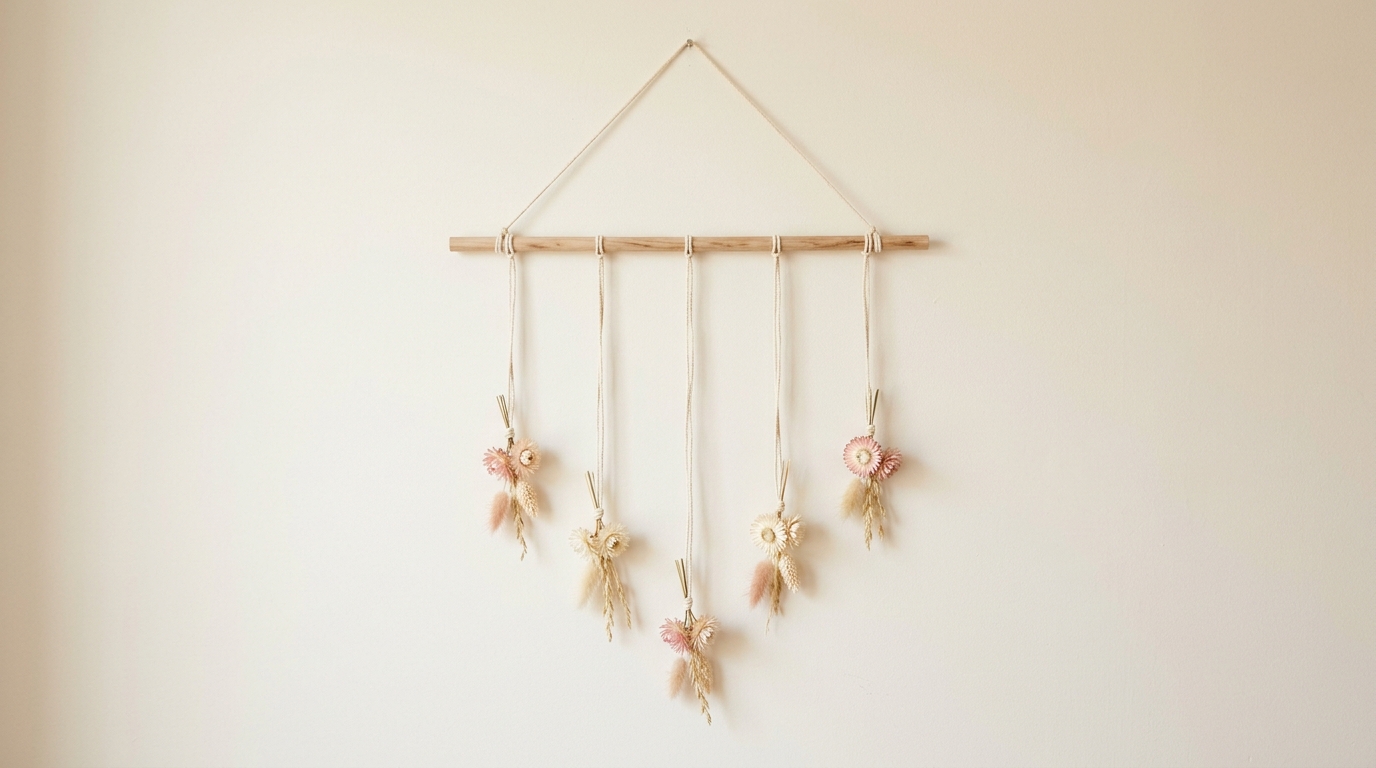
Five tiny flower bundles hang from a slim dowel in a gentle stepped line. The longest cord sits in the center, with shorter ones rising toward both ends. Pink and cream strawflowers repeat across the piece, mixed with soft grasses. Keep the bundles small so the open wall remains part of the design. Plain cotton cord gives this dried flower decor a light, handmade finish. A nearby piece of simple floral embroidery can repeat the same soft colors without making the wall feel busy.
Supplies: A small smooth wood dowel, fine cotton cord, tiny dried strawflowers, short dry grasses, a suitable wall hook.
Step 1: Tie a hanging loop to the dowel and add five short cords at staggered lengths.
Step 2: Bind a tiny bloom and a few dry grasses to each cord with neat knots.
Step 3: Use a suitable wall hook and keep the hanging clear of traffic.