Paper Folder Jumbo Jet: 15 Steps Behind the 11 Million View Model Made From Office Folders
The paper folder jumbo jet is one of those projects that makes you stop scrolling and say, wait, that is paper? Model maker Luca Iaconi-Stewart has been building a huge, incredibly detailed passenger jet from nothing but plain manila office folders, the same kind sitting in your filing cabinet right now. His time lapse of one finishing step has passed 11 million views on YouTube, even though his channel has fewer than 80,000 subscribers. Engines, wing flaps and landing gear are all cut, folded and glued by hand. Below, we walk through the steps that made it so special, then share easy paper projects inspired by it that you can actually try at your kitchen table this weekend..
Meet the Paper Folder Jumbo Jet and the Maker Behind It
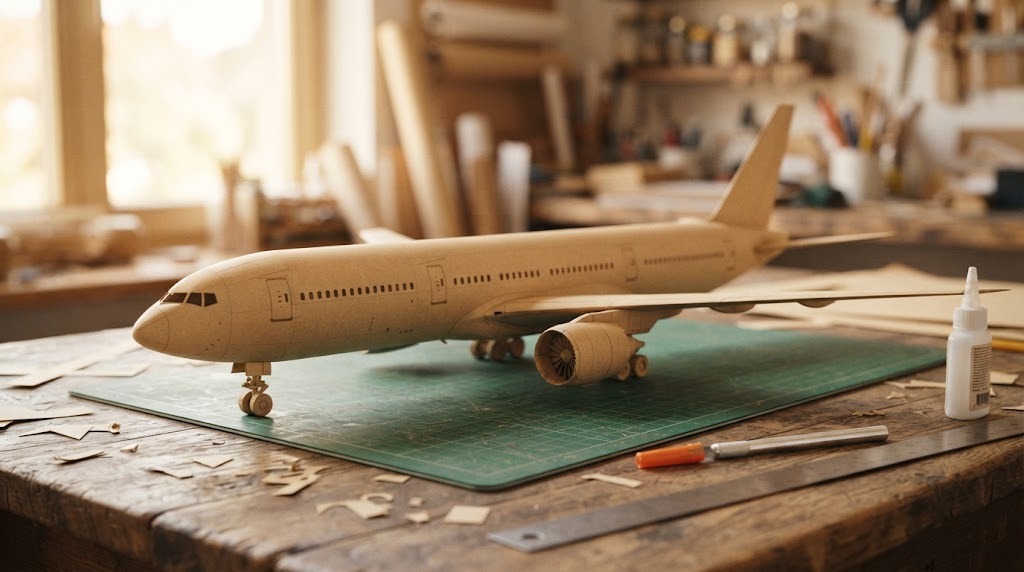
Luca Iaconi-Stewart describes his channel as the home of a very detailed model jet made entirely from paper, and he is not exaggerating. He did not use fancy model card. He used tan manila file folders, the plain kind found in every office. That choice is what makes people lean in. Folders are thin, cheap and easy to cut, yet they hold their shape when layered and glued. Seeing a real looking jet in that humble beige color feels like pure magic. Let us look at how it came together..
You will need: Manila file folders, a self healing cutting mat, a metal ruler, a craft knife (adult use only), white craft glue, fine tweezers.
How to make it: 1. Pick a simple printable paper plane template to start. 2. Trace it onto manila folder card. 3. Cut slowly along a metal ruler. 4. Fold and glue the parts together.
Step 1: The Simple Tools Behind the Paper Folder Jumbo Jet
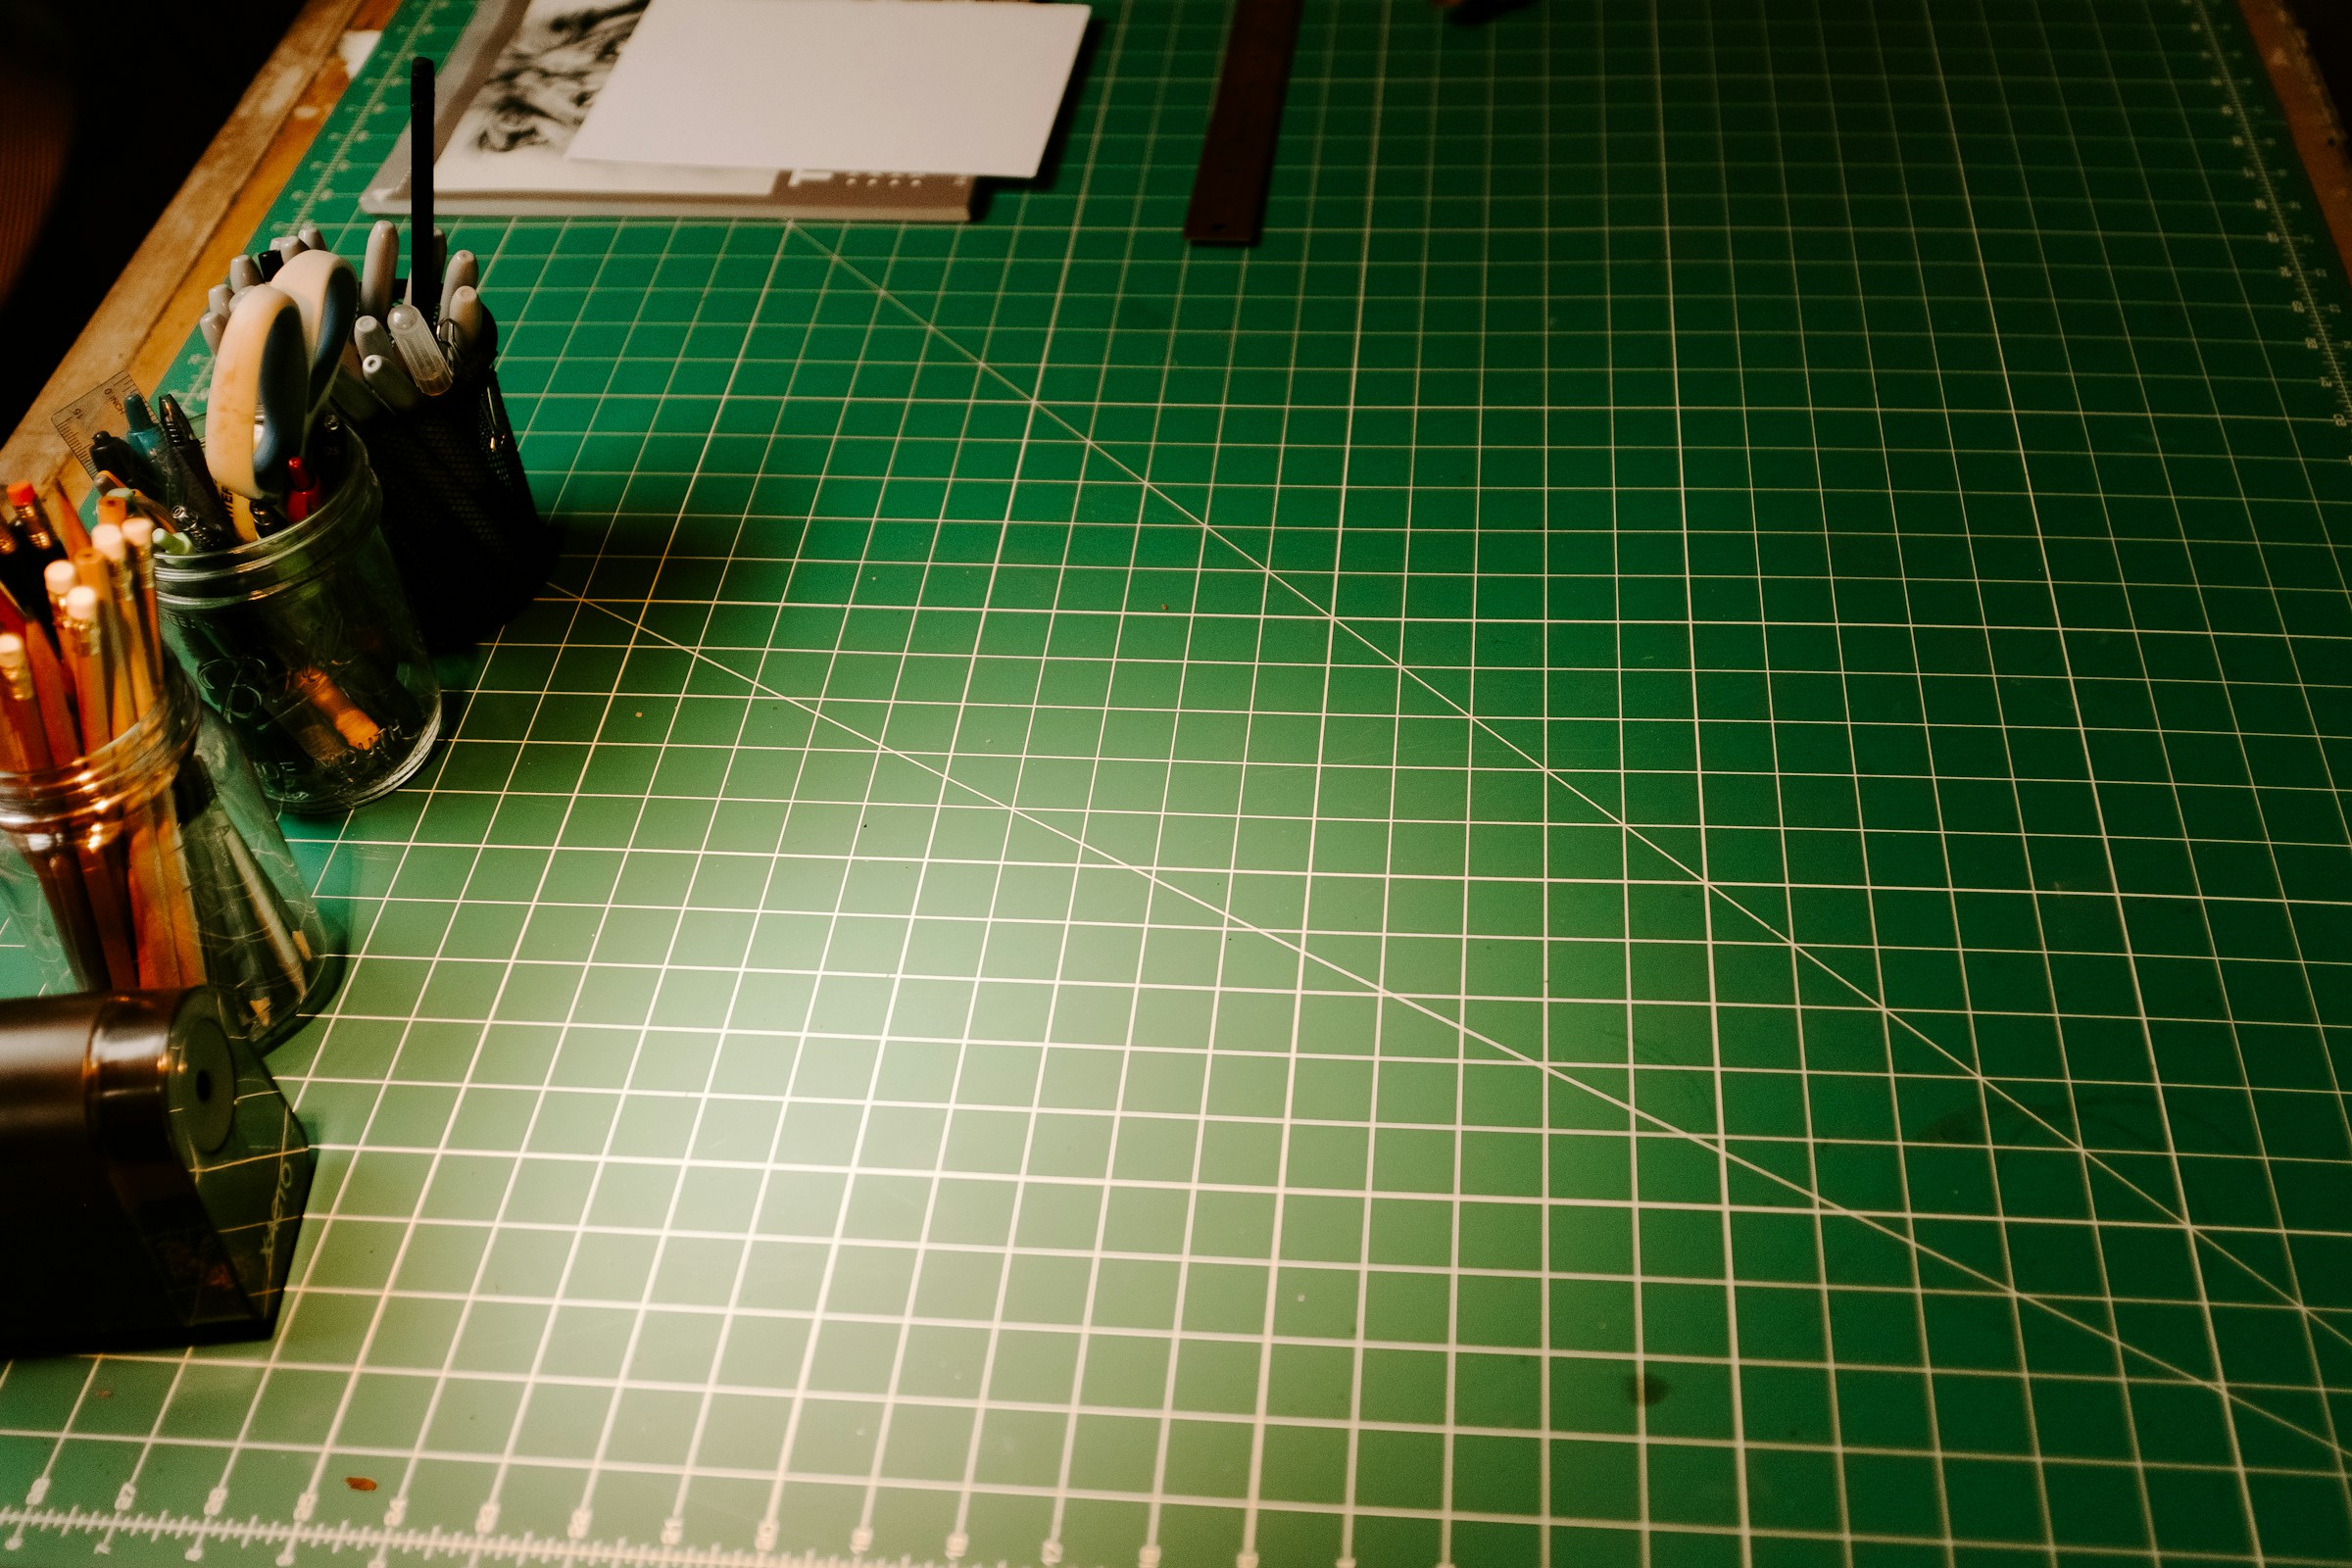
The tool list for a project like this is surprisingly short. A cutting mat protects the table, a sharp craft knife makes clean cuts, and a metal ruler keeps lines straight. Tweezers help place tiny pieces, and a small bottle of white glue does the rest. The real secret is patience. Paper modelers swap knife blades often, because a dull blade tears thin card instead of cutting it. If kids want to join in, give them scissors and simple shapes while a grown up handles the knife. What would you build first?
You will need: A self healing cutting mat, a craft knife with spare blades (adult use), a metal ruler, scissors for kids, tweezers, white glue.
How to make it: 1. Set up a well lit table with the mat. 2. Change to a fresh blade before you start. 3. Always cut away from your fingers along a ruler. 4. Keep small parts in a labeled tray.
Step 2: Cutting Hundreds of Tiny Parts
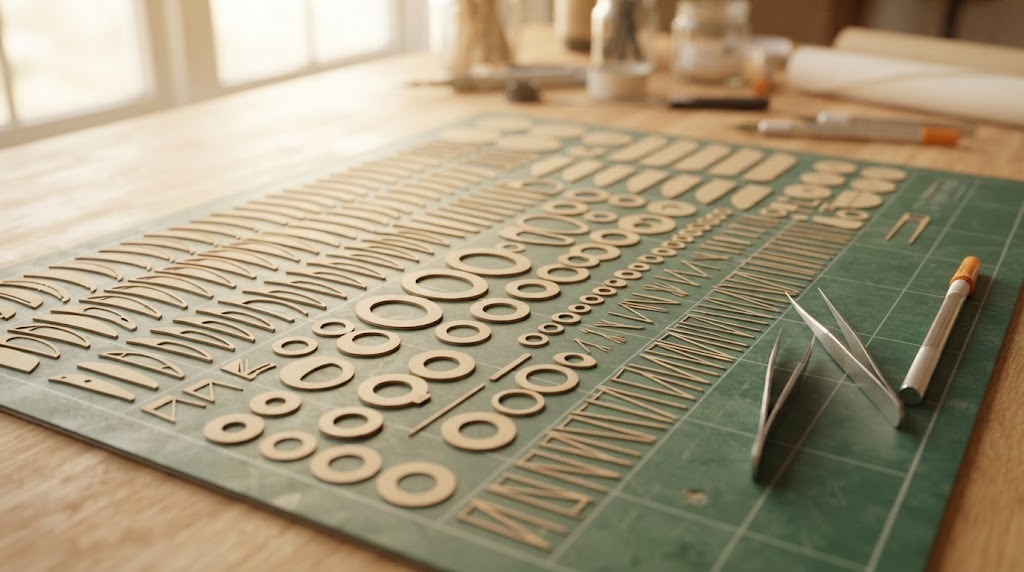
A paper folder jumbo jet at this level is made of hundreds of small pieces: ribs, rings, struts, hinges and tiny gears, all cut by hand from folder card. Each one has to match its neighbors, so measuring twice really matters. Laying parts out in rows on the mat, like a kit, keeps everything in order and makes progress easy to see. It is slow, quiet work that many crafters find relaxing. You can practice the same skill on a small scale with a simple paper box or ornament. How steady are your hands?
You will need: Manila folder card, a pencil, a metal ruler, a craft knife (adult use), a cutting mat, a small tray for parts.
How to make it: 1. Draw each part lightly in pencil. 2. Cut straight edges first with the ruler. 3. Cut curves slowly in short strokes. 4. Sort parts by size on the mat.
Step 3: Building the Body Ring by Ring
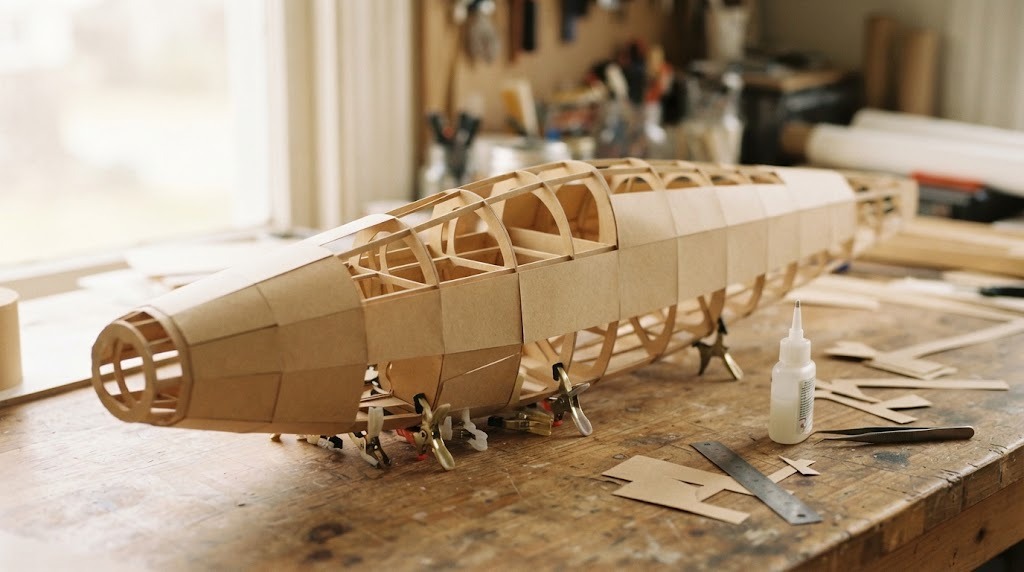
A real plane body is built around a skeleton of round frames, and a paper folder jumbo jet can follow the same idea. Thin rings of folder card are lined up and joined with long strips, creating a light but strong tube. Then panels of paper are glued over the frame like skin. Watching a long tube slowly take shape is one of the most satisfying parts of any build. A simple version for kids is a cardboard tube rocket with paper rings. Would you have the patience for this step?
You will need: Manila folder card, a round object to trace rings, long paper strips, white glue, small clips to hold parts while drying.
How to make it: 1. Trace and cut several equal paper rings. 2. Join them with long paper strips spaced evenly. 3. Let the frame dry fully. 4. Glue thin paper panels over the outside.
Step 4: Paper Folder Jumbo Jet Engines That Look Real
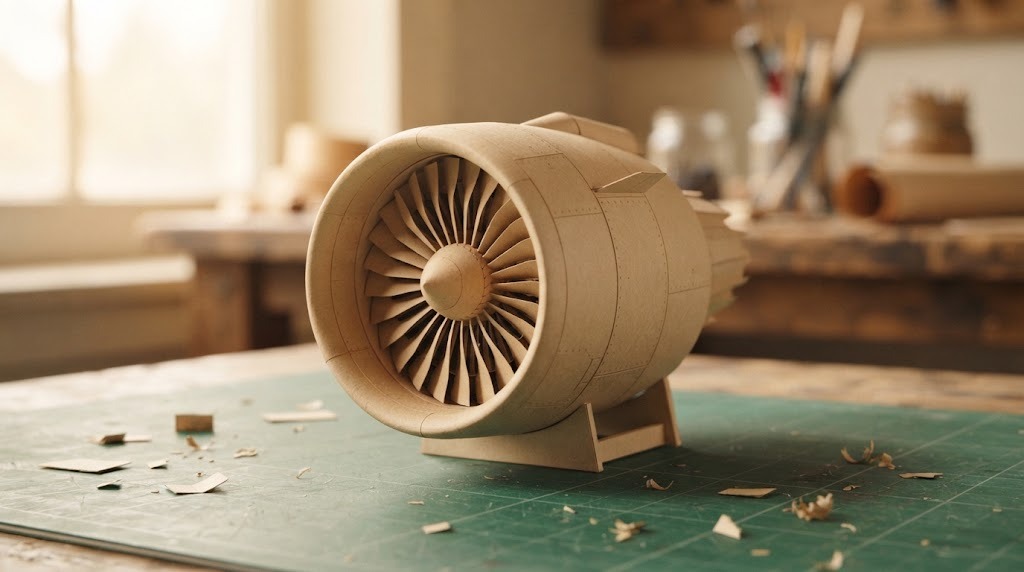
The engines are where this paper folder jumbo jet really shows off. His channel includes an engine model time lapse and videos about paper thrust reversers and shaping techniques, which shows how far plain folder card can go. Round shapes come from rolling and curving paper carefully, and the front fan is built from many small blades set at the same angle. For an easy taste of this, try making a paper pinwheel from card: same idea, much simpler. Have you ever looked closely at a real jet engine?
You will need: Card for a pinwheel version, a pencil, a ruler, scissors, a pushpin and a pencil eraser or wooden dowel.
How to make it: 1. Cut a square of card. 2. Cut from each corner toward the center, stopping short. 3. Fold every other point to the middle. 4. Pin it to the eraser or dowel so it spins.
Step 5: Wings With Moving Slats and Flaps
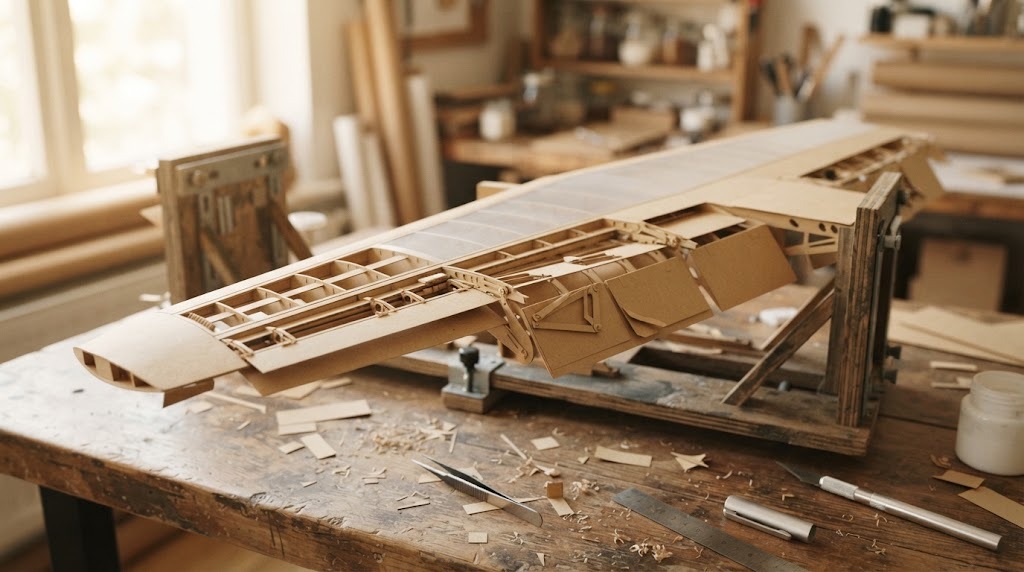
The wings are not just for looks. His channel has wing update videos showing slat tests, a flap drive system and test pieces for the ailerons and flaperons, and one slat test alone has passed 181,000 views. That means the moving parts at the front and back of the wing actually slide and tilt, all in paper. Tiny paper hinges and tracks make it possible. It is a great reminder that paper can be engineering, not just decoration. What part of a plane fascinates you most?
You will need: Cardstock, a ruler, a pencil, scissors, tape or white glue, a paper fastener (brad) for a simple moving flap.
How to make it: 1. Cut a simple wing shape from card. 2. Cut a strip off the back edge to be the flap. 3. Join it with tape so it can hinge. 4. Tilt the flap up and down and test it with a gentle toss.
Step 6: Paper Folder Jumbo Jet Landing Gear That Swings
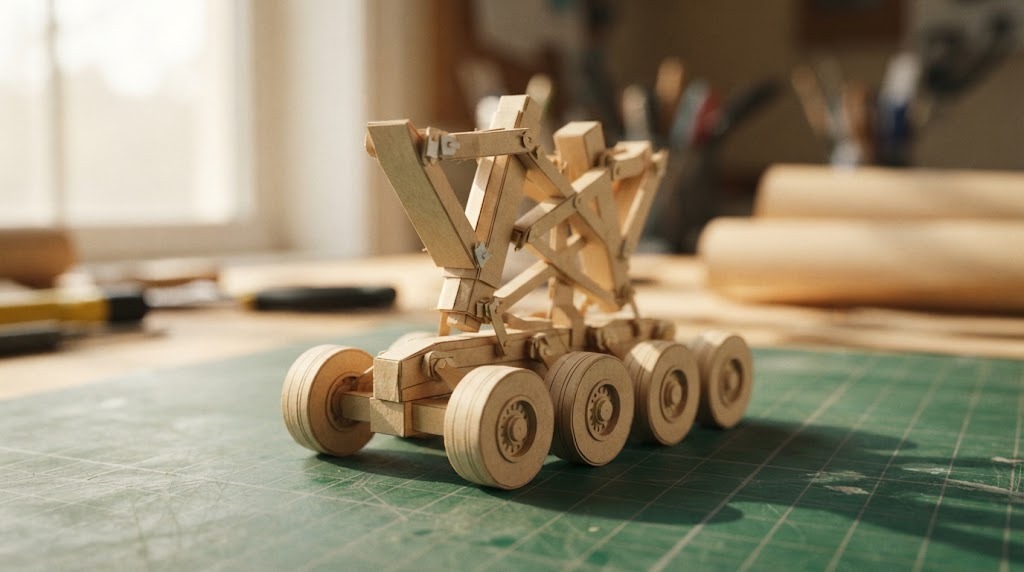
The landing gear may be the most amazing part of the whole paper folder jumbo jet. His main landing gear swing test video has more than 381,000 views, a design and build time lapse has more than 432,000, and an ultimate load test shows how much the paper gear can hold. Wheels, struts and hinges are all folder card, folded in layers for strength. It proves that clever folding can make paper surprisingly tough. Could you guess how much weight paper can carry?
You will need: Card, a ruler, scissors, glue, a few coins for a simple strength test.
How to make it: 1. Fold strips of card into square tubes. 2. Glue them so they stand upright. 3. Lay a flat card on top. 4. Add coins one at a time to see how much your paper columns hold.
Step 7: Clear Gloss Instead of Paint
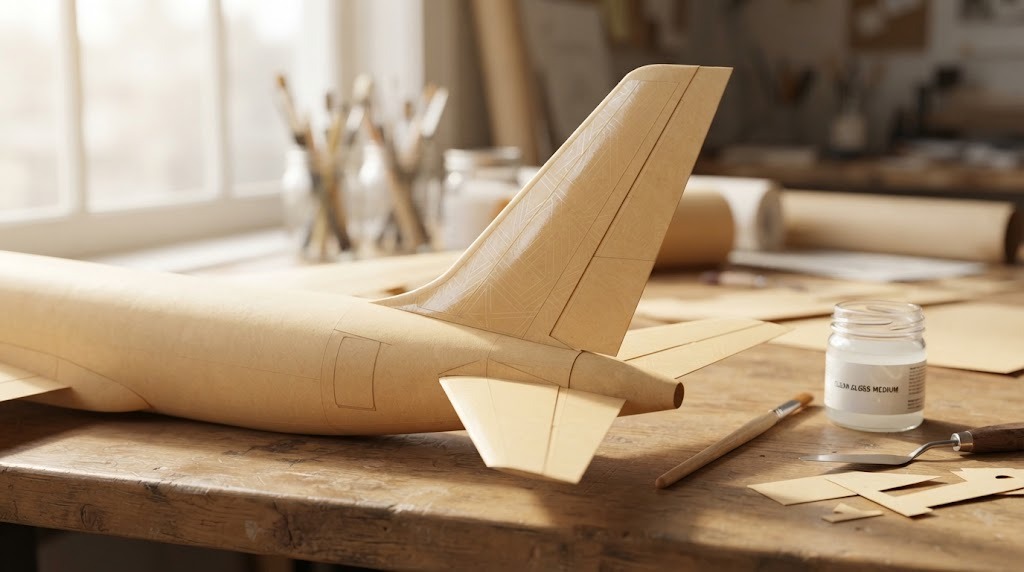
Here is the clever twist. In the video description, he explains that the painting process took over a month, and that he chose clear gloss instead of real paint so he would not ruin the manila folder look. The design is hard to see under normal light, but it shows at the right angles. That subtle choice keeps the paper folder jumbo jet looking like pure paper. You can try the same trick on any paper craft by brushing a pattern in clear gloss medium and tilting it in the light. Would you have chosen paint?
You will need: A finished paper craft, clear gloss decoupage medium, a soft small brush, a pencil for a light outline.
How to make it: 1. Sketch a light design in pencil. 2. Brush clear gloss inside the lines. 3. Let it dry fully. 4. Tilt it toward a lamp to see the shine appear.
The Payoff: A Paper Folder Jumbo Jet That Wowed 11 Million Viewers
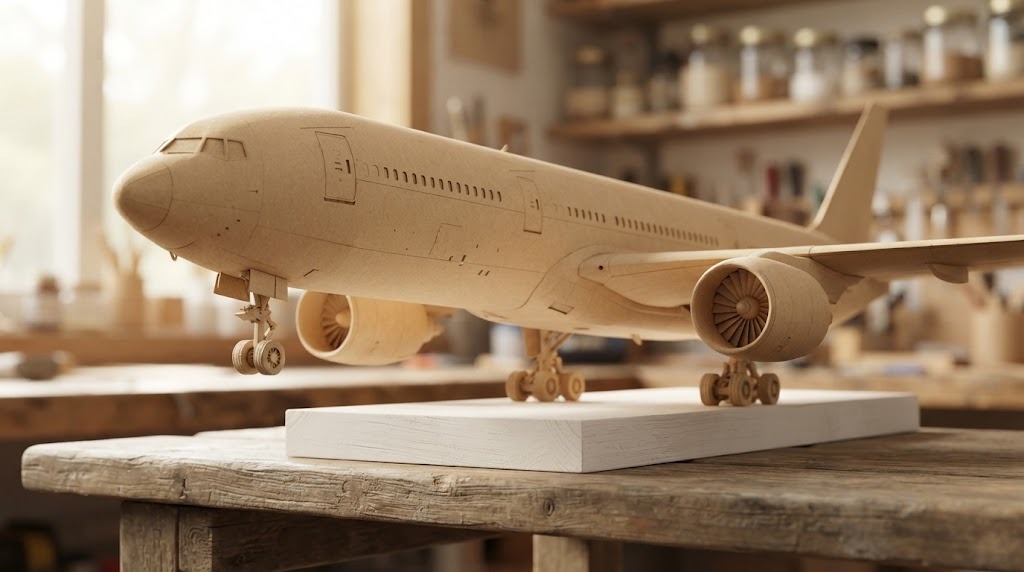
All that work paid off. When we checked, his painting time lapse on YouTube had 11,016,105 views, which put it among the most watched painting time lapse videos anywhere, beating channels many times bigger. People keep sharing it because it is hard to believe the jet is made of folders. Behind those views are years of build updates and countless hours at a desk. It is proof that a humble material and steady patience can amaze the world. For more paper and cardboard magic, see these cardboard miniatures. Which detail surprised you most?
You will need: Inspiration, a notebook for ideas, scrap folders and card, a shelf to display your finished paper models.
How to make it: 1. Pick one small paper project from the ideas below. 2. Gather your supplies in one box. 3. Work in short, relaxed sessions. 4. Display your finished piece proudly.
Try It: A Folded Paper Bird Mobile
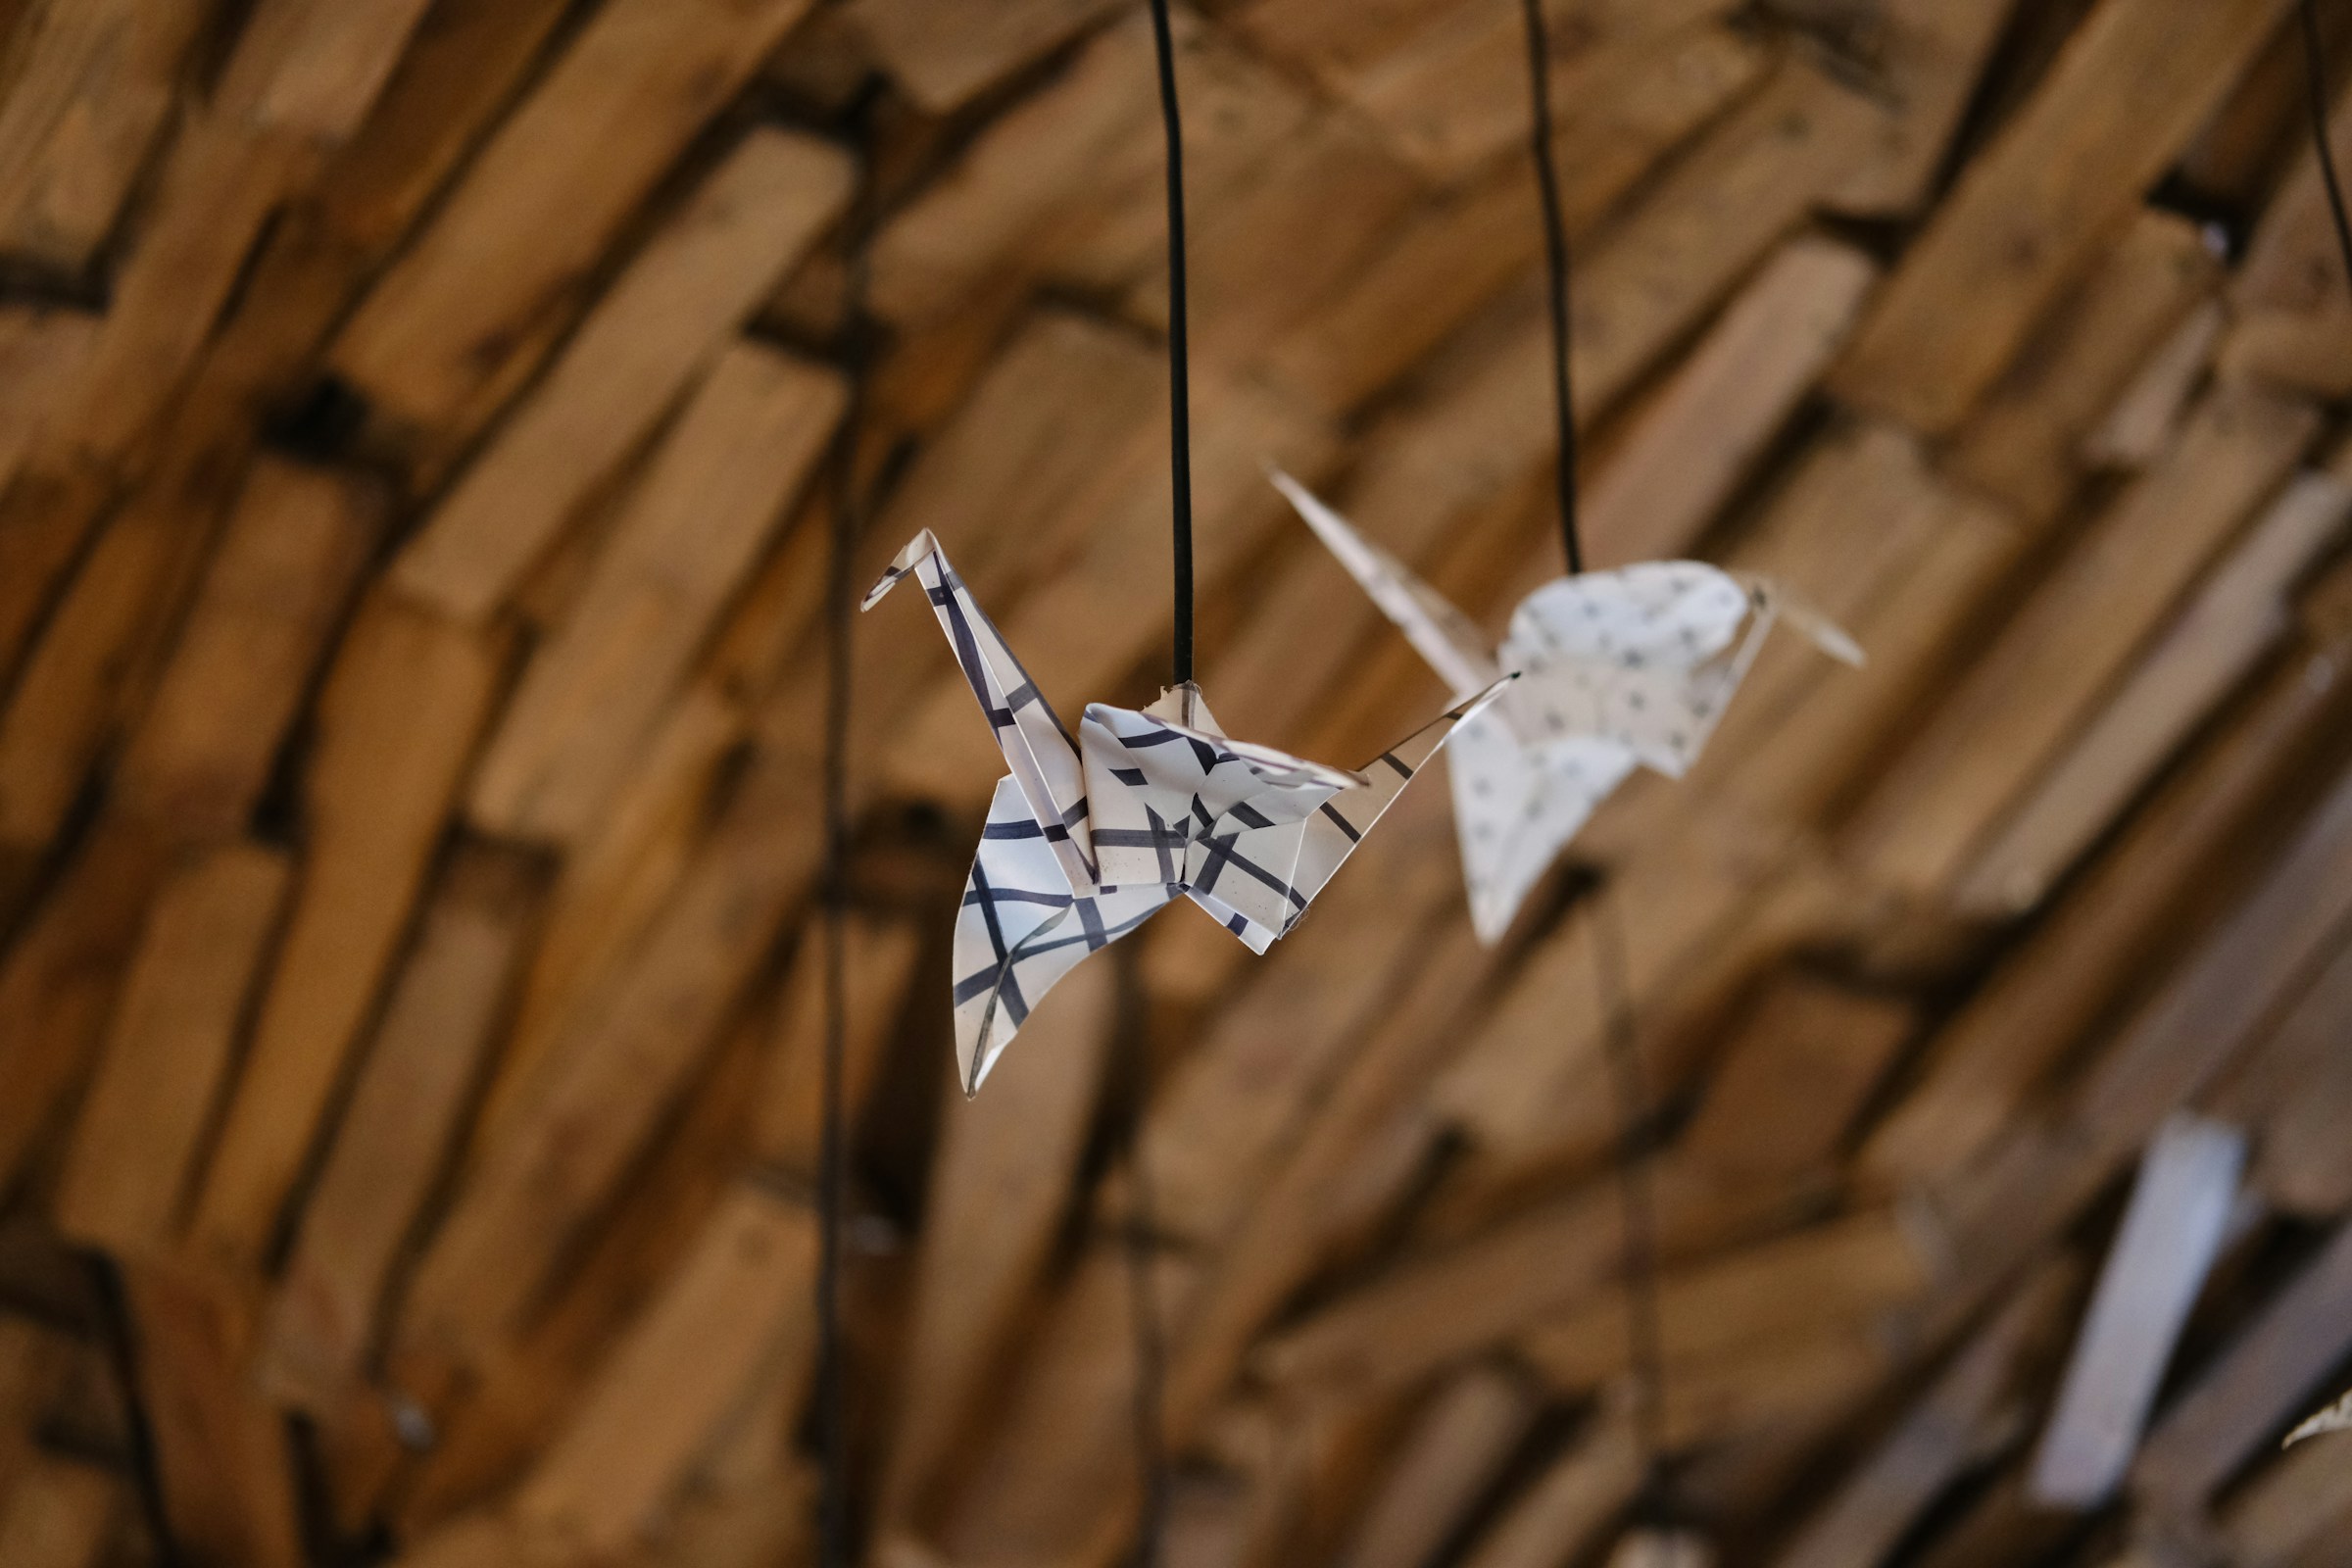
Feeling inspired by the paper folder jumbo jet? A folded paper bird mobile is the perfect beginner project, and kids adore it. Fold six to eight small birds or planes from patterned paper or old folders, then hang them at different heights from a wooden hoop or branch with thin thread. Tilt each one slightly so they look like they are gliding across the room. It brightens up a nursery, a playroom or a reading corner, and it moves gently with every breeze. How many will your flock have?
You will need: Patterned paper or old file folders cut into squares, thin thread or fishing line, a wooden embroidery hoop or small branch, a needle, tape.
How to make it: 1. Fold small paper birds or planes. 2. Thread a needle and pass it through the top of each one. 3. Tie them at different lengths to the hoop. 4. Hang the hoop from the ceiling with a hook.
Try It: A Little Mantel House Village
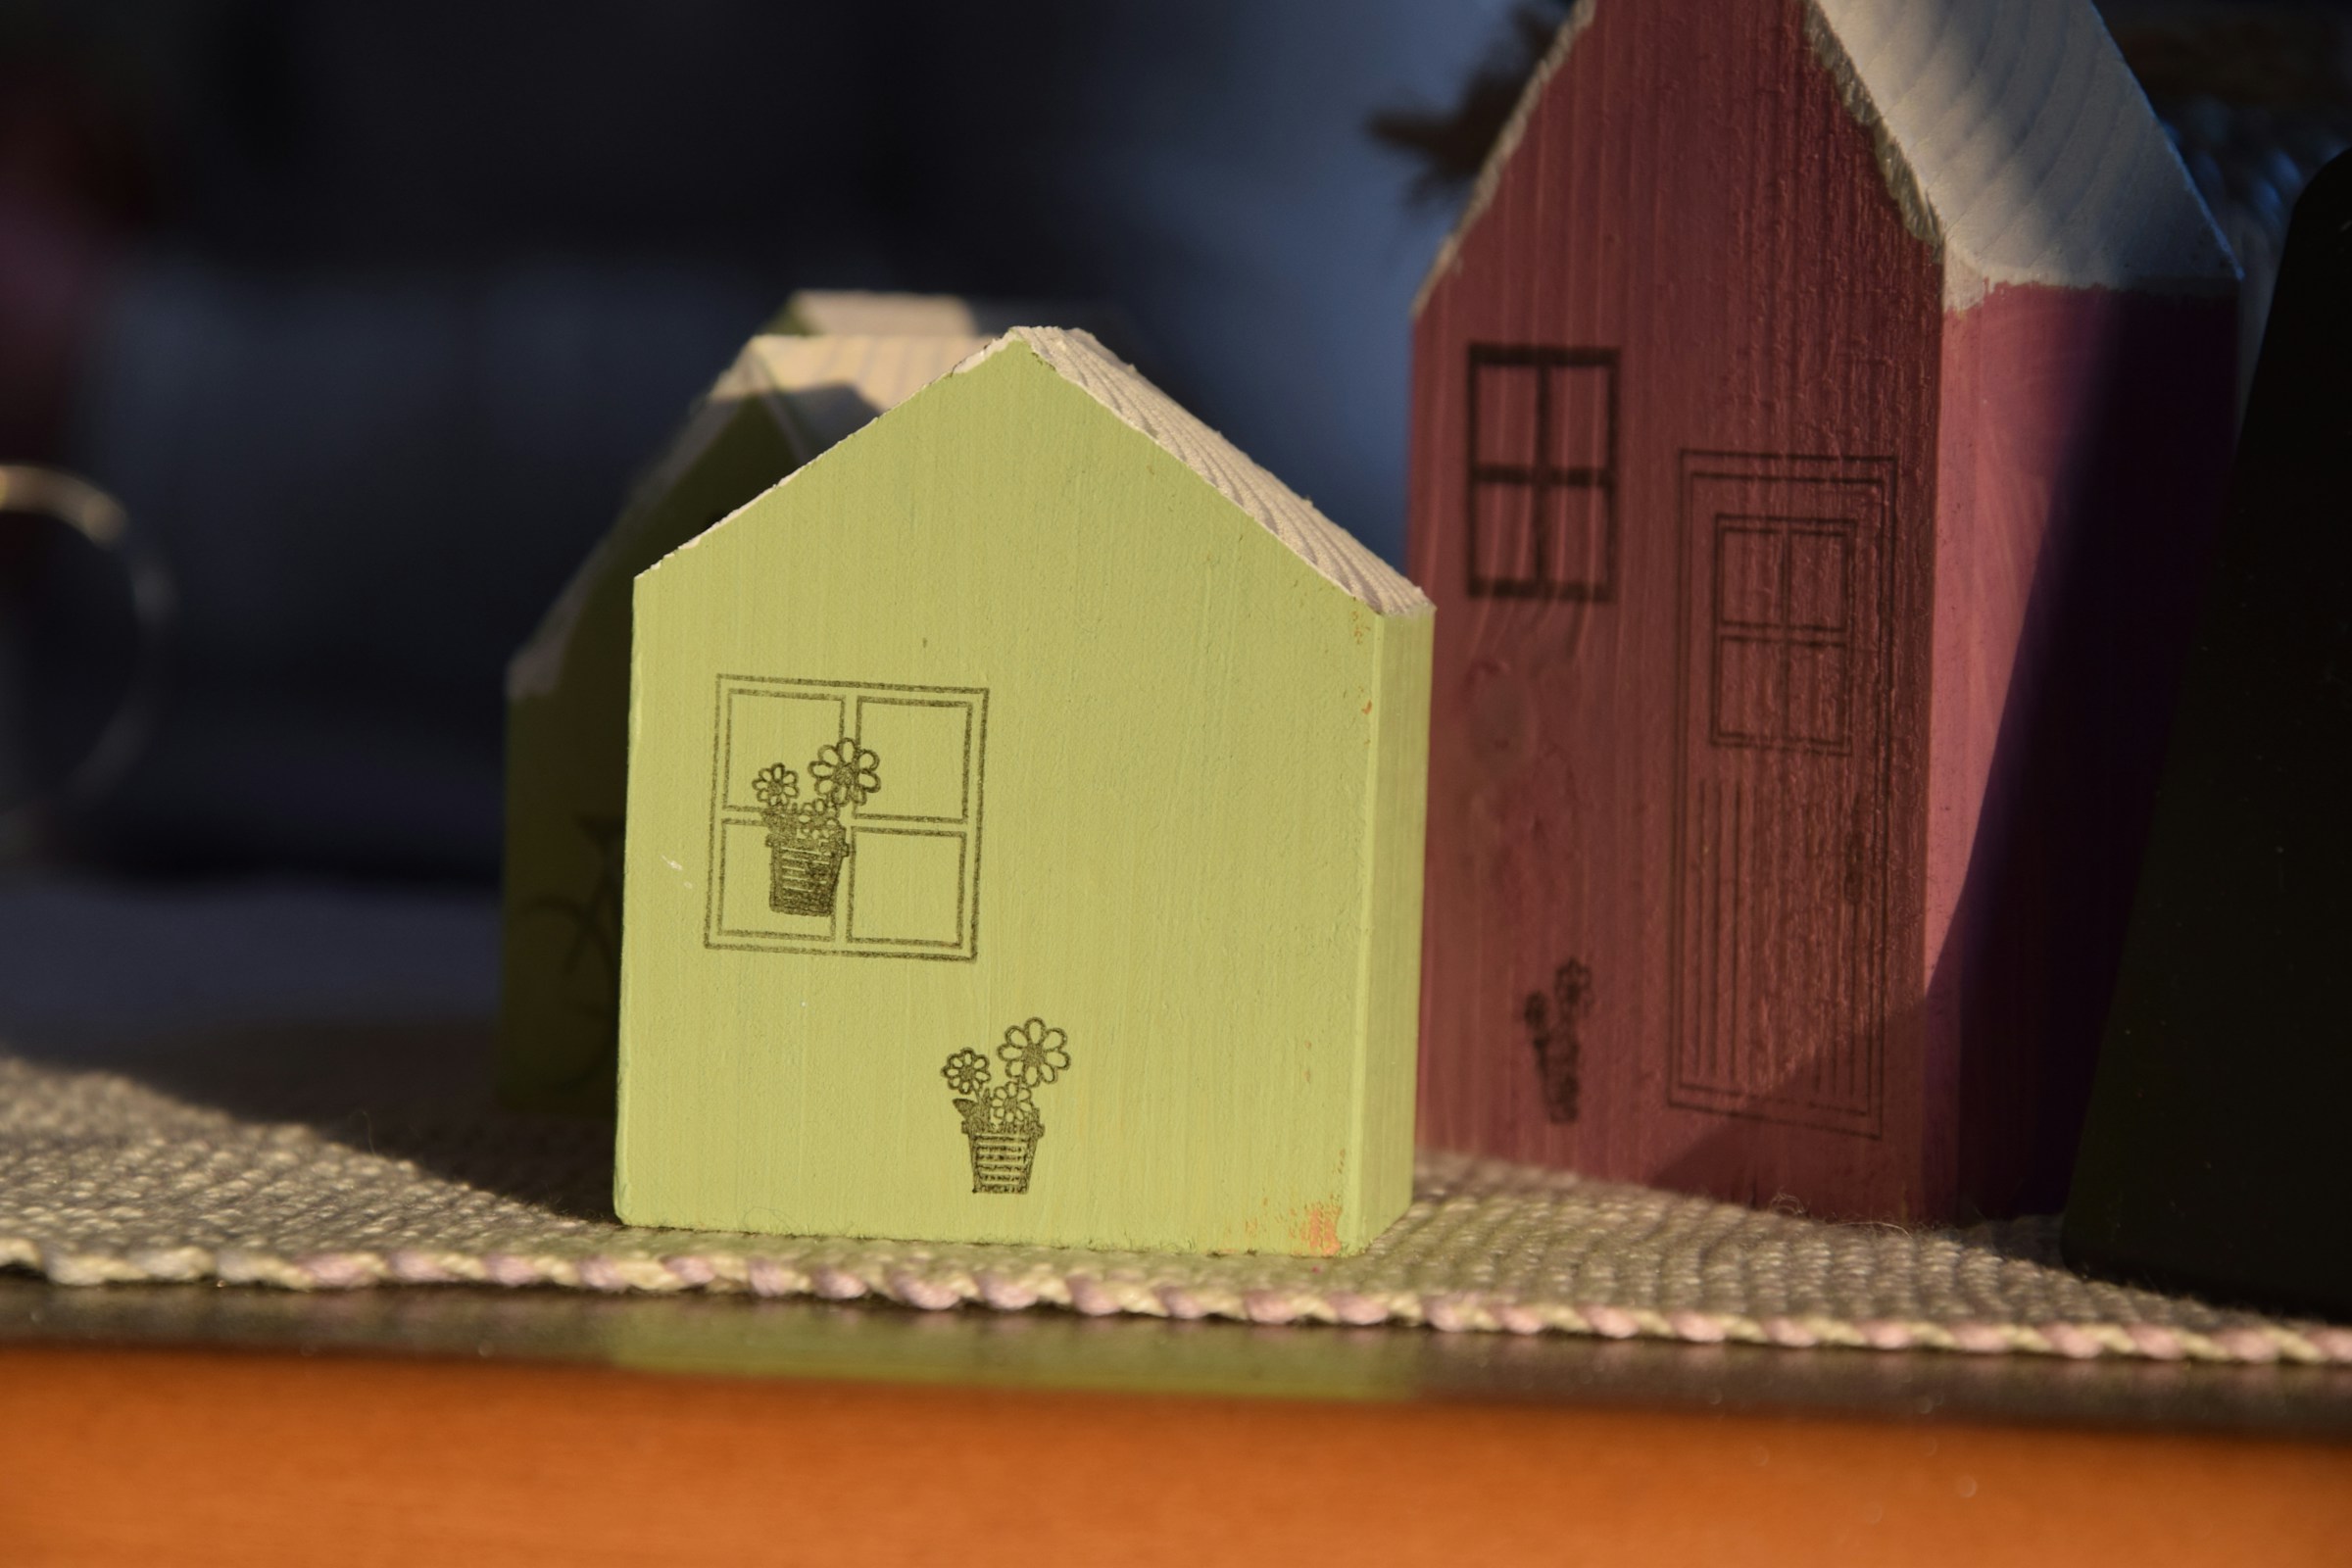
A little house village gives you a taste of model building without the pressure. Cut simple house shapes from thick cardstock or small wood blocks, then draw or paint on windows, doors and tiny plants. Make houses in different heights and colors, then cluster them on a mantel or windowsill. A battery LED tea light behind the village makes it glow at night. It is a cozy project to share with older kids, and every house can belong to someone in the family. How many houses will your street need?
You will need: Thick cardstock or small wood blocks, a house template, scissors, a ruler, white glue, acrylic paint or markers, battery LED tea lights (optional).
How to make it: 1. Trace the house shapes onto card or blocks. 2. Cut or sand them into shape (adult help for tools). 3. Paint or draw the details. 4. Arrange the houses and add LED lights behind them.
Try It: File Folder Gift Boxes

Old manila folders make sturdy little gift boxes, which feels like a sweet nod to the paper folder jumbo jet. Cut a square, fold it into a classic box with a matching lid, and tie it with red and white baker twine. A sprig of greenery or a paper tag makes it holiday ready. These boxes are perfect for small cookies, jewelry or gift cards, and they cost nothing if you have a few old folders in the office closet. Who on your list would love a handmade box?
You will need: Manila file folders, a ruler, a pencil, scissors, glue, baker twine, a sprig of greenery or a tag.
How to make it: 1. Cut two squares, one slightly bigger for the lid. 2. Fold each into a box shape along scored lines. 3. Glue the corners. 4. Fill, close and tie with twine.
Try It: A Paper Model of Your Own Home
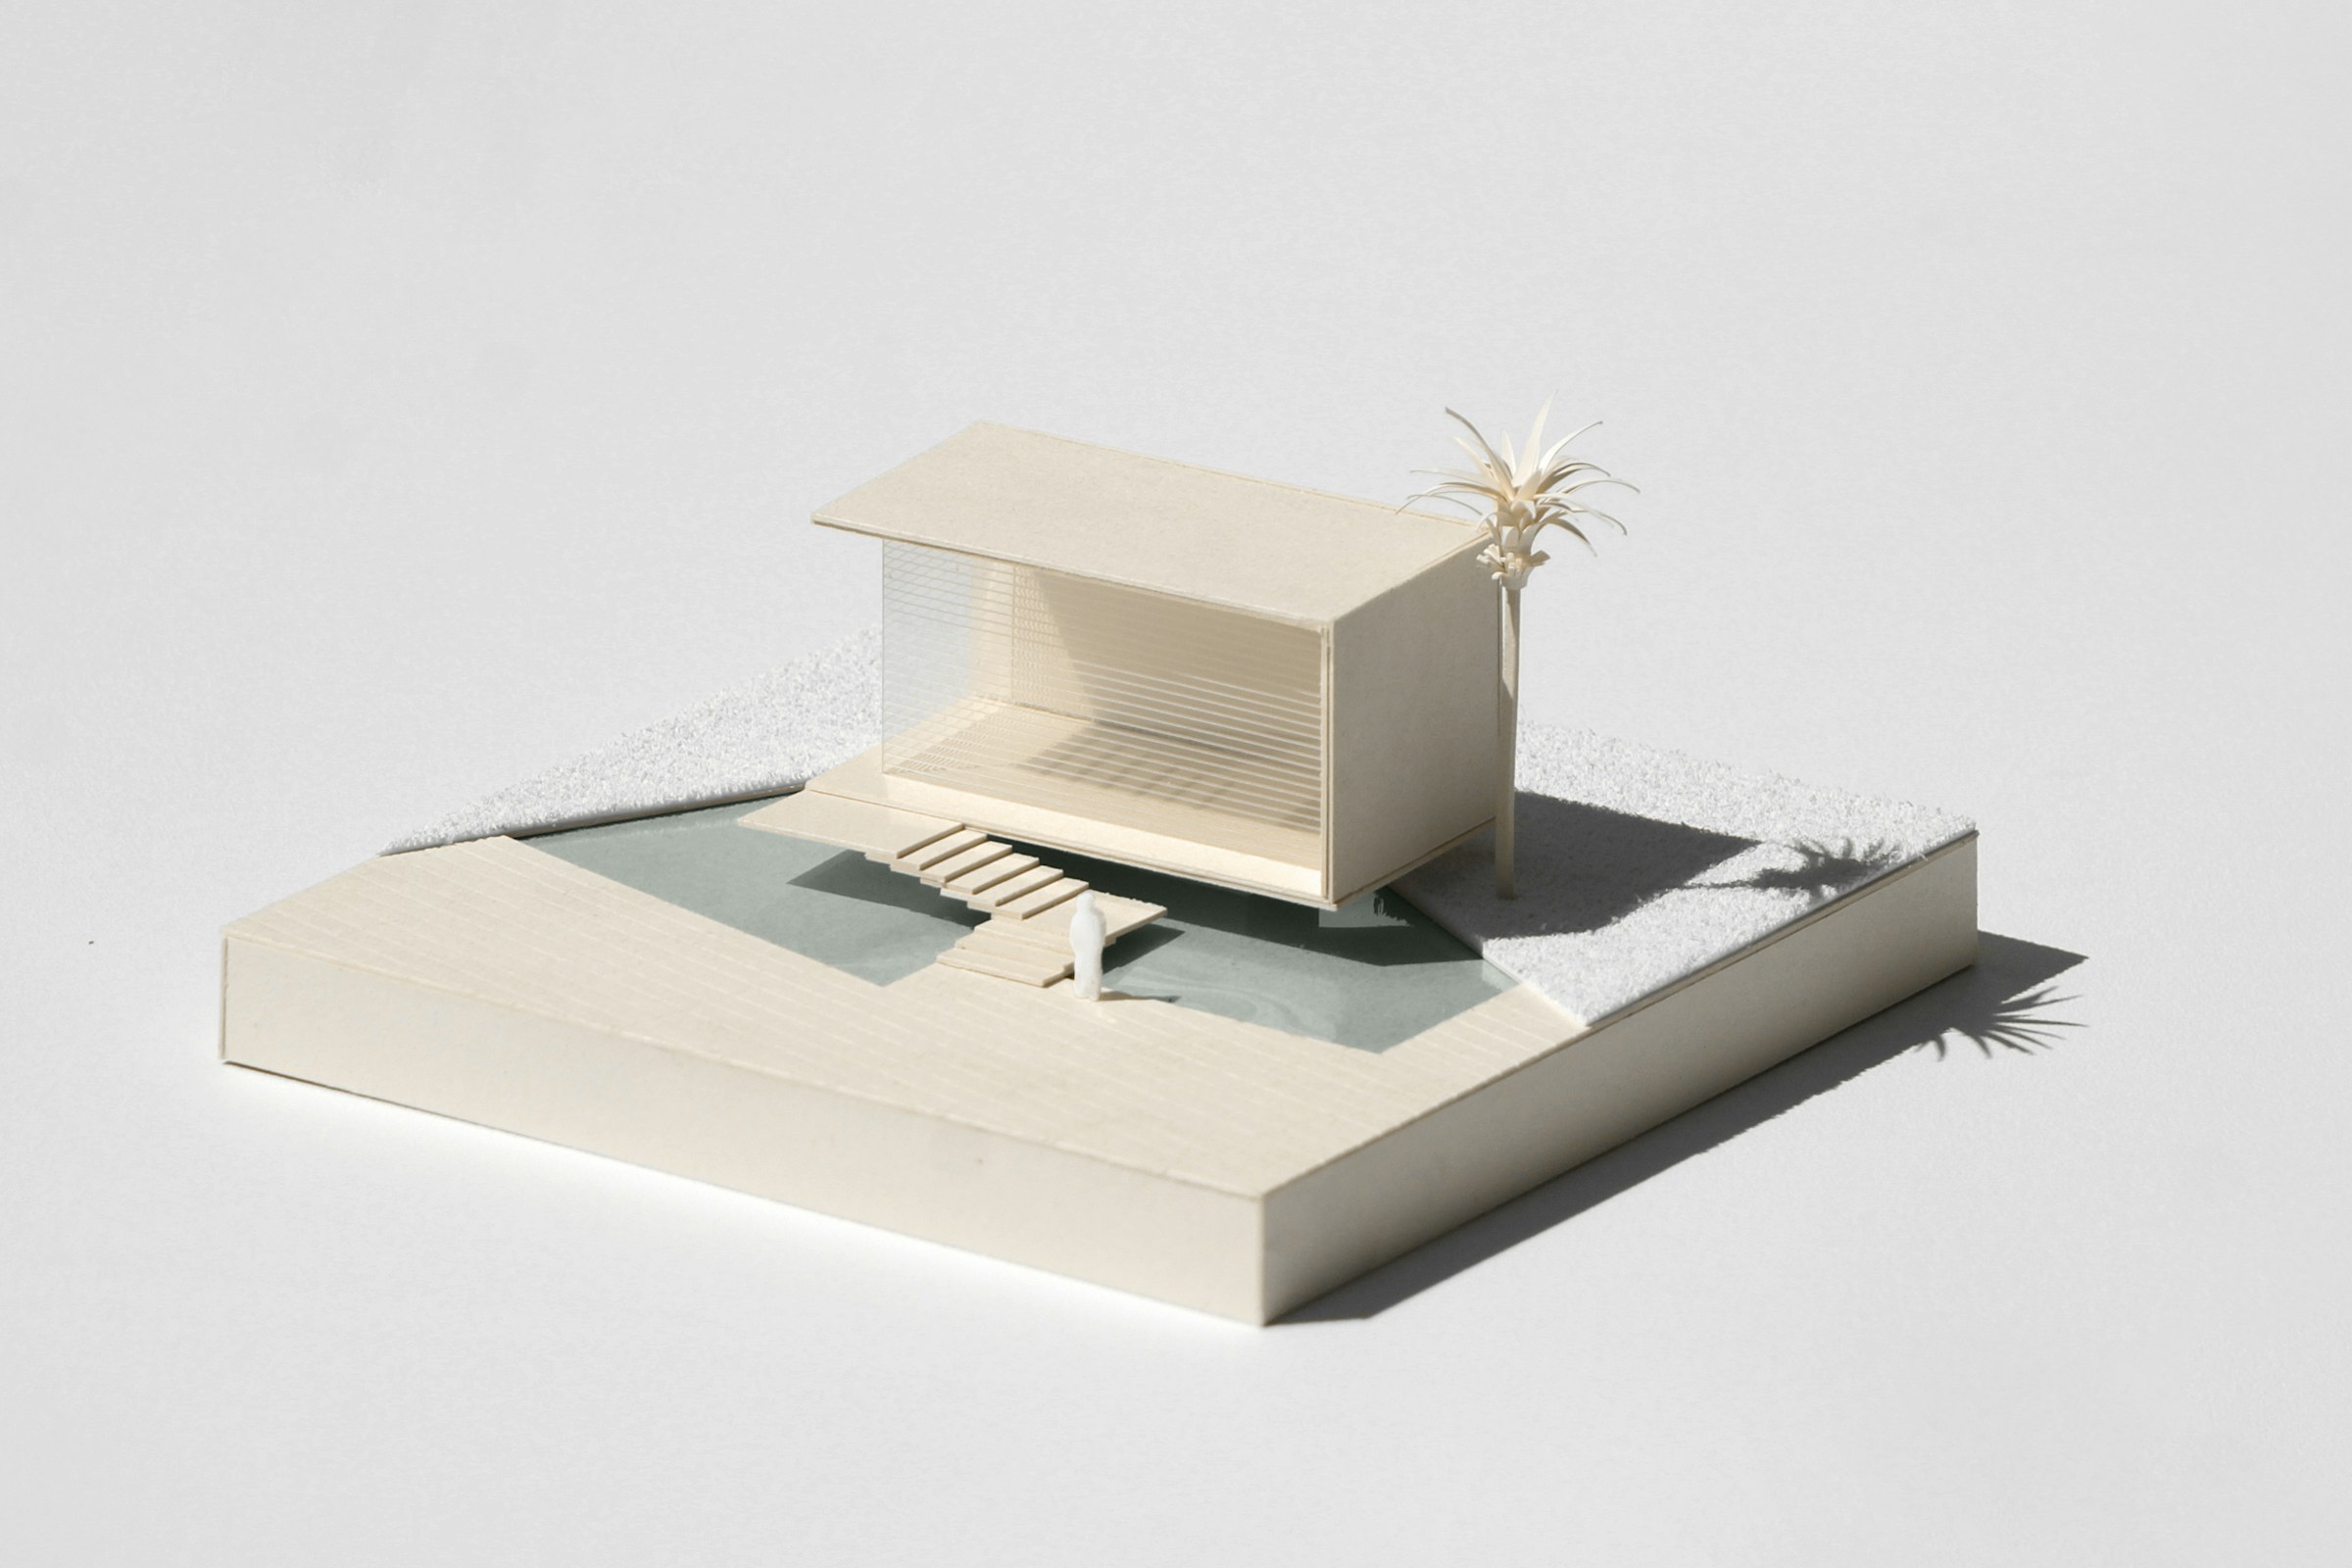
Here is a project with real meaning: build a small paper model of your own house. Take a few photos of the front and sides, sketch a simple box shape, and add the roof, windows and porch. It does not need to be perfect to be special. Families love these as keepsakes when they move, or as a gift for grandparents who miss the old house. Kids can draw in the windows and front door. It is model making with a heart. Whose house would you build?
You will need: Photos of your home, white cardstock, a ruler, a pencil, scissors or a craft knife (adult use), white glue, colored pencils.
How to make it: 1. Measure the shape of your house in the photos and scale it down. 2. Draw the walls and roof on card with tabs. 3. Cut, fold and glue. 4. Draw in windows, doors and details.
Try It: Folded Paper Star Ornaments
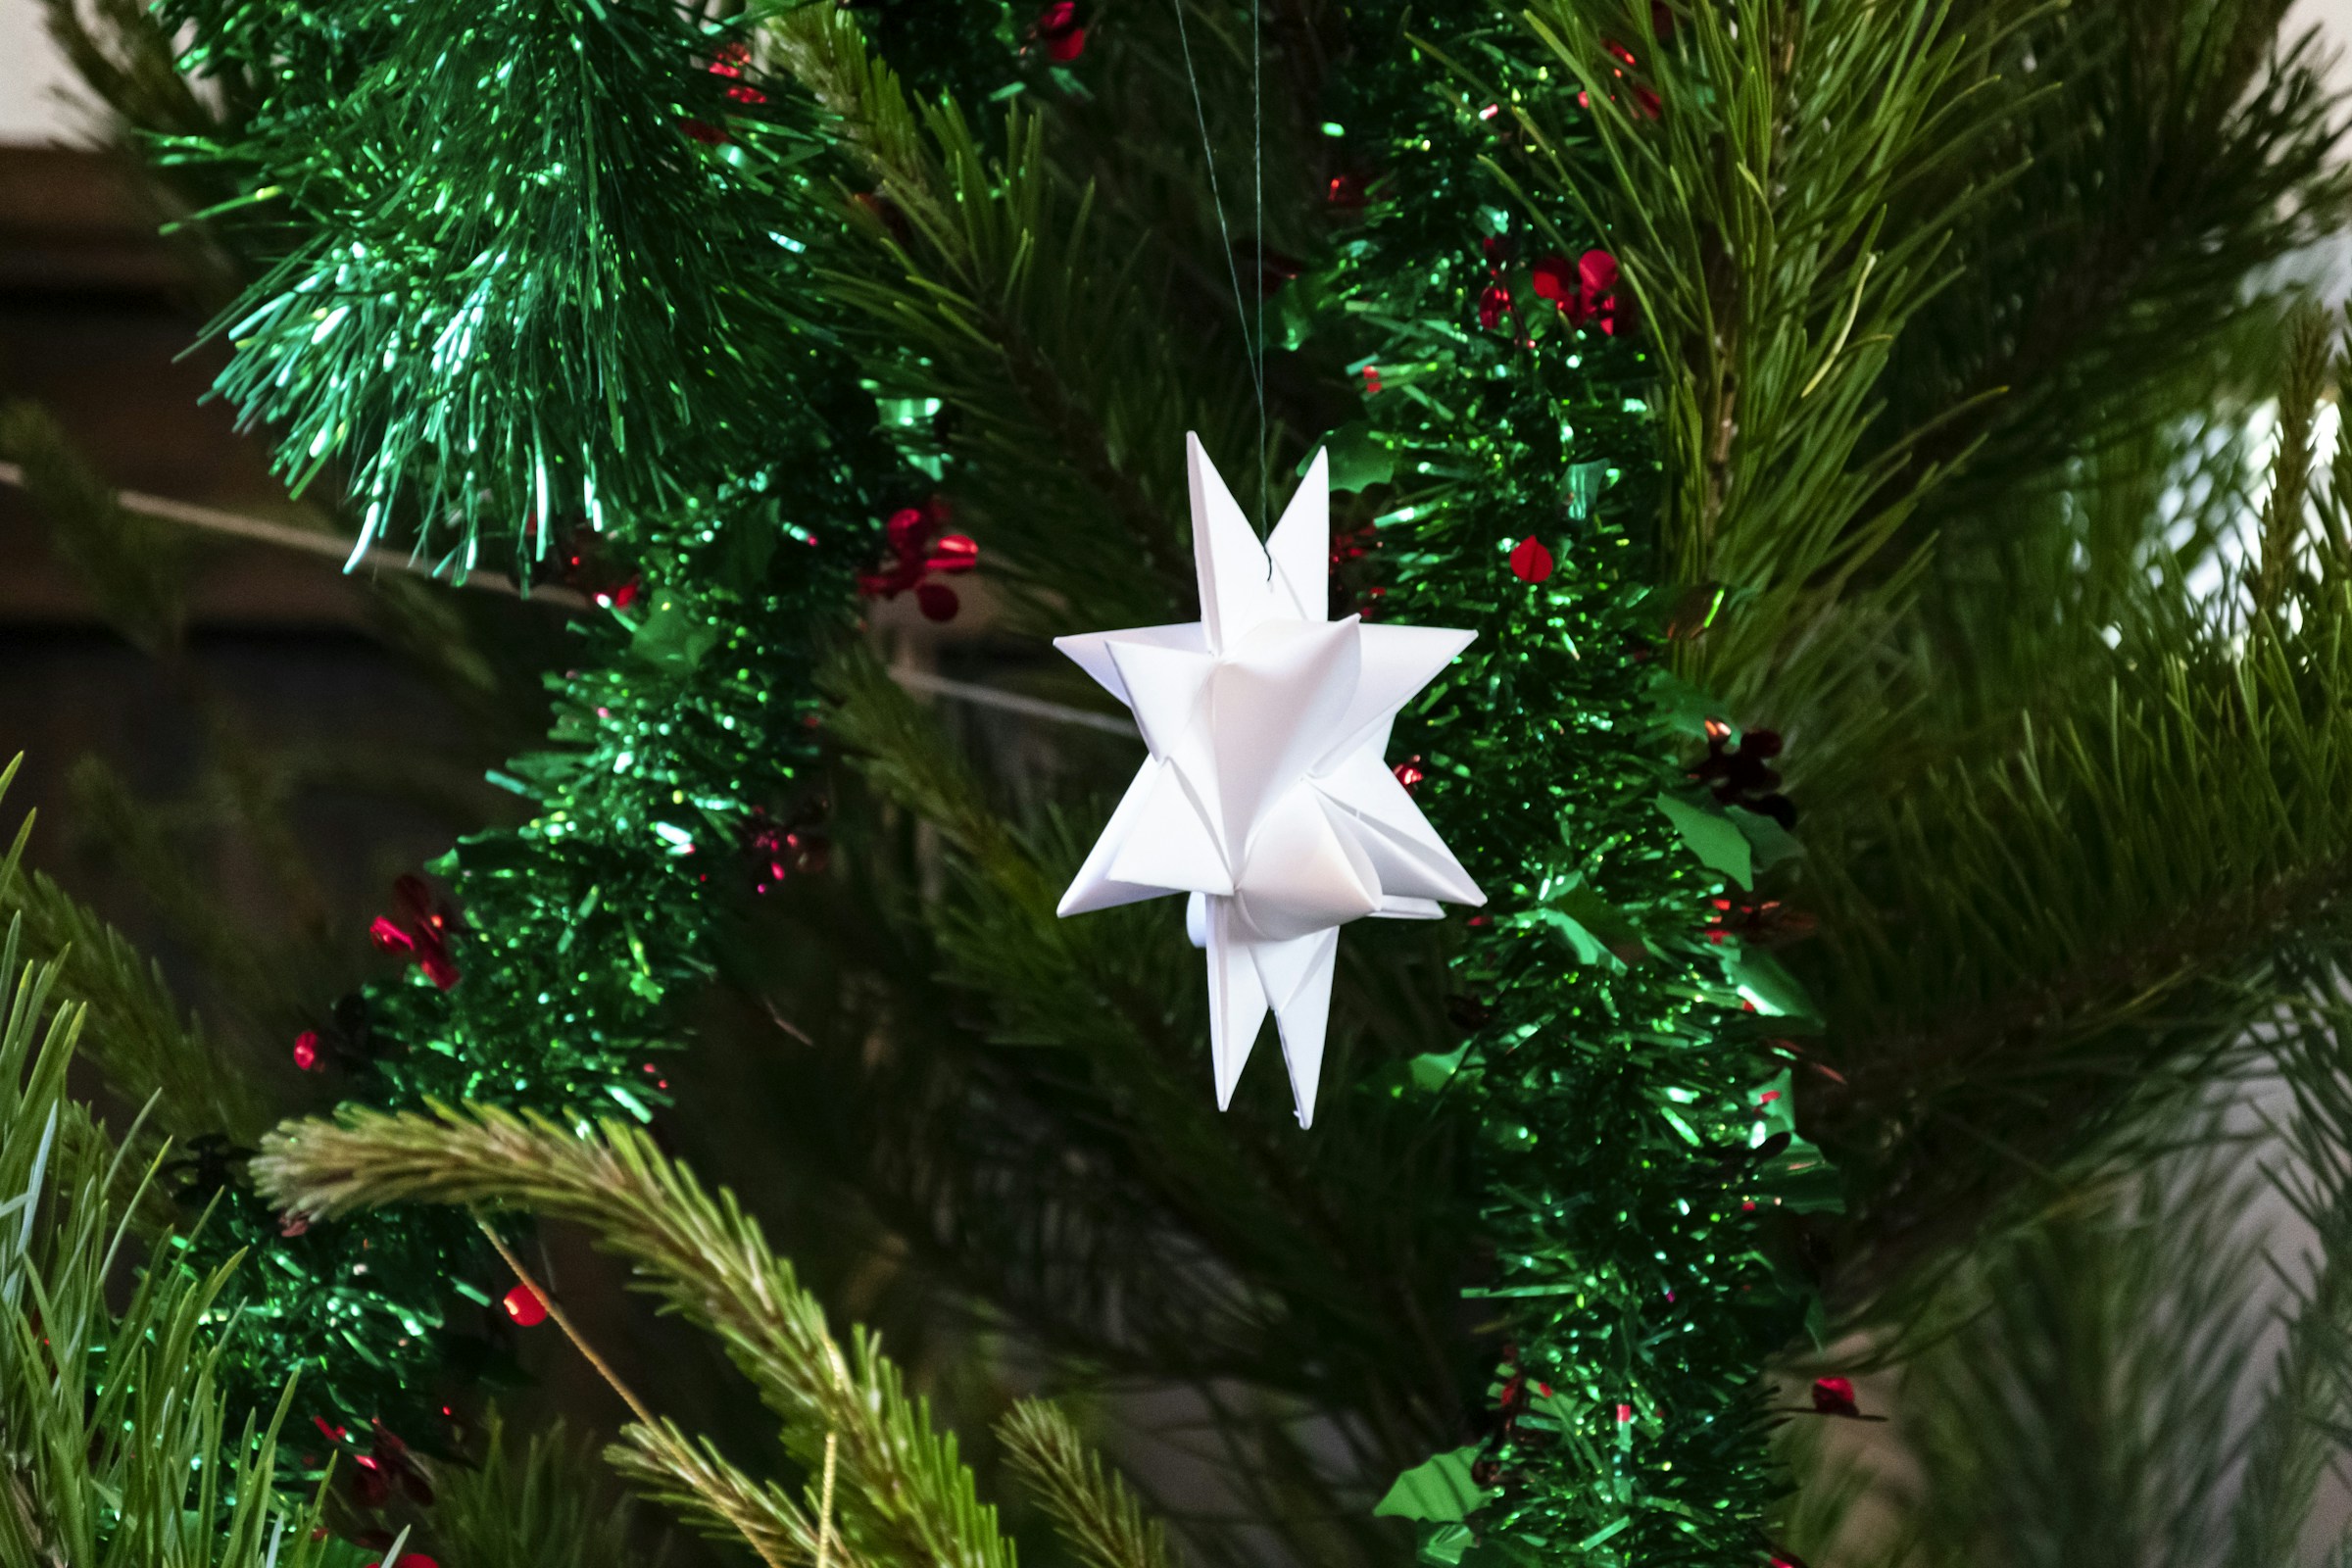
Folded paper stars bring a clean, handmade look to the Christmas tree and they are much easier than they look. Use thin paper strips or squares and follow a simple star fold, then add a loop of thread at the top. White paper looks elegant against green branches, while kraft paper gives a rustic feel that matches manila folders. Make a big batch while watching a holiday movie. They also look sweet on gift wrap. Will you go all white or mix colors?
You will need: Thin paper squares or strips, a ruler, a bone folder, glue, thin thread or ribbon.
How to make it: 1. Fold the paper in half diagonally both ways. 2. Fold the edges into the center to form points. 3. Glue the points together into a star. 4. Add a thread loop and hang it.
Try It: Kraft Paper Luminaries
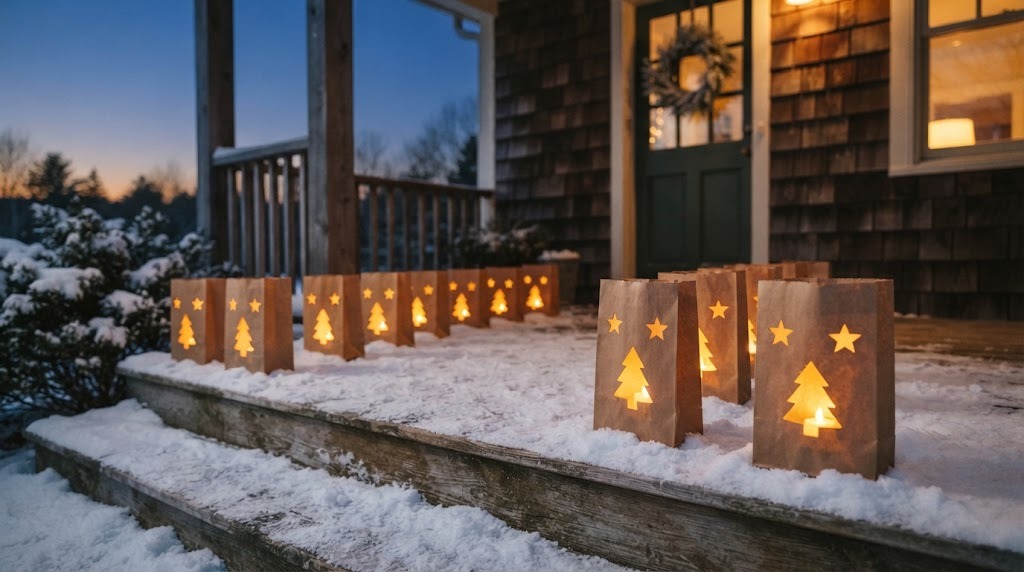
Kraft paper luminaries are a simple, glowing way to finish your paper season. Fold down the top of brown paper bags, cut out stars, trees or moons with a craft knife, and set a battery LED tea light inside each one. Line them along the porch steps or a mantel for a warm welcome. LED lights are a must here, since paper and real flames do not mix. A little sand in the bottom keeps them steady outside. Where would you line yours up?
You will need: Brown kraft paper bags, a pencil, a craft knife (adult use) or punches, a cutting mat, sand or small pebbles, battery LED tea lights.
How to make it: 1. Fold the top of each bag down twice. 2. Draw simple shapes on the front. 3. Cut them out on a cutting mat. 4. Add sand and an LED tea light to each bag.