DIY Picture Frames: 17 Pretty Frames Made From Things You Were About to Throw Out
DIY picture frames are having a sweet comeback, and they might be the easiest handmade gift of the season. This week, Yahoo Life told readers to skip store bought frames and use a common household waste item to upgrade their walls instead. It is the kind of idea that makes you look at your recycling bin in a whole new way. Cereal boxes, leftover wrapping paper, wine corks, old buttons, twigs and even puzzle pieces can all become frames that look charming on a shelf or a gallery wall. Add a favorite photo and you have a gift grandparents will treasure. Below you will find 17 easy frames to make in an evening, plus a few ideas to hang them all together..
DIY Picture Frames That Turn Scraps Into Something Special
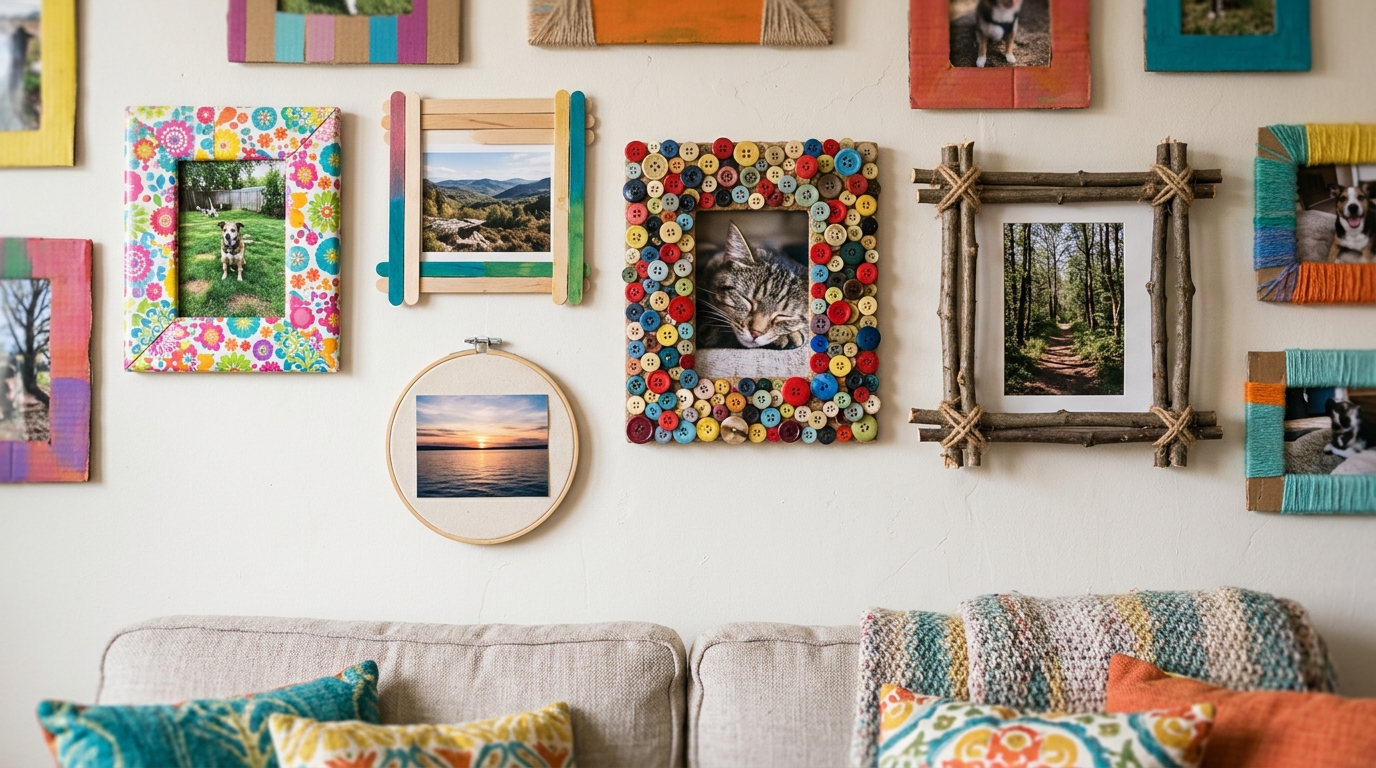
A photo means more when it sits in a frame you made yourself. Every handmade frame has a little story: the wrapping paper from last Christmas, the corks from a happy dinner, the buttons from grandma’s tin. Hang a few together and your wall becomes a collage of memories, not just pictures. They cost almost nothing, they are fun to make with kids and friends, and nobody else will have the same ones. Ready to raid your recycling bin..
You will need: Cardboard from cereal or shipping boxes, scissors, a ruler, craft glue, decoupage glue, and whatever scraps you love.
How to make it: 1. Cut a cardboard rectangle and a smaller window in the center. 2. Cover it with your chosen scraps. 3. Tape the photo behind the window and add a stand or hanger.
DIY Picture Frames Covered in Leftover Wrapping Paper
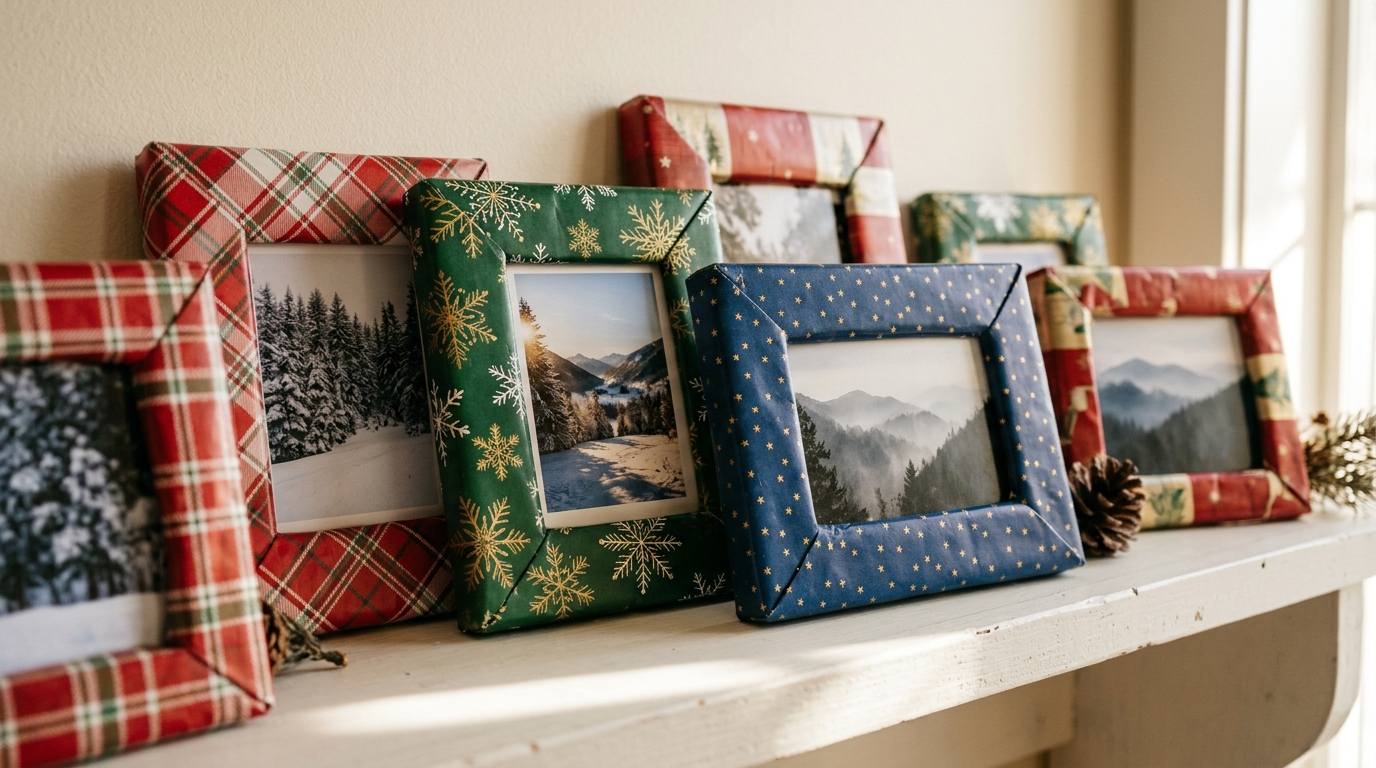
Those last few feet of pretty wrapping paper are too nice to toss. Wrap them around cardboard frames, and you have a matching set that looks like it came from a gift shop. Christmas plaid, florals or kraft paper with stars all look sweet. It is exactly the kind of reuse idea people are loving this month. Make a set for your mantel, or give one with a family photo inside. Which paper would you save?
You will need: Cardboard, leftover wrapping paper, a glue stick, scissors and a photo.
How to make it: 1. Cut a cardboard frame. 2. Wrap the paper around it like a gift, gluing the edges on the back. 3. Cut an X in the window paper, fold it back and glue it down.
A Cereal Box Frame Covered in an Old Map
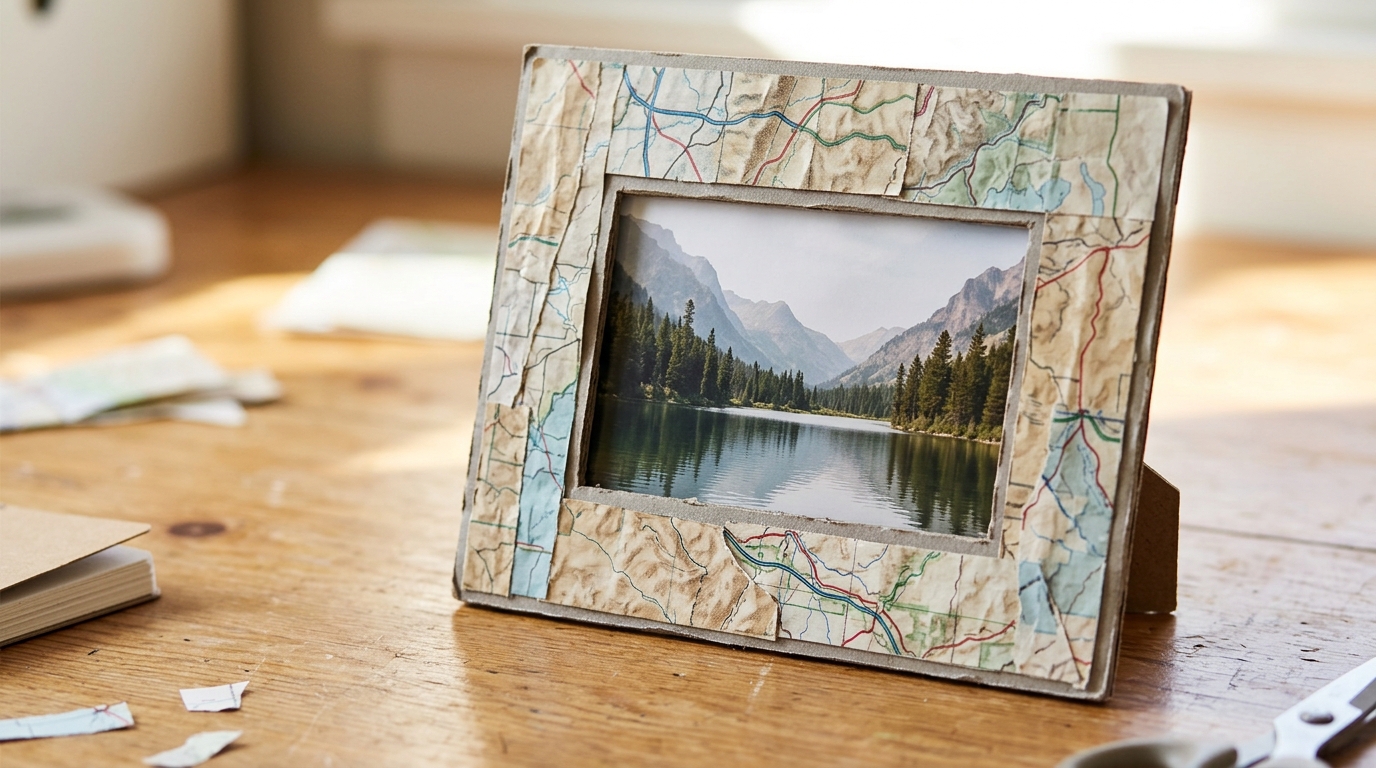
A cereal box is thin, light and perfect for a frame. Cover it with an old road map, and it becomes a little travel keepsake. Choose the part of the map where the photo was taken, like the lake you visit every summer or the town where you grew up. It makes such a thoughtful gift for a traveler. Kids can help pick the spot on the map and smooth out the bubbles with their fingers. Where would your map frame take you?
You will need: A cereal box, an old map, decoupage glue, a foam brush and scissors.
How to make it: 1. Cut two cardboard layers from the box and glue them together for strength. 2. Brush decoupage glue on the frame and smooth the map on top. 3. Seal with one more coat of glue.
A Popsicle Stick Sled Frame
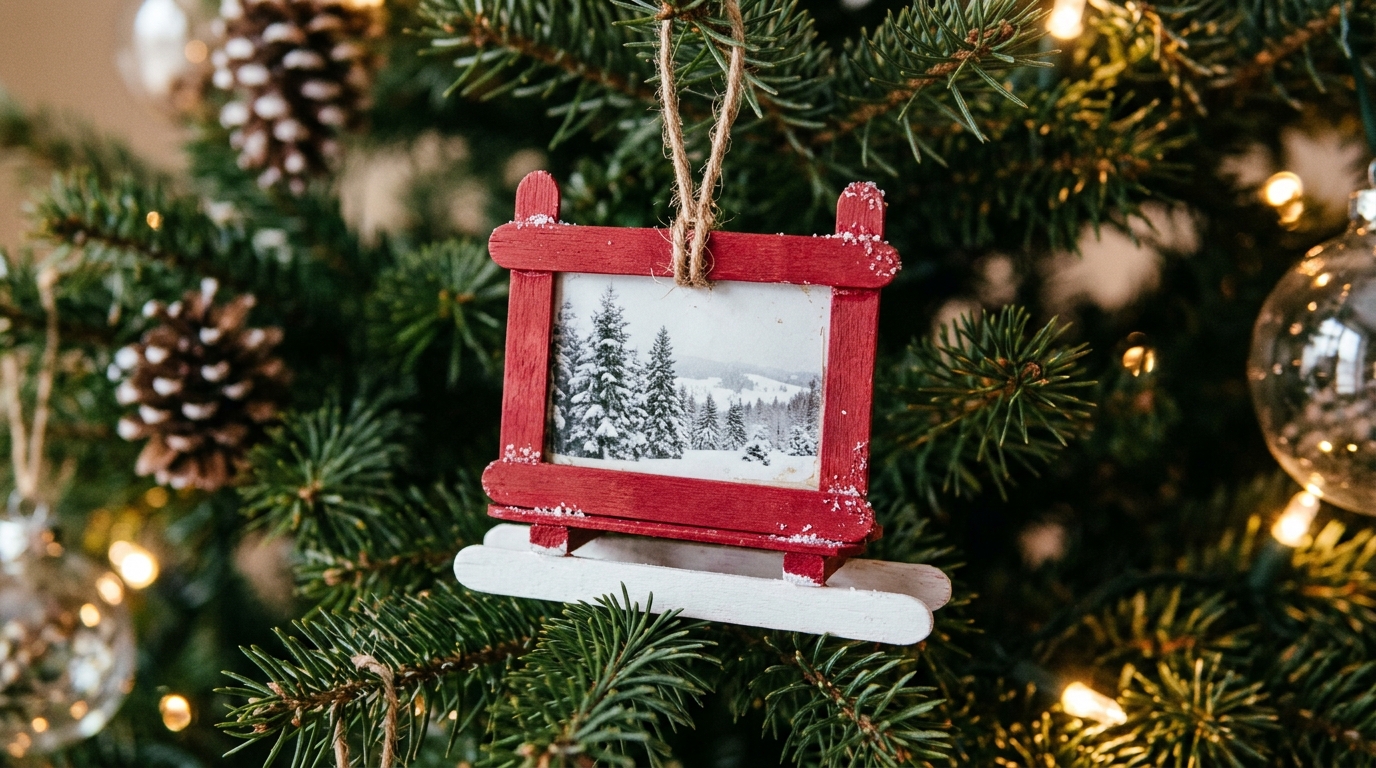
This one is a sweet Christmas ornament and a frame at the same time. Glue popsicle sticks side by side, paint them red, and add two white sticks underneath as sled runners. A small photo in the middle makes it a keepsake that goes on the tree every year. Kids love making these at school or at the kitchen table. Write the year on the back so you always remember. Easy DIY picture frames like this make perfect class party crafts too. Whose photo would ride on your sled?
You will need: Popsicle sticks, red and white paint, craft glue, a small photo and ribbon.
How to make it: 1. Glue five sticks side by side with two across the back. 2. Paint the top red and two extra sticks white. 3. Glue the white runners underneath, add the photo and a ribbon loop.
DIY Picture Frames With Old Book Pages
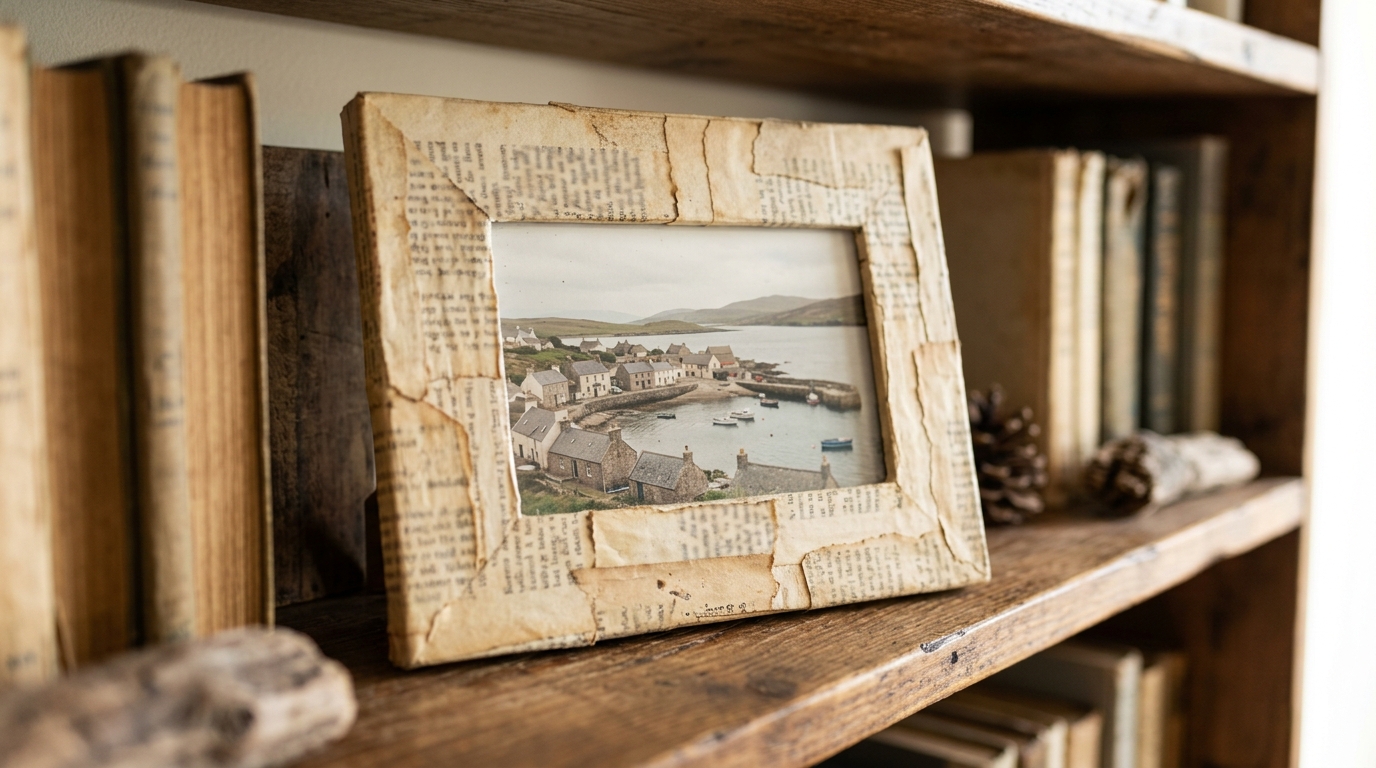
Old book pages have a soft, warm color that looks lovely around photos. Tear or cut the pages into strips and glue them over a frame in a layered pattern. It looks vintage and cozy, perfect for a reading nook or a bookshelf. Use pages from a damaged book from the thrift store, never a family treasure. This is one of the classic DIY picture frames for book lovers. What story would your frame be wrapped in?
You will need: A plain wood or cardboard frame, pages from a damaged old book, decoupage glue and a foam brush.
How to make it: 1. Tear pages into strips. 2. Brush decoupage glue on the frame and layer the strips at slight angles. 3. Seal with a final coat and let it dry.
DIY Picture Frames From Wine Corks
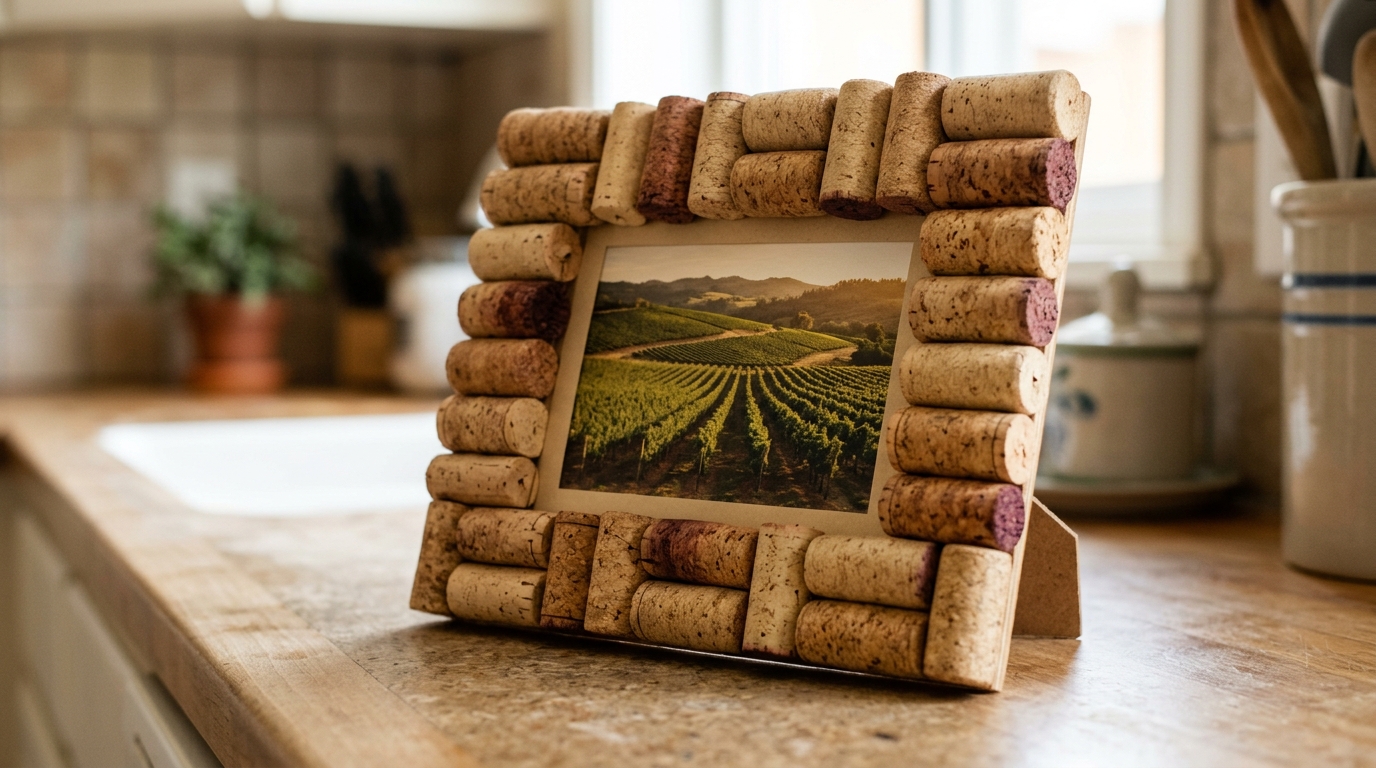
If you have a jar of saved corks, here is the perfect use for them. Glue them side by side around a plain frame, all lined up or in a herringbone pattern. The cork color is warm and natural, and it looks great with a vineyard or dinner party photo. It makes a fun gift for a friend who loves to host. Mix in a few champagne corks for a fun shape at the corners. How many corks do you have tucked away?
You will need: A plain flat frame, about twenty to thirty corks, strong craft glue and a craft knife used by an adult.
How to make it: 1. An adult cuts the corks in half lengthwise if you want them flatter. 2. Glue them around the frame in rows. 3. Let the glue dry fully before adding the photo.
A Button Mosaic Frame
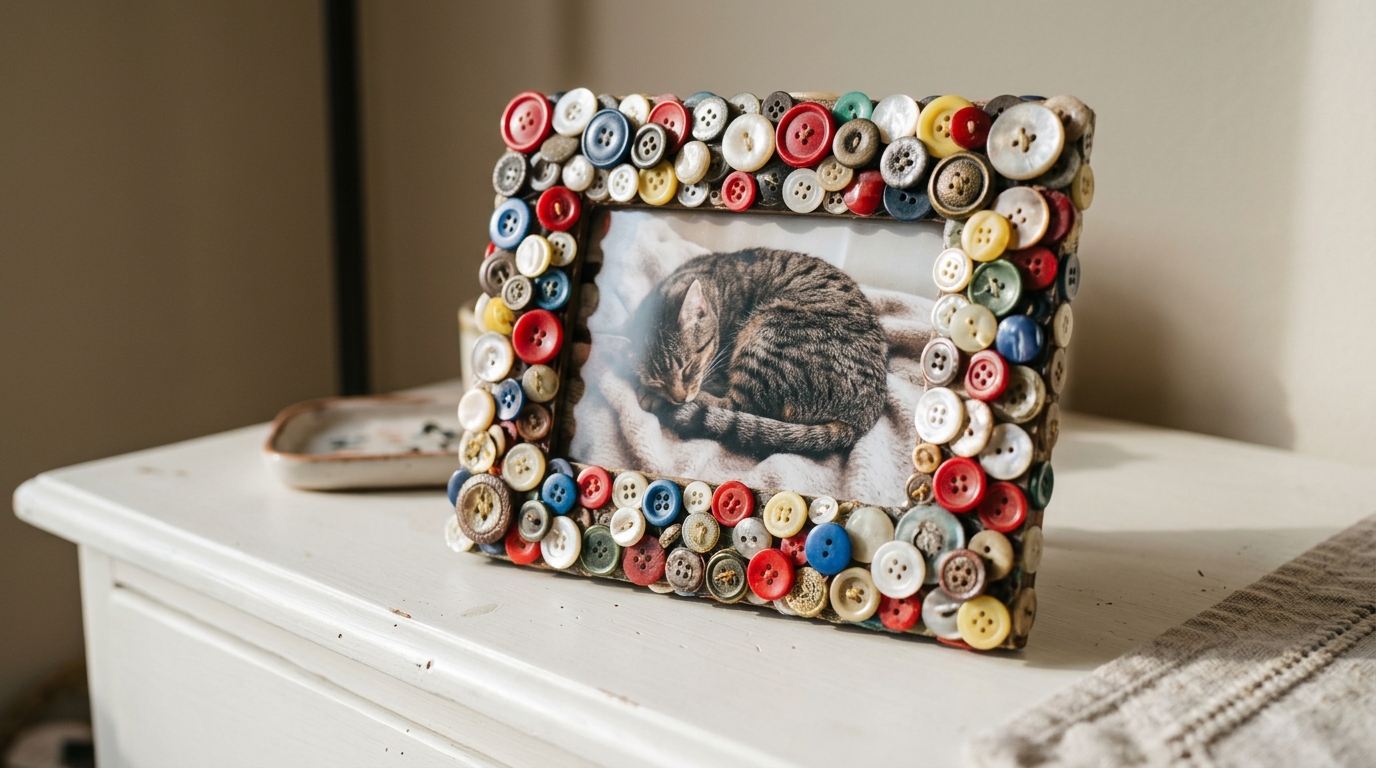
Grandma’s button tin finally has a job. Glue buttons all over a plain frame in a happy mix of colors and sizes, and it becomes a cheerful little piece of art. Fill gaps with tiny buttons, and layer small ones on top of big ones for extra charm. It looks adorable in a kids room or a sewing nook. These DIY picture frames always make people smile. Which colors are hiding in your button jar?
You will need: A plain flat frame, lots of buttons, strong craft glue and tweezers for small buttons.
How to make it: 1. Lay the buttons out first to plan the colors. 2. Glue the large buttons, then fill the gaps with small ones. 3. Let it dry flat overnight.
A Rustic Twig Frame
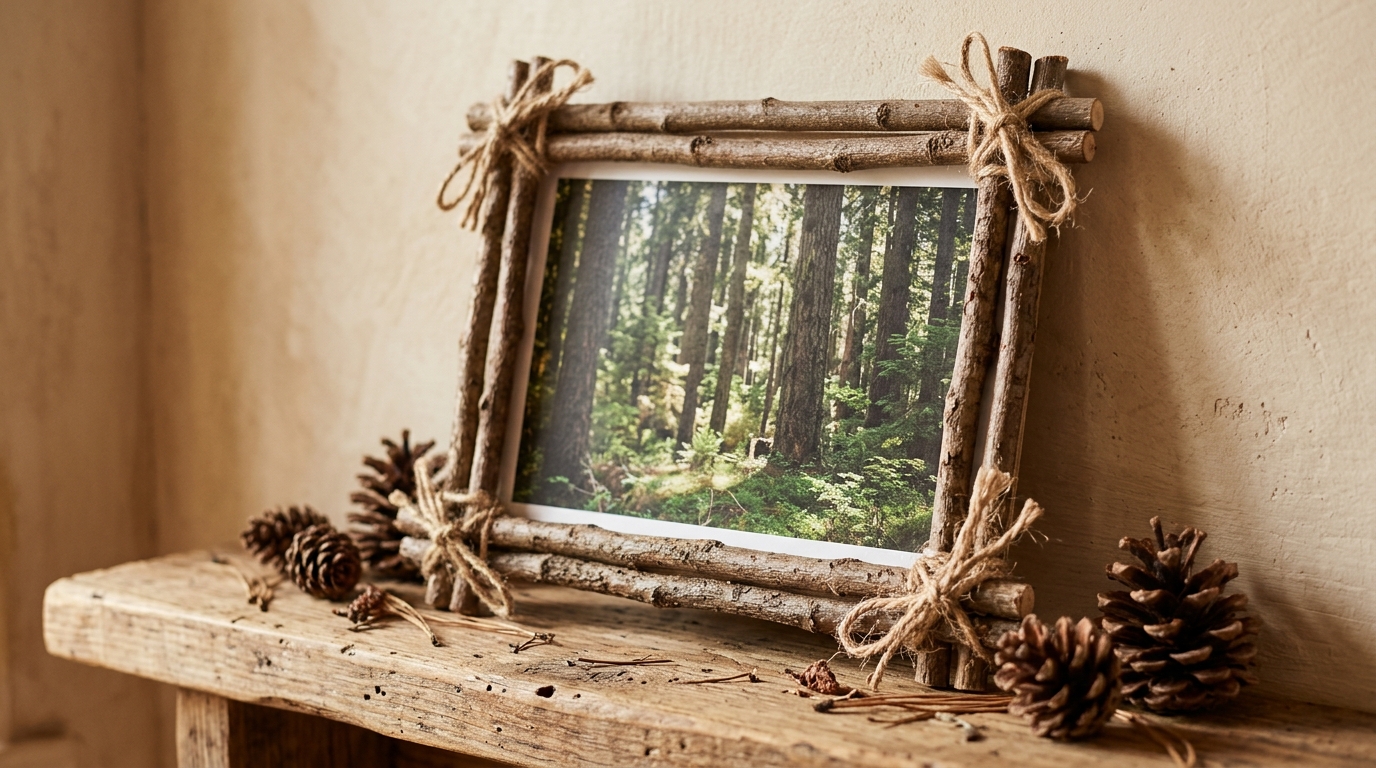
A walk in the yard gives you everything you need for this frame. Gather four sturdy twigs, cross them at the corners and tie them with twine. Glue a photo of a favorite outdoor spot behind it and you have a rustic piece that looks straight out of a cabin. Add a tiny pinecone at one corner for winter. It is free, simple and perfect for nature lovers. These rustic DIY picture frames also look lovely in a group of three. Where would you hang yours?
You will need: Four straight twigs, natural twine, hot glue used by an adult, cardboard backing and a photo.
How to make it: 1. Lay the twigs in a square with the ends crossing. 2. Tie each corner tightly with twine. 3. Glue the photo onto cardboard and attach it behind the twigs.
A Soft Padded Fabric Scrap Frame
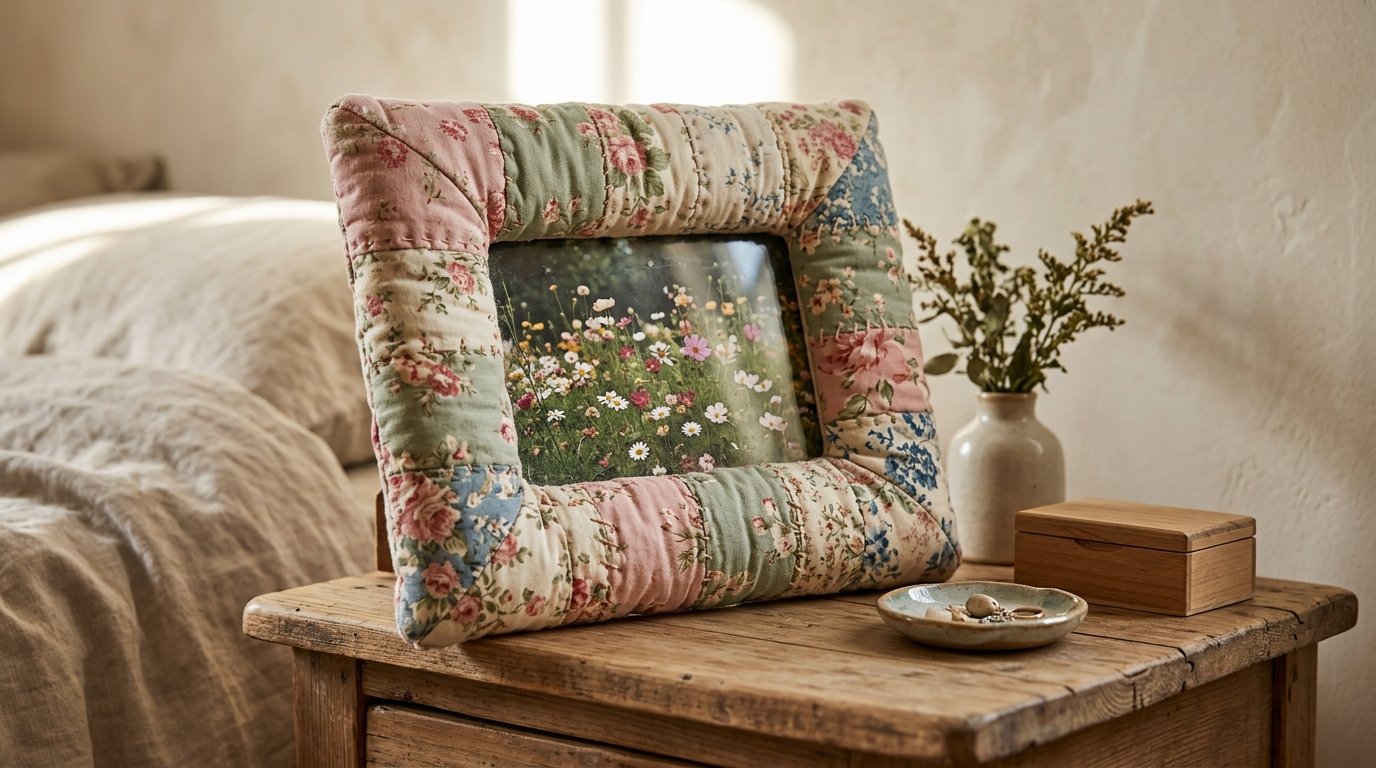
Fabric scraps turn a plain frame into something soft and cozy. Add a thin layer of batting first, then wrap pretty floral or patchwork fabric over it. It looks lovely on a nightstand or in a nursery. You can use an old shirt, a pillowcase or quilting scraps. It is one of the softest DIY picture frames you can make. Which fabric would you use?
You will need: A cardboard or wood frame, thin batting, fabric scraps, fabric glue and scissors.
How to make it: 1. Glue a thin layer of batting on the frame front. 2. Wrap fabric over it and glue it on the back. 3. Snip and fold the inside corners neatly.
A Seashell Frame From Vacation Finds
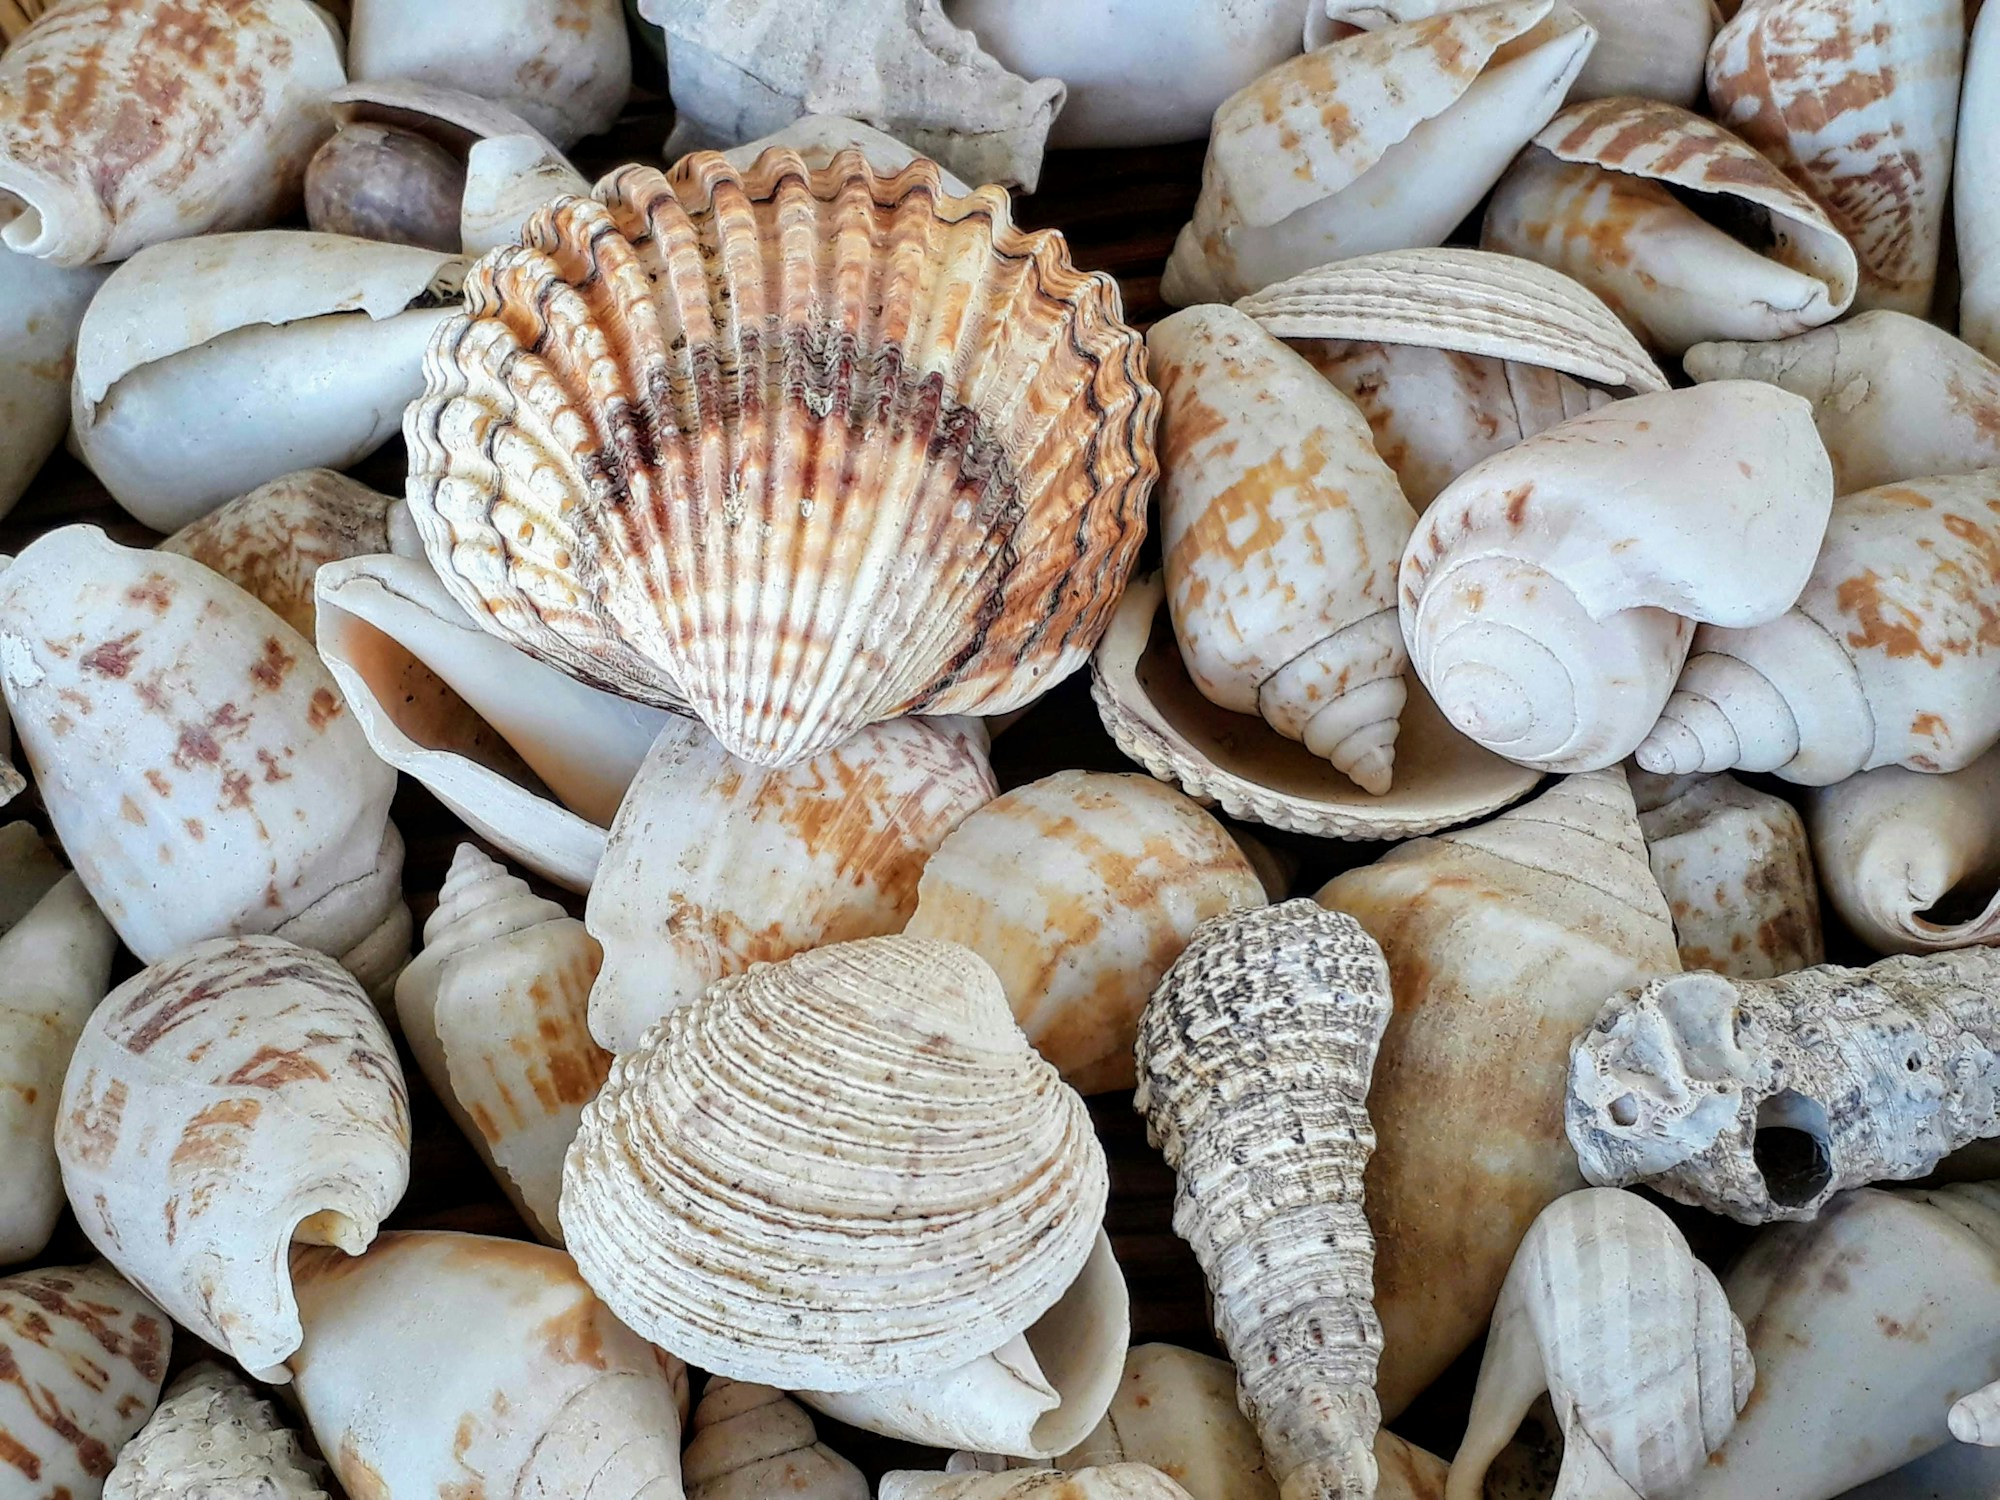
Every summer trip seems to come home with a bag of seashells. Glue them around a plain frame and add a photo from that same beach day. Mix big shells with tiny ones, and tuck in a little sand or sea glass for extra texture. Every time you look at it, you will hear the waves again. It makes a beautiful gift for a family that loves the beach. A thin coat of clear sealer makes the shells shine like they just came out of the water. Do you have a bag of shells in a drawer?
You will need: A plain flat frame, clean dry seashells, strong craft glue and a beach photo.
How to make it: 1. Wash and dry the shells. 2. Glue the larger shells first, then fill in with small ones. 3. Let it dry flat before standing it up.
A Gold Puzzle Piece Frame
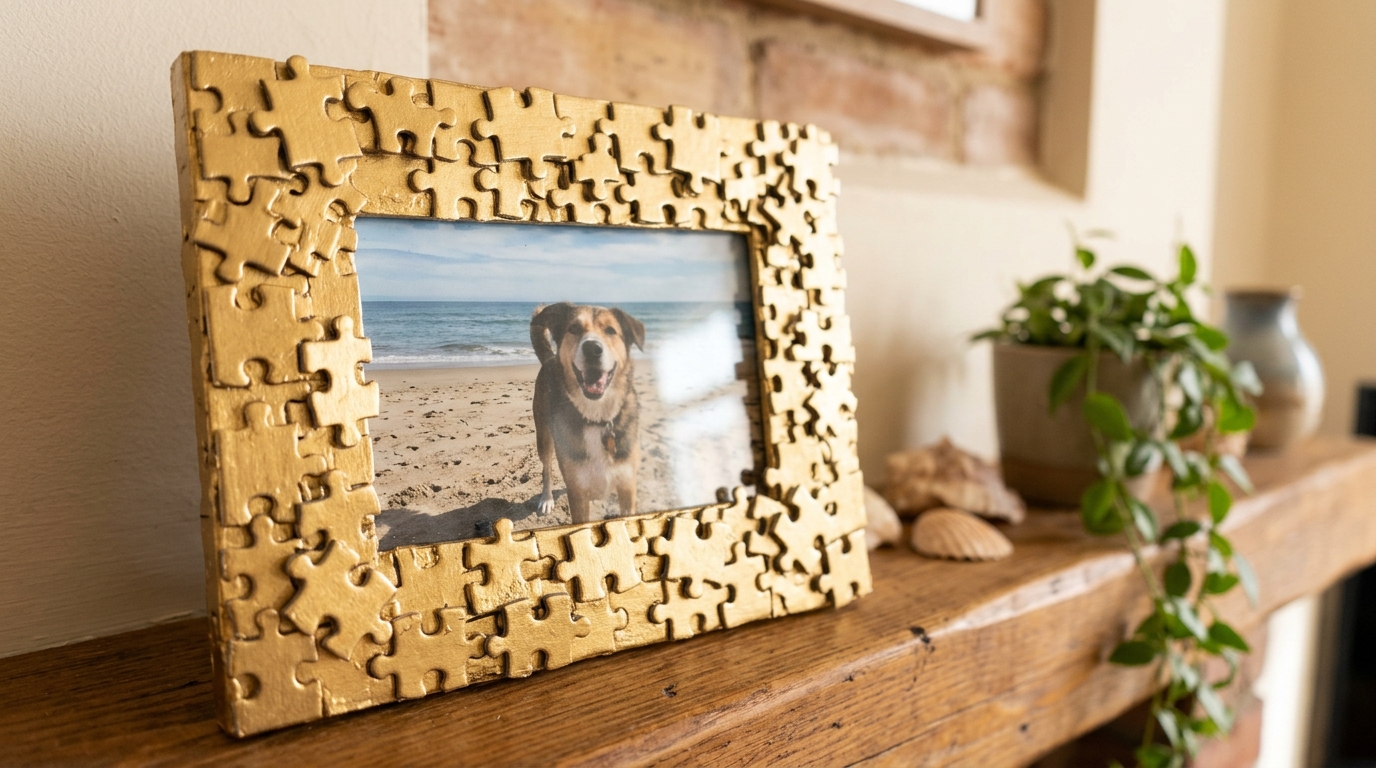
Missing a piece from that old puzzle? The rest can still shine. Glue the pieces in layers all over a frame, then spray or brush them gold. The bumpy texture looks surprisingly fancy, almost like carved metal. It is perfect for a family game night photo. Of all the DIY picture frames here, this one fools people the most. A coat of clear gloss on top makes the gold look even richer. Who in your family loves puzzles?
You will need: A plain frame, old puzzle pieces, craft glue and gold acrylic paint or spray paint used outdoors.
How to make it: 1. Glue puzzle pieces all over the frame in a random layer. 2. Add a second layer to cover gaps. 3. Paint everything gold and let it dry.
A Farmhouse Paint Stirrer Frame
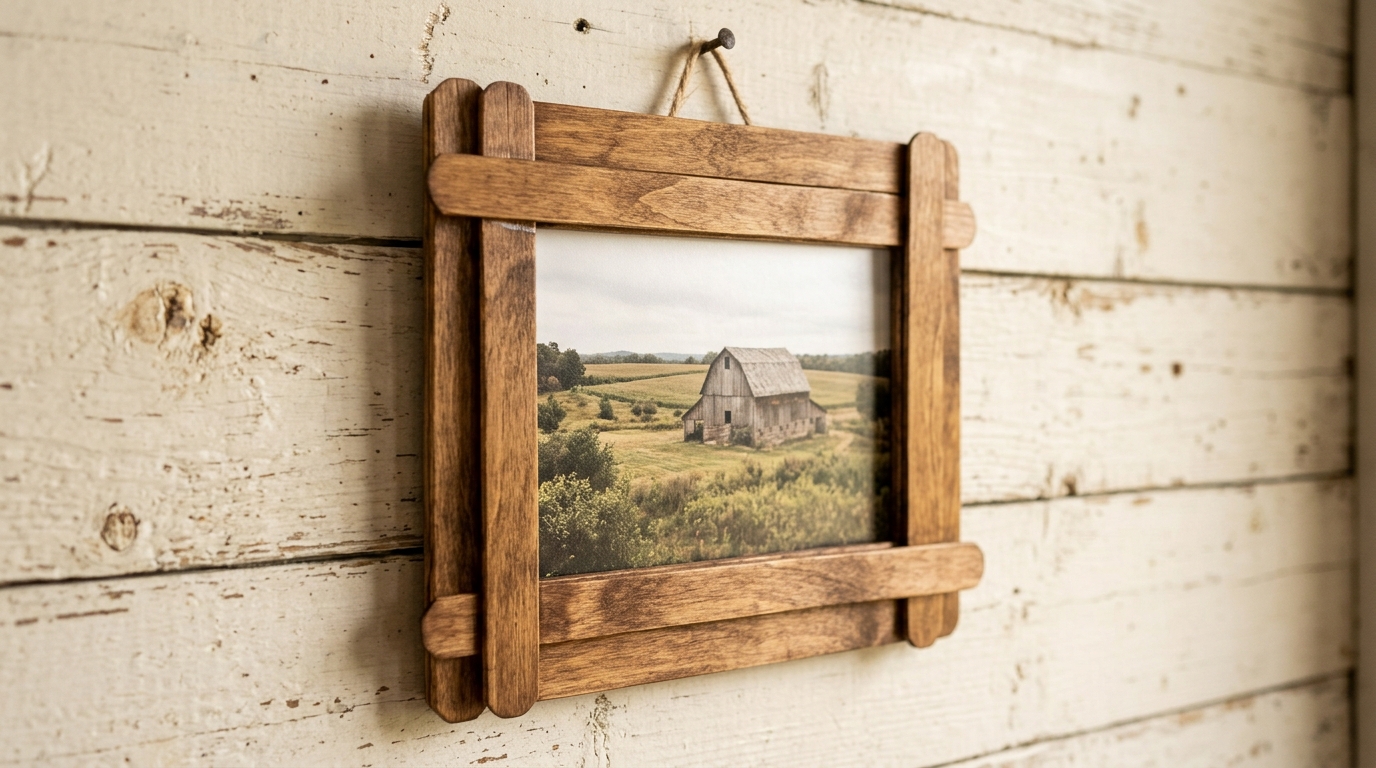
Free paint stirrers from the hardware store make great farmhouse frames. Glue four sticks into a square, stain them a warm walnut color, and add a little rope hanger. It is rustic, sturdy and looks perfect with a barn or country photo. These also make lovely signs and frames for kids rooms. Simple DIY picture frames like this one cost nothing at all. Have you ever saved paint sticks?
You will need: Four paint stirrer sticks, wood glue, wood stain, a rag, sandpaper and a short piece of rope.
How to make it: 1. Sand the sticks and glue them into a square with overlapping corners. 2. Wipe on stain and let it dry. 3. Glue a photo behind and add a rope hanger.
A Clothespin Frame for Swapping Photos
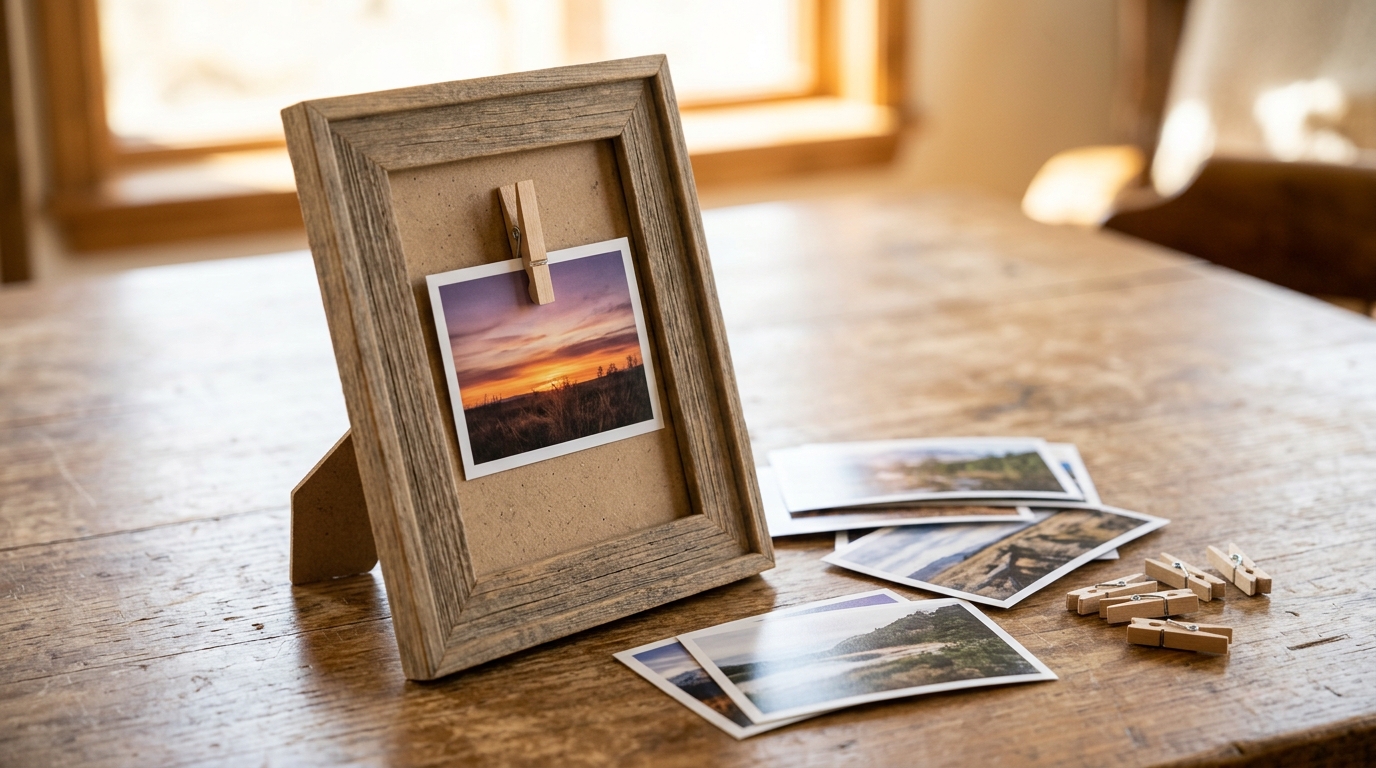
Cannot pick just one photo? This frame lets you change it any time. Glue a wooden clothespin in the center of a frame, then clip in whatever photo makes you happy that week. Keep a little stack of favorites beside it. It is great for kids who want to show new drawings too. Add a little paint or washi tape to the clothespin to match your room. Which photo would go in first?
You will need: A simple wooden frame without glass, a wooden clothespin, craft glue and a stack of photos.
How to make it: 1. Remove the glass and back from the frame and paint the back board. 2. Glue the clothespin in the center. 3. Put the board back and clip in a photo.
DIY Picture Frames From Embroidery Hoops
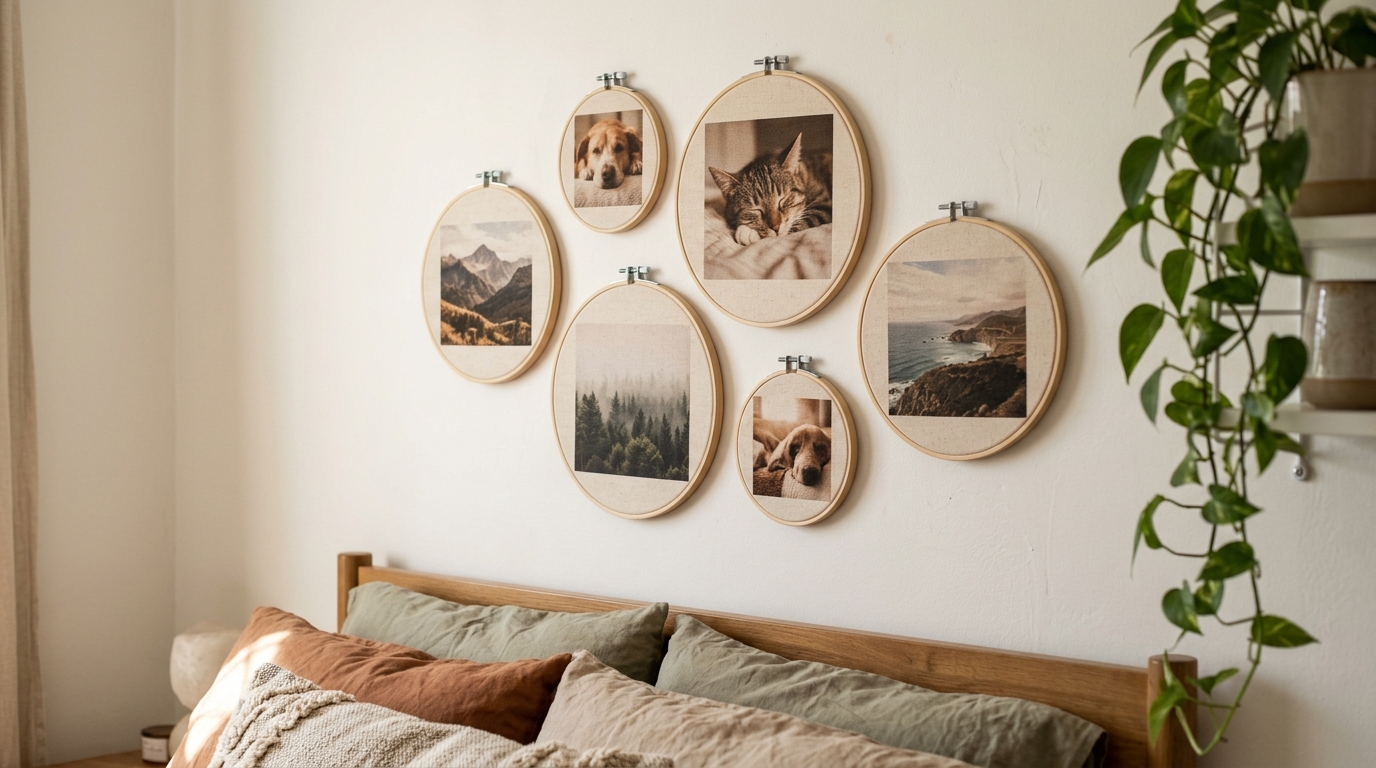
Wooden embroidery hoops make sweet round frames, and they are cheap and light enough to hang anywhere. Stretch fabric in the hoop, then glue a round photo on top so the fabric peeks out like a border. Group several sizes on a bedroom wall for a cozy, handmade look. Pet photos look especially cute in them. Mixing hoop sizes keeps the wall playful and light. How many hoops would you hang?
You will need: Wooden embroidery hoops, fabric scraps, round cut photos, craft glue and small nails or hooks.
How to make it: 1. Stretch fabric in the hoop and tighten it. 2. Glue a round photo in the center. 3. Trim the extra fabric on the back and hang.
Washi Tape Frames Right on the Wall
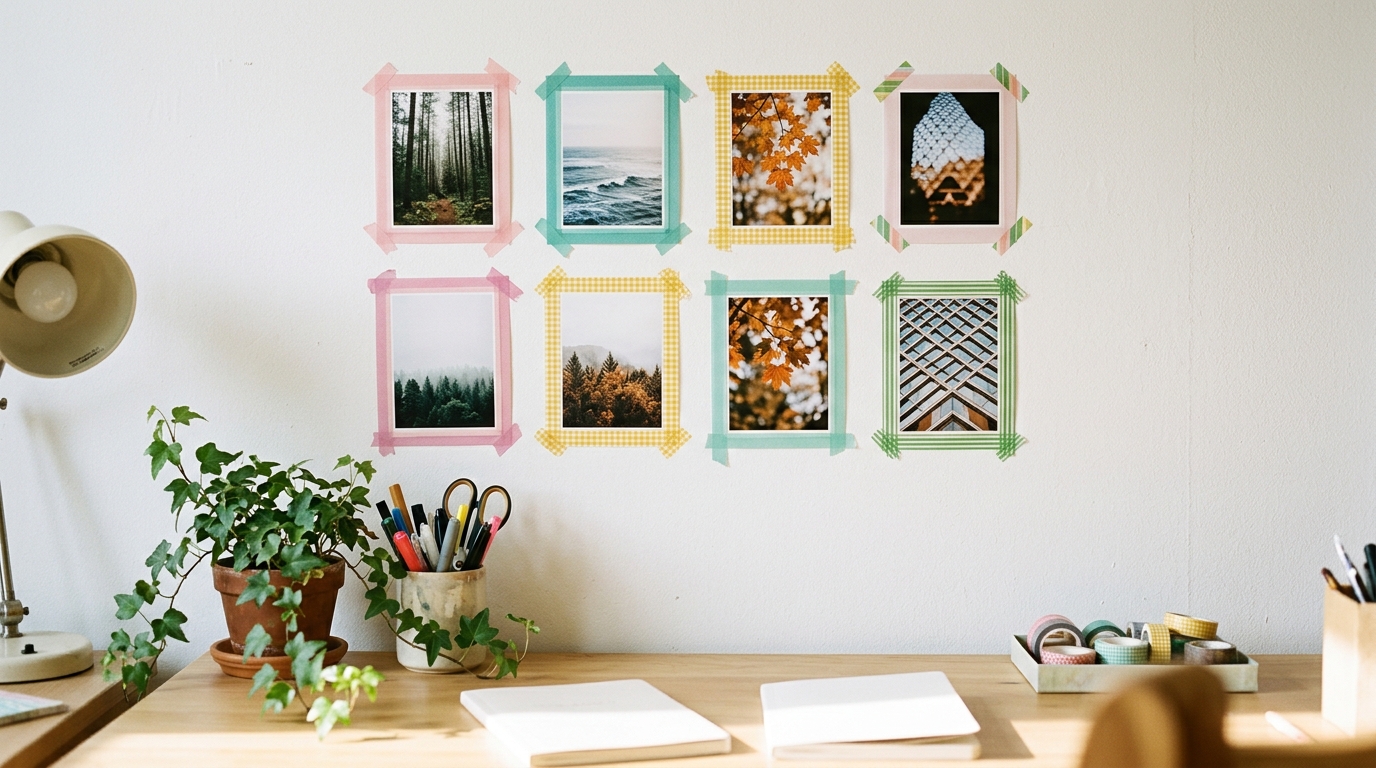
Renters, this one is for you. Tape photos straight onto the wall with colorful washi tape borders that look like frames. It peels off cleanly, so your deposit is safe, and you can change the layout any time. A neat grid above a desk looks modern and fresh. This is the quickest of all the DIY picture frames on this list. Use tape in holiday colors in December for a quick festive change. Which colors would you mix?
You will need: Printed photos, several rolls of washi tape, scissors and a level.
How to make it: 1. Plan a grid on the wall with a level. 2. Tape each photo with a washi tape border on all four sides. 3. Swap photos whenever you like.
Christmas Card Frames as Ornaments
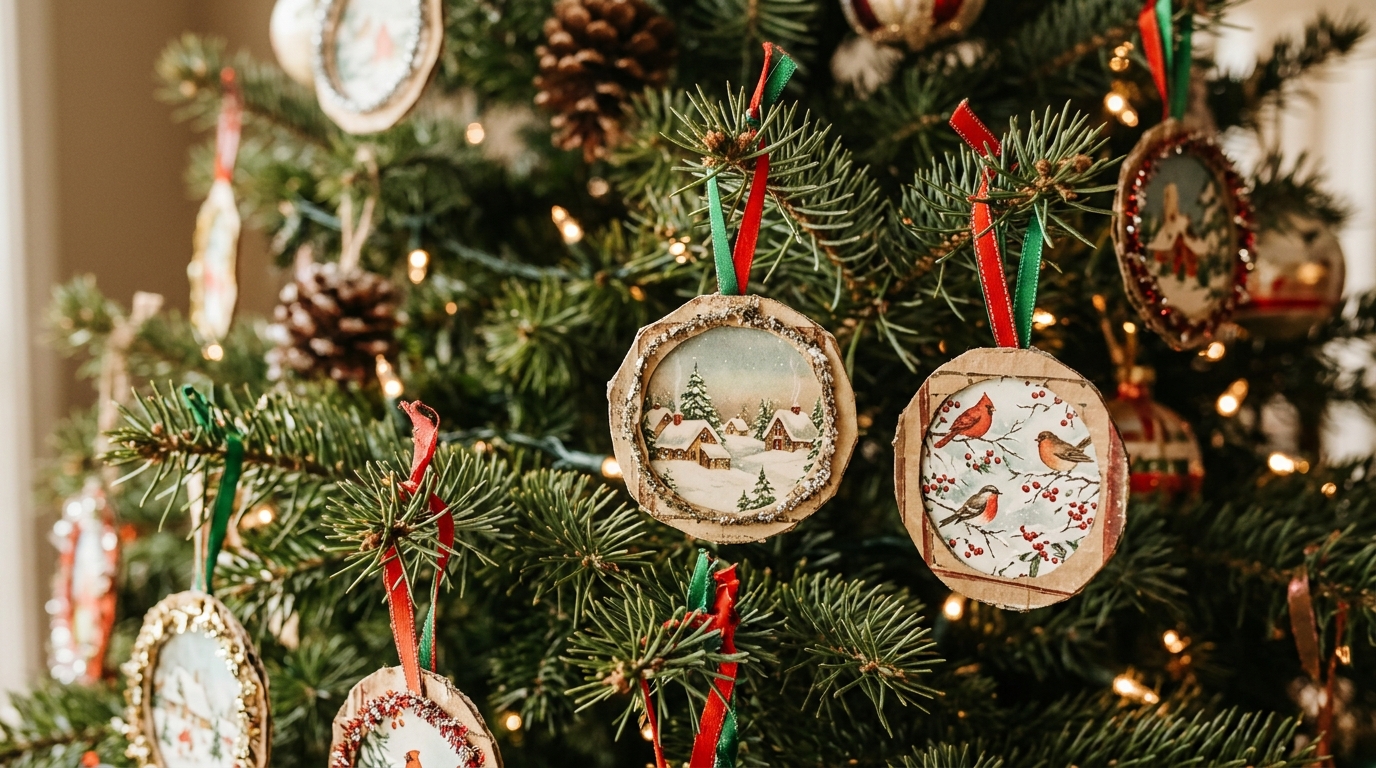
Do you keep old Christmas cards because they are too pretty to toss? Cut out the best scenes, glue them onto small cardboard frames, and add a ribbon loop. They make lovely ornaments with snowy villages, birds and wreaths. You could also frame a card from someone special who is no longer here. It is a gentle way to keep a memory on the tree. These little DIY picture frames make the tree feel full of love. Which card would you save?
You will need: Old Christmas cards, cardboard, scissors, glue, gold paint pen and ribbon.
How to make it: 1. Cut a small cardboard frame and paint the edge gold. 2. Cut out your favorite card scene and glue it behind. 3. Add a ribbon loop at the top.
Plan a Gallery Wall With All Your Homemade Frames
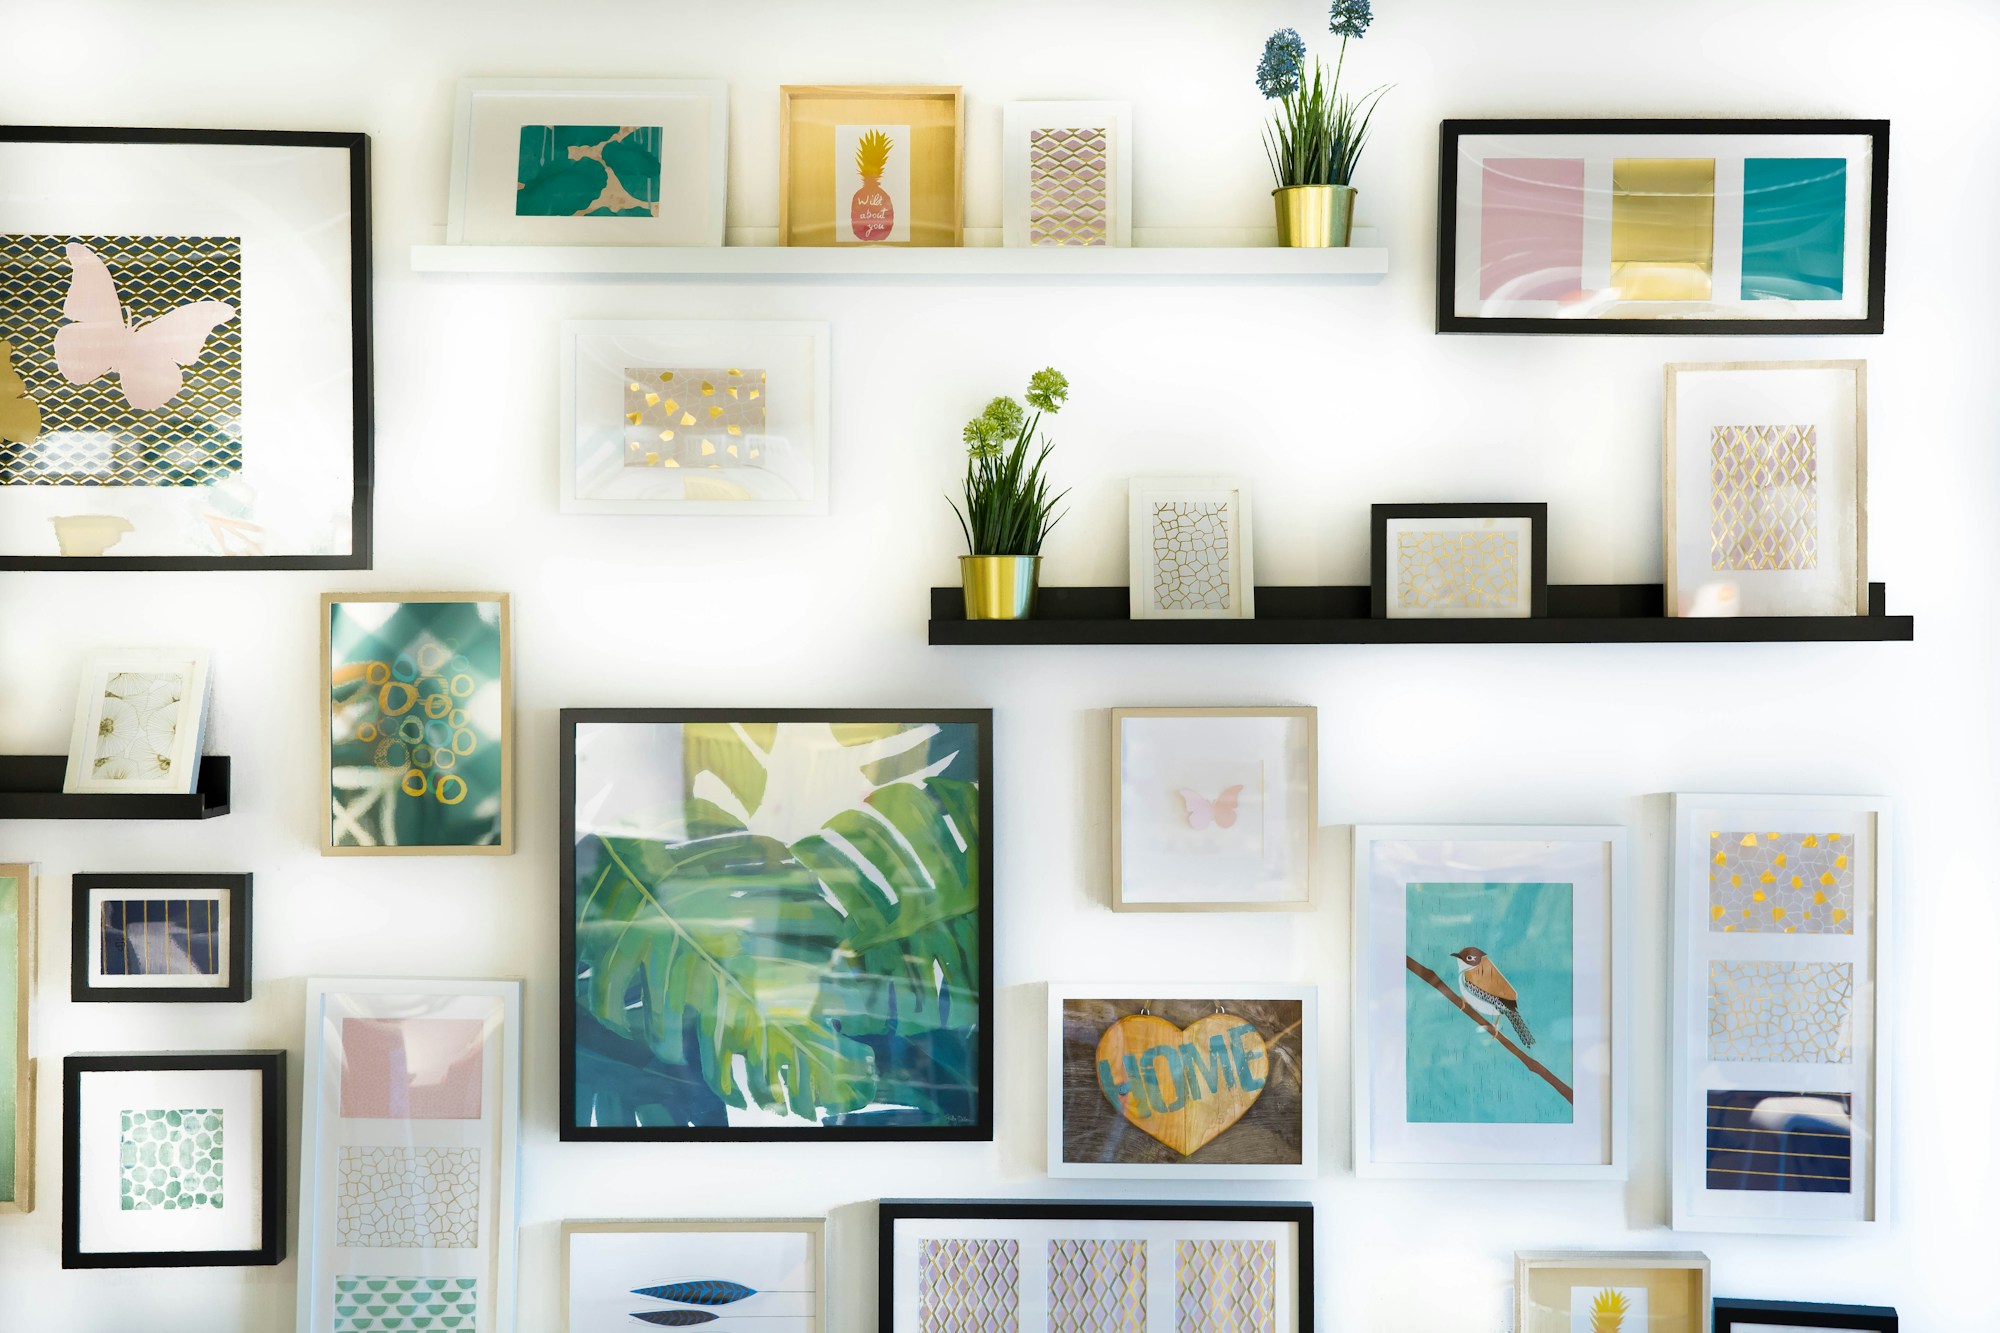
Once you make a few frames, put them together. A gallery wall of homemade DIY picture frames looks warm and personal, and it tells your family story in one glance. Lay the frames on the floor first, mixing shapes and sizes, then trace each one on paper and tape the paper to the wall to test the layout. For more wall ideas, see our mirror and wall decor tips. Where would your gallery wall go?
You will need: Your homemade frames, kraft paper, painter’s tape, a pencil, a level and small nails or removable strips.
How to make it: 1. Arrange the frames on the floor until you love the layout. 2. Trace each frame on paper and tape the paper shapes to the wall. 3. Hang each frame where its paper shape is, then pull the paper away.